When you click on links to various merchants on this site and make a purchase, this can result in this site earning a commission. Affiliate programs and affiliations include, but are not limited to, the eBay Partner Network.
Yeah I bought all new lifters. Is there a way to get them full of oil before I install them? Hopefully this weekend I can get the other head bolted on and painted if I can keep busy on it without having to stop cause I don't have what I need then I should be ready for install next week.
submerge them in oil for a few says, thats about the only thing you can do. also i covered my with lucas assembly lube before installation (this stuff Semi-Synthetic Assembly Lube )
Hey guys thought I'd post some more pics of the build. I hope this thread has helped anybody who is thinking about or in the middle of their own 12v rebuild. Also let me know if you have any questions at all throughout the build I'm by no means a pro and I guess well see what happens upon first start up just what kind of work I've done at least it looks good, I think.
All brand new lifters installed and cams installed and torqued. Maybe some of you noticed that one of the exhaust manifold studs is missing. It snapped off at about half the specified torque when i tried installing the manifold.
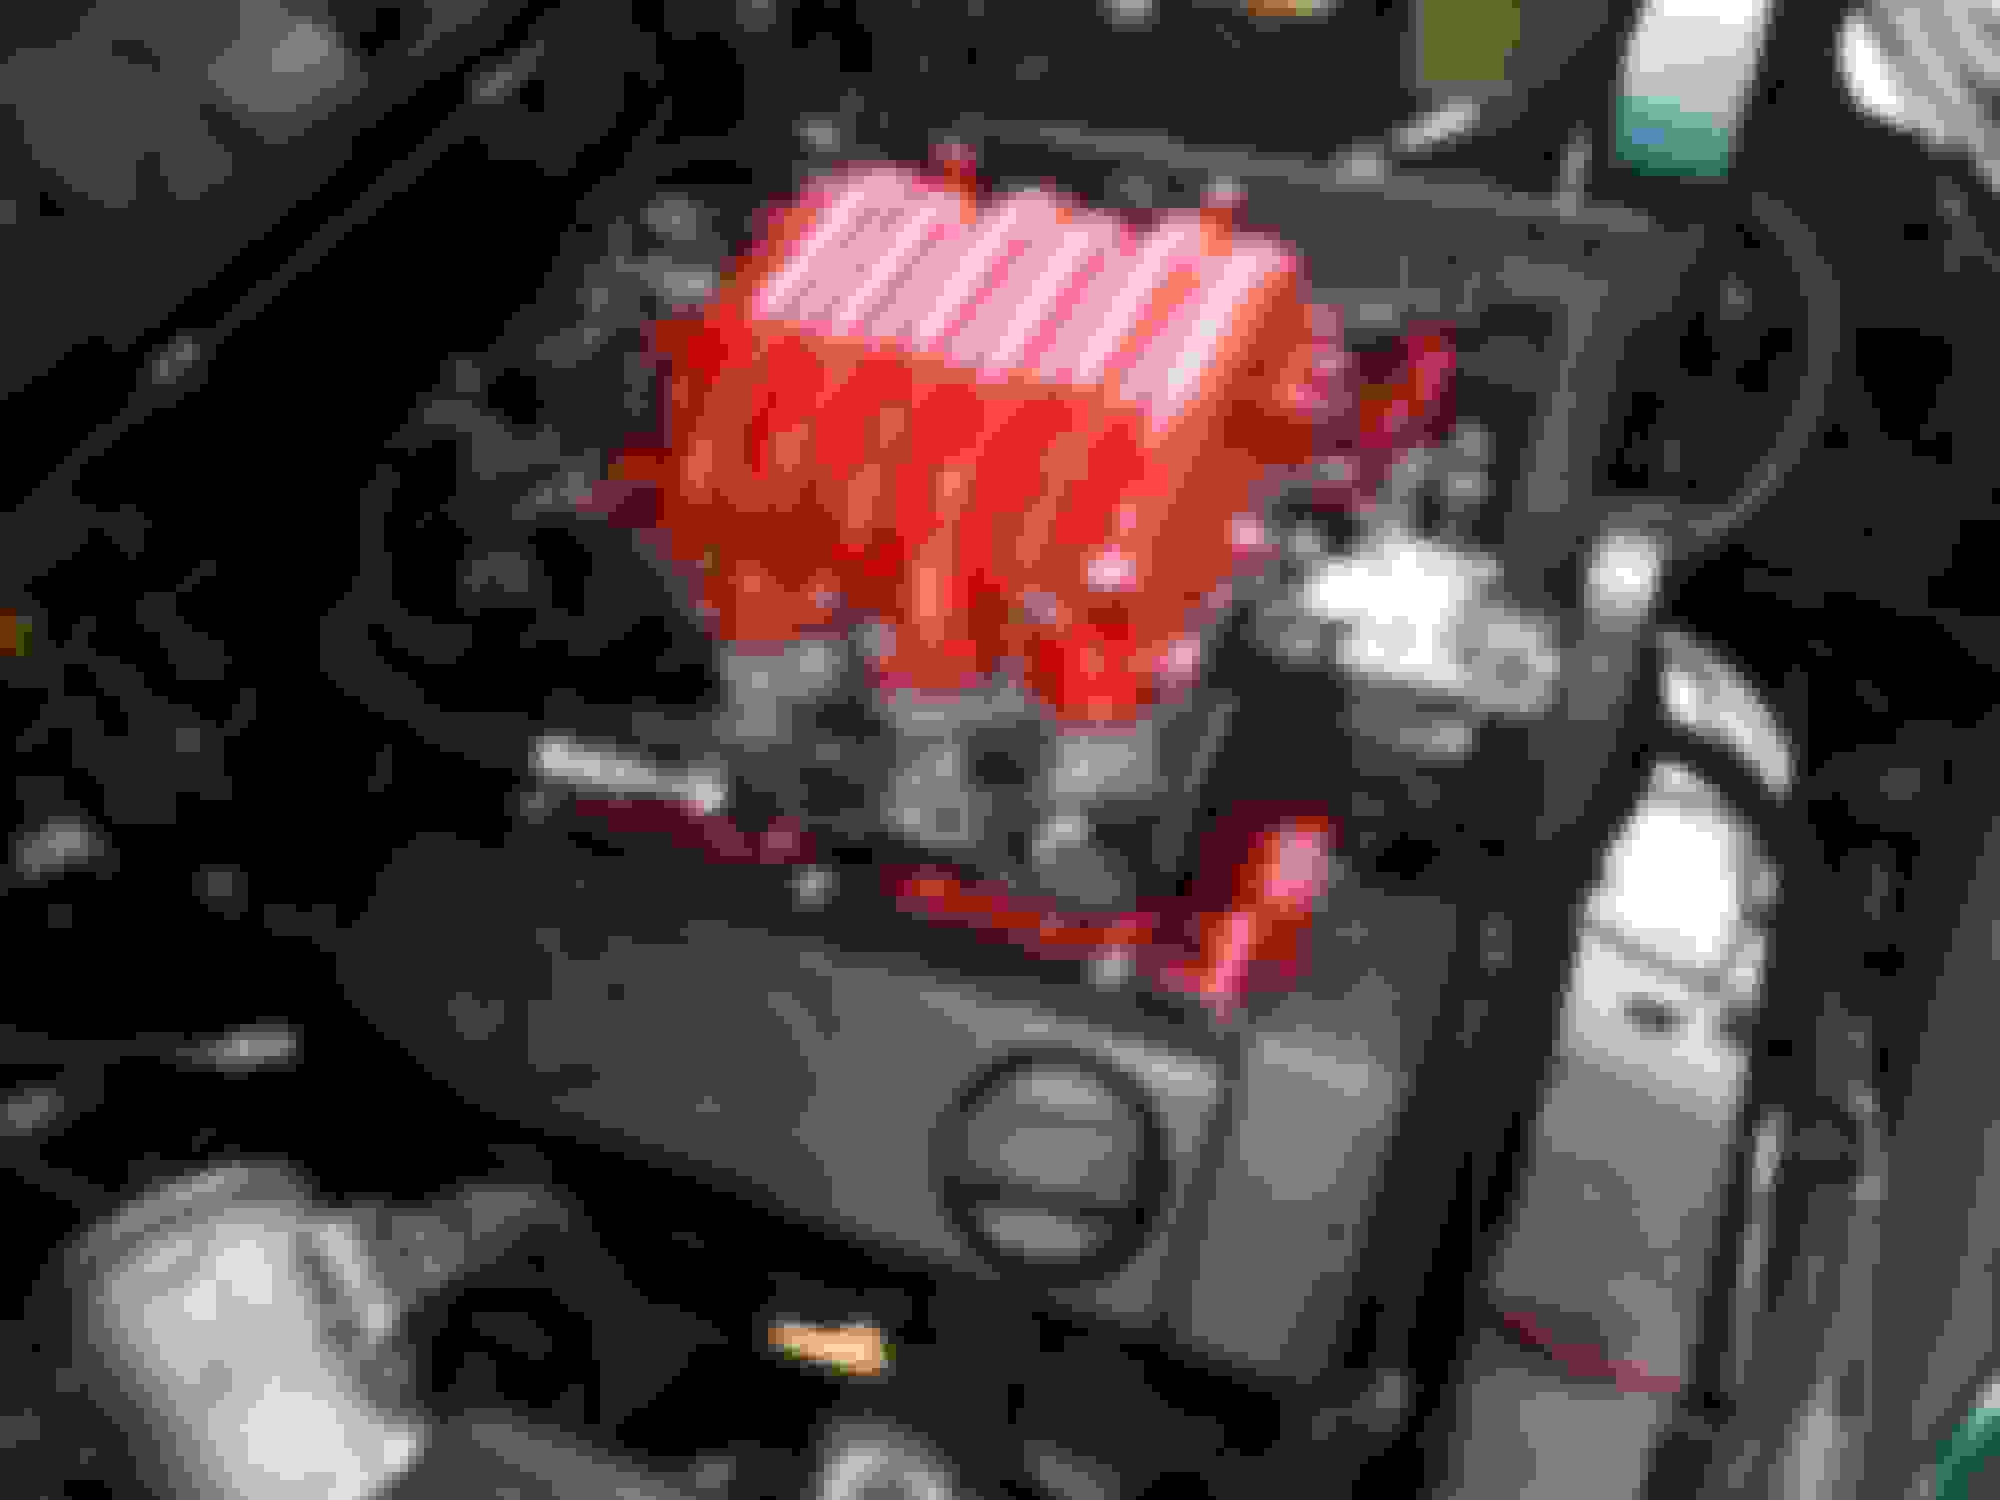
Test fitting the freshly painted valve covers. I went with a low gloss almost flat black to counter the shiny red hopefully it runs as good as it looks.
Freshly installed with some new stainless hardware. Didnt have time to do the other side. Will finish alot of it up this weekend. The cooling lines i went with a dark blue most of which wont even be seen when fully installed in the car but i think it turned out awesome.
Will have some more time this weekend to finish more of it up. Got my new alternator, O2 sensors, and oil filler cap. Will post more. Stay tuned.....
Thanks CR its high heat engine enamel by dupli color that's what I used to paint everything on the engine its good up 500 degrees F. Most auto parts places have it.
This is the color i used on the valve covers. Side note hows your engine going CR?
This weekend was extra long and that meant time to finish this thing. Just like CR mentioned I lubed all the hydraulic lifters and cams with Lucas assembly lube before install. So without further adew..
All timed and torqued. In my opinion the way they tell you to set the tension of the timing belt is assenine. You should only be able to twist the belt 90 deg. Between the water pump and pass side cam sprocket. Well that totally depends on the strength of ones hand does it not? So did the best i could and will be crossing my fingers for the rest.
Well i was able to extract the broken exhaust stud out the head, but couldnt for the life of me find an exact replacement locally so i got the highest strength grade M8 metric bolt that was longe enough measured it and cut the head off. Worked flawleslly until i installed the manifold and the one beneath it broke. Good thing i bought two of those bolts
Just a few more things and she'll be ready too drop in. I still need to get the hoist and install the torque converter, fix the other stud, install the manifold and heat sheild and oil dipstick. Getting close )
Hey guys I finally dropped it in this weekend and It went in real nice too. I put a new torque converter seal in and bolted up new engine mounts. Oh and before I pulled the engine I had a leaky power steering hose so I replaced it with a new one.
Just test fitting the intake before install.
Shes all bolted up to the trans. I decided to install the torque converter first then the engine then bolt them together through the starter hole this may or may not be a big mistake but ill let ya know either way.
Got alot done this weekend. I got the torque converter bolted up to the flywheel and It wasn't that bad. Installed the starter, alternator, and a/c compressor. Then installed the drive belt. waiting on some parts in order to finish this thing and fire it up. Stay tuned.
Im waiting on fuel injector o-rings, a vacuum check valve, and some vacuum line. Itll be ready to start in two weeks at most<br/>

 02-23-2015, 01:42 AM
 if I can keep busy on it without having to stop cause I don't have what I need then I should be ready for install next week.