When you click on links to various merchants on this site and make a purchase, this can result in this site earning a commission. Affiliate programs and affiliations include, but are not limited to, the eBay Partner Network.
First I'll start with a little background before I dive into the nitty gritty. A few years ago I purchased a 1997 Audi A8 it was the 3.7 liter front wheel drive version and it did not take long for me to discover my overwhelming love for the Audi it was smooth, sexy, and at 17 years old it still had a stunning style to it. It also didn't take me long to grow my hate relationship with it. The good news is I'm an aircraft mechanic and when I'm not wrenching on Boeing 737's I'm at home wrenching on some project in my garage.
Sadly my first Audi love the A8 wasn't meeting my needs in that I wanted so badly to have a quattro. So I said my good buys and sold her to someone who fell just as hard as I did, and the search began for the next Audi.
My wife and two boys were down to the rock solid 97 Toyota 4Runner with over 250,000 miles on the clock and I was looking for the right commuter for me just back and forth to work is all I wanted but I wanted an Audi quattro, an older, and there hard to come by these days, but I finally found it.
She had been traded in at a corner lot dealership for something much newer and more fancy. At first they wanted 2000 dollars so I kept an eye on it and as the weeks went by the price kept dropping until it got to 500 so I called the guy. Said it ran great, and was in great shape, the power steering pump was shot so everybody that took it for a spin never bought it because Audi parts, labor, and labor, and did I mention labor are notoriously expensive to fix.
Needless to say I bought it, before though I asked the dealer why stop at 500 dollars and he said "cause that's what the junkyard will give me for it".
Its a 1994 100CS QUATTRO AVANT and under the hood rests the very loved 2.8 V6 12v. I fired it up drove home about an hour and a half without a glitch. And got to work!
I gave it a full tune up, plugs, wires, timing belt, water pump( found out the timing was off about 3 to 5 degrees from a previous T belt job) so I fixed all that and more, front lower suspension arms, what a #%$& those were. Got her registered and started commuting to work with it. It ran great above about 1000 Rpm but under that it had somewhat of a rough idle so checked a few things out, cleaned out my egr system, but to no avail. Then a compression check. I had low compression in 3 and 6. So In preparation of pulling the heads to get machined I drained the oil and found the really bad news. My oil looked great if it was a highly dense metallic brown paint. It had the most discouraging metallic shimmer to it, there was no doubt the ole 12 v was making metal and had to come out. That's the story next I will post pics of the progress from start to almost finished I will try to answer any questions the best I know how. I am by no means an expert and this is the first engine I have done a complete teardown and rebuild on. With that said, let the cuss words begin and the wrenches fly.
I regret not taking any pics of the T belt job I did, but I will take pics when I do it again the second time on the rebuilt 12v. I do have a lot of pics from when I pulled it and teardown and will post them. It seems most people want more pics than anything so that's what your gonna get. If any of you are wondering what your getting yourself into with a 12v overhaul here ya go.
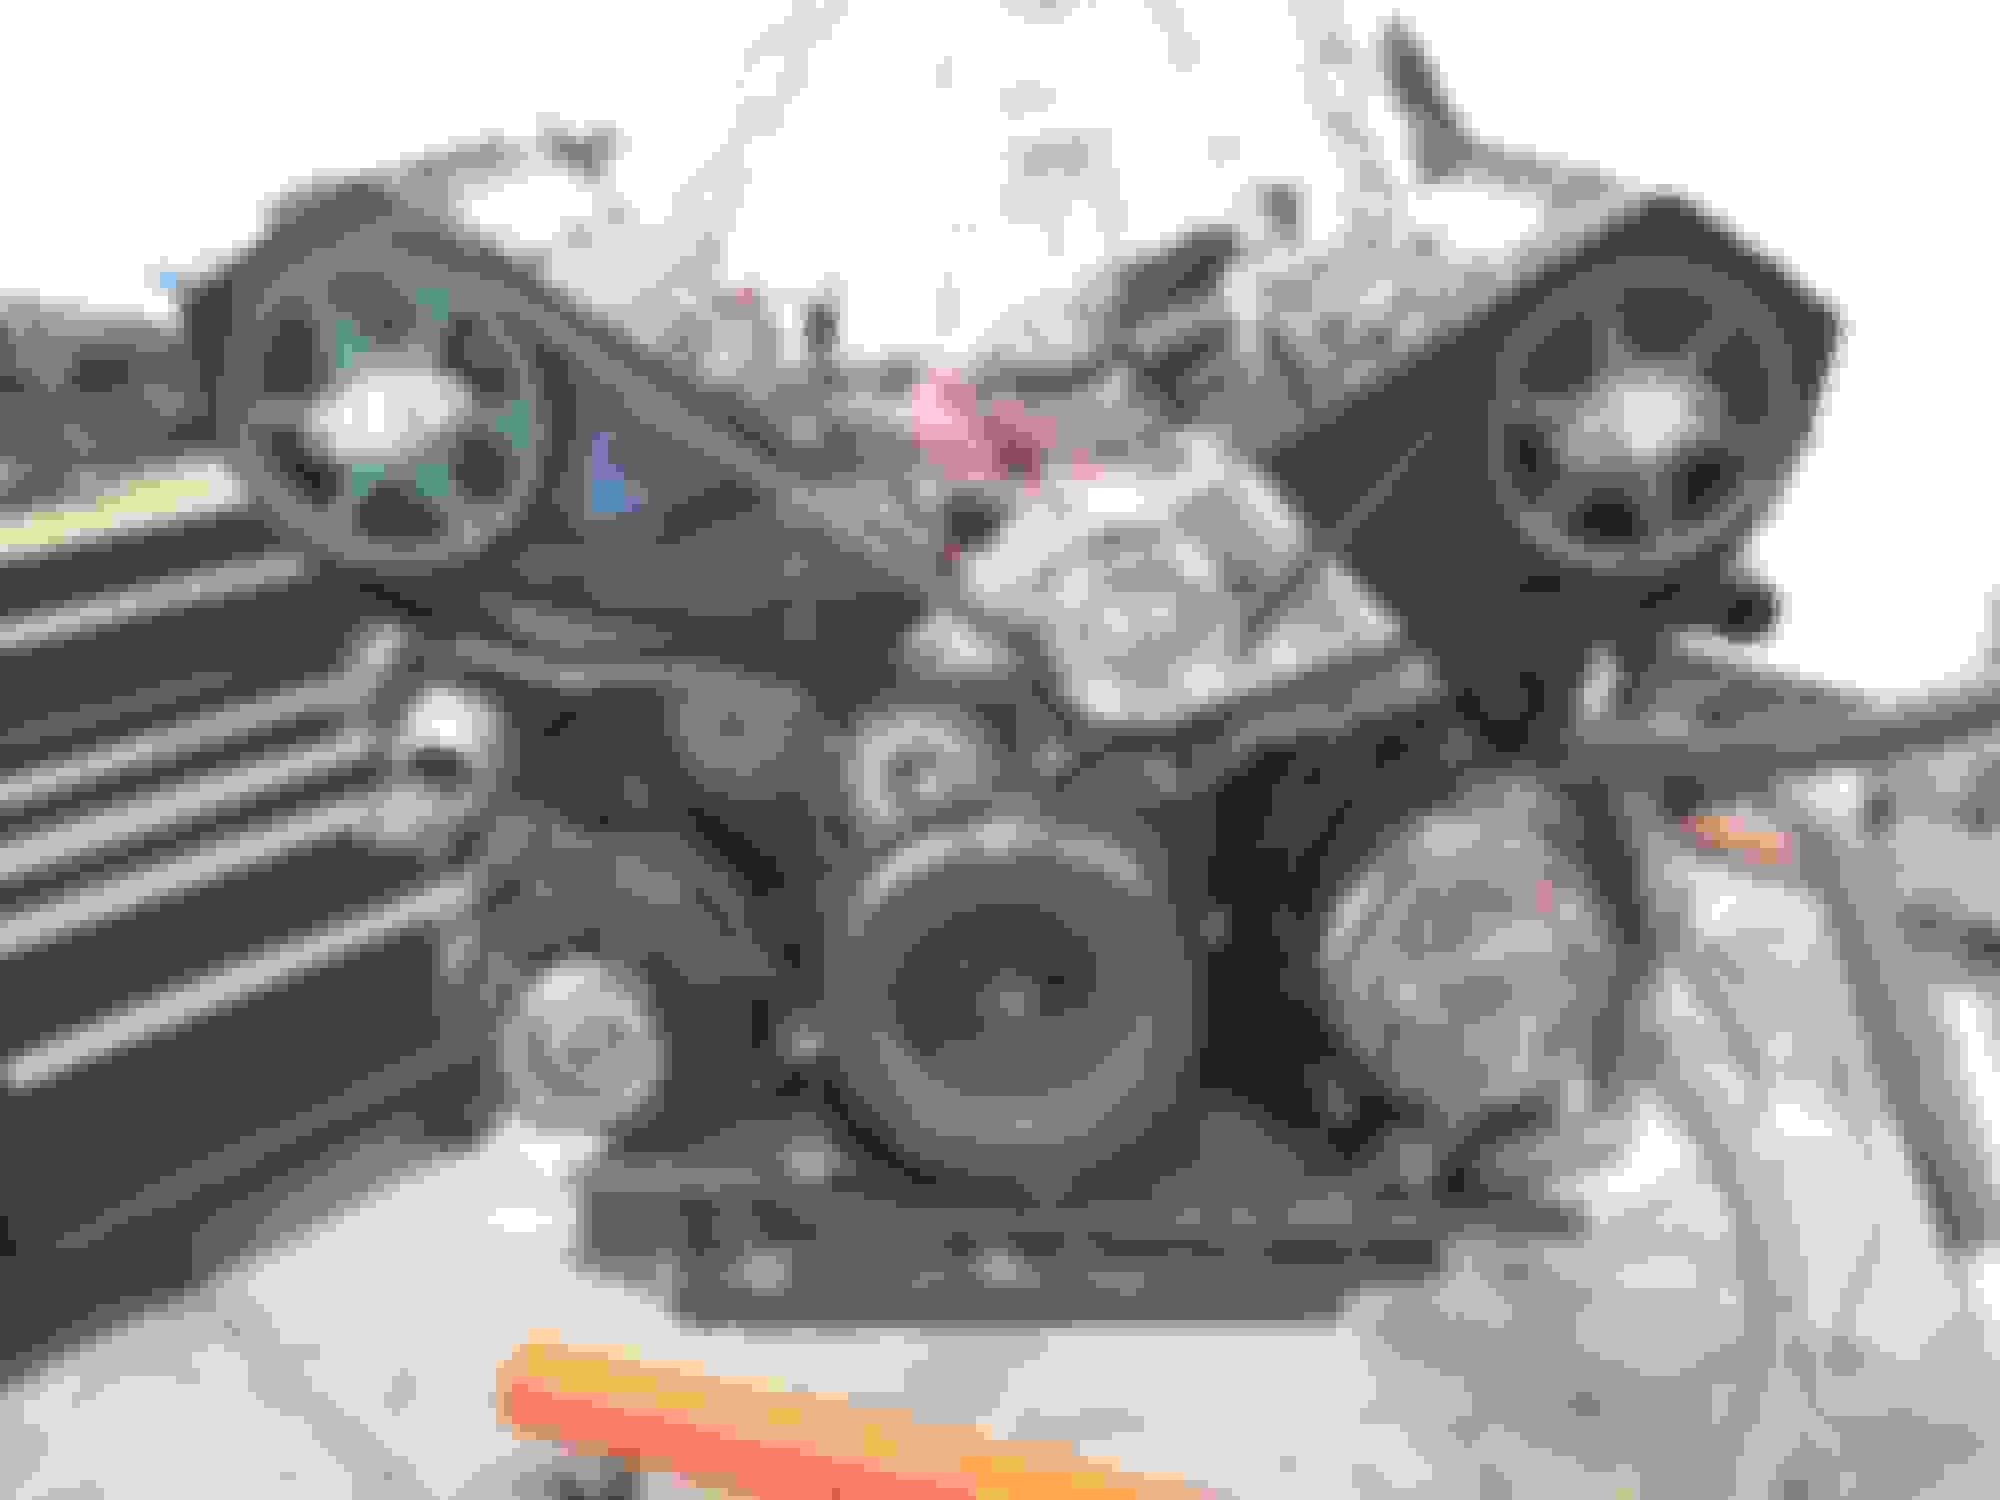
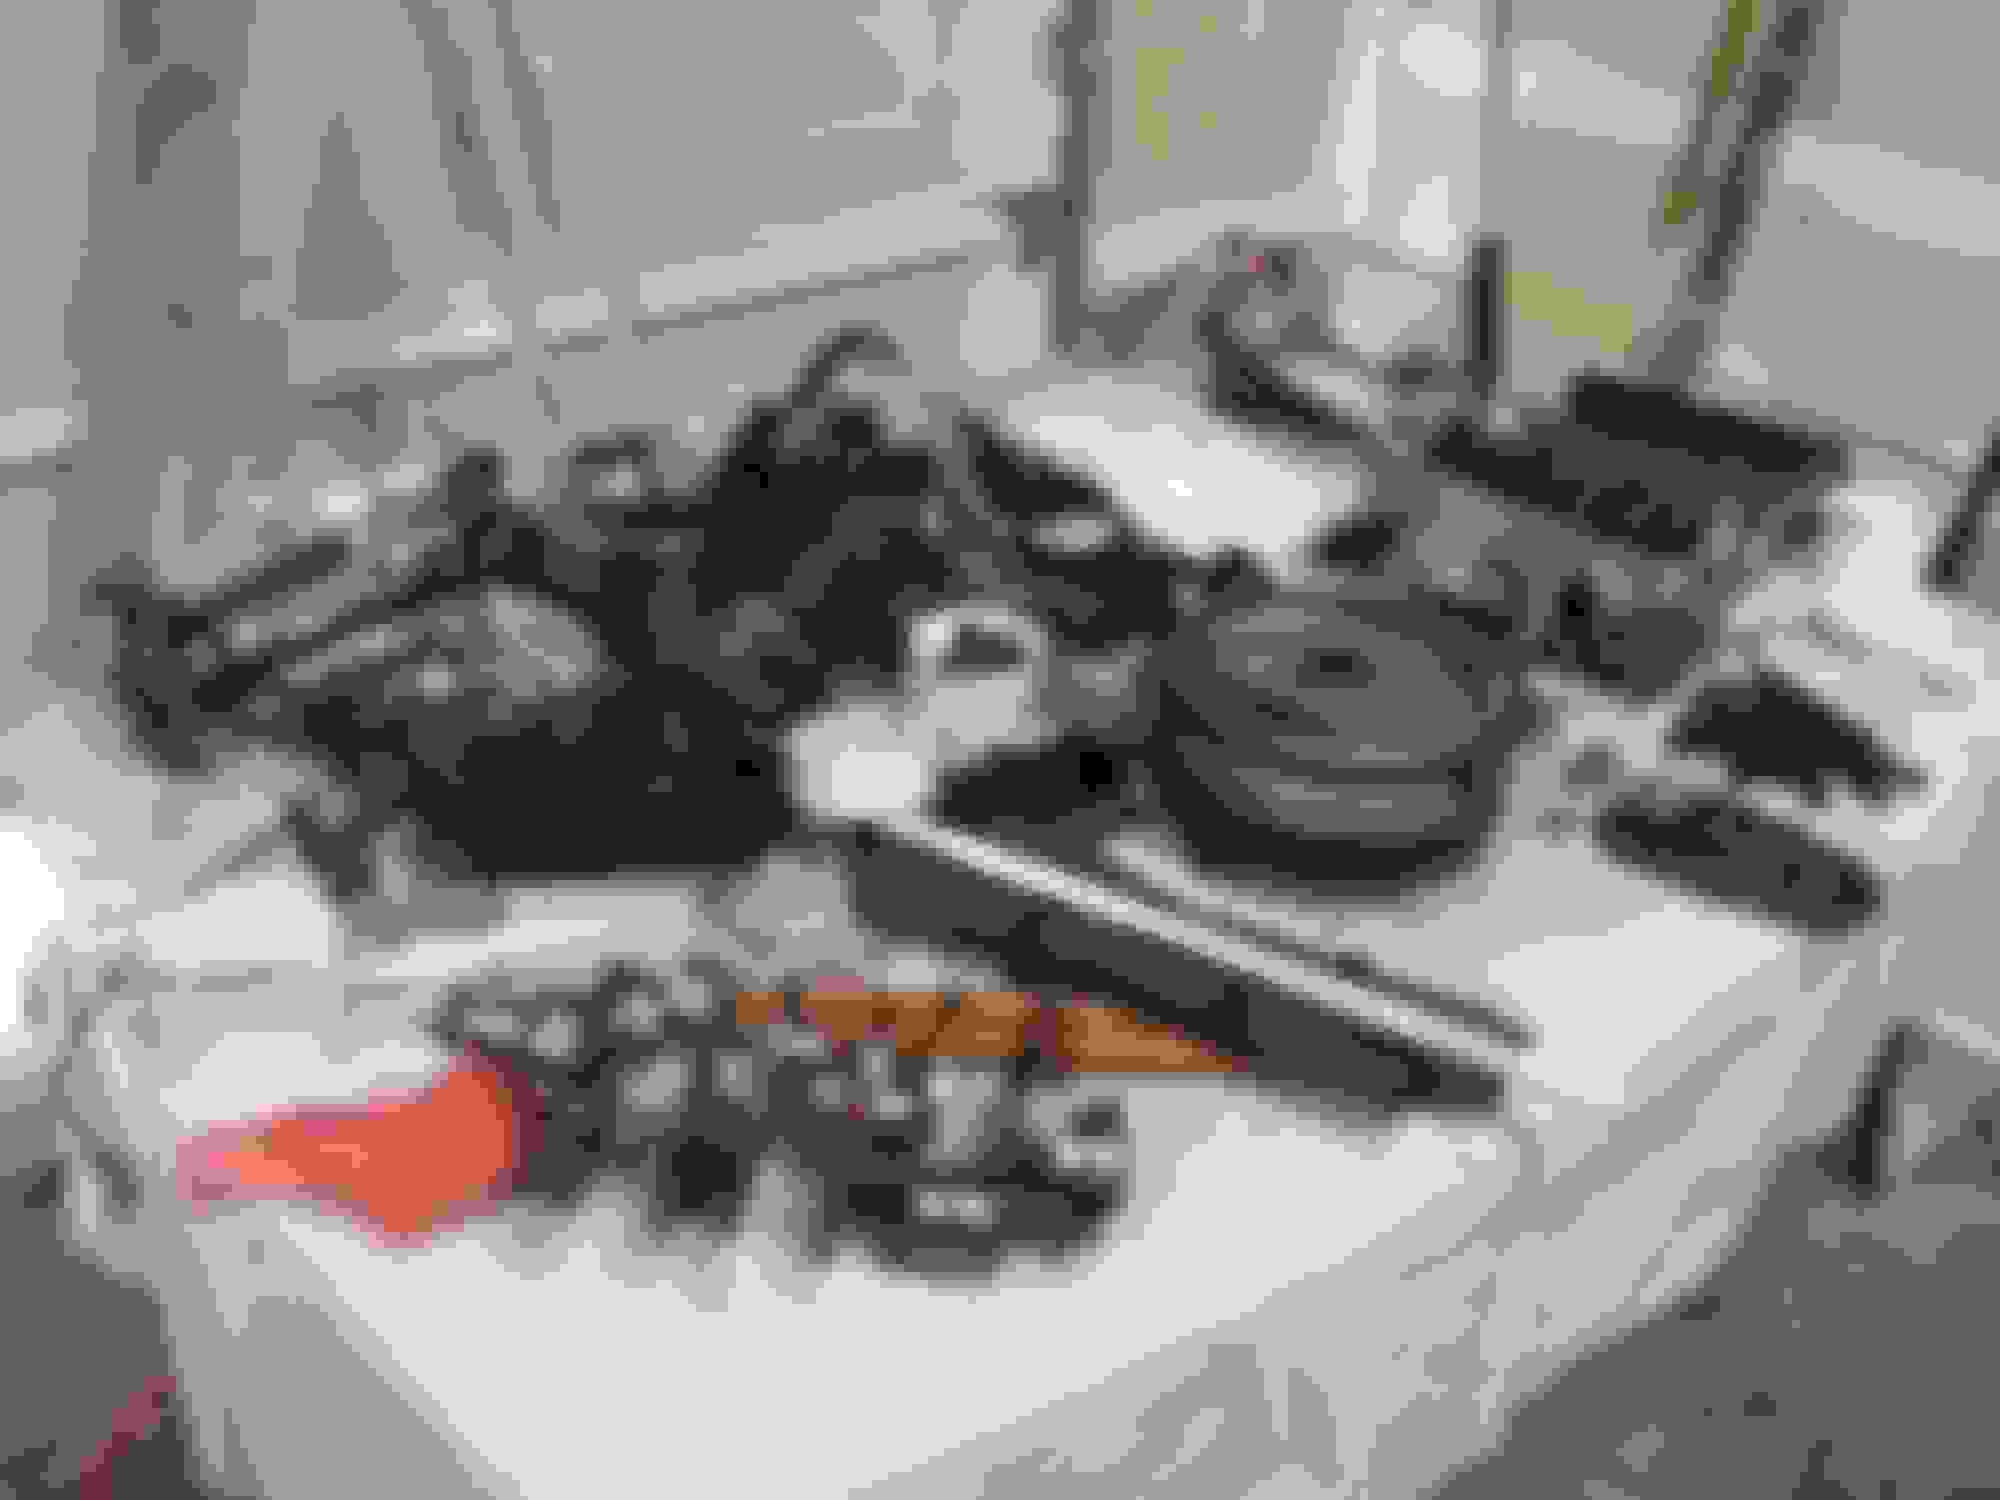
Obviously the intake has come offcompletely and power steering pump. The only thing i strongly recommend is when you take the engine to trans bolts out you make, draw, etch a sketch, whatever a diagram of which bolt goes where. I think they had my wife design this portion cause some are short some are long some are big and some small some go in front to back and some back to front. No rym or reason here just straight up chaos.
My partner in crime lil brother. Freshly pulled out of the engine bay complete with all accessories. A/C compressor, alternator, the starter is there but hanging. The starter is held in place by two bolts which also connect the engine to the trans. But for some reason i couldnt get the starter out given my access so i pulled the engine with it hanging on by its stubbornness.
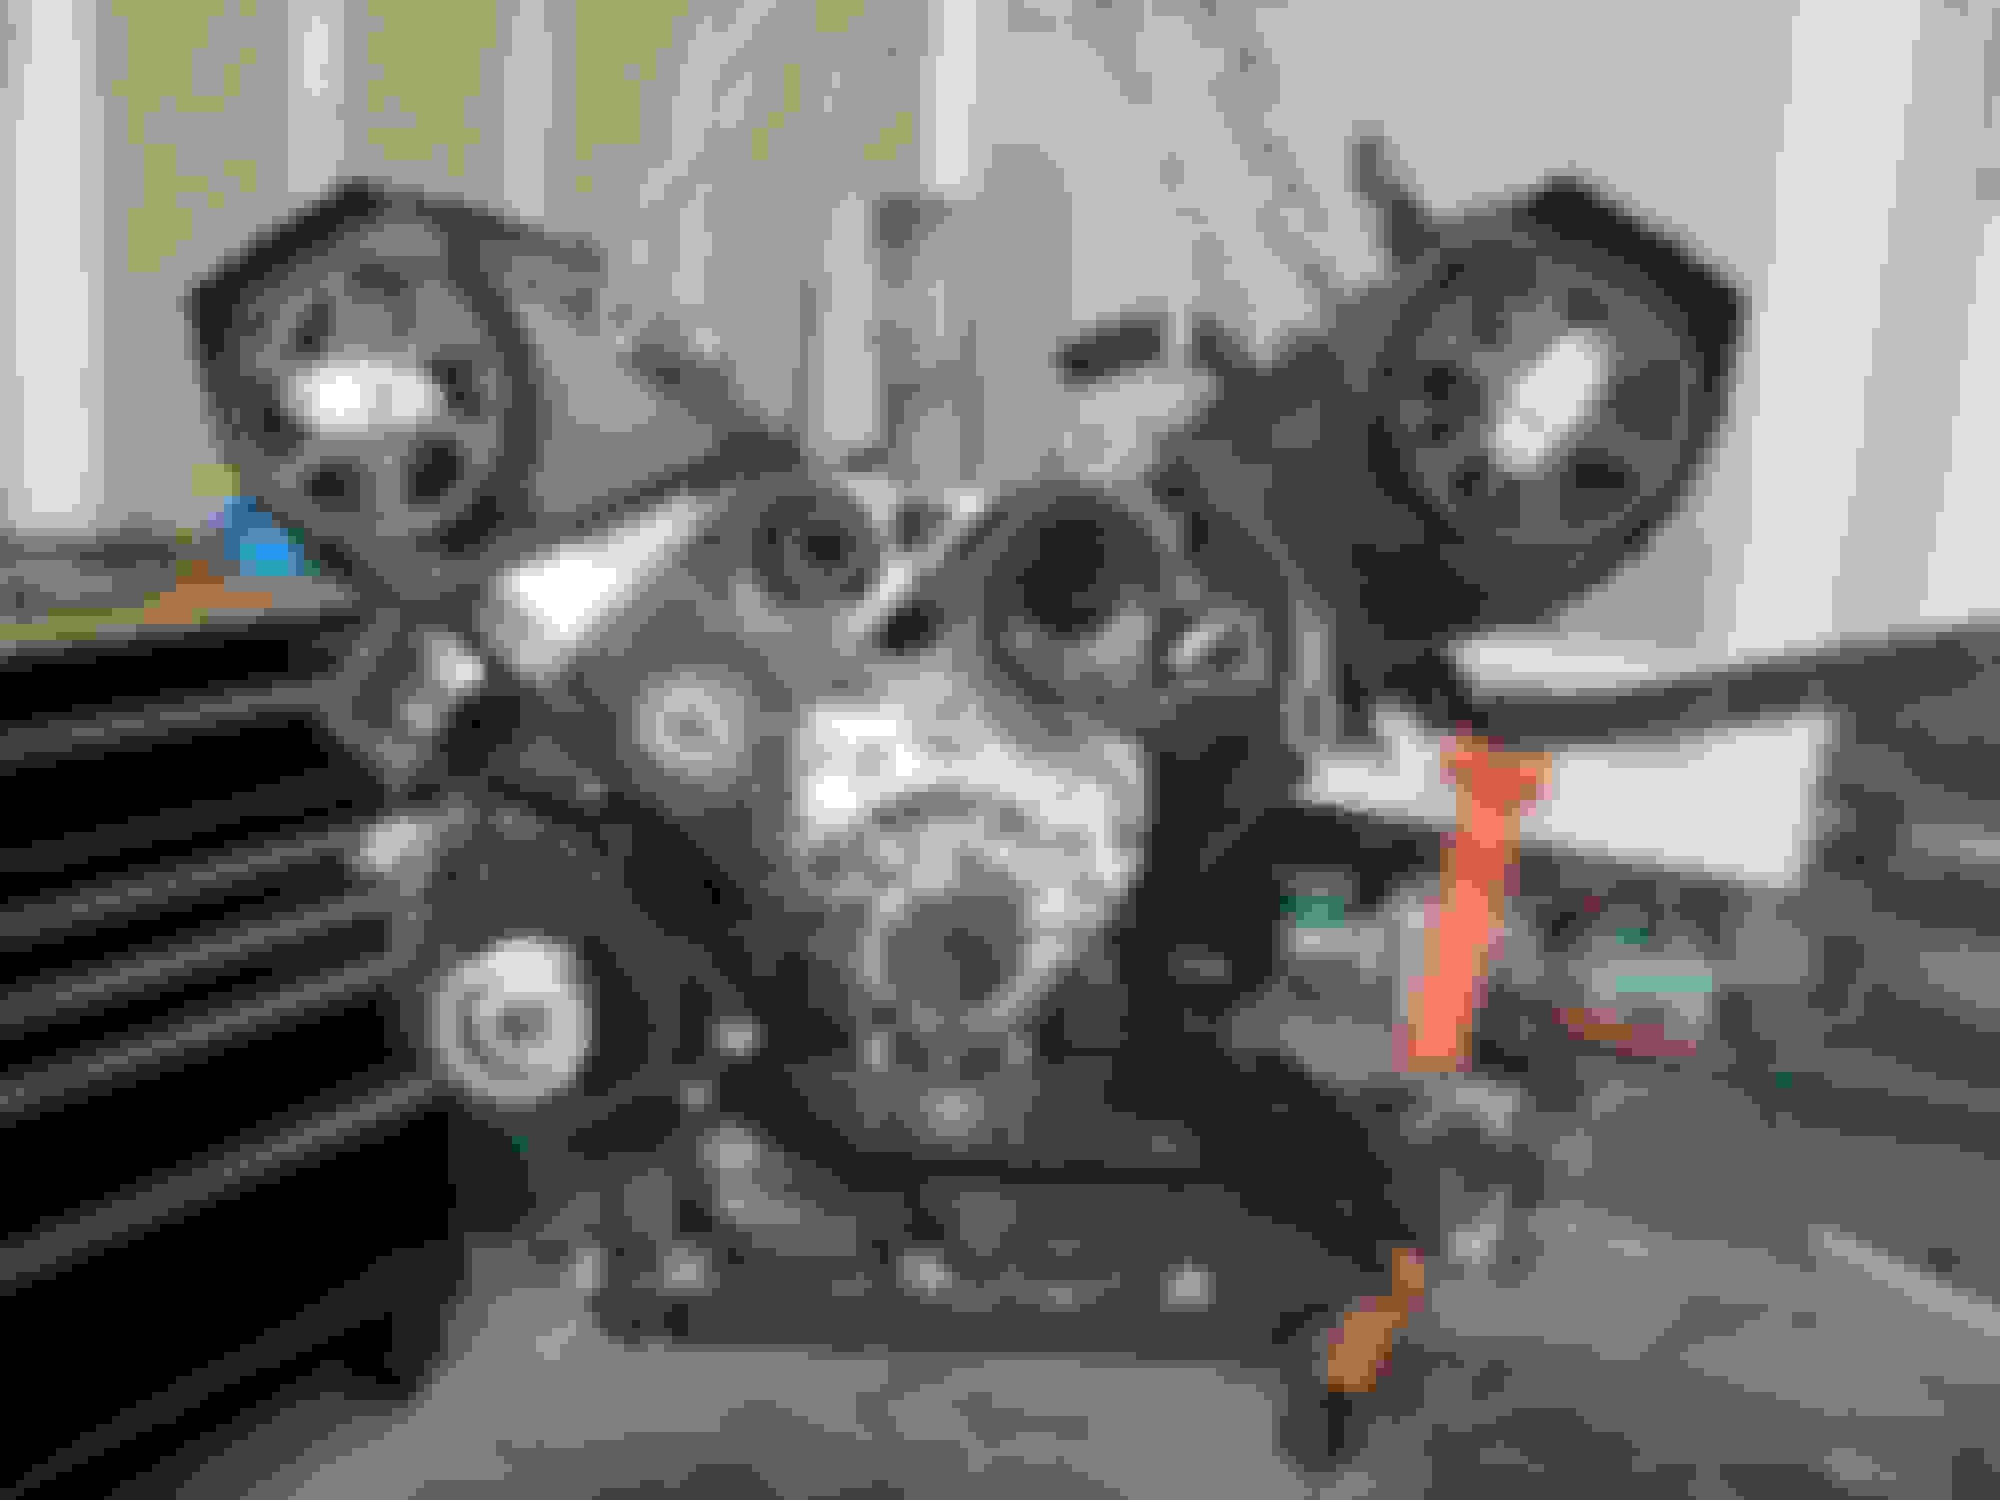
Let the tear down begin! Note the A/ C compressor is still attached and becasue of that i couldnt have access to the engine mount nut, so i instead unbolted the mount from the frame of the car and pulled it that way. Well it was shot so i got new ones anyways but going back in i will probably leave the compressor off till i get the engine mounts all snugged to the engine then the compressor will go on.
These last pics are right after i took it out. I think its important to know what can stay and what has to go for it to come out.
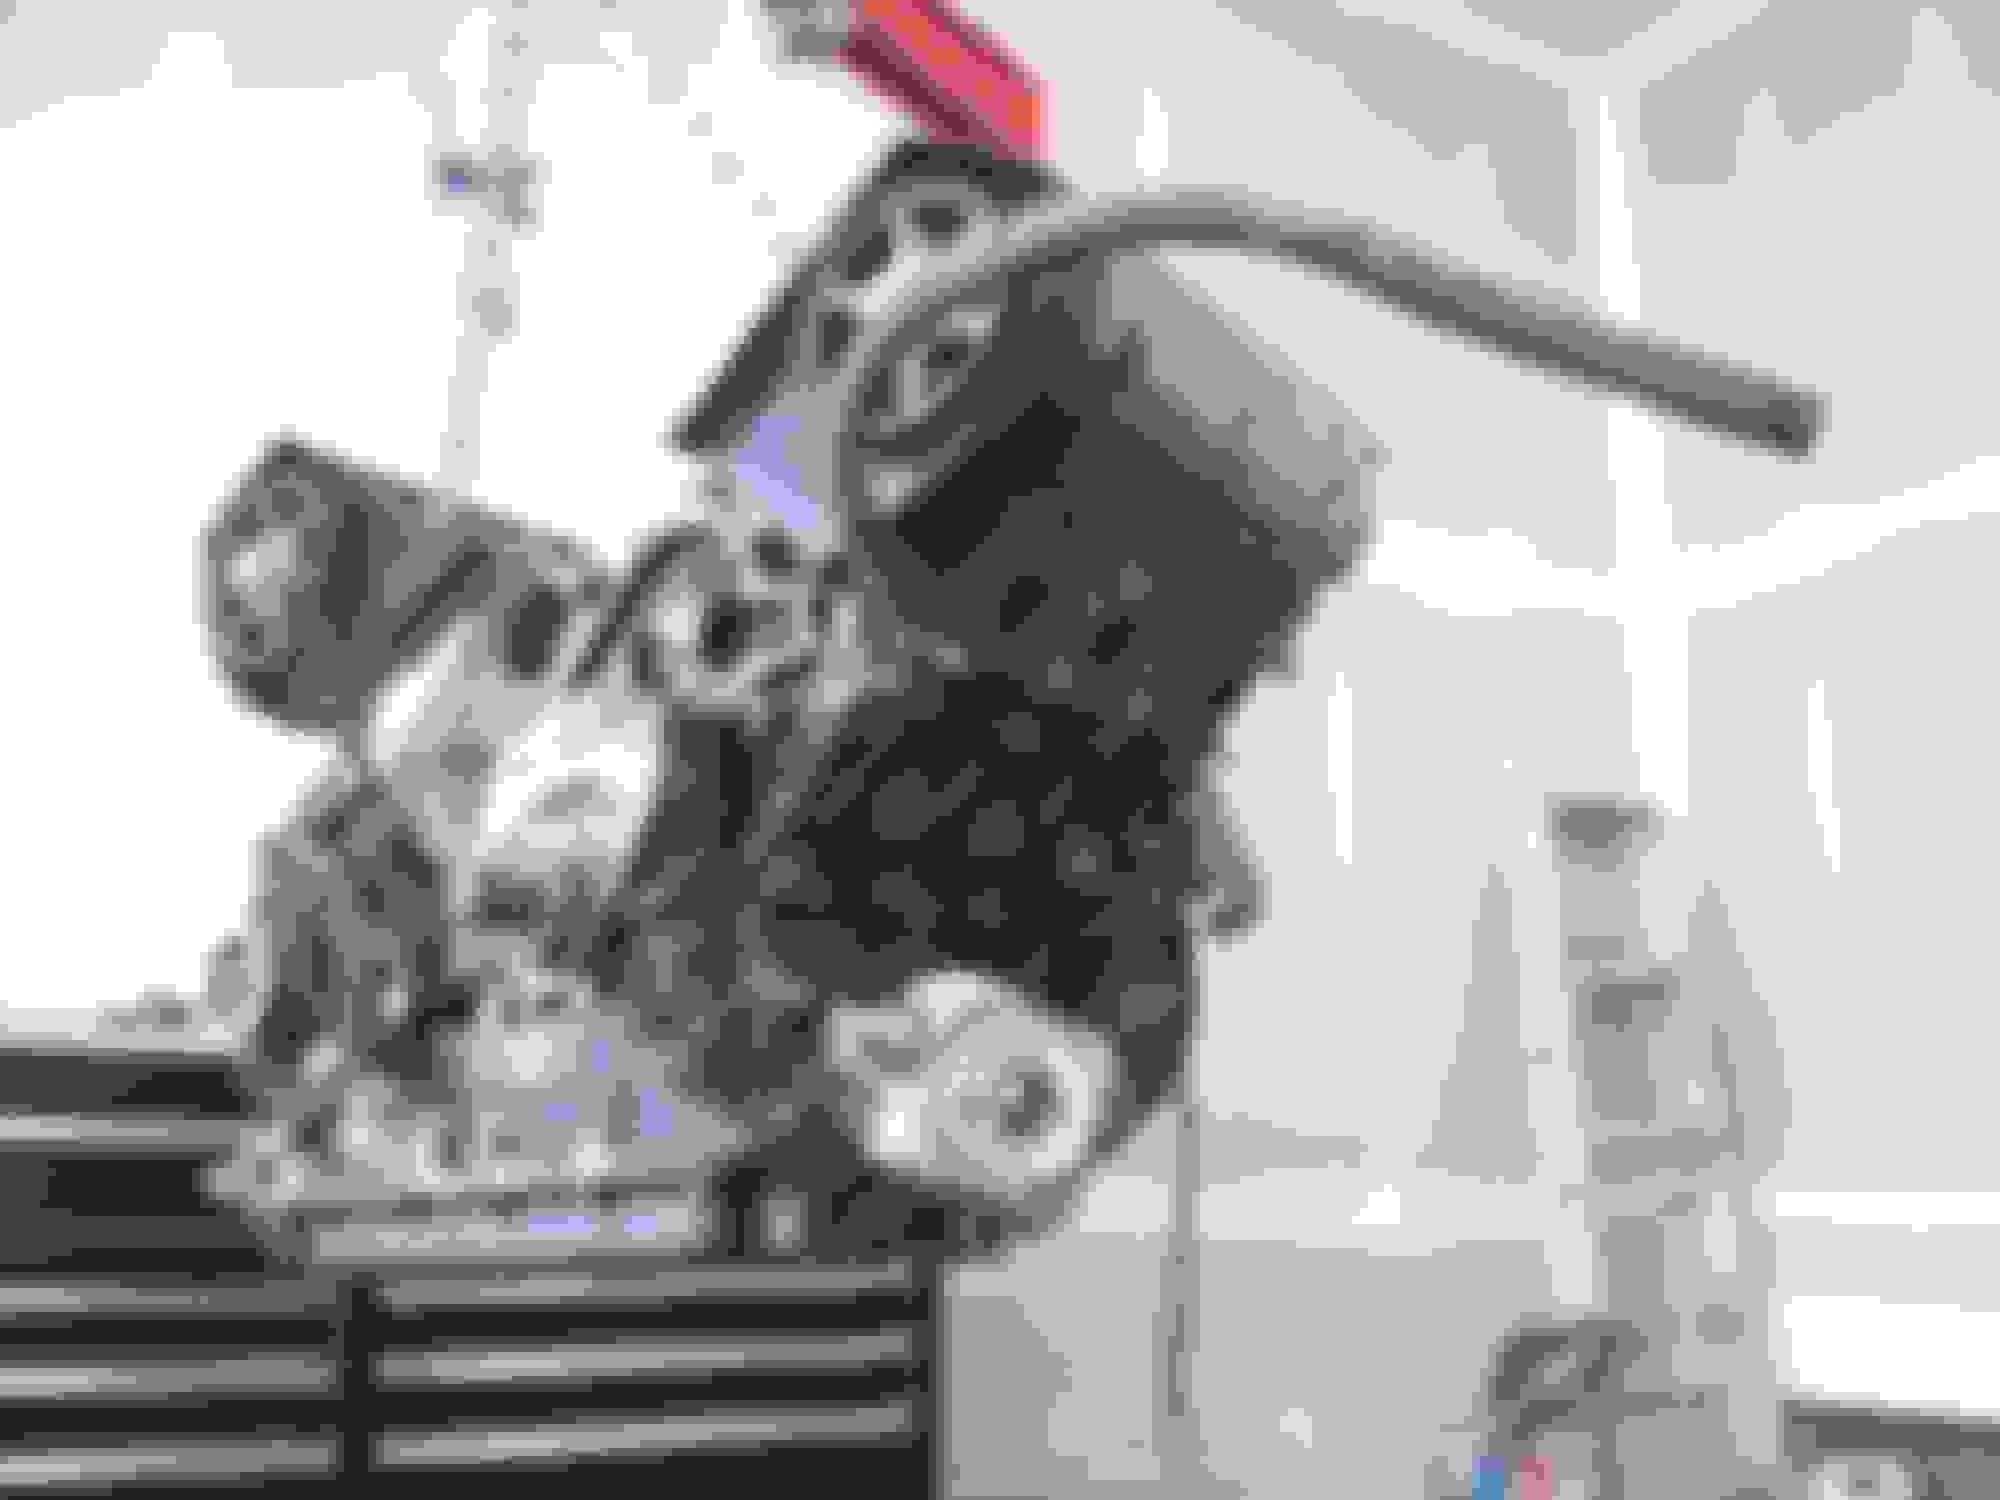
Day 1 tear down all parts were placed on a table with all asociated hardware in a bag ziptied to the part.
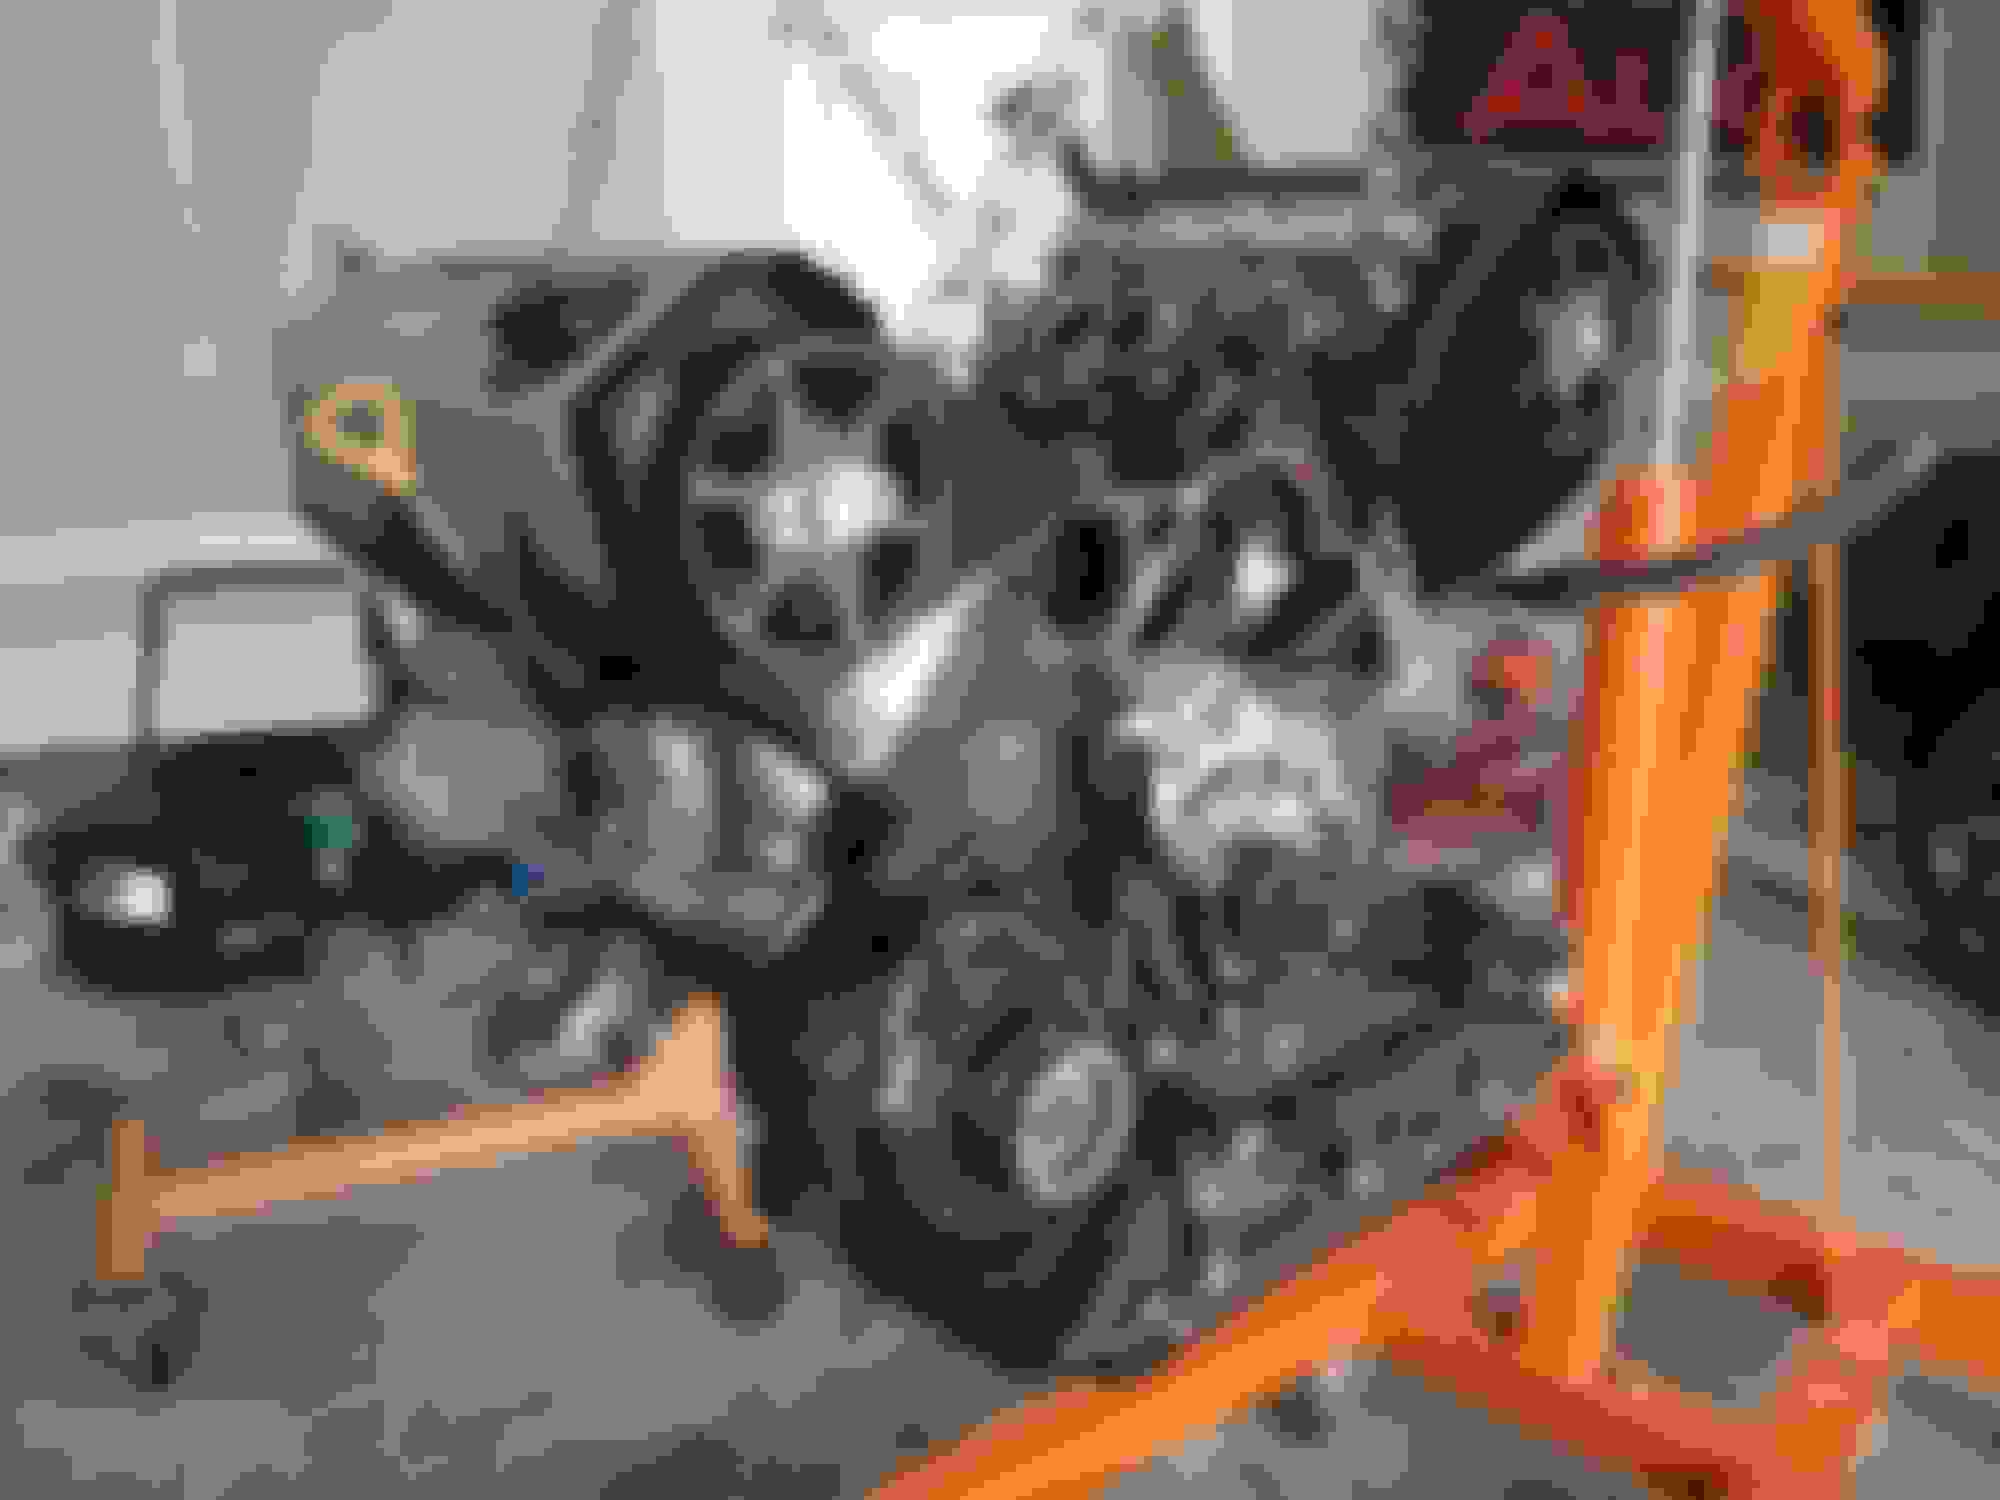
End of day 1. What came off. A/C compressor, and compressor to block bracket, exhaust heat sheil and manifold, engine mount bracket, T belt, water pump, and thermo housing,and pipe, and engine cooling pipes.
Ok second day teardown went pretty well it looks like alot but its really not. The alternator, cam sprockets and covers came off along with the valve covers and lower oil pan. Like almost every project ive worked on the dissasembly is always the quickest process. Its the reassembly that'll get ya. Take caution as to where everything goes and the hardware for it.
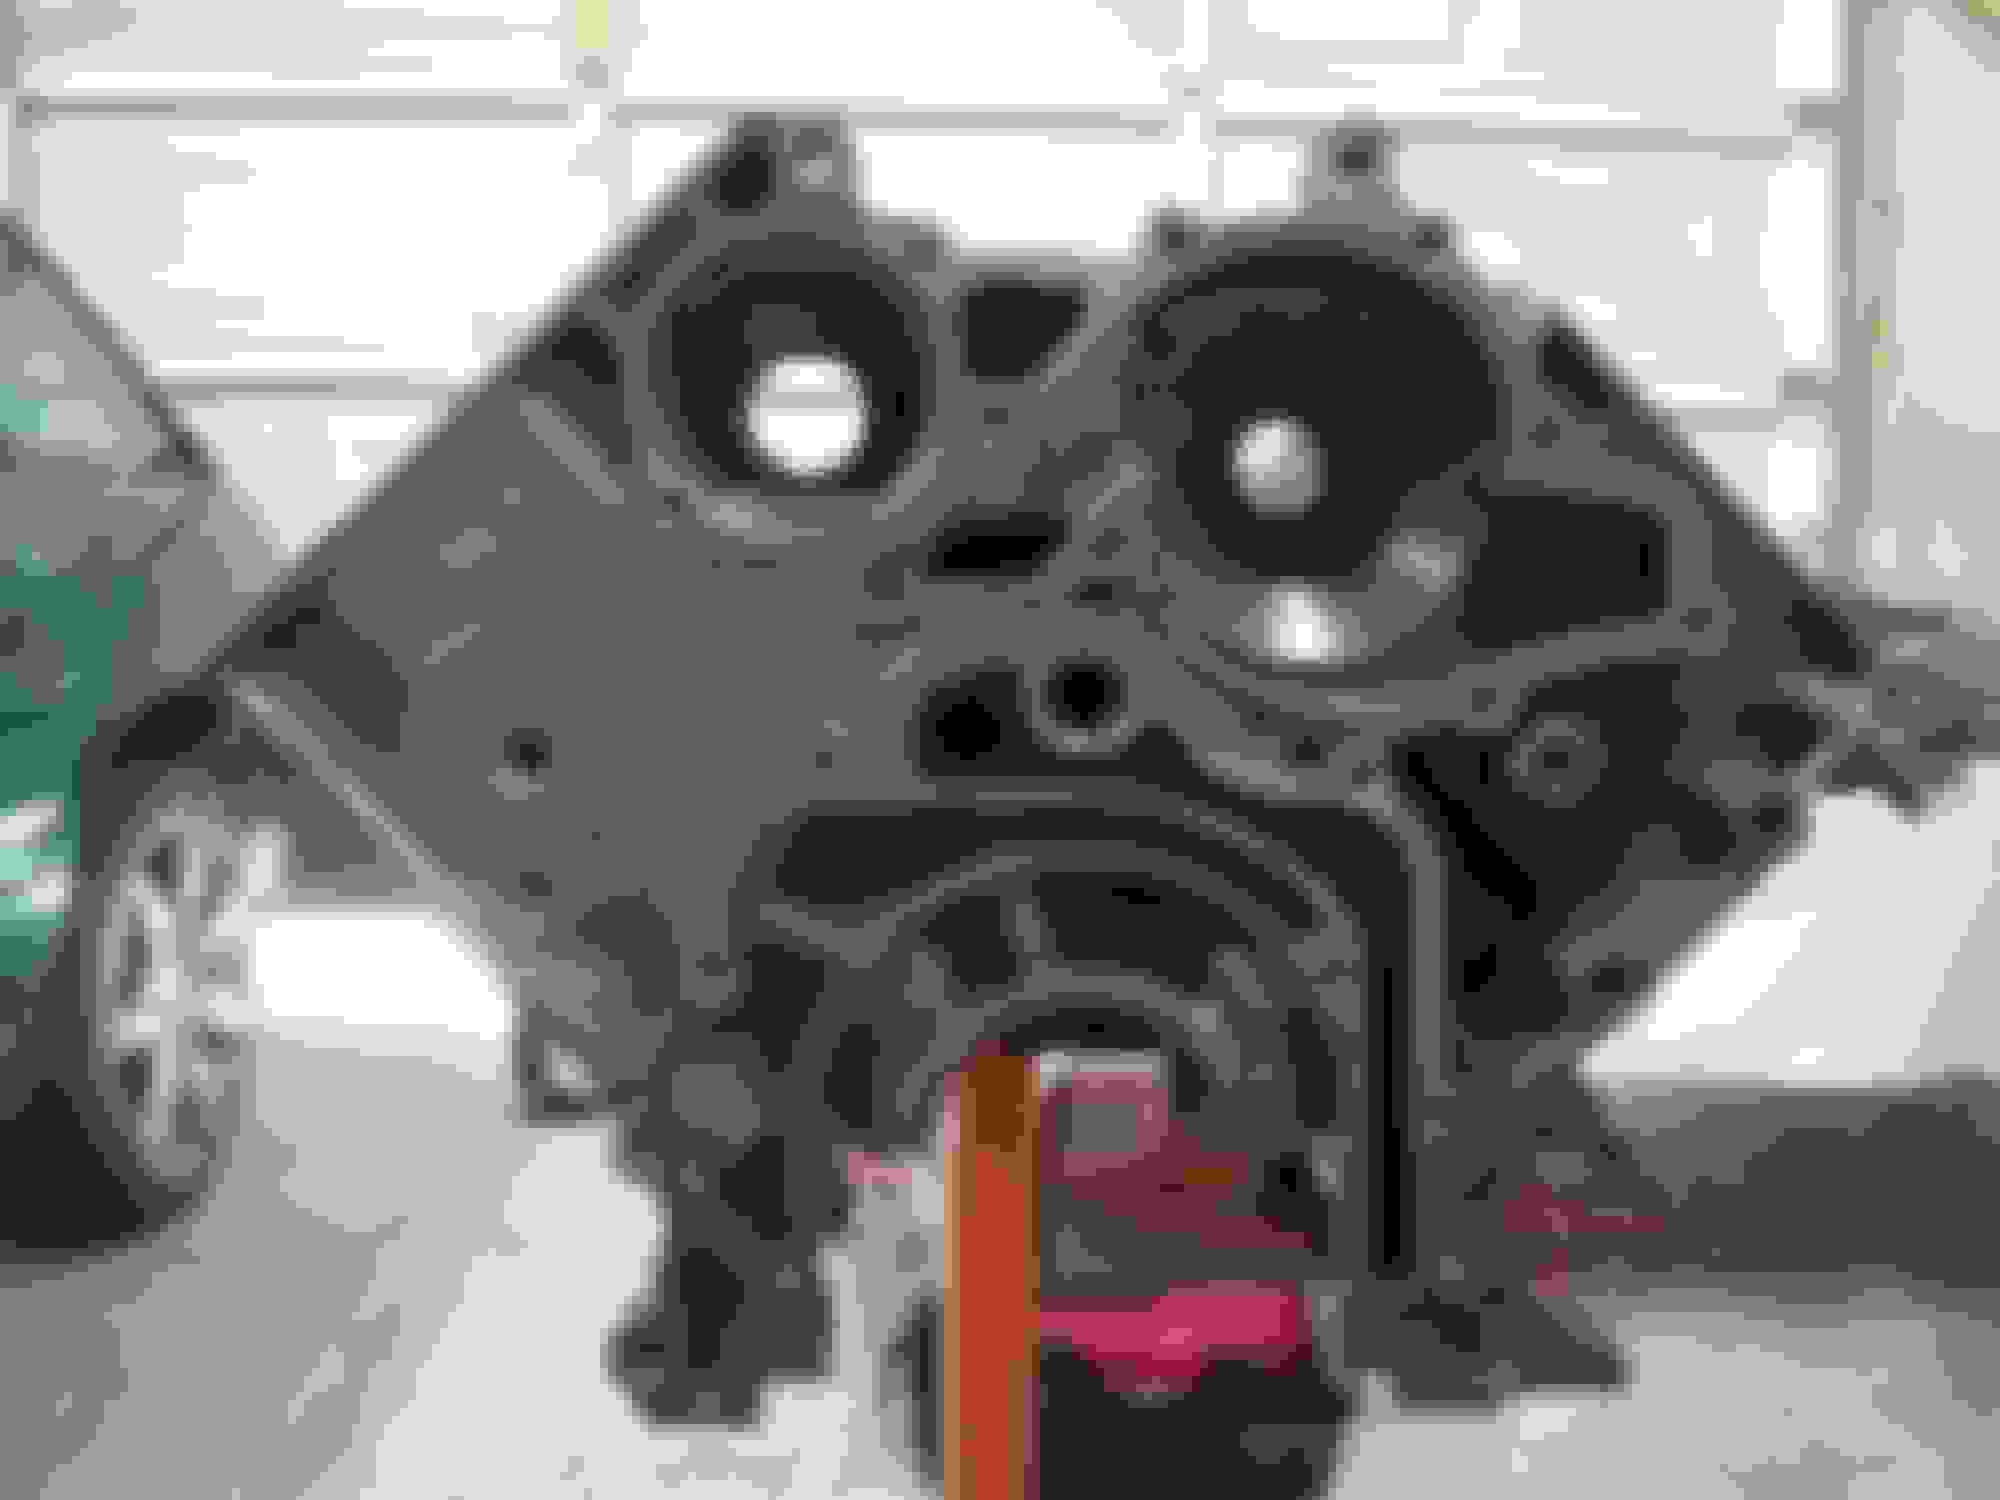
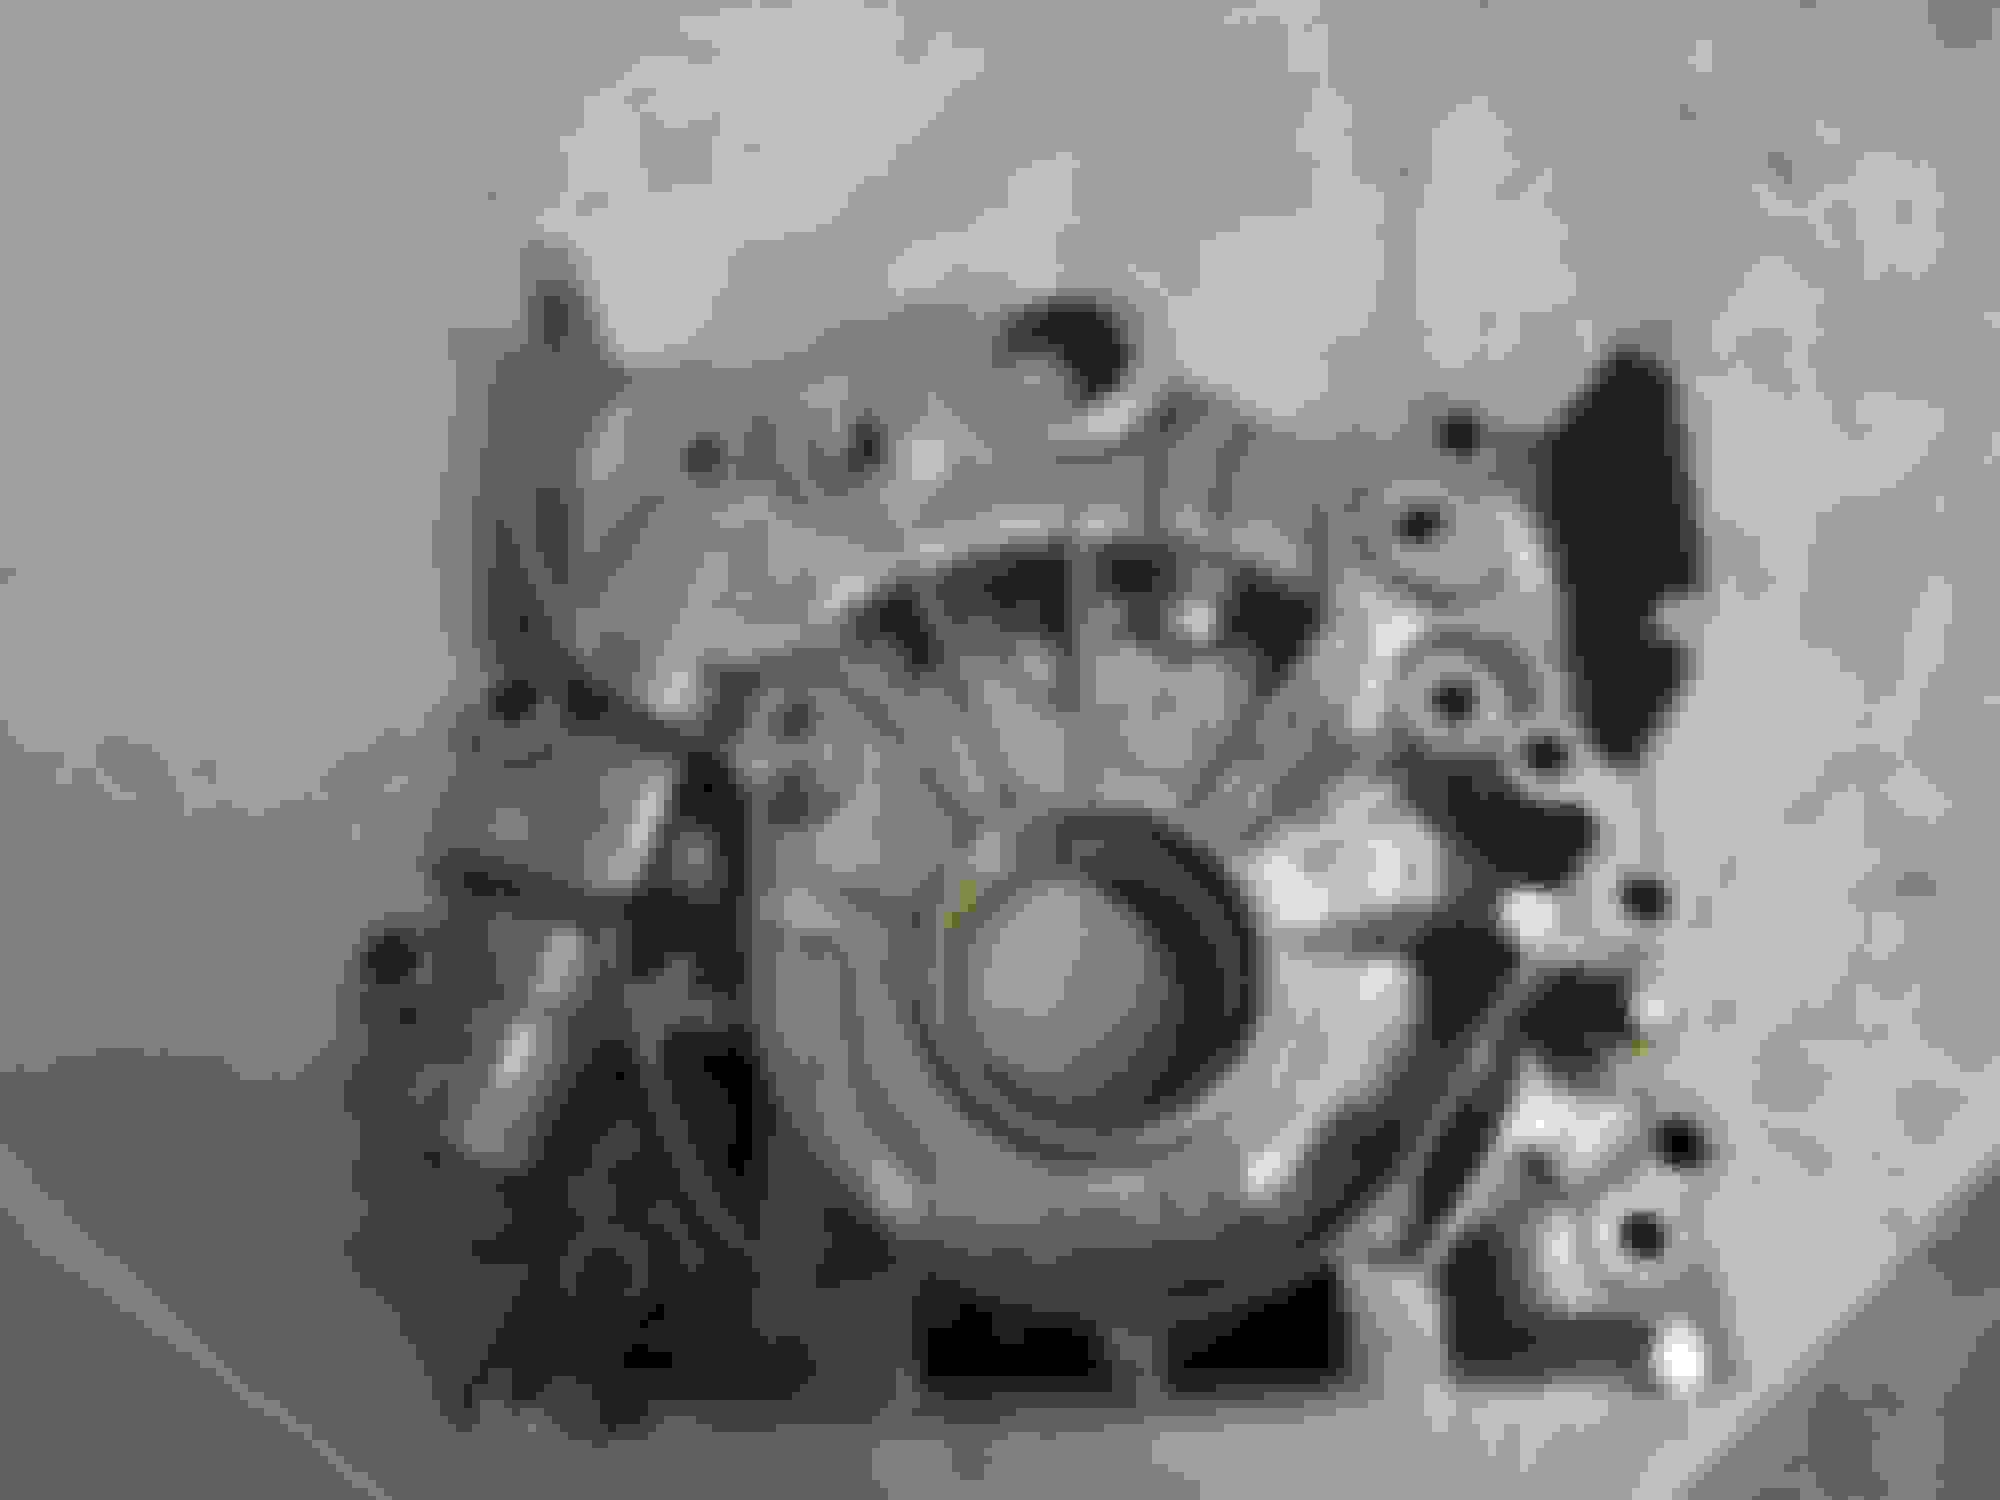
End of day 3 we are left with the short block with the rotating assembly still inside. Before i transfered the engine from the hoist to the stand i removed the torque converter and the rear main seal carrier. Pay close attention when removing the torque converter as there are two metal shims that need to go back on in the same order they came off. I have a good friend who is going to do the machine work for me on the heads.
Just for info though I got quotes for the machine work on the heads anywhere from 280 for both up to 1000 for both its all about the quality of machine shops. Use your best judgment on that one
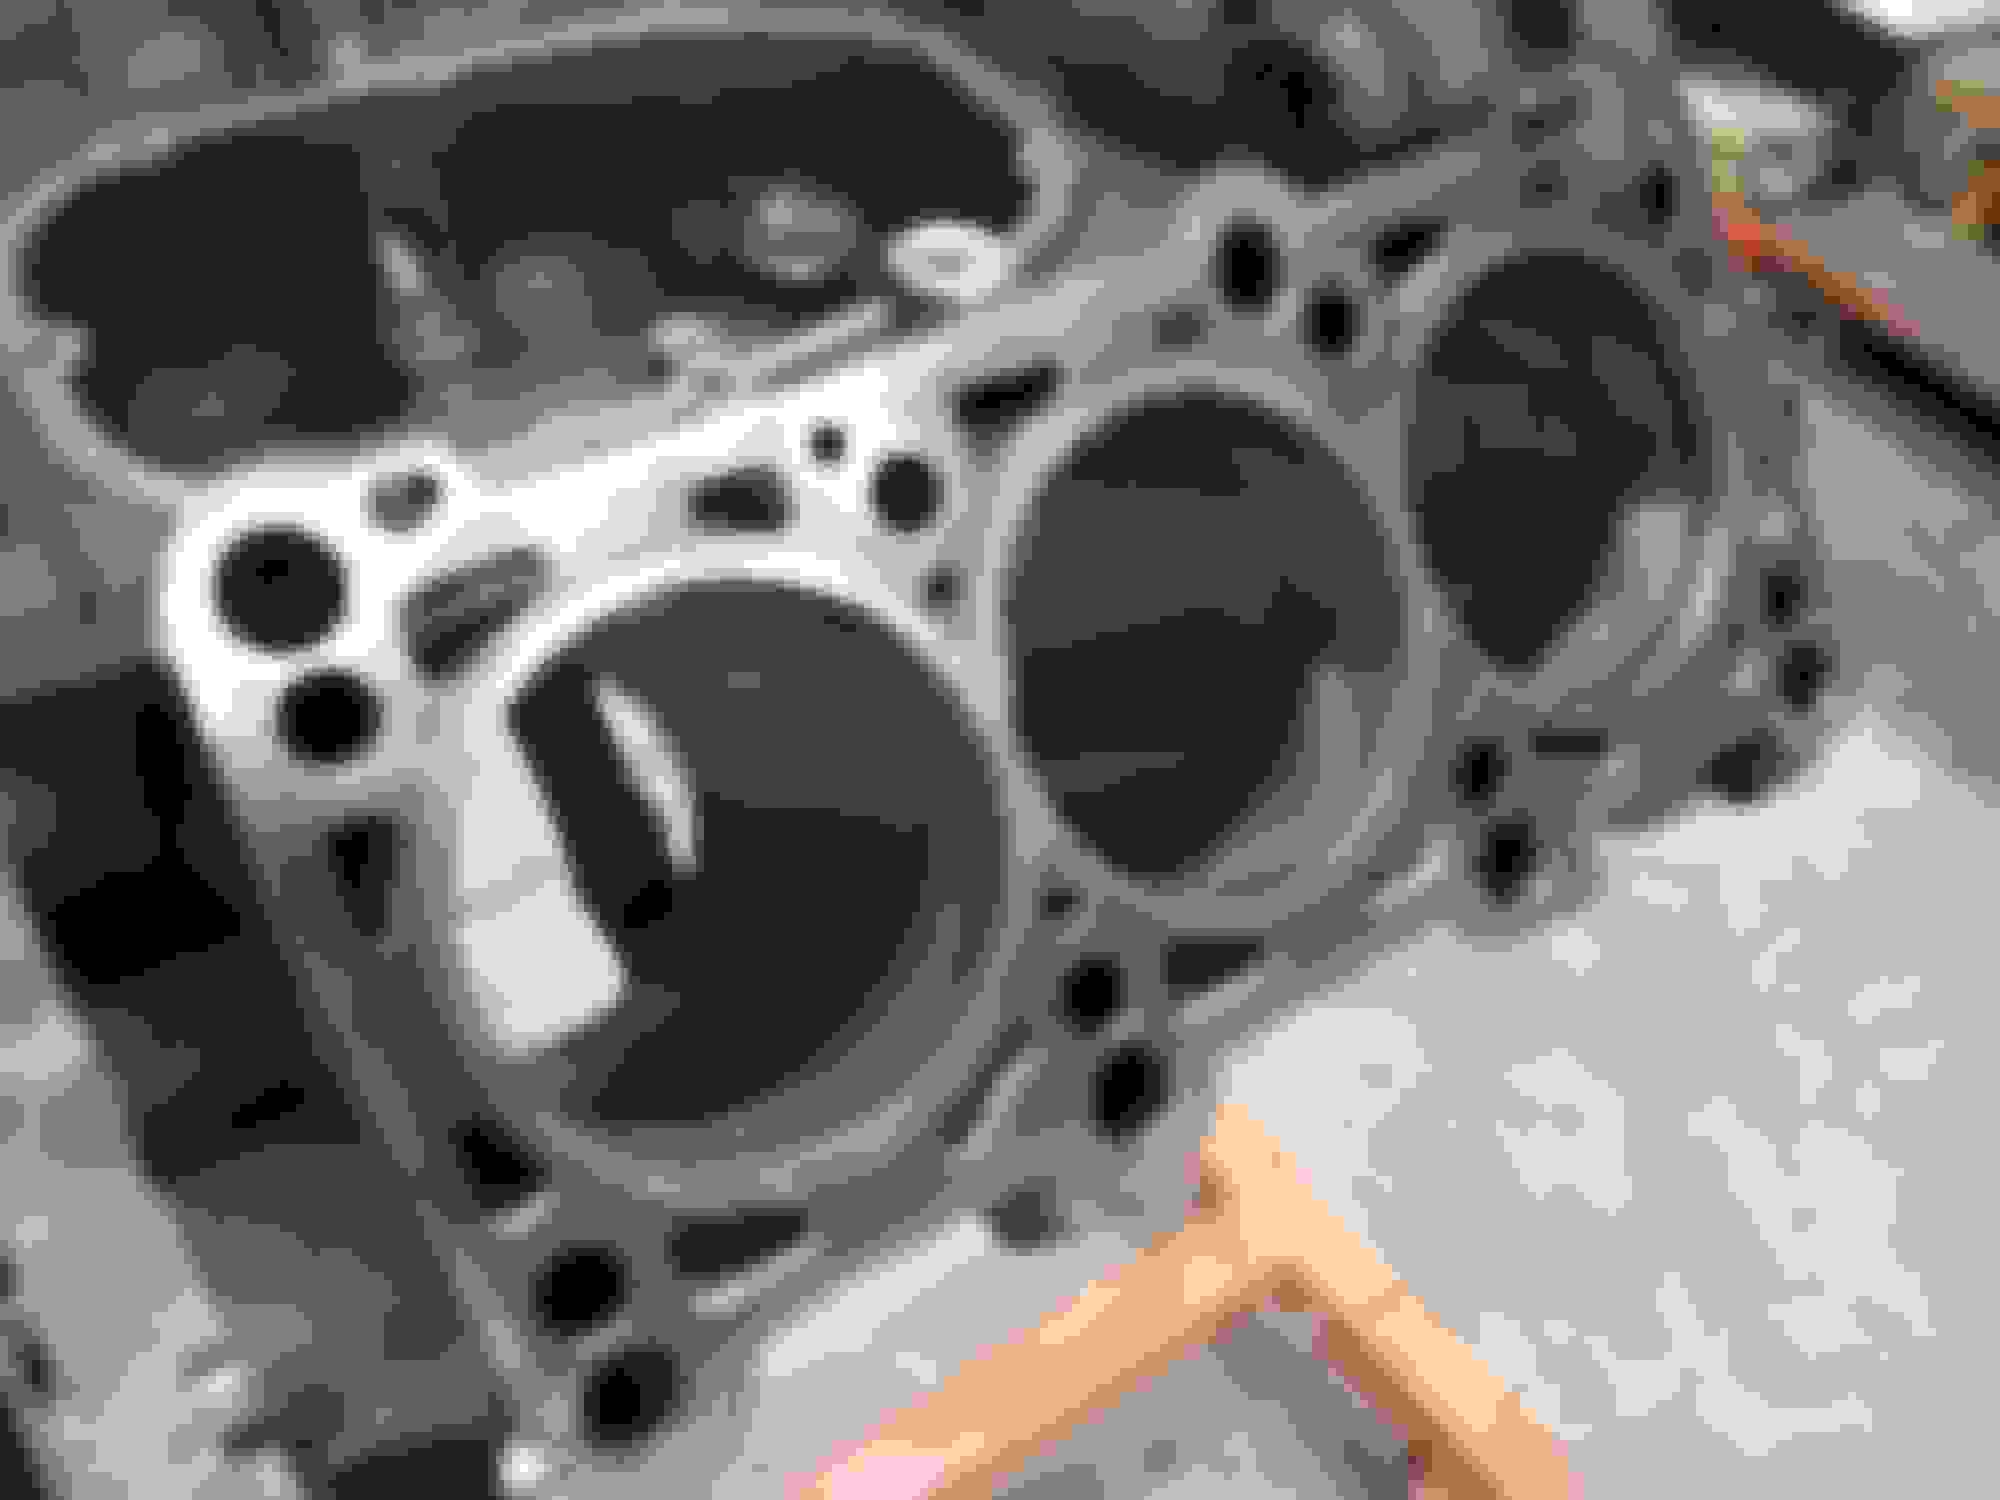
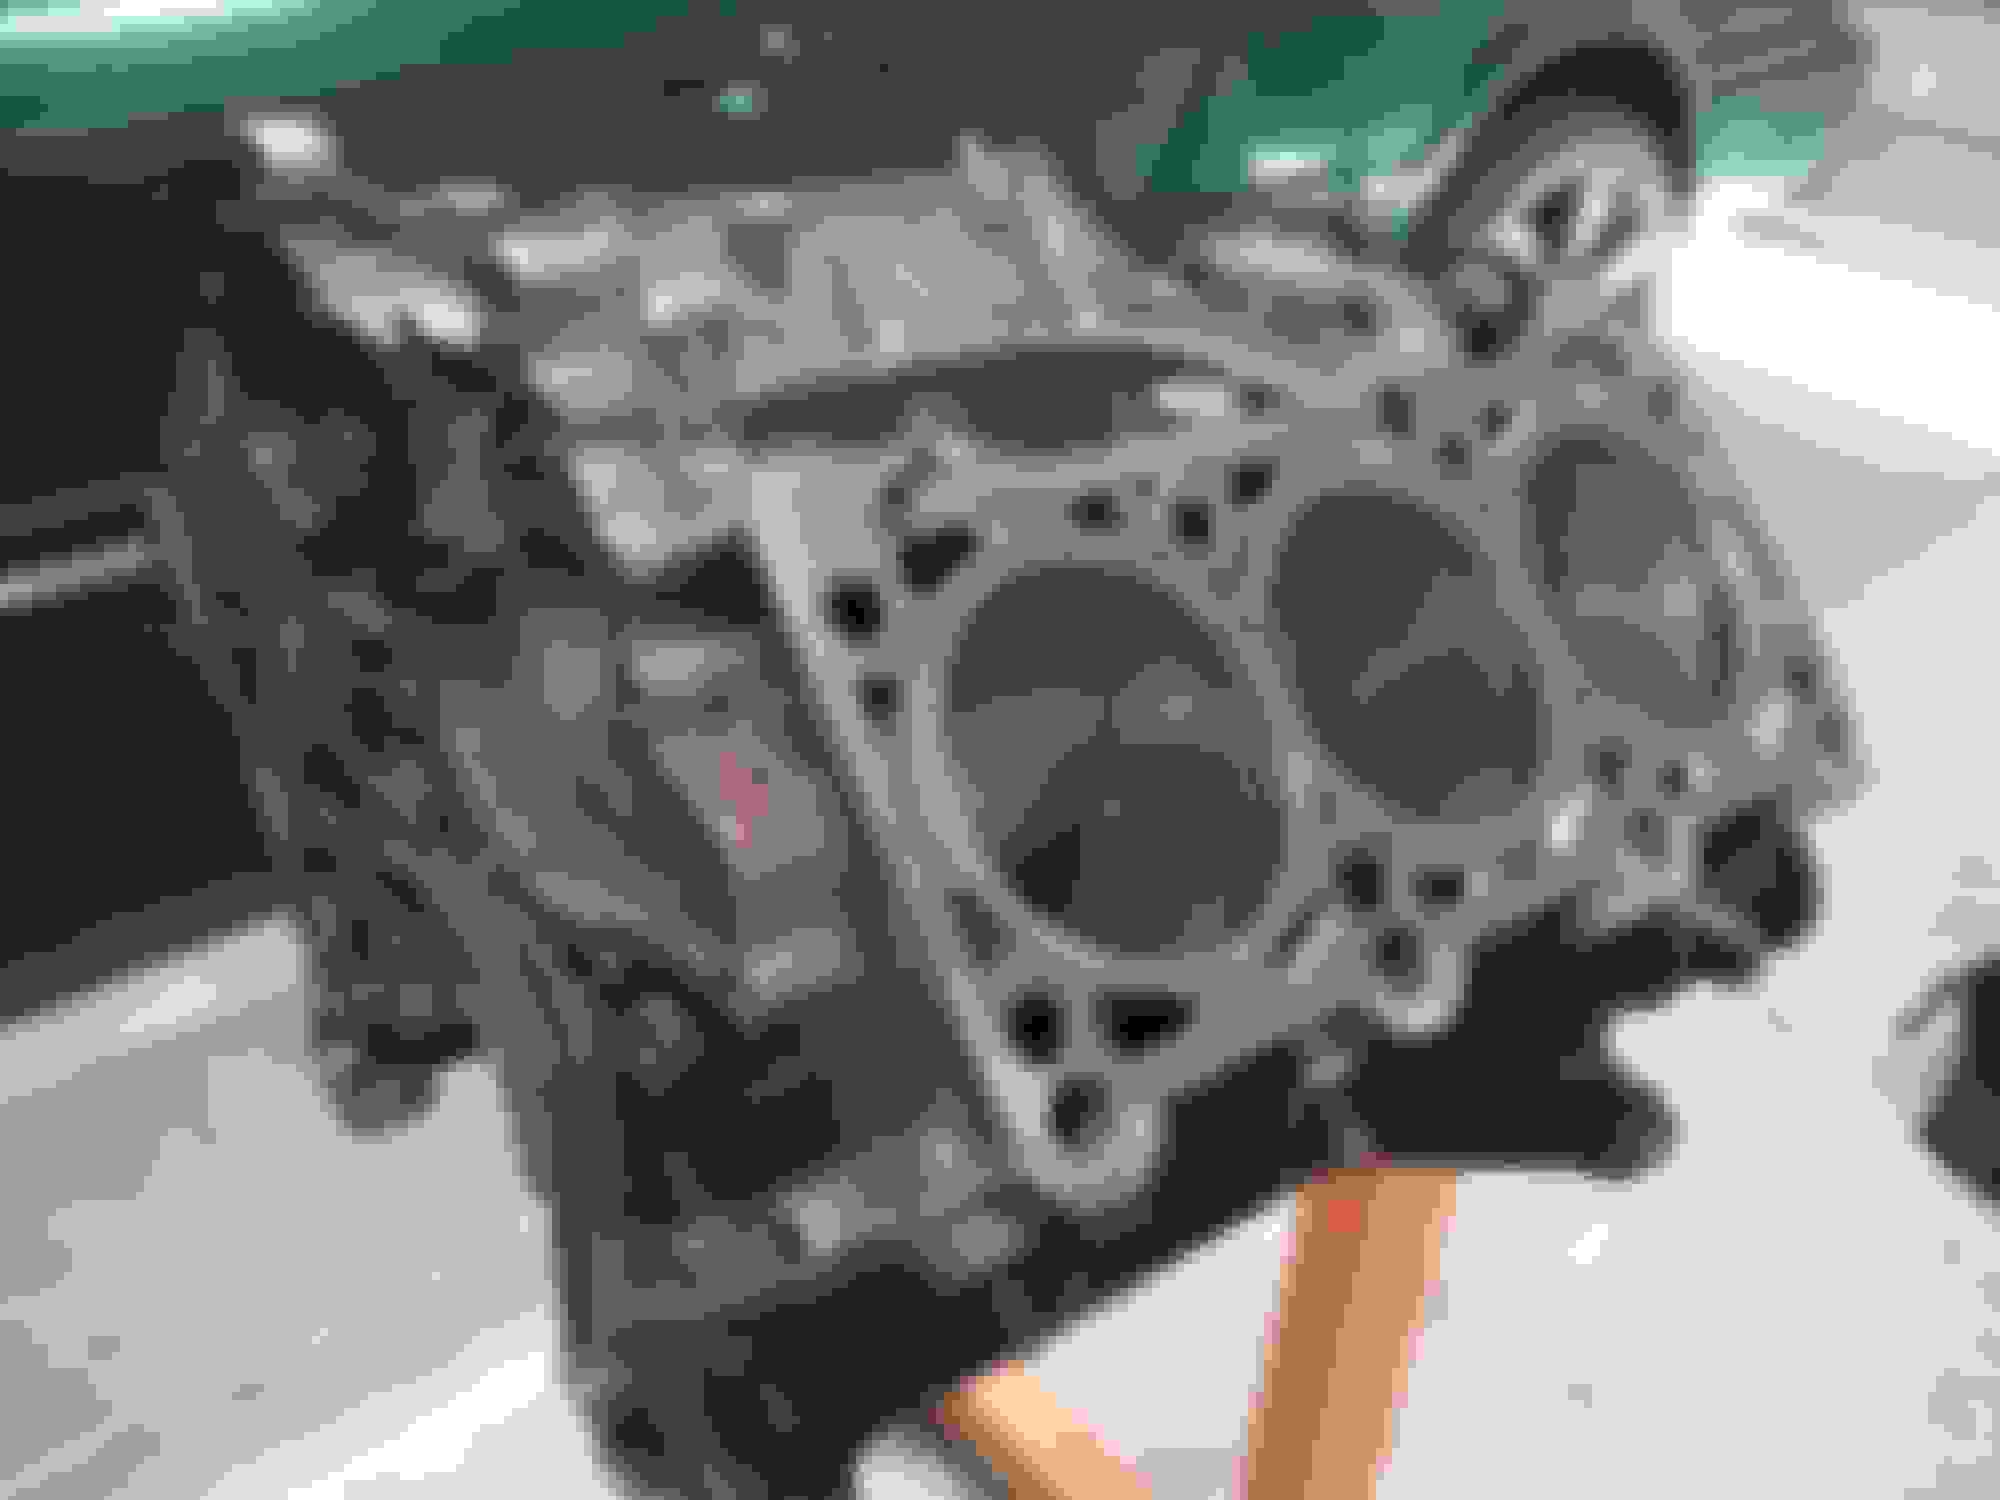
I don't have many pictures of day 4 but it was pulling all the pistons out and trying to take that bastard of a crankshaft timing gear off. That thing was as stubborn as my ole man when he needs to see a doctor and i couldn't get it to budge. It was after I had a six foot cheater bar attached to a 2 foot breaker bar and my 250 lbs of shear mass pushing down on it that I admitted defeat it didn't even cough. So I packed it up and took it to the machine shop to get worked. They got the damn thing out of there but had to heat it up and in the process damaged it so I need to get a new one. They cleaned and conditioned the block and honed my cylinders. And miched my crankshaft it didn't need polishing. At 160,000 miles the crankshaft still straight and true and my block is looking pretty good.
Fresh back from the machine shop im very impressed with how it turned out. This cost me about 150 bucks
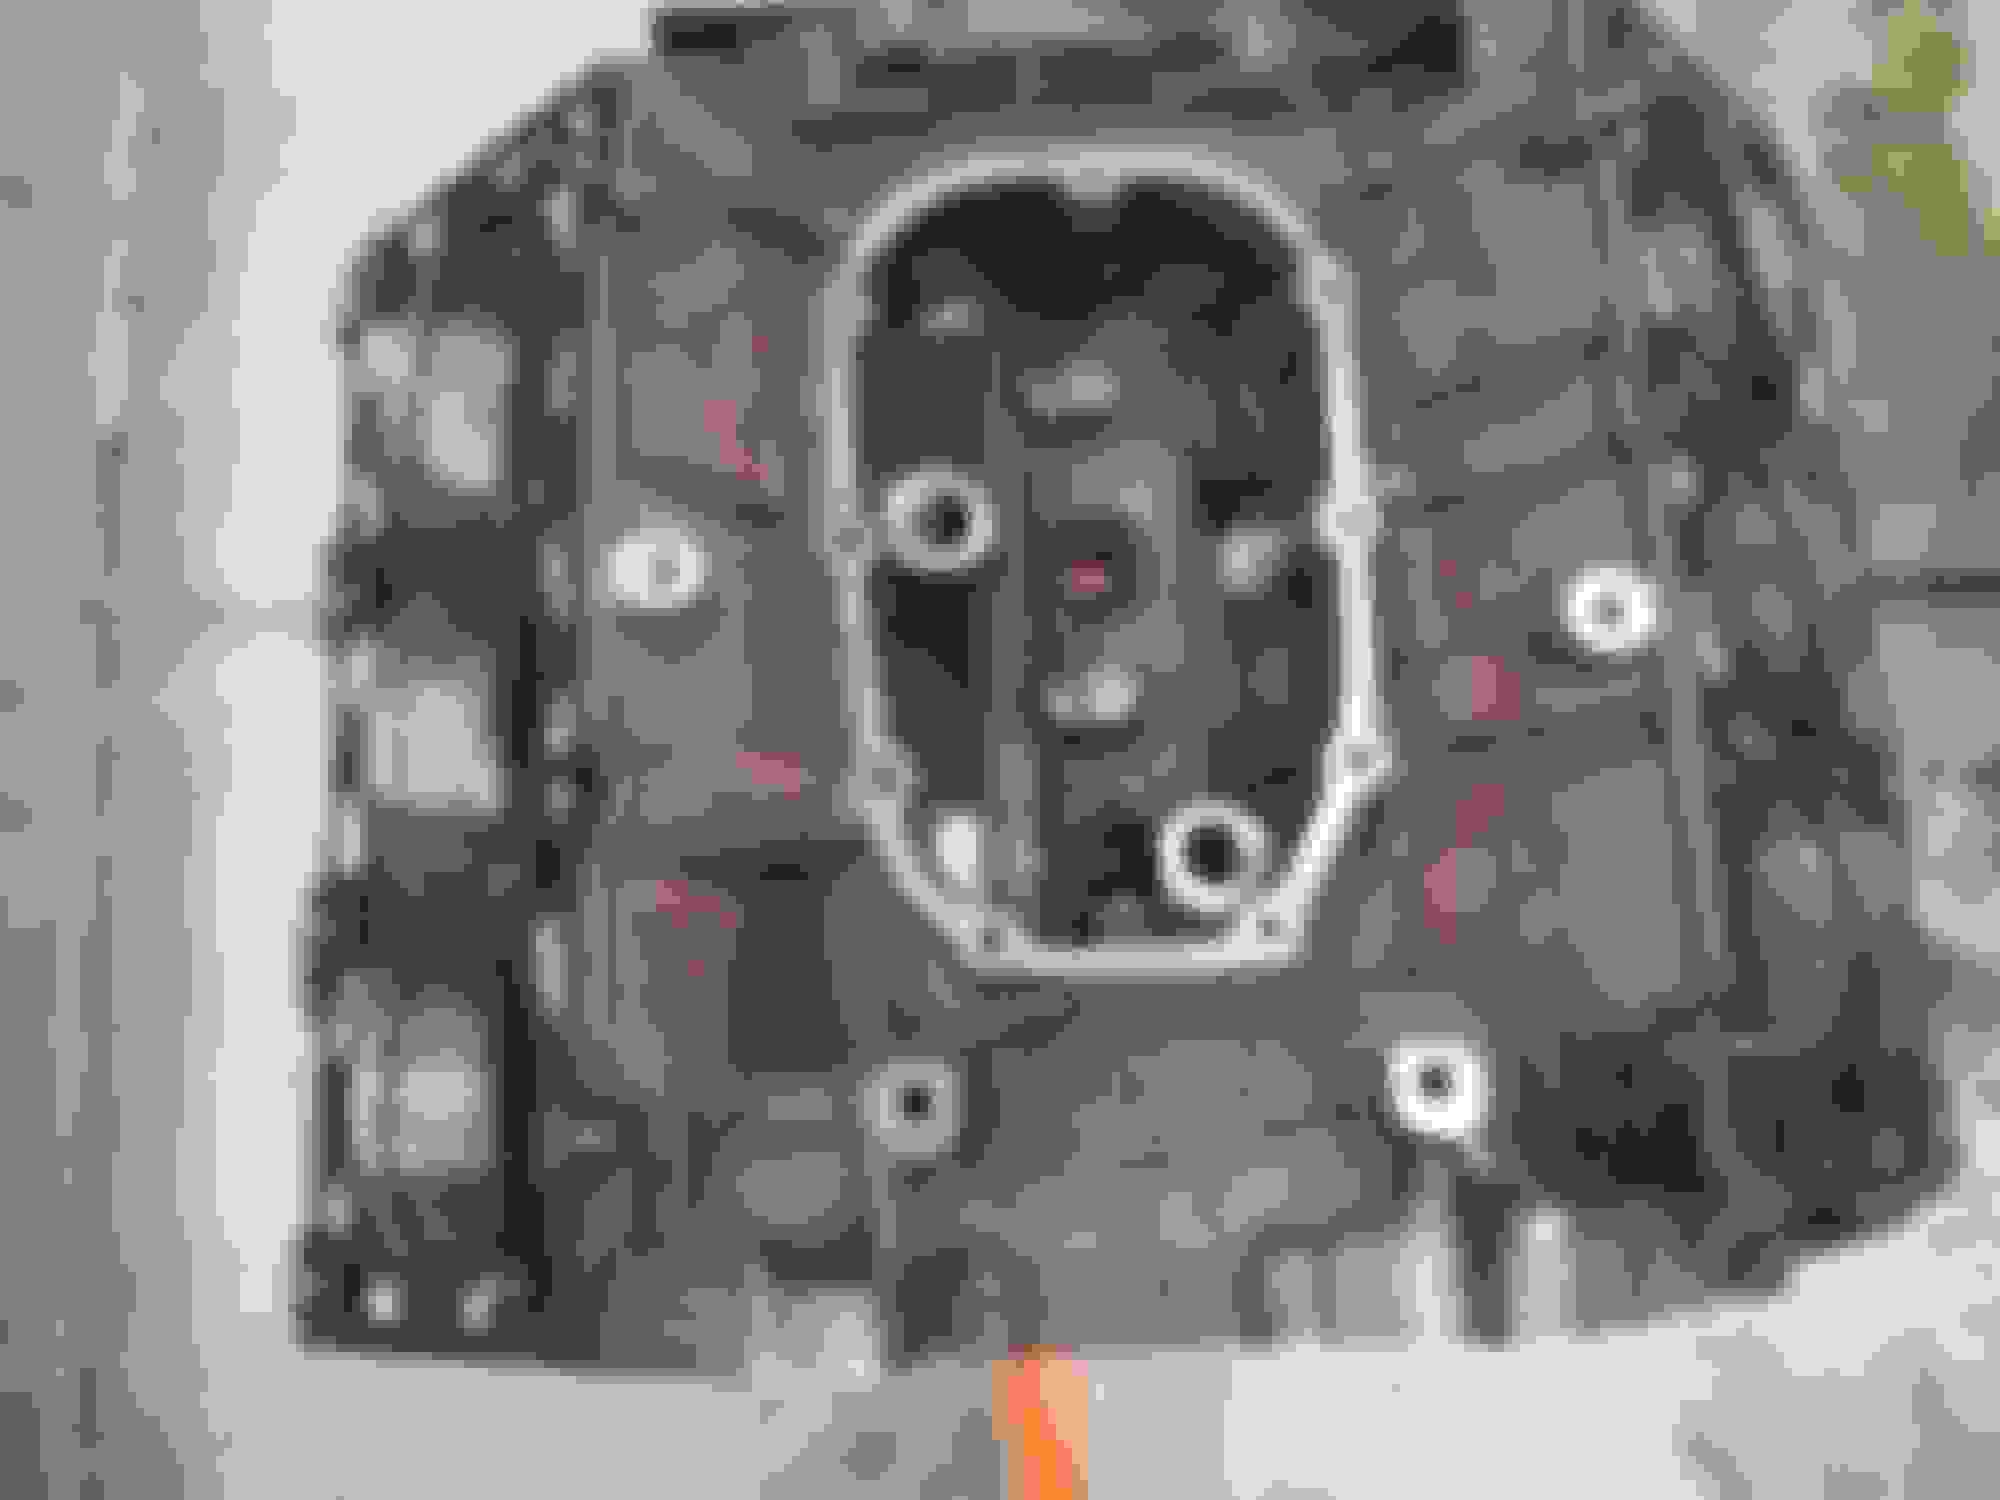
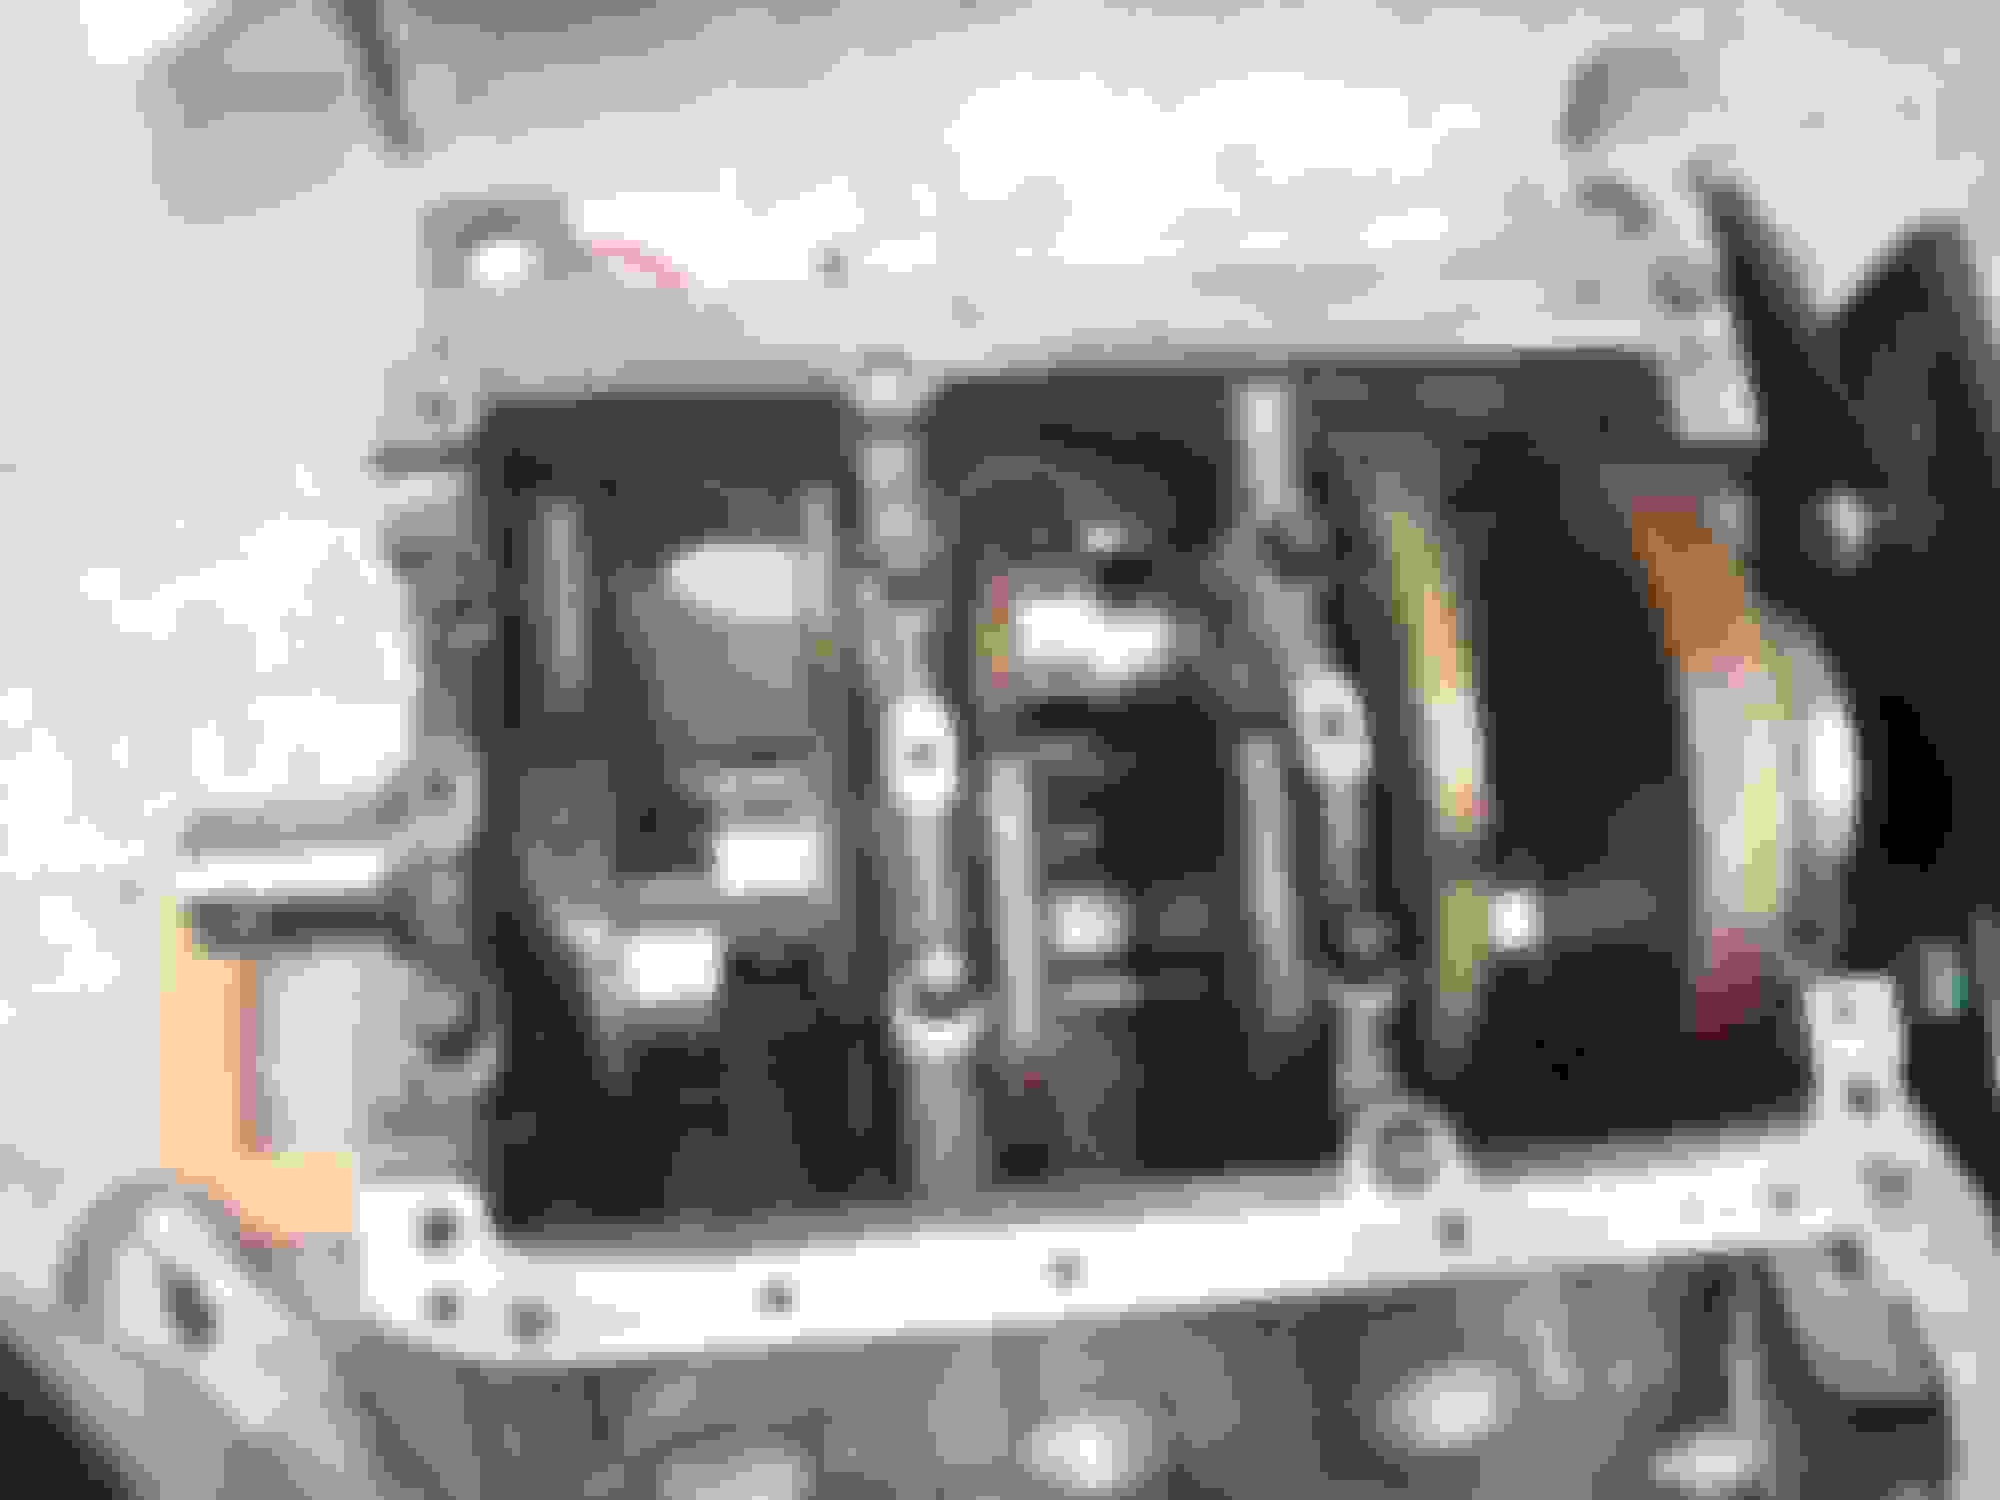
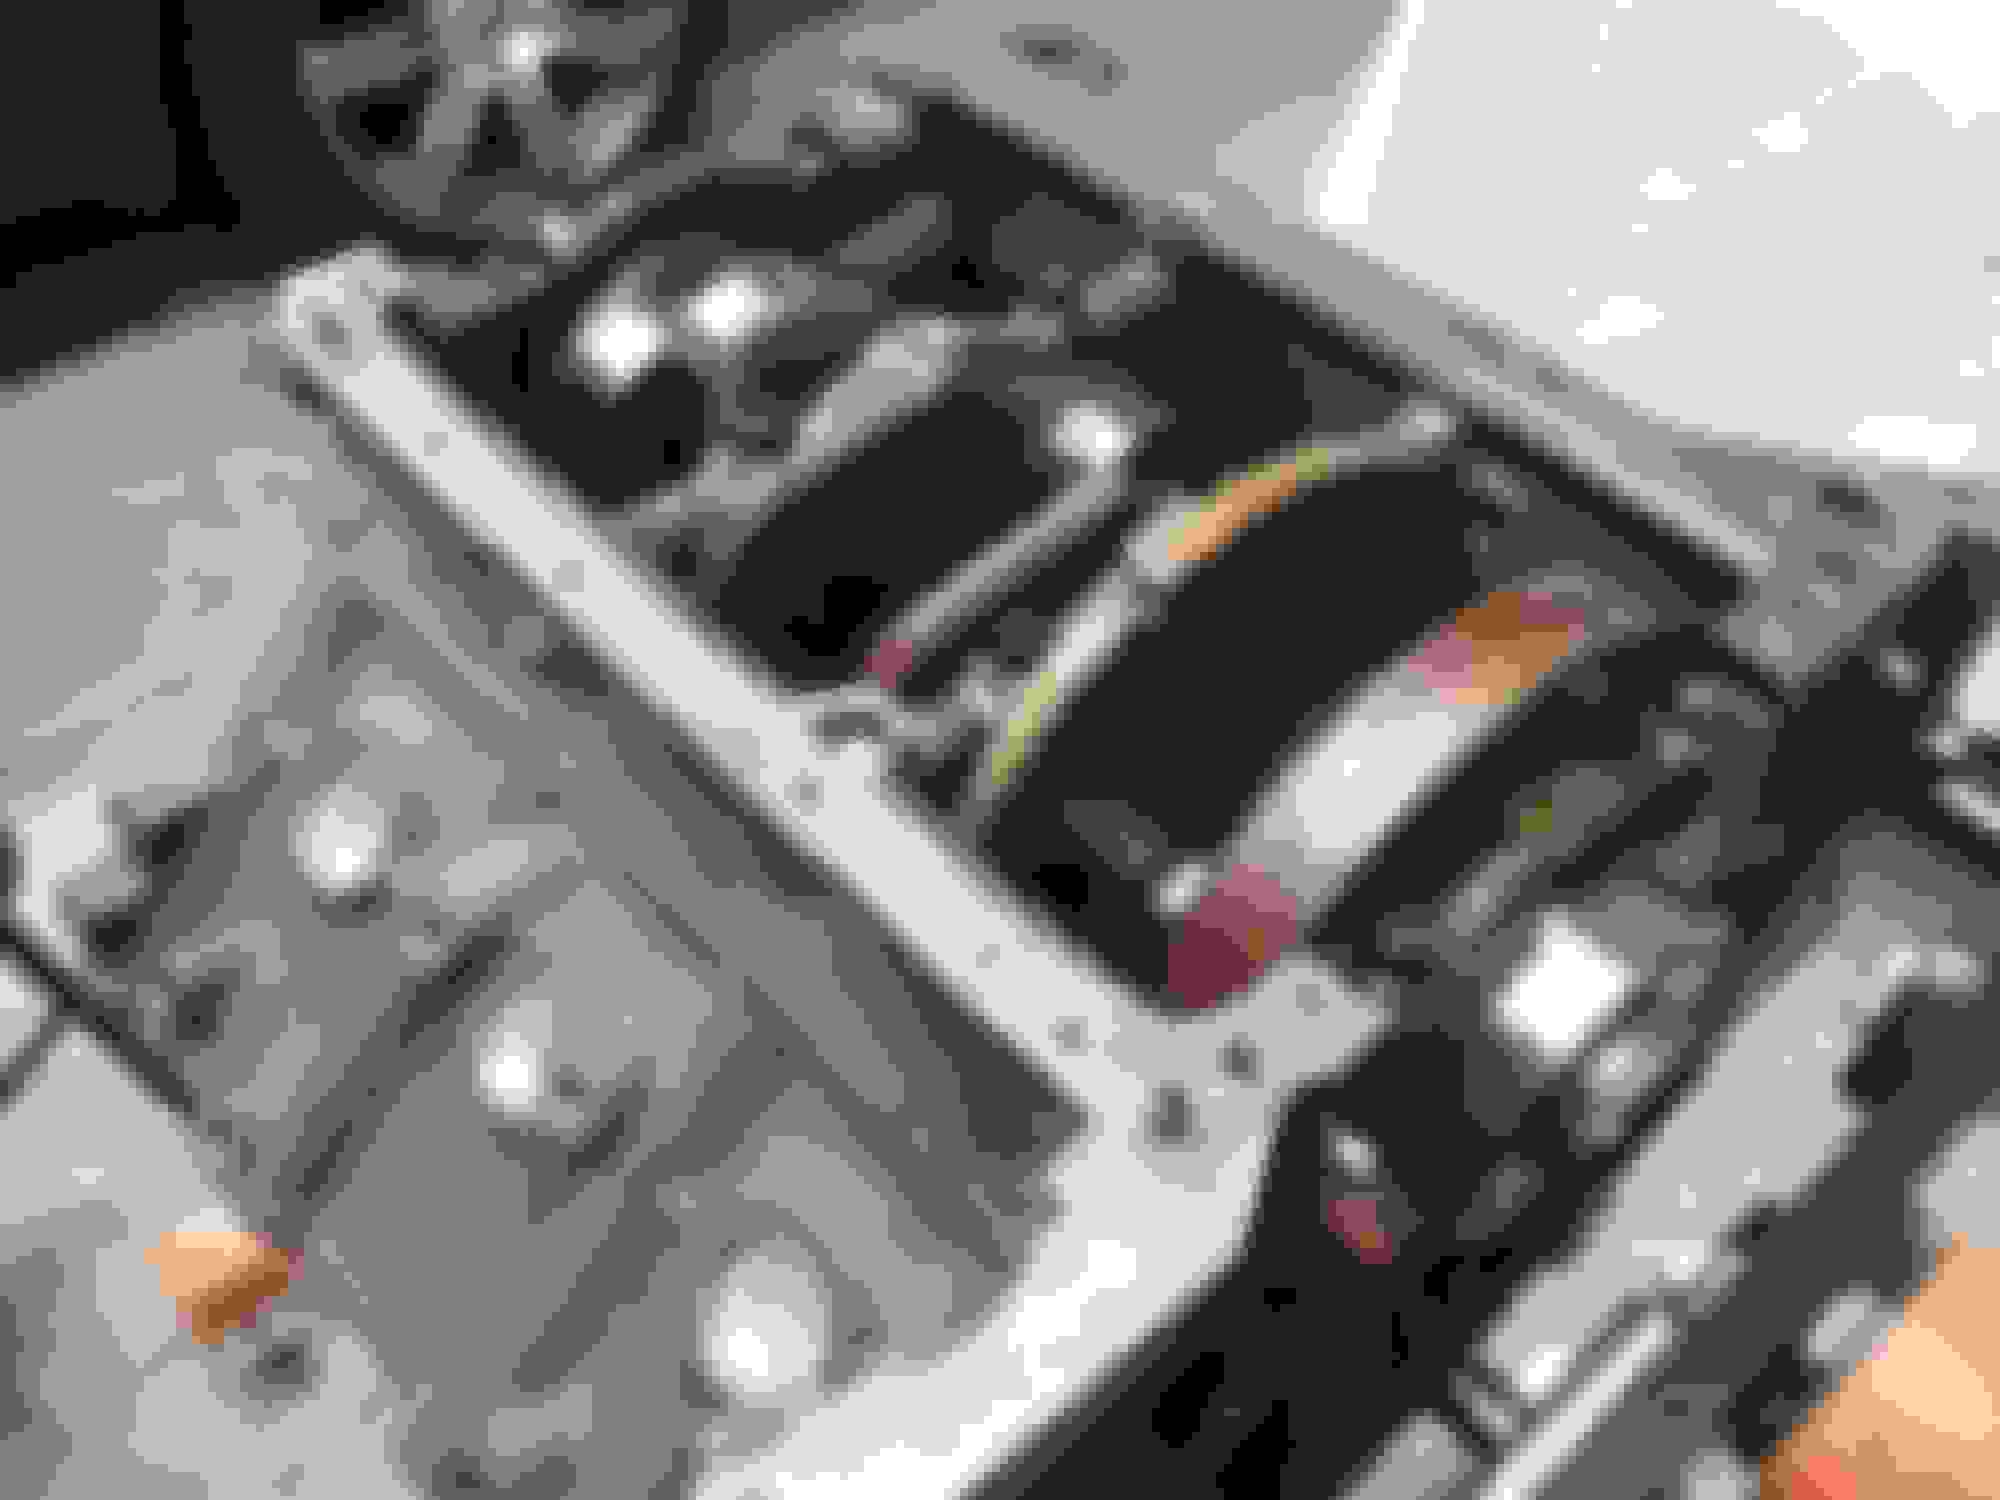
If you arent aware of whats hiding beneath the vallet pan here ya go. There are two oil check valves that go in here tbat keep oil from draining down to the oil pan upon engine shutdown. There are a few threads on replacing them if you have alot of valve noise.
And this is my parts table as stated befoe each part has a baggie ziptied to it with its associated attaching hardware. Each part will be thoroughly cleaned along with its hardware and painted if i deem it necessary.
Parts clean-up may the long teadeous process begin. :!
The pistons when removed were given a number and an arrow. Number so I know which piston goes back in which hole and an arrow for direction the piston will face. The arrow turned out be useless as when you clean it the arrow comes off but under the crap you'll find that Audi put a nice little arrow on there for ya. Now one might debate. Why put the same piston in the same cylinder. The piston has been cleaned and polished with new rings and the cylinder cleaned and honed. True and I really don't know why you couldn't put any of the pistons back in anyone of the cylinders. However in my years of wrenching I've grown an understanding that likes the way it was put together first, because to the 12v it feels right, so these parts will be cleaned, machined, and polished and put right back in there right full homes for the next 200,000 plus miles
This ole #6 in all its glory. Now up until now i have not found anything in disassembly that would be tbe coulprit of metallic oil the rod and main bearings looked great with no gouges at all. However this piston along with every other piston have 8 oil ring lubrication ports. 8 per piston 4 on each side and every one of them were plugged these pistons were receiving no lubrication at all to the oil control ring.
First i dissmantled the piston from the connecting rod and wrist pin. Keep an eye on the retaining springs as they like to fly really far. I put a rag over mine to keep them close.
Second i put a very stout aircraft aluminum tape over tbe teflon coating on both sides of the piston, then i blasted them with a fine plastic media. Now before we go crazy about how to clean pistons. This is just how i did it mainly because it was available to me to use. But they dont come out of the bead blaster looking like this.
Each piston took another hour and a half of polishing by han first with a green scotch brite then a white scotch brite pad coated in a fine lubricating oil. The teflon coating remained untouchedand these are pics of the final product.
The wrist pins received a light buffing with scotch brite pad coated in oil. And the connecting rod didn't get any attention at all but solvent cleaned and put right back in the bag for reassembly. There is a very soft bushing made of babbet in the top where the wrist pin slides through. Now most would replace this bushing, I however did not, I had absolutely not side to side play or rotation play between the connecting rods and wrist pins. I'm also doing this build on an extremely tight budget and those bushings are just fine. Each piston and its parts were kept in one bag with its number on it through the whole process.
Over the course of the next six months I cleaned part after part after part. The lengthy time mainly do to lack of time and getting a job with another airline. I bead blasted a lot of parts that I could and then to protect them from the elements once installed put a few nice coats of high temp paint on them. They turned out really nice. This is the cleaned up oil pump without its new seal installed. Now again most would replace this part but my budget couldn't afford the hundreds they want for it so I took it apart cleaned and carefully inspected it for wear or damage. Found none at all and put it back together.
Assembling the rotating portion of an engine can be very daunting. You have to torque the bolts down with plastigauge in the bearing then back it off to see how tight the bearings are going to squeeze the crankshaft ultimately avoiding putting it all back together and then have nothing turn at all cause its so tight. I had a friend come help me with this task. First we put all the lower bearings in their carrier then put the crank in, with no lubricating oil or grease at all which means when the crank is resting on the bearing with no lubrication do not spin even a degree, this can scratch the bearings. Then place a peice of plastigage between the top of the crank and the top bearing then the top bearing in its carrier and bolt it down to its specified torque, again do not spin the crank, this is all to take a measurement. Take the bolts out and the top bearing and carrier, your plastigage will now be smashed to a certain dimension check that dimension to what's specified by Audi and if its good do the rest then using assembly lube or heavy oil whatever you prefer install the crank.
The crankshaft installed in the block with new bearings. As for torque specs and patterns for installation i did not have a bentley. I bought a subscription on a website called. Alldatadiy.com for my specific car it had everything i needed and more i think it was 26 dollars for a year and cheaper after that this next subscription will cost me 10 bucks for the next year.
The main bearing carrier bolts take an extreme amount of torque at there final you feel like theyre gonna snap in half but they dont.
I bead blasted the two inner bearing carriers but decided it was useless they were dirty and hopefully i never see them again so they all got solvent cleaned and thats it. The two ends of the crank were buffed with scotch brite to allow i nice surface for the seals to seat on.
 12-14-2014, 02:38 AM