Audi Simple Styling (A6 saloon to RS6 facelift)
#41
AudiWorld Member
Thread Starter
After two days work i have the power closing doors retrofit done. It is a very nice feature 
I will give you some details in case anyone is interested.
So, these are the parts i used:
4 door locks that support keyless entry*** and power closing doors **
- Front left: 4G1837015 F
- Rear left: 4G8839015 B
- Front right: 4G1837016 F
- Rear right: 4G8039016 B
4 power closing motors (those that “suck” the door in)
- Front left: 4G0837003
- Rear left: 4G0839003
- Front right: 4G0837004
- Rear right: 4G0839004
4 new door computers ( the driver door one i had it on the car by default)
- Front left: 4G8959793 H
- Rear left: 4G8959795 H
- Front right: 4G8959792 H
- Rear right: 4G8959795 H (the rear doors computers share the same code)
** Hopefully where you get the door locks (if it is not an Audi dealer) they will give you the metal straps that are used with the locks - they cannot be ordered separately.
There are three metal straps for each door lock:
- one that goes to the door lock
- one that goes to the door handle
- one that goes to the power closing motor
*** IMPORTANT NOTICE: everything i put here starts from my initial setup that included keyless entry and keyless go as options. If you don't have keyless go then everything might be different.
What you need to do:
Install the door computers, motors and locks (same steps for each door):
- remove the door panel
- remove the current door lock (remove the door handle, unclip the connections to the lock, unscrew the screws, remove the door lock)
- put the new door lock in and connect all necessary cables
- install the motor (you will have some piece of plastic filling the whole where the motor is going to be mounted). If you have 'keyless go' please remove the sensors from the plastic piece and install them on the motors (there is a special place where to put them there) - only for the rear doors. The front doors do not have the sensors on them.
- change the door computer (if needed)
- power up the newly installed motors - 2 wires (they go from the door computer to the motor)
- install additional wire for the door lock plug (there were only two wires that go to the door lock in my car, and it needs to be three). The third wire goes as well from the door computer to the door lock plug. This is for the front door/s.
- for the rear doors there is an additional 'plus' wire that goes from the door harness back to the door computer. (you need to add it to the harness)
You will need some ground wires and plus wires (see above) as well - that you take from the door harness (use heat shrink connectors - OEM ideally)
NOTE: for wiring please consult ELSA electrical schemes. I can provide the information regarding the pins but it is safer to check the actual electrical schemes of your car - there might be differences (depending on the options you have in your car).
NOTE 2: Ideally you get the door harness from a donor car with power closing doors. Otherwise you will need to order some plugs and wires and create your own harness for it.
Afterwards you will need to code the door computers to know they have the power closing motors. The coding can be done via VAG-COM.
You will need to code Byte 3 from each door computer (HEX coding):
- 1E for driver door and passenger door
- 1C for the rear doors
That is pretty much it (in a few words). Difficulty of the retrofit is not high, just needs attention and a certain amount of time dedicated to it.
It is ideal to have special tools to remove the door panels, door locks, etc.
You will also need lots of textile tape if you redo the harness so it looks as OEM as possible.
END NOTE: probably important too: the cost of the parts is about 900-1500 Euros depending if you need all of the above or less (source of the items in my case was eBay.de).
Cheers!
Last edited by cmg_r; 08-19-2015 at 02:07 AM.
The following users liked this post:
pseth85 (04-03-2020)
#43
cmg_r, your work is simply amazing. I believe many of us will follow some part of your mods. I personally will go for full-LED lamp and facelift s-line bumper.
I do have one question. Does facelift (s-line) front bumper a direct swap? Do I need to change fenders as well ? I thought you need the RS fender to accommodate RS bumper. I don't have side skirts so alignment is not an issue to me.
Thanks. Really appreciate all your sharing so far.
I do have one question. Does facelift (s-line) front bumper a direct swap? Do I need to change fenders as well ? I thought you need the RS fender to accommodate RS bumper. I don't have side skirts so alignment is not an issue to me.
Thanks. Really appreciate all your sharing so far.
#45
AudiWorld Member
Thread Starter
@ reyu, RNtoNP - thank you for your kind words.
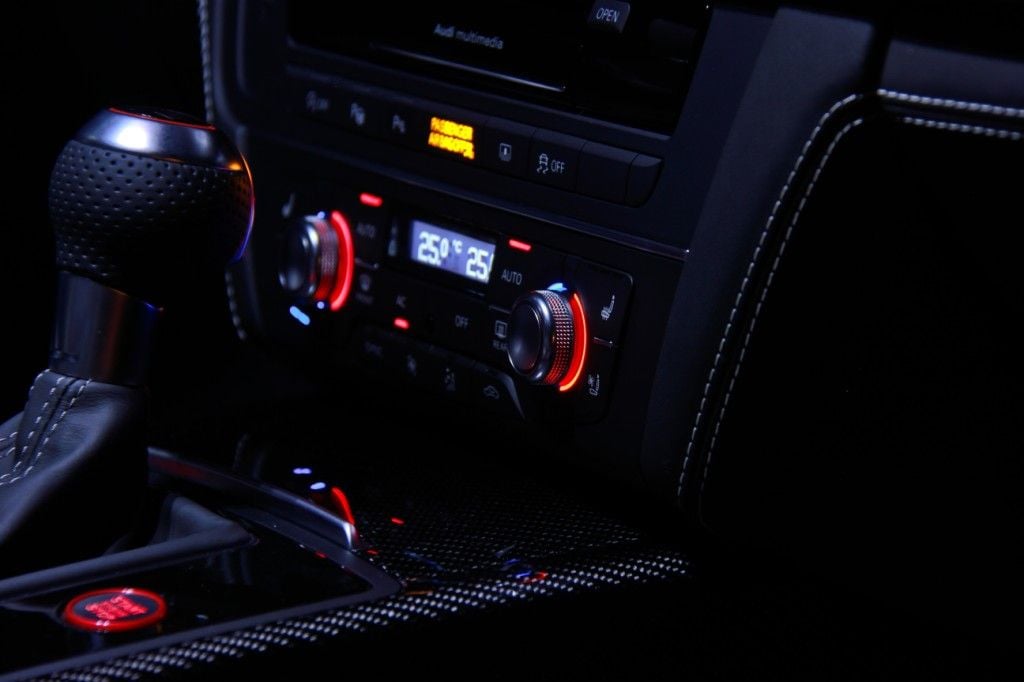
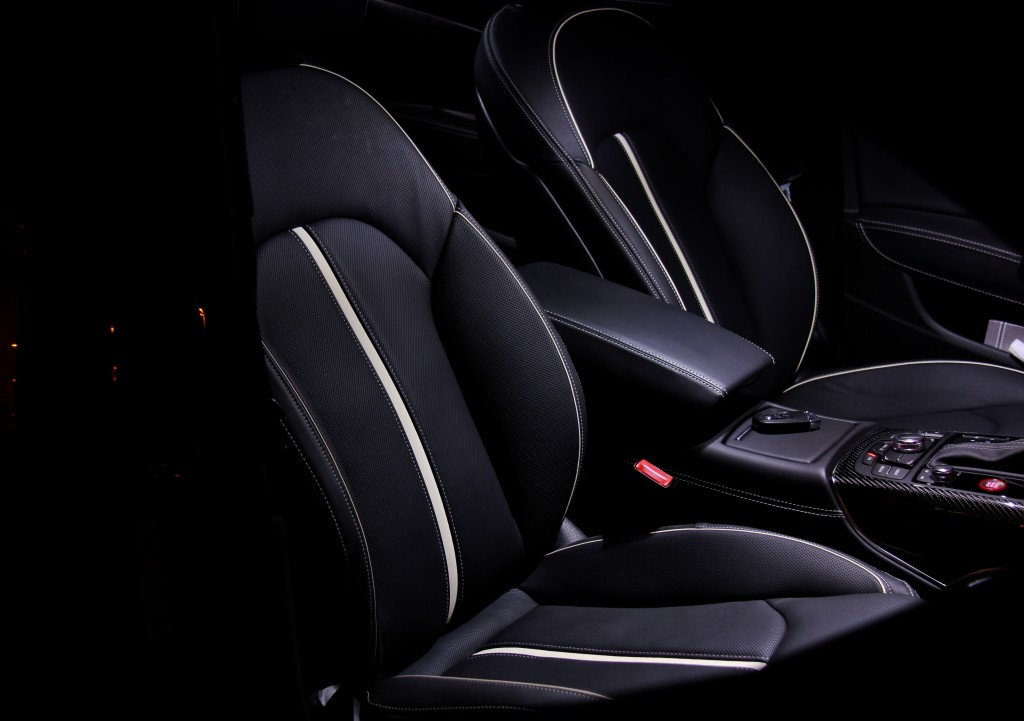
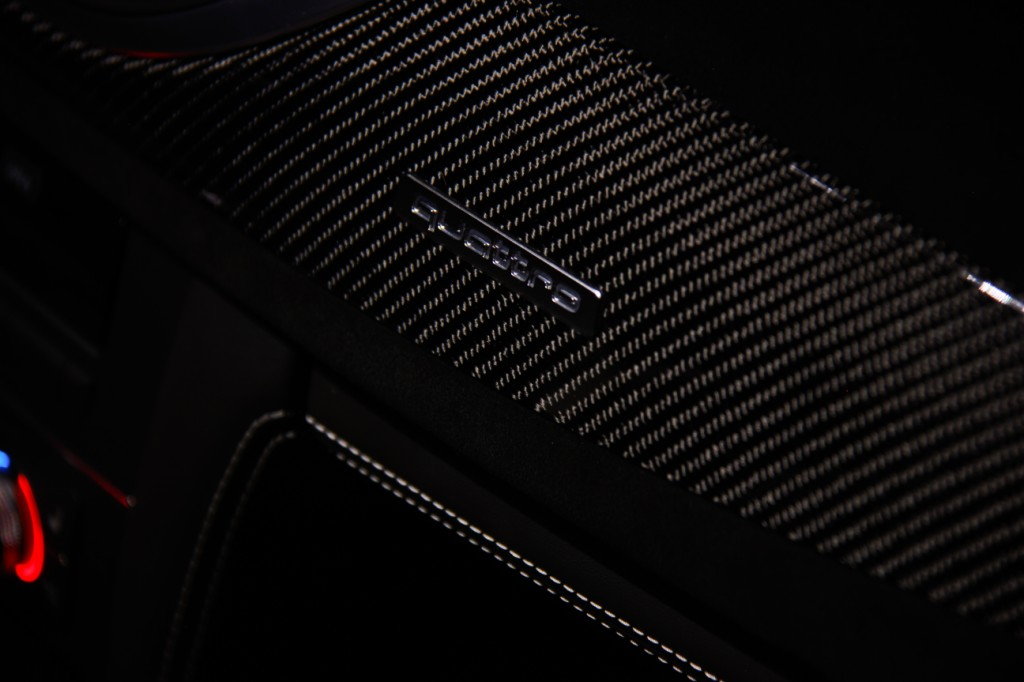
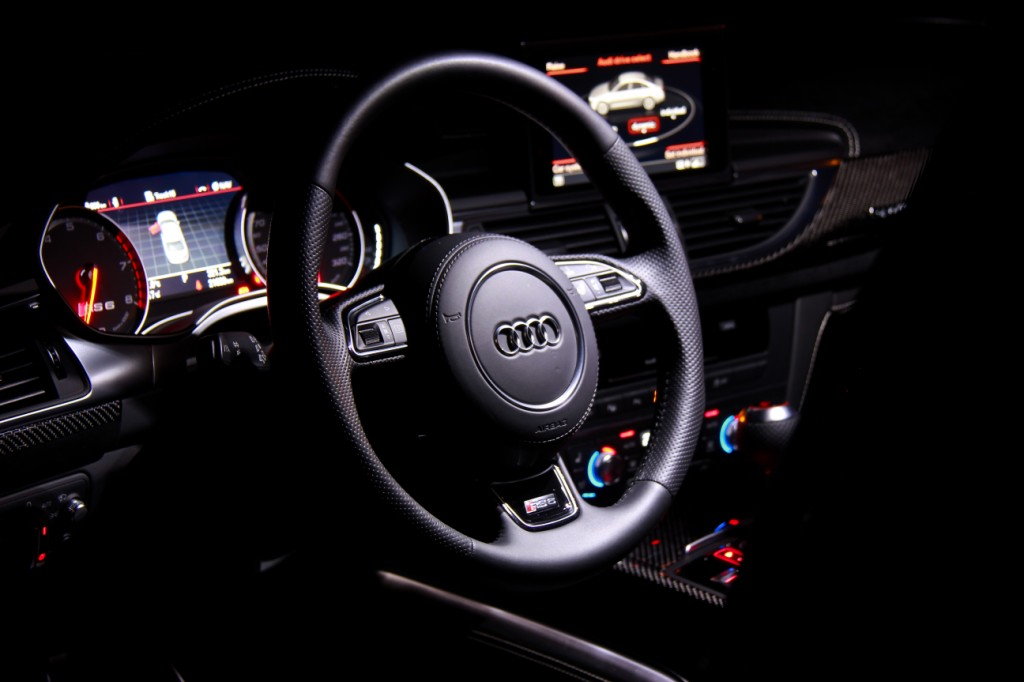
I cannot take credit for the pictures - they are raw shots that my photographer took. After processing he removed the gloss... but i love them glossy
I am happy to share what i do (i hope it is at least basic knowledge for different upgrades/retrofits - there is always so much more information to be shared)
reyu - if you are referring to the 2016 front bumper i cannot help - i didn't get to try that . If you are referring to the 2011-2015 S-line bumper to upgrade from the non-s-line bumper, then yes, everything is straight forward - you don't have to change the fenders (only the RS bumper needs wider fenders). It is a direct swap. Hope this helps.
Thanks!
I cannot take credit for the pictures - they are raw shots that my photographer took. After processing he removed the gloss... but i love them glossy

I am happy to share what i do (i hope it is at least basic knowledge for different upgrades/retrofits - there is always so much more information to be shared)
reyu - if you are referring to the 2016 front bumper i cannot help - i didn't get to try that
 . If you are referring to the 2011-2015 S-line bumper to upgrade from the non-s-line bumper, then yes, everything is straight forward - you don't have to change the fenders (only the RS bumper needs wider fenders). It is a direct swap. Hope this helps.
 Thanks!
#47
AudiWorld Member
Thread Starter
Other small details...
Custom hand made honeycomb model for my sport seats...
Laser cut logo on Alcantara...
Carbon seat trims...
Custom hand made honeycomb model for my sport seats...
Laser cut logo on Alcantara...
Carbon seat trims...
Last edited by cmg_r; 10-12-2015 at 11:59 PM.


