When you click on links to various merchants on this site and make a purchase, this can result in this site earning a commission. Affiliate programs and affiliations include, but are not limited to, the eBay Partner Network.
I searched the net for some DIY for an Audi A6 Avant replacement of the third brake light.I didn’t get very good results, but pieced together some text and took a shot.I ended up successful, so thought I’d write about it here.Apologies if this is a duplicate.It’s fairly straightforward, so I encourage anybody to give it a shot.It’s not tough at all. There is a recommendation about not removing the trim.I think that’s difficult if you’ve never seen the inside of the trim, so I removed the trim and did it the verbose way. Now that I have seen it all exposed, maybe I would attempt with the trim in place.
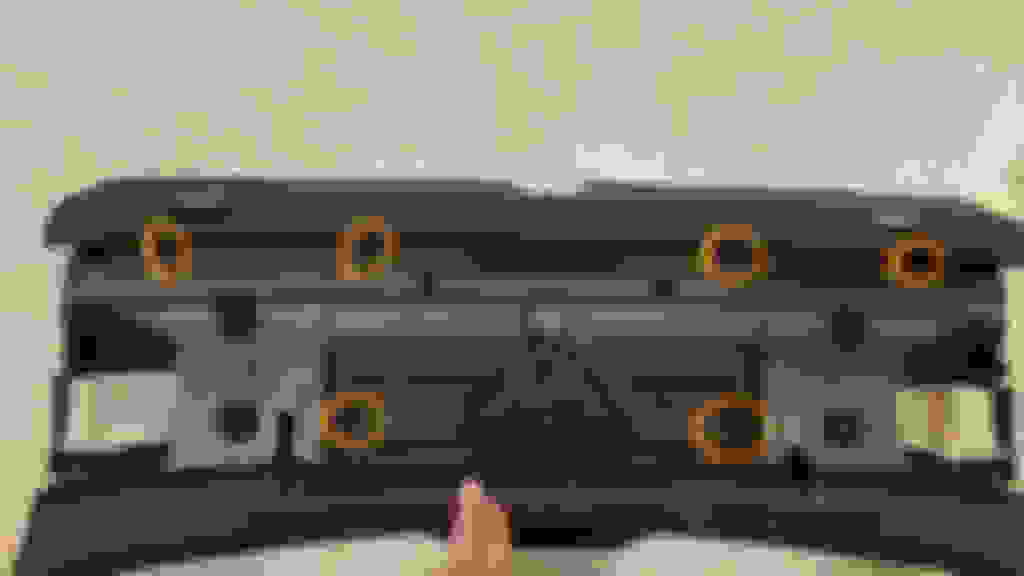
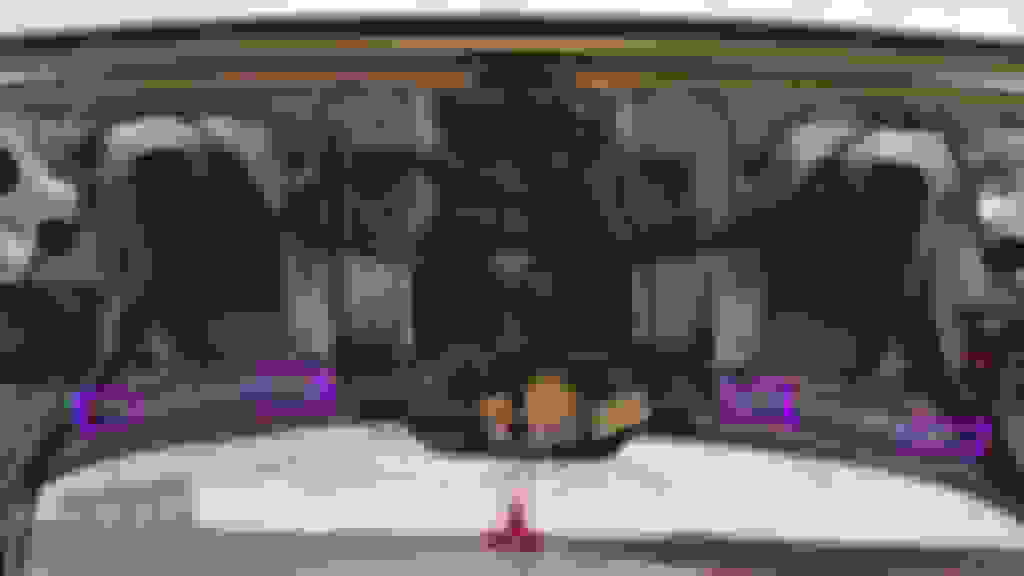
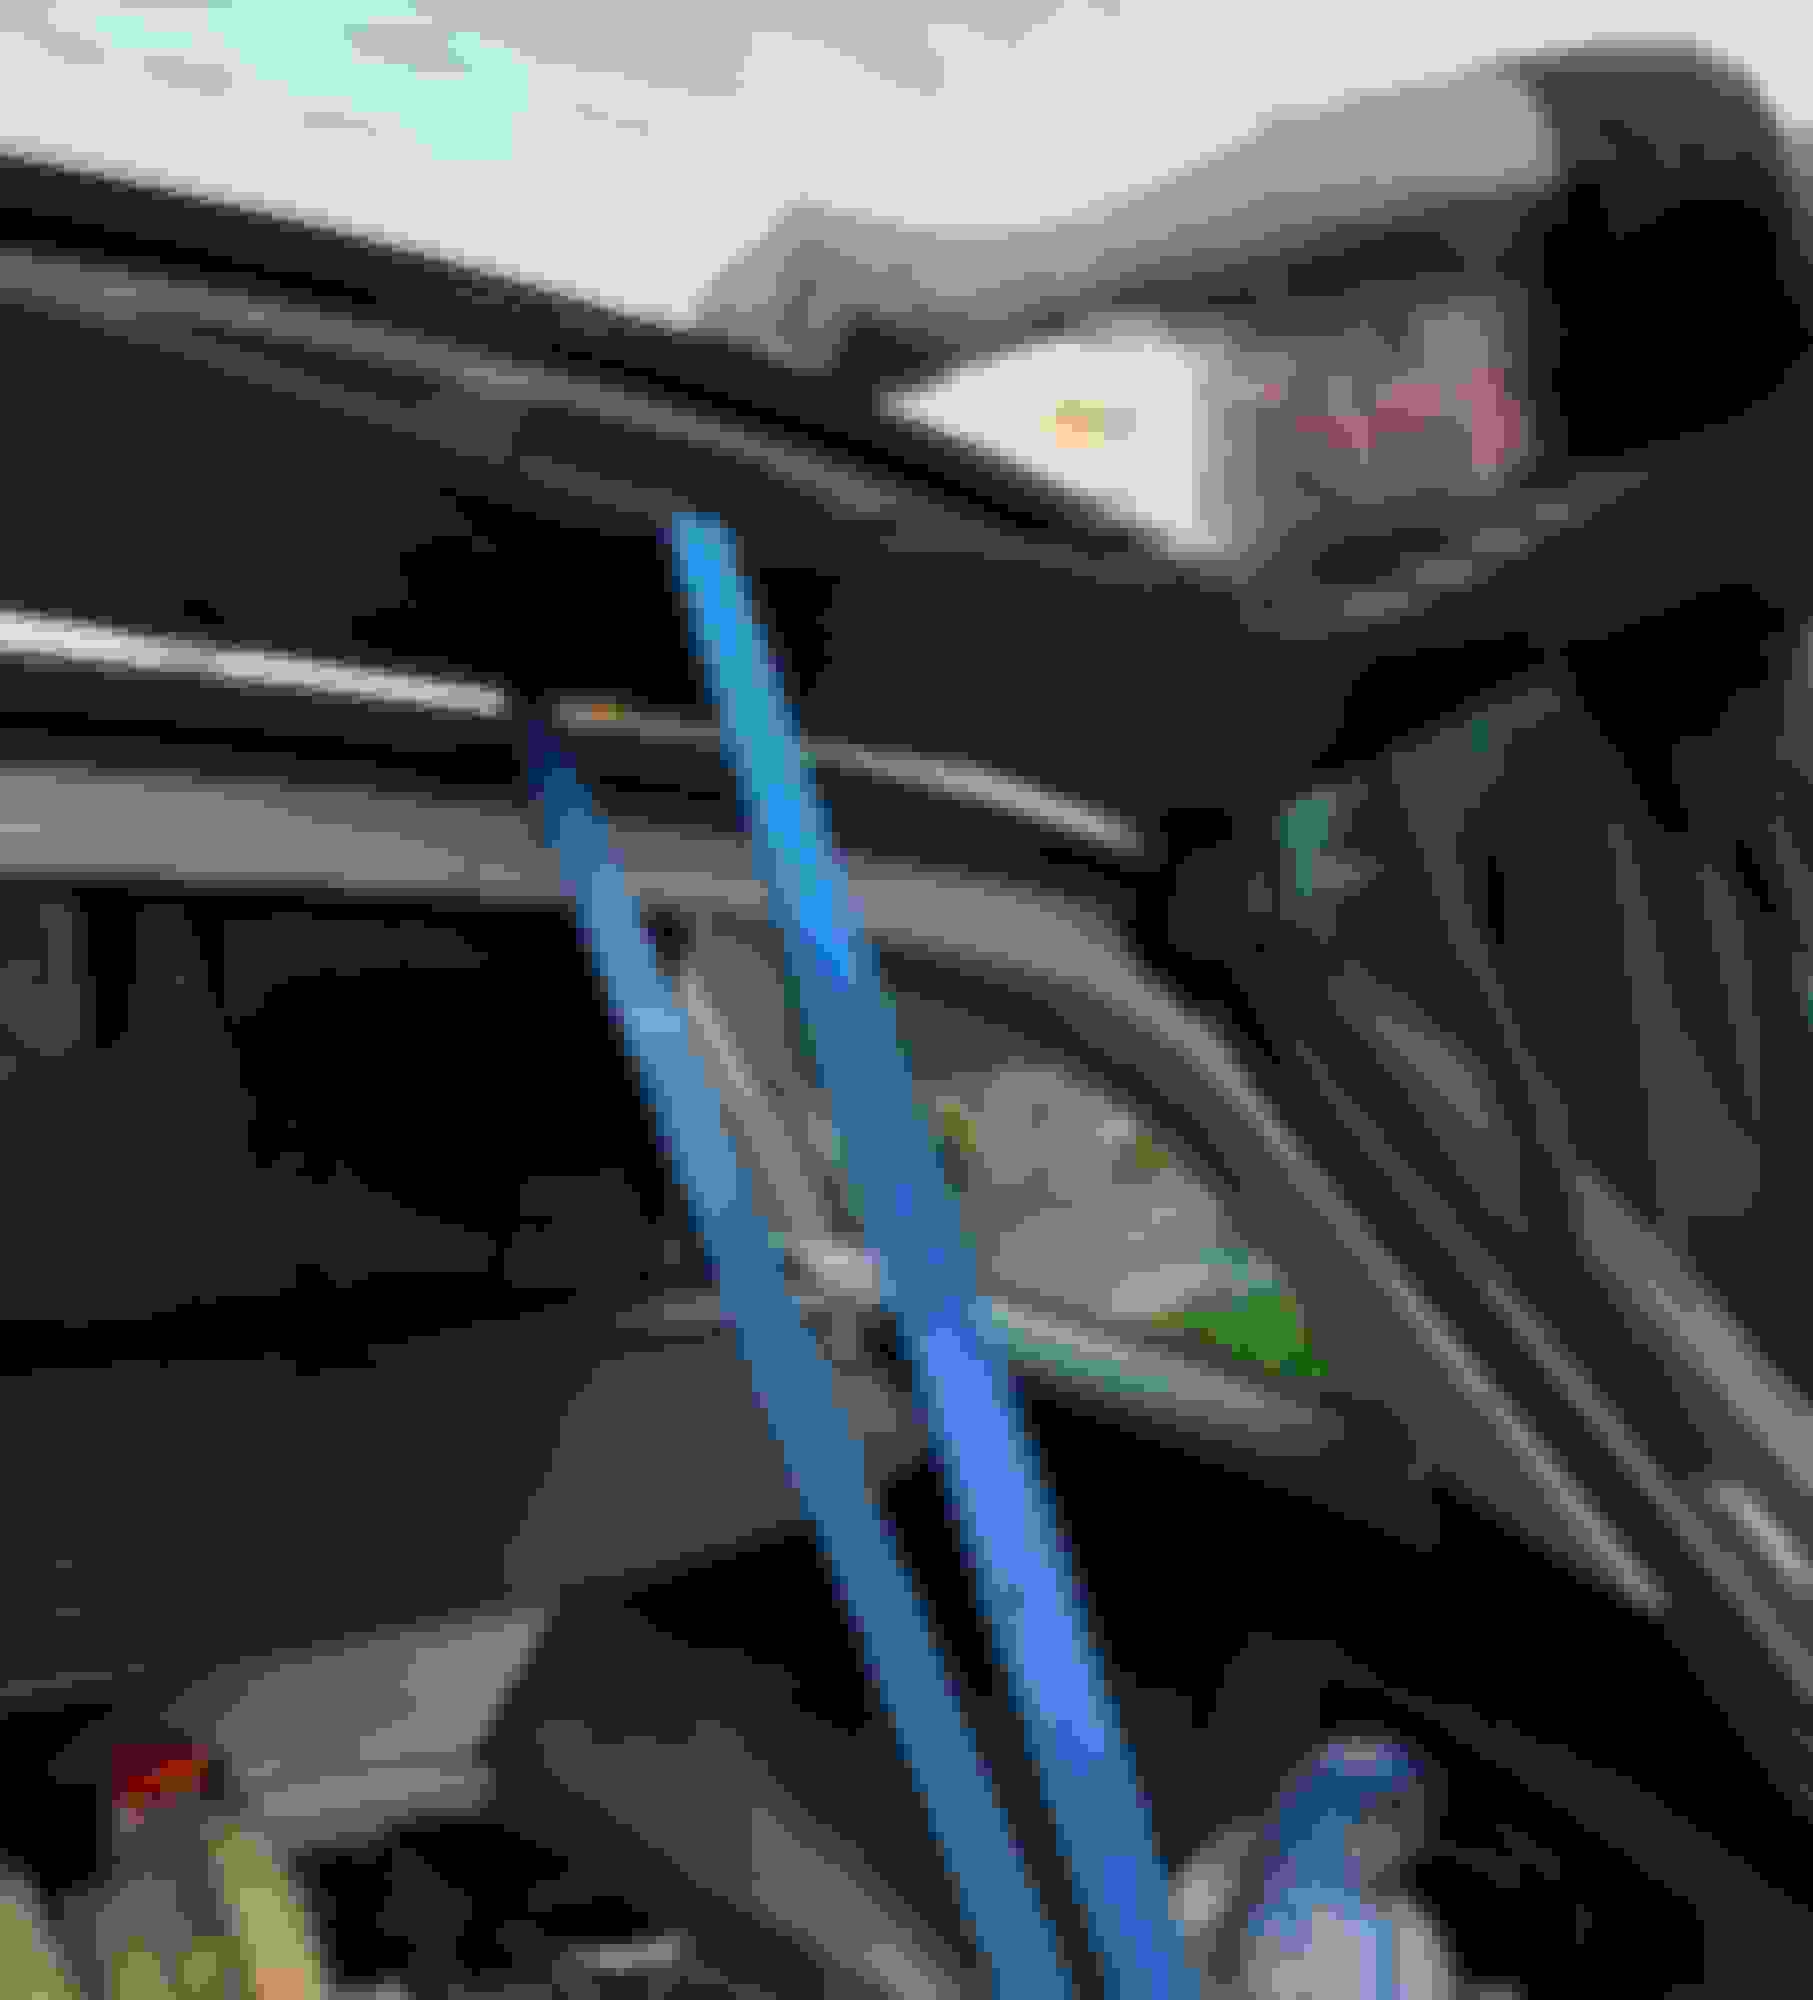
First, remove the lower trim of the hatch. There are two corners that can be yanked out and put aside.Then remove the 6 screws holding the lower interior panel from the hatch (see pic for screw locations).Remove those.Two are inside the cover containing the emergency kit.Once these are removed, the panel is held in by clips.See pix for the location of the clips, and the mating holes on the hatch.When removing the lower trim, remove the white lights at the bottom of the hatch.They just pop out, and can be disconnected from their wires.This way when the trim falls down, it won’t rip the wires.Tug on the panel to get the clips to let go of the hatch.If doing this yourself, it will want to fall so get ready for that, or have a friend catch it.
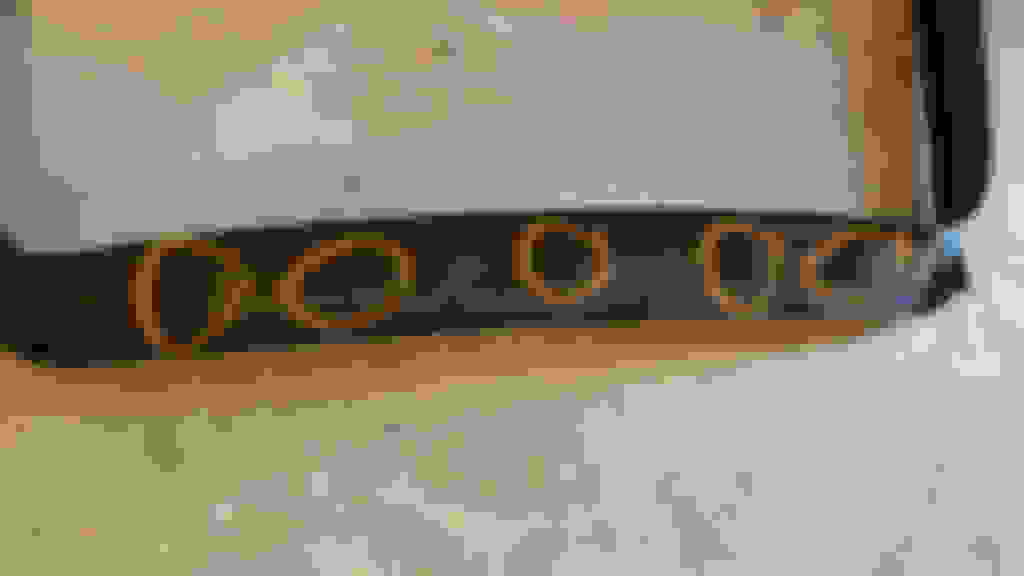
There is trim at the top that is held by 5 clips across the top, and 2 more on each side by the window. The all come out with a tug. But there are 2 torx (20) holding each end in so don't pull on the ends that tuck under the lower trim. BTW, to remove the trim panels, I used trim removal tools I bought on Amazon for a few dollars which I highly recommend instead of screwdrivers near paint.
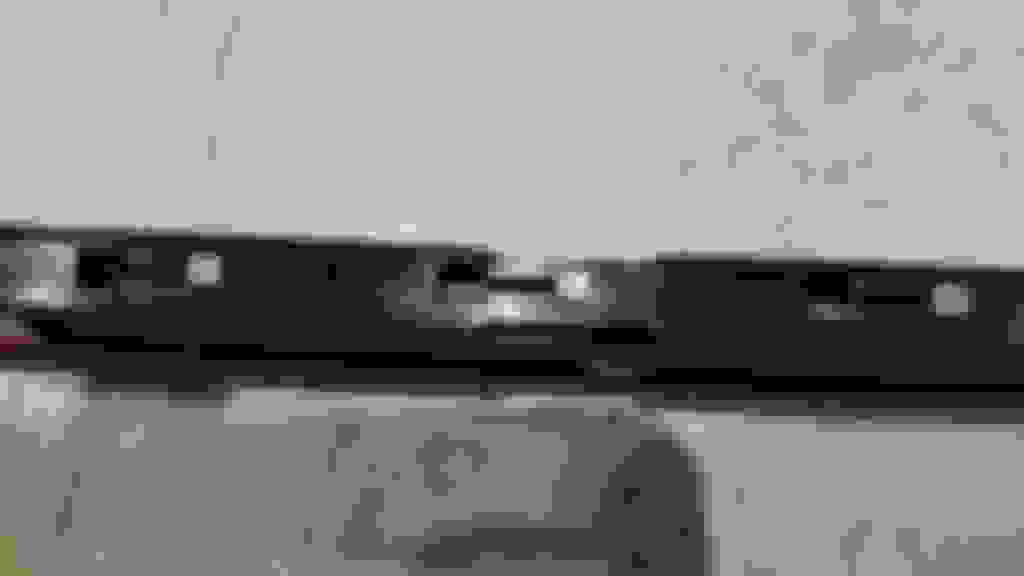
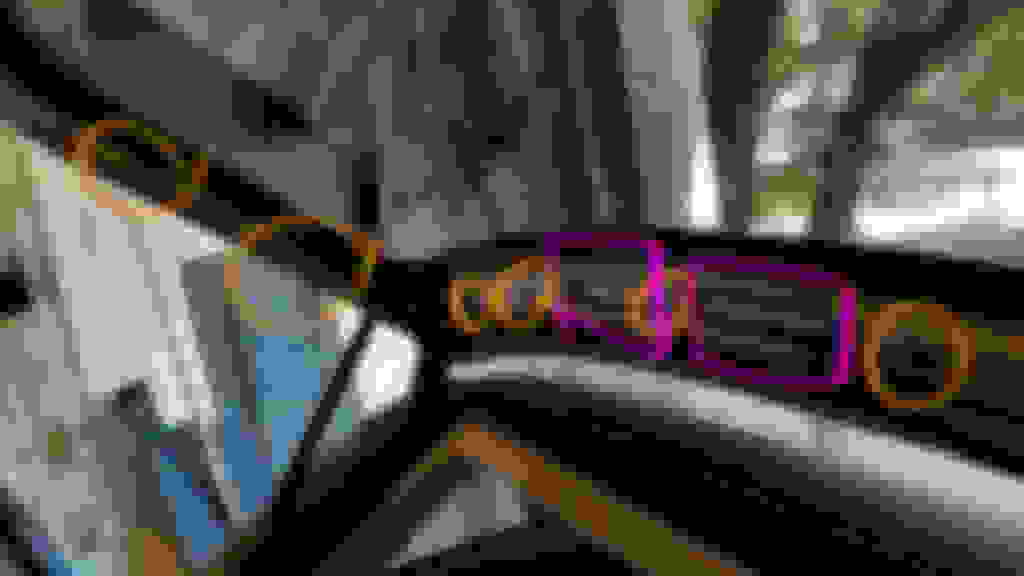
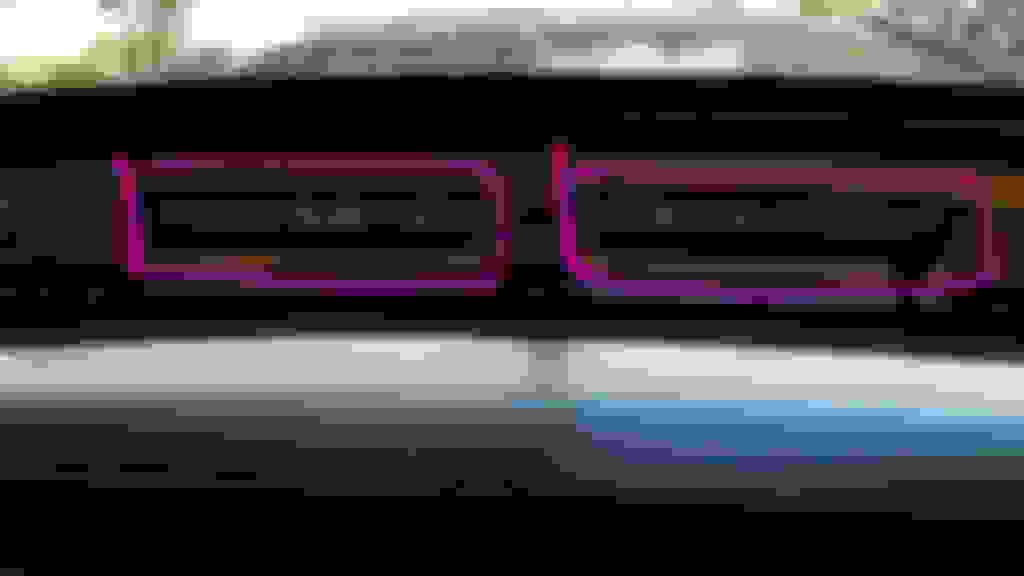
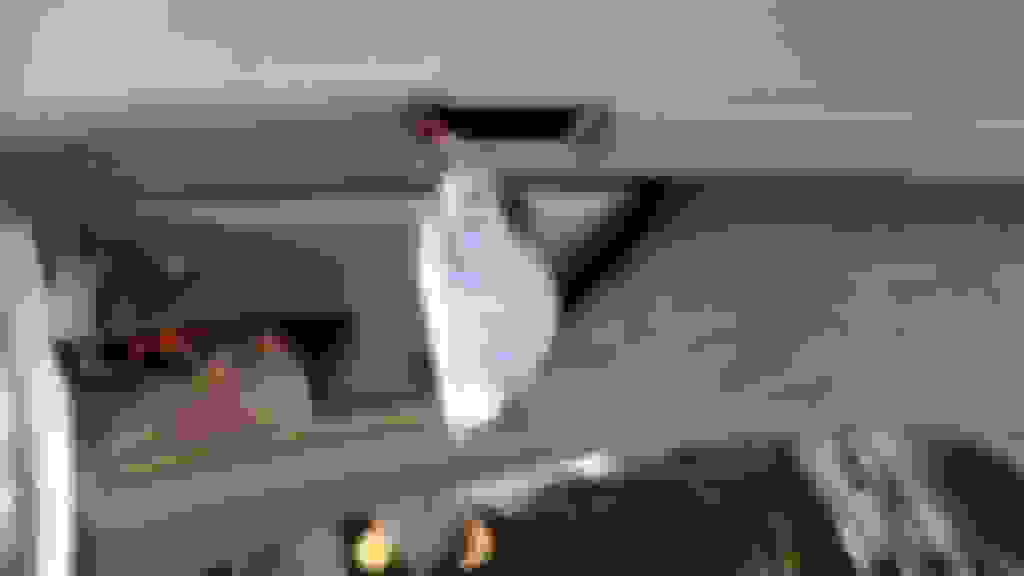
Once the upper trim is off, you can see the two rectangular holes in the door metal near the top of the hatch. Looking though those, you will see the third brake light, which is built with a grey plastic frame, and a black plastic fitting running the length of the light which holds metal clips in place.This black plastic must be released from the light.To do this, put a straight screwdriver against the black plastic piece in one of the available notches, and hit it to the right (see pic). It moves about an inch and needs to be moved free of the light. It just drops into the space there and is easily retrieved later.There are 4 metal clips that need to be unclipped and allowed to fall free, which may need some wiggling of the entire light structure. Two clips are easily seen through the rectangular holes and 2 are hidden behind the metal. Loosen them until it's obvious they aren't clipped onto anything. At this point, just the light is there, stuck to the frame due to age. Wiggle gently until it pops free. It seemed to work best when using one hand to push from inside and one hand to pull and wiggle from outside. The light won't come free until all 4 clips let go.It took a while until the brake light popped free, so don't force it... it will come free without breaking the light.
The electric plug unclips easily when the retaining clip is pushed in from the side with a screwdriver. Once the light is out, it is easy to see what the black plastic retaining clip does... It holds the 4 metal clips in place (I tried to get enough pix to show it). If putting back together you need to align the clips correctly since one side is longer than the other. Luckily, by simply unplugging and replugging the connector, I was able to get rid of enough corrosion that the light started functioning again, saving me $125 for a new Audi one.
Before installing the replacement light, it's probably best to clean any residue from paint to avoid new leaks. The old gasket material sticks and may not allow new one to seal.
Here are some pix to help explain what is going on in there:
The light pieces. Note the 4 metal clips.They are clipped into the light, and held in place by the black retaining clip.
The light with the metal clips installed but the black retaining clip not installed. Zooming in shows the holes in the black retaining clip showing how it slides and clips into place.
The light assembled with the retaining clip in place. This has to be pushed to the right when the light is installed in the hatch, to get the metal clips to fall away and allow the light to be pulled out.
The light assembled, from the side. This shows how the black clip holds the metal clips in place.Again, slide to right to get the metal clips to release.
Lower trim from visible side, showing screw locations.
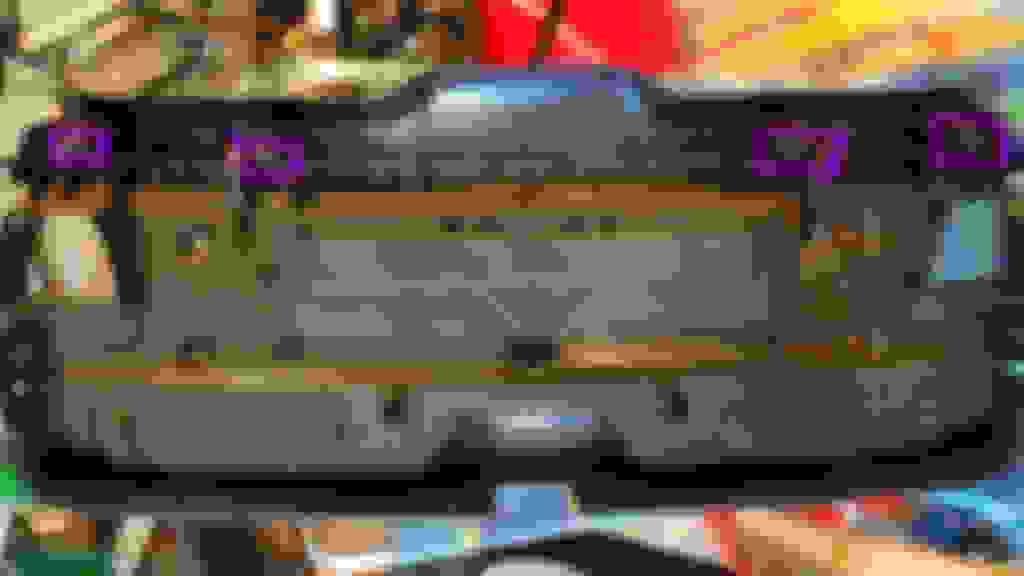
Lower trim from hidden side, showing clip locations.
Inside of hatch, showing locations of where clips plug in.
Upper trim showing clip location across the top
Upper trim showing clip location on side (and on top)
Inside of hatch where upper trim is installed, showing location of where clips plug in.
Top of hatch, showing 2 rectangles that show the third brake light.
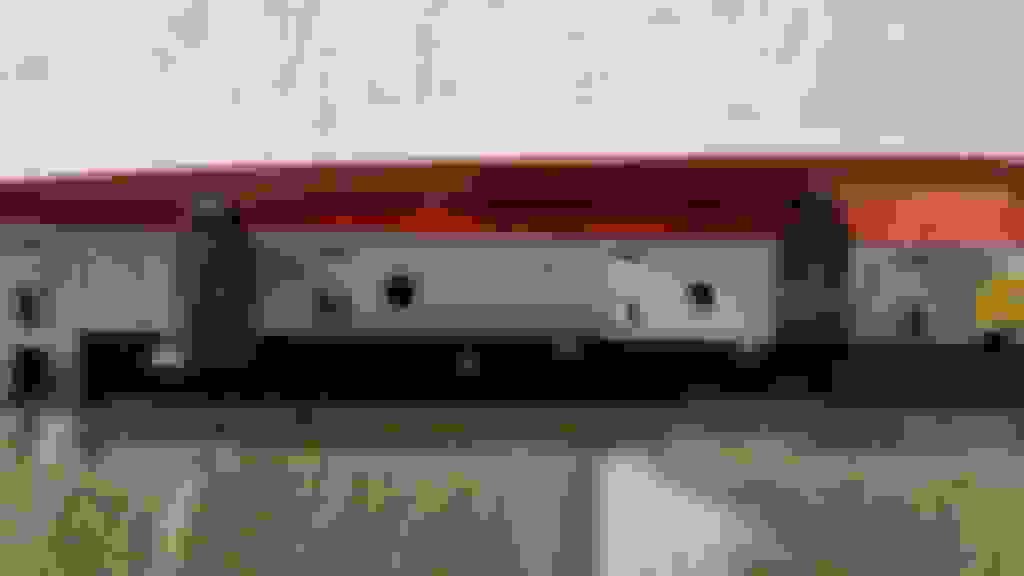
Close-up of third brake light, showing where screwdriver needs to be held. Strike screwdriver to slide black retaining clip to the right.Move it about an inch, such that the black clip can fall free of the light.This allows the metal clips to fall away as required to remove the light. It helps to have a magnet on a stick to remove the clips hidden behind the metal frame of the hatch. Fish the black retaining clip out from the outside... it is easily pushed up and out of the hatch once the light is successfully removed.
The numbers on the pic are:
the screwdriver inserted into the notch that allows black retaining clip to be moved to the right
the black retaining clip
the metal clip that ultimately holds the light to the hatch. There are 4 clips... 2 are visible in the rectangular holes, and 2 are hidden behind the metal frame of the hatch.
I wish I had this a month or so ago when I did mine. I found out the hard way with a bit of chipped paint around the brake light that you must get the black thing off first!
I did mess up one thing. It was the only writing I did from memory that I was not sure of. The corners are not just pulled off... there are 2 screws on each corner that are simply turned 90 degrees. The screws are hidden by the main (lower) cover so don't yank on them until you get that removed. My apologies to anyone led astray. In the end, they can likely be left in place but I can't be sure. But easily removed and reinstalled.
Ok, 2 more pix. One is showing the corners I had mentioned. They actually fit into the main (lower) cover and can be left in place as they don't cover any of the screws that need to be removed. They can be removed to lighten the cover, but they don't weigh much.
The other picture shows how the lights that are removed (before the lower panel is removed) are reinstalled. As you are putting the lower panel back in place, just let the wires hang down through the hole. Then once installed, connect the light such that the connector will be towards the outboard side of the car (not towards the centerline of the car). It simply rotates up and clicks into place.
I checked the P/N for the lower trim (in gray) and it applies to 2006 thru 2008 Avants. So this procedure should apply to your 2008 as well.
Thanks for the reply and thanks for taking the time to put up this walk through, you mentioned that this might be possible to do without removing the trim? Is that possible to sum up without going to the same lengths you've already gone too? A couple of lines? Thanks again much appreciated, I think I'll give this a go on my A6 Avant this weekend.
I managed to get the light in successfully after buying a new one from my local Audi dealer €80. Word of warning - be careful when actually pulling out the light as it is still connected to cable so don't pull too hard as I tore a little bit off the conecter, however there was still enough on it for me to make a sound connection and the light worked fine. I then put all the trim back on and 2 days later I get the warning light comes on again on the dashboard. I am so annoyed after that! Anyway the light has been rewired twice and the fitting itself has broken and the pattern has been that it works for 2 days then dies again. Could this be a fuse related problem? Any ideas?
Thanks IJN for this story. I am working on my 1999 C5 Avant, which has a slightly different method of installation.
Having watched a video, as in the video, I too was able to just pull down on the sun-warmed plastic trim panel that sits directly inboard of the hi-mount brake light; that saved lots of time removing all of that stubborn trim; I then propped the trim out with a piece of wood... this is where I hit my brick wall. This gave me access to the two slots on my car that are about 3/8" wide. When a screwdriver is inserted, then levered here, I can feel a slight "give" which allows me to gently lift /pry the fixture ends enough to fit a nickel. The greatest portion of this fixture is still very much in place, and I know that I am not quite releasing this correctly.
Perhaps someone out there may have experience in releasing the two "brake light tabs" as described in the Audi manual image # A94-0181. Thank You!
I started replacing this brake light yesterday, and saved tons of time by not removing all of the interior panels. I simply detached the upper part and strapped it to the towing bar. Plenty of space to work.
Unfortunately one of the electrical pins was broken, and was stuck inside the connector. Thus I had to replace the connector, but luckliy it is available as a spare part (#4b0971832) so that you don't need to replace all the wires.
 10-19-2016, 06:57 PM