tenspeed's latest mods


 07-25-2016, 11:52 AM
#12
AudiWorld Super User
Thread Starter
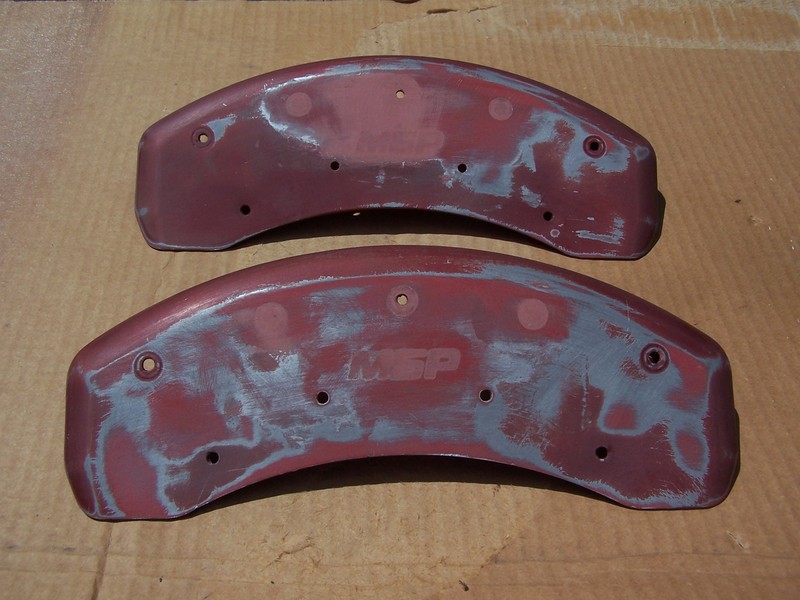
I got a start on making the rear calipers red. The rears don't have that massive look like the front calipers and I wanted to do something different. I could make something similar to the RS7 rear caliper covers which improved the look but it still left the outer bracket hanging out there. I checked out thrift stores and second hand shops for frying pans or lids but the largest I could find were twelve inch and I needed something around fourteen inch. I knew MGP made caliper covers but I'm not a fan of phoney bolts, manufacturers logos and their mounting system. I did come across a MGP Land Rover set on eBay for cheap. Someone bought them and never installed. I took a chance....
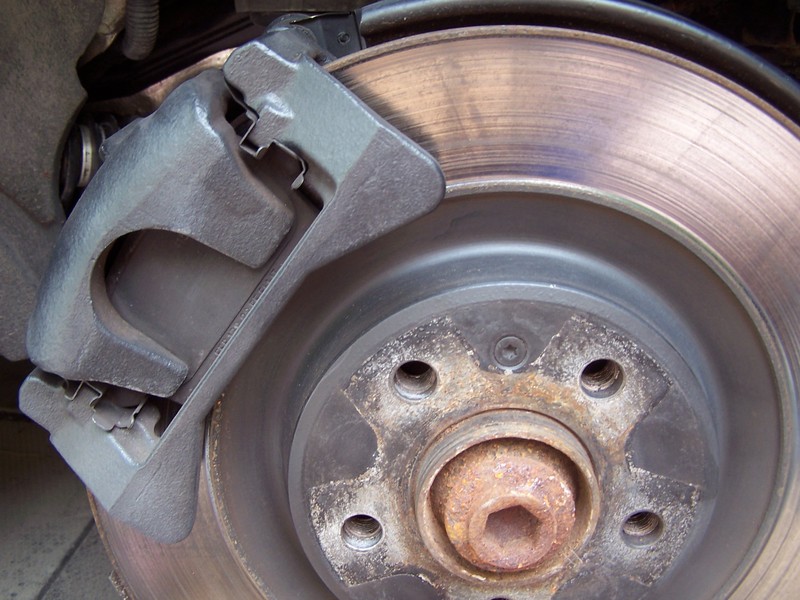
Here's a before shot of the rear caliper
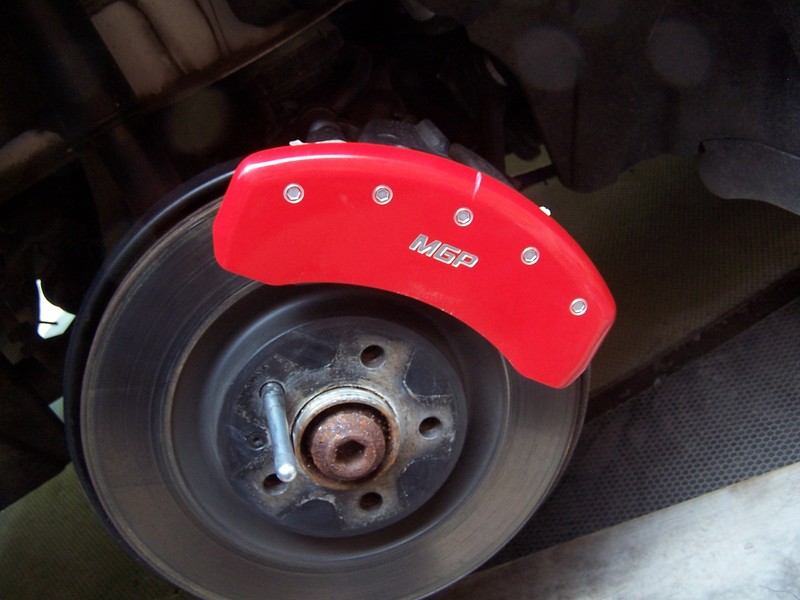
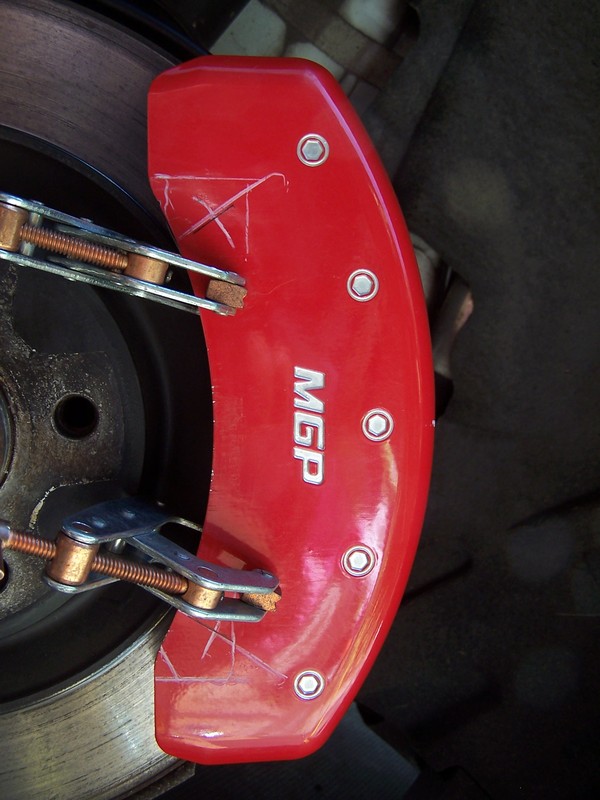
Here's the cover over the caliper. I mounted the wheel at this point to check clearance
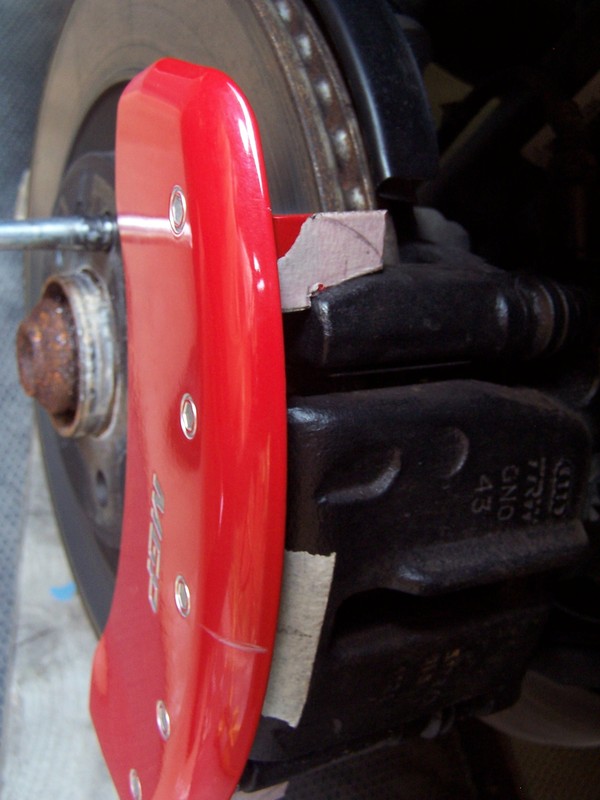
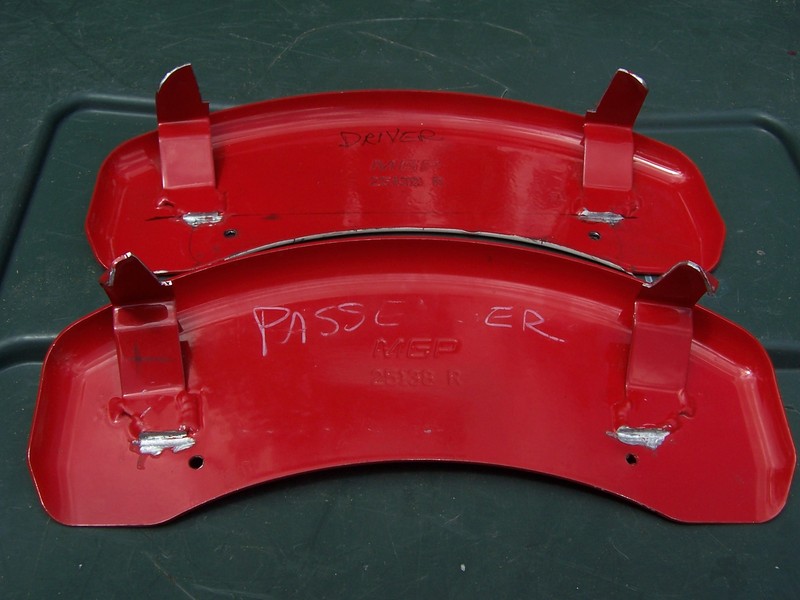
I cut the legs to fit around the bracket
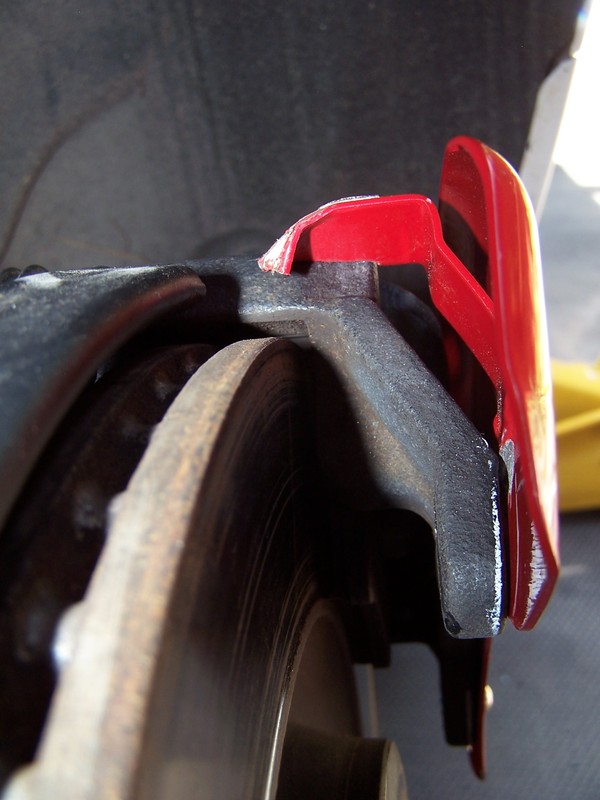
Curled the metal for added strength and smaller footprint
Clamped in place in preparation of drilling and tapping
A little metal removal to clear the bracket
Fronts drilled and tapped
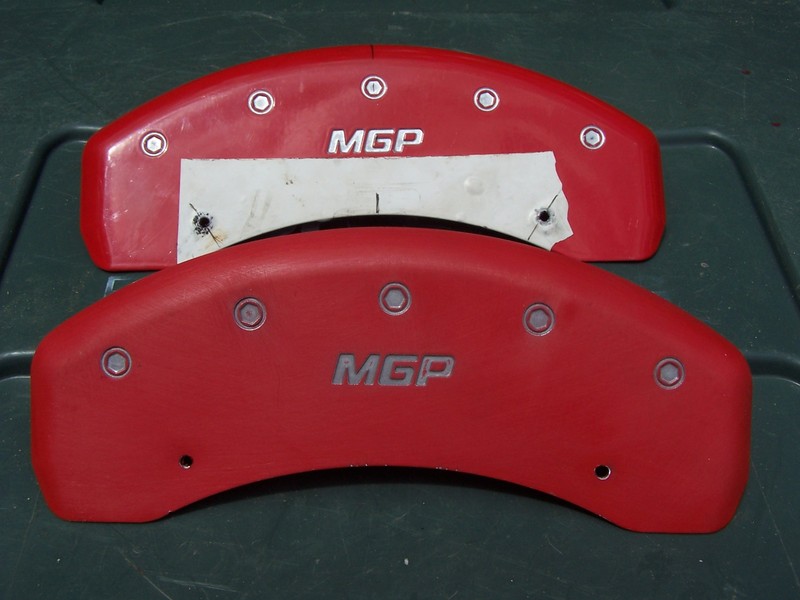
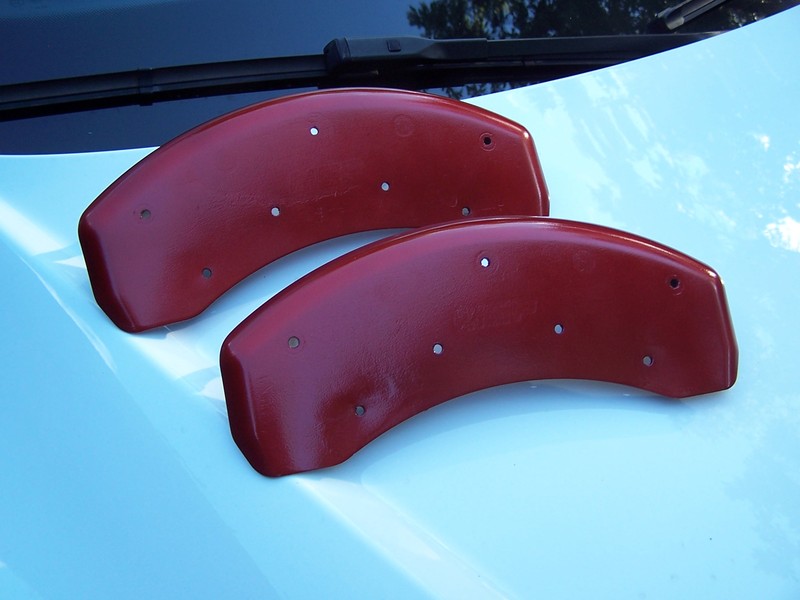
I did have the logo and "bolts" filled with spot putty and shot a couple coats of red but the color was too dark and not as glossy as the fronts. I'm pretty sure it was too humid and I'll have to wait a few days before I have shots of the completed project.
Here's a before shot of the rear caliper

Here's the cover over the caliper. I mounted the wheel at this point to check clearance

I cut the legs to fit around the bracket

Curled the metal for added strength and smaller footprint

Clamped in place in preparation of drilling and tapping

A little metal removal to clear the bracket

Fronts drilled and tapped

I did have the logo and "bolts" filled with spot putty and shot a couple coats of red but the color was too dark and not as glossy as the fronts. I'm pretty sure it was too humid and I'll have to wait a few days before I have shots of the completed project.
07-25-2016, 02:22 PM
#13
AudiWorld Super User
Thread Starter
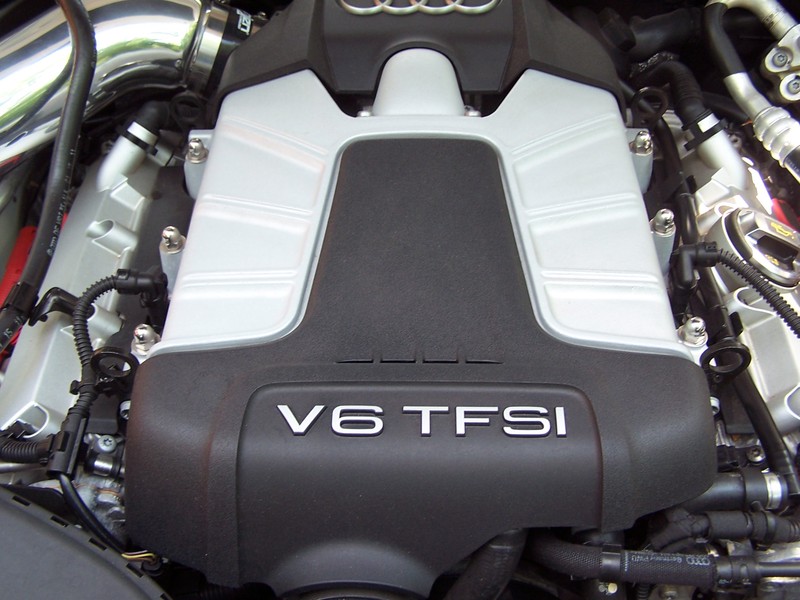
Replaced the supercharger hardware with metric stainless acorn nuts and washers.
This is the upper mount for the front suspension. These are under plastic and can be seen peeking through the grills but I know they are there.
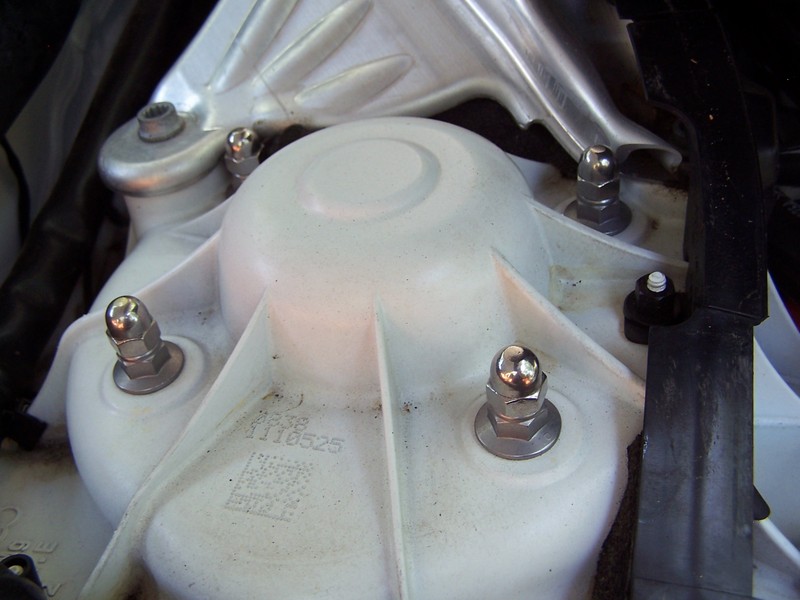


This is the upper mount for the front suspension. These are under plastic and can be seen peeking through the grills but I know they are there.
 07-27-2016, 04:49 PM
#14
AudiWorld Super User
Thread Starter
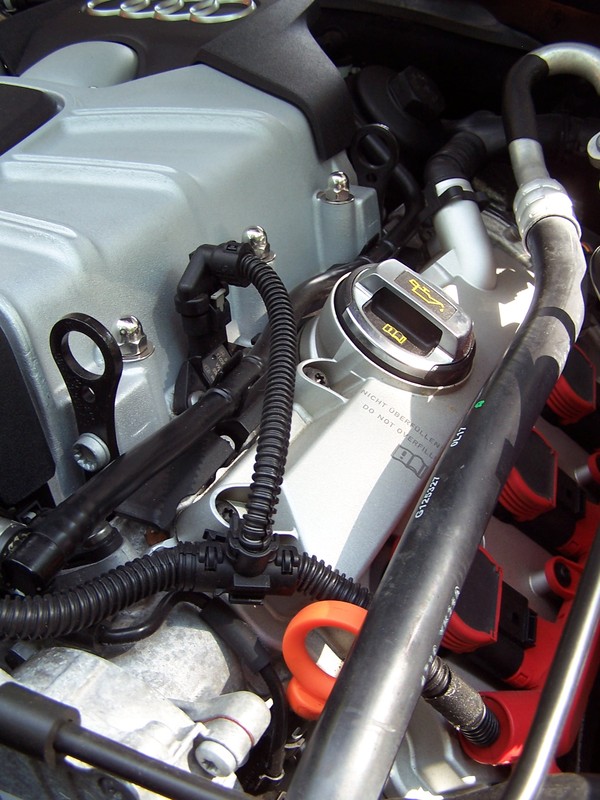
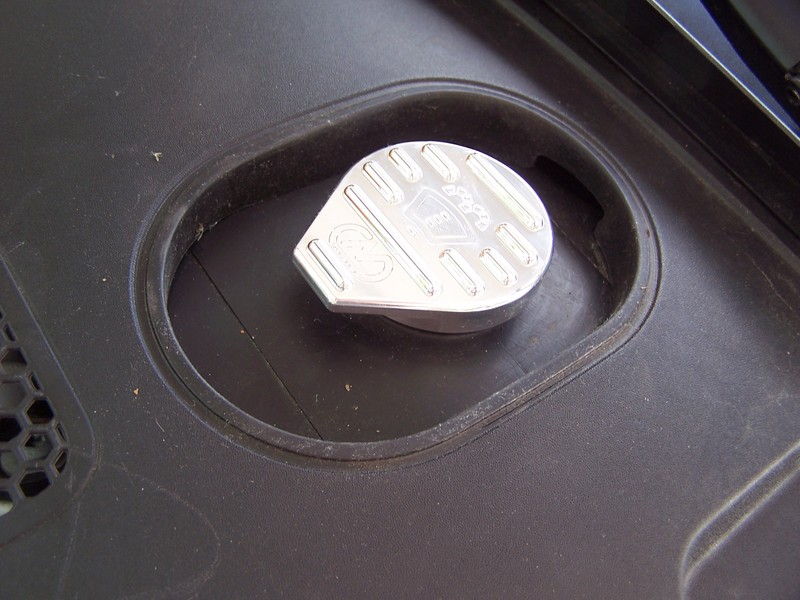
Alloy reservoir cap
My first paint job was too dark, not enough gloss and I could see the outlines of the indentations so I took them back down and started over.
Smooth paint, color close enough and has gloss
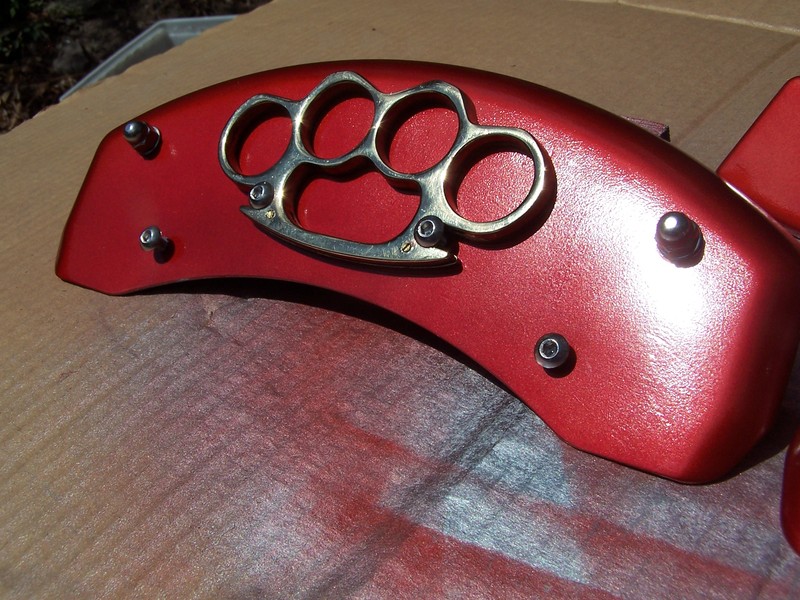
I did find these odd looking Audi logos to adore the face
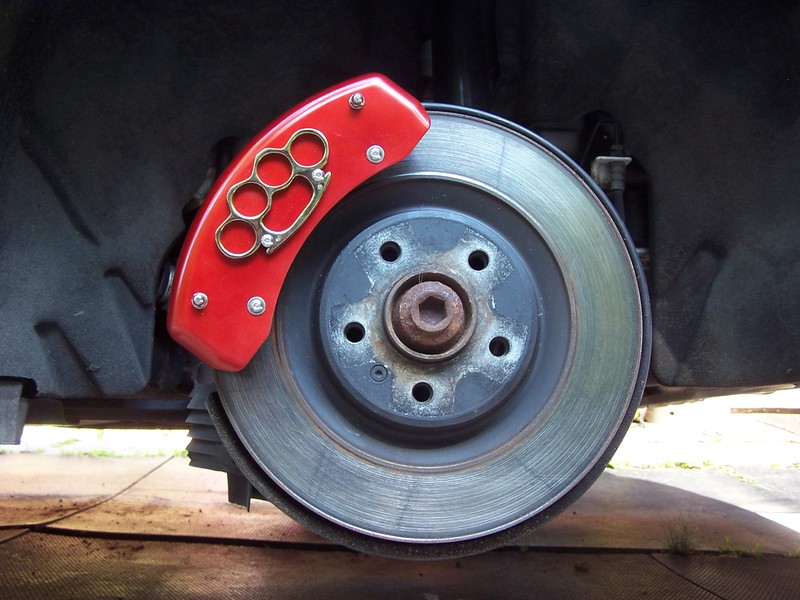
Here's the cover mounted on the caliper.
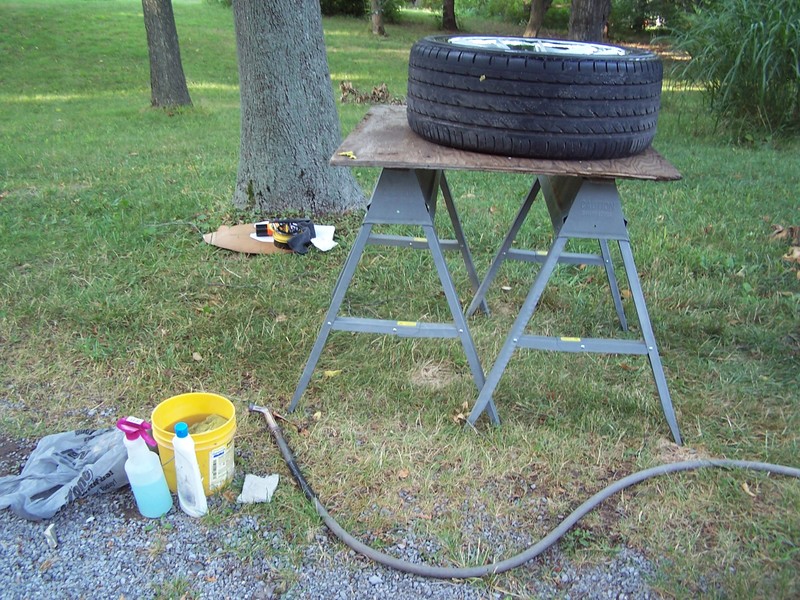
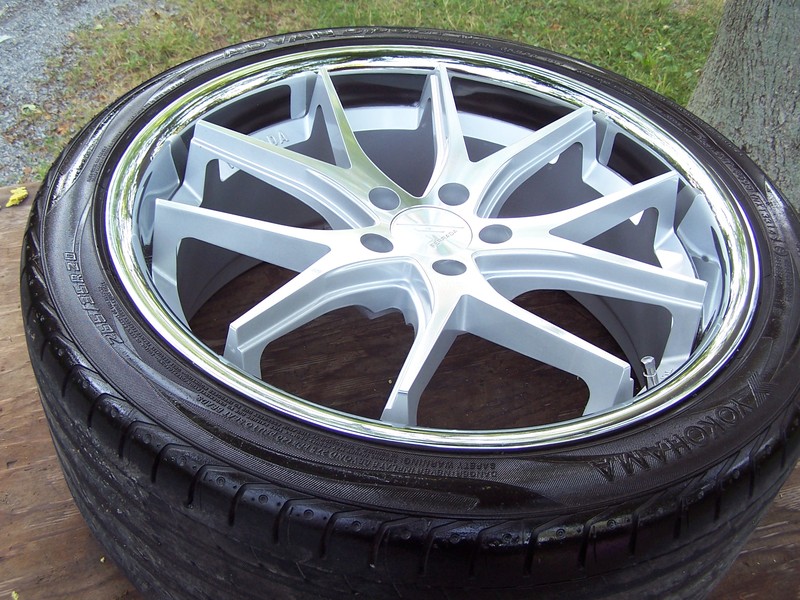
My temporary wheel detailing station. Soap and soft scrub in front - wax and tire shine in the rear. We haven't been getting much rain so I set up on the grass.
A detailed wheel
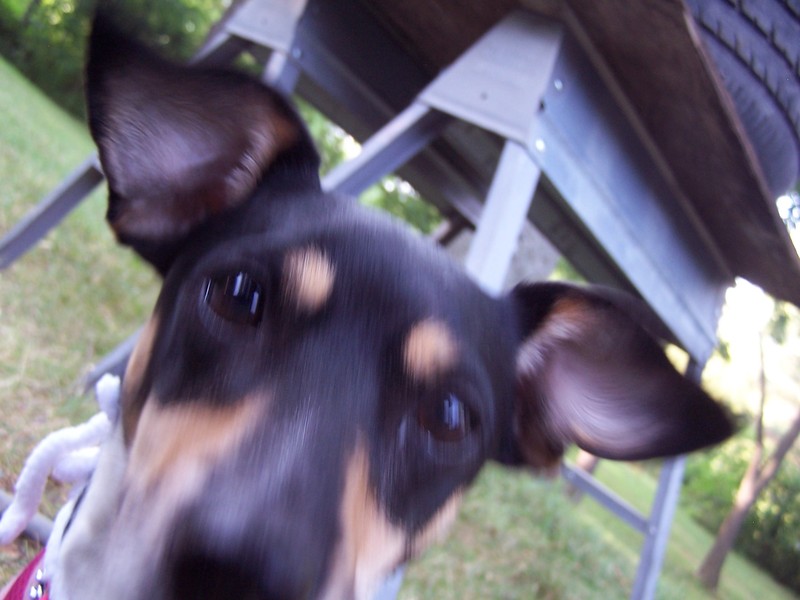
Scooter, our recent rescue dog, was curious about the camera
Detailed wheel mounted. Ready for the car show Saturday.


My first paint job was too dark, not enough gloss and I could see the outlines of the indentations so I took them back down and started over.

Smooth paint, color close enough and has gloss

I did find these odd looking Audi logos to adore the face

Here's the cover mounted on the caliper.

My temporary wheel detailing station. Soap and soft scrub in front - wax and tire shine in the rear. We haven't been getting much rain so I set up on the grass.

A detailed wheel

Scooter, our recent rescue dog, was curious about the camera

Detailed wheel mounted. Ready for the car show Saturday.
 07-27-2016, 07:43 PM
#15
AudiWorld Senior Member
07-28-2016, 08:54 AM
#16
AudiWorld Super User
Thread Starter
I have a BMW & Porsche sponsored Pig Roast & Car Show this Saturday that I'm detailing for. If bringing an Audi isn't strange enough, having knuckle duster caliper covers should raise some interest. I guess I should park over in the Porsche section if there is one.
I should have a shot at the "Most Rural Western New York Gangsta" Award. I'm looking for a large sundial necklace and practicing how to walk around with my shorts at my knees.
09-25-2016, 05:10 PM
#17
AudiWorld Super User
Thread Starter
Latest mod was brake pads and rotors. Well, the fronts anyway. I couldn't get the carrier bolts loosened on the rear calipers. I'm having an exhaust installed tomorrow and I'll ask the guys with the lift and big tools to have a go at them.
Here's the rotors
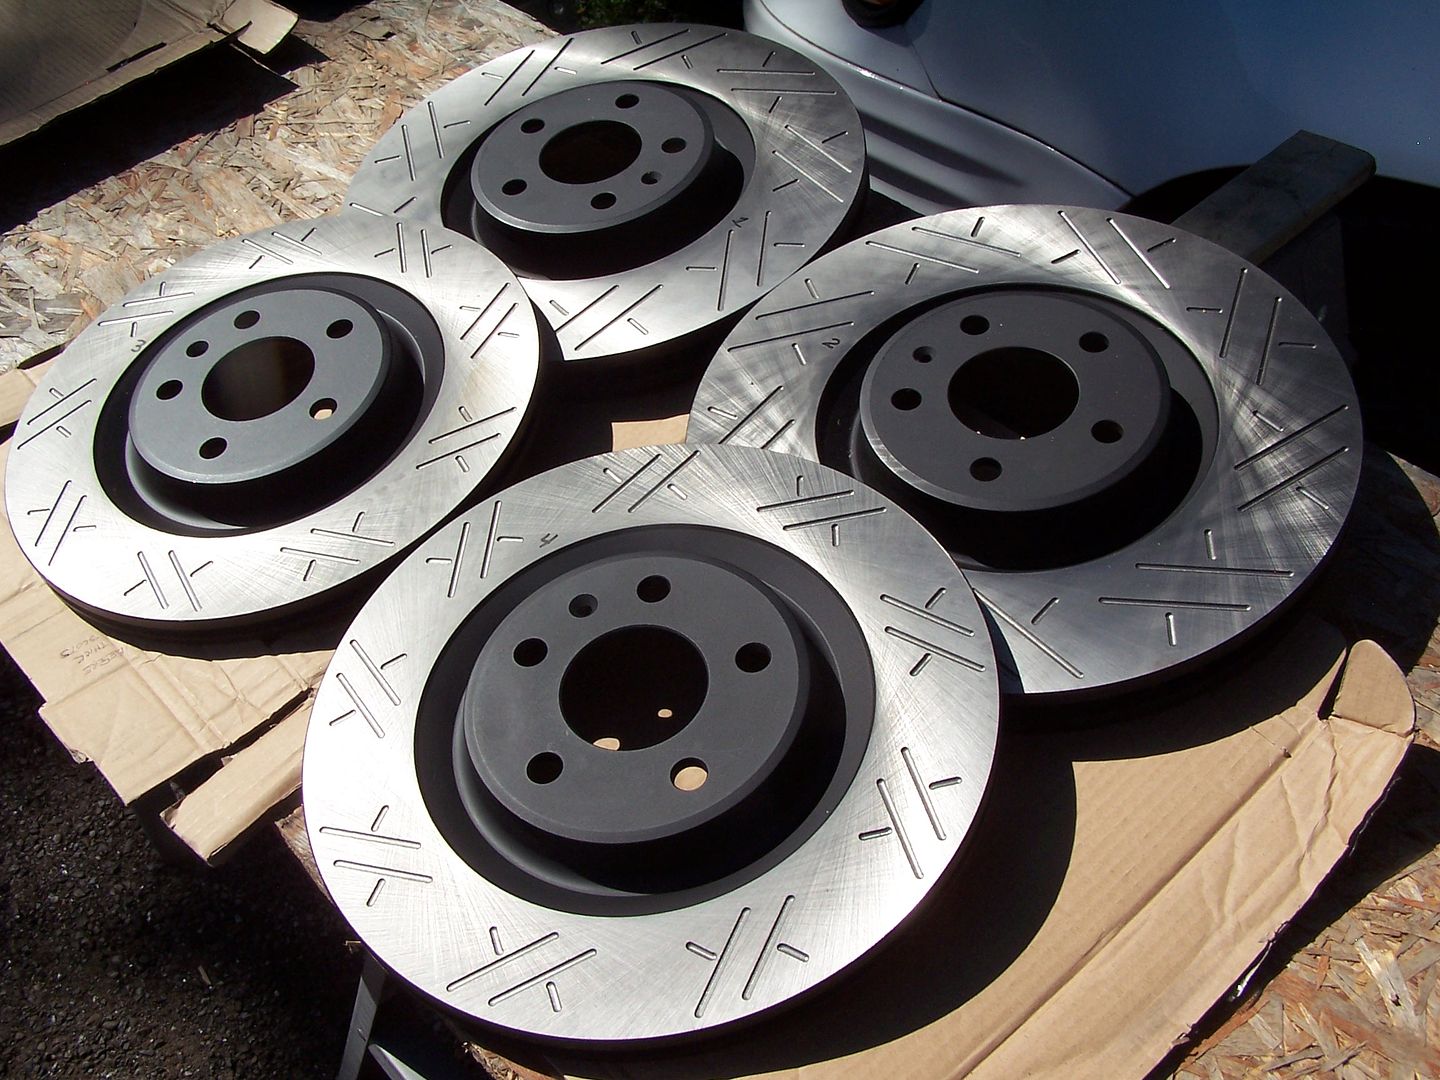
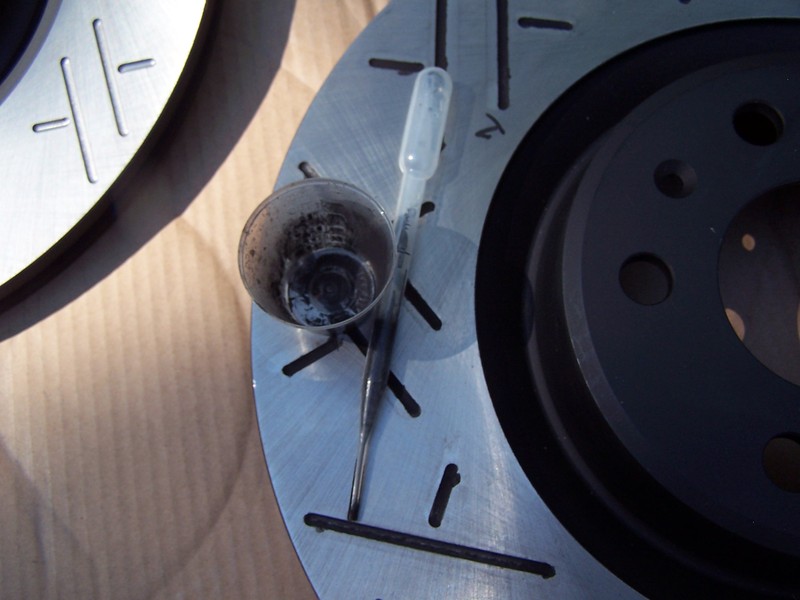
I wanted the slots to be dark so I painted them using a plastic eyedropper and paint sprayed into a cup. The first few drops was messy until I got the hang of it.
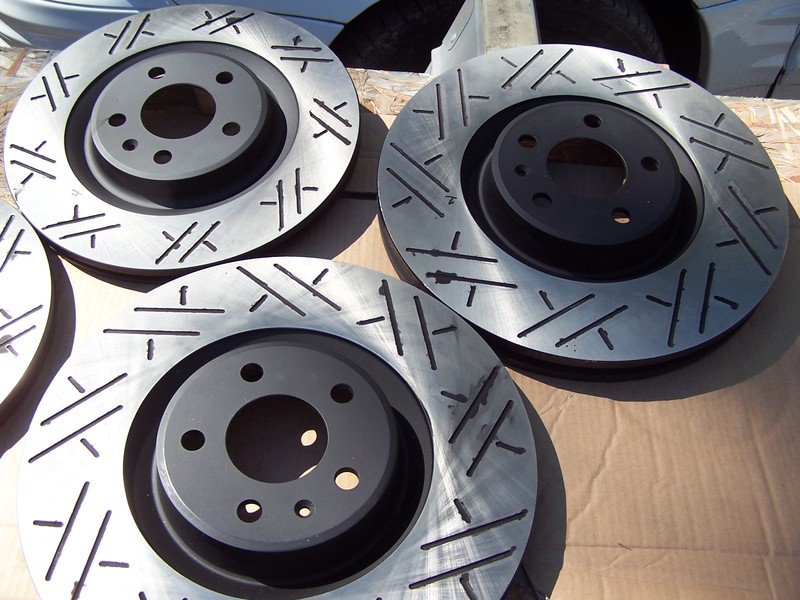
After 50 miles or so, the mess disappeared

Here's the rotors

I wanted the slots to be dark so I painted them using a plastic eyedropper and paint sprayed into a cup. The first few drops was messy until I got the hang of it.


After 50 miles or so, the mess disappeared
 09-26-2016, 09:30 AM
#18
Audi Enthusiast
 09-26-2016, 11:46 AM
#19
AudiWorld Super User
Thread Starter
I swabbed the slots with some propanol on a Q-tip for the prep. I had some 1500* flat black grill paint that I sprayed into the cup. When transferring paint with the eye dropper, don't fill it too much and keep it tipped back until you're near the slot to prevent unexpected drips. Gently squeeze the barrel while moving along the slot to fill it. A couple slots needed more than one filling.
09-26-2016, 02:32 PM
#20
AudiWorld Super User
Thread Starter
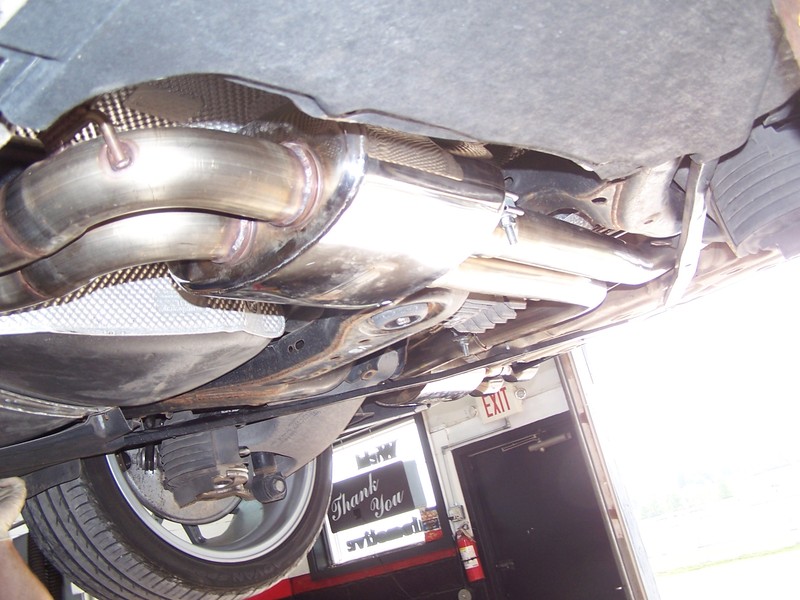
This post is going to be picture heavy. The car is rarely on a lift and if anyone is doing a DIY exhaust installation, these pictures might fill in the blanks in the AWE installation instruction PDF.
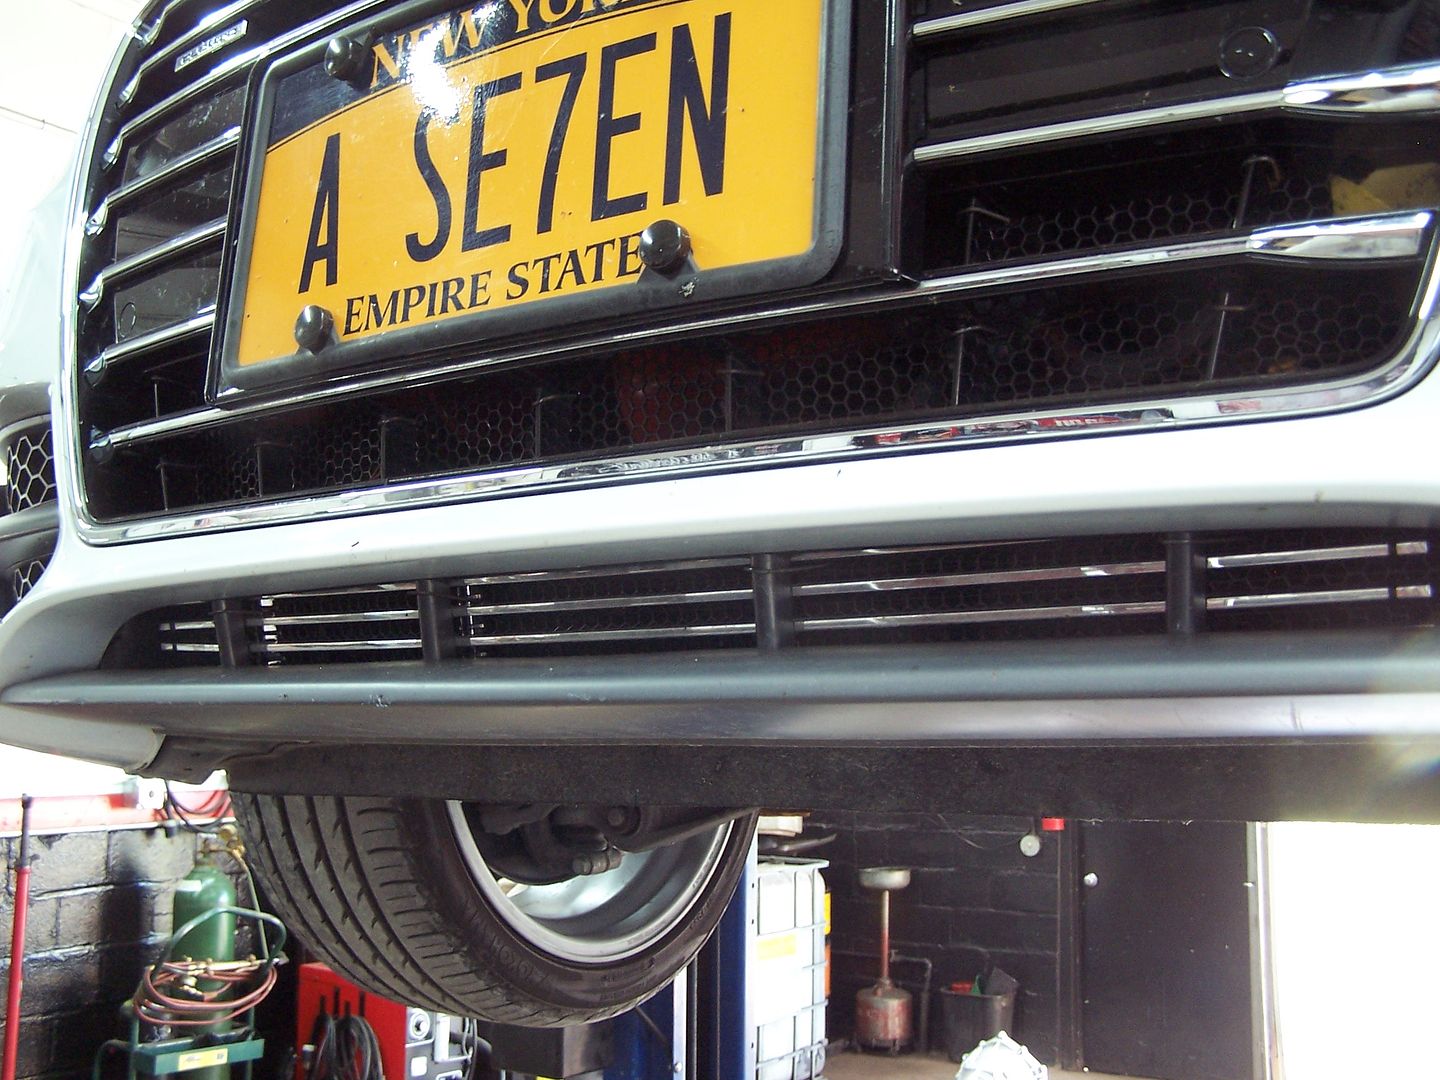
First is a exterior shot of the intercooler guard. I used a F150 lower billet grill to hold the metal mesh in place.
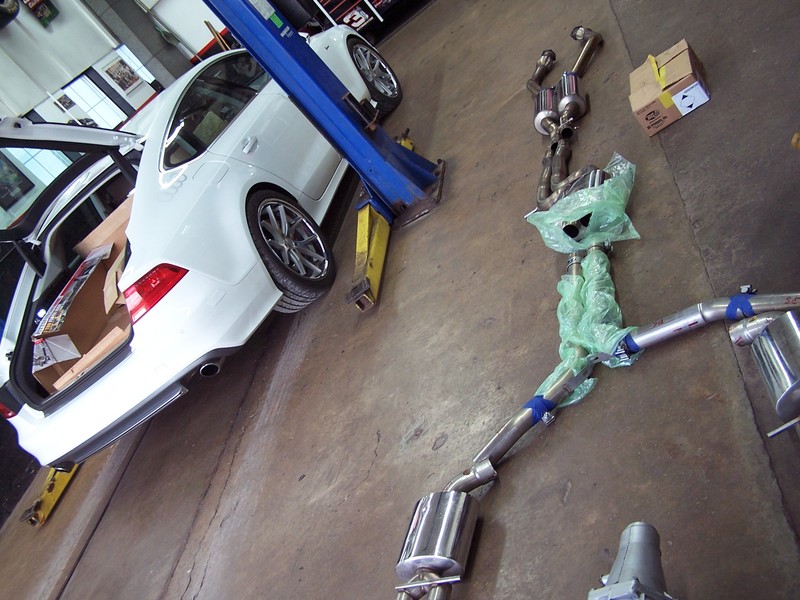
Exhaust laid out on the shop floor
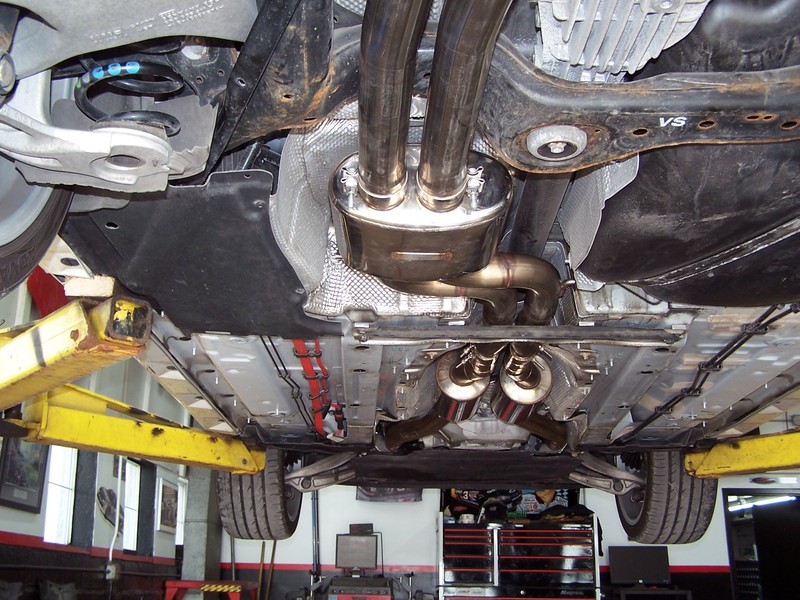
Before

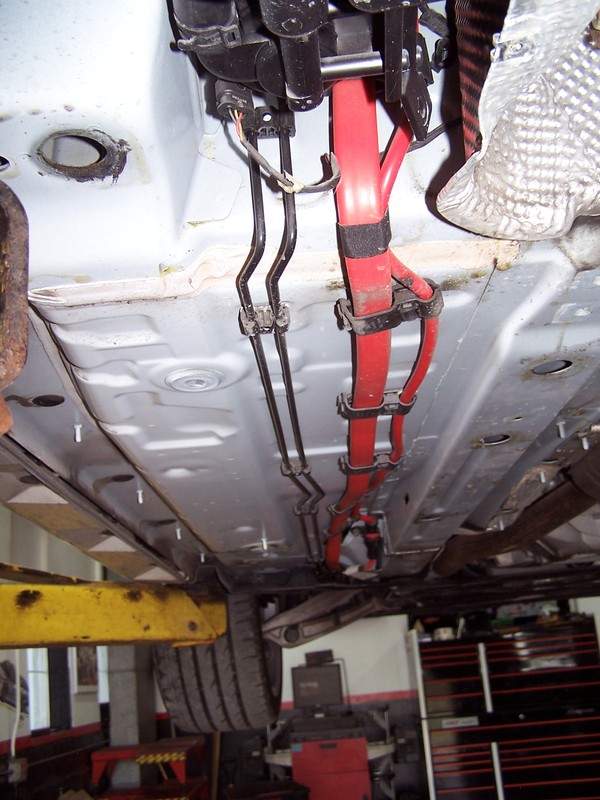
Power wires and brake lines - drivers side
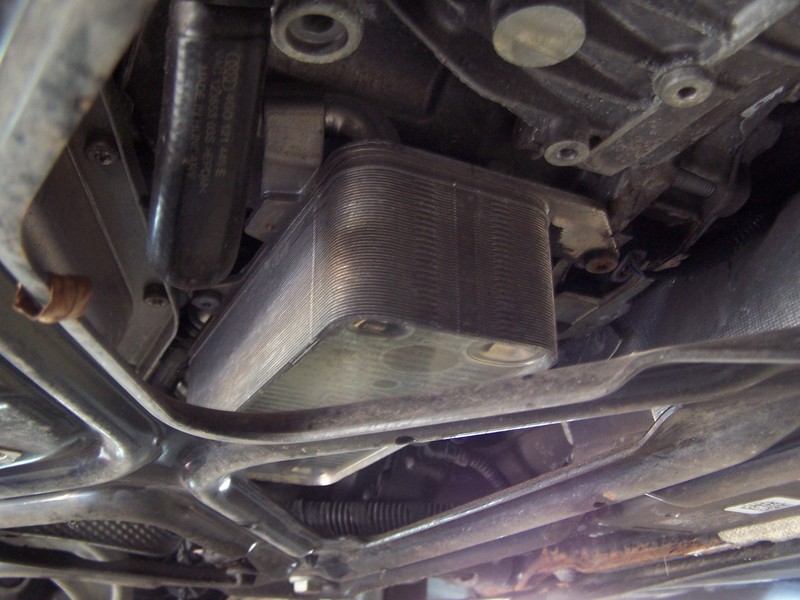
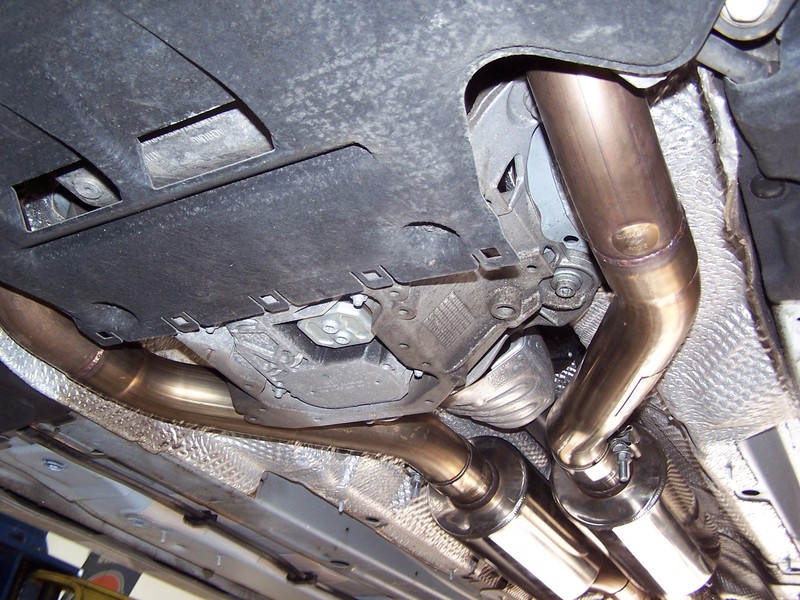
The power steering cooler tucked under the tranny
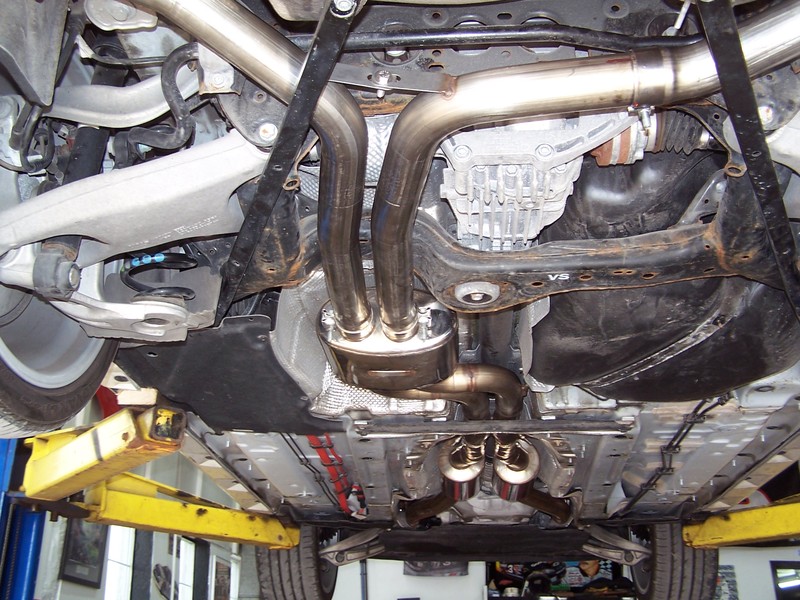
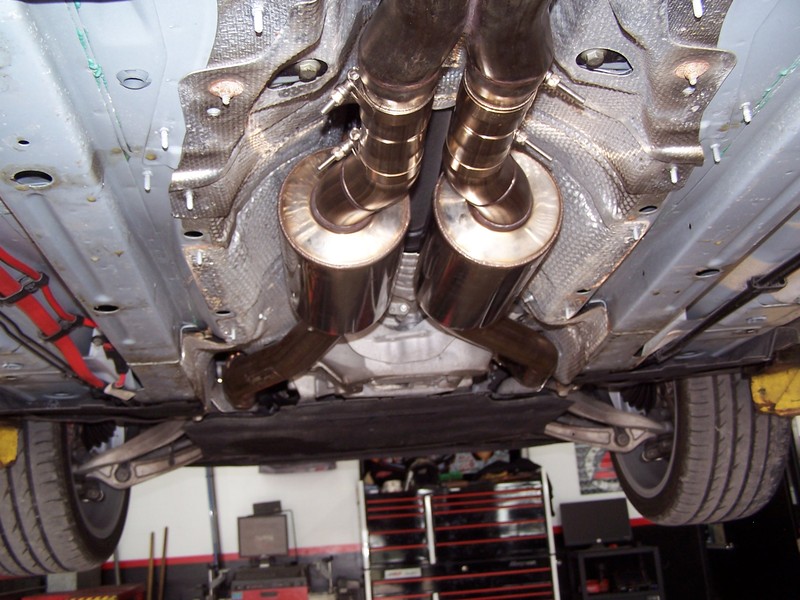
Exhaust loosely in place
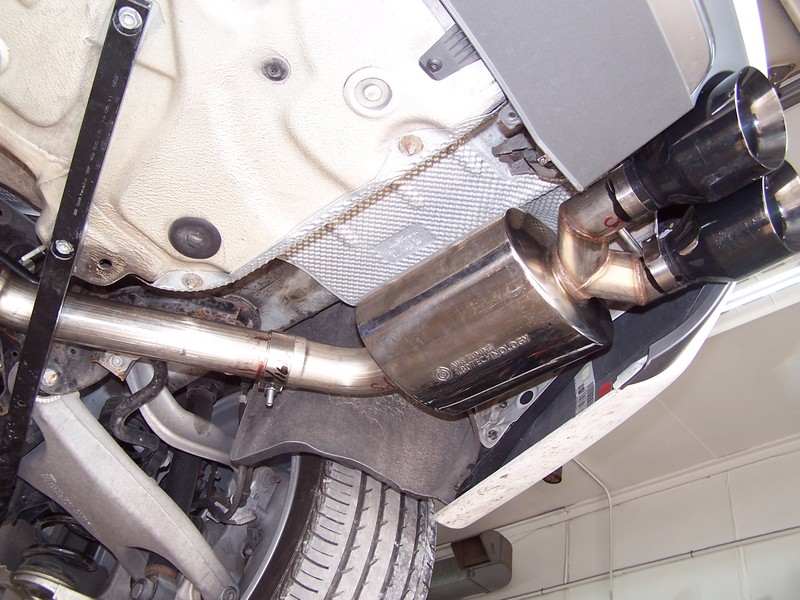
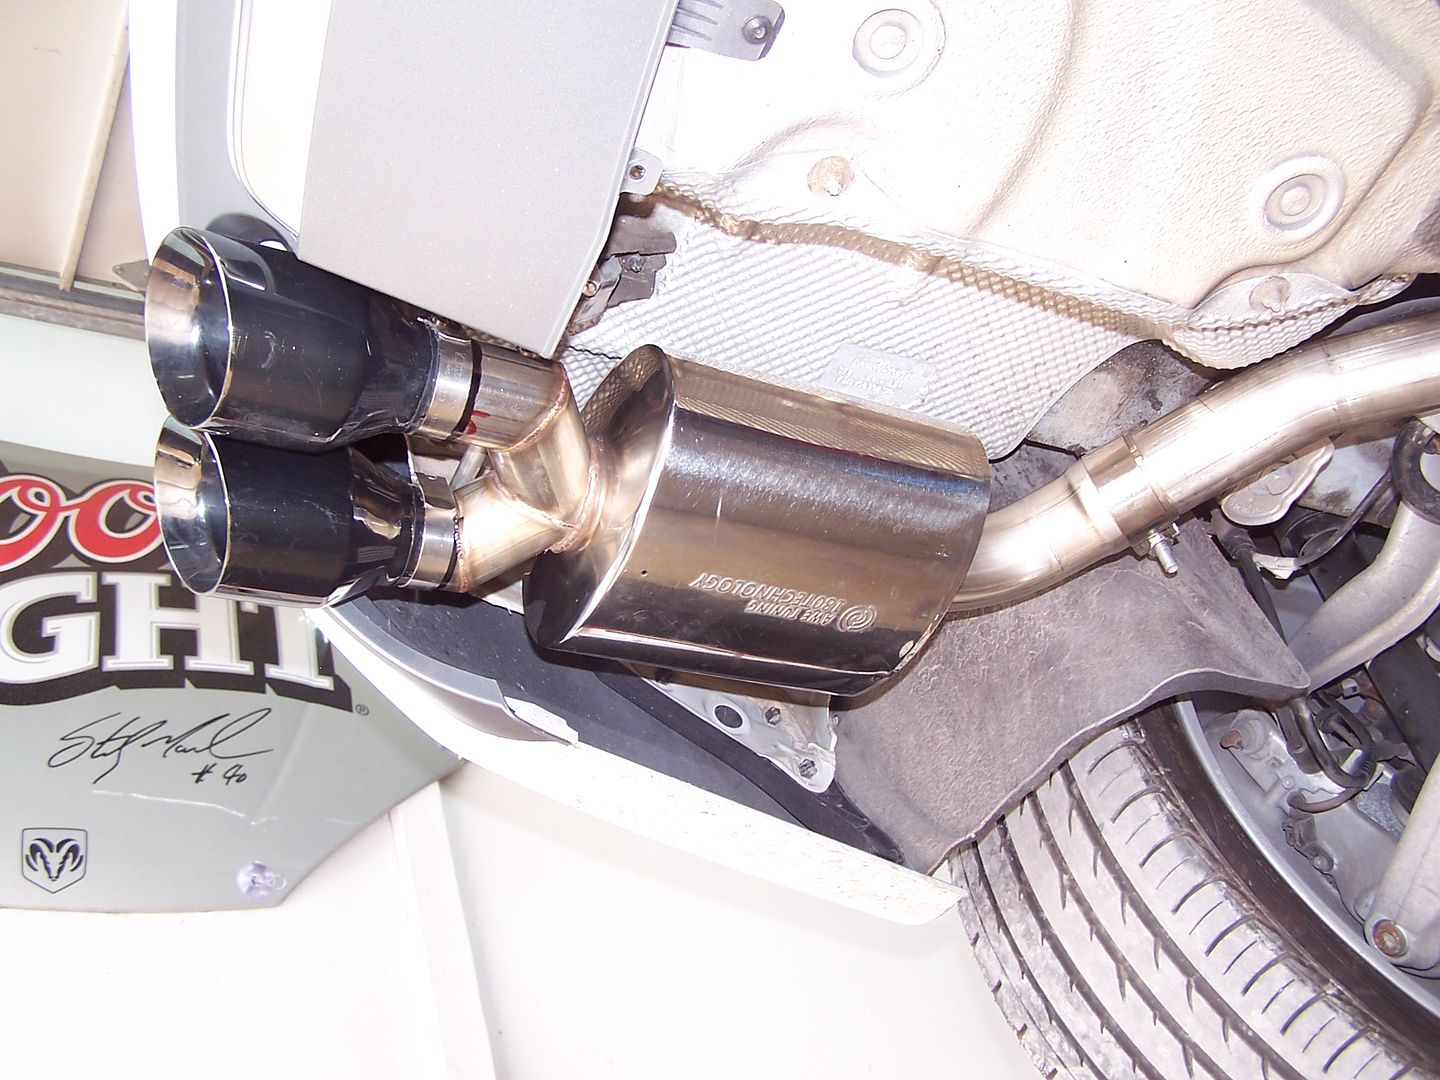
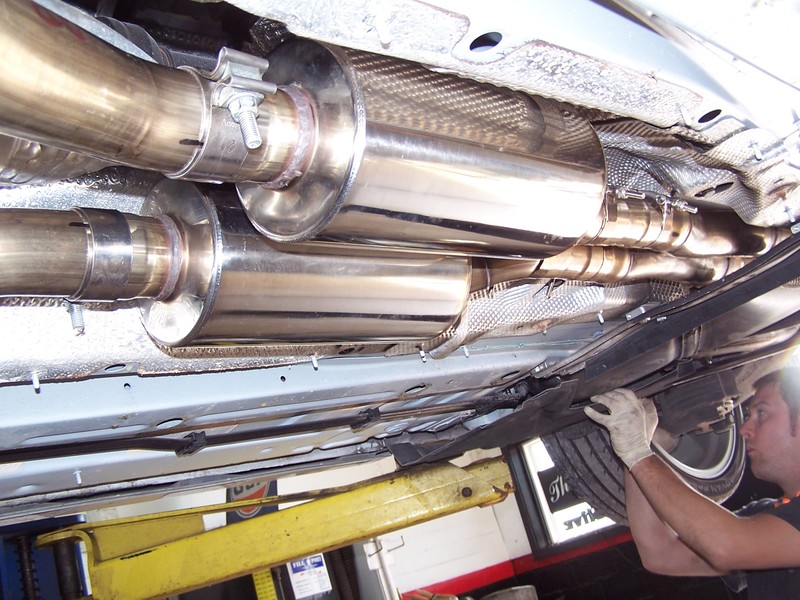
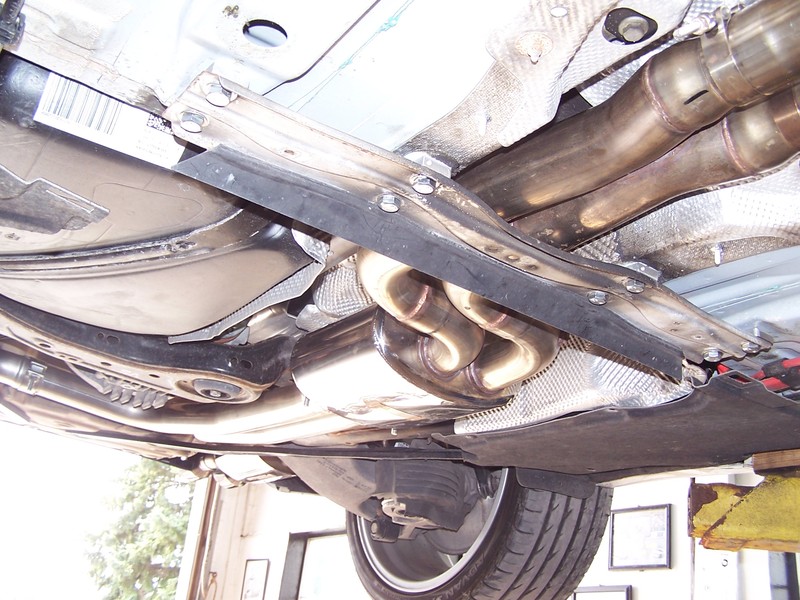
Tightened down - covers going back on
Tunnel brace with spacers
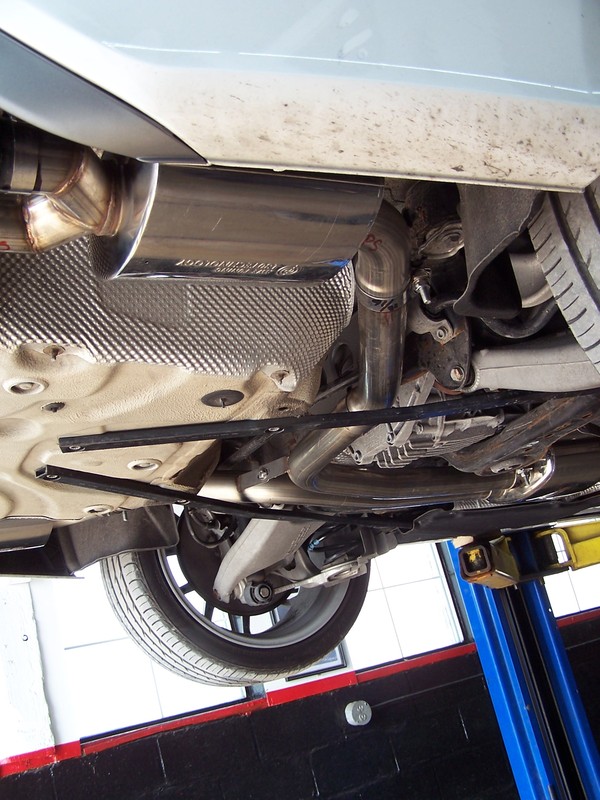
Rear track bars on - left the spacers out - plenty of room
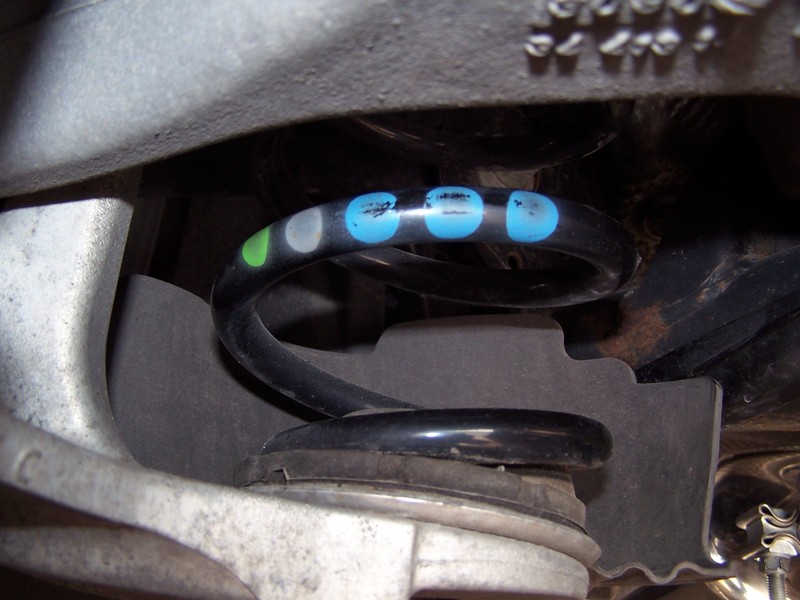
Sport suspension spring coding
Off the lift - out the door
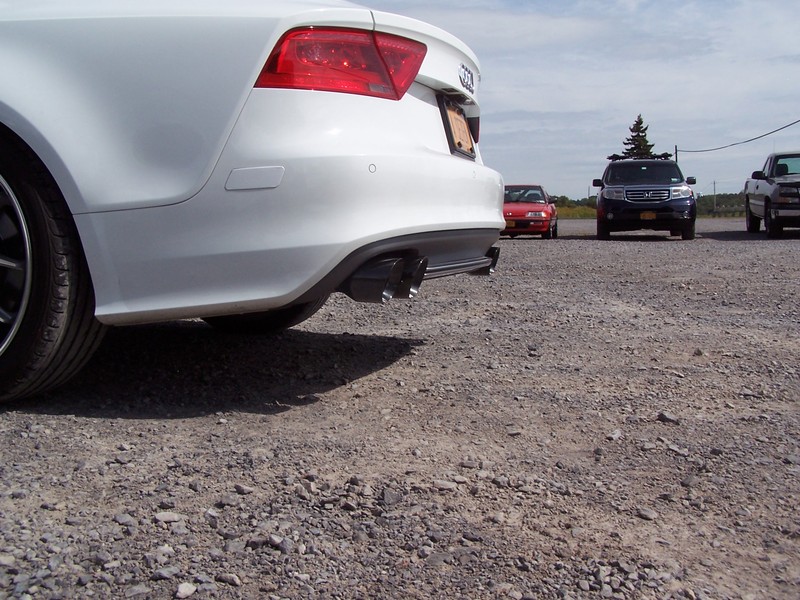
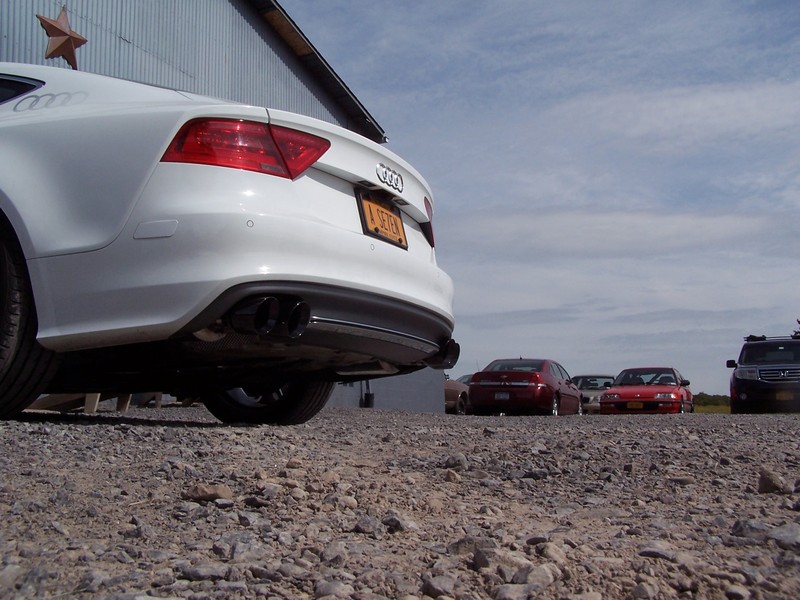
The touring exhaust is very quiet at idle and has a pleasant sound while accelerating. Nothing loud - more refined as it should be for a sport luxury car.
First is a exterior shot of the intercooler guard. I used a F150 lower billet grill to hold the metal mesh in place.

Exhaust laid out on the shop floor

Before

Power wires and brake lines - drivers side

The power steering cooler tucked under the tranny

Exhaust loosely in place


Tightened down - covers going back on


Tunnel brace with spacers

Rear track bars on - left the spacers out - plenty of room

Sport suspension spring coding

Off the lift - out the door


The touring exhaust is very quiet at idle and has a pleasant sound while accelerating. Nothing loud - more refined as it should be for a sport luxury car.
Last edited by tenspeed; 12-01-2016 at 08:19 PM.