When you click on links to various merchants on this site and make a purchase, this can result in this site earning a commission. Affiliate programs and affiliations include, but are not limited to, the eBay Partner Network.
Disclaimer: I am not a certified Mechanic and any information given here is use at your own risk. also I am horrible at spelling.
Hey everyone, I have only found a few walkthroughs for the Timing belt on the D3 A8 4.2l so I am Going to do this write up to hopefully guide anyone who plans to take on this project themselves.
Approximate Job Time for a Competent Mechanic ~7-10hrs
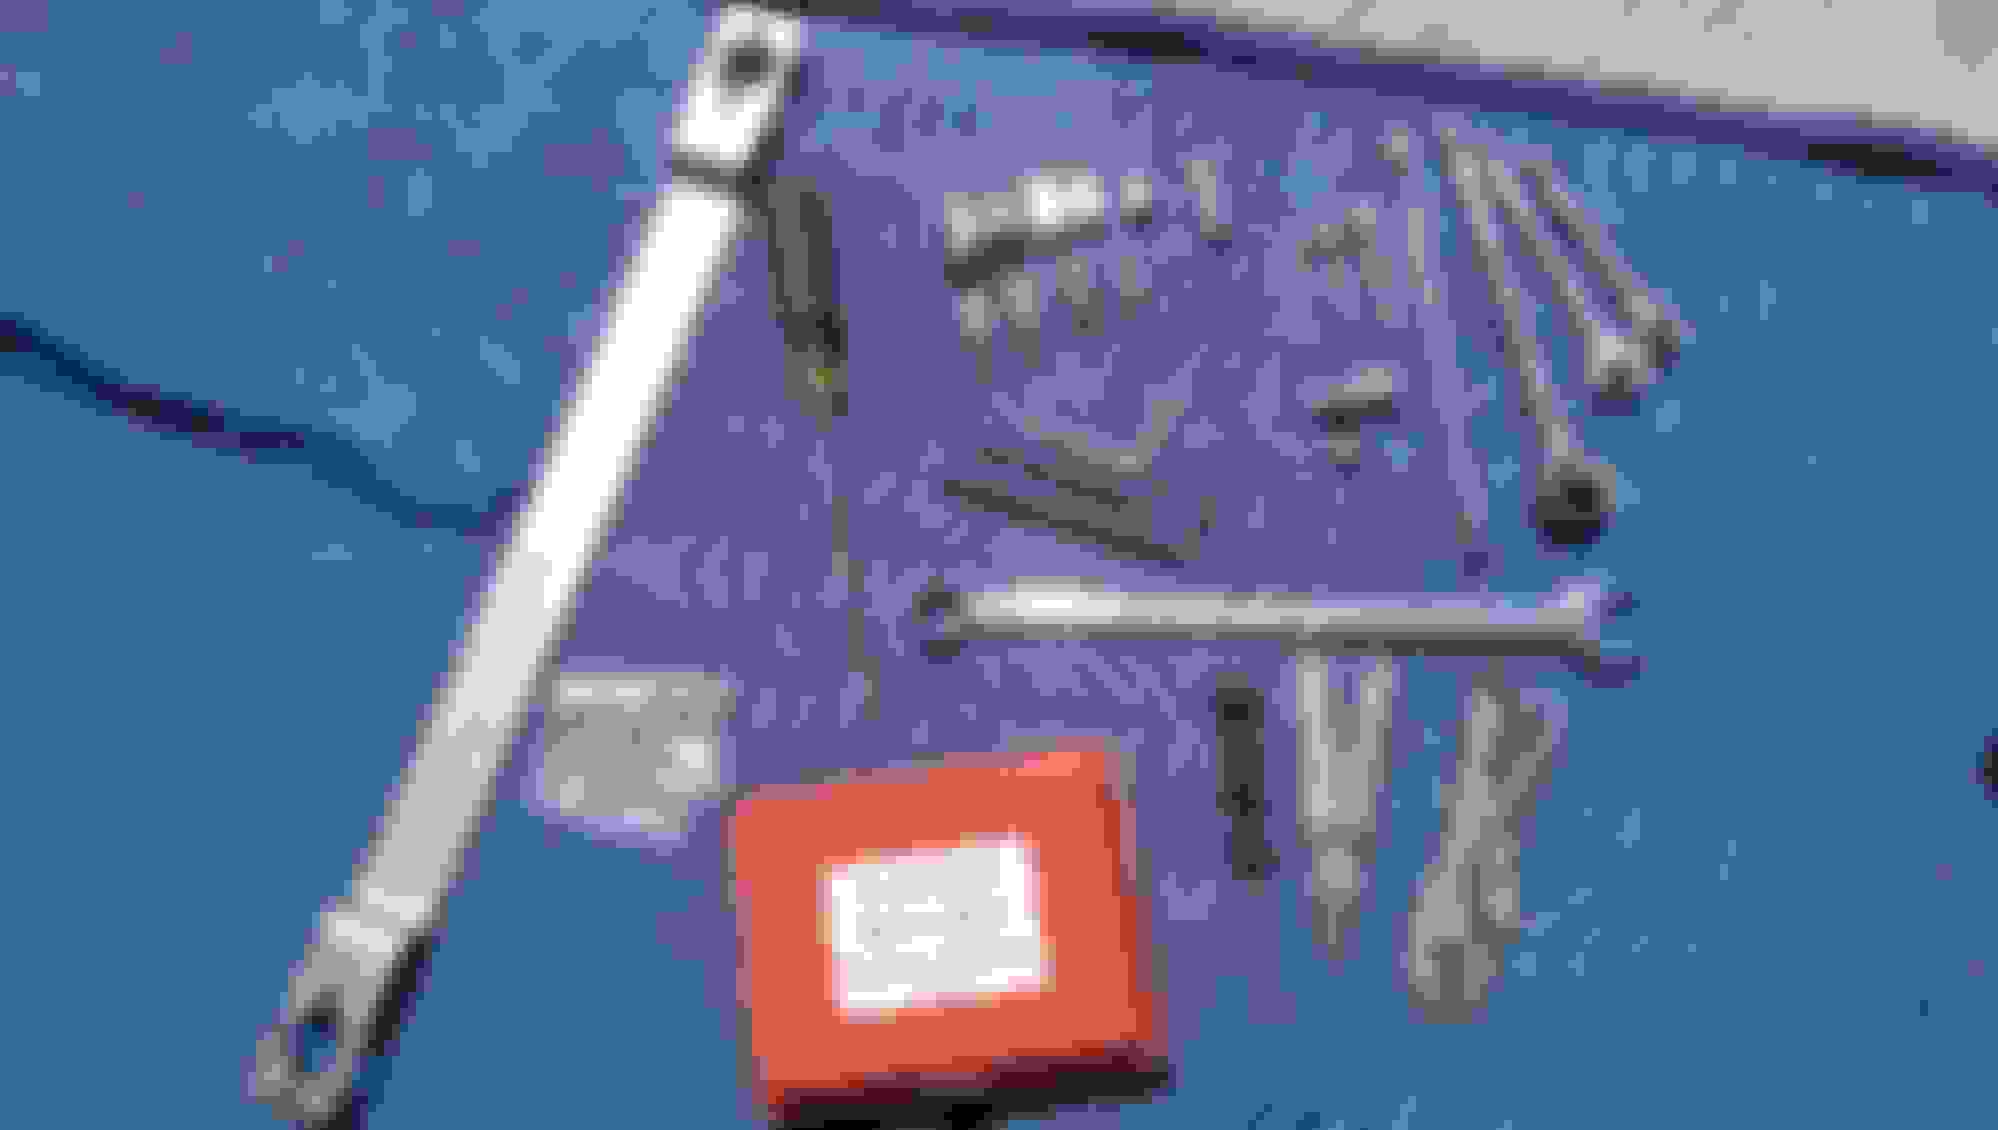
-3/4" Socket
-18mm Socket
-16mm Socket
-13mm Socket
-12mm Socket
-10mm Deep well Socket
(3)-3"extensions
- 10"extension
1/4",3/8",1/2" drive ratchets
-Audi Trunk Screwdriver
-Leatherman
-Long (10") flat head screwdriver
-Razor blade
-Vise Grips
-Floor Jack
(2)-Car Stands
-Lots of Gloves
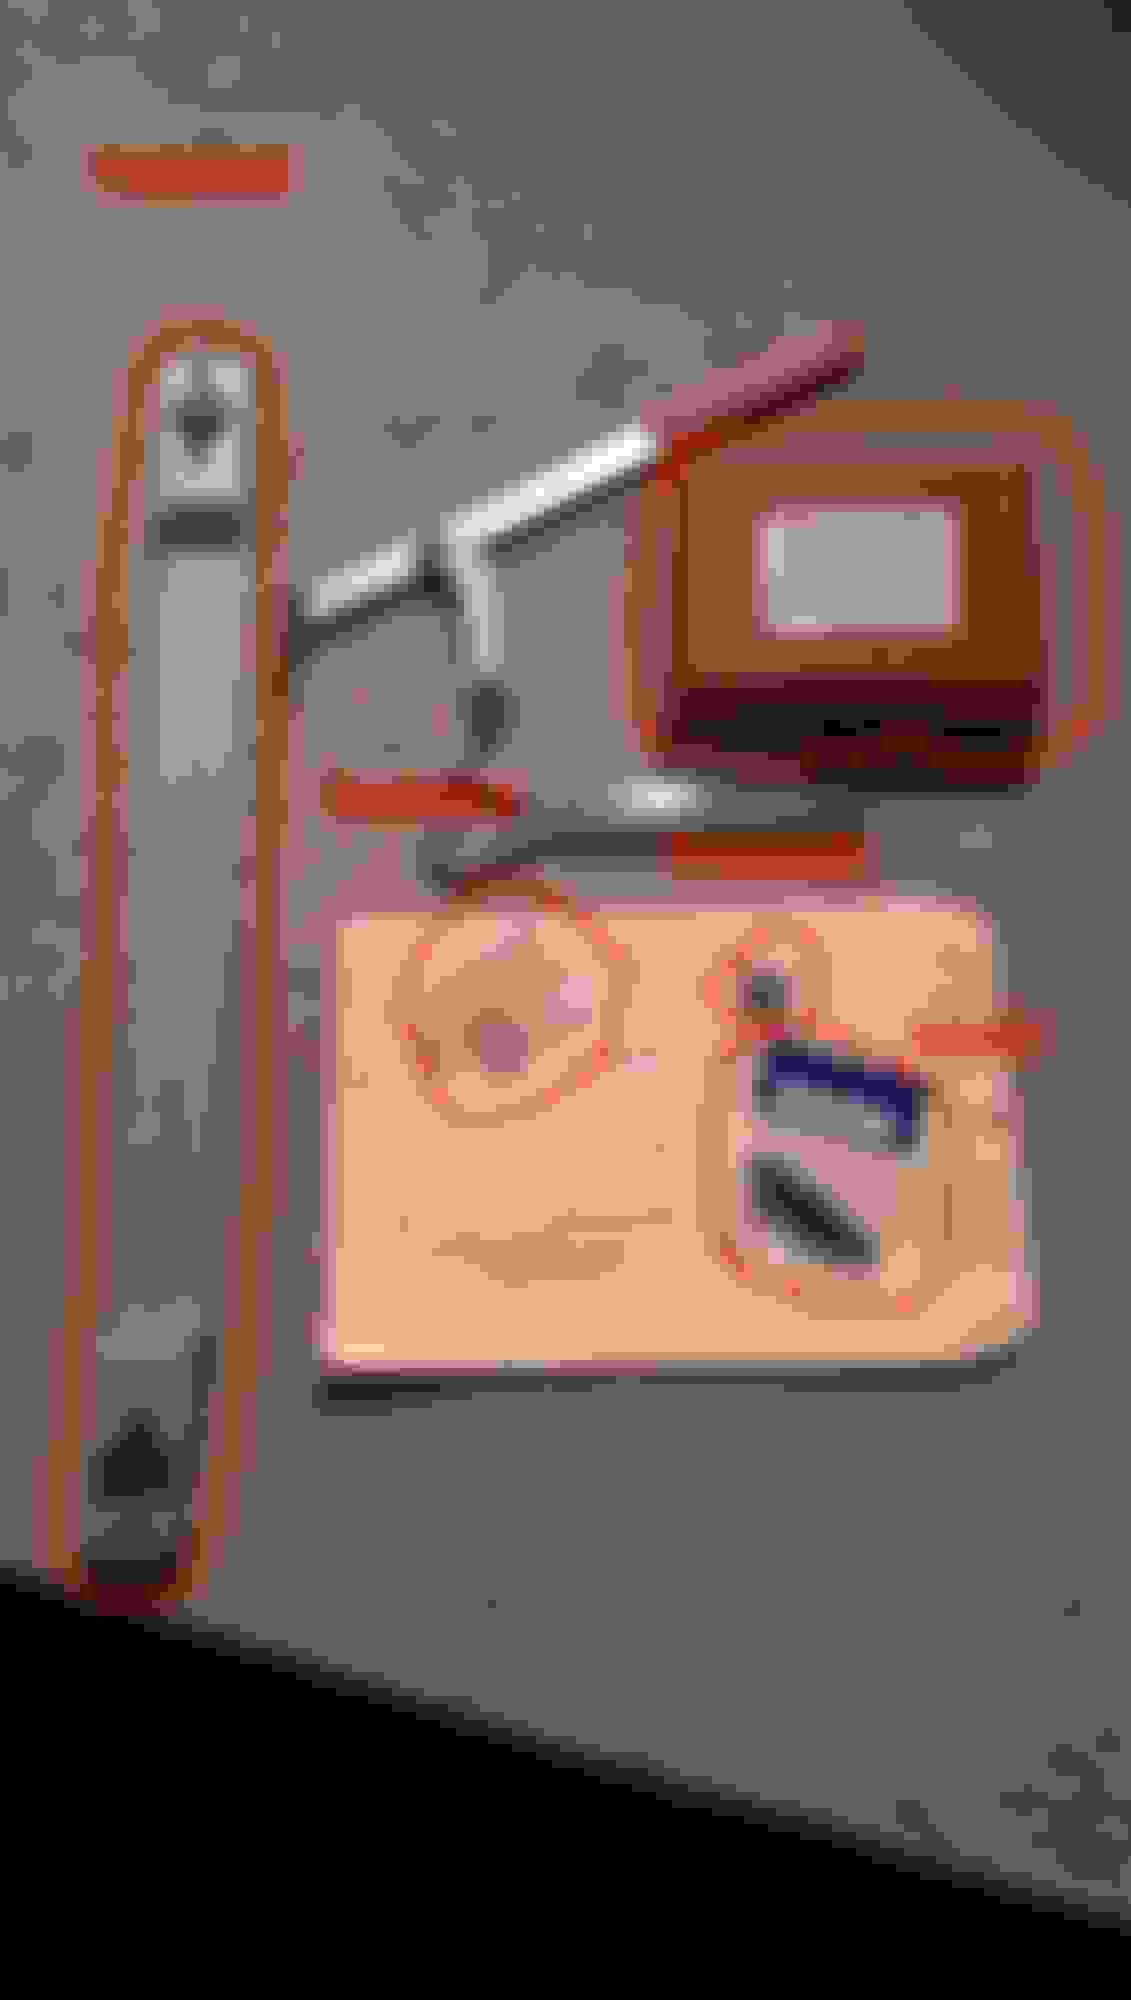
Specialty Tool that ARE NEEDED
Cam Lock bar (T40005)
Tensioner adjustment key (T40009)
Crankshaft holder (3242)
Dampener Pin (T40011) you can use a small allen wrench in place of this.
Cam gear puller (T40001)
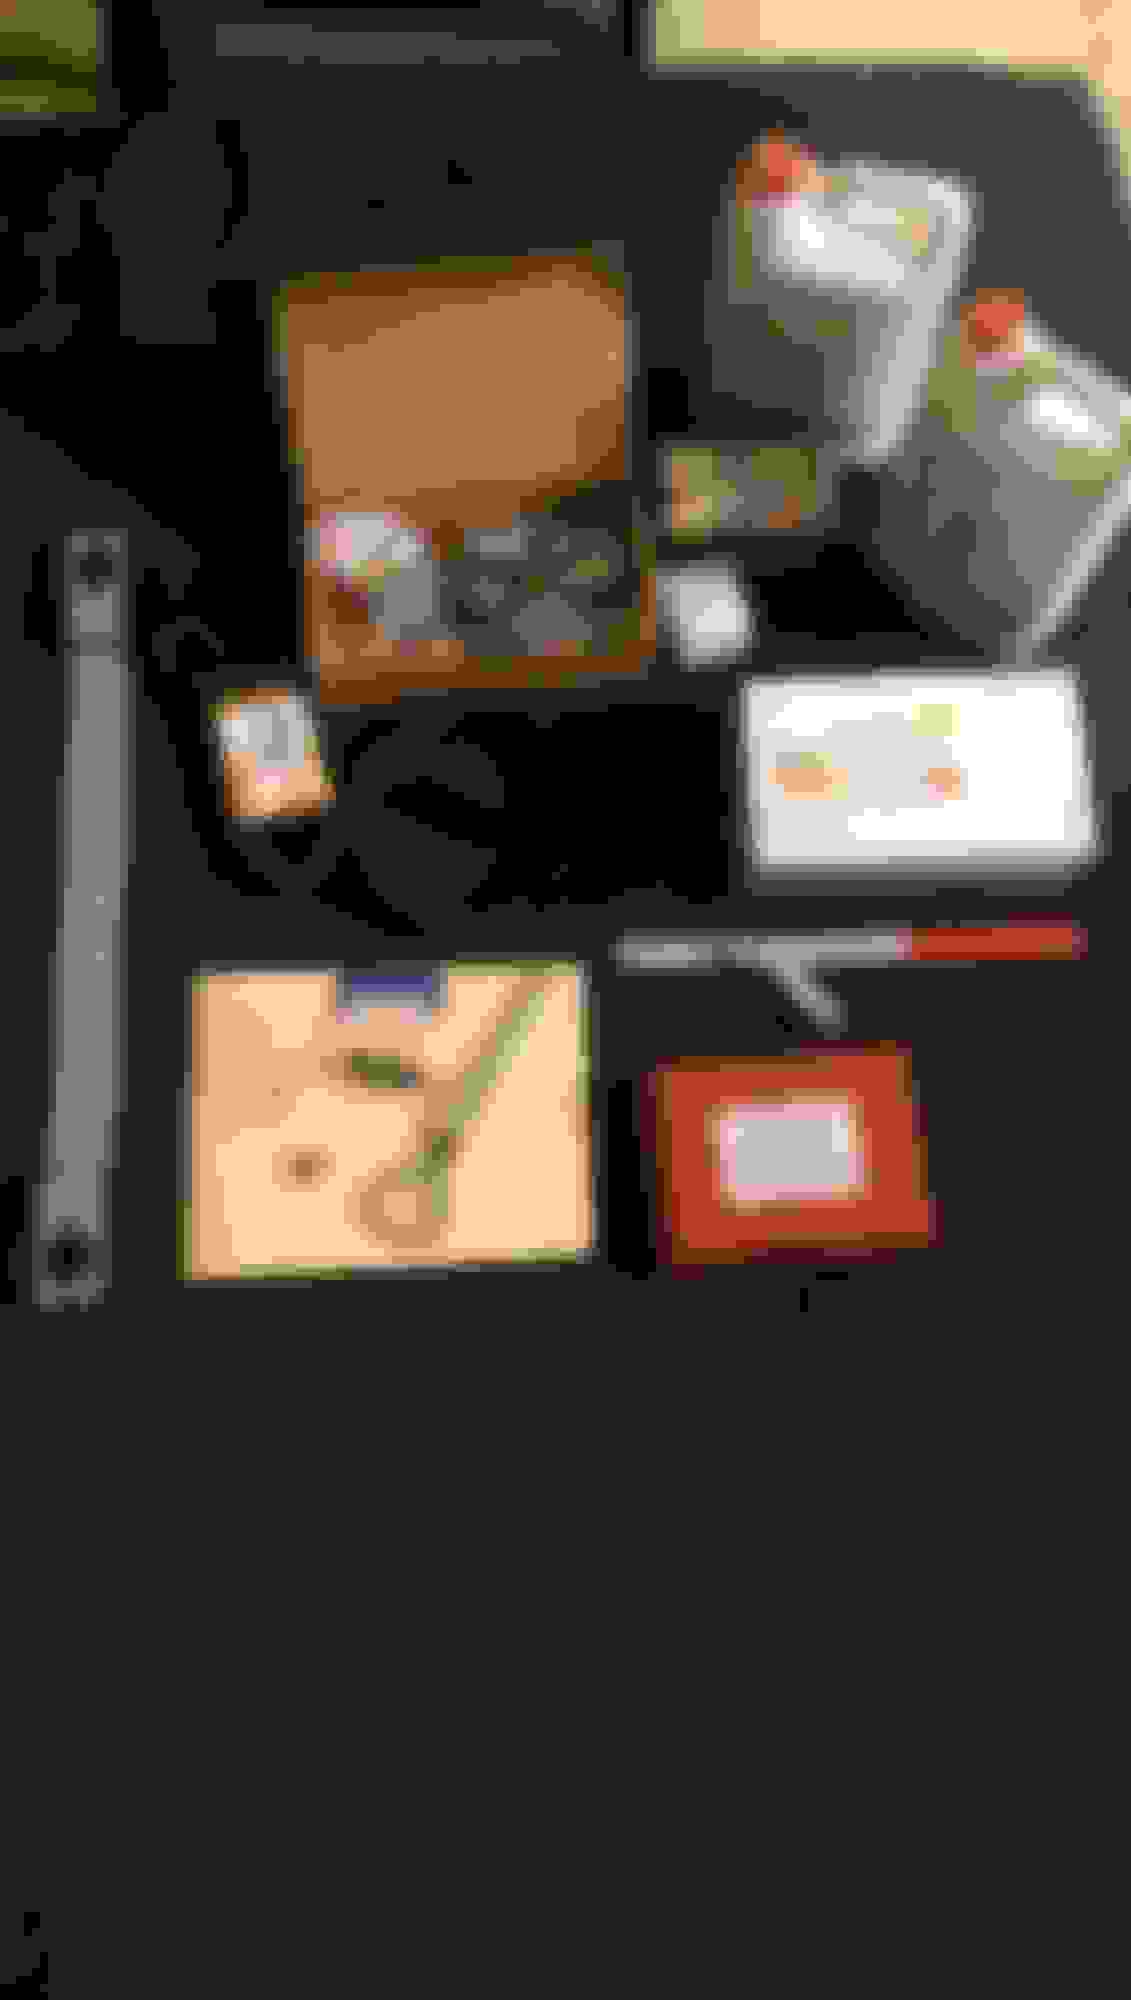
Parts Needed You can use whatever parts you want but this is what I used and so far have not had any problems
From ECS Tuning;
-Serpentine Belt (continental) $28.67
-Serpentine belt Idler pulley (larger one) $62.91
-ECS Timing Belt Kit (standard continental) $191.98
(2)-Gallon G13 genuine Audi coolant $47.56 ($23.78 each)
First thing you will want to do is set the park brake, Lift the front of the car up, and Remove BOTH front wheels. Then you will want to remove the Fender Liners.
Then Remove The Bottom Liner
Next Remove the Front bumper cover
Now you can pull the whole cover forward. There is (2) plugs for your Lights and indicators and (1) washer fluid line for the headlight jets.
When you remove the washer fluid line it will leak out all over. I used one of the Upper bumper cover bolts to stop the fluid.
Now your car will look like this.
You do not need to remove the entire horn bracket. just the top two bolts.
remove the (yellow) (2) horn plugs,outside air temp sensor, condenser temp sensor, and unclip the wire harness from underneath the bumper.
Now remove (2) long bolts from both sides of the inner bumper support.
You will have to remove the Pass headlight to Get the bumper bolt out. (I took both lights off to sand and polish.)
Remove the Bumper Shocks.(4) Bolts on each side
I Now Started to drain the radiator. (the engine had cooled off by now.)
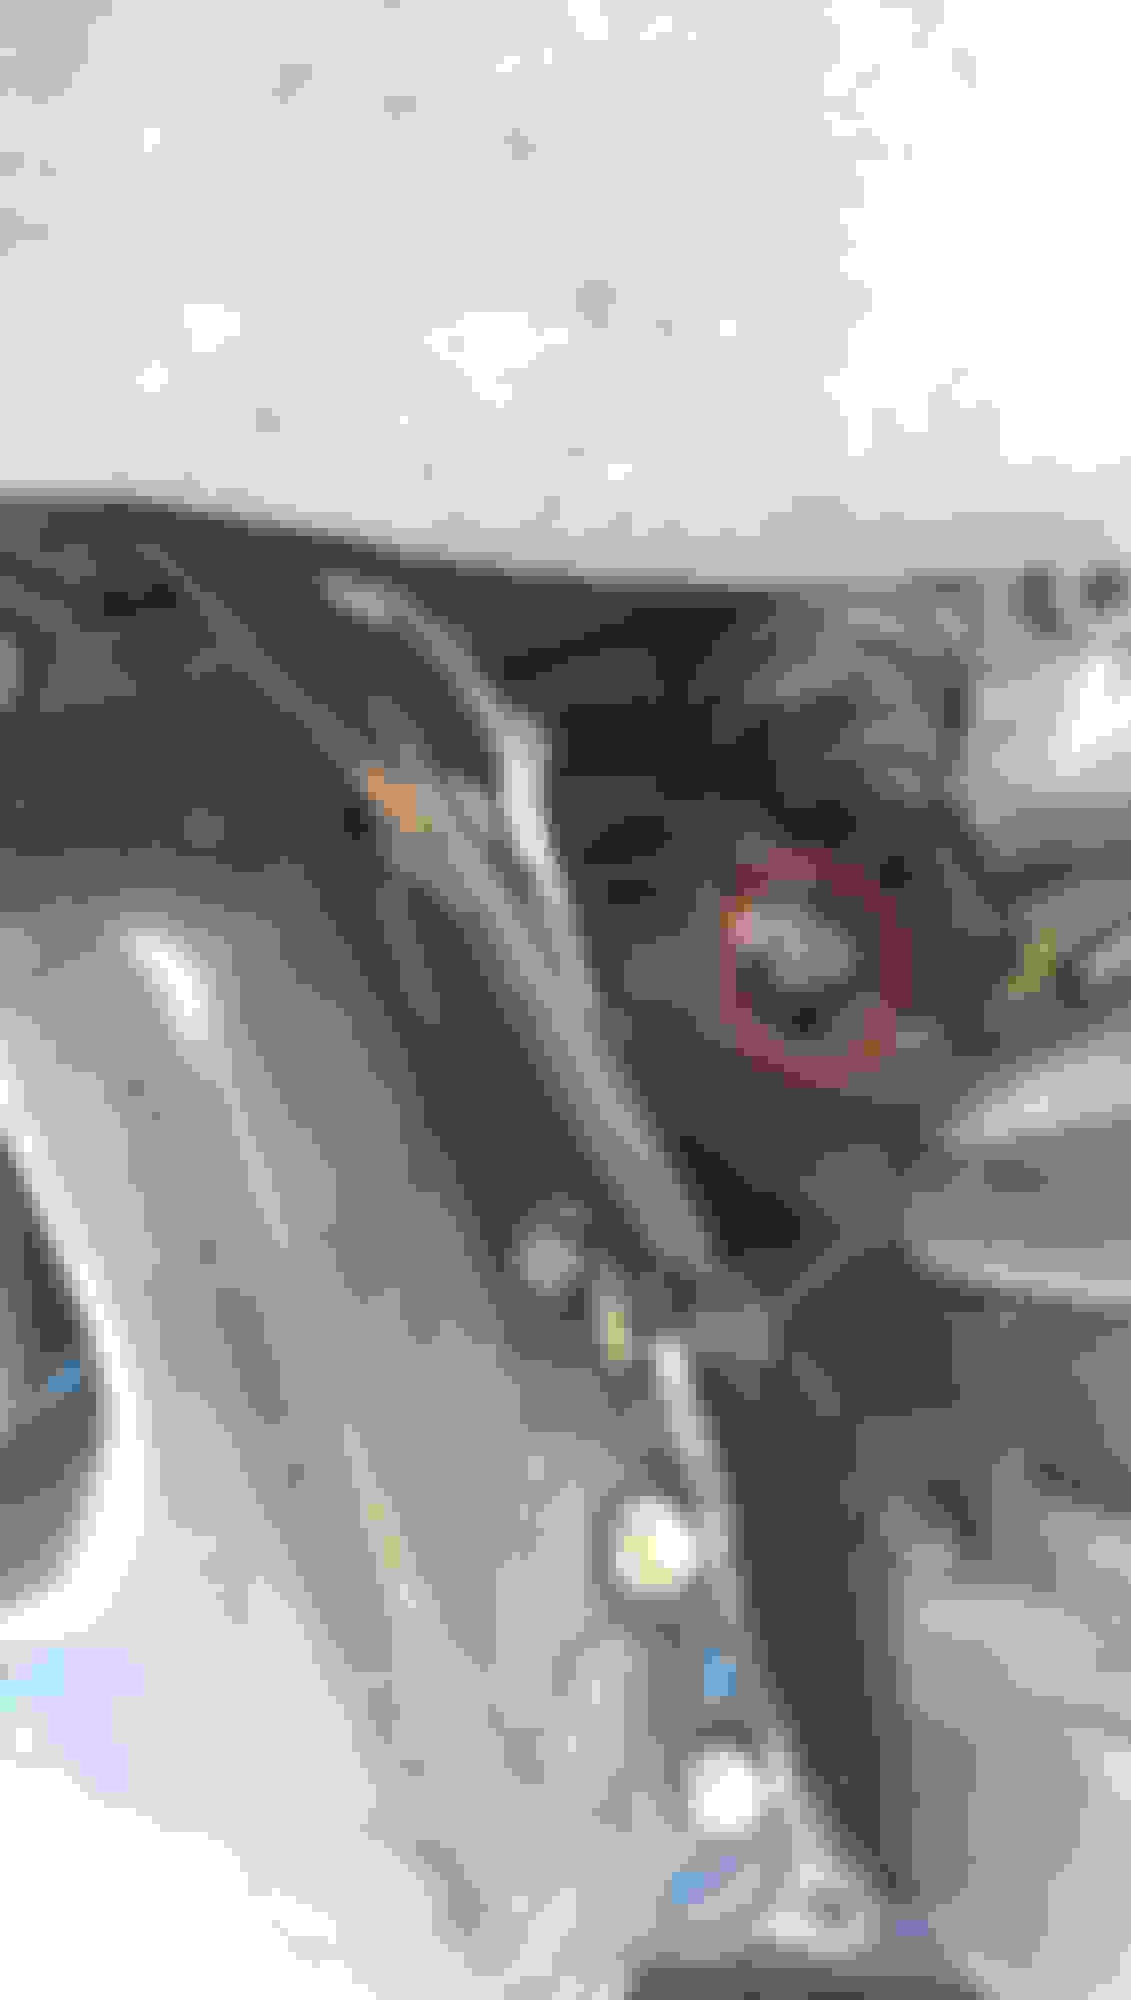
locate the pass side block drain plug. You do NOT need to remove it all the way, it is piloted to allow fluid to flow through.
Remove the Condenser coil (4) bolts and swing out on drivers side. DO NOT KINK LINES as doing this will damage them and you will have to get new lines and re-charge A/C System.
Next is to remove the Radiator and support. There are a few clips and hoses. First we will start with the hoses. Remove the rubber gasket and (2) bolts on the top of the support to give you some room.
some of the Clips for the hoses are HARD to get to so take your time. here are the locations of all the hoses you need to disconnect
To get the Top Left quick release you can access from the top
The lower hose is a P.I.T.A. you have to just guess where the clip is and use a short screwdriver. once you pop the clip up all you have to do is pull and it will disconnect.
Now for all the electrical connectors (yellow)
Hood release sensors
pass side
drivers side
Fan
pass side
Drivers side
Airbag Sensors to remove first push red piece in and then pull yellow body
Pass side
Drivers side
Remove a small bracket from the upper support
Remove the expansion tank return hose
Remove The hood release Cables (inside little black box)
now remove the Lower radiator bolts (2)
Now you can take the entire Radiator and Support off the car.
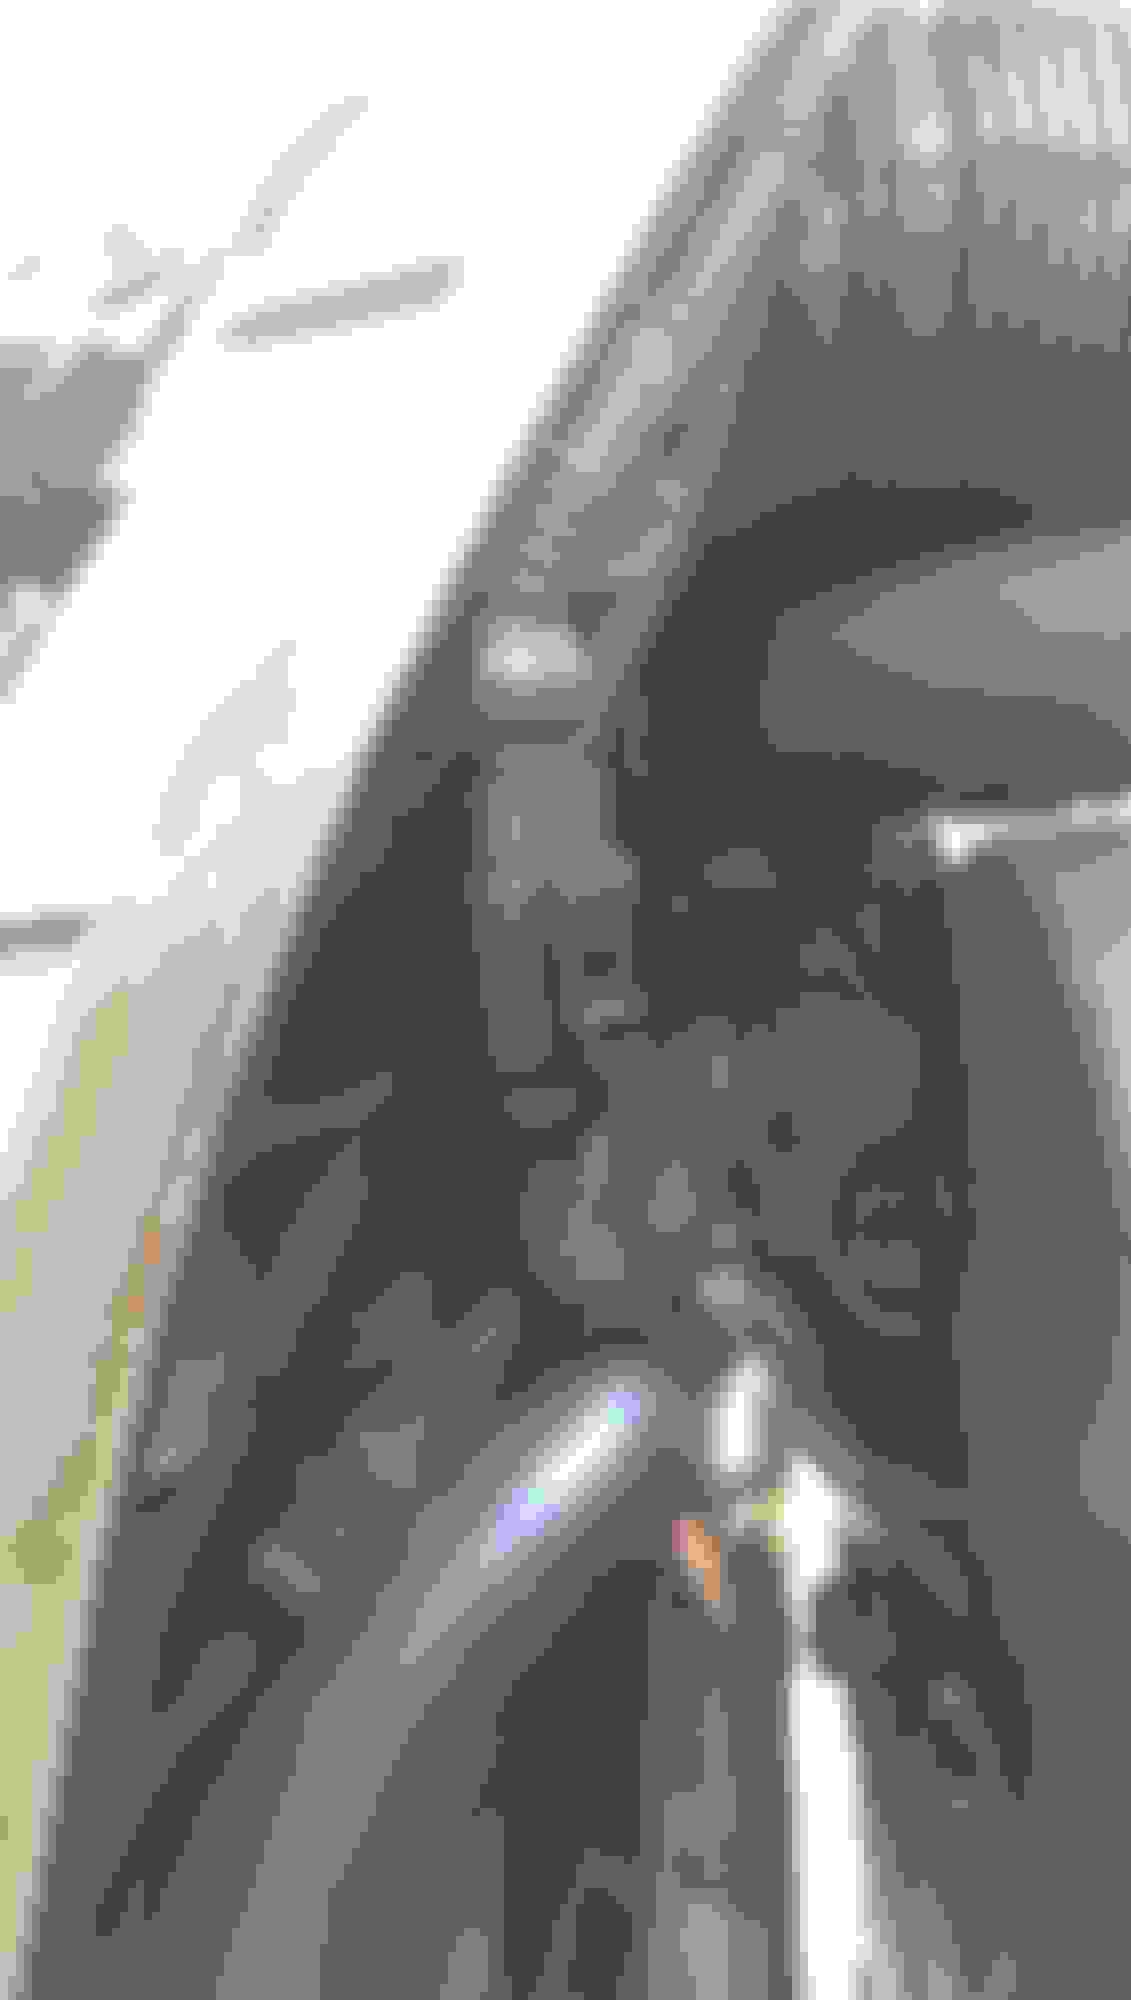
With the radiator removed you can remove the timing belt covers and bask in the glory of the audi clockwork.
Remove the Serp Belt.
Remove the Tensioner
Remove the torque Dampener (looks like motor mount)
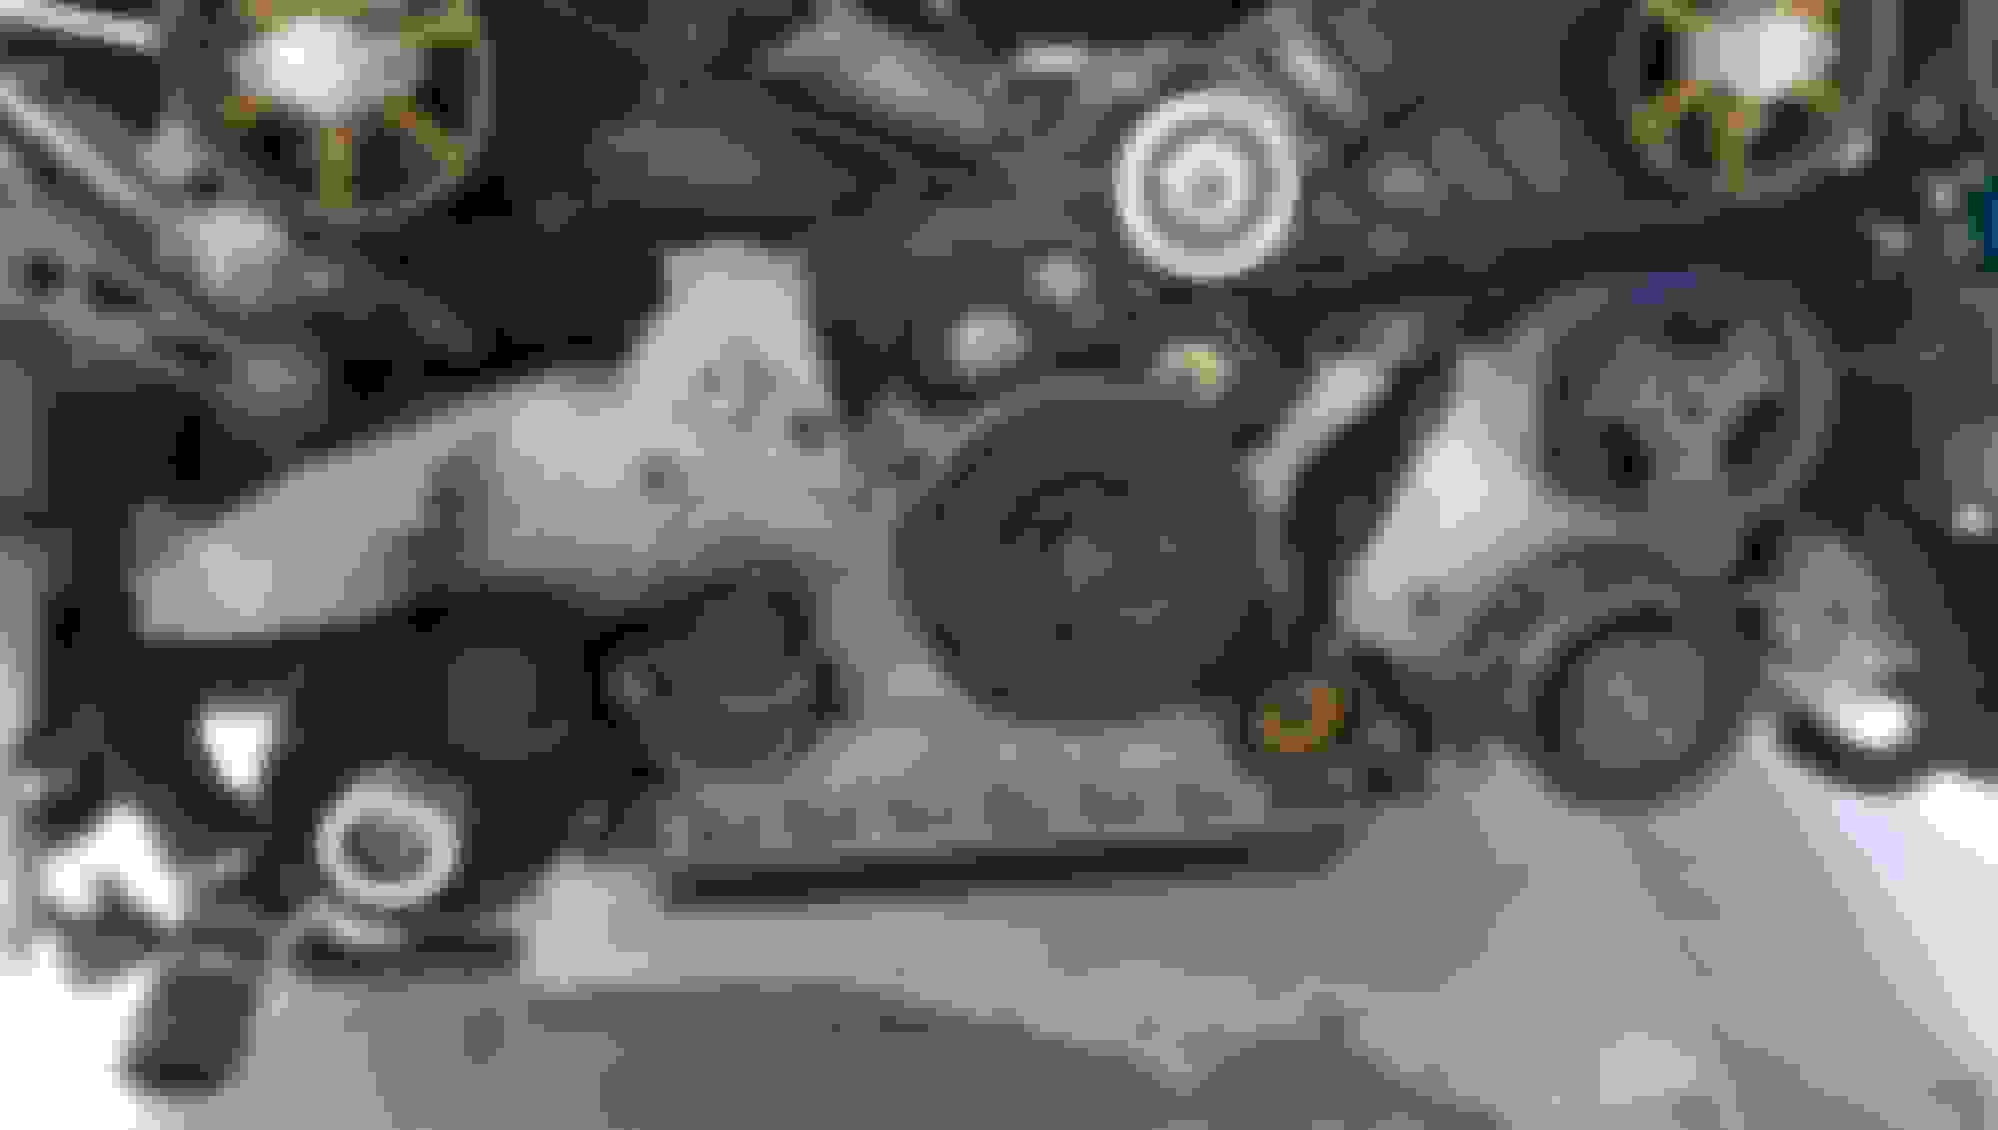
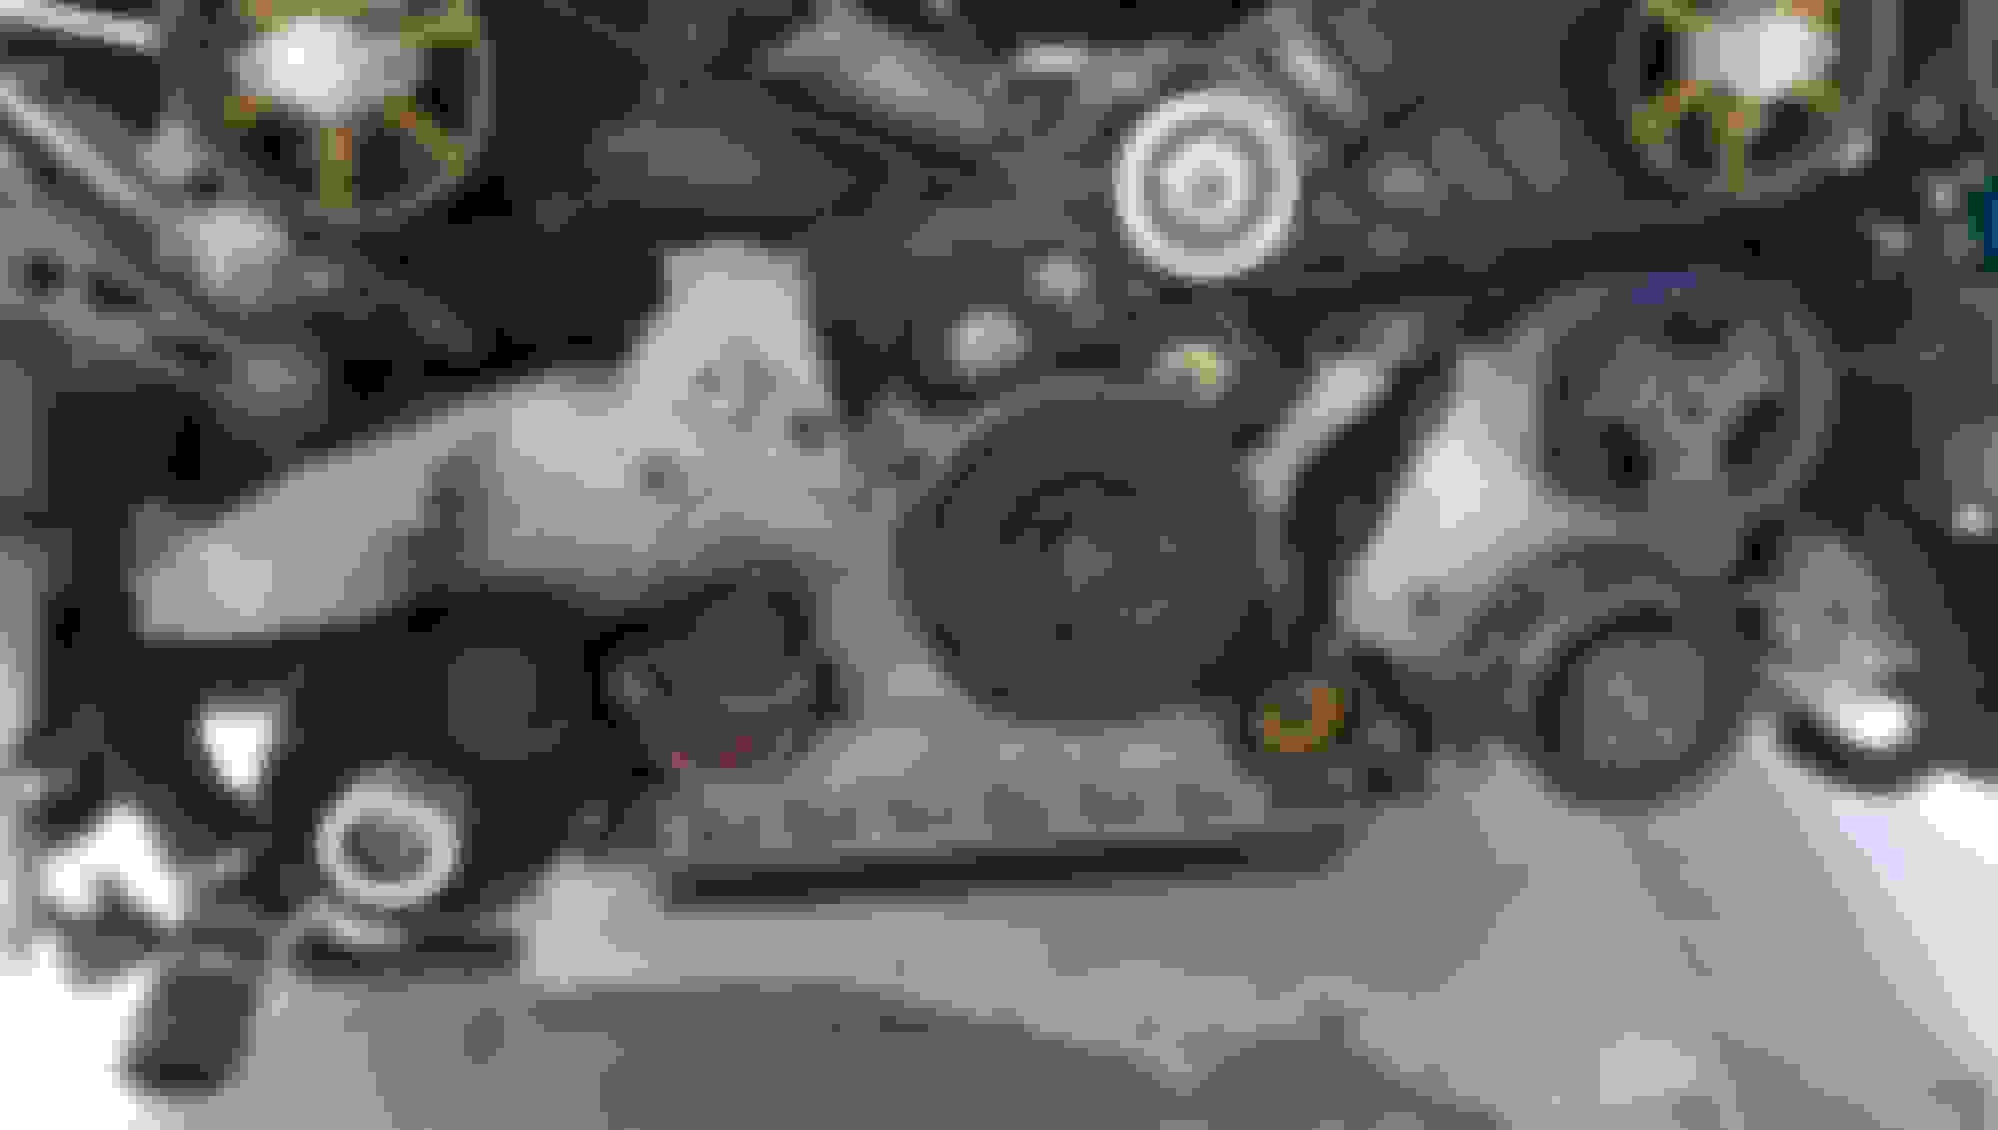
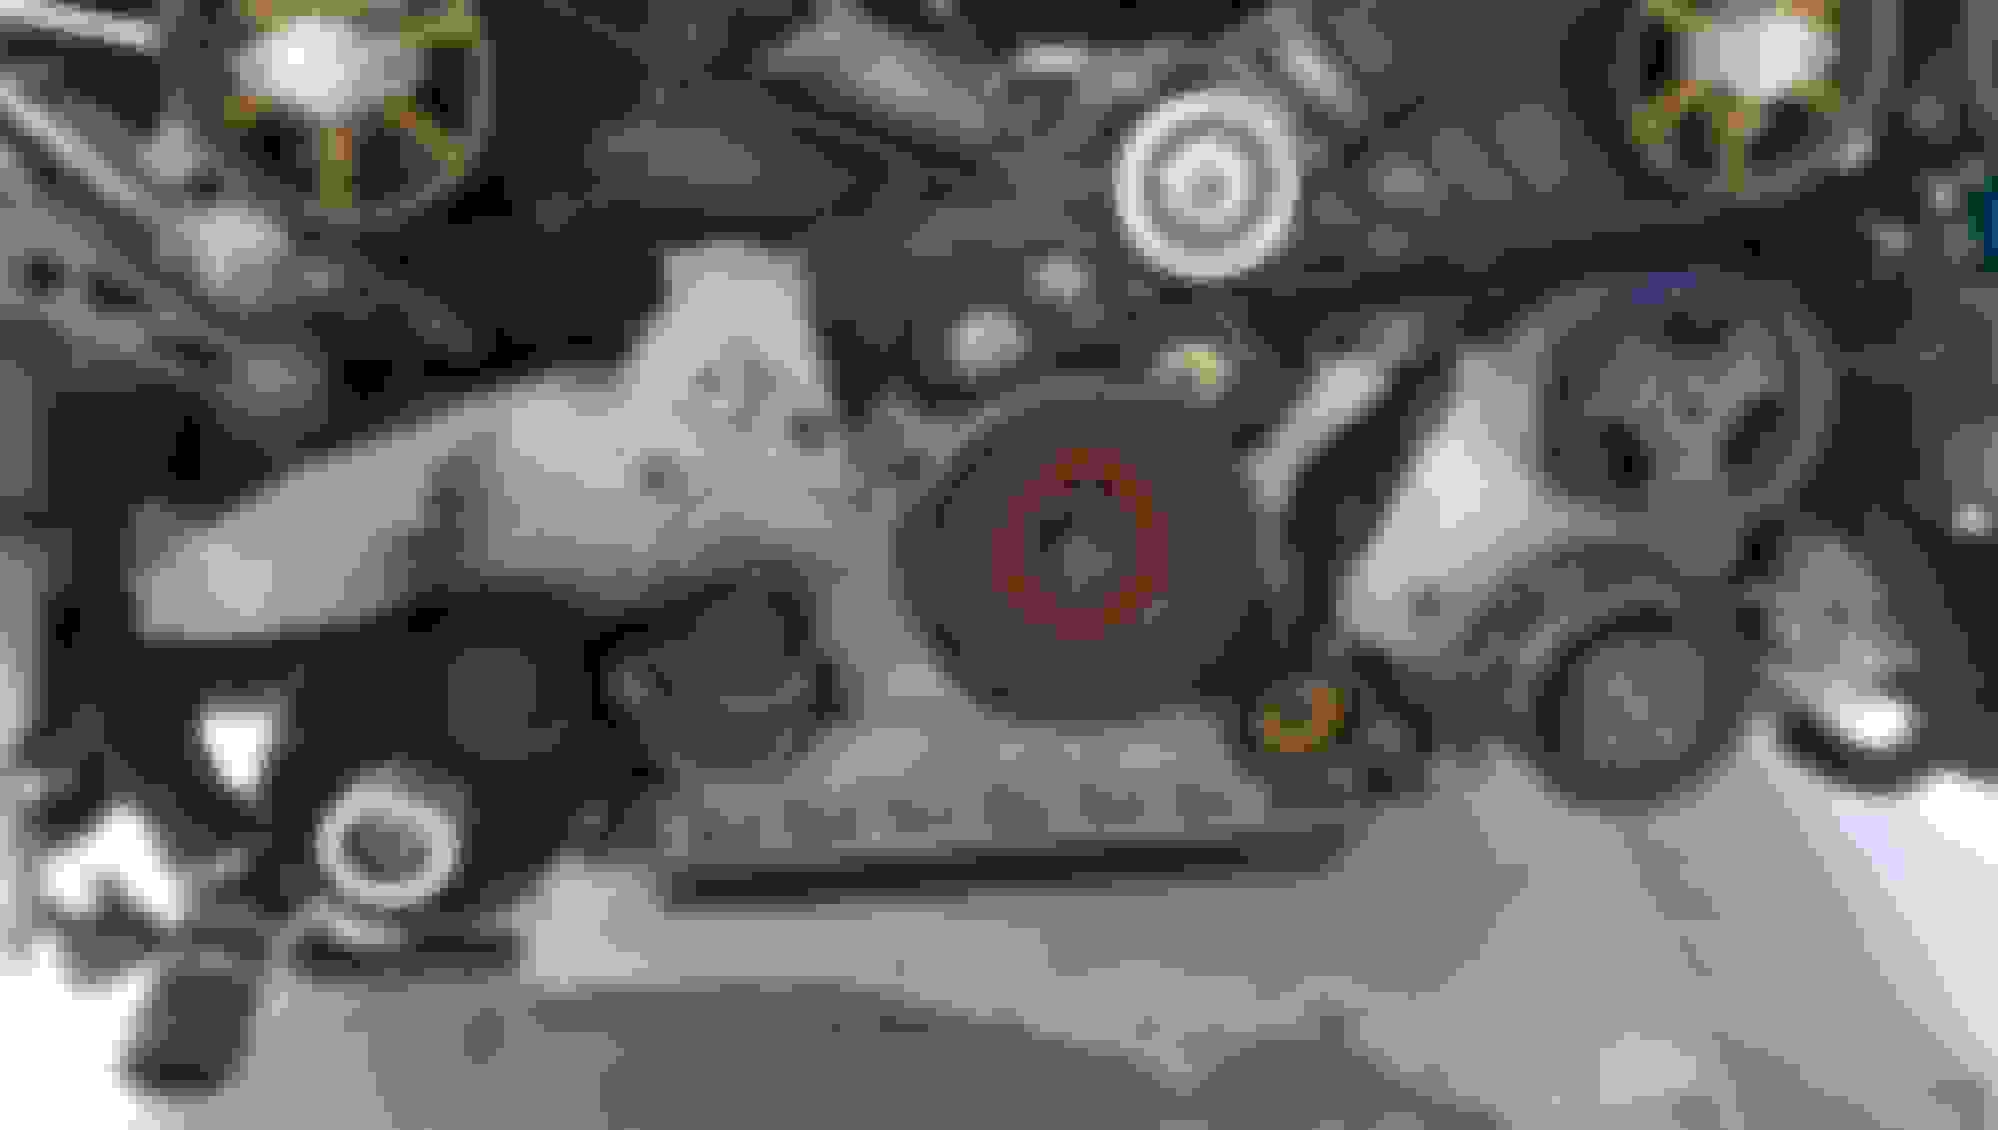
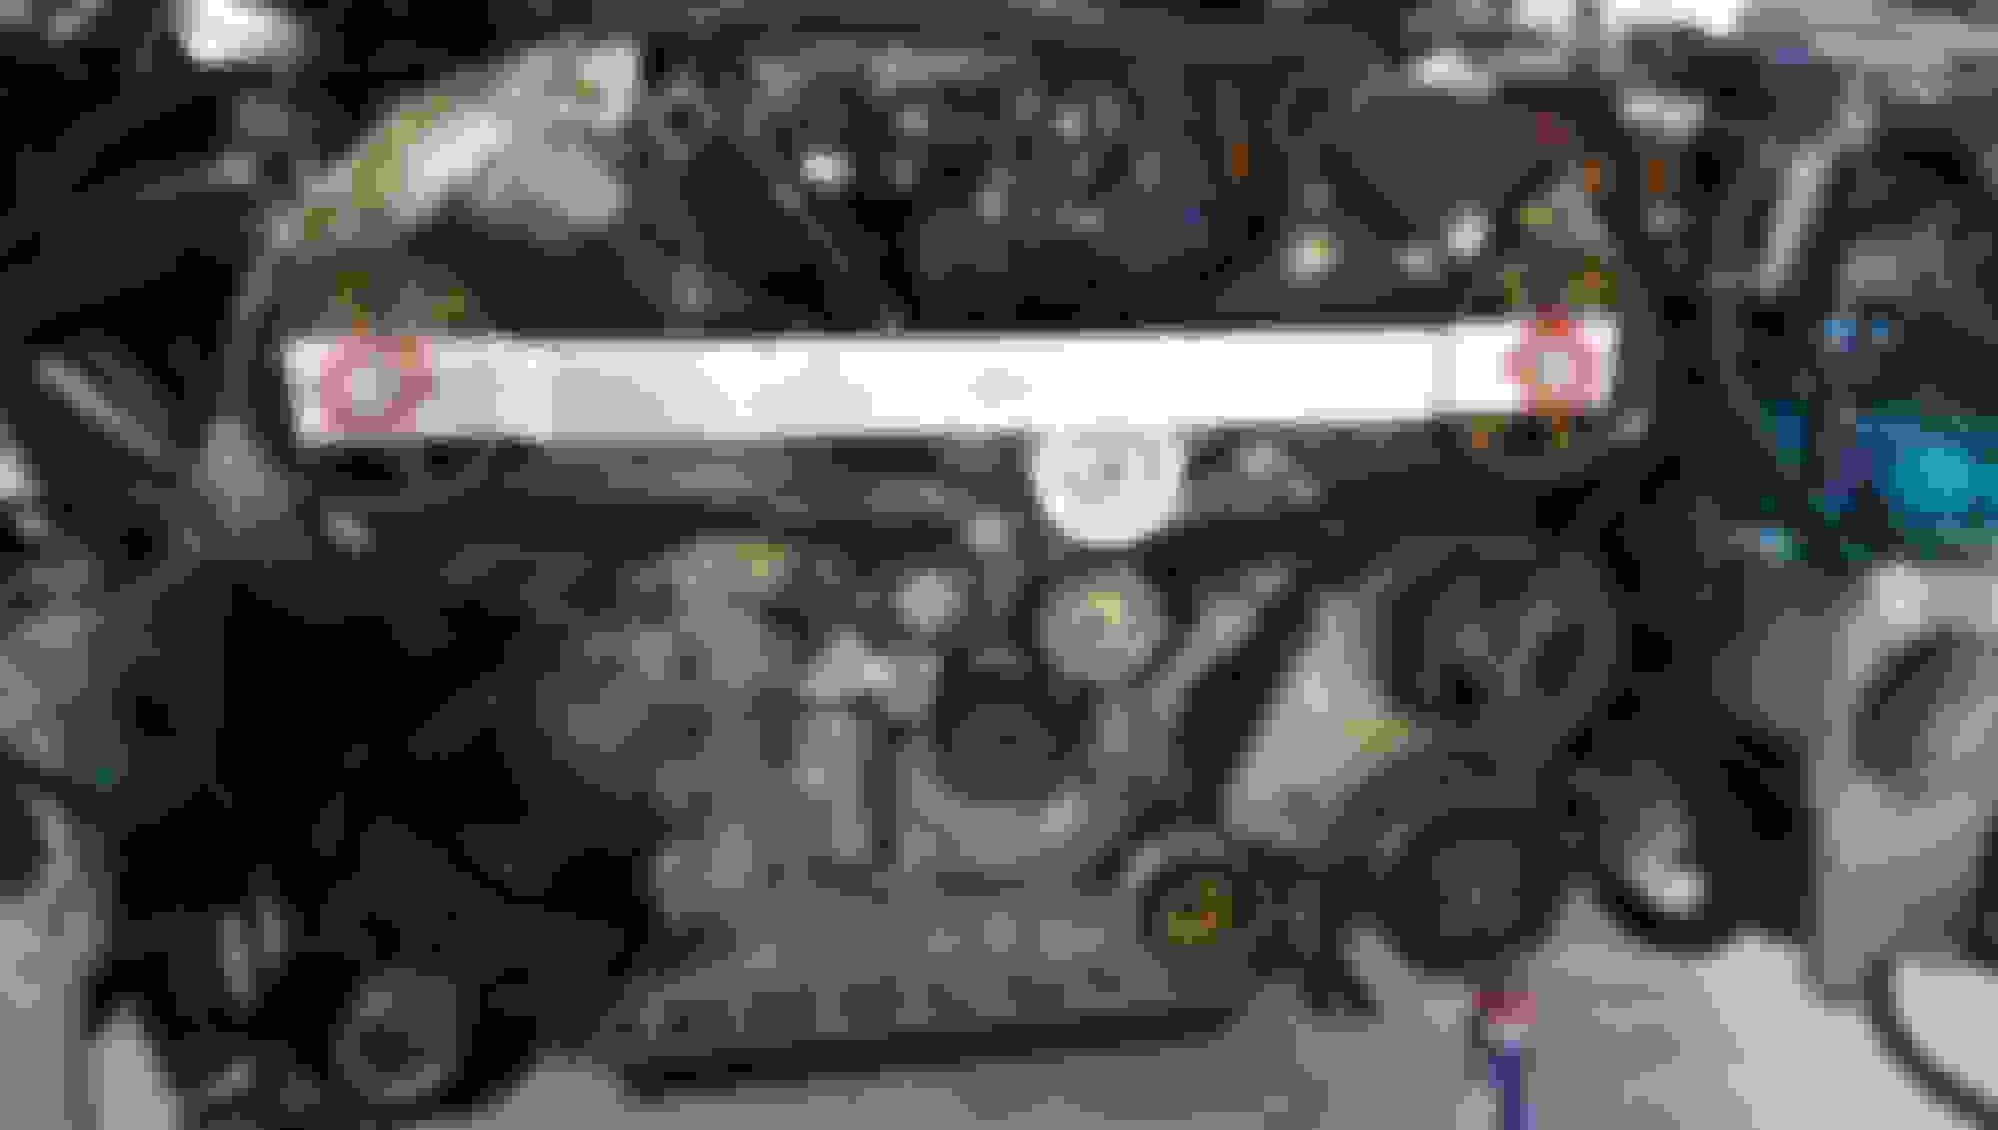
set the car to TDC and Install the T40005 Cam Lock Bar.
Remove the crank pulley
Now go under the car. remove the coolant pipe bracket on the drivers side. (2)bolts
Now remove the Crank lock Cap and Insert Tool 3242. DO NOT CROSS THREAD THIS. TRUST ME IT IS NOT FUN!!!!!!! it is going to be a P.I.T.A. to get to it but take your time.
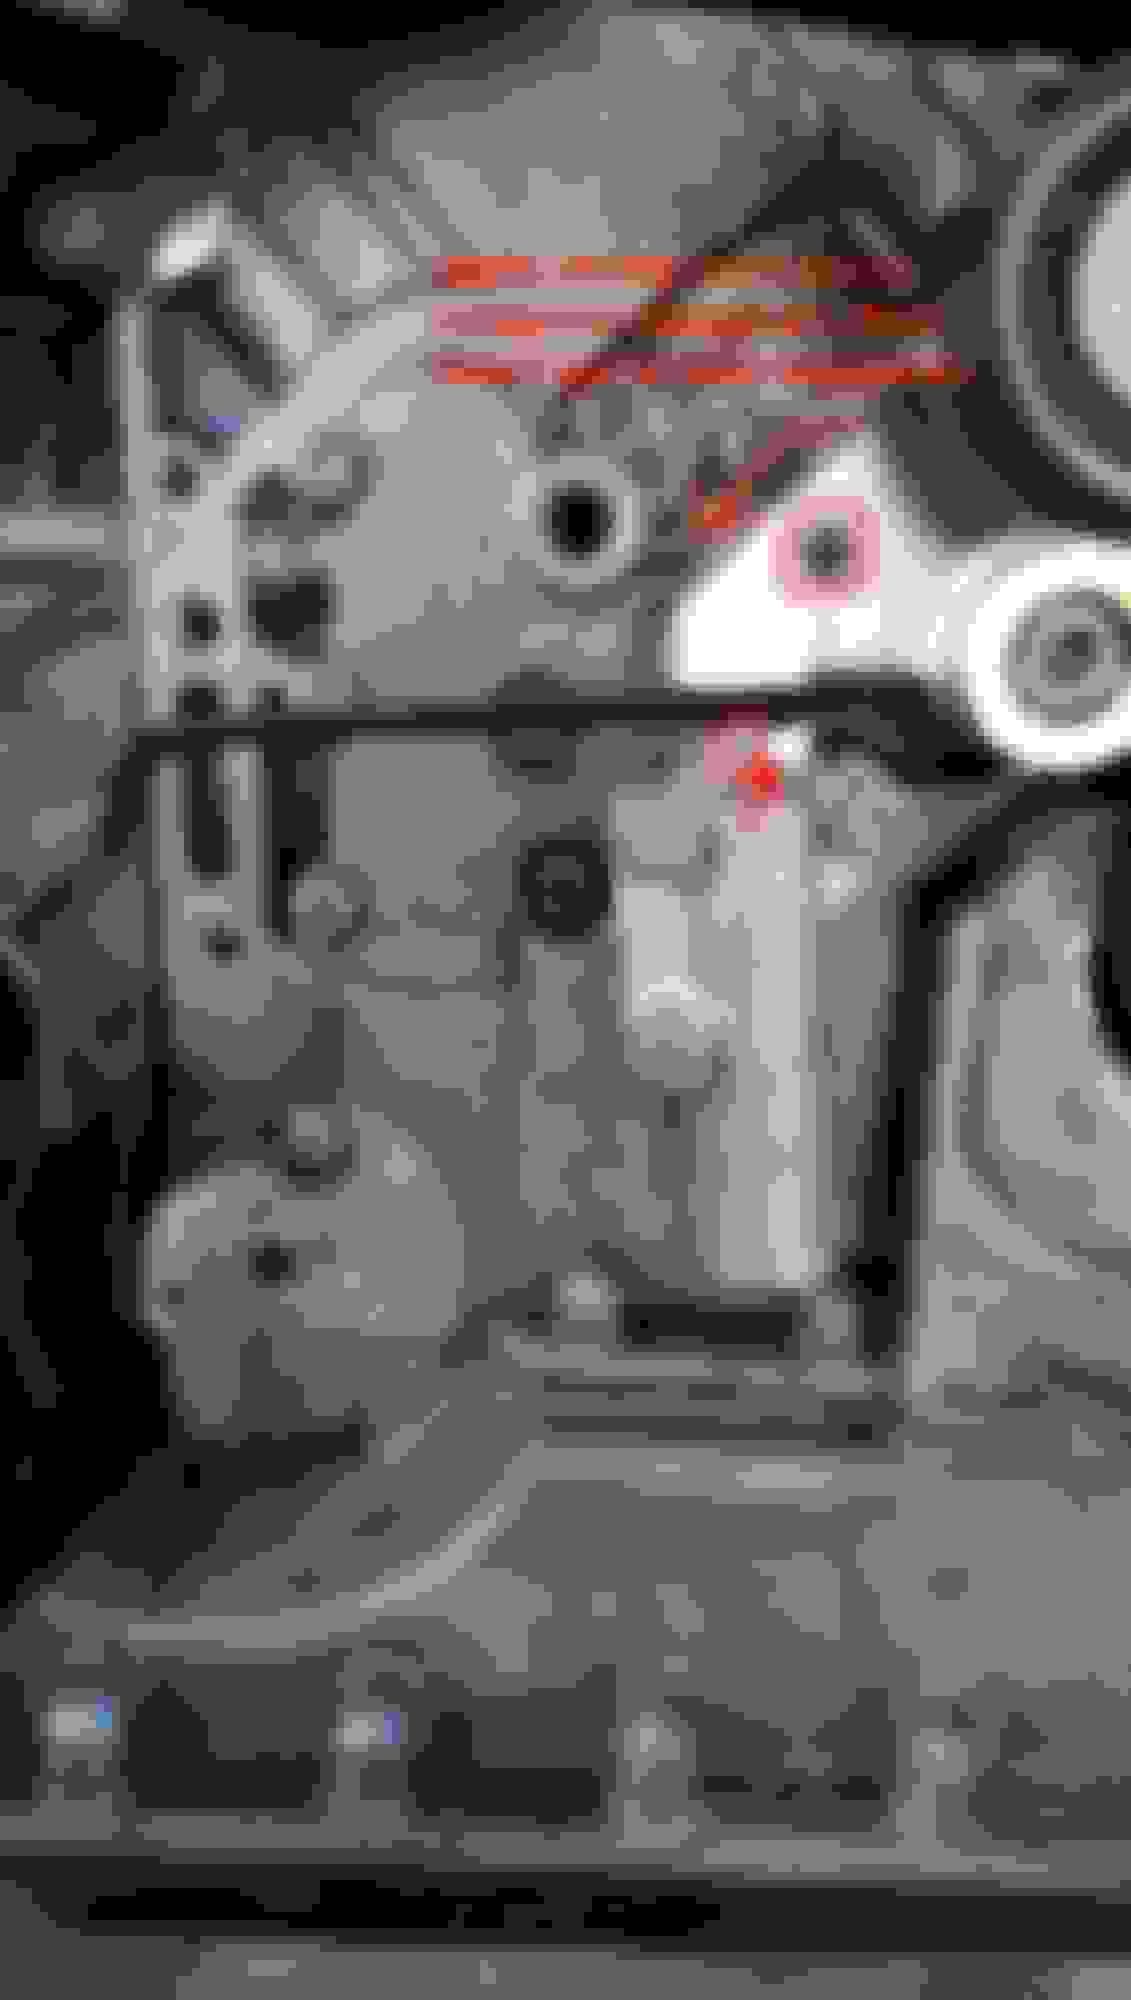
Loosen but do NOT remove the cam bolts. 4 full rotations or less.
Now you can Remove T40005. Use T40001 to pop the cam gears loose. The guides might move but do not worry you are at TDC so you can use T40005 to re-set them. Loosen the Tensioner and remove the old Timing belt.
Time to Remove all the old parts and install the new ones
roller
Tensionser
Waterpump and Thermostat
Hydraulic Dampener
Dampener pulley
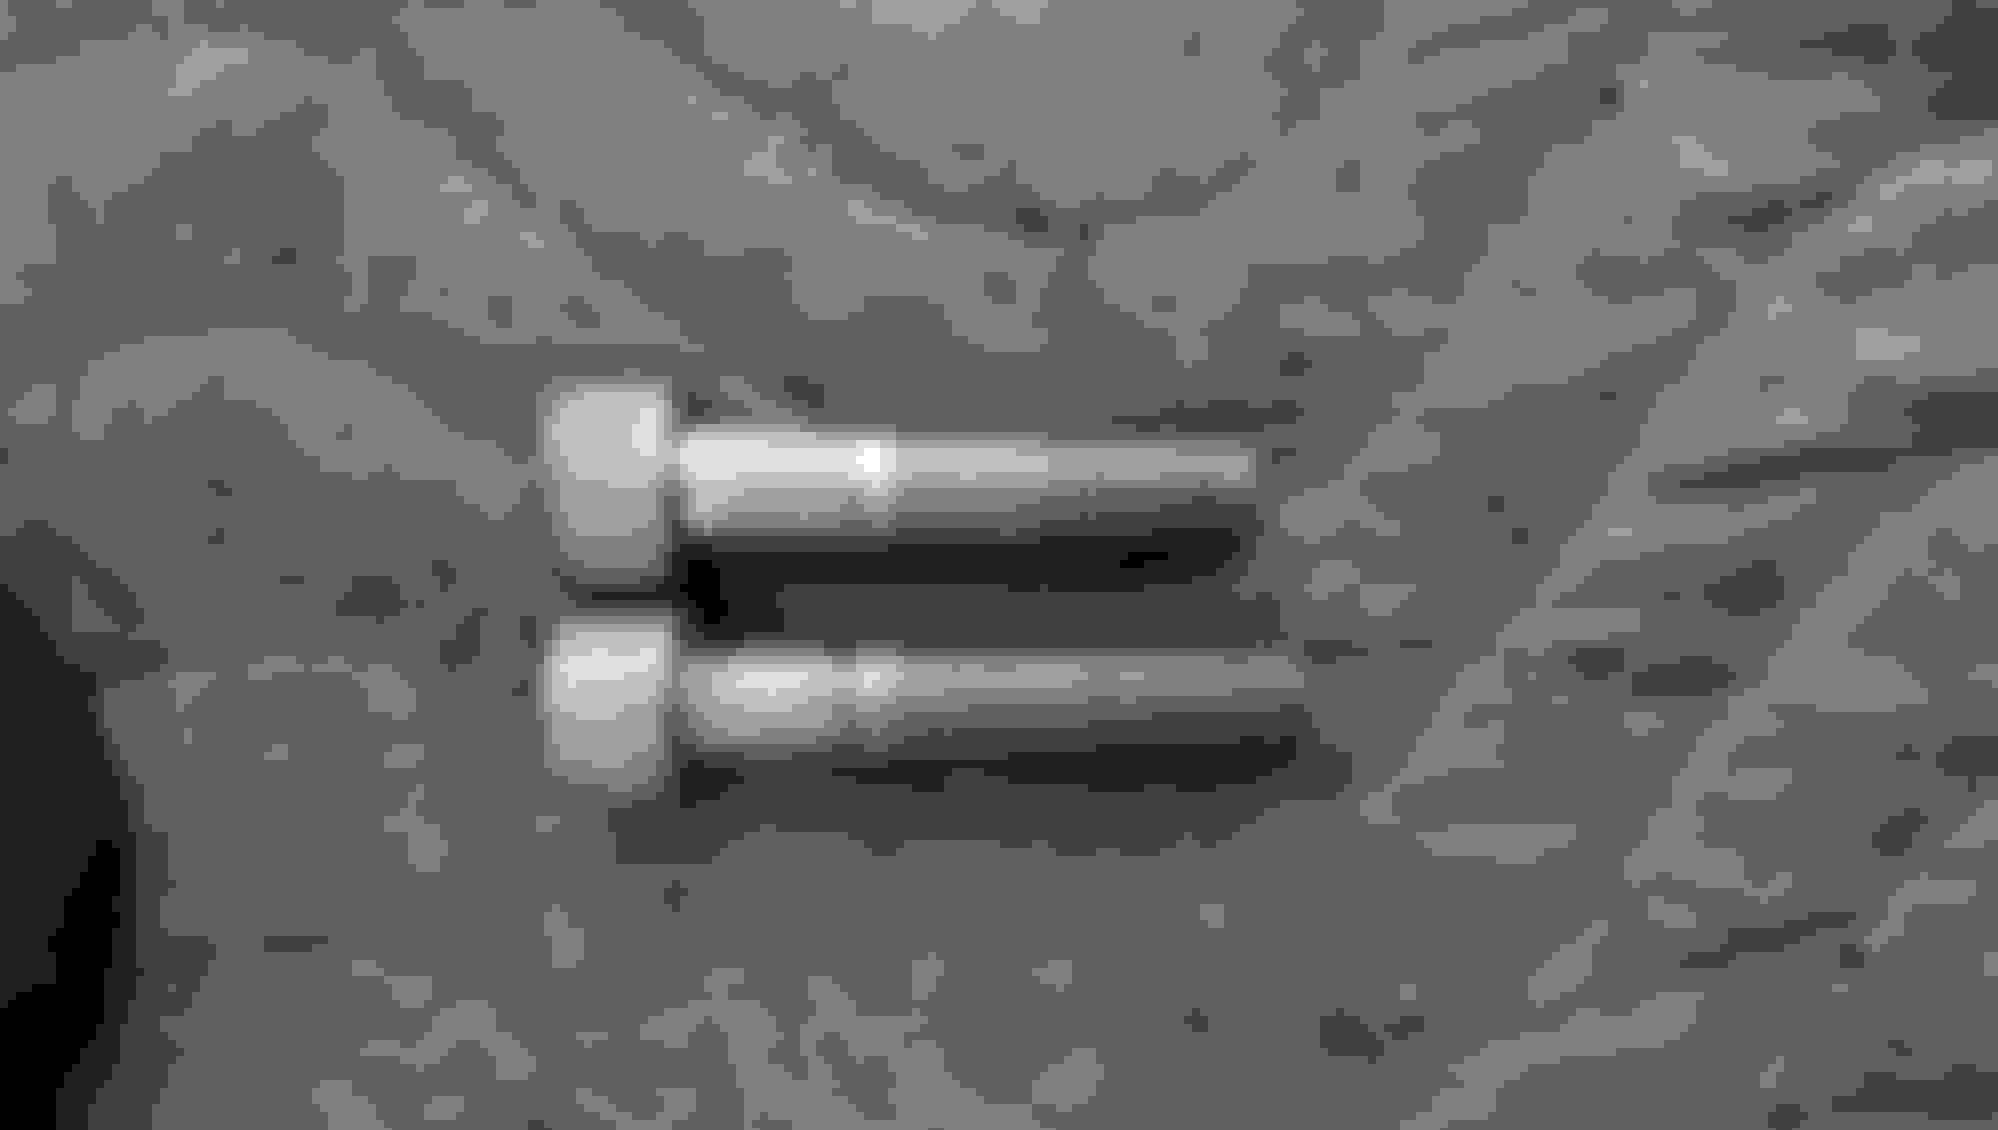
what I found with the pulley from ecs is the bolt was too long to tighten the pulley to the block. I had to reuse the old Bolt so it fit flush.
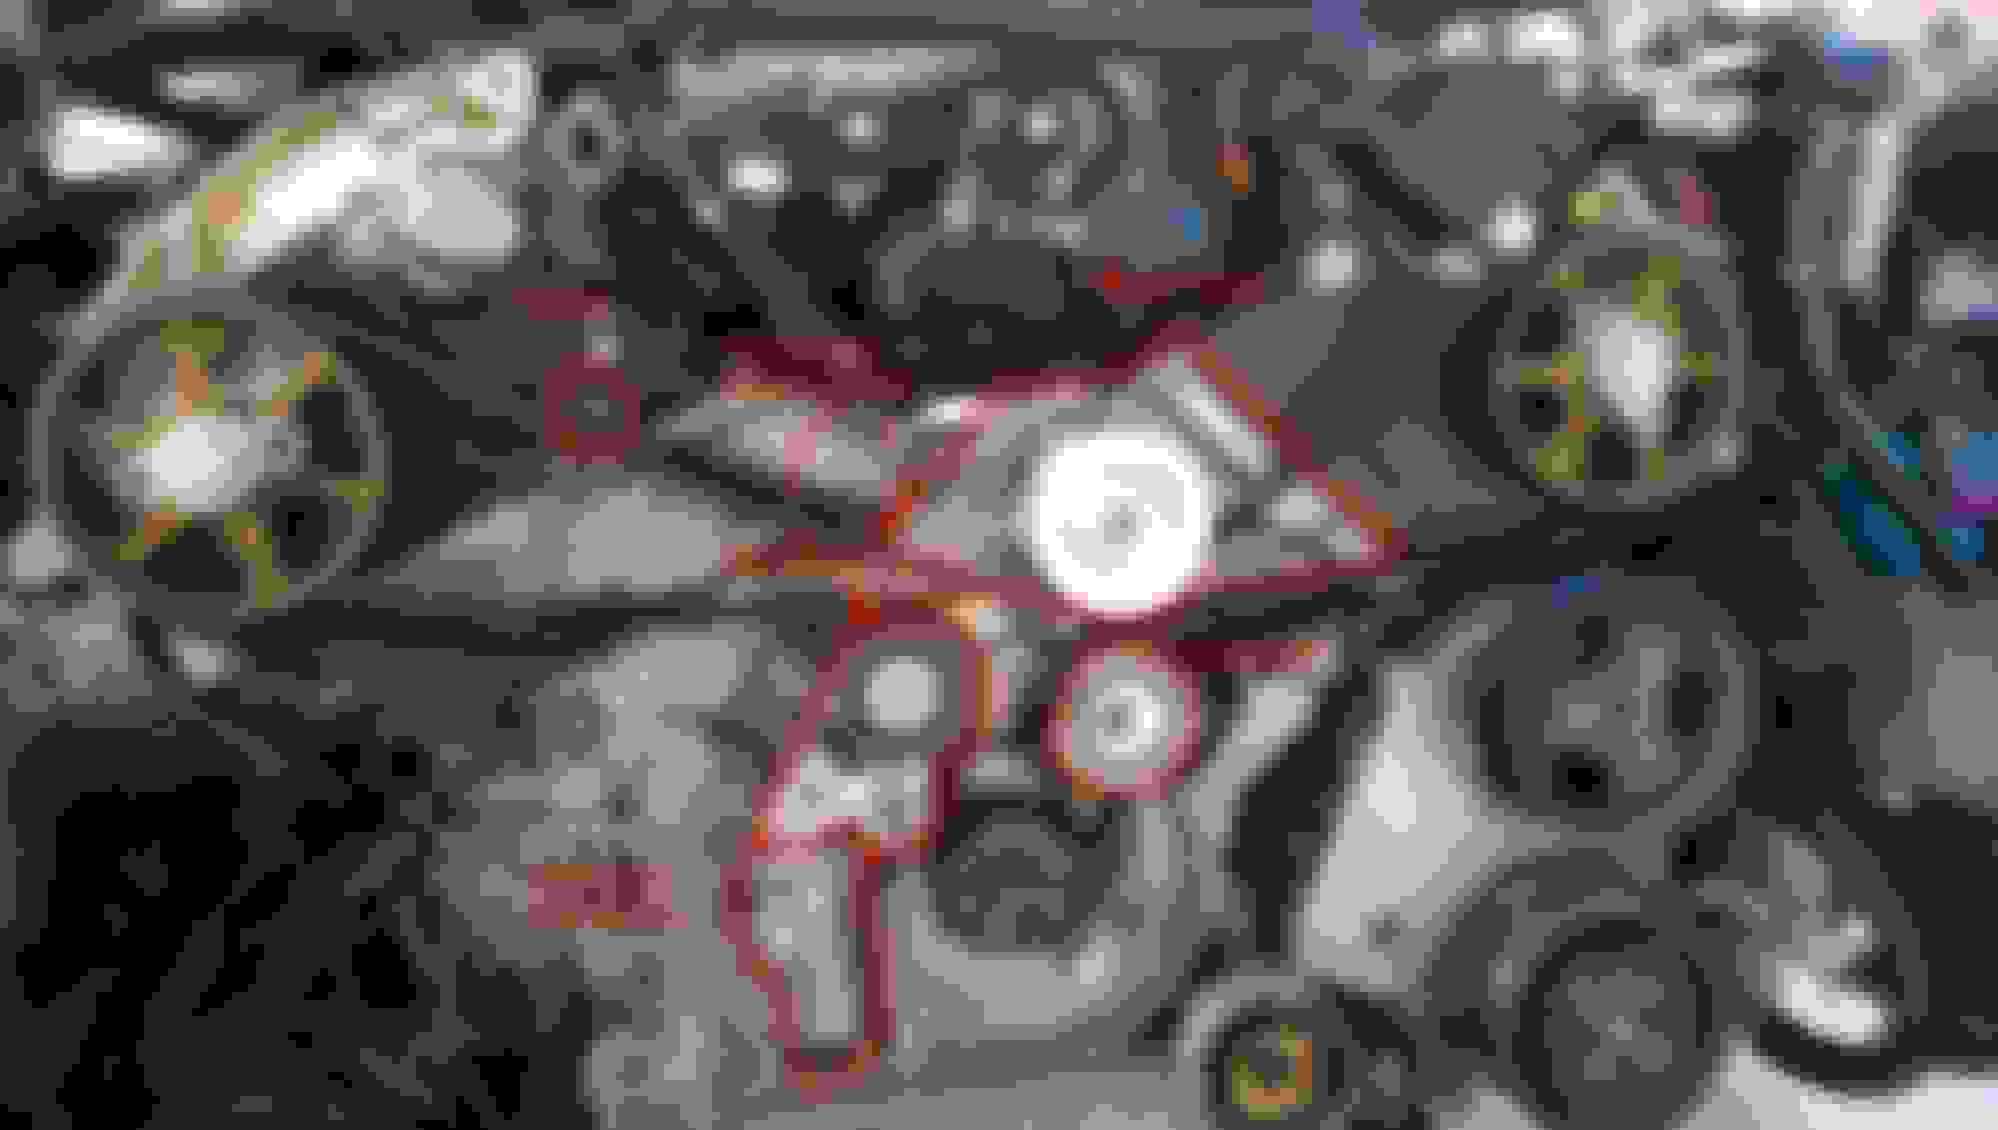
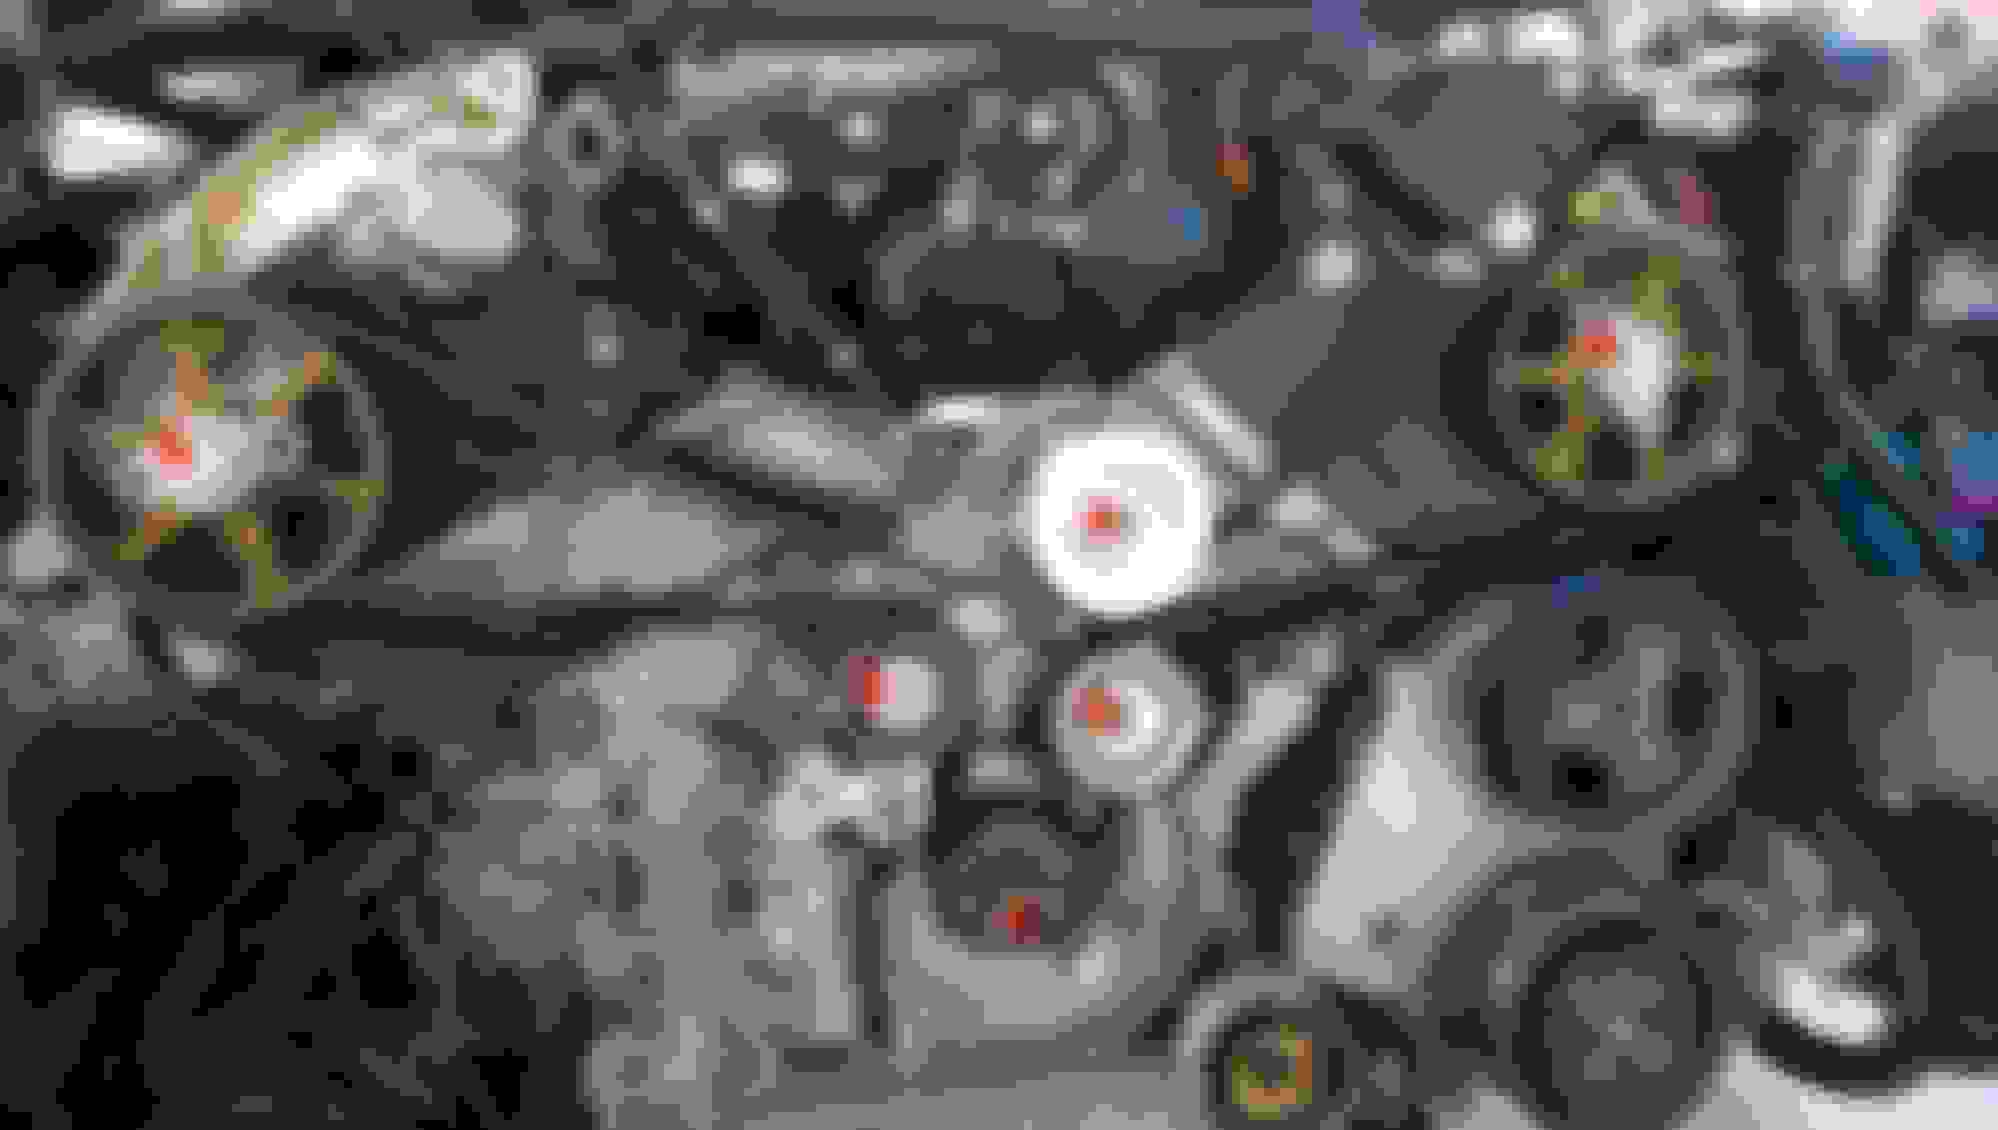
after all the new parts are installed route the new belt in this order.
Crank Gear
Tensioner
Dampener
Drivers side Cam gear
Water pump
Pass side Cam gear
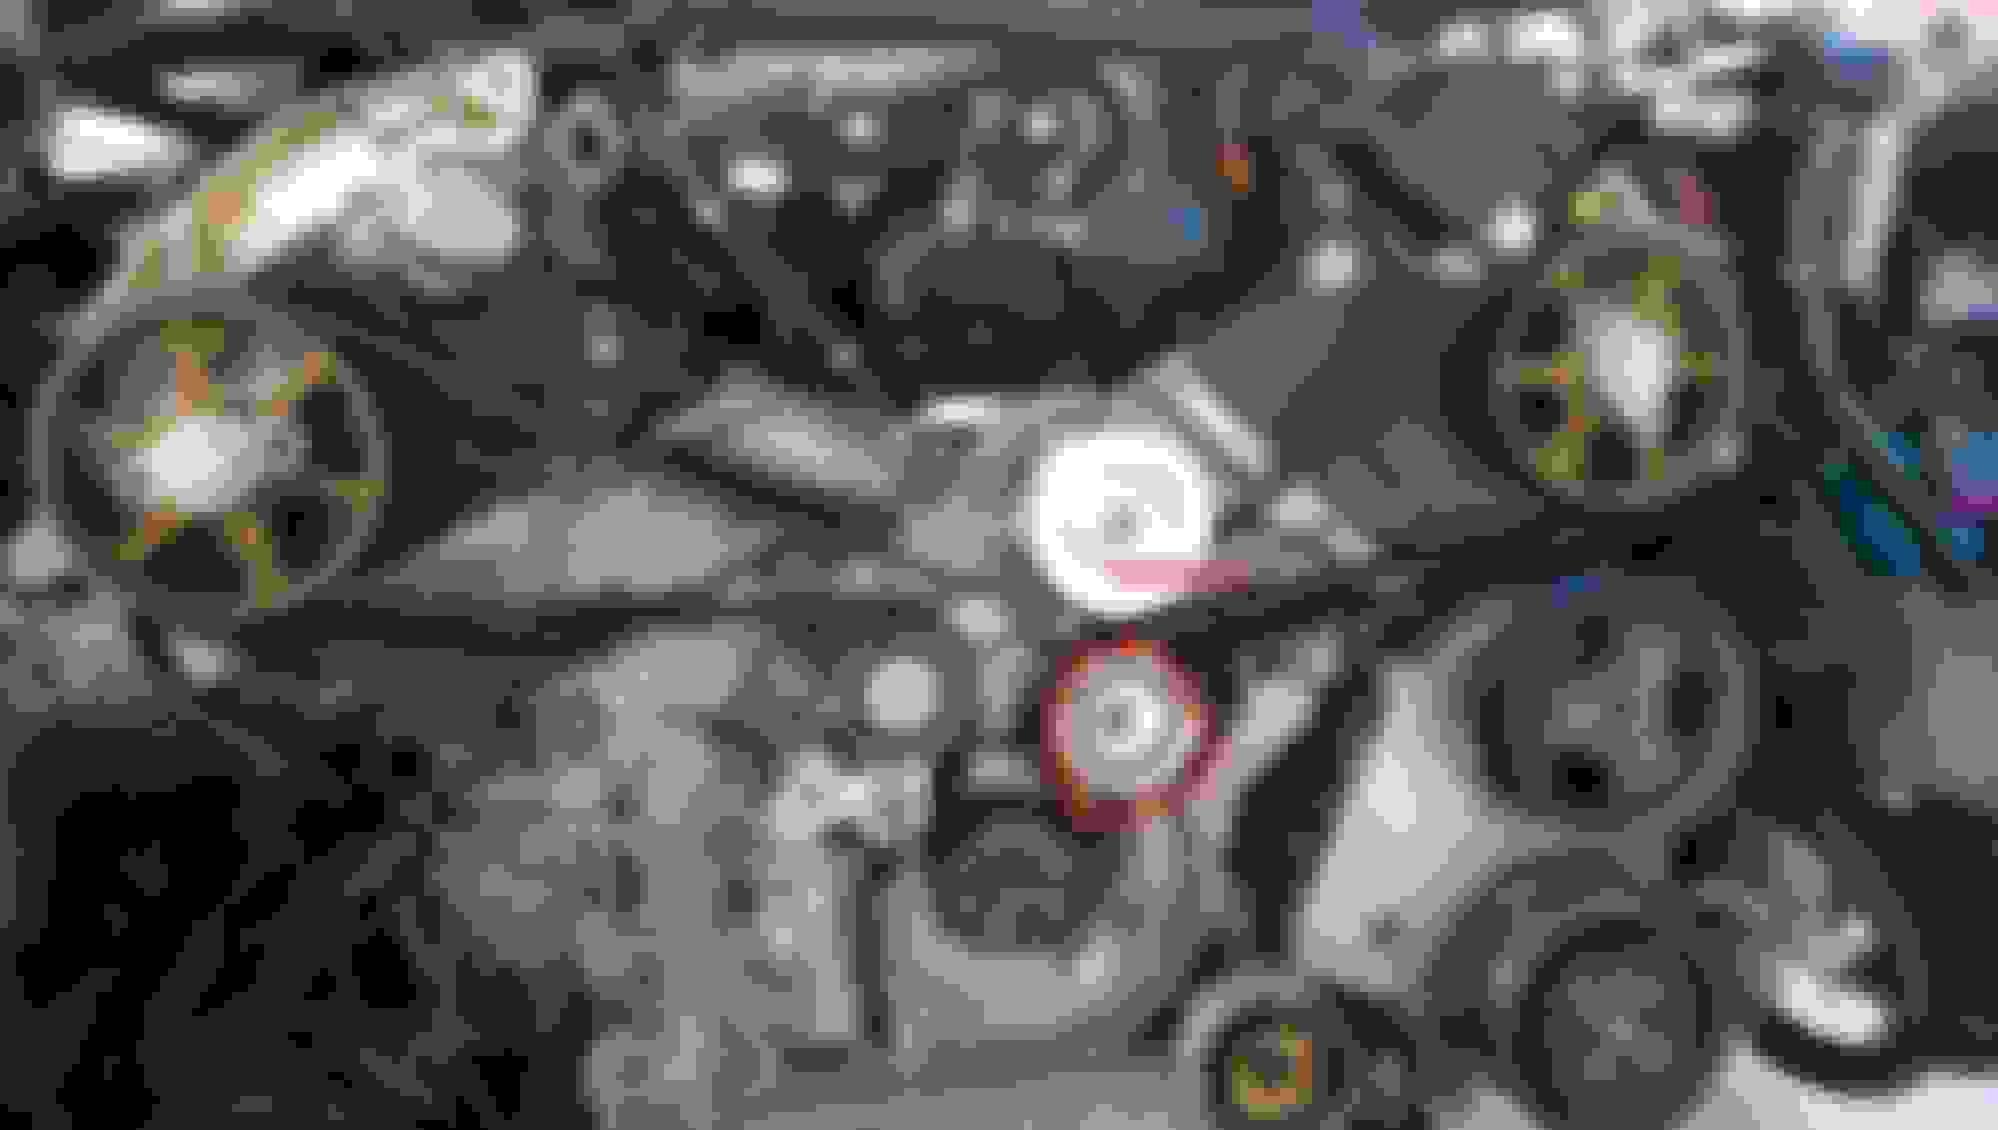
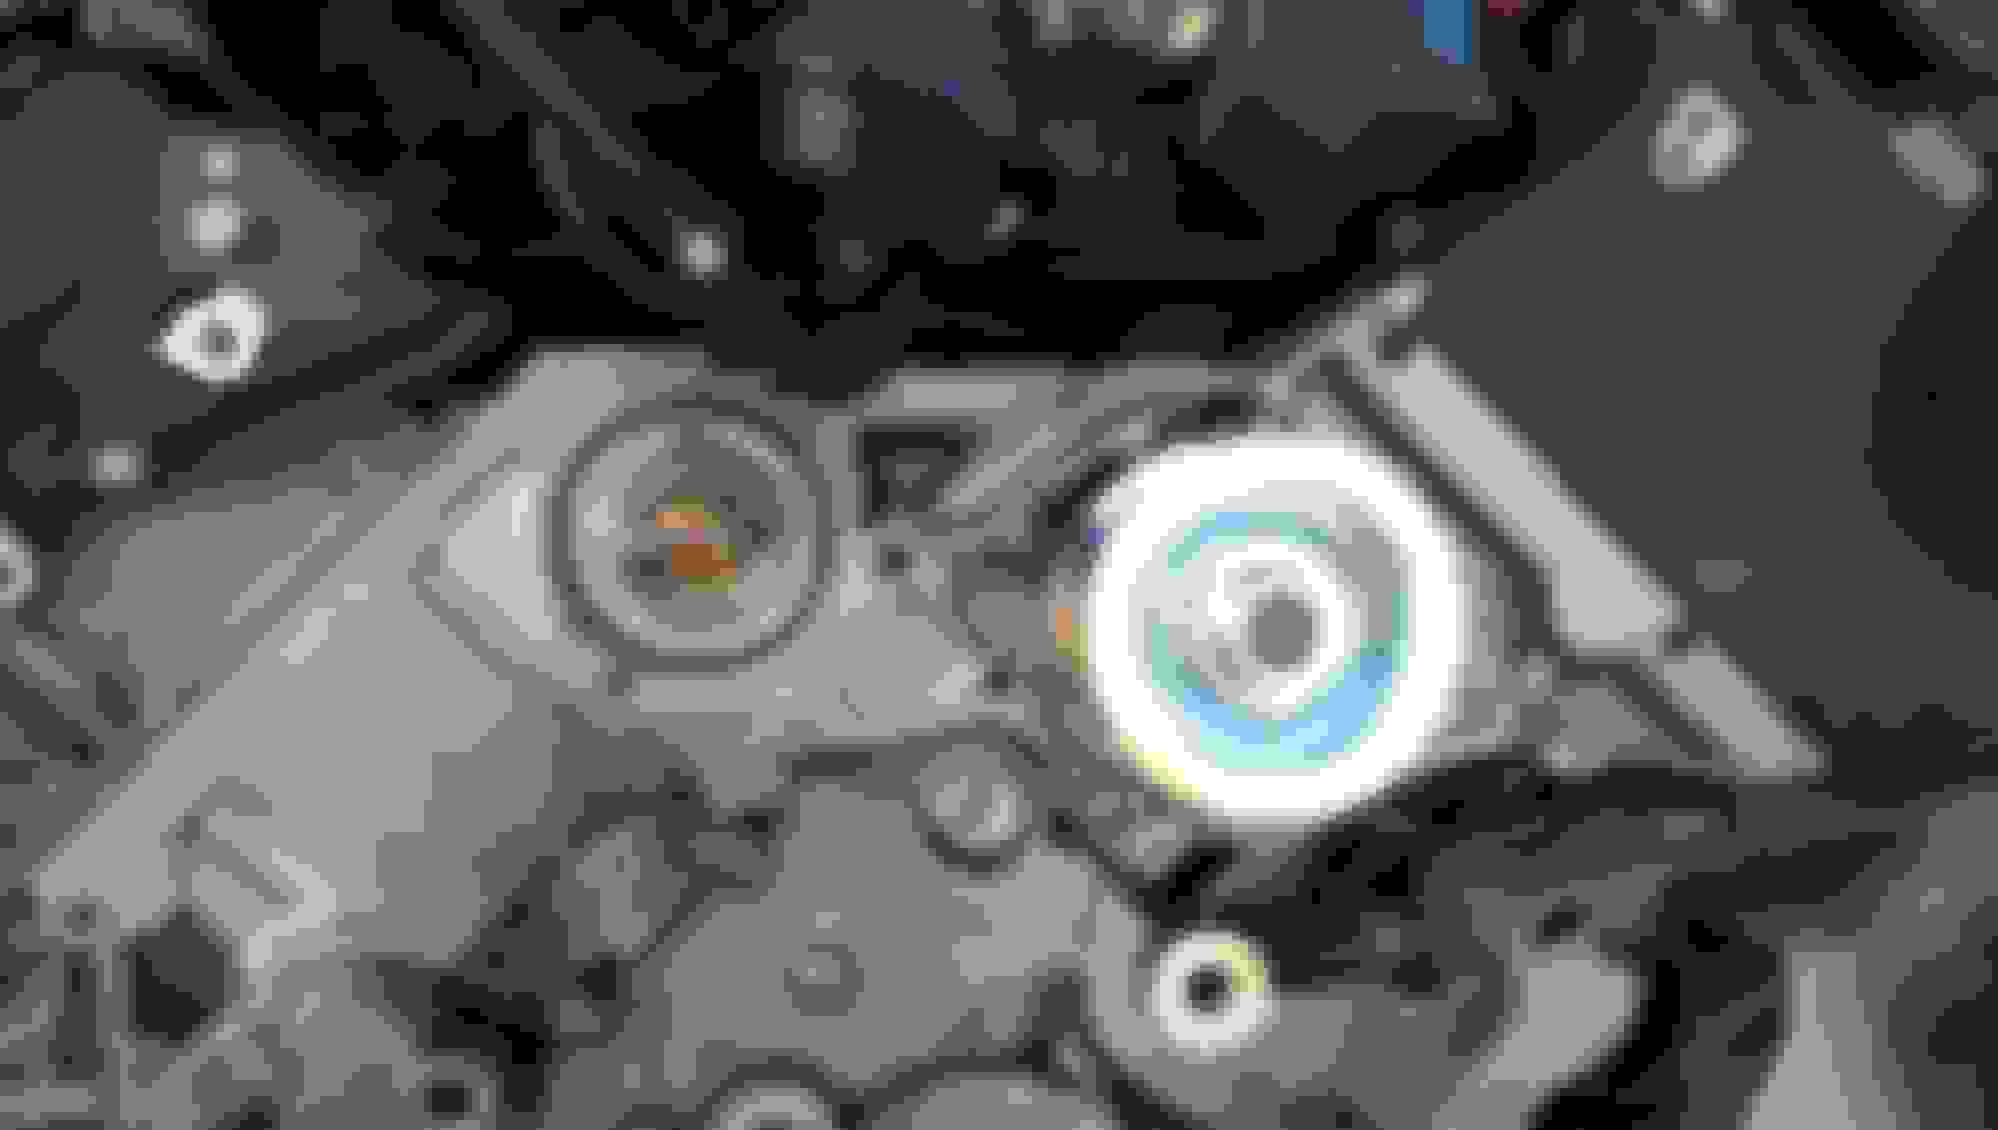
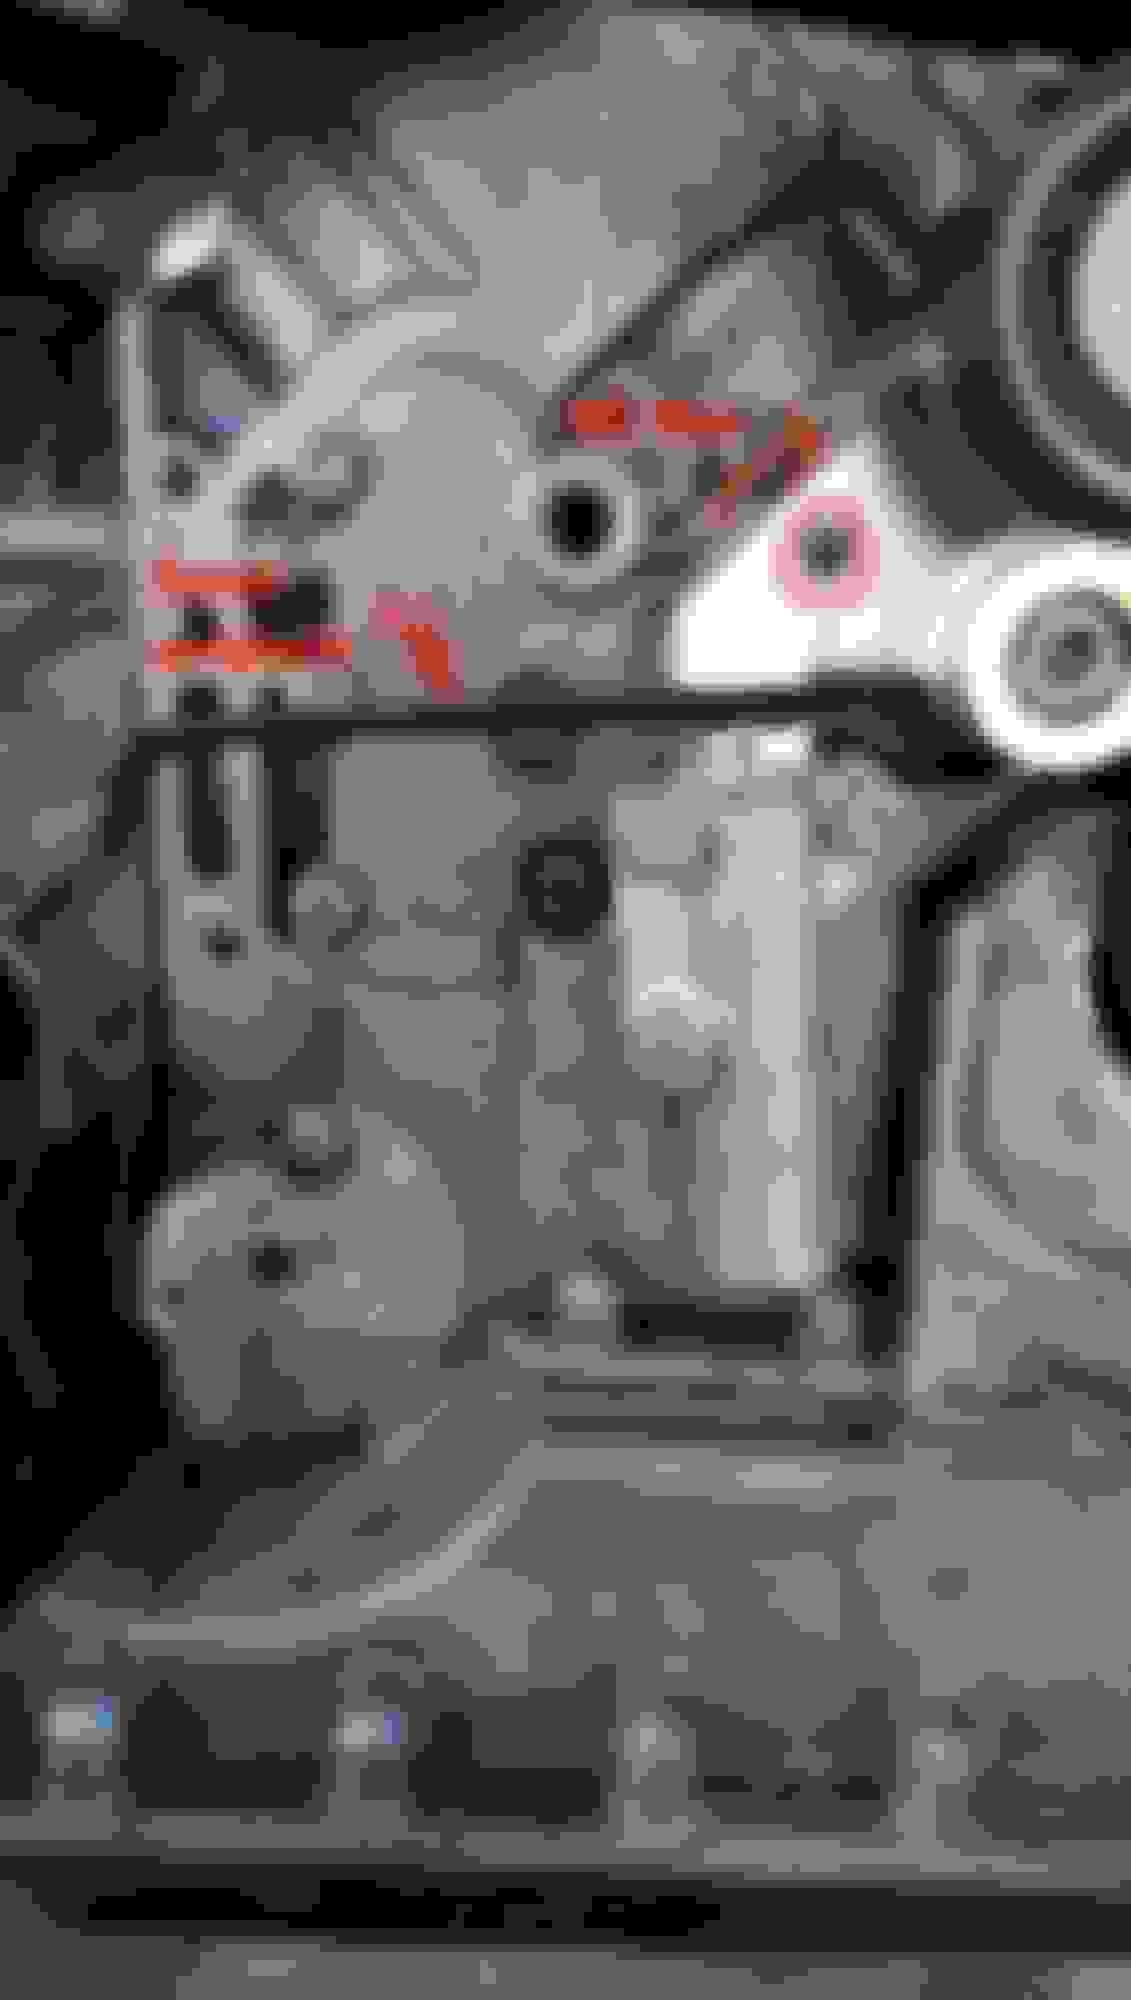
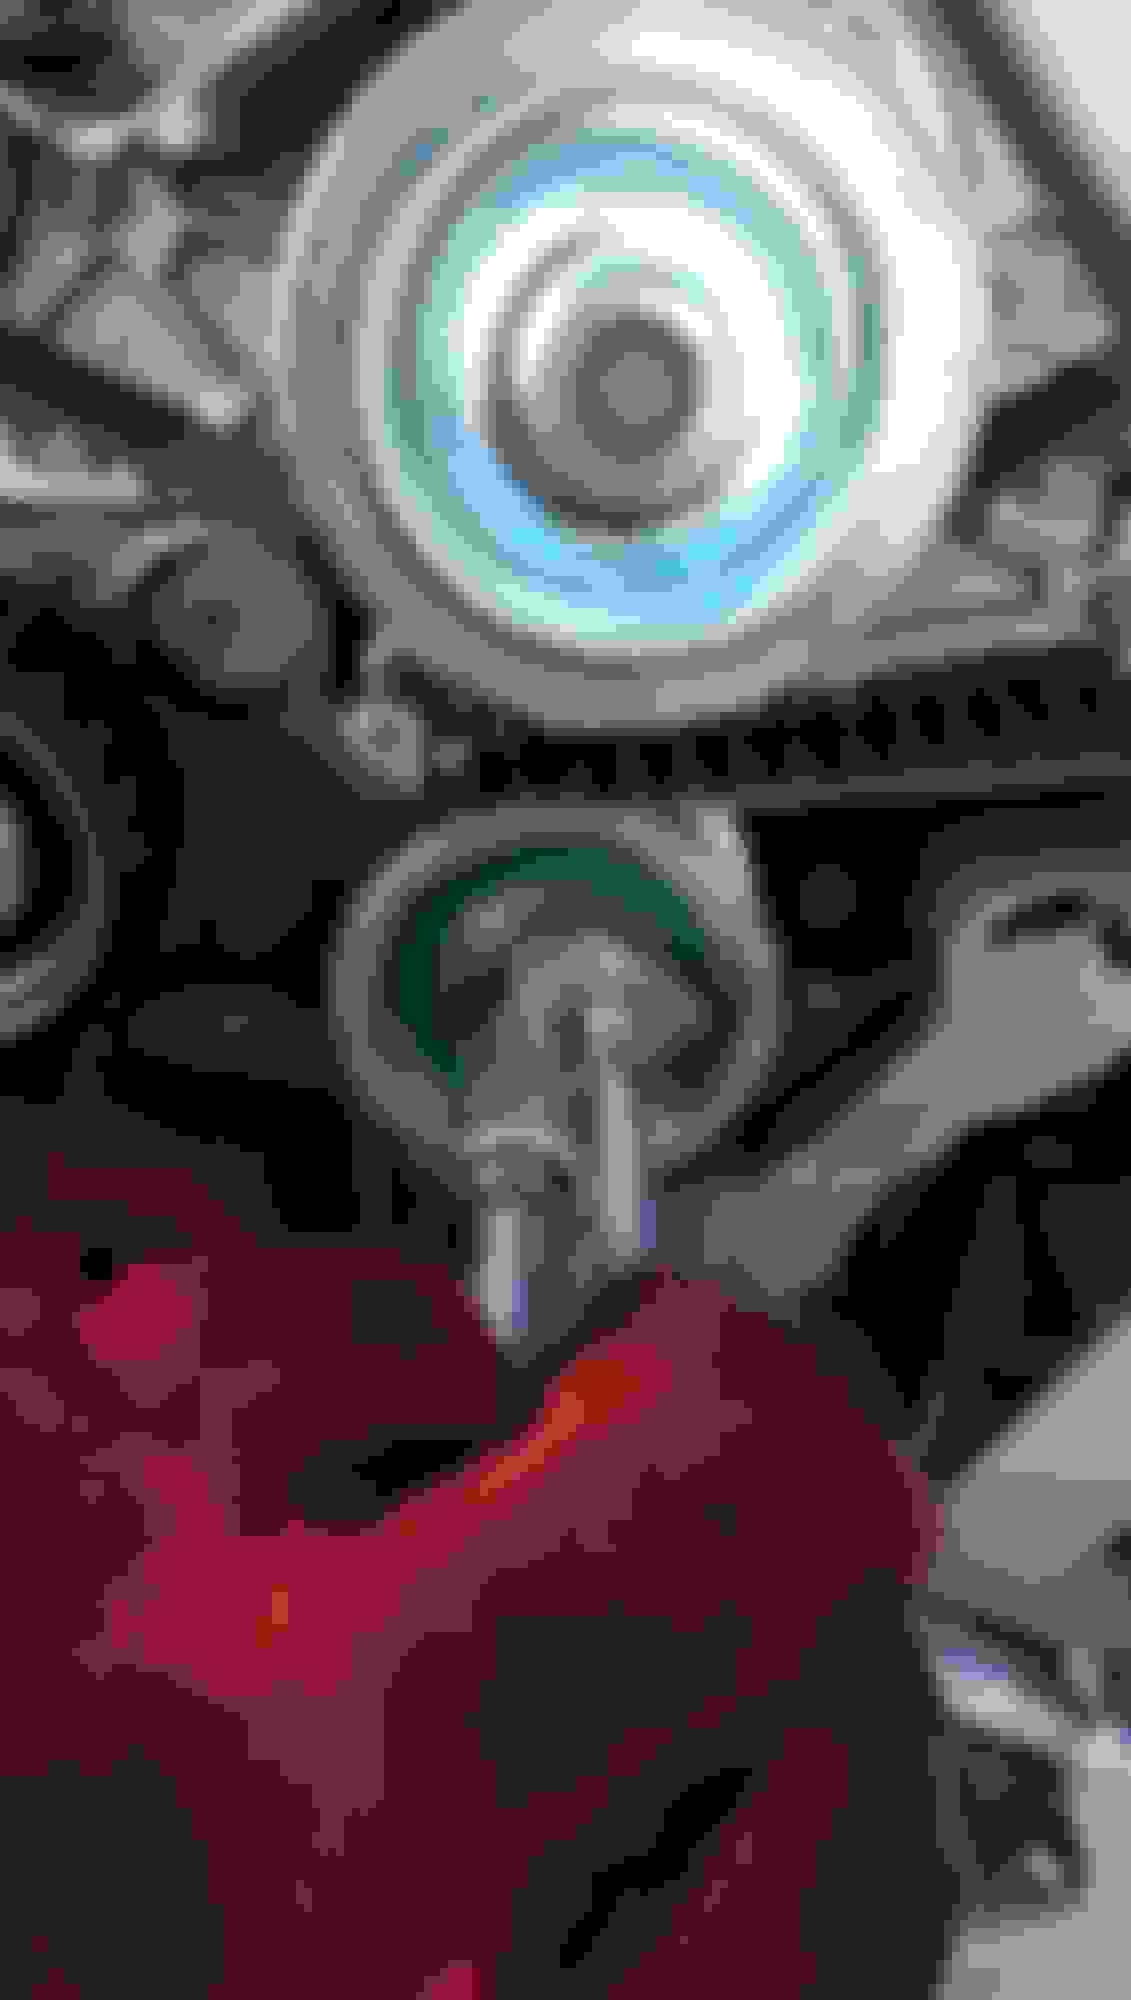
Now Pre Tension the belt by using the Dampener Pulley turning it Clockwise Twice to 40Nm. Then insert a 5mm allen wrench between the hydraulic dampener and the pulley bracket.
Lock the Tension with the tensioner using T40009. Turn T40009 counter clockwise to 6Nm and hold. while holding it Tighten the Tensioner Bolt.
Install T40005 into the Cam plates. to set both cams to TDC. Tighten the Cam shaft bolts to 55Nm.
Remove the 5mm allen wrench.
Remove T40005 Cam lock bar
Remove the pin in the hydraulic Dampener. to do this you will need to compress the dampener by rotating the damper pulley bracket counter clockwise.
remove 3242 Crank lock
Rotate The Engine 2 FULL rotations from crank. return to TDC.
Check the Dimension between the Dampener pulley lever and the hydraulic dampener body.(a) it should be 5mm +or- 1mm. if it is not in that zone repeat the Adjustment.
Now You Can put everything back together!!!!!
but wait we are not done yet.
once the whole front end is back together to fill the radiator you need to open the bleeder valves
they are on the pass side near the wash fluid reservoir
Here is the process
- Fill expansion tank
- Start car
� Open the bleeder screws -1 and 2-.
� Fill up coolant until it leaks from the bleeder screws -1 and 2- without bubbles.
� Close the bleeder screws.
� Install the expansion tank cap.
� Set interior temperature to �HI�.
� Let engine run at 2000 RPM for 3 minutes.
� Let engine run at idle long enough until both large coolant hoses are warm.
� Let engine run at 2000 RPM for 1 minute.
� Turn off engine and allow it to cool off.
Check the level and refill as necessary.
MY car took 2-3/4 Gal of 50/50 mixed coolant.
Good luck with your job.
Originally Posted by MP4.2+6.0
Great job!
Reading through a lot of it, some adds/checks for others if it helps.
1. I would replace the o rings at any of the main hoses that are opened--the ones with the circlips. The dealer sells the o rings for a few bucks. I have had some minor drips at times when I re use long term use prior ones. Really easy to do--just pry them out carefully w/ a very small screwdriver or curved pick--when hose is off. audiusaparts guy told me at one point their mechanics routinely change them from his supplying them across the service-parts window.
2. Before starting, check condition of your horns and headlight squirters. Having had to do both a horn and the headlight washer tubing on mine, I can see this would be the time since they are coming off anyway and the fender lining gets opened for the part of the the tubing system that goes back there.
3. If you want to change HID bulbs, ditto on ease. Once the liners get pulled, this is the time it's easier. I have my Nightbreakers sitting around waiting for the next liner pull...
4. Check the motor torque mount as I've noted in other posts--before the job. It comes out in the write up and you wouldn't want to find it broken and then have car laid up a few days waiting for the part. BTDT on C5 4.2, though I was doing other deep motor work that took a while anyway. In this job, it looked like it was fine. Obvious when it is gone--cracked through and nasty looking heavy brown oil has come out.
5. When you take the lock bar off the cams, really watch out for the cams suddenly moving--like in a hundredth of a second the gears can rotate 20 or 30 degrees because of the valve spring pressure. You can use the bar to later move things back into position by alternating from side to side, but the risk is you could get seriously hurt if your fingers are near the teeth of the gears right as it "unwinds." It also comes up as you go to reload the belt into position and the bar has to be out of there for part of it. It depends on specific technique for putting belt on, but that is when I also perceived the risk from prior experiences having the cams snap back so fast, or when I used the bar to lever one side into position and then it would again snap back at almost the drop of a pin.
SBCrazy, You are to be given much, MUCH credit for this. I know how long these take.
wow....
Makes me reconsider doing this myself. Might be worth plopping this on the credit card at the european mech I support. With three kids milling about while I would be attempting this job, it would more than likely take me 4 days to complete.
Reading through a lot of it, some adds/checks for others if it helps.
1. I would replace the o rings at any of the main hoses that are opened--the ones with the circlips. The dealer sells the o rings for a few bucks. I have had some minor drips at times when I re use long term use prior ones. Really easy to do--just pry them out carefully w/ a very small screwdriver or curved pick--when hose is off. audiusaparts guy told me at one point their mechanics routinely change them from his supplying them across the service-parts window.
2. Before starting, check condition of your horns and headlight squirters. Having had to do both a horn and the headlight washer tubing on mine, I can see this would be the time since they are coming off anyway and the fender lining gets opened for the part of the the tubing system that goes back there.
3. If you want to change HID bulbs, ditto on ease. Once the liners get pulled, this is the time it's easier. I have my Nightbreakers sitting around waiting for the next liner pull...
4. Check the motor torque mount as I've noted in other posts--before the job. It comes out in the write up and you wouldn't want to find it broken and then have car laid up a few days waiting for the part. BTDT on C5 4.2, though I was doing other deep motor work that took a while anyway. In this job, it looked like it was fine. Obvious when it is gone--cracked through and nasty looking heavy brown oil has come out.
5. When you take the lock bar off the cams, really watch out for the cams suddenly moving--like in a hundredth of a second the gears can rotate 20 or 30 degrees because of the valve spring pressure. You can use the bar to later move things back into position by alternating from side to side, but the risk is you could get seriously hurt if your fingers are near the teeth of the gears right as it "unwinds." It also comes up as you go to reload the belt into position and the bar has to be out of there for part of it. It depends on specific technique for putting belt on, but that is when I also perceived the risk from prior experiences having the cams snap back so fast, or when I used the bar to lever one side into position and then it would again snap back at almost the drop of a pin.
Thanks for all the compliments and all the added feedback!!! This is what makes this forum more of a community of owners helping each other rather than a place to bash people. Thanks everyone.
As others have already said, this is a great write up, I do appreciate the time it must have taken to provide all the details. I will absolutely be saving this for future reference as I need to do the full belt job on my 4.2 this fall sometime.
I do have a question though, I really do not understand the need to loosen the cam sprocket bolts, maybe I will get it once I break things apart and have my eyes and hands on things. Without doing so though, I really do not understand the need. I think I remember reading the same procedure in Mishar's post too, so I am not arguing the need just don't understand it.
I get everything else I read and saw in the article, and again thank you.
 08-11-2015, 10:04 PM