My '87 4kcsq project


 06-16-2013, 02:25 PM
#73
AudiWorld Member
Thread Starter
Join Date: Dec 2011
Location: gj, co
Posts: 111
Likes: 0
Received 0 Likes
on
0 Posts
I'll be the first to tell you it's not perfect, but considering it was a garage job it really did turn out nice. here are the steps I took.
First, I got all the bodywork as straight as I thought I could (still not good enough lol) with 36 grit and a series of soft and hard blocks (thanks to rogviler for the loaned tools) then I sanded the entire lower half of the car with 200grit. we didn't do the roof because the paint up there was still in pretty good shape. Once it's sanded, wipe it down with a lint free cloth and wax & grease remover.
after that my friend Weston helped shoot the lower half with high build primer, he forgot his primer gun so we had to lay it on in about 8 coats. I highly suggest using a 1.8 tip on your gun for primer as you could do it in about half the time. do the first coat thin, then hammer it on, just not so heavy that it runs all over. once it's thick and grey, do a thin guide coat in black like the pictures of mine. give it atleast 10-12 hours to dry depending on your climate.
then take 400 grit and a rubber block and level out that primer. this is the important step if you want a smooth, flat final coat. all your trying to do here is use the guide coat to show you where the high and low spots are in the primer. take your time, don't press to hard, let the sand paper and the block flatten it all out slowly. once its grey again, and smooth, your done. move on to the next panel before you sand thru all your primer. this was also the point where we prepped the roof with red scotch brite. repeat the cleaning process with wax and grease remover. we also used a tac cloth to help clean it at this stage.
then we did a thin coat of sealer to make everything one uniform color and shot the single stage tornado red. again, first coat was thin, second coat was hammered on. single stage needs something to grab onto, hence the thin first coat.
that's it. 2 coats single stage was all it took.
hope that helps you along with your project. I got a lot of my inspiration from cars I saw online. After all the hours invested i'm sooo glad I went thru with it. totally worth it in the end.
now on to my update, got the turbo block all painted up yesterday
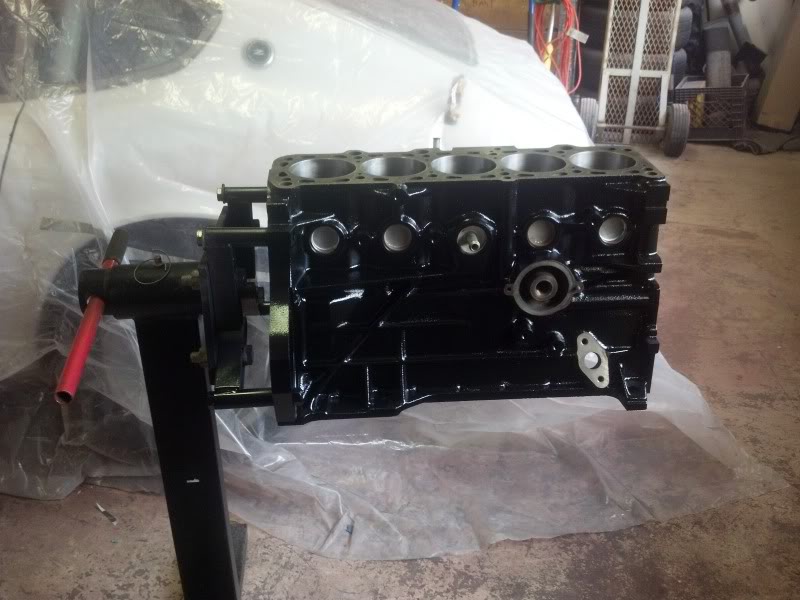
can't wait to get this thing back together.
 06-18-2013, 09:32 PM
#75
AudiWorld Senior Member
Yeah, I let me cell phone bill lapse for about a week and haven't had much time otherwise. Probably good, take a break from bothering the humans...
How much paint did the car end up taking?
-Rog
How much paint did the car end up taking?
-Rog
06-19-2013, 09:22 AM
#76
AudiWorld Member
Thread Starter
Join Date: Dec 2011
Location: gj, co
Posts: 111
Likes: 0
Received 0 Likes
on
0 Posts
lol sometimes I think I'd be happier if I threw my phone in the river. . . but it is a decent pocket camera so I never follow thru.
I used 2 quarts for the entire car, bumpers and spoiler. . . it was barely enough for 2 coats on everything.
I used 2 quarts for the entire car, bumpers and spoiler. . . it was barely enough for 2 coats on everything.
 08-05-2015, 03:43 PM
#78
AudiWorld Newcomer

Join Date: Aug 2015
Posts: 2
Likes: 0
Received 0 Likes
on
0 Posts
I was wanting to remove the trim on the side (black rubber in middle of door) on my coupe GT were there holes when you removed the trim?
I live in CO as well. Drop me a line if your ever in FC.
I live in CO as well. Drop me a line if your ever in FC.
08-05-2015, 10:07 PM
#79
AudiWorld Senior Member
-Rog

Thread
Thread Starter
Forum
Replies
Last Post
Audi A6 2003 allroad 2.7t for sale in AZ
blackjulia
Vehicles For Sale - Archive (NO NEW POSTS HERE)
0
09-27-2015 09:37 AM
hoppedallroad
Vehicles For Sale - Archive (NO NEW POSTS HERE)
0
09-21-2015 10:03 AM