When you click on links to various merchants on this site and make a purchase, this can result in this site earning a commission. Affiliate programs and affiliations include, but are not limited to, the eBay Partner Network.
Allroad Air Suspension Compressor Replacement, Unabridged
It’s that time of life when many allroad owners will be experiencing the demise of the air suspension’s compressor. Many of us have already experienced air strut failures, perhaps more than once. But the compressor’s time is now running out—at least for my 2001 APB.
If you find yourself in that place, I offer below, my own experience with the job, hoping like hell you have the sense to properly and safely elevate your 4000lb. car while you're working, as well as accept the personal responsibility to recognize that your experience is your karma entirely, and has nothing to do with me or mine. I concur with several posters who suggest using ramps for this job. Although I don't have any, that would probably have been much more comfortable.
Know also, this job rains dirt in your face. Wear eye protection throughout—and keep your mouth shut.
Last week, when I received Arnott’s replacement compressor (P-2134), I had already done some research on how the job is done. Two years ago, when I ordered Bag Piping Andy’s rebuild kit, I got under the car, removed the protective plate, and decided to do the rebuild with the compressor in place.
For those who have yet to discover it's location, the allroad air compressor is on the underside of the car, just forward of the spare tire well, tucked in a crevice between the tire well and the subframe.
Having now removed and replaced the compressor, I’m glad I made that decision earlier. If you have a lift and know your way around, it’s probably no big deal, but squirming around under a car on jack stands, with the compressor 8” from your face, and NOT knowing your way around… let’s just say there are some things to learn.
Consequently, having discovered a near absence of the online knowledge I was looking for, I decided late in the game to document some of the ‘things I didn’t know’, but was destined to learn. So this little tutorial is targeting less experienced DYIers who might appreciate a little help with what’s inside those dark, uninformative recesses in front of the spare tire. Knowledge helps limit cortisol production. Thank God for forums like this one!
Before I begin, I’d like to express appreciation for Bag Piping Andy. Andy’s a great guy, and he’s done a terrific job of forestalling impending compressor failure for owners like me. He offers a nicely designed kit that replaces the piston ring in the compressor. It bailed me out for a couple of years, and I contacted him when it no longer seemed to be pulling the grade. If you think that's where your problem is, installing his rebuild kit can save you money, and/or buy you time.
Andy is very generous with his knowledge and his time, and he did his best to diagnose my problem—steadily declining ability of the system to maintain its height. He was sure there had to be a leak somewhere, but leaving it overnight, and measuring again in the morning on multiple occasions didn’t support this. My indie Audi shop was convinced the compressor just needed replacement. I hemmed and hawed for a few weeks until I was on the ground. The car couldn’t maintain level 1, much less think about a higher level. Most of the loss seemed to take place while driving. It was slow, but relentless. There are other possibilities for this scenario, and reading Andy's posts are likely to help you sort out your own situation.
Having replaced the original front struts with Arnott’s Generation I struts at the same time I did the compressor rebuild two years ago, I had already been through a couple of years of administering Slime to the increasingly porous original struts. Slime is an extremely effective neon green, fibrous liquid designed to plug leaks in mountain bike tires. The Slime provided a paradoxically satisfying solution for outwitting Audi’s way of extracting large amounts of money from our pockets. I milked it for all it was worth—but there came a time when it would no longer do the job.
So, as with so many things that fail as we age, I’m getting more comfortable with surrender. And that’s what I did. Here’s what I was shown:
Arnott’s ‘plug and play’ replacement compressor probably plugs and plays most of the time—but not in my car. This discovery came at the end of the day on a Saturday. I spent the rest of the evening trying to find reassurance somewhere that I did, indeed, have the right part before lopping off wires to accommodate the electrical connections on my car. That reassurance wasn’t forthcoming, but by Sunday morning I decided to quit whining and just do it.
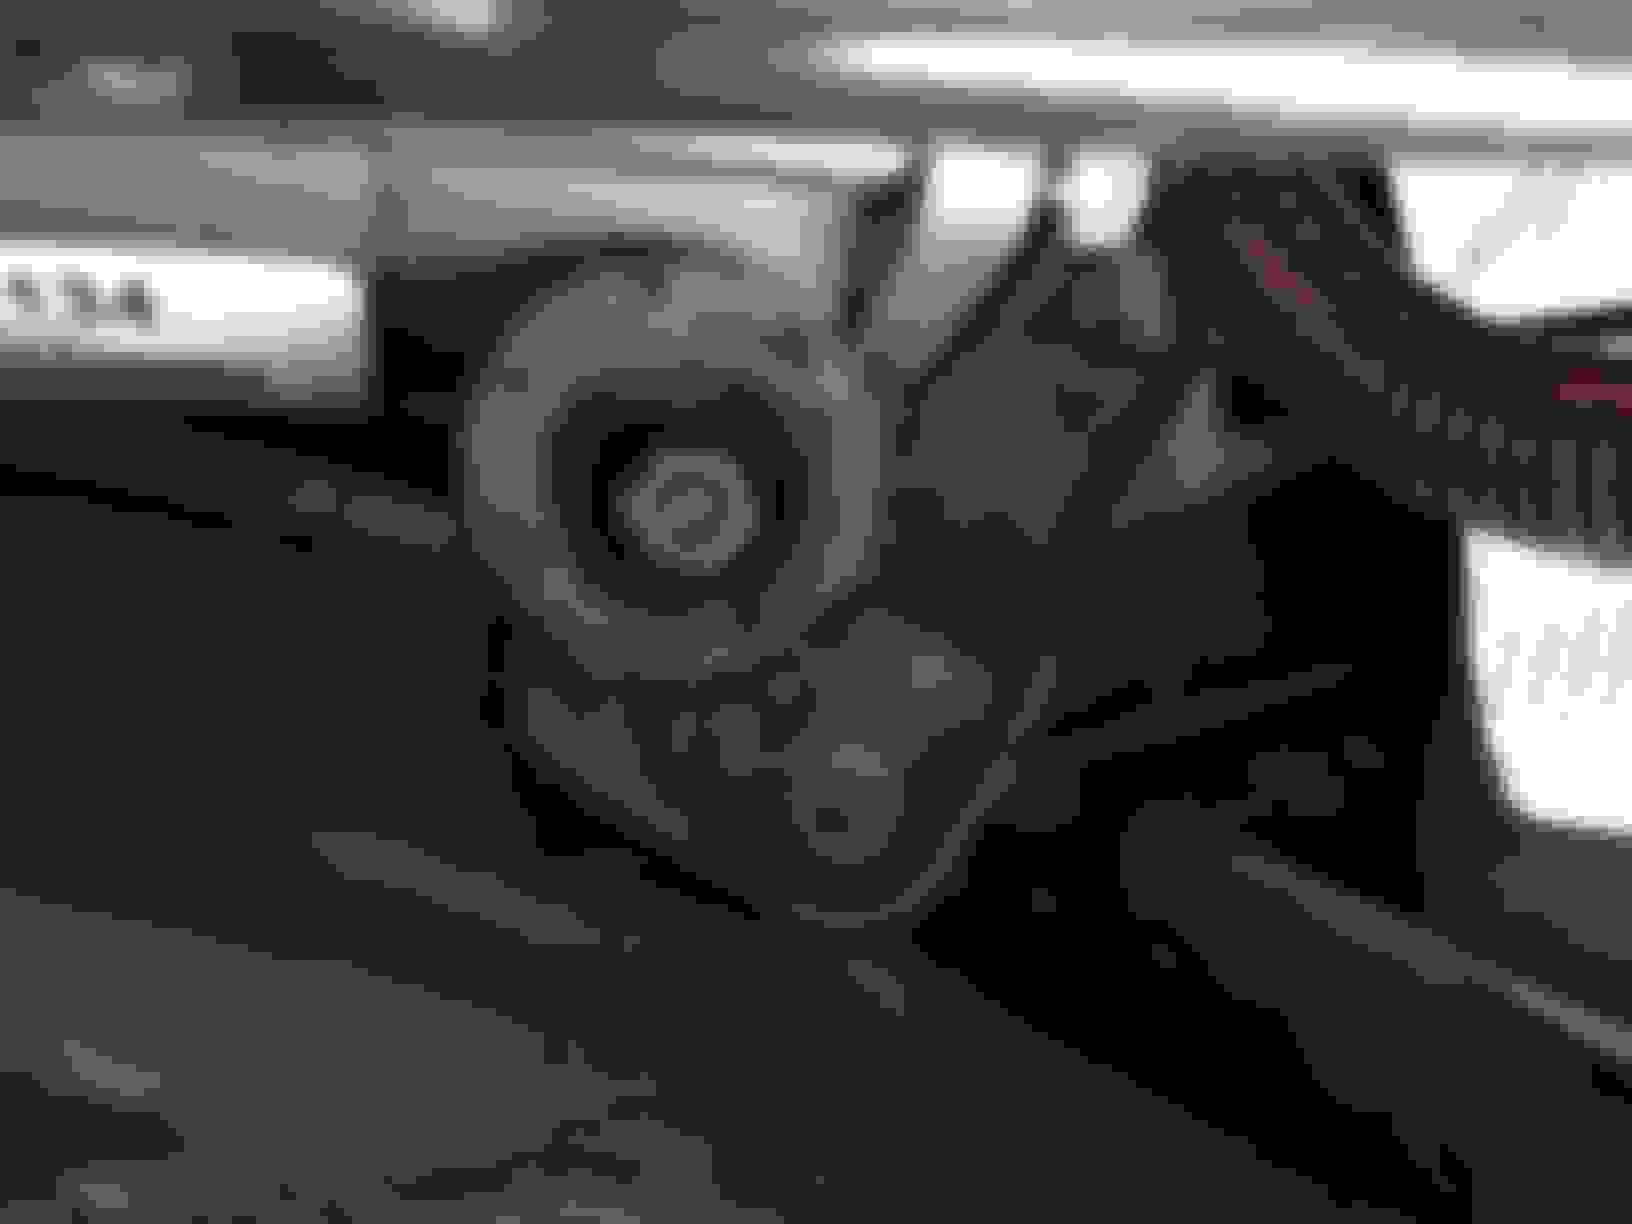
Here's the compressor that was in the car, a Wabco with a Continental label on it—made in Germany—with a closeup of one of the electrical connections that came with that compressor.
Part #15.1550.0010.2, which doesn't remotely resemble the three listed by Arnott. I found references to this part number on some posts on UK allroad sites.
Here's Arnott's current offering for the allroad. As you can see the wiring setup is different, and the corresponding connection (next photo down) is also quite different.
Actually, I have previously seen this discrepancy on this car before with replacement parts. You'd think I'd have learned to get the part out of the car and have it's number with me when I order replacements—but this one fits all allroads, and it's plug and play, right?
Interestingly, the Arnott is also a Wabco with some differences. The top (which is actually the bottom, but if you're lying on your back, it's the part you'll be looking at) is the air dryer, and it's stamped 'Germany'. The other half, the motor, is also stamped Wabco, but says 'made in India'. Arnott explains in a previous post here that the compressor is "a high-quality, cost-effective solution for Audi owners". The motor from India may be the cost-effective part.
Doug Taylor of Arnott kindly responded to the plea for help I posted Saturday night on a year old AudiWorld thread. He seemed not to have heard of their wiring not matching any allroads. By the time I discovered his reply, the new compressor was in the car, but I was impressed that he keeps tabs on the forums to offer help when needed.
Now for some details of the installation. See those metal rings on the old compressor?
There are three of these spaced around the compressor, and they hold rubber grommets which isolate the compressor from the car, and vice versa. There are some other components of this suspension system which may leap into your face as you remove the 10mm nuts from the three studs which hold the compressor in place. Each stud holds the following suspension components: a washer at the top, a spring, and a metal sleeve with a washer on its bottom, as well as a rubber isolator. The weight of the compressor sits on the springs and the larger, lower half of the rubber isolators. You'll reuse these isolators and install them on the new compressor, so, be gentle with them. Here are the old grommets/isolators mounted on the new compressor:
Actually, Andy has an excellent drawing in his instructions which tells the story better. Here:
The bad news for me was when I realized the washers had to go on the studs before the compressor, with the isolators in place at replacement time. This, as you may have guessed, is a tight spot with little wiggle room, even for small hands like mine. Gravity is the challenge here. First I tried spraying the washers with a tacky gasket adhesive, but it wouldn't quite hold their weight on the studs. Finally, I realized I could put a washer on, then screw the 10mm nut on the stud a few turns, and the other components would slip over the nut while the washer was held in place on the stud—or so I hoped. With the compressor and isolators in their metal rings, pushed up to where the washers stop against the stepped shoulders of the studs, I could remove one nut at a time, slide a sleeve and spring up where they belong, and put the nut back on. Repeat for the other two. Works very nicely.
Reminds me, the nuts were a little cranky on my car, especially the one toward the front of the car. When I had the compressor out, I tried to clean the nuts and studs up a bit, and screwed them up and down the threads without the compressor occupying all the space. Even still they were pretty tight, but doing that helped with final reassembly. Neither WD40, nor PB Blaster phased them.
Now let's take a look at my allroad's electrical connections, and the adjustments I made to the Arnott compressor to accommodate them. The original compressor as it looked after removal:
The Arnott wiring before revision:
Revised wiring on new compressor to fit my car:
I'd guess this will be irrelevant to most readers fortunate enough to have cars that match Arnott's plug and play compressor, but may be helpful to a small handful who own cars full of surprises.
On my car, all the connections but one were way off to the left (right and left directions are assuming you're lying face up under the car, with your feet sticking out the back), on the far side of the distribution block with different colored 4mm air pipes running off to the four wheels. These two electrical fittings and the soft rubber air intake tubing for the compressor were all attached to a strap of metal. I just love Audi's electrical fittings, and these were no exception. I found it easiest to remove them from the metal to disconnect/reconnect them before reattaching them to their metal base. You may not find that necessary.
The third electrical connection is molded directly into the compressor body itself. Fortunately, that one was just fine.
Here's a photo of the washers held in place on the studs by a couple of turns of the 10mm nuts, awaiting the compressor and its suspension.
Having only two hands, this is the only shot I could get of the compressor in place on the studs, thankfully over the 10mm nuts, but prior to temporarily removing the nut, inserting the spring and sleeve, and happily screwing the nut back on.
Once they're all on, give them a firm, but judicious little torque. You'll be torqueing against the metal sleeve with washer, so you want to be snug enough that the nut will stay where it belongs without crimping the sleeve. I'm sure there's a specification for that somewhere, but I didn't bother trying to find it. By the age of 70, I'm pretty good at knowing what a 10mm nut should feel like.
Also coming out of the distribution block with the colored piping is a black one which plugs into a brass compression fitting on the right end of the compressor. This pipe feeds compressed air to the system. When you removed it from the old compressor, you probably had to unscrew the brass fitting completely, then remove the brass compression ferrule from the end of the plastic pipe. Take good care of this pipe. Arnott's brass fitting is a push in, and the pipe needs to be relatively unscathed to be air tight. Make a perfectly perpendicular and clean cut to remove the ferrule, leaving a fresh start for the pipe's new home. At installation, simply pull the white plastic plug from the Arnott brass fitting, and push the black air pipe into the fitting until it doesn't go any further. If you've gone through life with compression fittings, this arrangement seems a little too good to be true, but it seems to work. Arnott's air struts use the same fittings.
Make sure all three electrical connections are solidly in place. Gently pull on them to assure they're locked to each other, unless you know you've already broken them and are planning on hoping for the best. Check that everything is tucked away and tidy before replacing the metal protective cover on the three small studs, also 10mm.
You're ready to drag yourself from under the car, carefully lower the car off the jack stands, and start 'er up. Mine was back below level 1 when I did this. I took it out of jack mode—probably unnecessary, but I like to improve my chances of success. Gratefully, that's what I experienced. The car effortlessly and much more quietly rose through each of the four levels.
Thank you, Arnott, Doug, and Andy, and all those before me who so generously share their knowledge on AudiWorld, and to those who continually improve the replacement parts we use to keep these classics running!
Last edited by Stubborn, but Happy; 06-28-2016 at 12:06 PM.
I've been expecting feedback from old timers complaining about how elementary this is, and how nitpicky. The intention is a little light in the dark for someone experiencing something like I did.
 06-28-2016, 11:15 AM