When you click on links to various merchants on this site and make a purchase, this can result in this site earning a commission. Affiliate programs and affiliations include, but are not limited to, the eBay Partner Network.
This is all I replaced and it worked like a charm!
All you will need is a T20 torx driver.
Step 1: Open the Filler door
Step 2: Remove the Fuel Filler Cap
Step 3: Grab the rear/inside edge of the filler assembly and pull back and out
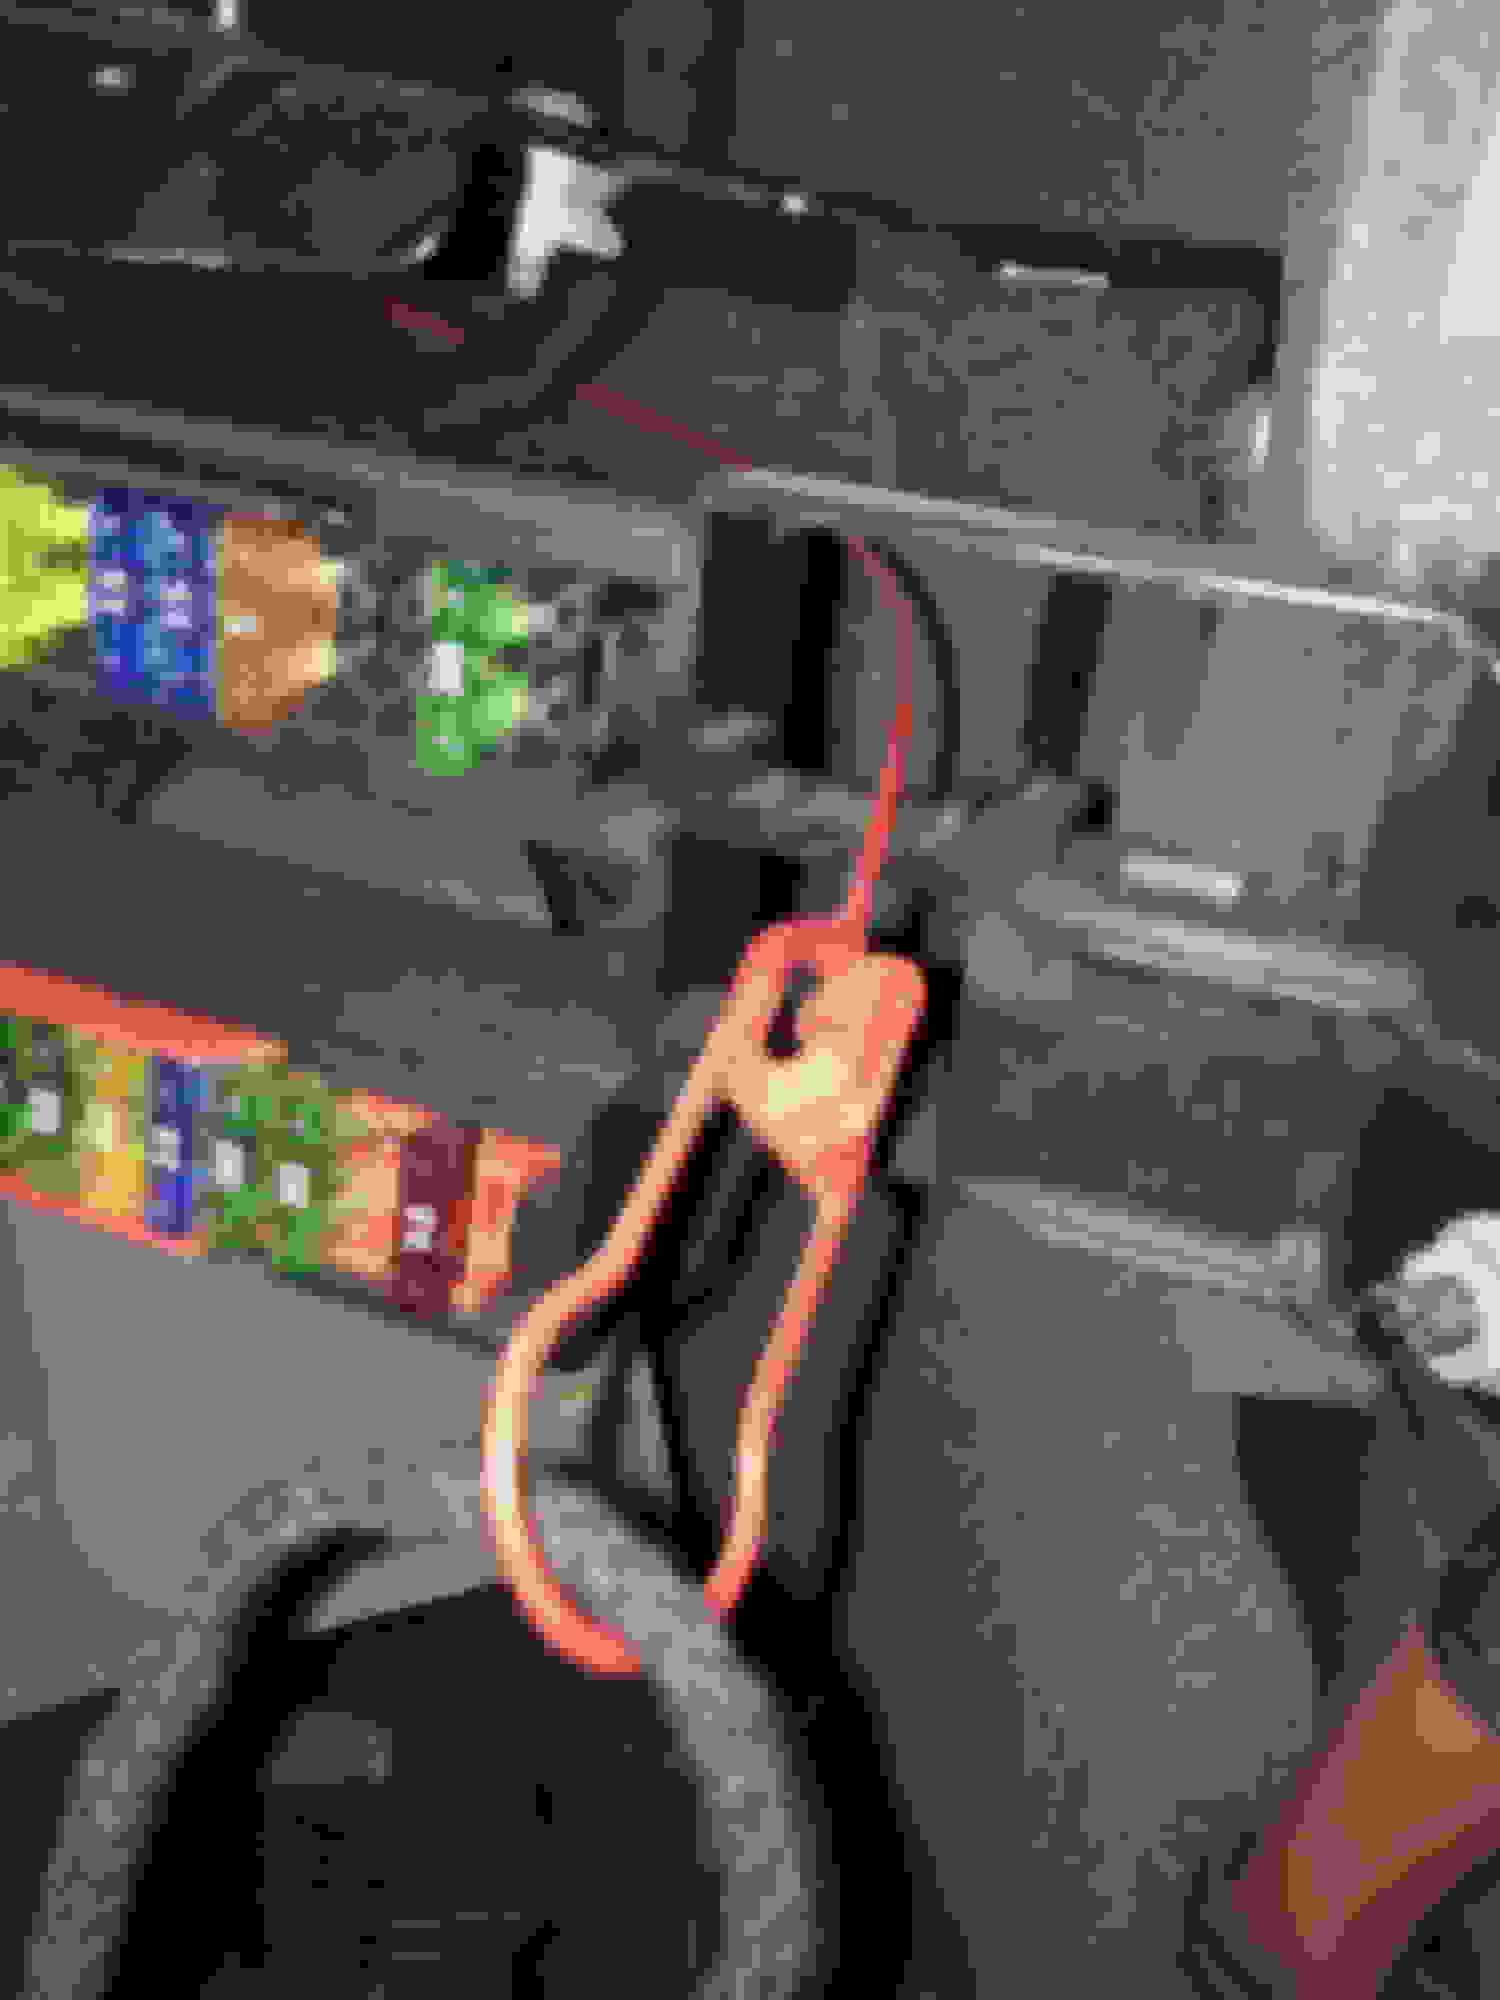
Step 4: Disconnect the Green wire and pull the unit out further
Step 5: Use T20 to remove the two bolts both top and bottom and remove the actuator. I did not want to remove and reroute the new emergency release cable, so I just pulled it off of the old actuator and put it on the new one. you could probably use the old one to pull the new one into place, but mine looked like new so I reused it.
Just put back in place, replace the two T20 bolts and press the unit back into place, replace the fuel cap and marvel at your work.
Thanks to Cmarshack for this guide. All worked like a charm.
The only points I would add are the following:
1) The rear quarter hatch in the boot/trunk (to locate the release cable) is quite tough to remove - needs a large screwdriver to lever it out.
2) If you want to use the new red release cable. Tie some string to the old cable (at the boot/trunk end) and pull through.
when you have attached the new actuator(per the above), tie the pulled through string to the new cable and pull back from the rear quarter hatch in the boot/trunk.
Many thanks for this thread. It worked perfectly to fix this issue on my 2012 A6.
Just wish I found it before the other threads talking about removing the trunk interior!
The only thing I would add is that to remove the filler door assembly, I simply grabbed the defective "fuel door release plunger" with a pair of pliers and pulled straight out. The entire assembly then pops out (including the filler door) allowing easy access to the 2 torx screws holding the solenoid in place.
I choose to simply swap the existing red emergency release lanyard over to the new solenoid to avoid having to reroute it through the trunk (which would require removing all the interior parts!
I hopes this saves someone the hour I wasted pulling out and reinstalling the trunk interior!
I had a an issue with the fuel filler door would not "release" but yet I could hear the solenoid working. I had to carefully pry the door open with a credit card, as I applied a little force it would suddenly pop open. Then when closing the door I had to push it in quite hard and it would then stay inwards slightly farther than the bodywork - looked bad. I finally started looking closely at the plunger latch and saw that over the years the plastic material had developed a burr/ridge that was preventing the plunger of having it's complete stroke length. I carefully trimmed away at the burr/ridge with a razor blade and eventually the full motion returned. It's been working perfectly since then. So before replacing the entire actuator, check to see if the plastic plunger/latch has a burr/ridge on it.
Many thanks for this thread. It worked perfectly to fix this issue on my 2012 A6.
Just wish I found it before the other threads talking about removing the trunk interior!
The only thing I would add is that to remove the filler door assembly, I simply grabbed the defective "fuel door release plunger" with a pair of pliers and pulled straight out. The entire assembly then pops out (including the filler door) allowing easy access to the 2 torx screws holding the solenoid in place.
I choose to simply swap the existing red emergency release lanyard over to the new solenoid to avoid having to reroute it through the trunk (which would require removing all the interior parts!
I hopes this saves someone the hour I wasted pulling out and reinstalling the trunk interior!
This is a huge help as my 2013 Q7's fuel door actuator broke, so the door cannt be closed. I will have the part soon and will follow your recommendation. Thanks.
. Hi I have a 2012 Audi a6 I have tried what you said but cannot get fuel door off. Is there a screw holding it in place . Have scratched paint trying to get it off . What exactly should I be pulling at. Help greatly appreciated .
thankyou
... Step 3: Grab the rear/inside edge of the filler assembly and pull back and out
...
Thanks for the tutorial as i am at the stage where my car's gas filler cap is also sticking. I wanted to get a clarification on what you meant by "Pull back and out" which way should i be pulling or pushing to remove the cover assembly?
I just completed this job on my '12 Q7 TDI. There are some good tips and tricks in this thread. For my TDI, the add Blue filler cap necessitated a little more wiggling to remove the assembly. There is a little tab on the car side of the wire harness socket. After struggling to remove the wire harness, I simply broke off the tab on the old actuator. Once I did that and removed the wires and unhooked the emergency release from inside the trunk panel there was a lot more freedom off movement in the fuel door assembly. I then had the room I needed to get my torx driver behind it. A note of caution, it's no problem to pry off and reuse the old emergency release if you want. Be sure to tie a string to it from the inside before pulling the door assembly out as the release tab will be sucked into the fender.
Hi, I just wanted to say thank you for this post. I thought it was going to be a large bill from the Audi garage but this post and a part from China has meant all fixed for �20 and in literally 10 mins. Brilliant. Thank you very much.
SiBry
 10-28-2015, 10:40 AM