Jibberjive's RS6 Build Log
 03-16-2009, 10:31 PM
#1
AudiWorld Senior Member
Thread Starter
Join Date: Aug 2006
Location: UT
Posts: 1,013
Likes: 0
Received 0 Likes
on
0 Posts
Here's the setup I'm working on and it should be done within the next little bit. I'll update this first post with new pics as it progresses. This is by no means a complete list and I'll get more thorough later.
Engine:
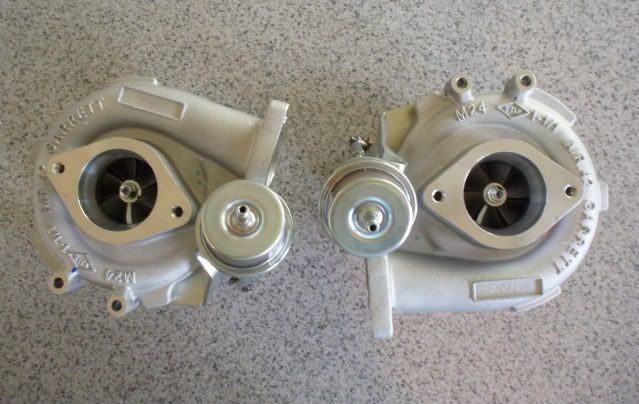
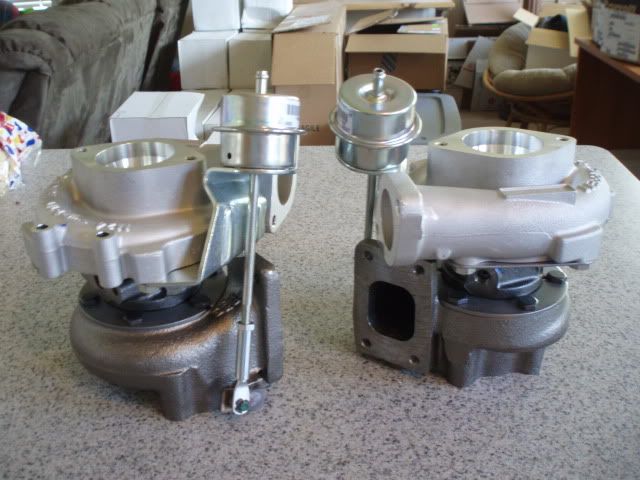
- Custom Exhaust Manifolds - Agtronic Motorsport
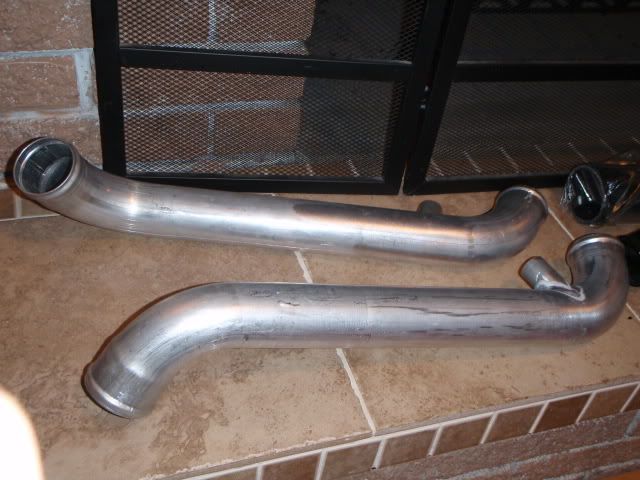
- 3" V-band Downpipes, Inlets and Turbos modified by Agtronic Motorsport
- Garrett GT2860-707160-7's and oil/coolant lines - SMS Performance
- TiAL MV-S 38mm V-band wastegates - SMS Performance
- eurojet "Kugel" grenade diverter valve - eurojet racing
- Supertech Intake and Dual Exhaust Valve Springs/Titanium Retainers/Inconel Exhaust Valves, 1mm Oversize High Temp Stainless Intake Valves, Phoenlic spacers - Issam@034
- Bosch 044 drop-in - Issam@034
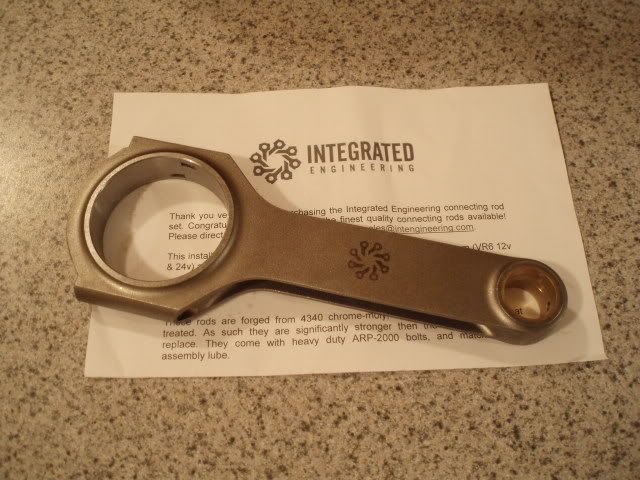
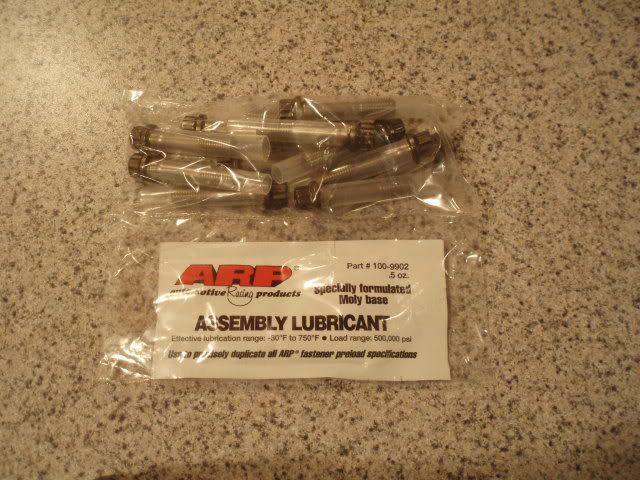
- Integrated Engineering Rods - Pete@Integrated
- Custom E85 tune - Greg@SSP
- 82lb Siemens Injectors, Bosch F5DPOR plugs, 85mm MAF - Greg@SSP
- Clutch Masters Stage 4 FX400 6-puck w/ WMS Steel Flywheel - Wicked Motorsports (WMS)
- ARD Bipipes - ARDesign
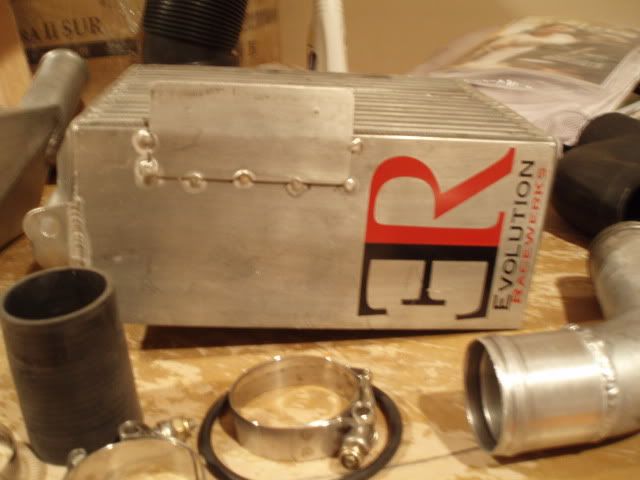
- ER SMIC's
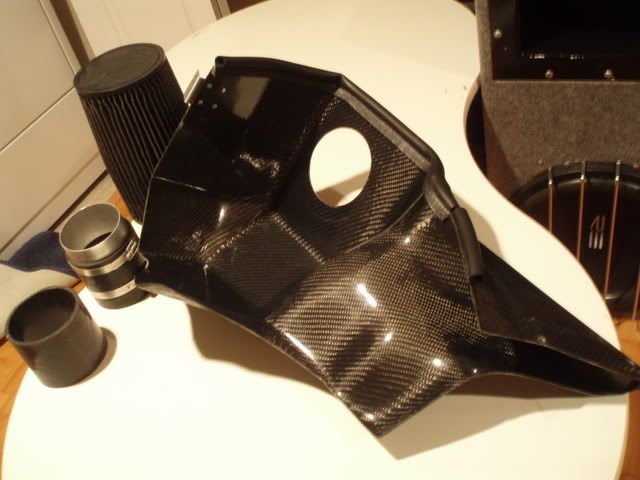
- SDR X-1 Intake and RS4 accordian
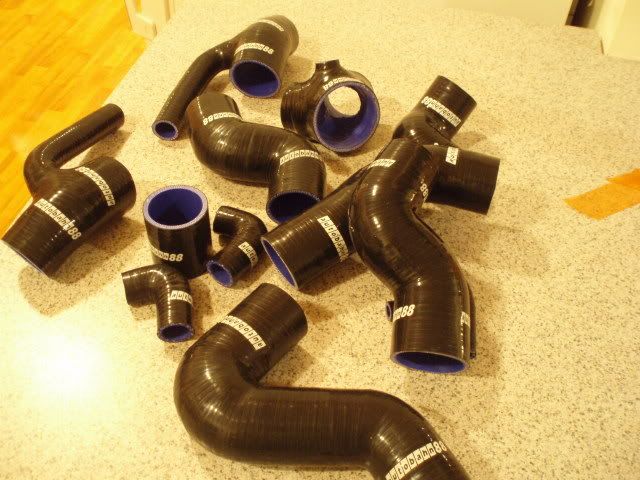
- Ebay silicone tubes
- 2.8 heads w/ 2.8 cams
- RS4 headgaskets
- Big EFK - VAST
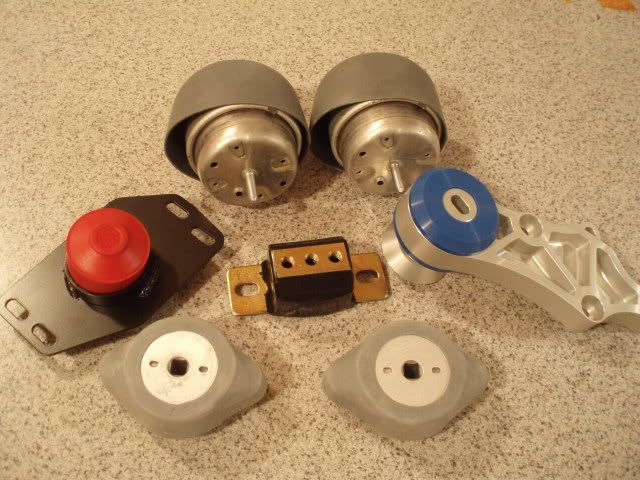
- 034 Track Density Engine/Tranny Mounts, Phoenlic Spacers, Apikol Rear Diff Mount - Issam@034
- Zeitronix Wideband
- JHM Hallman in-cabin MBC, SS, Shifter Linkage, Delrin Bushing - JHM
- 150 amp 14.8 volt upgraded Alternator "Ultranator" - Avimeron@gmail.com
Interior:
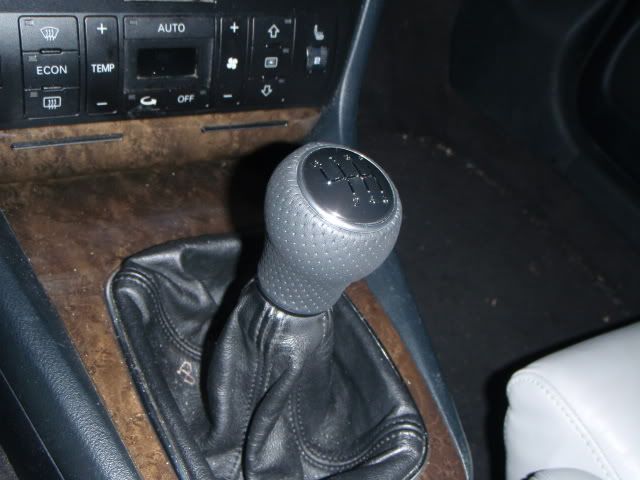
- RS4 shift ****
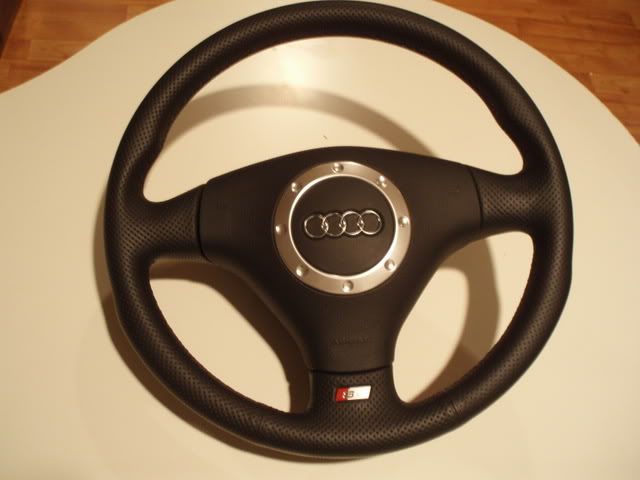
- B6 Ultrasport steering wheel and TT airbag
- Carbon fiber interior trim - Carbonetiks
- AWE new vent boost gauge
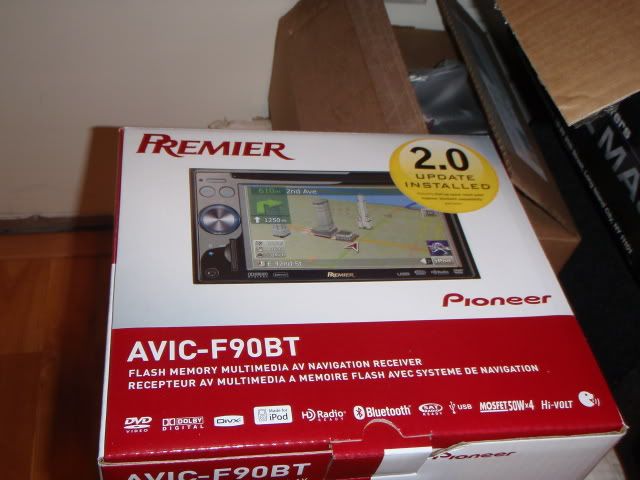
- Pioneer AVIC-f90bt
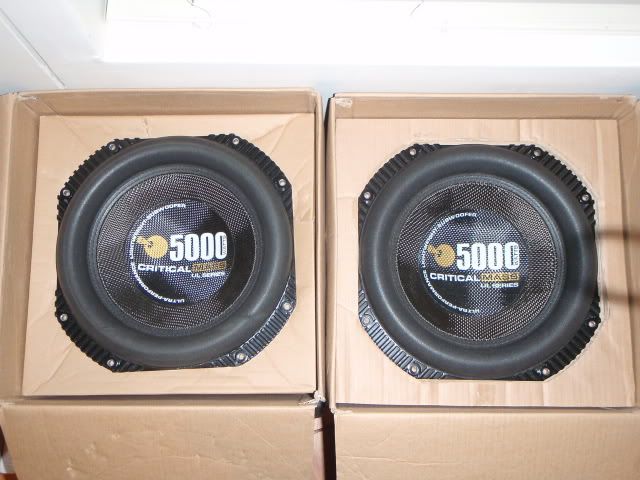
- Critical Mass UL12's
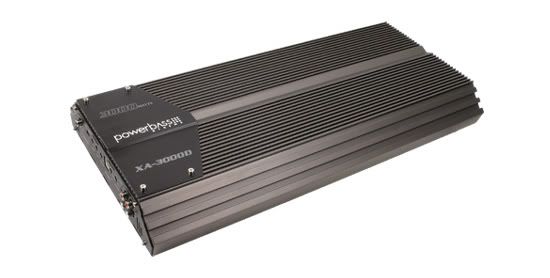
- Powerbass XA-3000d
Exterior:
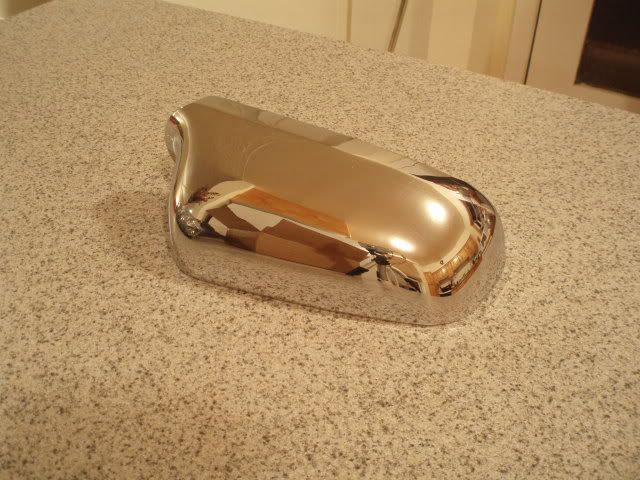
- Sport Mirrors (or maybe something crazy[ ])
])
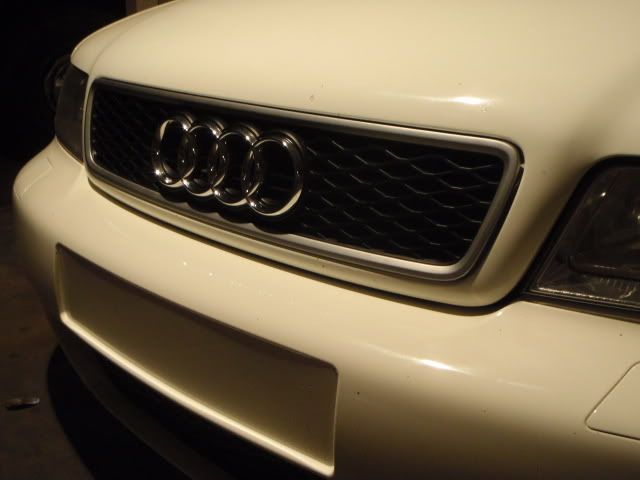
- RS4 grill
- 20% Suntek Carbon Series Tint
- Depo E-codes
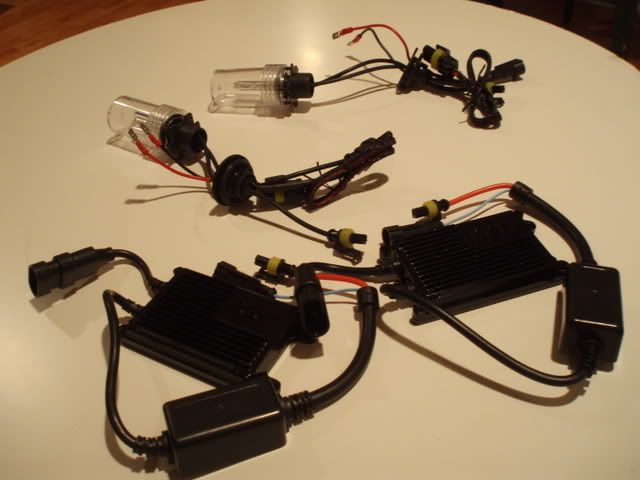
- 55W DDM HID Kit
- Carbon fiber engine covers (and maybe a couple other parts)
This list is only new stuff that I'm adding. Pics:
Turbos Garrett 2860-7's (unmodified)
TiAL MV-S Wastegates

034 Track Density motor/tranny mounts, Apikol rear diff mount, poly mount for DTS
Integrated Engineering Rods w/ ARP bolts
eurojet "Kugel" diverter valves

2.8 Heads

ARD Bipipes
Ebay silicone pipes
ER SMIC's
SDR X-1 Intake
VAST EFK and tidbits
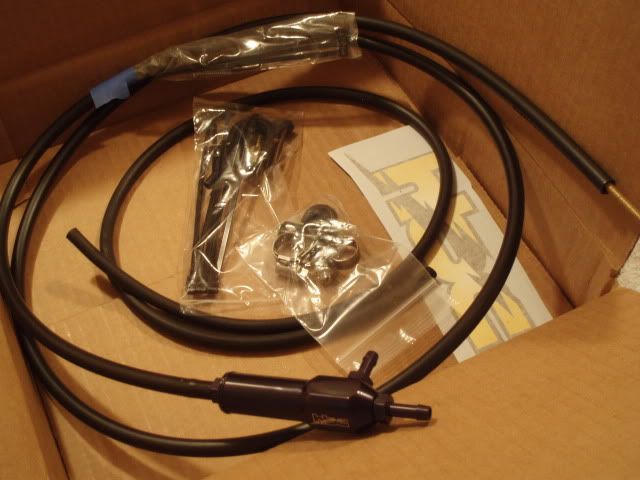
JHM Hallman In-cabin adjustable MBC
Sport mirrors
RS4 grill
Depo E-codes
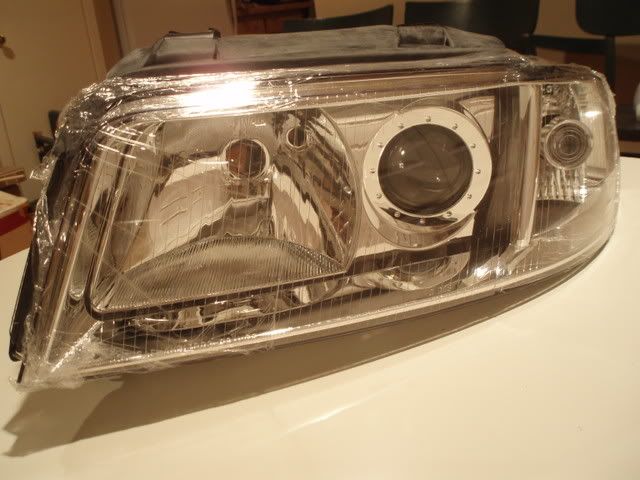
DDM 55w H7 HID kit
RS4 Shift ****
B6 S-line steering wheel w/ TT airbag
Pioneer AVIC-f90bt
CM UL12's
Powerbass XA-3000D
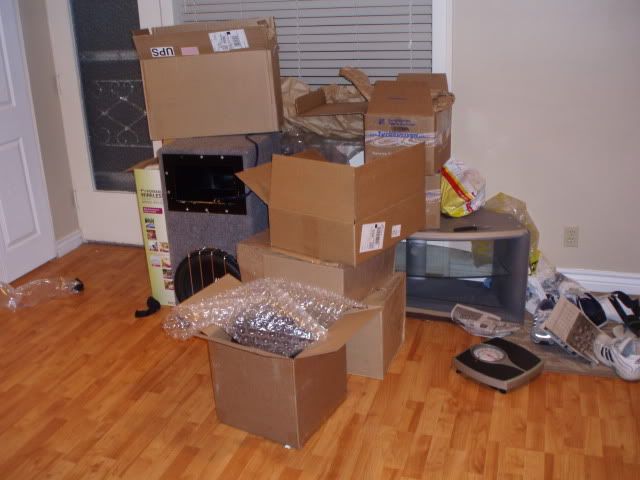
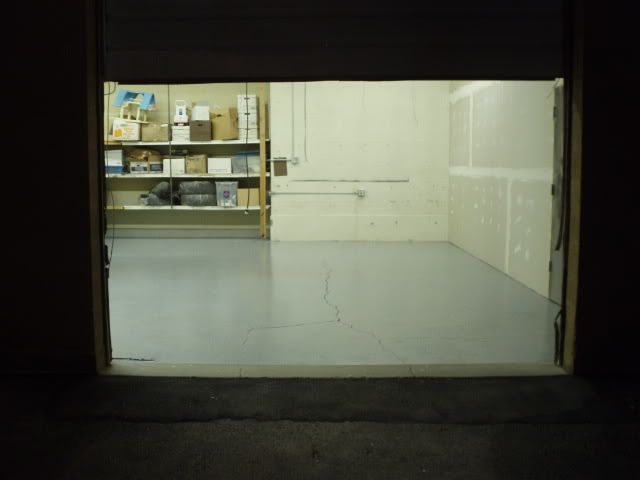
What my front room looked like
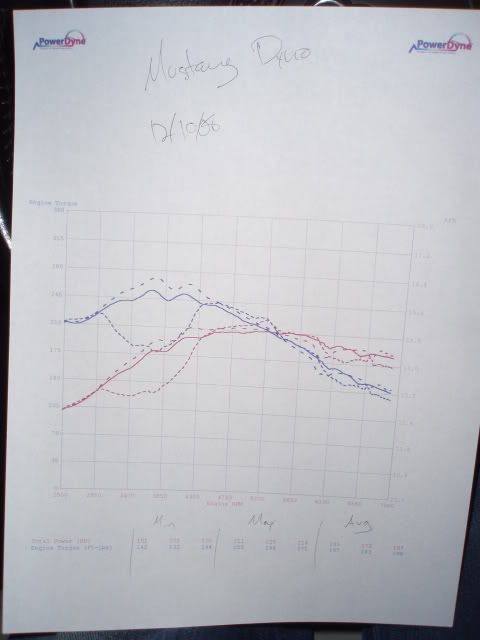
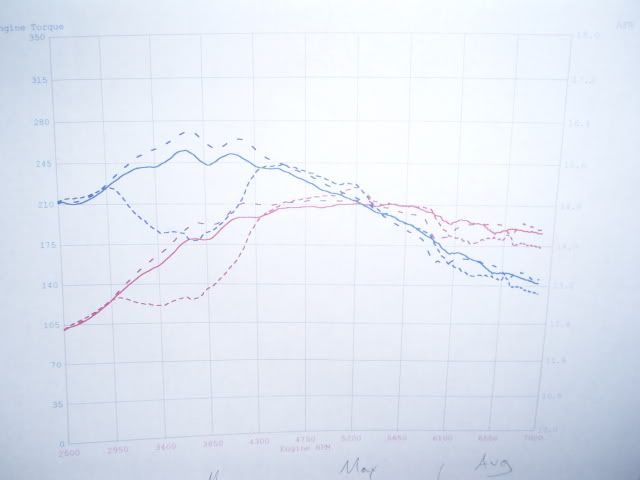
Stage 2+ preliminary baseline dyno (enriching and pulling timing with bad EGT)
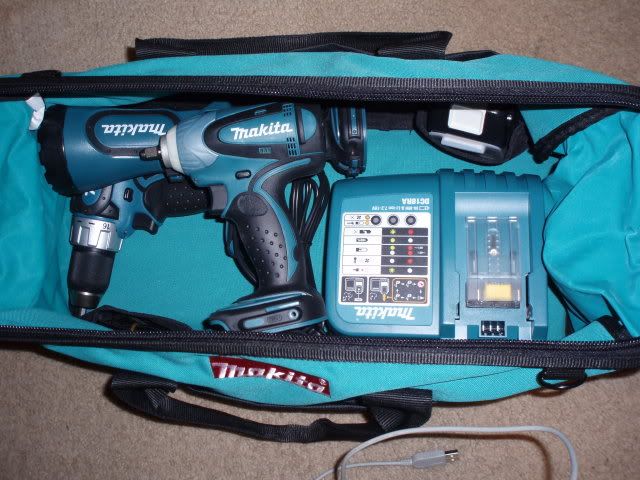
One of many new tools
I will update this as it progresses[wrench] Last updated 6/11/09
Engine:
- Custom Exhaust Manifolds - Agtronic Motorsport
- 3" V-band Downpipes, Inlets and Turbos modified by Agtronic Motorsport
- Garrett GT2860-707160-7's and oil/coolant lines - SMS Performance
- TiAL MV-S 38mm V-band wastegates - SMS Performance
- eurojet "Kugel" grenade diverter valve - eurojet racing
- Supertech Intake and Dual Exhaust Valve Springs/Titanium Retainers/Inconel Exhaust Valves, 1mm Oversize High Temp Stainless Intake Valves, Phoenlic spacers - Issam@034
- Bosch 044 drop-in - Issam@034
- Integrated Engineering Rods - Pete@Integrated
- Custom E85 tune - Greg@SSP
- 82lb Siemens Injectors, Bosch F5DPOR plugs, 85mm MAF - Greg@SSP
- Clutch Masters Stage 4 FX400 6-puck w/ WMS Steel Flywheel - Wicked Motorsports (WMS)
- ARD Bipipes - ARDesign
- ER SMIC's
- SDR X-1 Intake and RS4 accordian
- Ebay silicone tubes
- 2.8 heads w/ 2.8 cams
- RS4 headgaskets
- Big EFK - VAST
- 034 Track Density Engine/Tranny Mounts, Phoenlic Spacers, Apikol Rear Diff Mount - Issam@034
- Zeitronix Wideband
- JHM Hallman in-cabin MBC, SS, Shifter Linkage, Delrin Bushing - JHM
- 150 amp 14.8 volt upgraded Alternator "Ultranator" - Avimeron@gmail.com
Interior:
- RS4 shift ****
- B6 Ultrasport steering wheel and TT airbag
- Carbon fiber interior trim - Carbonetiks
- AWE new vent boost gauge
- Pioneer AVIC-f90bt
- Critical Mass UL12's
- Powerbass XA-3000d
Exterior:
- Sport Mirrors (or maybe something crazy[
])- RS4 grill
- 20% Suntek Carbon Series Tint
- Depo E-codes
- 55W DDM HID Kit
- Carbon fiber engine covers (and maybe a couple other parts)
This list is only new stuff that I'm adding. Pics:
Turbos Garrett 2860-7's (unmodified)
TiAL MV-S Wastegates
034 Track Density motor/tranny mounts, Apikol rear diff mount, poly mount for DTS
Integrated Engineering Rods w/ ARP bolts
eurojet "Kugel" diverter valves
2.8 Heads
ARD Bipipes
Ebay silicone pipes
ER SMIC's
SDR X-1 Intake
VAST EFK and tidbits
JHM Hallman In-cabin adjustable MBC
Sport mirrors
RS4 grill
Depo E-codes
DDM 55w H7 HID kit
RS4 Shift ****
B6 S-line steering wheel w/ TT airbag
Pioneer AVIC-f90bt
CM UL12's
Powerbass XA-3000D
What my front room looked like
Stage 2+ preliminary baseline dyno (enriching and pulling timing with bad EGT)
One of many new tools
I will update this as it progresses[wrench] Last updated 6/11/09
Last edited by jibberjive; 06-11-2009 at 06:09 AM.
 03-16-2009, 10:32 PM
#2
AudiWorld Senior Member
Thread Starter
Join Date: Aug 2006
Location: UT
Posts: 1,013
Likes: 0
Received 0 Likes
on
0 Posts
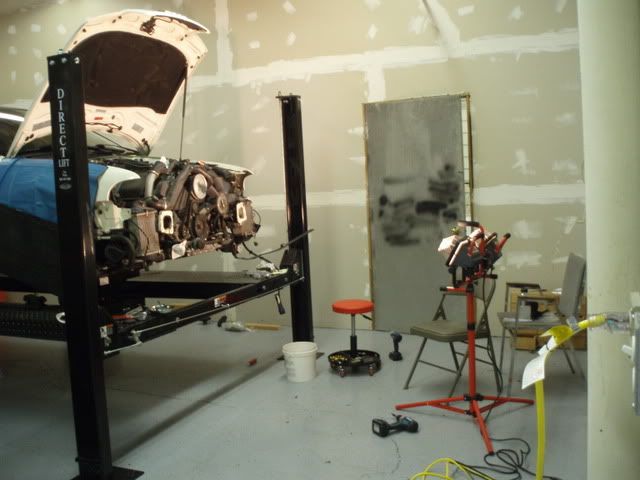
My shop that I've been cleaning out, prepping, painting and outfitting for the past little bit
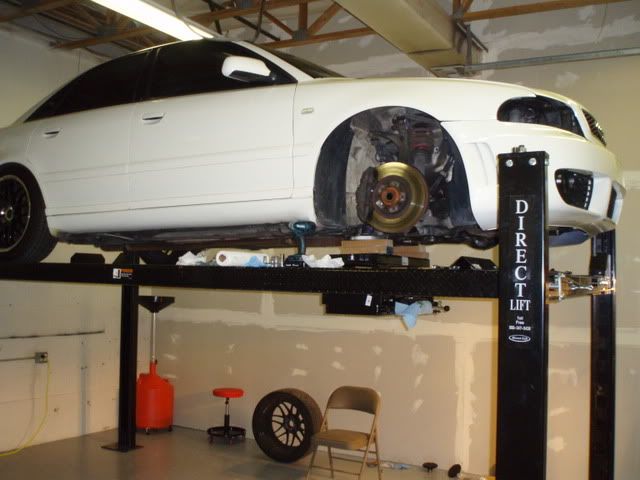
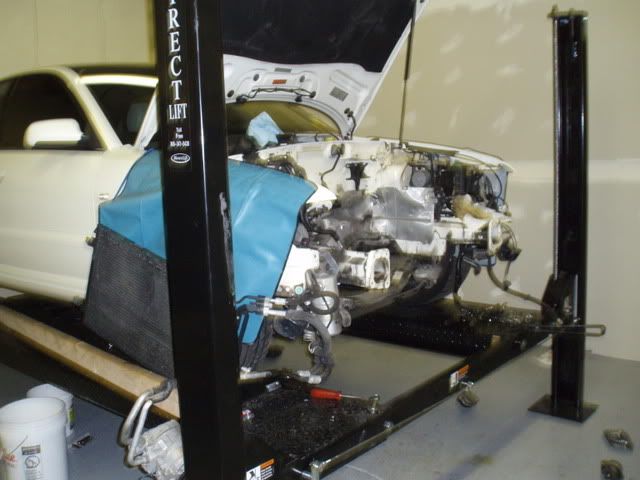
New 4 post lift!
Pops helping assemble lift
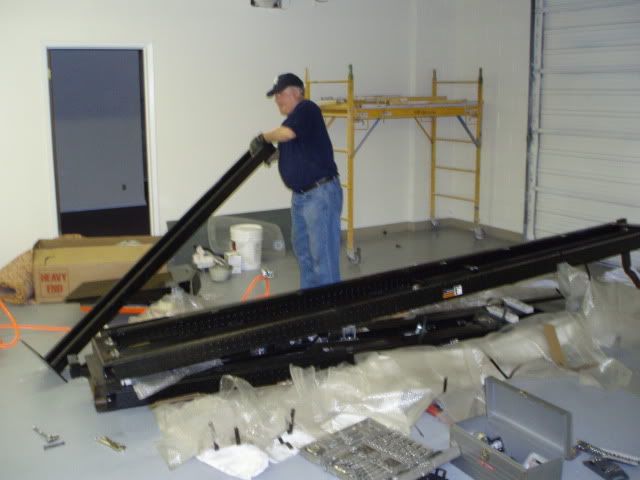
Almost assembled
1/9/09
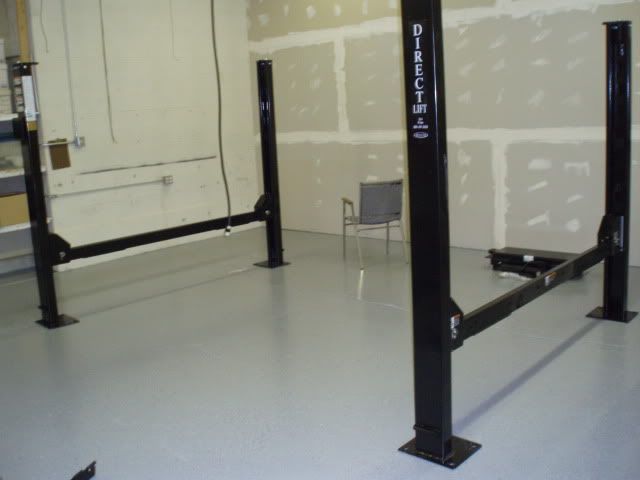
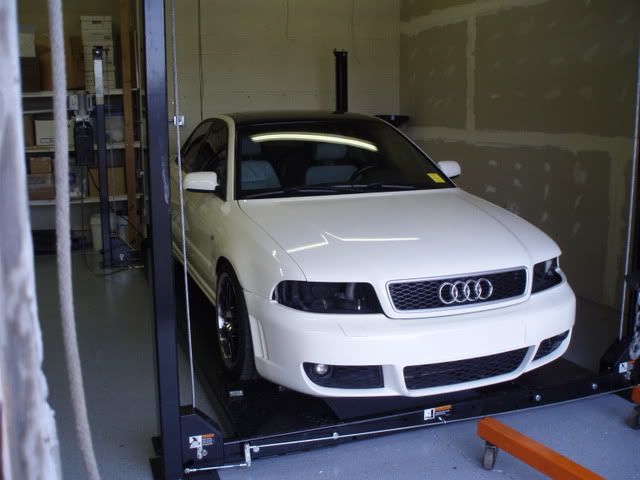
Well I finally got the lift fully assembled last weekend
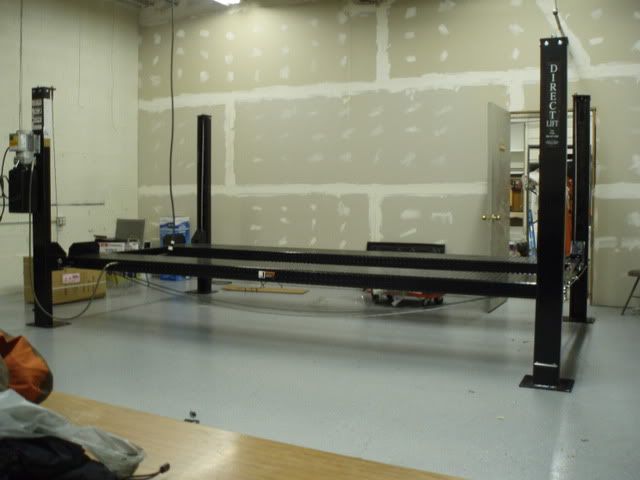
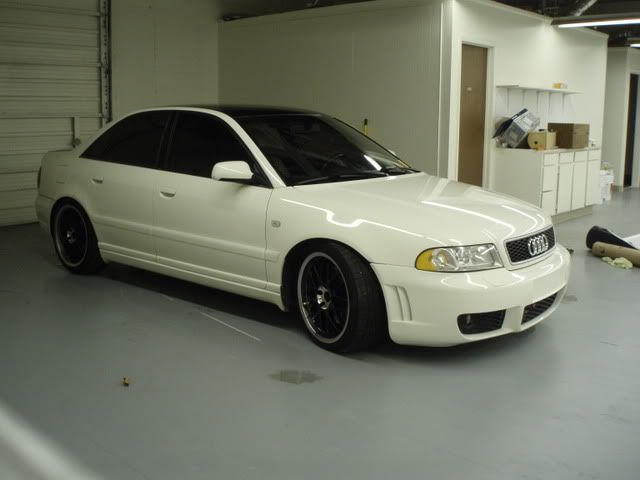
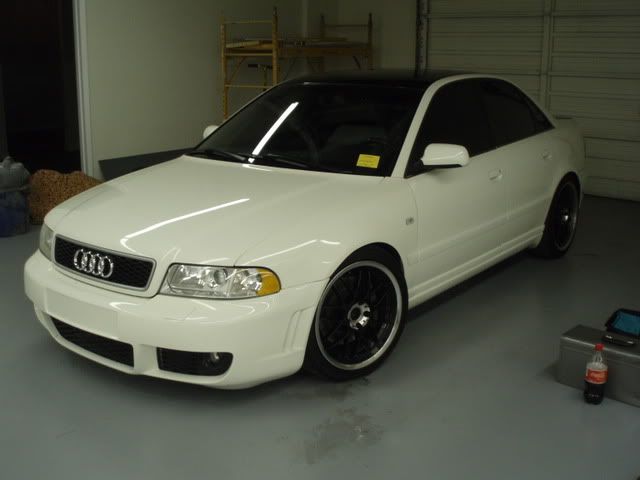
And took a final shot of the car before I started taking some parts out
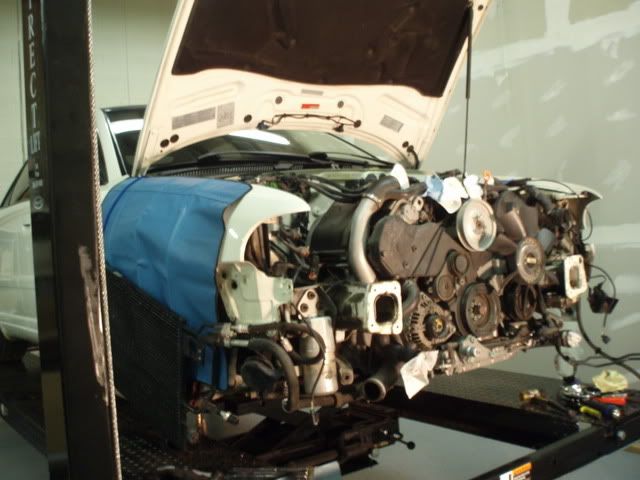
2/18/09
Well I started on my engine pull last night cause my motor sold and I bought my new one, so some progress finally! I started around 530pm, pops left around 930-1000pm (we had the driveline/stuff underneath done and the airbox/y-pipe stuff done.) Then I took my time and got stuck at the end trying to figure out how to get the freaking AC compressor out[headbang][evilmad] I was there til after 4am tinkering with it, though I should've left earlier because I wasn't very productive by that time. Anywho, onto the pictures.
Onto the motor pull.
Before she was touched (except for the headlights that I sold a while back.)
Where we but the zip-lock bagged bolts
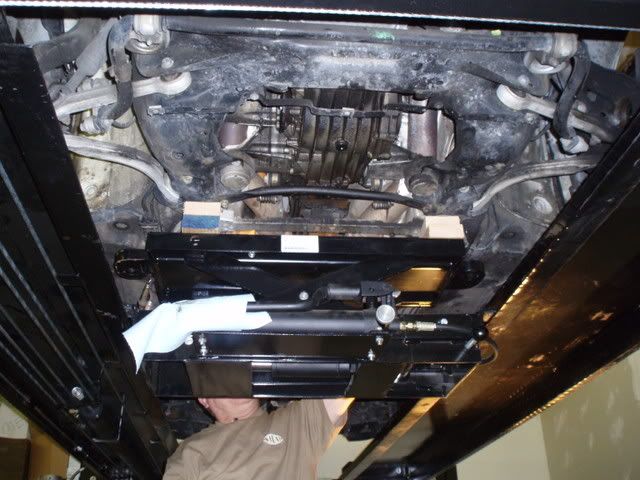
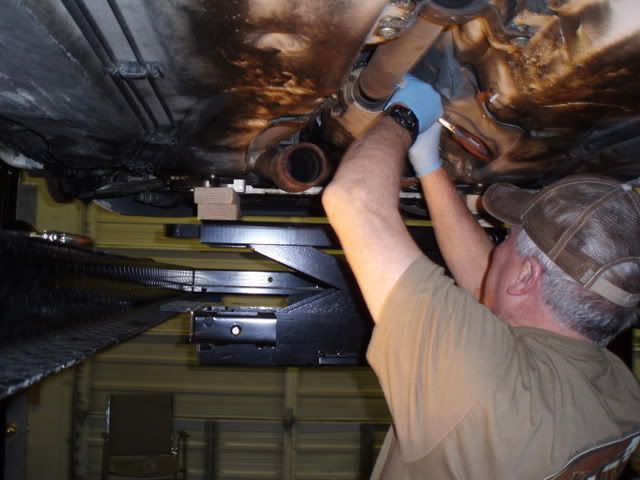
We had to lift the car with some 2x4's on the DTS because of the way the jack was.
Pulling the half-shafts, cat-back exhaust and driveline
Passenger's shaft out
Driver's shaft out
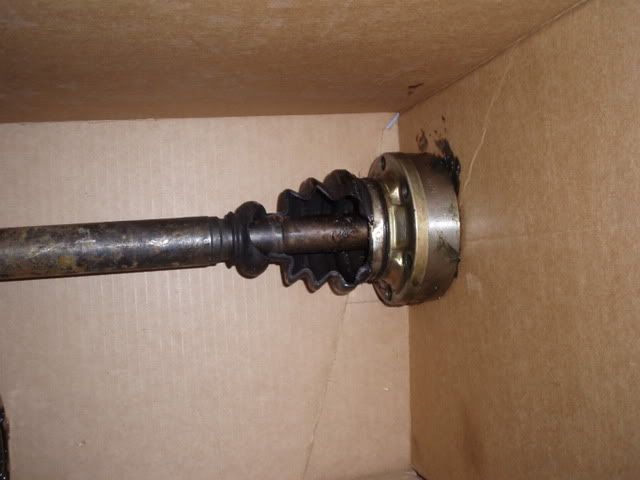
Apparently I had a horribly torn boot since the last time I checked a month or two ago
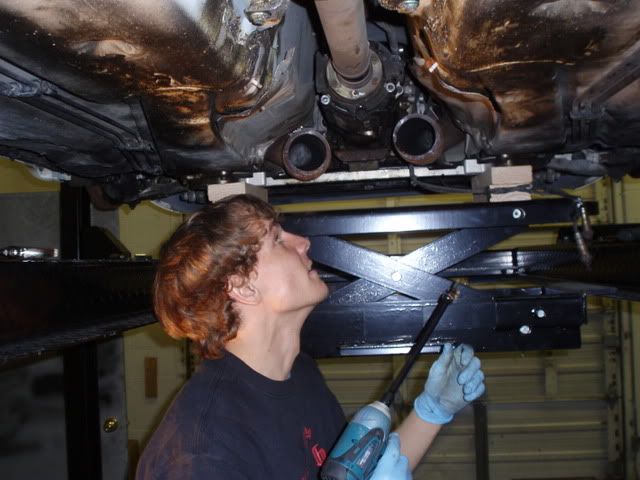
Catback off (I have a new found love for v-band clamps!) Taking off Driveline heatshield
Disconnecting the driveline
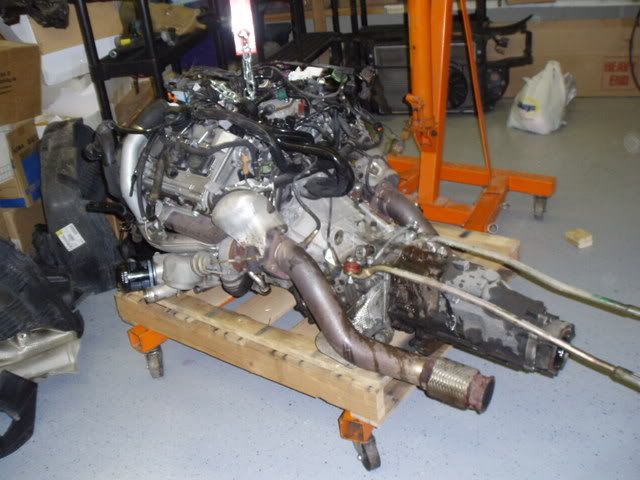
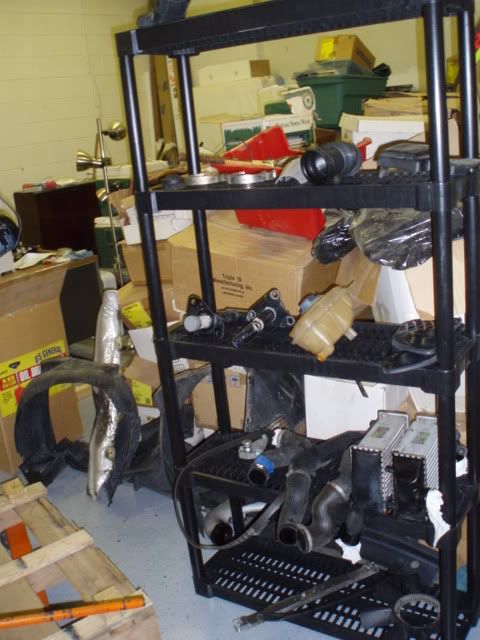
Pile o' parts so far
From here on I was on my own.
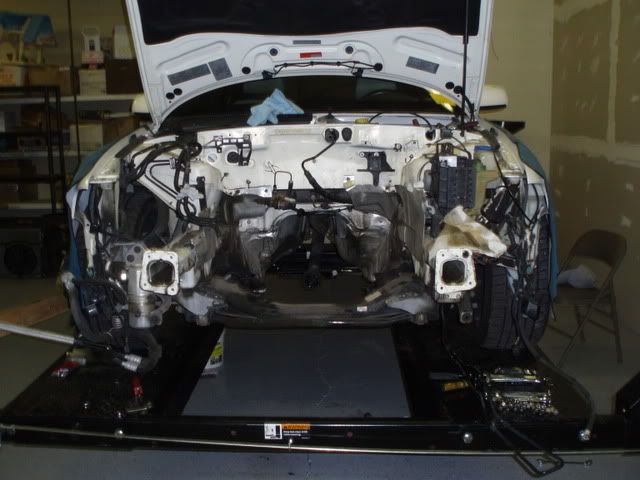
Front bumper and fogs off. My RS4 bumper was held on differently than the stock ones from the writeup (other than the two main bumper support bolts of course.)
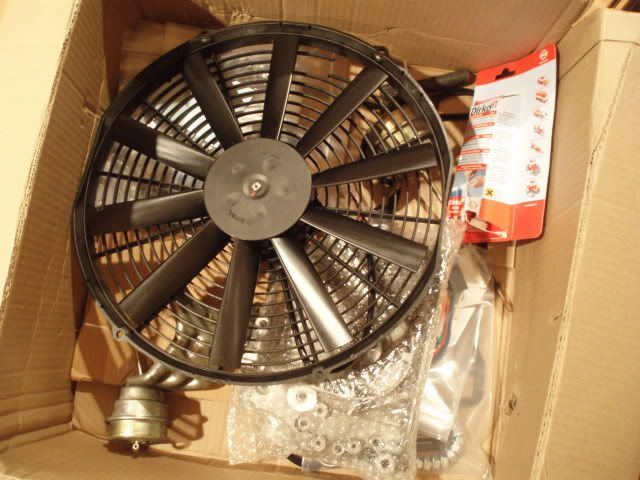
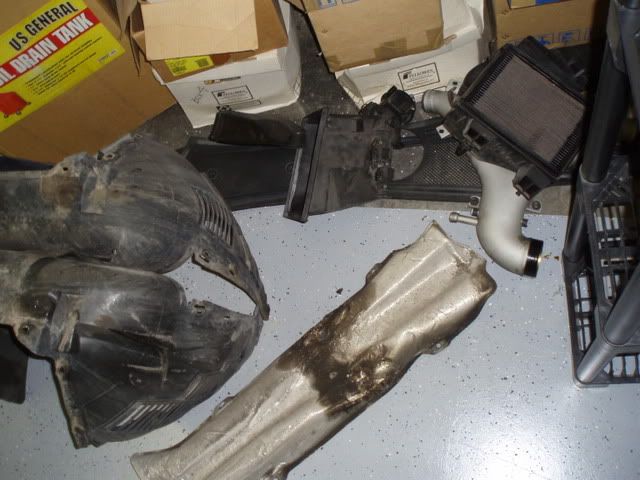
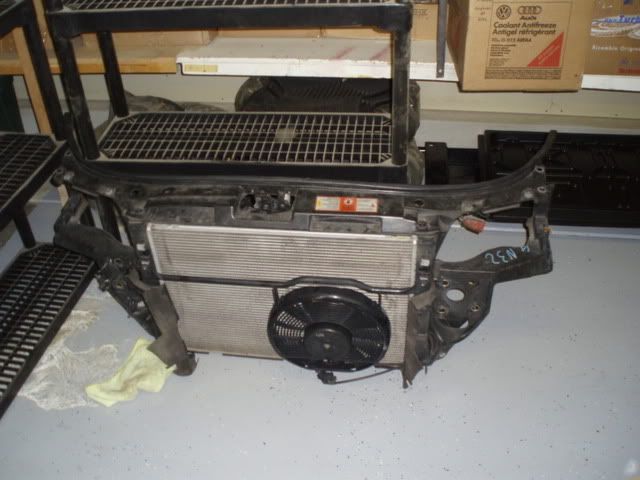
IC shrouds and pusher fan off. Draining the coolant (I caught most of the initial drain from the radiator, but when moving the whole radiator/front clip and when unplugging other hoses around the motor I got coolant everywere, over and again!)
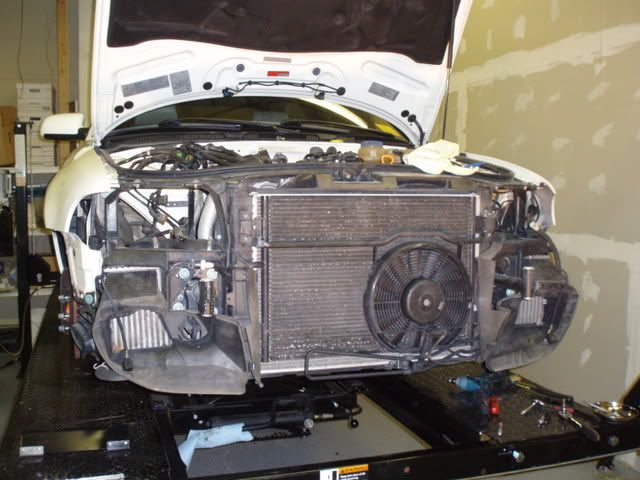
AC condenser swung to the side and front clip removed
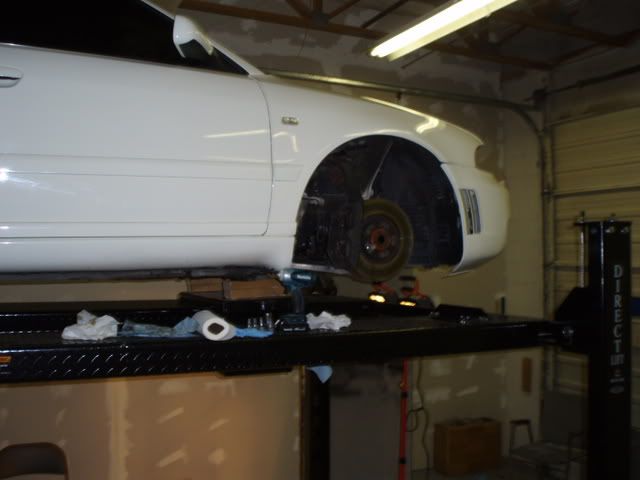
How she currently sits from when I left her. IC's gone, serpentine belt off and trying to get that freaking AC compressor off.
New 4 post lift!
Pops helping assemble lift
Almost assembled
1/9/09
Well I finally got the lift fully assembled last weekend
And took a final shot of the car before I started taking some parts out
2/18/09
Well I started on my engine pull last night cause my motor sold and I bought my new one, so some progress finally! I started around 530pm, pops left around 930-1000pm (we had the driveline/stuff underneath done and the airbox/y-pipe stuff done.) Then I took my time and got stuck at the end trying to figure out how to get the freaking AC compressor out[headbang][evilmad] I was there til after 4am tinkering with it, though I should've left earlier because I wasn't very productive by that time. Anywho, onto the pictures.
Onto the motor pull.
Before she was touched (except for the headlights that I sold a while back.)
Where we but the zip-lock bagged bolts
We had to lift the car with some 2x4's on the DTS because of the way the jack was.
Pulling the half-shafts, cat-back exhaust and driveline
Passenger's shaft out
Driver's shaft out
Apparently I had a horribly torn boot since the last time I checked a month or two ago
Catback off (I have a new found love for v-band clamps!) Taking off Driveline heatshield
Disconnecting the driveline
Pile o' parts so far
From here on I was on my own.
Front bumper and fogs off. My RS4 bumper was held on differently than the stock ones from the writeup (other than the two main bumper support bolts of course.)
IC shrouds and pusher fan off. Draining the coolant (I caught most of the initial drain from the radiator, but when moving the whole radiator/front clip and when unplugging other hoses around the motor I got coolant everywere, over and again!)
AC condenser swung to the side and front clip removed
How she currently sits from when I left her. IC's gone, serpentine belt off and trying to get that freaking AC compressor off.
03-16-2009, 10:32 PM
#3
AudiWorld Senior Member
Thread Starter
Join Date: Aug 2006
Location: UT
Posts: 1,013
Likes: 0
Received 0 Likes
on
0 Posts
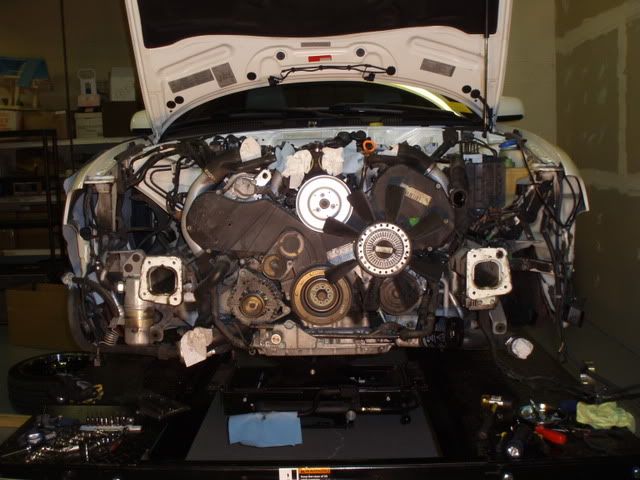
2/21/09
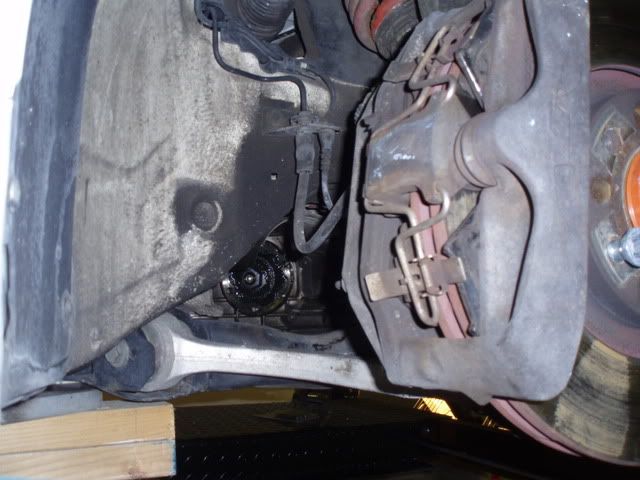
So, onto the pull. The AC compressor was just held in by the back bolt, which is way easy to get to from underneath by the motor mount. I was confused by looking at the pics in M3 to S4's writeup cause there he makes it seem like the 3rd bolt is right below the driver's side head. So the bolt I took out there was actually one of the bolts that holds on the inlet support ha[headbang] Plus it was 4am, so my faculties weren't as sharp as they would've otherwise been[>_<]
Disconnecting the ECU etc.
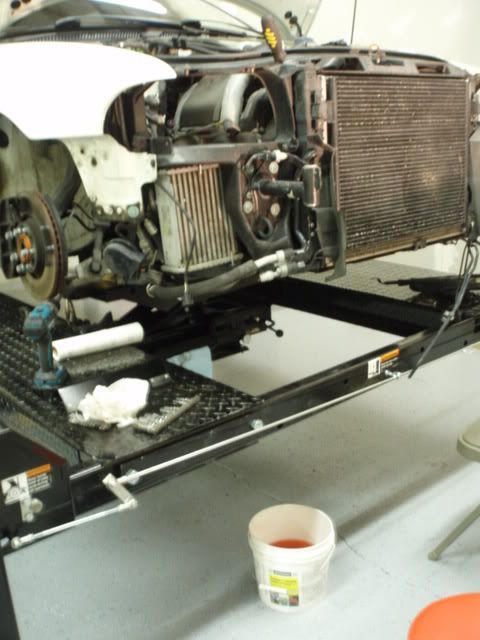
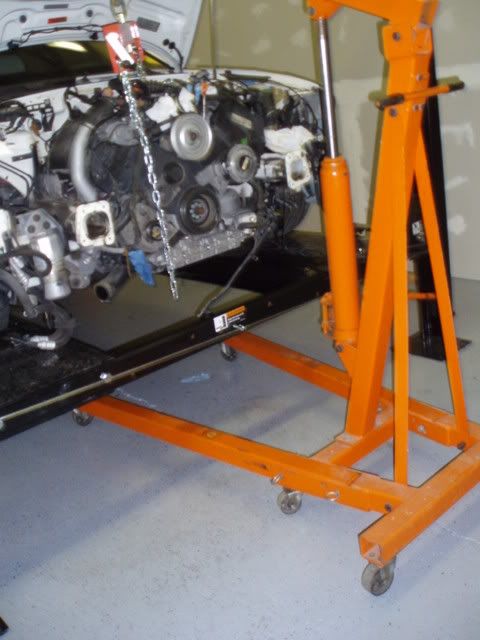
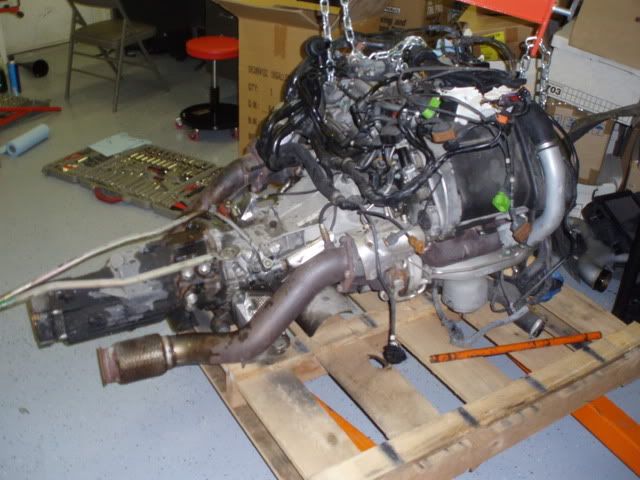
All sensors/hoses/lines disconnected, AC compressor/condenser swung to the side and getting ready to pull
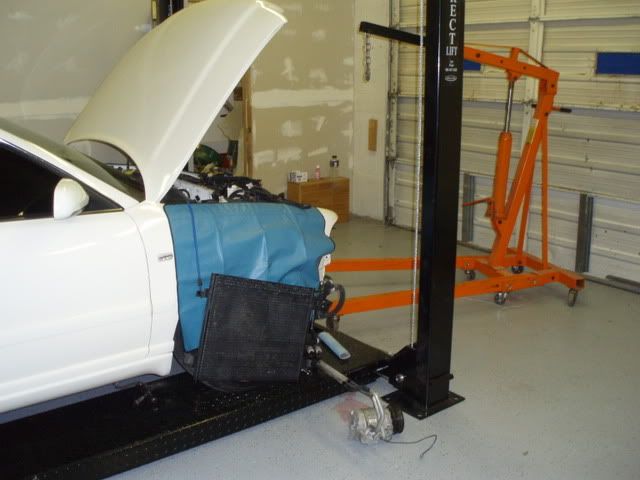
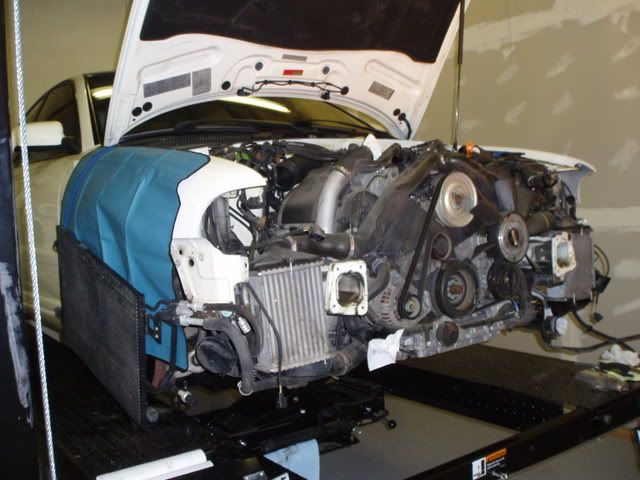
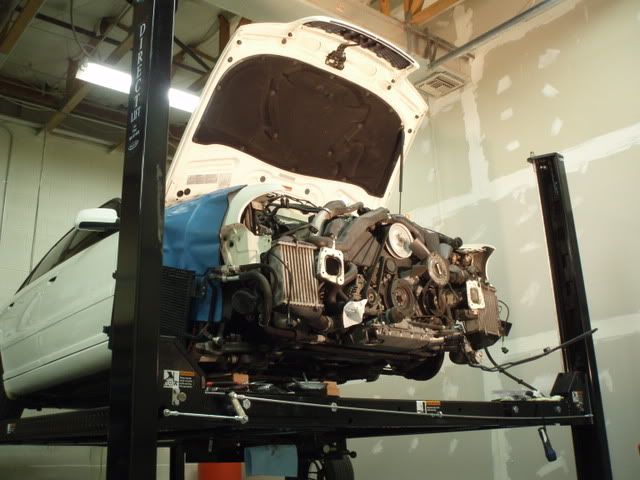
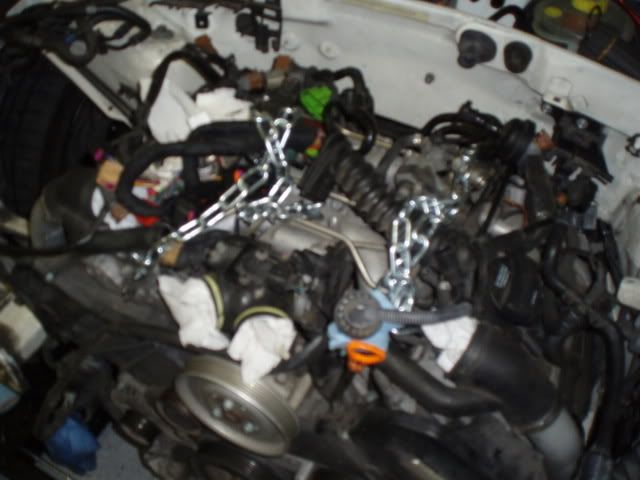
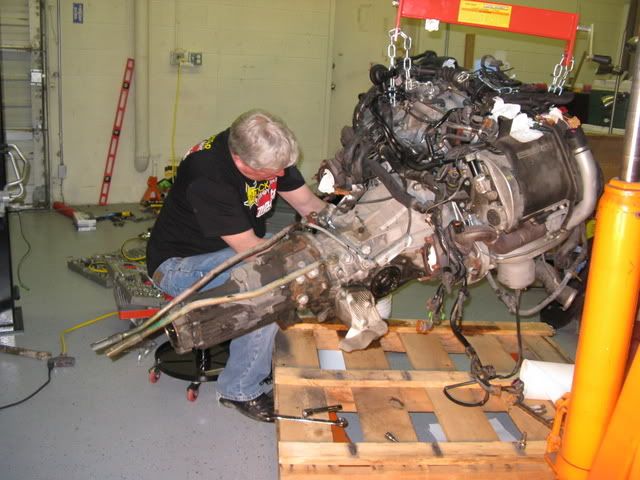
Hooking up the chains and load leveler
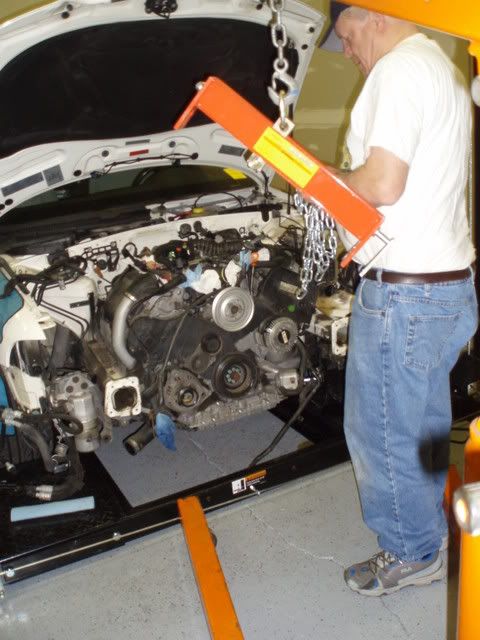
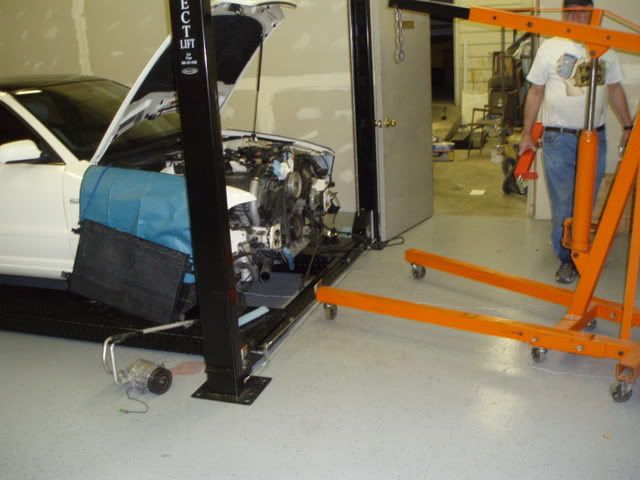
Part of the way out to disconnect the slave cylinder, fish out the heater core hoses, and take off the tranny mounts. The coolant never stops coming![evilmad] I'm under there in a pool of coolant trying to do this stuff and make sure it gets out cleanly, and the never ending drip of coolant is getting all over everywhere that I just cleaned 10 times ha. If there's a way to completely purge the coolant system before the whole procedure, I'd do that in a heartbeat. This part actually took alot longer than I had expected. We tried it with the tranny mounts on at first, but that wasn't working and it took me a good minute to figure out how to take the tranny mounts off (didn't know it was just one bolt on top below the heatshield lol). Sitting under there holding the tranny to help it all out cleanly I put the back of my head on the open end of the driveshaft that is filled with grease a bunch of times.
"I once caught a fish THIS big."
No engine
The parts (minus the front bumper)
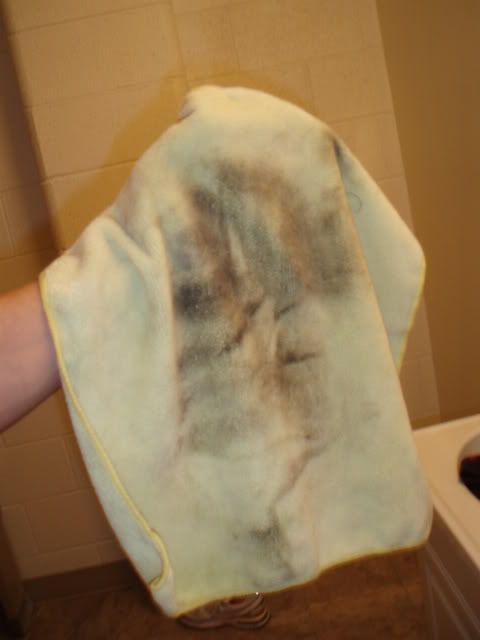
The towel after I wiped the back of my hair only twice
So, onto the pull. The AC compressor was just held in by the back bolt, which is way easy to get to from underneath by the motor mount. I was confused by looking at the pics in M3 to S4's writeup cause there he makes it seem like the 3rd bolt is right below the driver's side head. So the bolt I took out there was actually one of the bolts that holds on the inlet support ha[headbang] Plus it was 4am, so my faculties weren't as sharp as they would've otherwise been[>_<]
Disconnecting the ECU etc.
All sensors/hoses/lines disconnected, AC compressor/condenser swung to the side and getting ready to pull
Hooking up the chains and load leveler
Part of the way out to disconnect the slave cylinder, fish out the heater core hoses, and take off the tranny mounts. The coolant never stops coming![evilmad] I'm under there in a pool of coolant trying to do this stuff and make sure it gets out cleanly, and the never ending drip of coolant is getting all over everywhere that I just cleaned 10 times ha. If there's a way to completely purge the coolant system before the whole procedure, I'd do that in a heartbeat. This part actually took alot longer than I had expected. We tried it with the tranny mounts on at first, but that wasn't working and it took me a good minute to figure out how to take the tranny mounts off (didn't know it was just one bolt on top below the heatshield lol). Sitting under there holding the tranny to help it all out cleanly I put the back of my head on the open end of the driveshaft that is filled with grease a bunch of times.
"I once caught a fish THIS big."
No engine
The parts (minus the front bumper)
The towel after I wiped the back of my hair only twice
03-16-2009, 10:35 PM
#4
AudiWorld Senior Member
Thread Starter
Join Date: Aug 2006
Location: UT
Posts: 1,013
Likes: 0
Received 0 Likes
on
0 Posts
3/5/09
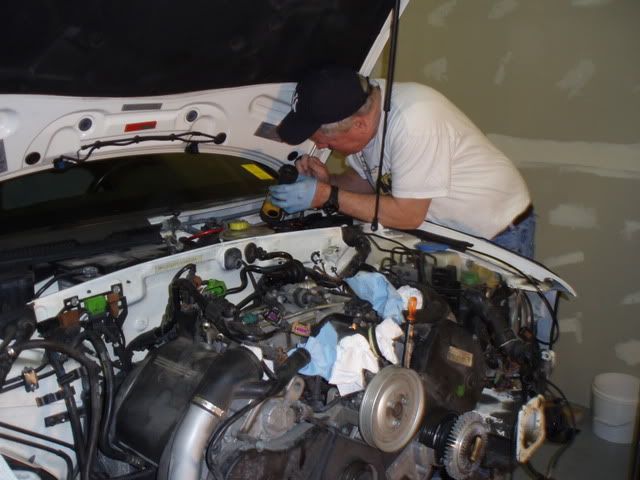
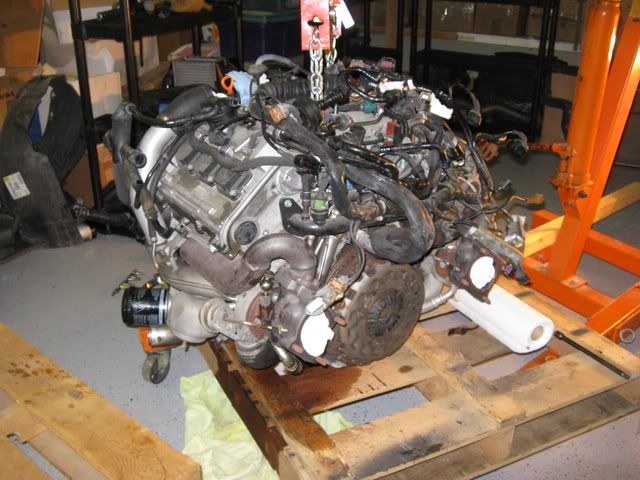
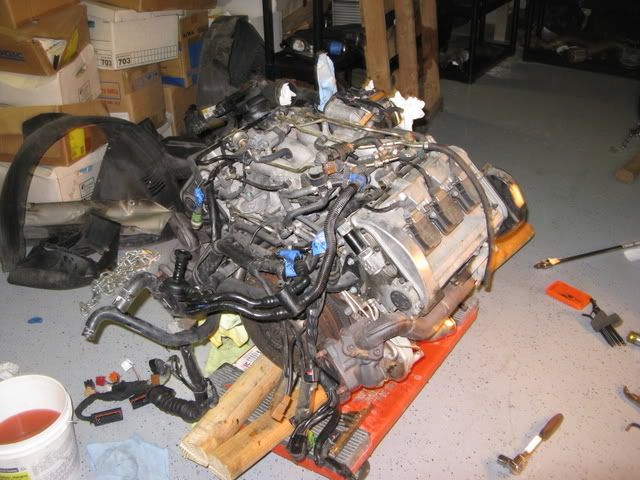
So all last Sat. night I was breaking down my engine. I cannot believe how complicated all of the peripheral electronics/coolant/oil lines are! I went slow and took my time and it took forever. I tried to label where each connection came from with painter's tape and took tons of pics of all the lines (don't worry I won't them here). I've sold the motor that came out of my car, so I'm just breaking it down to get ready to ship.
Pics
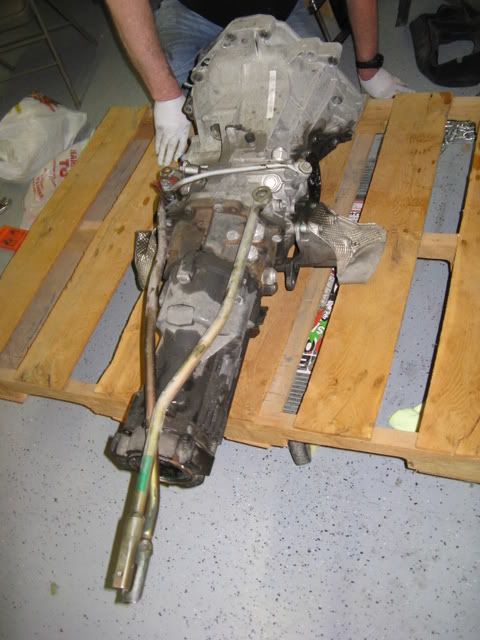
Taking off the tranny
Tranny off
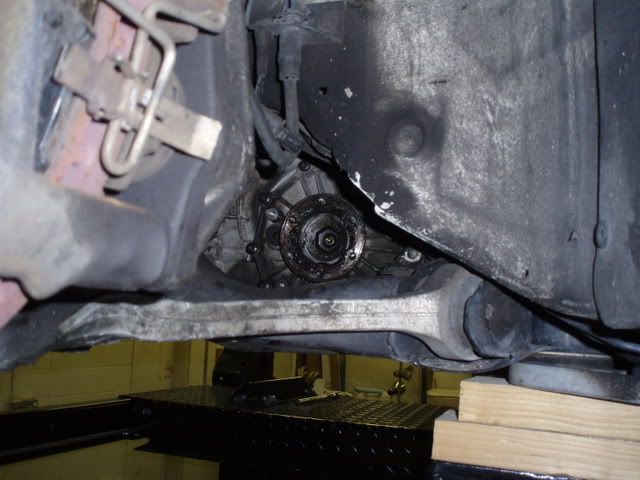
This is the bolt I took off thinking it was the AC compressor rear bolt
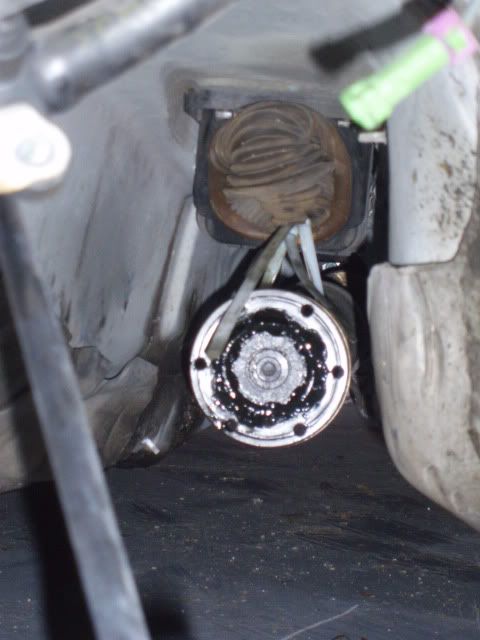
Since I sold the turbos with the motor I was trying to leave them and the inlets mounted, which proved to be a pain when trying to unbolt the motor mounts and get the starter out. I ended up having to pull the inlets.
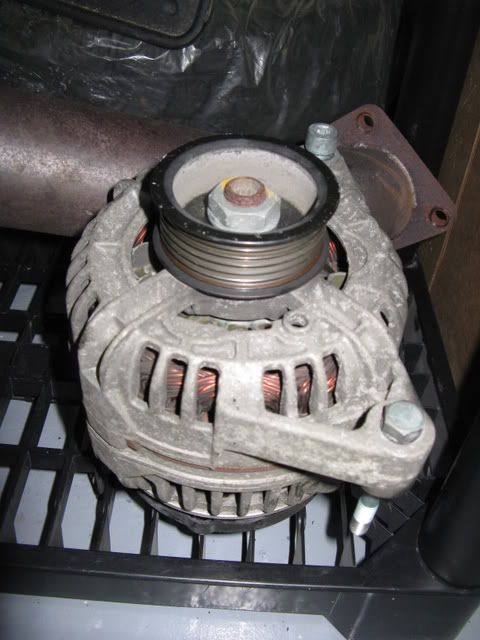
Alty out
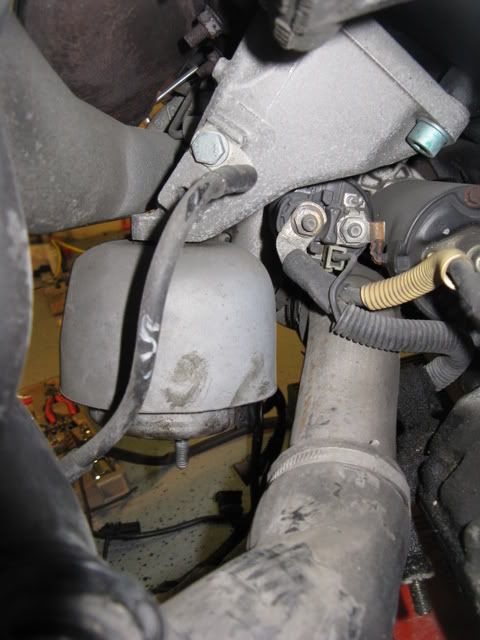
Motor mount was broken
All of these tight bolts in small places and hoses that are a pain to slip off, I beat the crap out of my hands MANY times. This fan part was like razorblades when working anywhere near it.
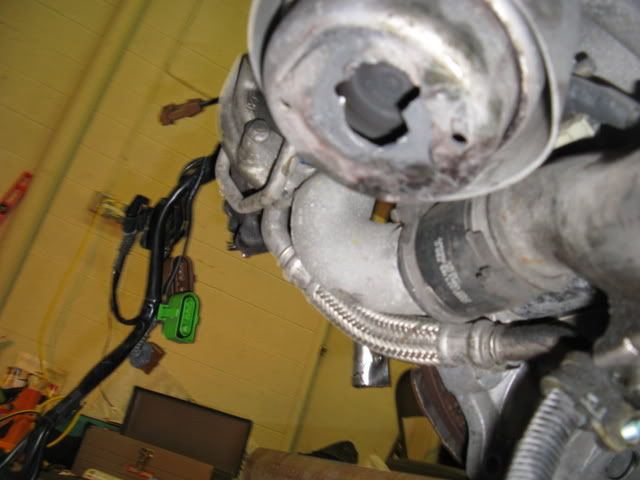
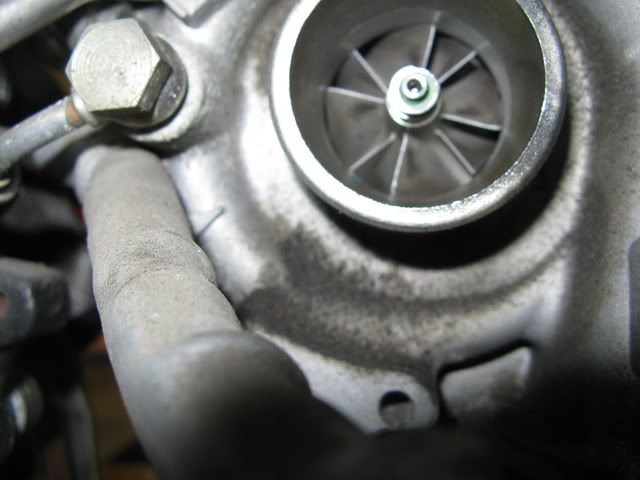
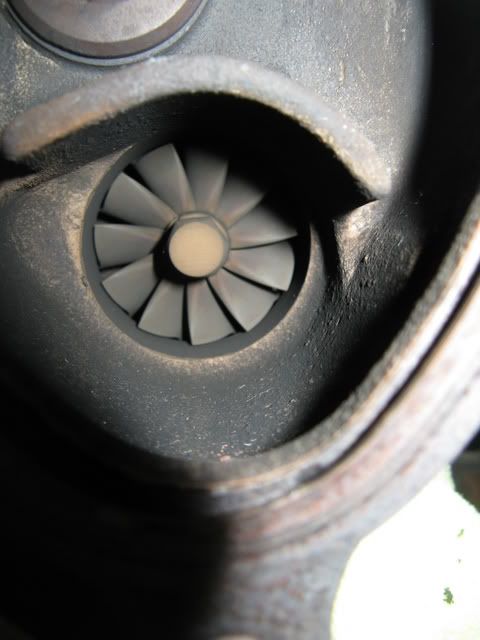
KO3 turbos with 56k mi were actually in really good shape
Driver's side
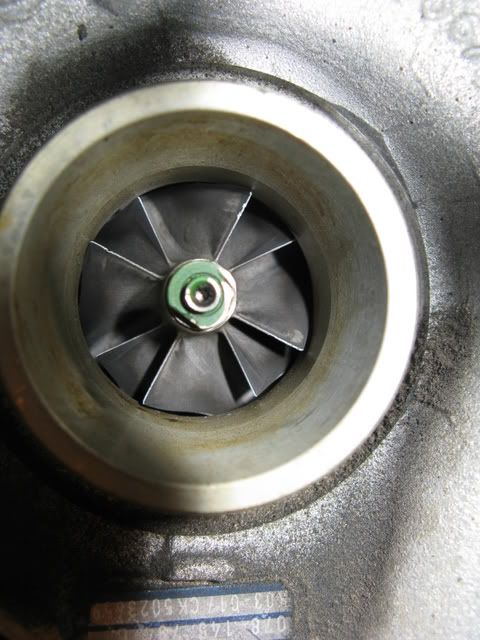
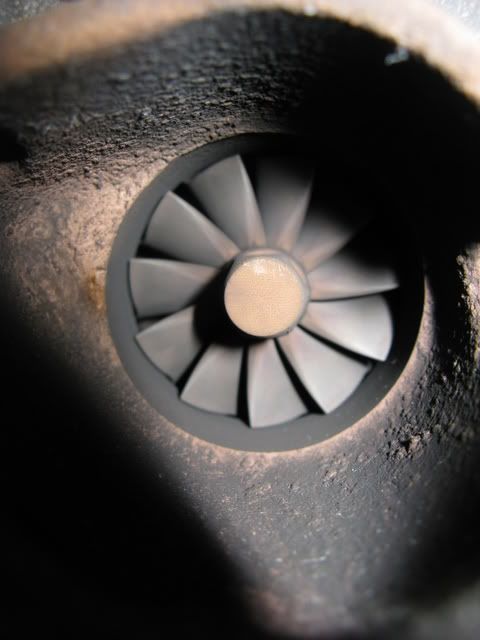
Pass Side
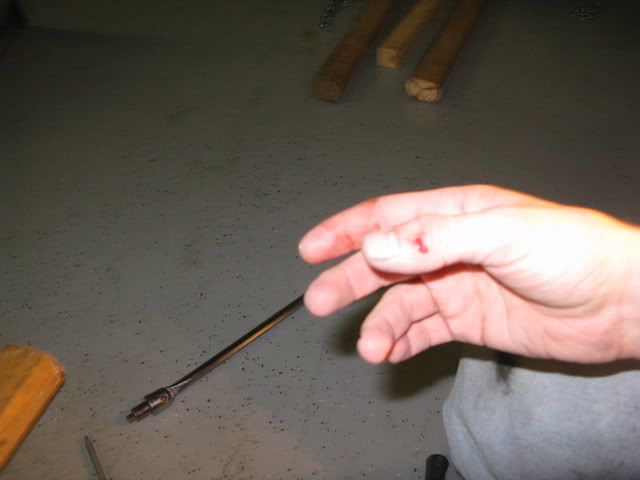
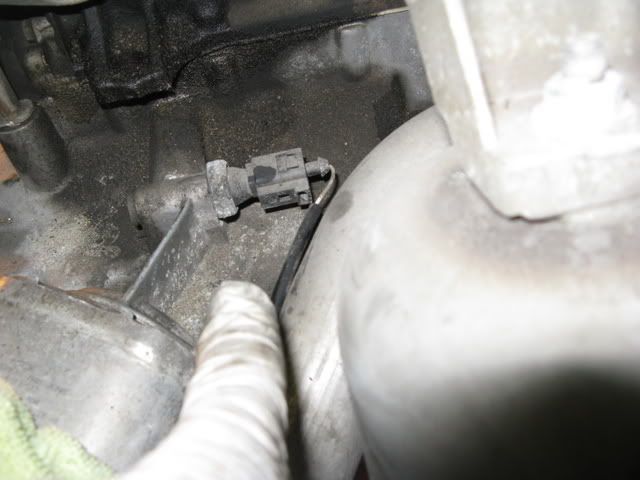
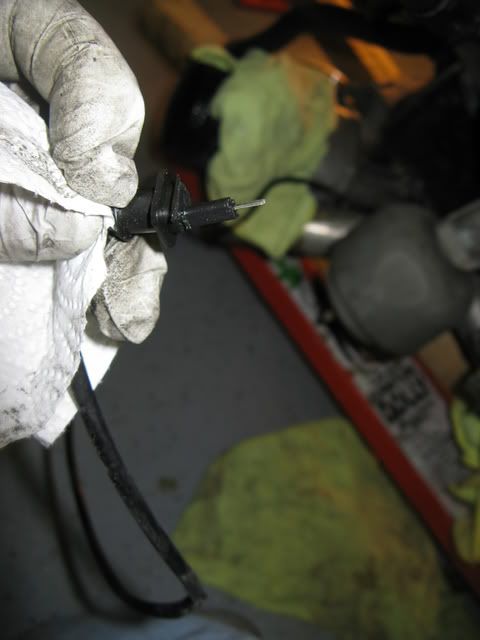
I broke the connector part of this sensor that goes in by the oil filter sandwich[>_>]
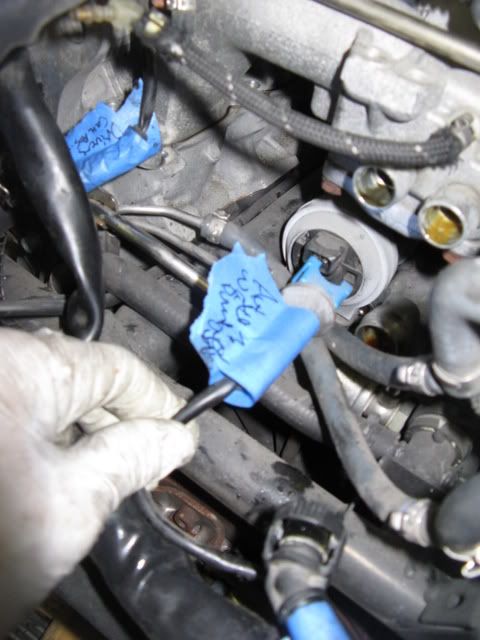
An example of how I tried to label all of the parts
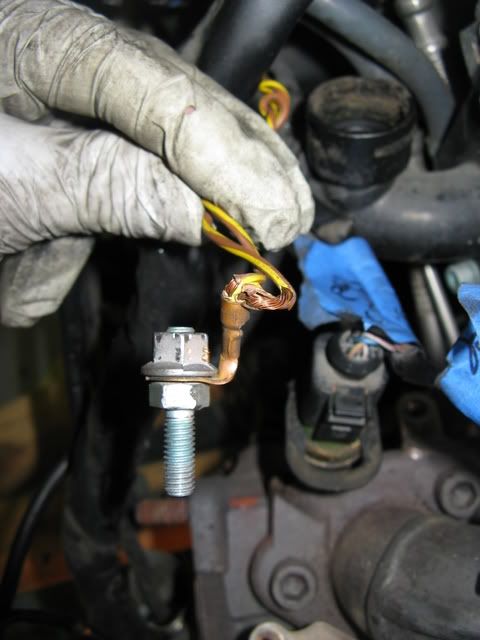
I twisted this ground wire up pretty good cause I didn't expect it to turn with the bolt when I used the ratchet gun to take it off.
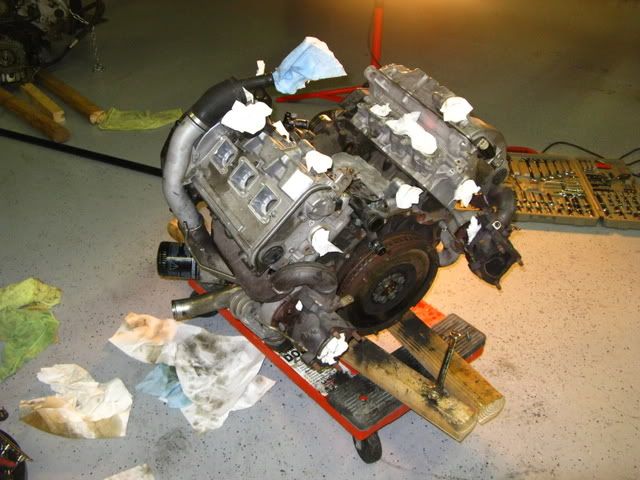
I took the intake mani off with everything still connected (injectors, fuel rail, wiring harness, coil packs, TB, etc) to try to keep it as simple as possible.

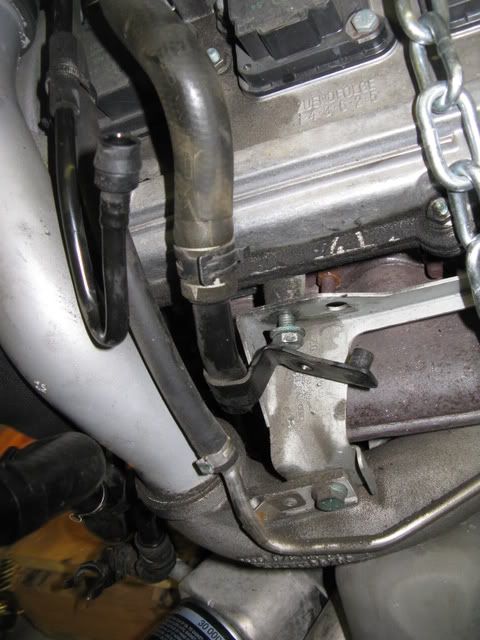
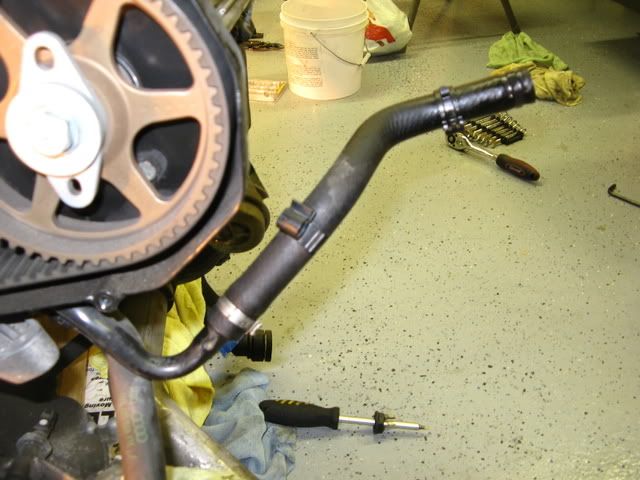
These hoses were a pain to pull off without tearing them. After trying to wiggle them out I found out that the hardlines they're connected to have to stay with the motor since I'm leaving all of the timing components together.
So all last Sat. night I was breaking down my engine. I cannot believe how complicated all of the peripheral electronics/coolant/oil lines are! I went slow and took my time and it took forever. I tried to label where each connection came from with painter's tape and took tons of pics of all the lines (don't worry I won't them here). I've sold the motor that came out of my car, so I'm just breaking it down to get ready to ship.
Pics
Taking off the tranny
Tranny off
This is the bolt I took off thinking it was the AC compressor rear bolt
Since I sold the turbos with the motor I was trying to leave them and the inlets mounted, which proved to be a pain when trying to unbolt the motor mounts and get the starter out. I ended up having to pull the inlets.
Alty out
Motor mount was broken
All of these tight bolts in small places and hoses that are a pain to slip off, I beat the crap out of my hands MANY times. This fan part was like razorblades when working anywhere near it.
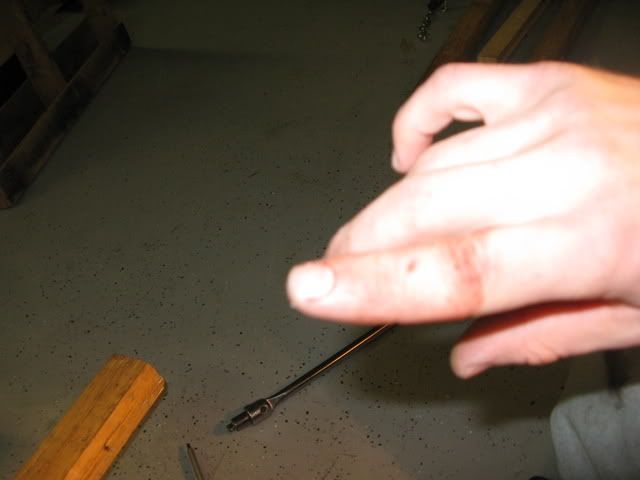
KO3 turbos with 56k mi were actually in really good shape
Driver's side
Pass Side
I broke the connector part of this sensor that goes in by the oil filter sandwich[>_>]
An example of how I tried to label all of the parts
I twisted this ground wire up pretty good cause I didn't expect it to turn with the bolt when I used the ratchet gun to take it off.
I took the intake mani off with everything still connected (injectors, fuel rail, wiring harness, coil packs, TB, etc) to try to keep it as simple as possible.
These hoses were a pain to pull off without tearing them. After trying to wiggle them out I found out that the hardlines they're connected to have to stay with the motor since I'm leaving all of the timing components together.
Last edited by jibberjive; 10-19-2010 at 10:23 PM.
03-16-2009, 10:35 PM
#5
AudiWorld Senior Member
Thread Starter
Join Date: Aug 2006
Location: UT
Posts: 1,013
Likes: 0
Received 0 Likes
on
0 Posts
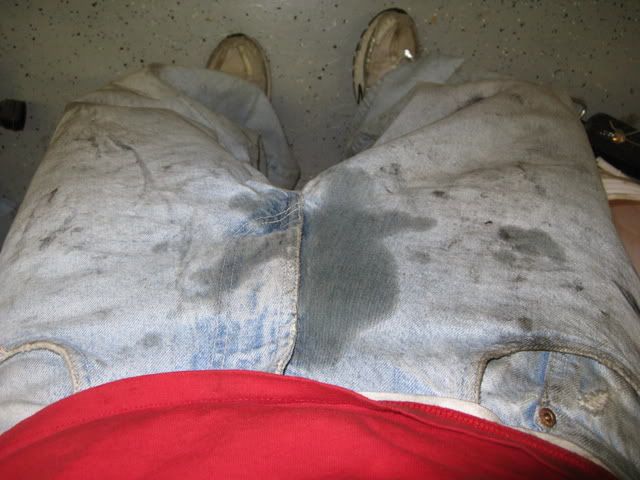
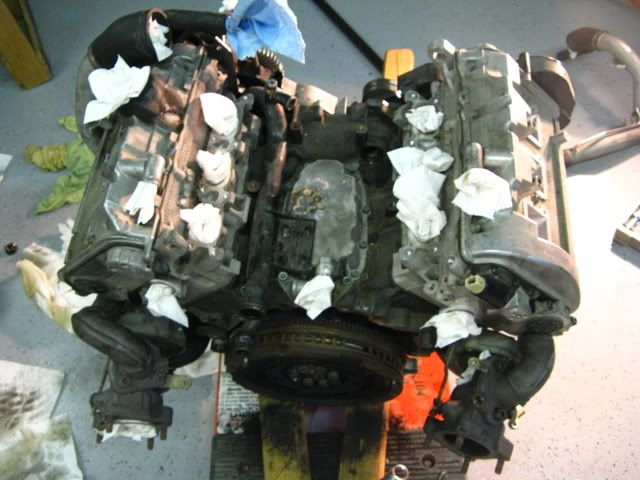
When I was working on one of the random hoses it kept leaking after I thought I emptied it and I had a huge puddle in my lap. Looks like I pissed my pants.
These oil and coolant line bolts really are as much of a pain as everyone says! I somehow got them all off with just normal sets of wrenches (and lots of frustration!) It was too late to go buy any tools.
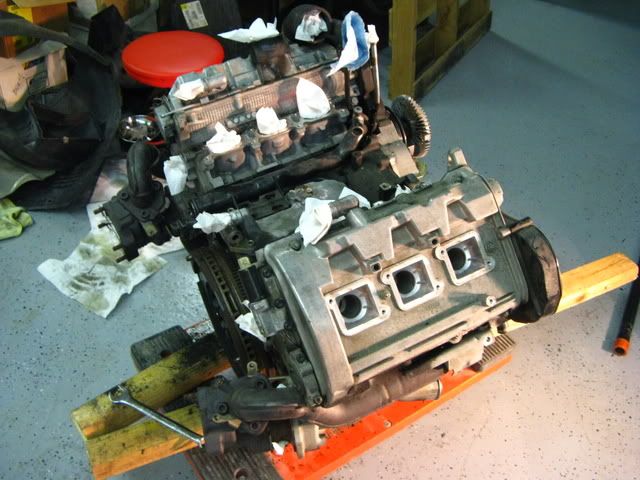
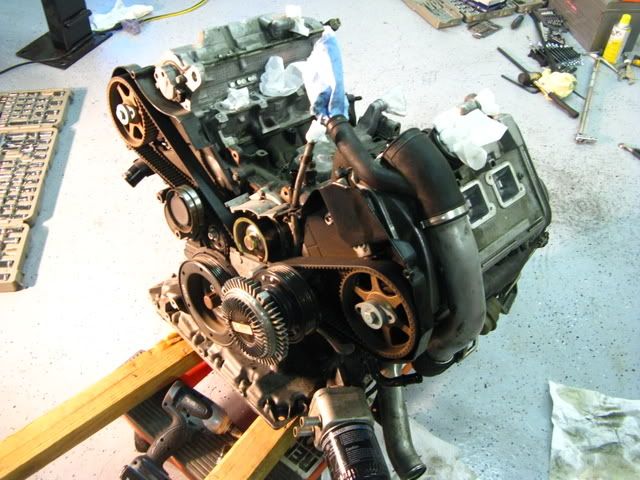
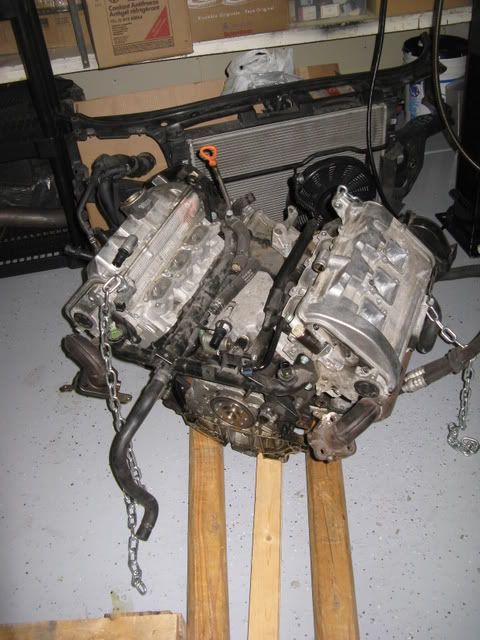
Finally just about how I'm going to send her off.
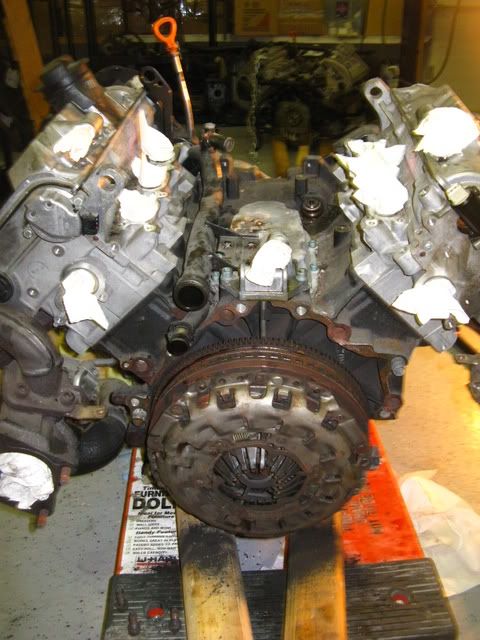
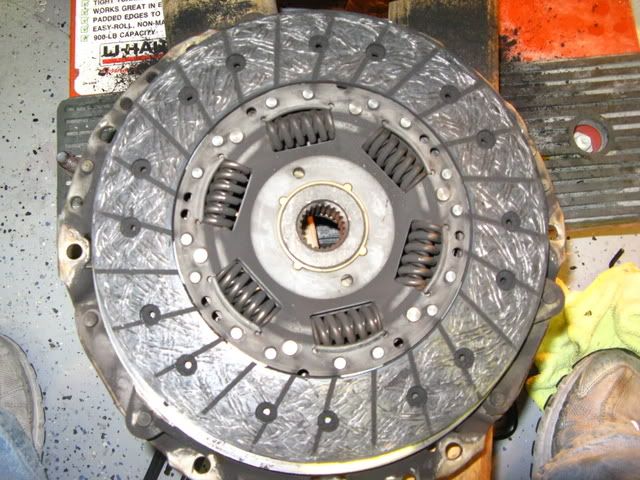
Clutch off
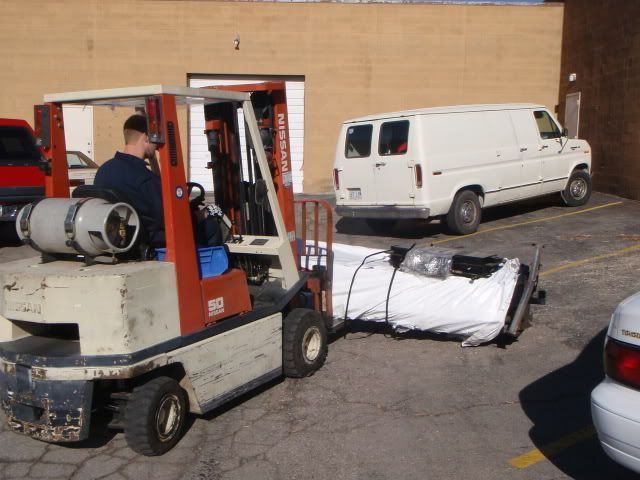
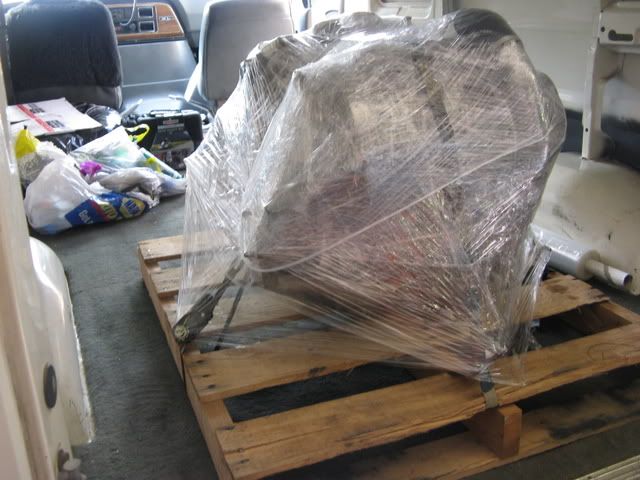
Ready to pack up and ship out.
Packaged up
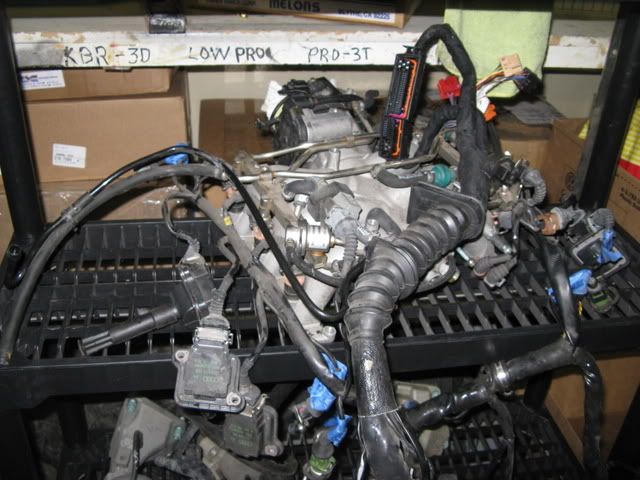
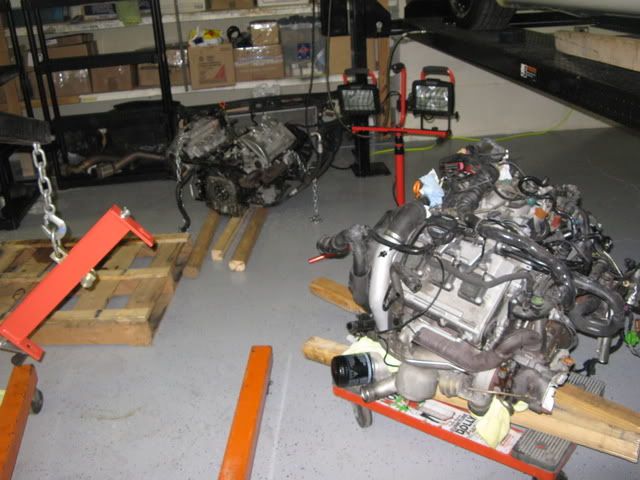
Here's the new motor that I'm going to build (in the rear of this pic)

One difference between the motors that I noticed that I'd never heard before was on the 01.5'+ motor this timing belt rear cover is plastic when on the 00' it's metal.
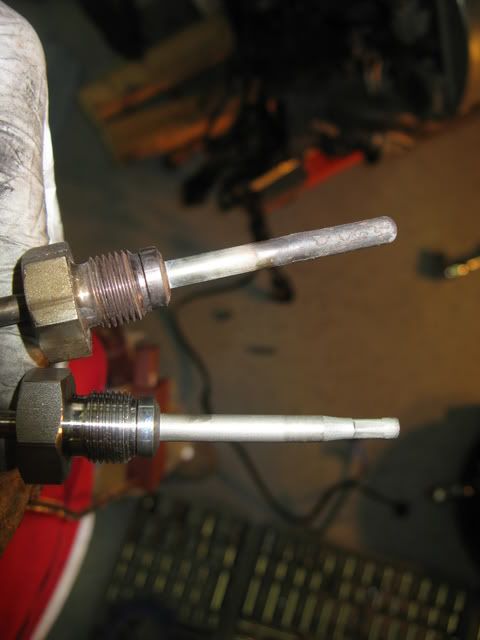
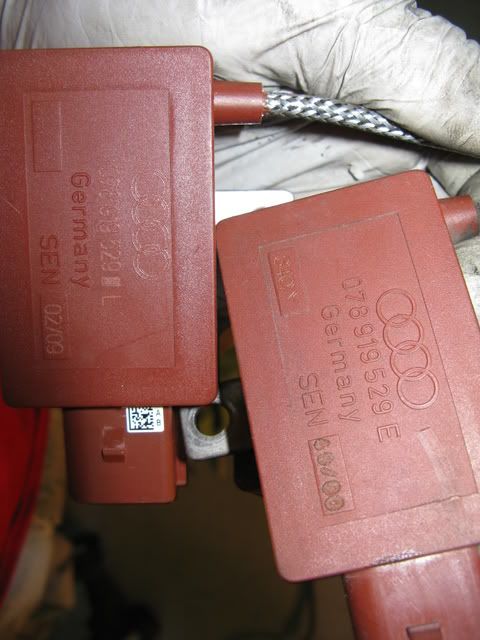
I got an EGT from a guy on here to replace my faulty driver's side one and it is the same length and the same color, but the part number has a different letter at the end (part # for my old one is 078 919 529 E and the new one is the same but an L at the end.) The tips also look a little different as well. I googled the part # and couldn't come up with anything. Has anyone heard of this other L sensor or know what car it's supposed to go to? Or does anyone know if it will work the same as the other?
These oil and coolant line bolts really are as much of a pain as everyone says! I somehow got them all off with just normal sets of wrenches (and lots of frustration!) It was too late to go buy any tools.
Finally just about how I'm going to send her off.
Clutch off
Ready to pack up and ship out.
Packaged up
Here's the new motor that I'm going to build (in the rear of this pic)
One difference between the motors that I noticed that I'd never heard before was on the 01.5'+ motor this timing belt rear cover is plastic when on the 00' it's metal.
I got an EGT from a guy on here to replace my faulty driver's side one and it is the same length and the same color, but the part number has a different letter at the end (part # for my old one is 078 919 529 E and the new one is the same but an L at the end.) The tips also look a little different as well. I googled the part # and couldn't come up with anything. Has anyone heard of this other L sensor or know what car it's supposed to go to? Or does anyone know if it will work the same as the other?
03-16-2009, 10:39 PM
#7
AudiWorld Senior Member
Thread Starter
Join Date: Aug 2006
Location: UT
Posts: 1,013
Likes: 0
Received 0 Likes
on
0 Posts
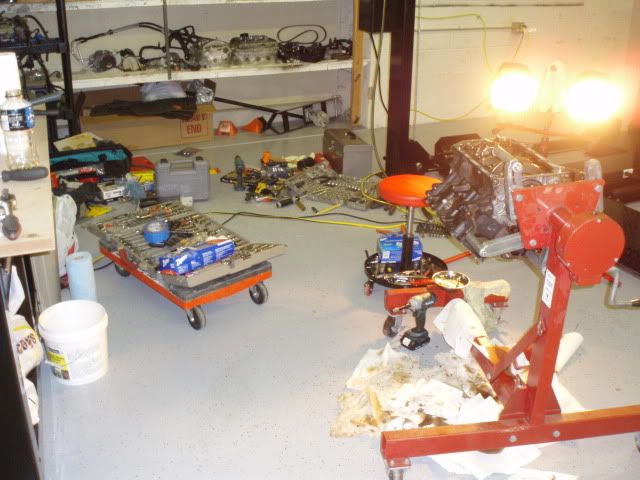
6/11/09
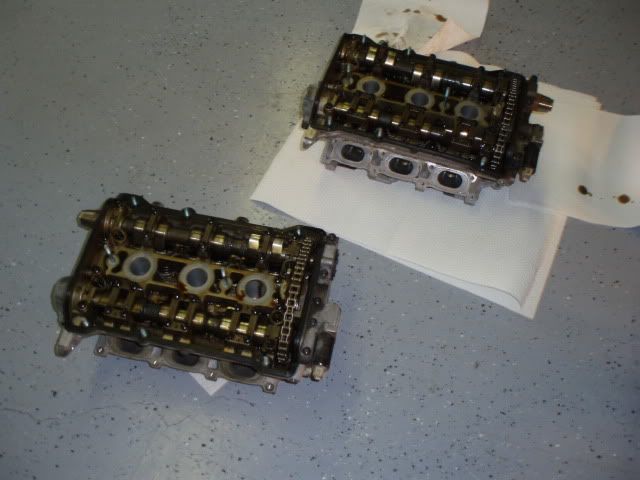
So I've got completed heads. They were hottanked, decked, 3-angle valve job, valve seats modified for 1mm oversize intake valves, and new guides were installed.
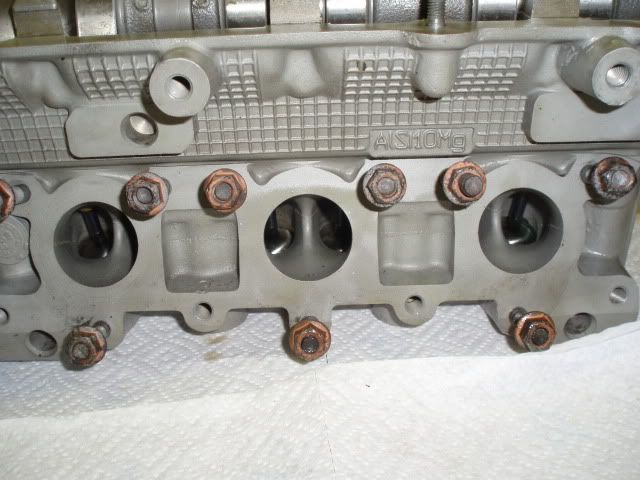
A closeup of the combi valve threaded shut

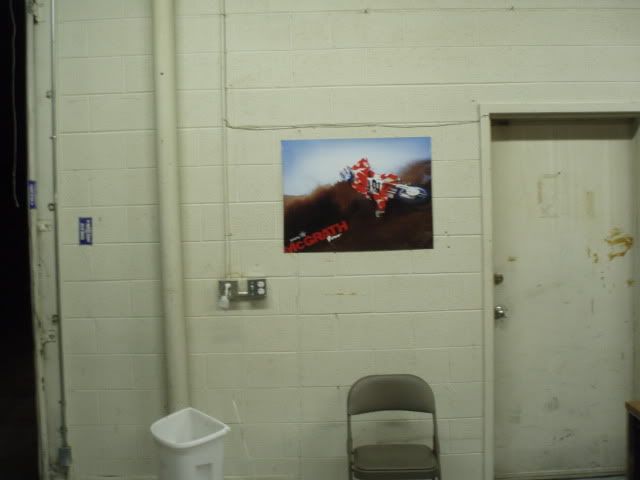
A little more sprucing up of the shop with a new poster[]
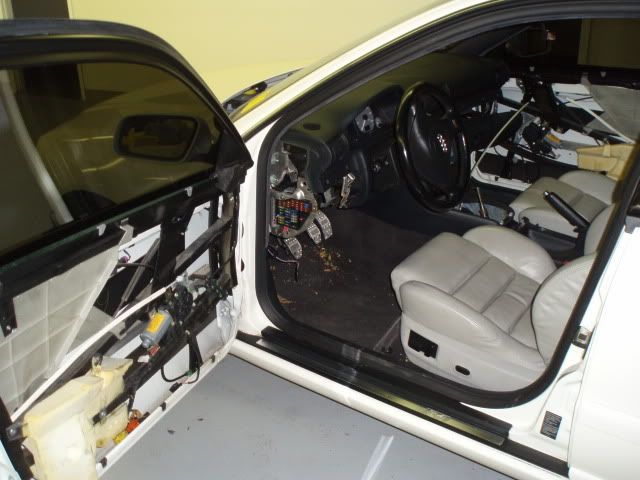
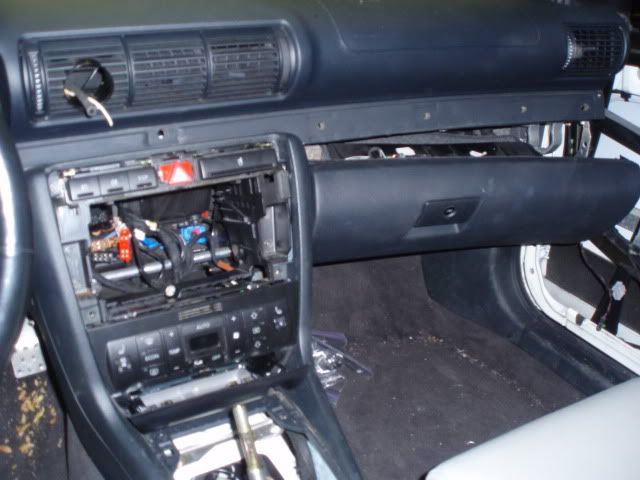
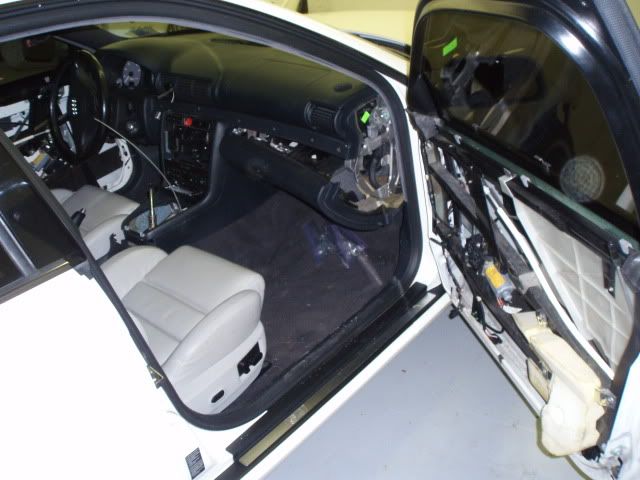
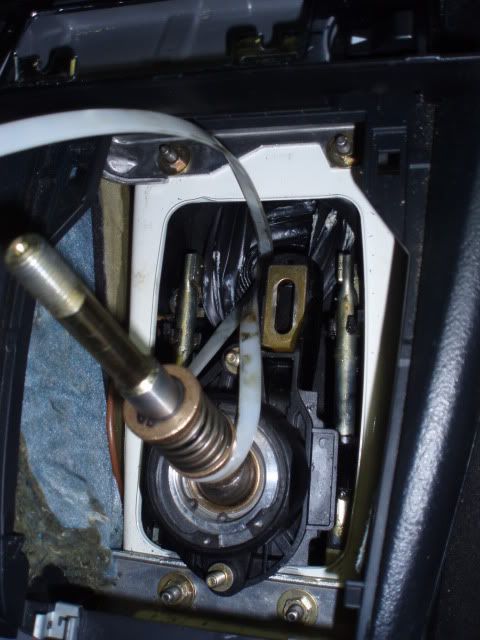
So...onto to the work. Here's how the interior of my car currently sits (I pulled the trim to replace with CF and I'm going to be installing the AVIC f90-bt.)
I had to move the S4 off the lift so I could work on some other cars, but the driveline was dangling to the ground because it's disconnected. We had to thread 2 huge zipties that we put end to end up through the shifter boot/box and put around the shifter with the lower end around the driveline to hold it up so we could push the car around.
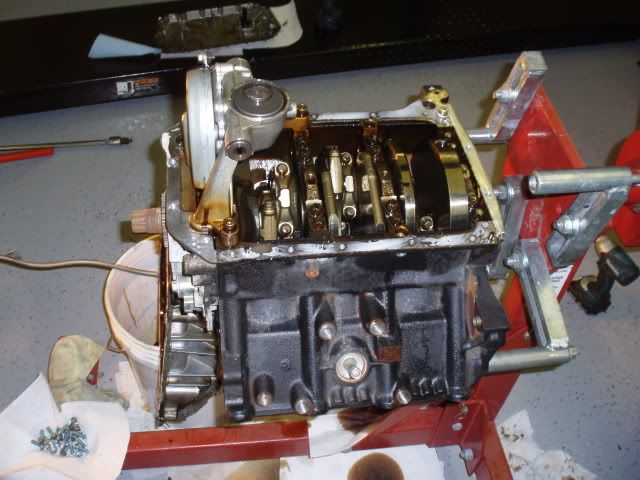
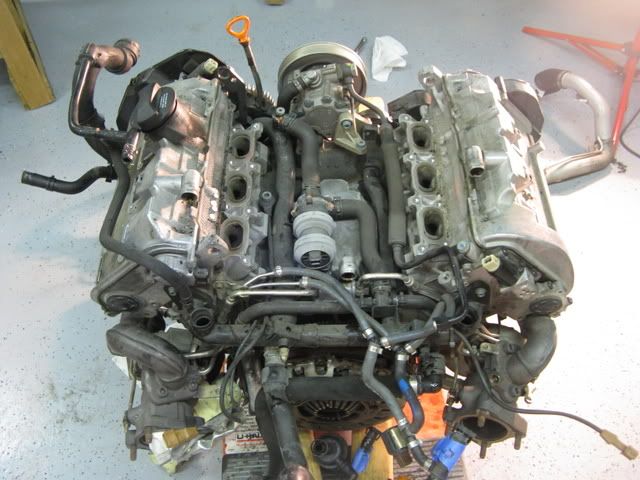
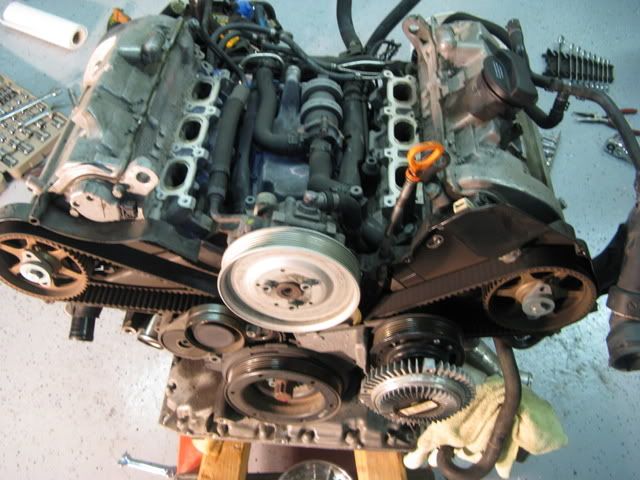
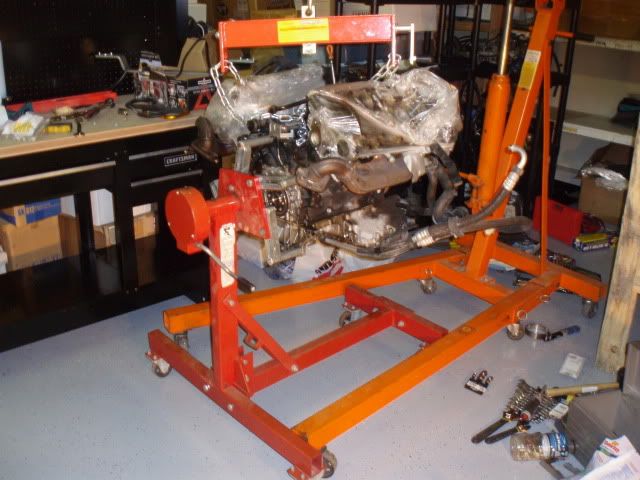
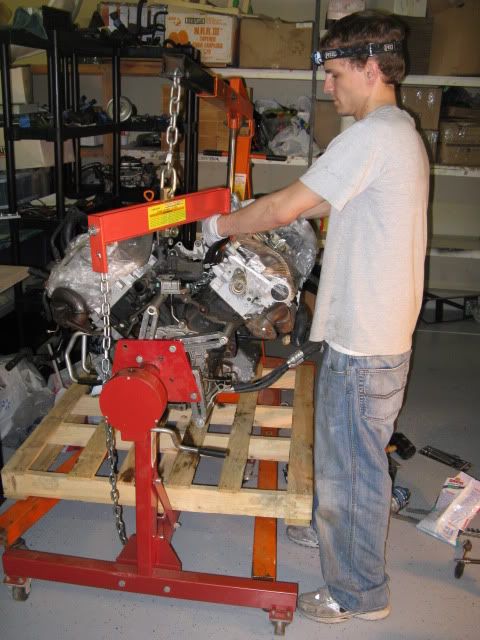
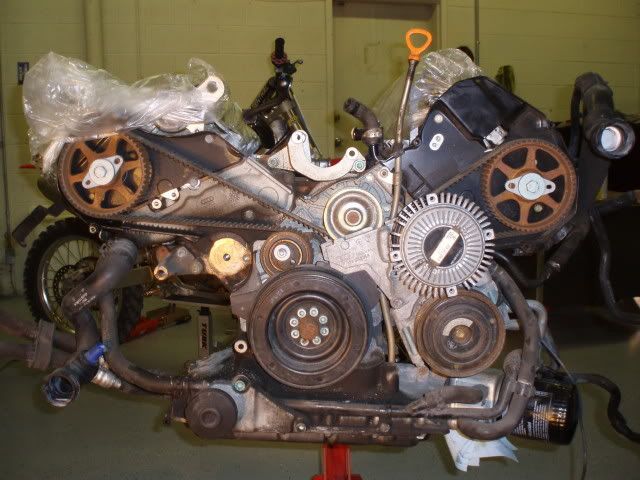
Getting the motor bolted onto the stand was the most time consuming/difficult part of the motor breakdown (the motor breakdown itself is really not difficult at all.)
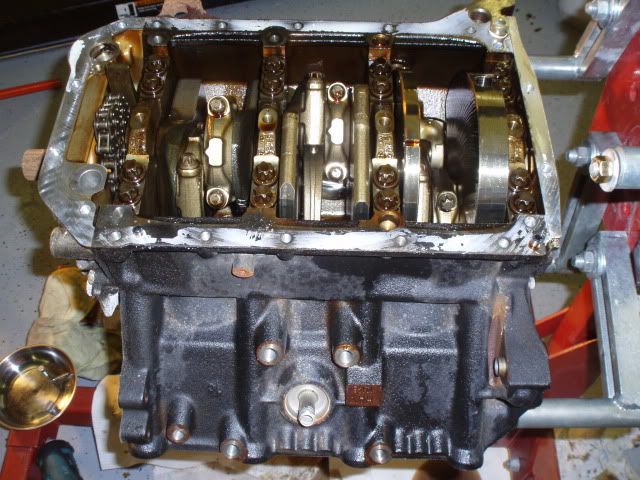
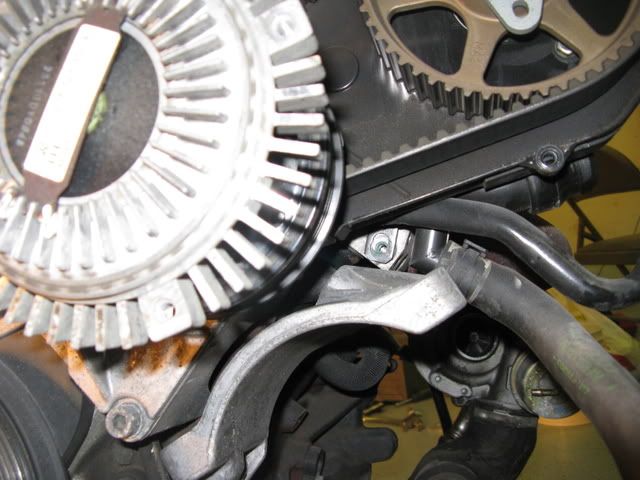
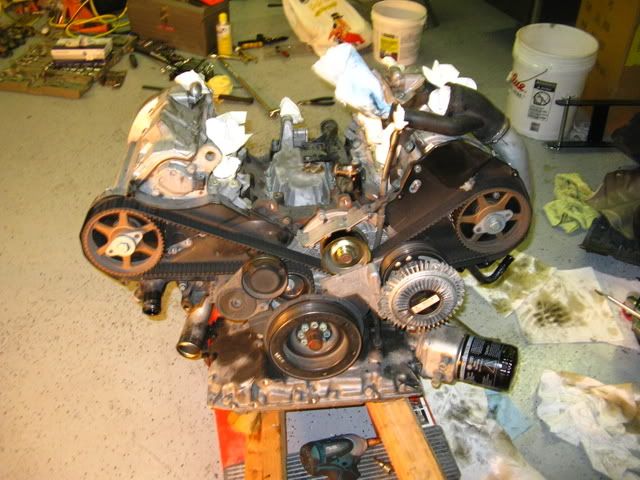
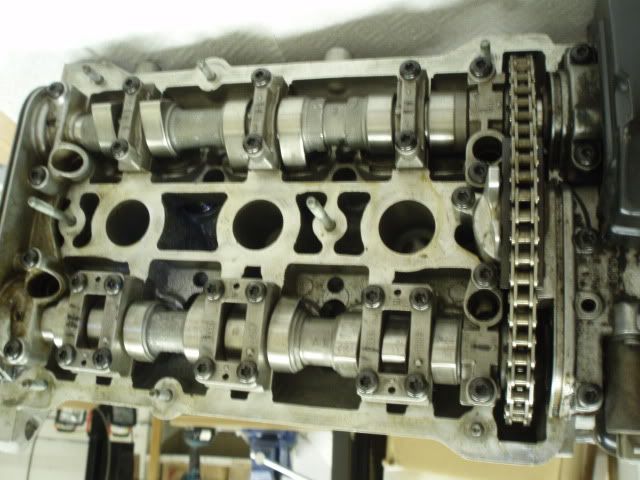
On stand, ready to get to business. Notice how the cam gears aren't lined up with each other.
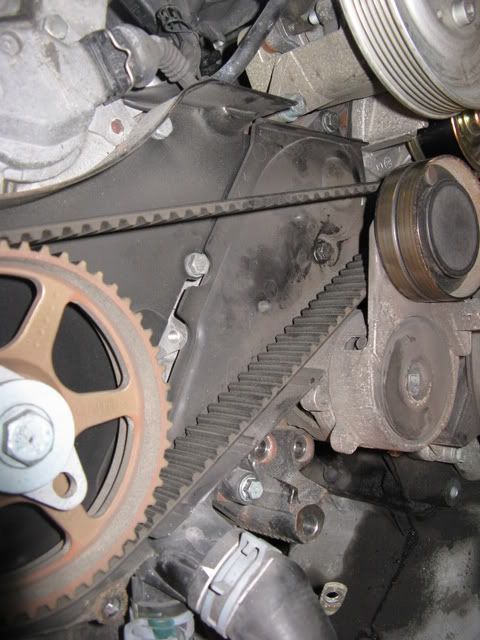
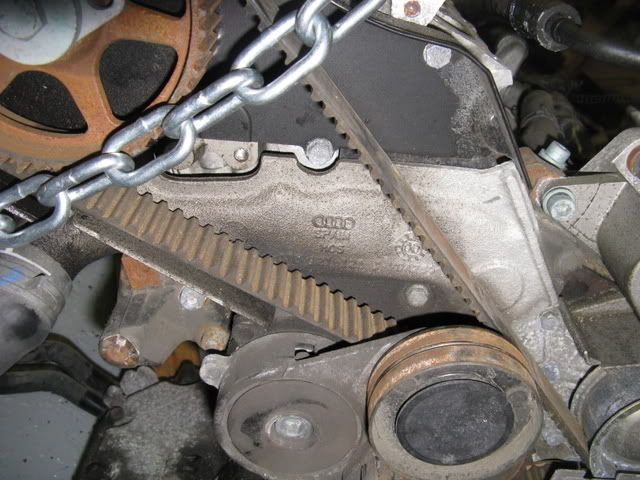
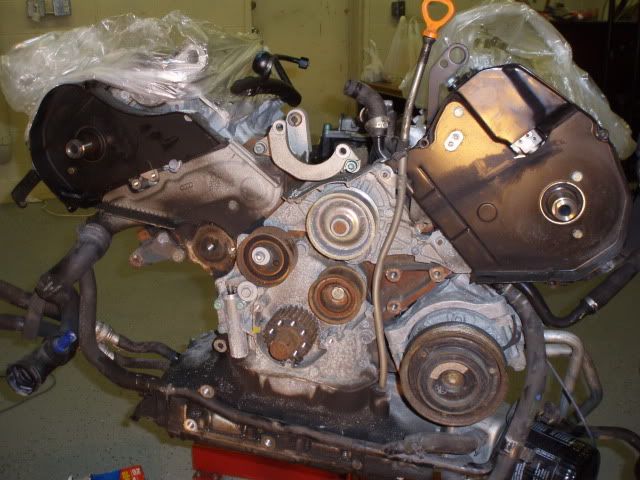
Timing belt and stuff off
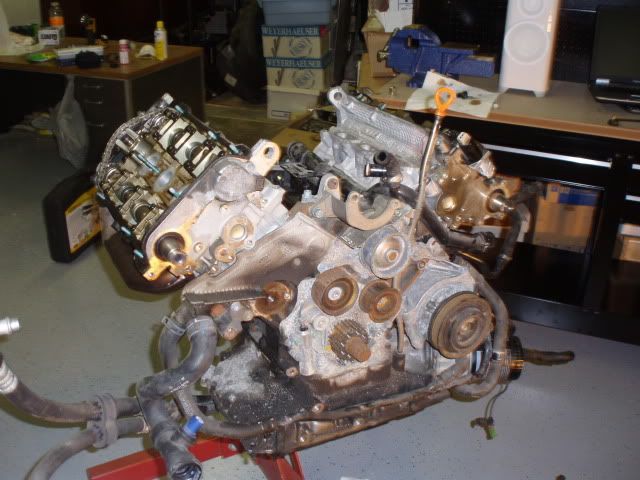
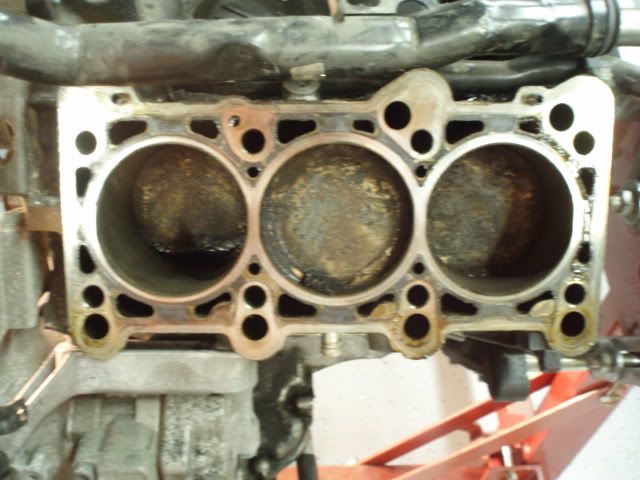
Heads off
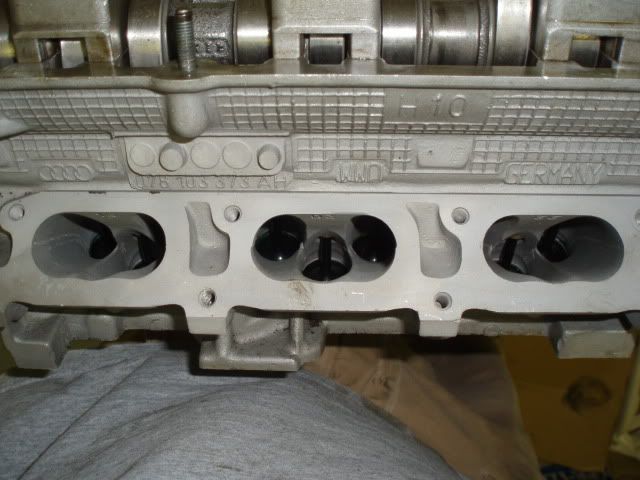
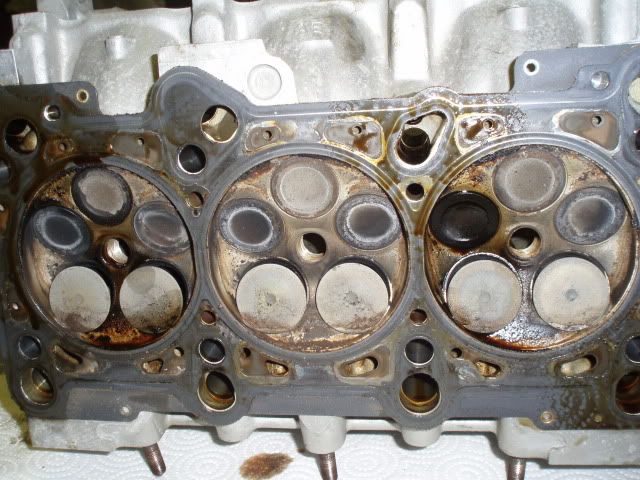
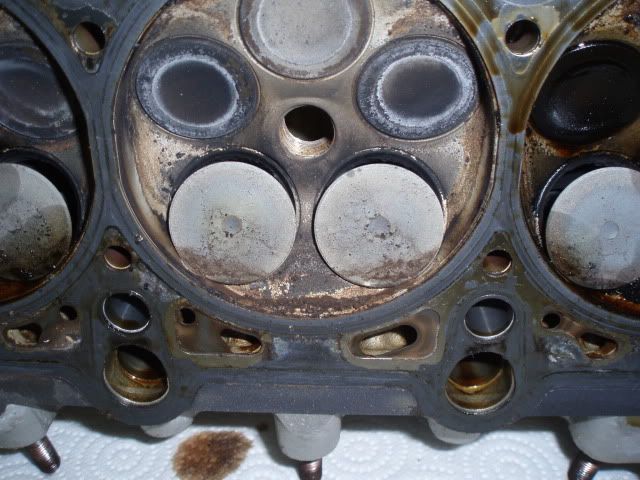
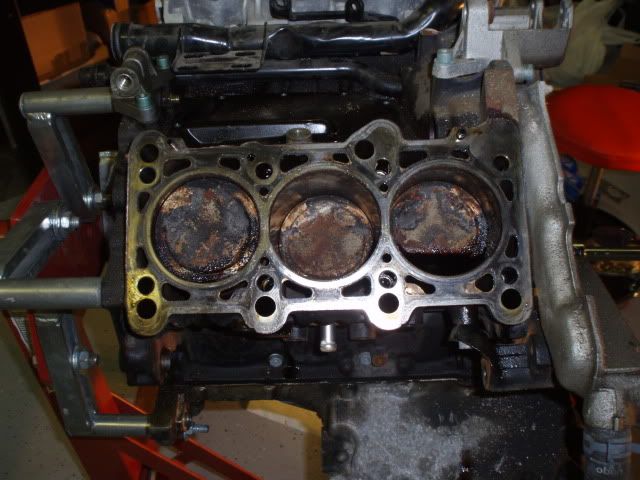
Turns out one bank has bent valves from a slipped timing belt. Can you guess which bank?
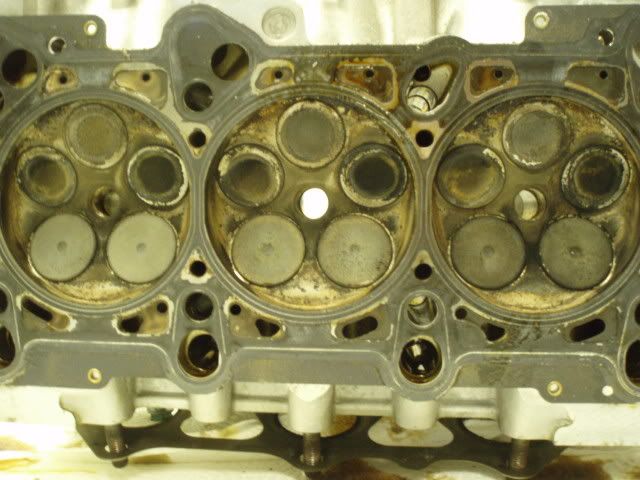
Bank 1
Bank 2
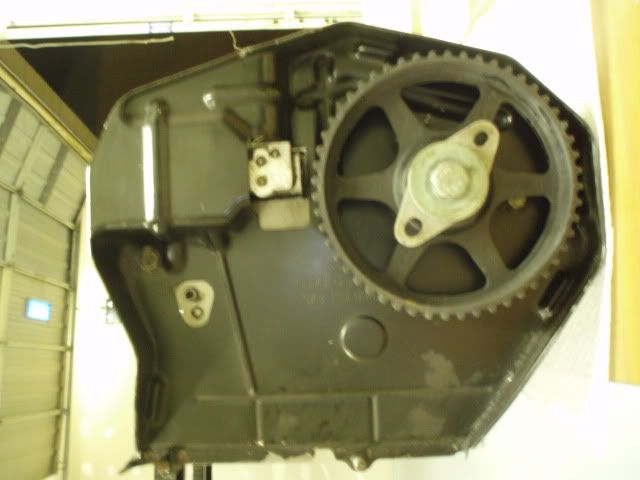
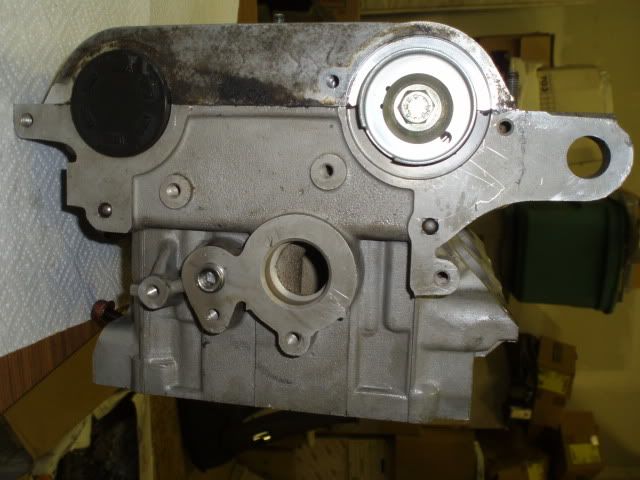
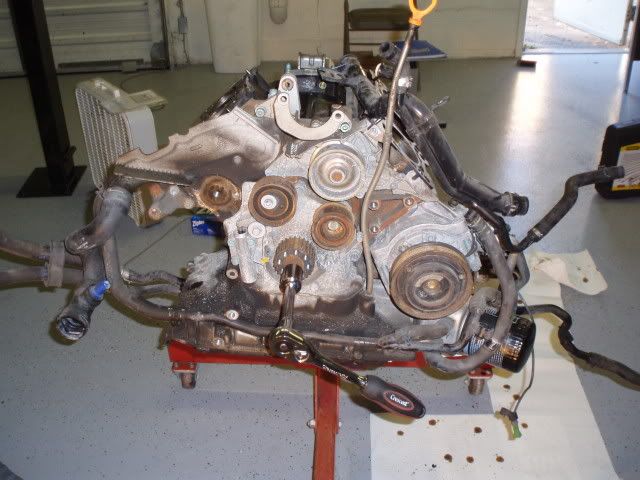
Waterpump and all peripheral accessories gone
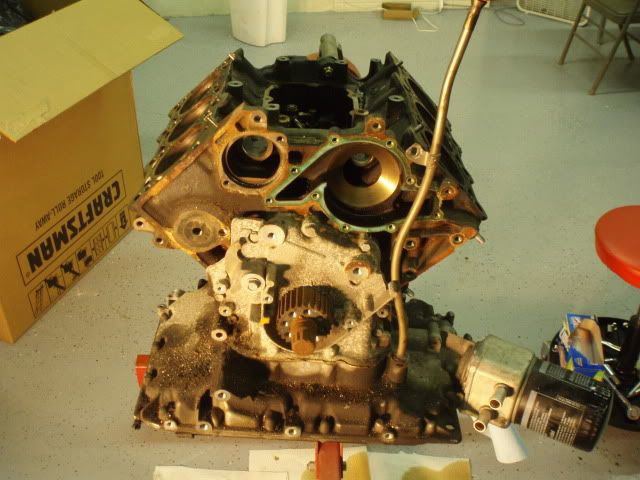
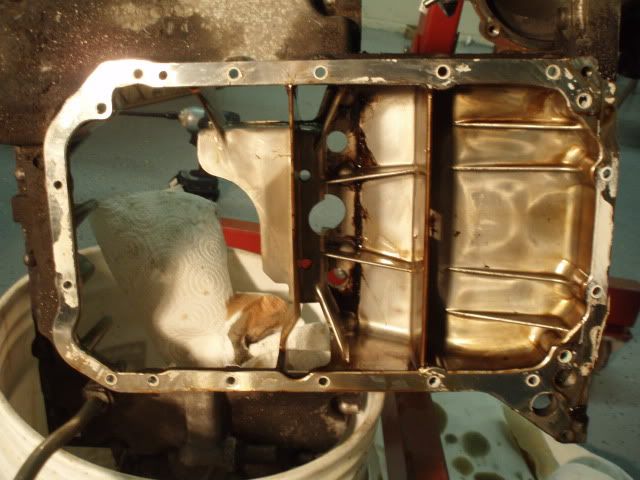
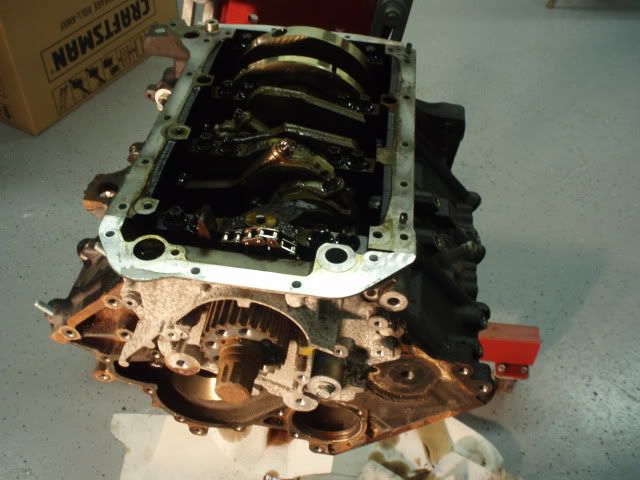
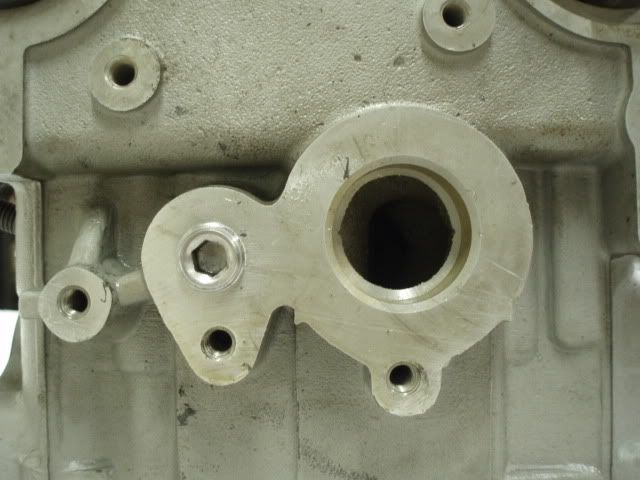
Lower oil pan off
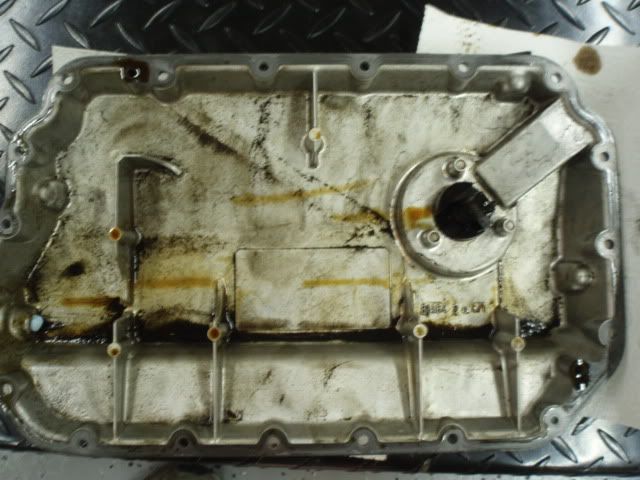
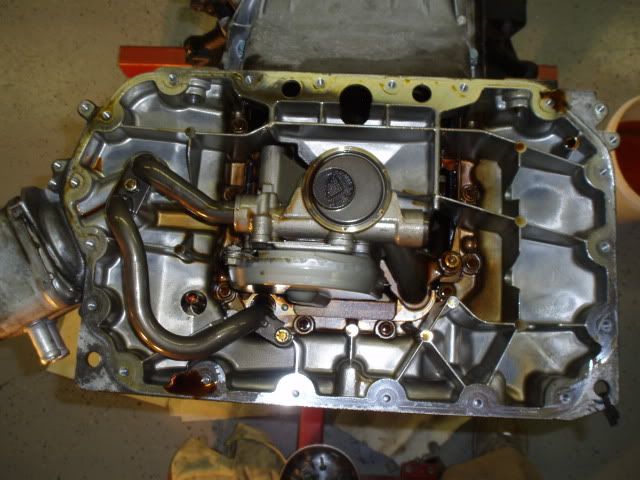
Oil pump assembly and upper oil pan
So I've got completed heads. They were hottanked, decked, 3-angle valve job, valve seats modified for 1mm oversize intake valves, and new guides were installed.
A closeup of the combi valve threaded shut
A little more sprucing up of the shop with a new poster[
]So...onto to the work. Here's how the interior of my car currently sits (I pulled the trim to replace with CF and I'm going to be installing the AVIC f90-bt.)
I had to move the S4 off the lift so I could work on some other cars, but the driveline was dangling to the ground because it's disconnected. We had to thread 2 huge zipties that we put end to end up through the shifter boot/box and put around the shifter with the lower end around the driveline to hold it up so we could push the car around.
Getting the motor bolted onto the stand was the most time consuming/difficult part of the motor breakdown (the motor breakdown itself is really not difficult at all.)
On stand, ready to get to business. Notice how the cam gears aren't lined up with each other.
Timing belt and stuff off
Heads off
Turns out one bank has bent valves from a slipped timing belt. Can you guess which bank?
Bank 1
Bank 2
Waterpump and all peripheral accessories gone
Lower oil pan off
Oil pump assembly and upper oil pan
Last edited by jibberjive; 06-11-2009 at 06:12 AM.