When you click on links to various merchants on this site and make a purchase, this can result in this site earning a commission. Affiliate programs and affiliations include, but are not limited to, the eBay Partner Network.
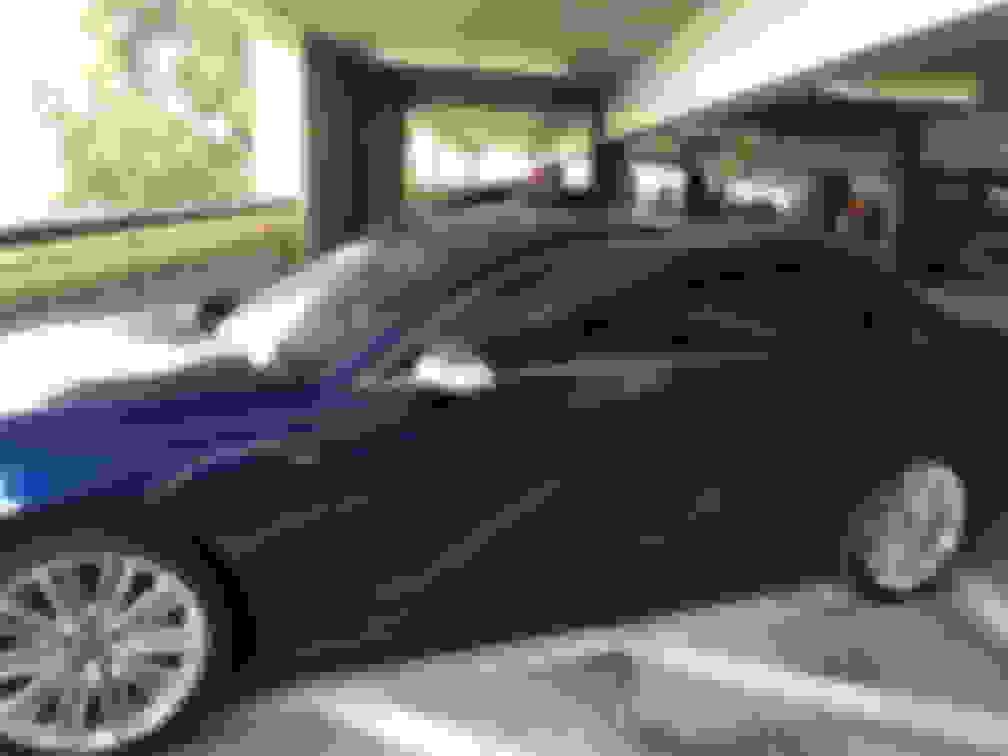
Finally got the time and courage to attempt replacing my mirror caps with the alu-optic silver S4 mirror housings. I got a set from ebay, obviously replicas (not OEM), for very cheap. I've seen them go for anywhere from $180 to $140 shipping included from China/Taiwan. The fit is good but not perfect and it's tough to tell if the fitment is the result of my install or production so be warned that they might vary from batch to batch. The biggest fitment issues I see are where the LED turn signal meets the mirror cover nearest the car as well as where the new mirror cap meets the turn signal, mostly the edge furthest away from the car. The whole install took me considerably more time that it should for you since I went into this pretty blind and had to figure it out for myself as far as what to remove, how to remove them, and being overly cautious. For the most part, the process is nearly identical to this: http://forums.vwvortex.com/showthread.php?5543807-DIY-mk6-Jetta-GLI-mirror-cap-removal-guide#/topics/5543807?page=1&_k=7v9x4s
Let me know if you have any questions or anything is missing and this can hopefully be of great use to anyone trying this mod. This would also likely apply to the CF covers if anyone is going that route.
ETA: 45 minutes (30 mins first side, 15 mins the other)
Difficulty: 3 (1-10)
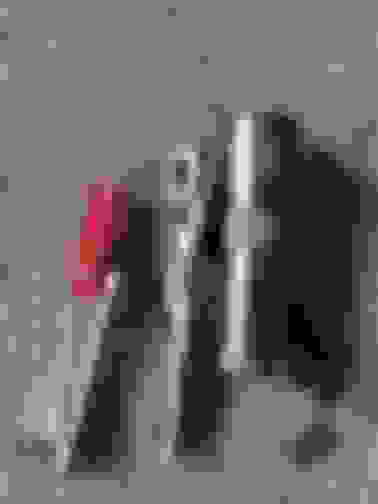
Tools used:
1. Thin and small flat head
2. Flashlight
3. Small ratchet w/ extension
4. T10 hex
5. Trim removal tool (not pictured) 2. Lower both front windows, disable auto mirror folding if you have it enabled to prevent the mirrors from closing in when working on them, and tilt the mirror towards you so that you create a gap on the outer edge as seen below. You'll create enough space to get your fingers (Donald Trump's small feminine baby hands would come in handy here). Get your fingers or trim removal tool as deep and far towards the center of the mirror and evenly distribute force to yank the mirror out. Be careful here, it requires significant force but don't be a caveman about it. do it in a linear fashion to prevent shattering the mirror. Once its popped out, work your way around the mirror to unclip the other points. It's very easy.
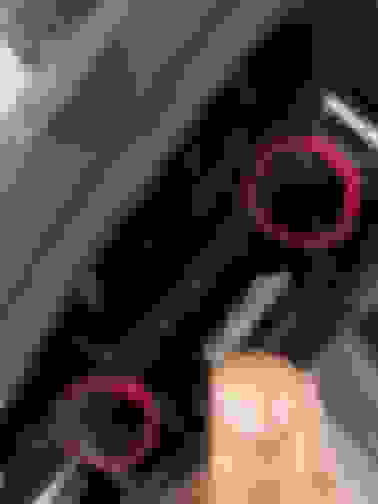
3. After you've unclipped the mirror from the housing, you'll notice that behind it are 3 connections. 2 for the heater, and 1 for the anti-dazzle/self dimming doo-dah. Disconnect these 3 points seen below:
Here is the back of the mirror for an idea of where the clips are and plugs:
4. Once you've unplugged the mirror and removed it, you'll be looking at this. Here you'll want to take your T10 torx with extension and remove the 3 screws circled here:
5. Next, you'll want to remove the black plastic trim you just unscrewed. This part is kinda tricky and hard to explain but basically examine the trim and where it meets up with the mirror housing. Tug on the plastic trim with your fingers, shift it side to side, up and down and feel for slack. I used the flat head and trim removal tool to pry it away from the housing and toward you. Edit: on closer inspection of the picture, there appear to be 3 little clips that might latch the trim to the mirror housing. The first is down next to where it says "Hungary", the others are identical. You can try that. I was lucky enough to wiggle the trim out with my fingers alone, the other side needed a bit more persuading with the flat head. Below are pictures of the black trim removed for reference:
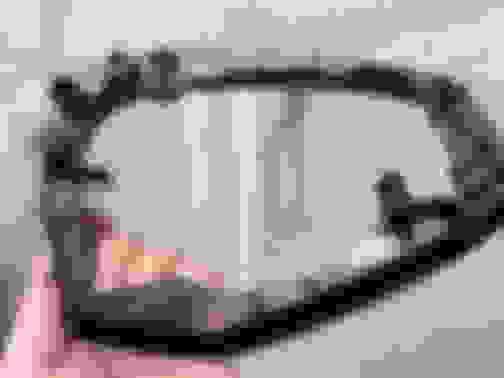
6. After you've removed the plastic trim, you'll be looking at this. At this point, the mirror cap will be flimsy and wiggle a ton since it's basically unclipped and just sitting there. Here, disconnect the side assist (if equipped) by unplugging the clip circled in red, and pull up on the clips circled in yellow. Then remove the cover:
7. After you've removed the cover, you'll be staring at this. Remove the side assist light from the old cover and install it into your new mirror cap. It's very straight forward when you see it, it just clips in:
8. After this, reassemble everything the same way it came apart. Swap the side assist light over, fit the mirror cap back on and make sure everything is snug, reconnect the side assist connector, reinstall the black plastic mirror trim, screw the trim back in with the 3 T10 torx screws, reconnect the 3 mirror connections, snap the mirror back in, and move on to the other side.
9. Done, crack open a beer (I was 4 deep at this point), and admire the new housings because they are truly beautiful and add so much to the car. I stared for about 3 minutes laughing to myself how incredible they look (I was likely drunk here).
Last edited by Kenneth Peter Delgado; 12-16-2016 at 10:09 AM.
Reason: Addition
Well. I agree with you. The alu mirror caps add character. Looks stunning to say the least. And I'm not drunk. Yet.
Btw, could you tell us about the gap between the led mirror indicator and mirror cap, if there is any. Did you compare the stock to the alu to see if the clips are in the exact same position and the size of the openings for the led indicator are the same?
Great write up! Thanks for the contribution. I was debating about this as well but since my car is white, I ended up dipping the mirrors(and other bits) for the stormtrooper look.
Great write up! Thanks for the contribution. I was debating about this as well but since my car is white, I ended up dipping the mirrors(and other bits) for the stormtrooper look.
Well. I agree with you. The alu mirror caps add character. Looks stunning to say the least. And I'm not drunk. Yet.
Btw, could you tell us about the gap between the led mirror indicator and mirror cap, if there is any. Did you compare the stock to the alu to see if the clips are in the exact same position and the size of the openings for the led indicator are the same?
Didn't get measurements but Ill get those pics up for you today. Waiting for the rain (gasp) to clear up.
 12-15-2016, 11:03 AM