Audi A3: How to Install HID Xenon Headlights
If you are handy, you can get the look and safety of HID xenon headlights with just not much effort and just a few hours work.
This article applies to the Audi A3.
HID xenon bulbs tend to be standard on most newer Audis, but if your older Audi is missing this feature, then you're missing out on the brightest headlights on the planet. HID xenon bulbs can light up more of the road than any other type of headlight, and they last much longer than halogen bulbs, too. Installing HID xenon bulbs is not that difficult, but it will require some modification to your original headlights.

Materials Needed
- HID headlight kit with HID xenon bulbs and ballasts
- Drill
- Electrical tape
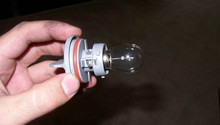
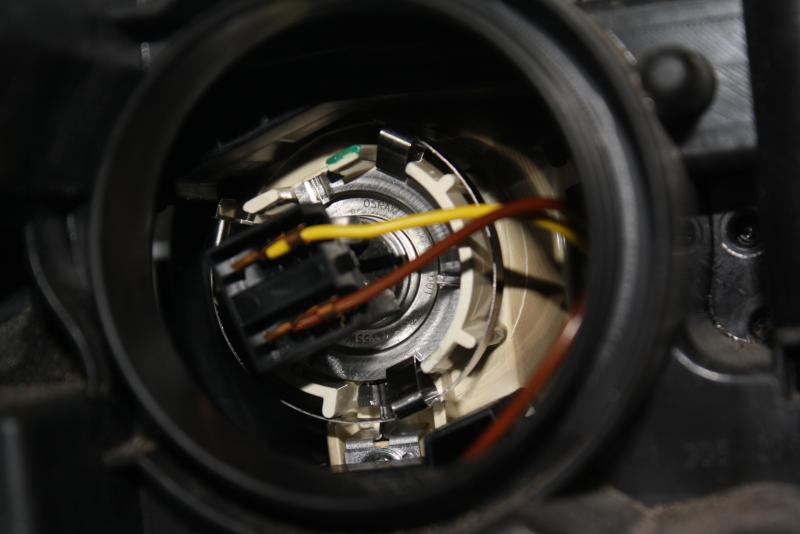
Step 1 – Remove the stock halogen bulb
Open the hood of your car and disconnect the negative (black) terminal on your car battery. Now find the back of the headlight. You'll see a cover held on by a clip. Push in the clip and remove the cover. Reach into the headlight and remove the clip on the back of the halogen bulb. Twist the bulb socket counterclockwise, then pull the bulb out. Disconnect the bulb from the wiring harness, then set the bulb aside.
Step 2 – Install HID xenon bulb
Your HID xenon bulb kit should come with its own socket and wiring harness. Simply insert the new HID xenon bulb into the headlight housing. Twist the socket clockwise to lock the bulb into the housing, and return the clip to the back of the bulb.
Pro Tip
Do not touch the glass of the bulb. If you do, you'll transfer grease from your hands and create hot spots on the bulb, causing it to quickly burn out.
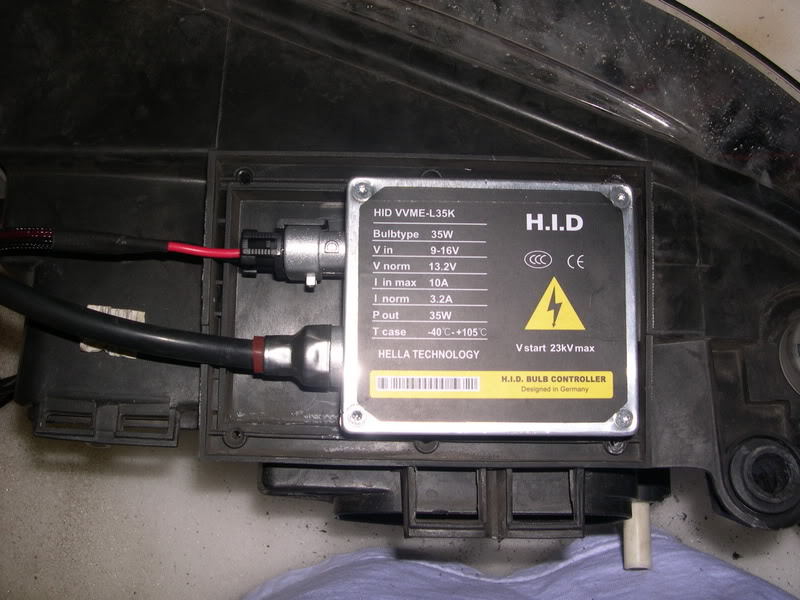
Step 3 – Install ballasts and test
Find a safe place to mount your HID ballasts in the car. It needs to be close enough to the headlights, so that the wiring harness will reach the ballasts. Then you'll need to mount the ballasts, so that they do not move around and are secure.
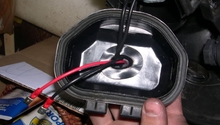
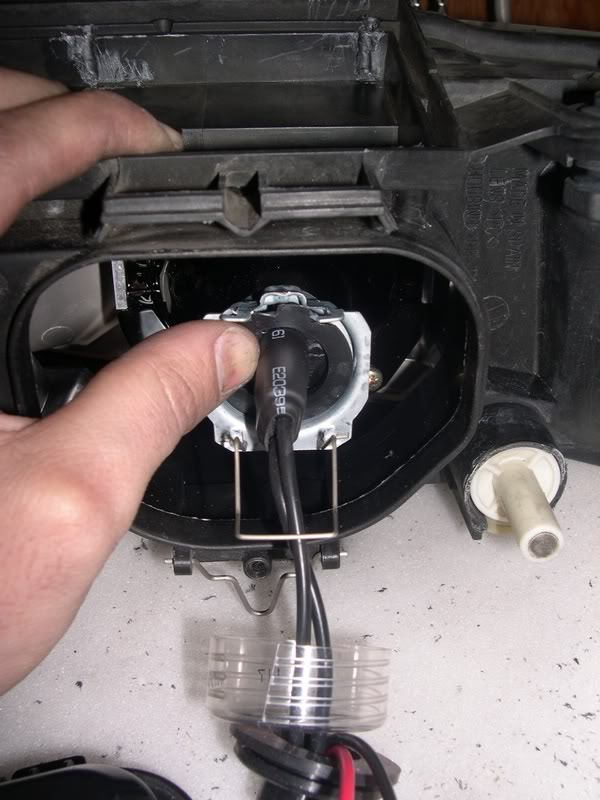
When that is done, you'll need to modify the cover on the back of the headlight housing. Since there is no place for the new wiring harness to go, you'll need to drill a hole in the back of the cover to fit the new wiring harness through. Fit a rubber grommet in the hole and then pull the wiring harness through it. Connect the wiring harness to the ballast.
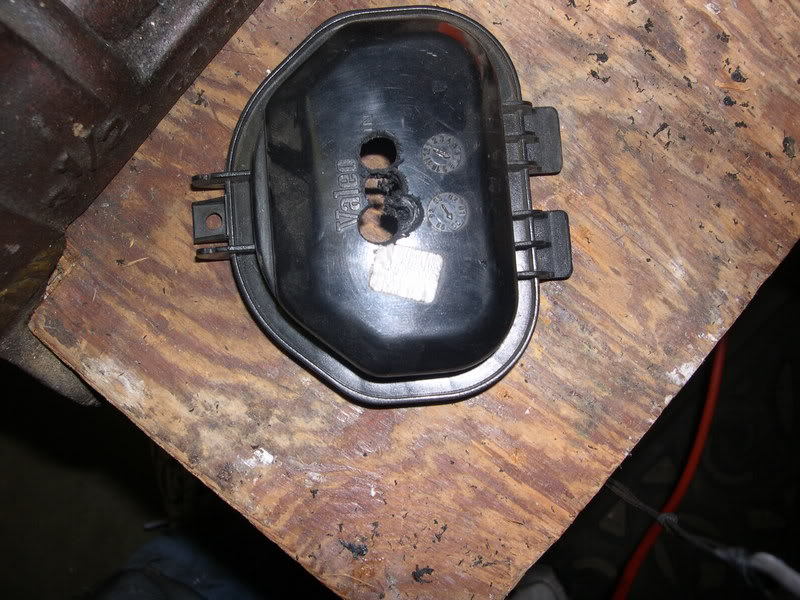
Figure 4. Drill a hole in the back cover for the wiring harness. 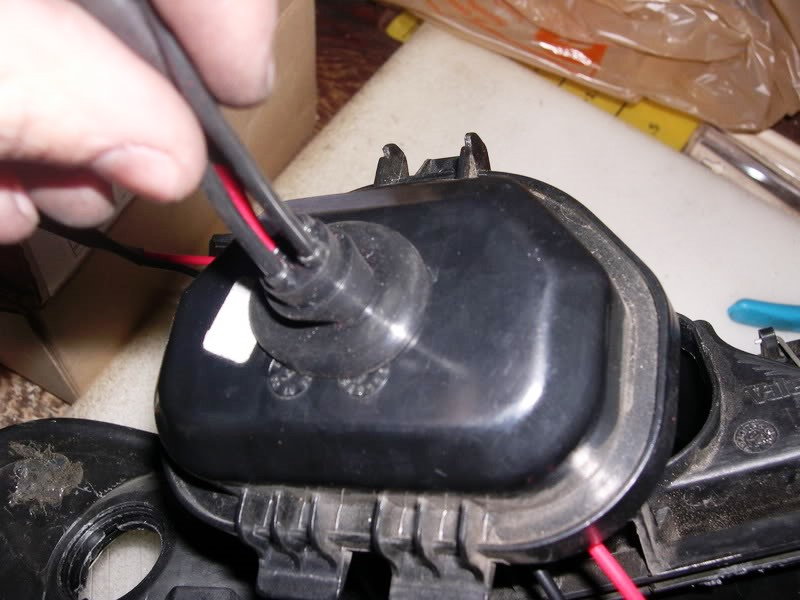
Figure 5. Fit a rubber grommet around the hole.
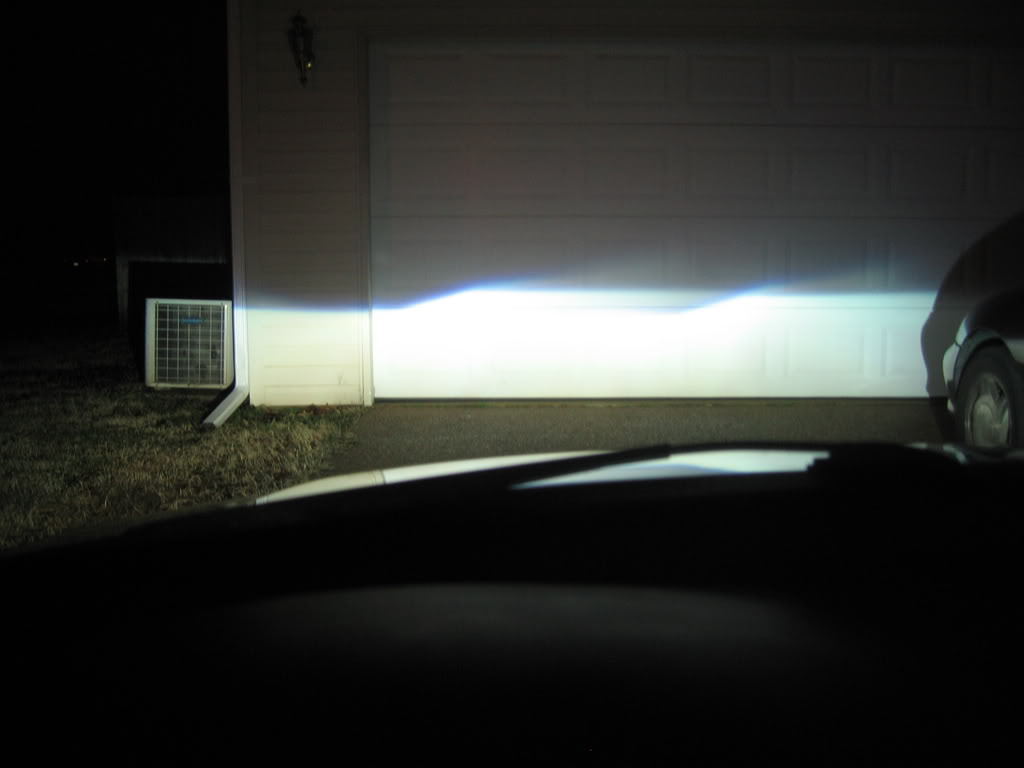
There should be a second wiring harness to connect the ballast to the factory wiring harness. Route ballast wiring harness back through the headlight housing cover and connect the pins on the new harness to the factory wiring harness. Wrap the pins in electrical tape to protect the wires from corrosion. Clip the headlight housing cover back on then reconnect the battery. Start the car and test the headlights. If they do not come on, you may need to reverse the pins on the wiring harness. When they do come on, adjust the height and level accordingly.
Pro Tip
Make sure that your kit comes with CANBus adapter ballasts. This will prevent any problems with error codes and flickering.
Featured Video: Philips Xenon Installation
Related Discussion
- Audi A4 High Intensity Discharge (HID) Xenon Gas Conversion - AudiWorld.com