Audi A6 C6: How to Clean Cowl Drains
A wet floor is a real pain to deal with. Luckily, preventing or fixing an existing leak source is not difficult.
This article applies to the Audi A6 C6 (2005-2011).
When water starts to randomly leak inside the cabin's footwell, it's an unwanted surprise. These leaks are often caused by clogged cowl drains, which are used to divert the water from entry points in the engine to the ground. The reason these drain holes tend to clog is often due to leaves or other pieces of environmental debris that block the small rubber exit cap on the bottom. Fortunately, accessing and unclogging these drains is pretty easy to do, so even after you finish this repair, it's recommended to check them at least once a year.

Materials Needed
- T25 Torx driver
- 13mm socket
- Long screwdriver
- ShopVac (optional)
- Gear puller
- Water in bottle
Step 1 – Remove the cowl cover
When you open your trunk you will notice a weather strip that runs across the engine bay, along with a plastic cover. First remove the weather strip by pulling it upwards, then loosen the two T25 Torx screws holding the plastic cowl in place.
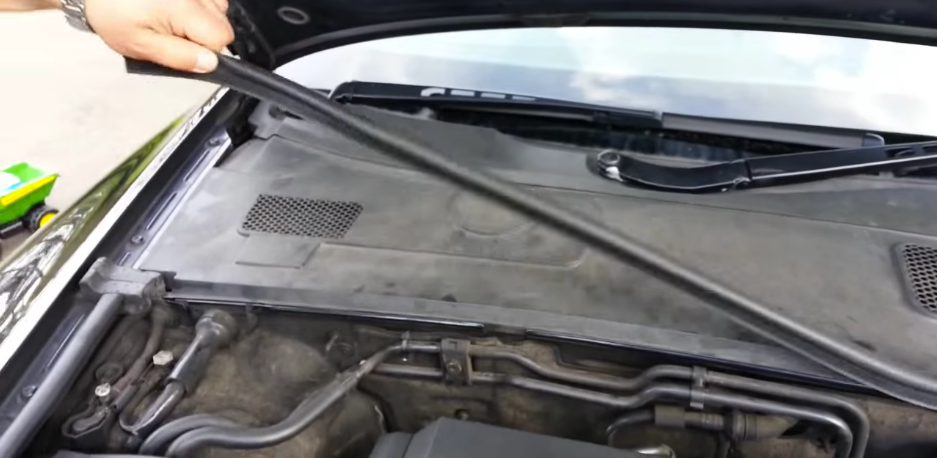
Figure 1. Remove the weather stripping. 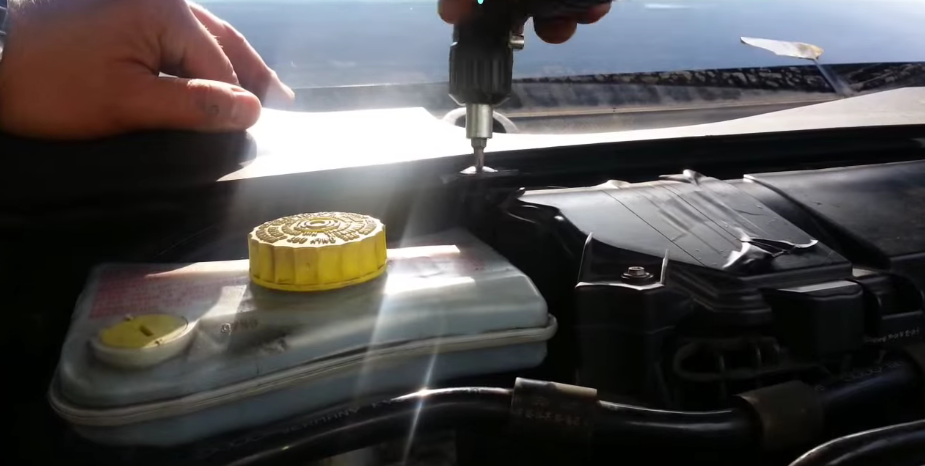
Figure 2. Remove the cowl screws.
Before you remove the panel, pop off the windshield wiper cover and remove the bolt. Use a small gear puller to remove the windshield wiper. The cowl will be able to come off; just slide a flathead screwdriver under it and pop it out upwards, then pull the rest of the cowl off.

Figure 3. Remove the windshield wiper arm bolt. 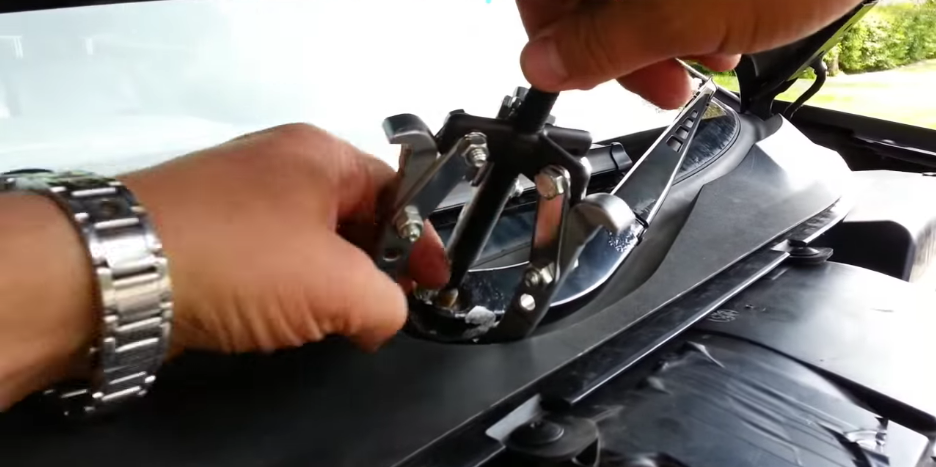
Figure 4. Remove the windshield wiper arm with a gear puller. 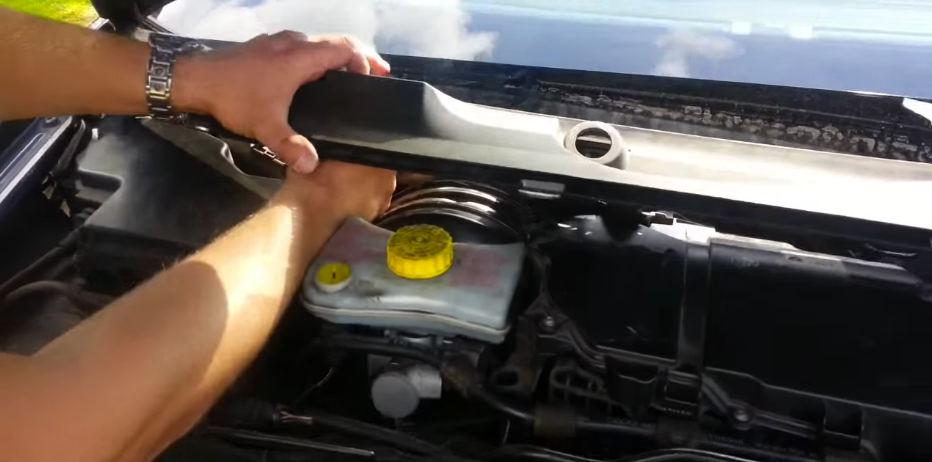
Figure 5. Lift and remove the cowl.
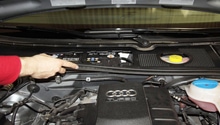
Step 2 – Clear out the first drain
As soon as you remove the cowl you'll notice the drain area, which will presumably be filled with leaves, water, and all sorts of muck. Grab your ShopVac and start sucking all the garbage out, or just use your hand to remove everything. Once it's clear, make sure it drains by pouring water in it.
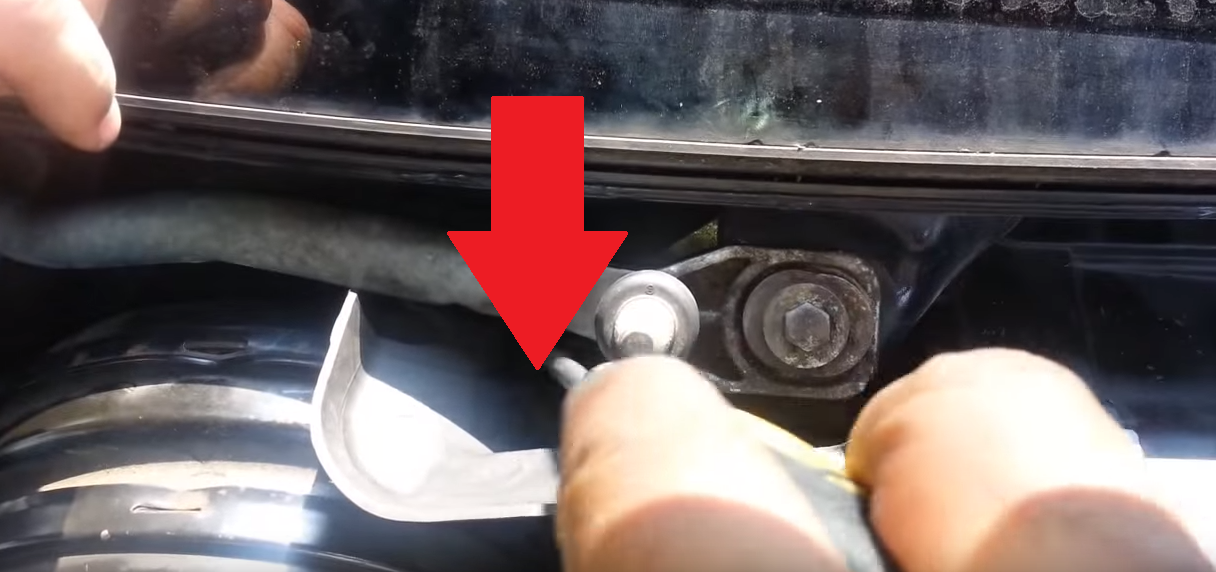
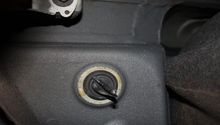
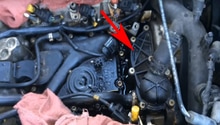
Step 3 – Locate the next drain
Sometimes clearing the first drain will not be enough, so go ahead and check the other drain which will be located towards the right side of the engine bay. Here you can also use a screwdriver to remove the rest of the debris.
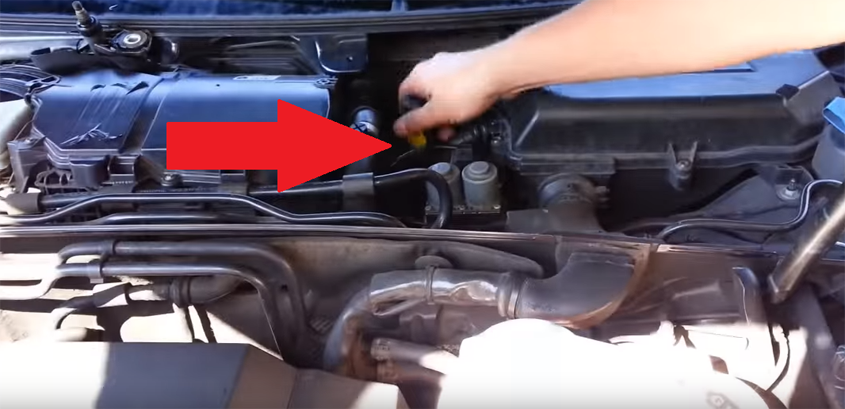
Figure 7. Location of second drain. 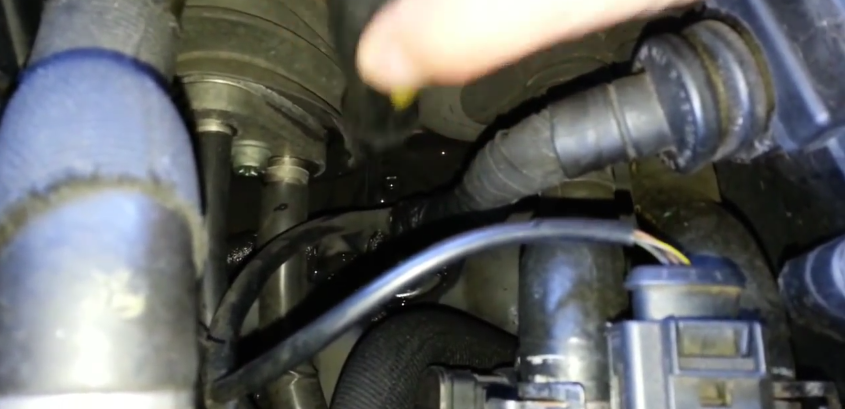
Figure 8. Closeup of the second drain area.
Step 4 – Re-install the cowl
Once you are finished cleaning out both drains, install the cowl, windshield wiper, and weather stripping. Then you are finished!
Related Discussion and Video
- Please Help, Water in Footwells! - Audiworld.com
- How to Stop Water from Getting into Audi A6 - Youtube.com