Audi A6 C6: How to Repair and Replace Electronic Parking Brake
The newest cars use electronic, and sometime automatic computer controlled, parking brakes which use a motor and wires instead of a cable to apply the brake. But even these can develop issue, or fail all together.
This article applies to the Audi A6 C6 (2011-2016).
With a modern electronic parking brake like the one in the A6 C6, you simply push a button and a motor activates the pad against the brake disc. The most common culprits if it fails are the motor itself, which can die completely or act erratically when it begins to go bad, and the wiring harnesses. Keep reading and we'll walk you through the process of replacing each.

Materials Needed
- Multimeter
- Jack and jack stands
- Replacement wiring harnesses
- Replacement parking brake calipers
- T25 and T30 Torx bit and driver
- Pry bar or flat head screwdriver
- 10mm socket and ratchet
- 6mm bit and driver
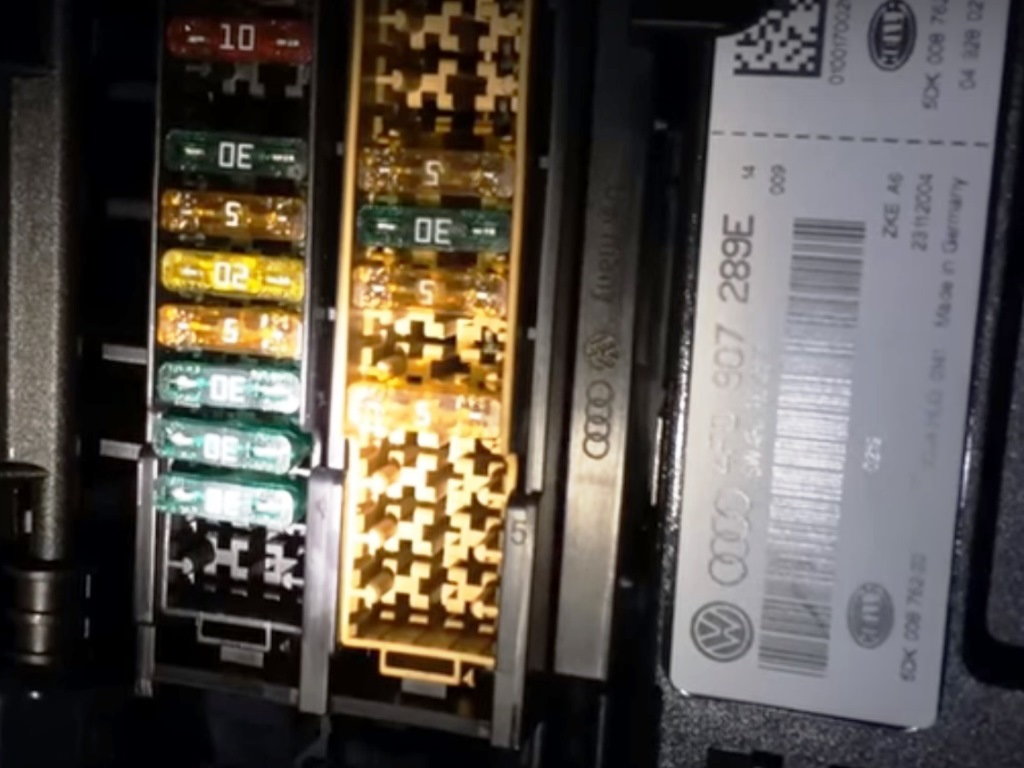
Step 1 – Check your fuses
Before you begin tearing things apart and buying expensive replacement parts, check your fuses (#3 and #4) for the parking brake module in your fuse panel. Use a multimeter to ensure you are getting power on both sides of each. Blown fuses are an easy fix that might save you a lot of labor and money in the process.
Step 2 – Replace the wiring harnesses
Corroded and damaged parking brake wiring harnesses are a common problem among C6 A6's. For this reason, a lot of people simply try to fix it by soldering or splicing new wires in. This method works if done properly, but in most cases the wiring isn't sealed properly and it will corrode again, leading to parking brake failure.
To begin, lift the rear of the car up and place it on jack stands. Remove the rear wheels and tires. Pull the harness clips off and push them through to release. Disconnect all the connectors from the harnesses. Disconnect the ABS sensor from the back of the brake assembly by pressing down and then pulling up to release the pin. Remove the T25 Torx screws from the inner fender liner and pull the liner out. Pry the grommet plug out.
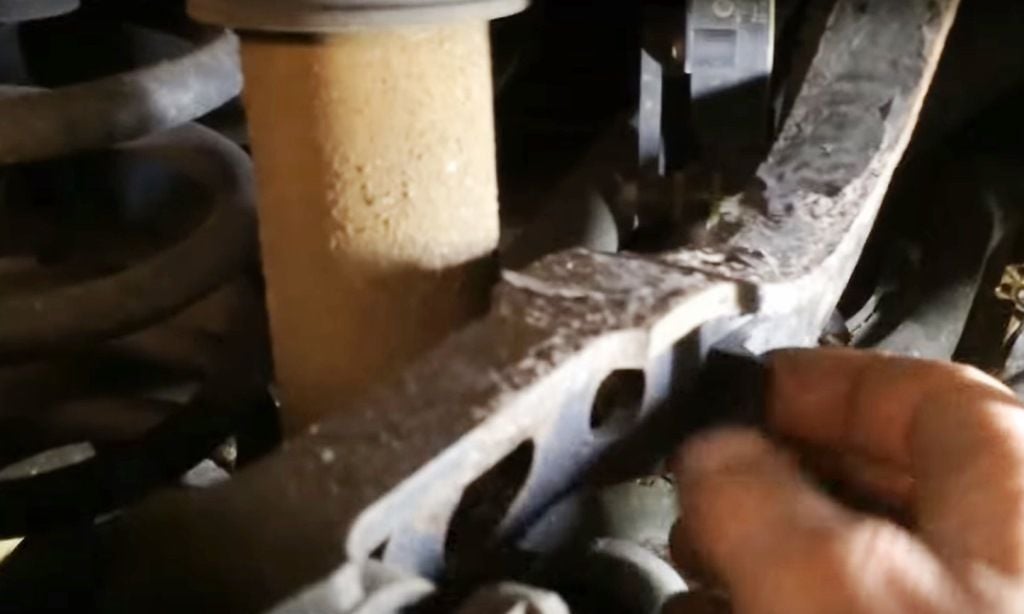
Figure 2. Release the clips from the harness. 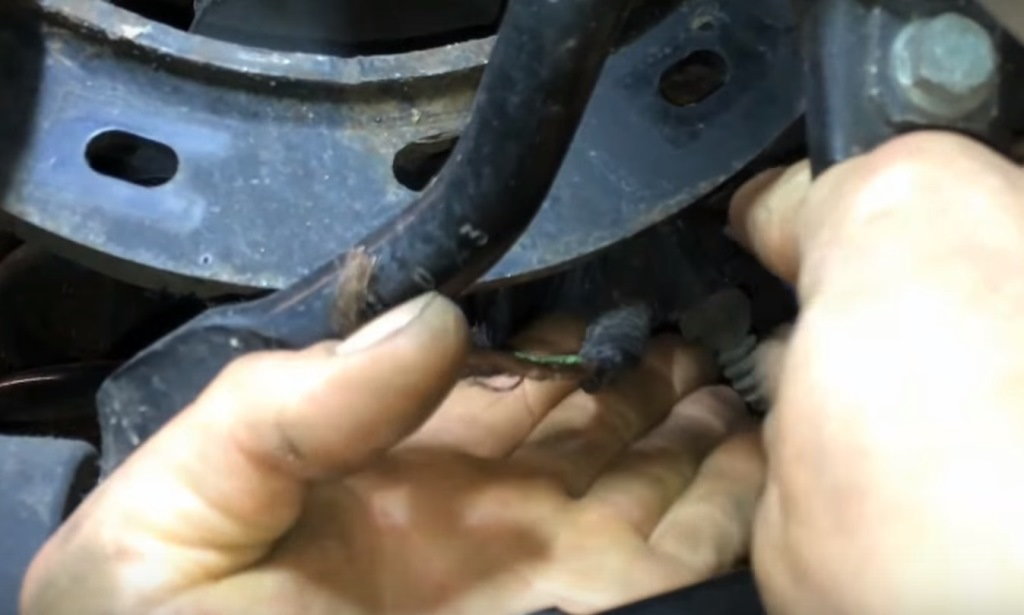
Figure 3. Disconnect all the connectors. 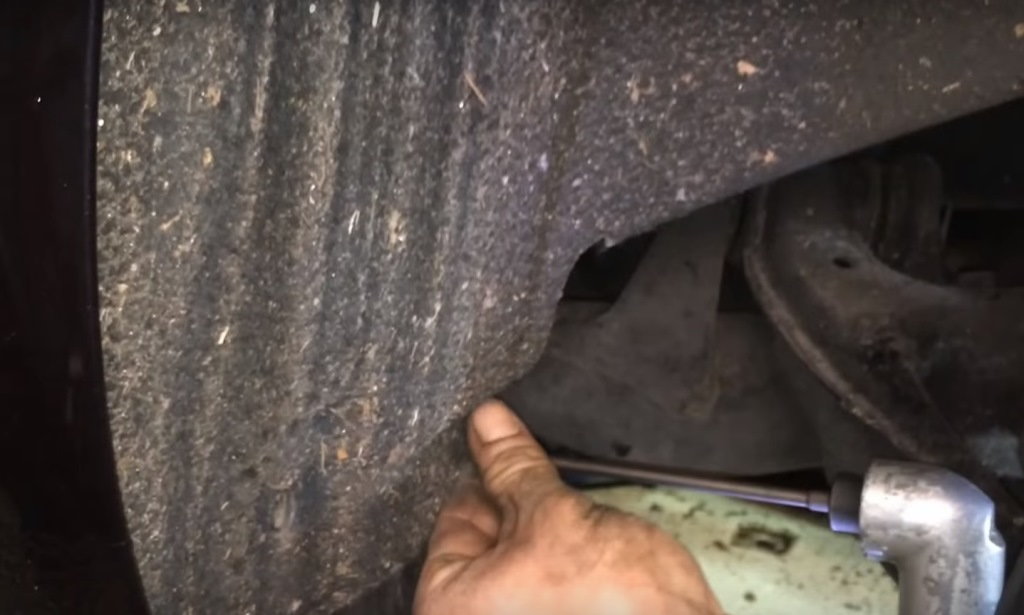
Figure 4. Remove the screws from the fender liner and pull it out. 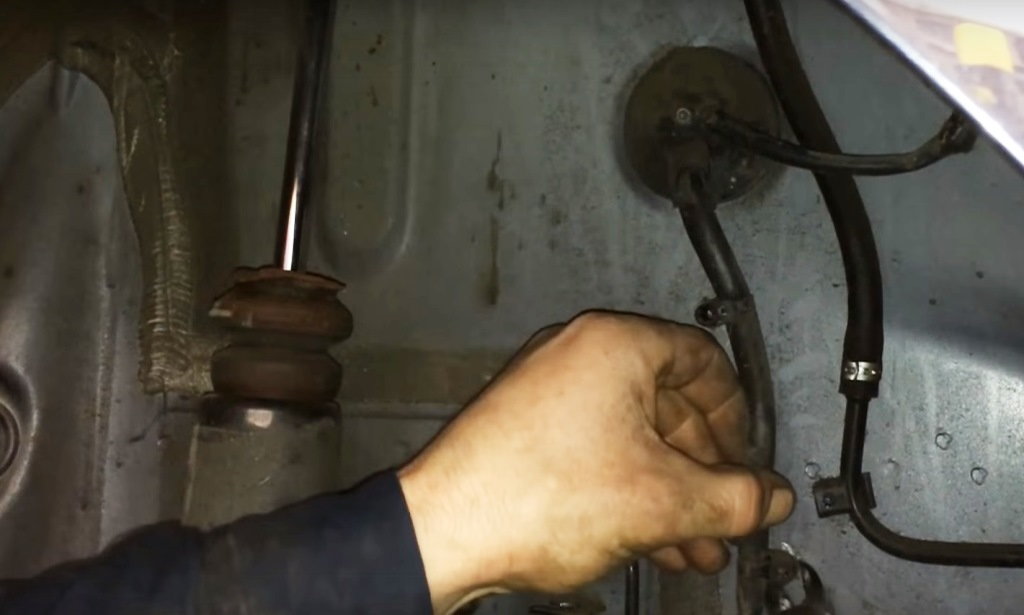
Figure 5. Pull the wiring from the connectors and remove the grommet.
Open the trunk and remove the left-hand side panel by pulling out the plastic clip in the upper front corner and removing the luggage anchors. Pry off the plastic trim piece along the bottom of the trunk opening and remove the two 10mm nuts on the bottom. Now you will able to access the harness. Cut open the loom and separate the wiring for the parking brake harness, then cut and solder/splice them into the new harness. Feed the new harness in place and secure it with the clips. Plug the connectors in and reconnect the ABS sensor. Reinstall the grommet, fender liner, and screws.
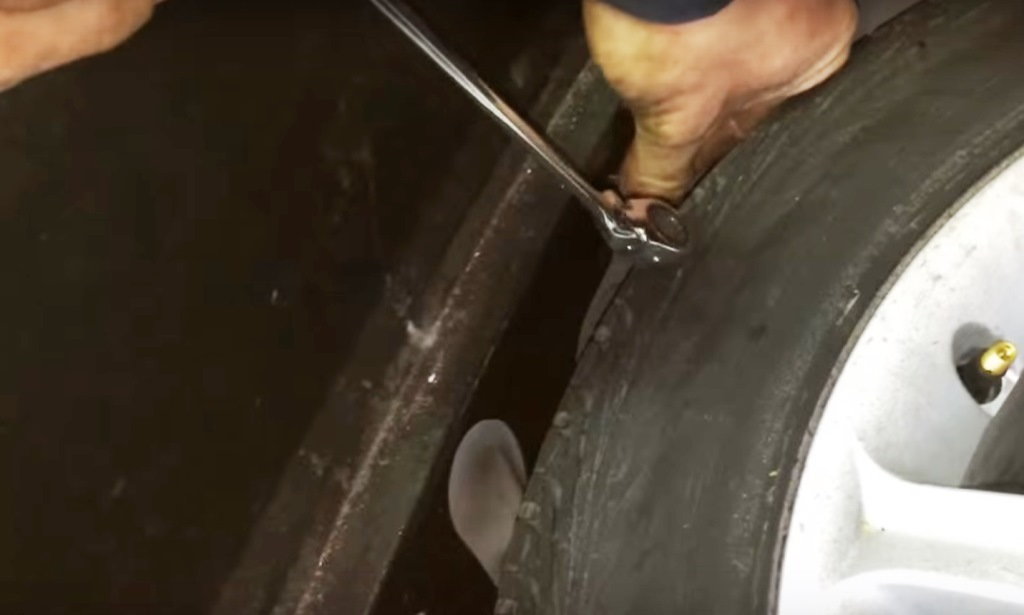
Figure 6. Remove the trunk liner trim and side panel to access the wiring. 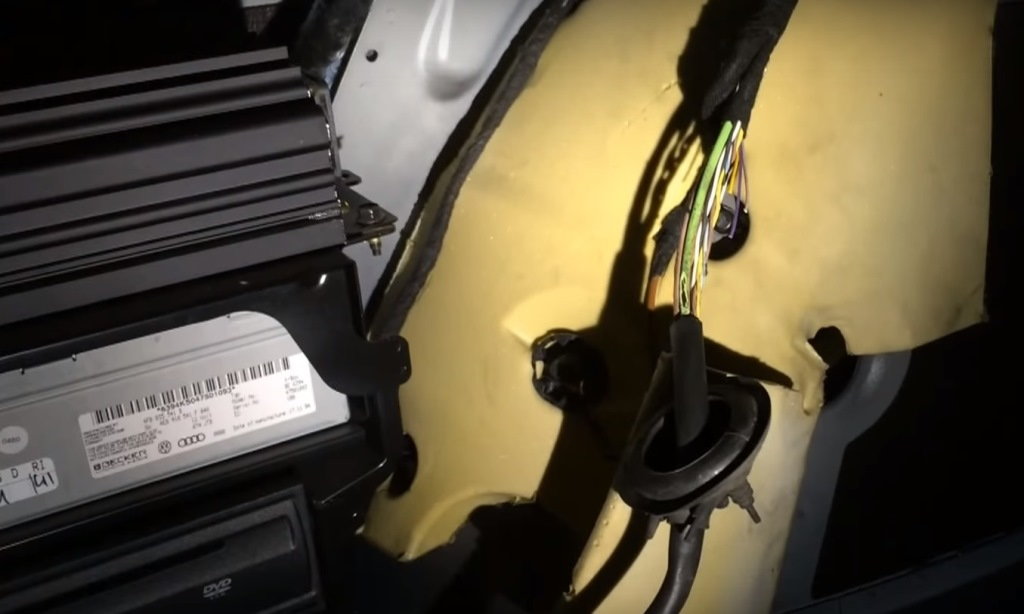
Figure 7. Splice the car's wiring to the new harness.
Pro Tip
If your wiring isn't corroded but just pinched, cut or broken, you might be able to simply splice the wires back together instead of replacing the entire harness.
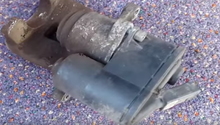
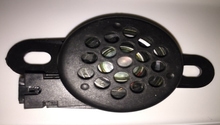
Step 3 – Replace the parking brake motor
The motor is connected to the back of the brake caliper, one on each rear wheel. To replace it, remove the two T30 Torx screws holding it in place, then disconnect the harness. Use a 6mm bit to turn the caliper and retract the piston fully. Set the new motor in place and replace the T30 screws, then reconnect the harness.
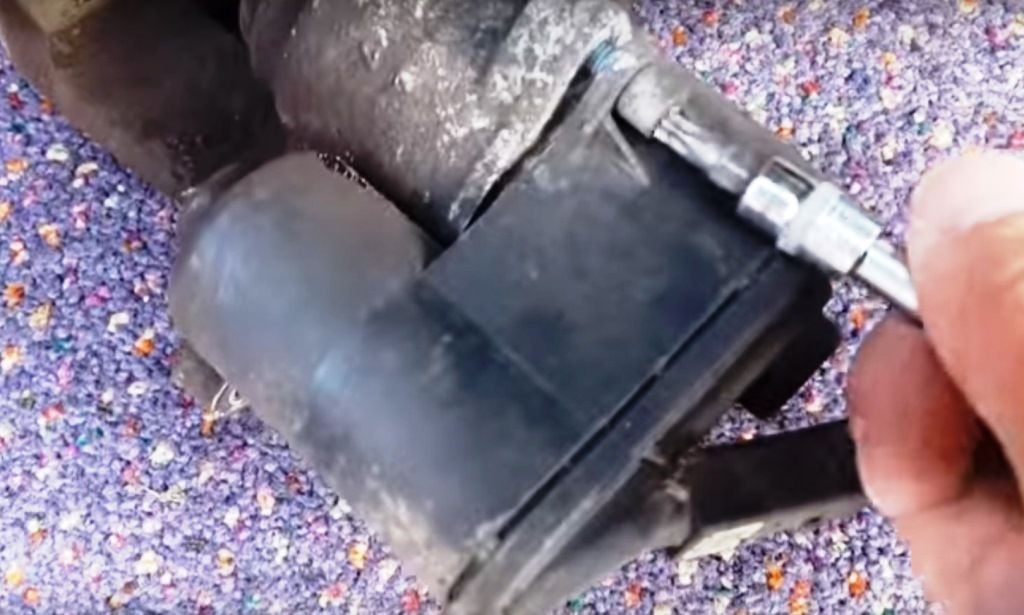
Figure 8. The motor is held on with two Torx screws. 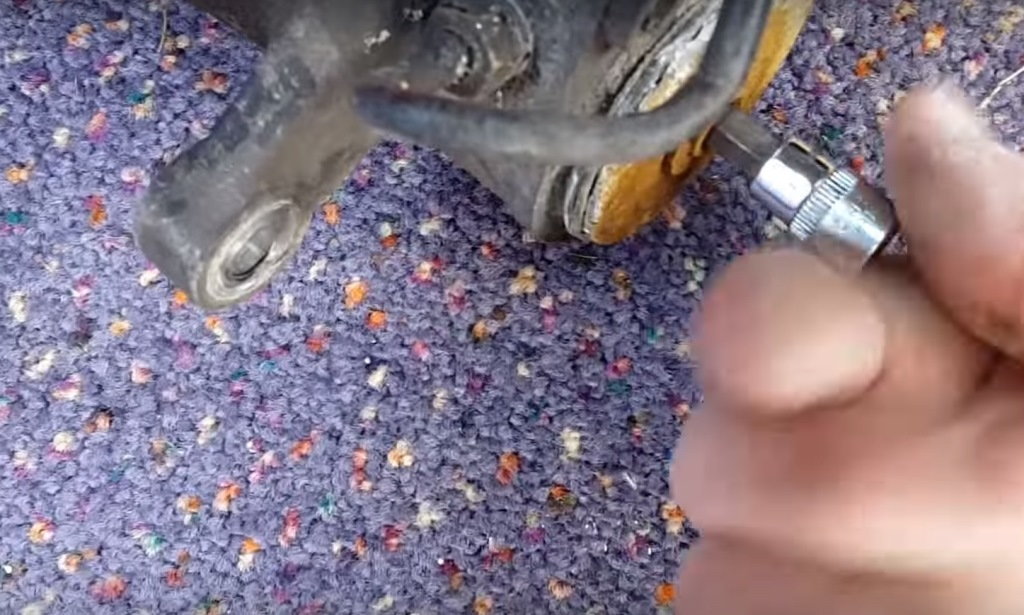
Figure 9. Retract the caliper before installing the new motor.
Featured Videos: Electronic Parking Brake Removal and Replacement
-
Rear Electronic Caliper Harness Replacement
-
Electronic Parking Brake Caliper Removal
Related Discussions
- Electronic Parking Brake Malfunction - AudiWorld
- How to Replace Parking Brake Wiring Harnesses? - AudiWorld