Audi A6 C6: How to Replace Upper Timing Chain Tensioners
A common issue among the Audi brand is the failure of the upper timing chain tensioner, learn how to fix it yourself.
This article applies to the Audi A6 C6 (2005-2011).
If you are hearing a loud clicking noise from the upper rear portion of your engine and it is driving you nuts, it is most likely the upper timing chain. This was a common problem in these vehicles, and the fix is pretty straightforward. Replacing the upper timing chain tensioner is not a task for the complete novice. Although it is fairly straightforward, there are a lot of things to remove and you'll be getting into the guts of your motor where you can do a lot of damage if you aren't careful. You will need a couple of specialized tools that are relatively inexpensive or even possibly borrowed (or rented) from your local auto parts store. If you would rather not tackle this job yourself, please find a reputable pro who is very familiar with these cars as well as this specific problem. You spend a lot for this car, don't skimp now on the quality of service that you need. That being said, you will be spending thousands for a professional to do what you can do on your own and save yourself a staggering amount of money. So if you are ready to take the plunge into this DIY, read on and get down to it.

Materials Needed
- New timing chain tensioner
- New valve cover and camshaft cover gaskets
- RTV sealant
- Crankshaft turning socket, 12 point cam adjuster tool, camshaft lockout tool
- Torx bit driver, short and flat driver, T30 bit
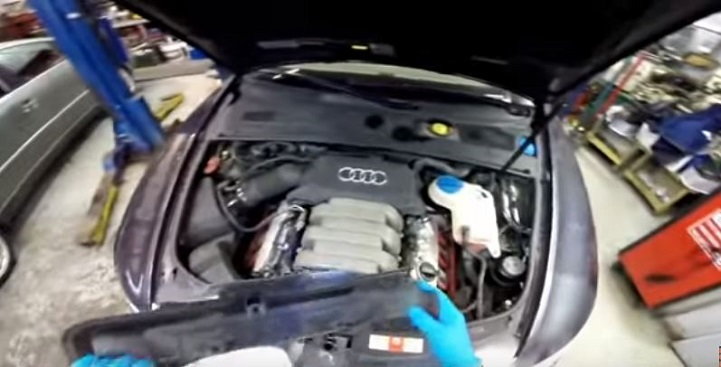
Step 1 – Pop hood and remove engine covers
Lift the hood and locate the front and rear engine covers. These pop off without any tools. Set them aside.
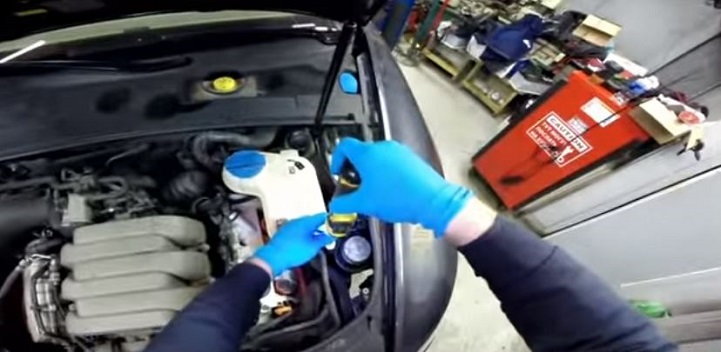
Step 2 – Disconnect the coolant reservoir
The coolant reservoir does not need to be removed completely; however, it does need to be unseated and can be set to the side of the engine bay to stay out of your way. There is only one screw that needs removed in order to swing the reservoir up and out of position to get out of your way.
Step 3 – Remove air box and plenum
You'll have to get the air box and intake tubes, as well as filter, out of your way, but this is pretty easy work with just a screwdriver. There are a couple of screws to remove from the front, clips on the air cleaner cover and hose brackets on the intake that need to come off in order to remove these parts.
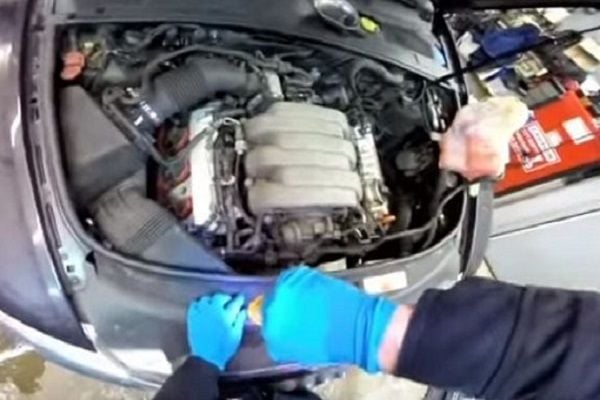
Figure 3. Remove the two screws from the front of the air box. 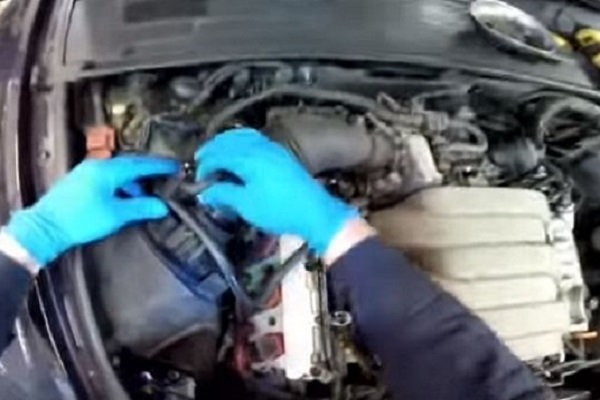
Figure 4. Disconnect electrical connections and smaller hoses. 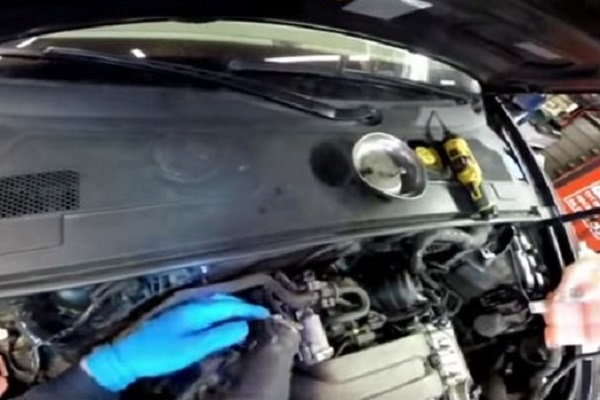
Figure 5. Disconnect intake at hose clamps and vacuum lines. 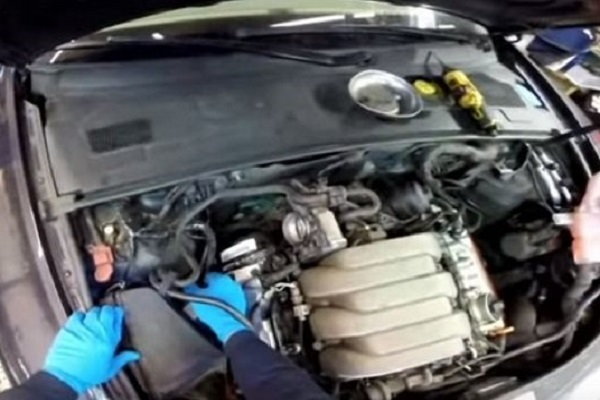
Figure 6. Remove the air cleaner cover.
Step 4 – Remove coil packs
Removing the coil packs is a two-step process, but it is really easy. You will need to first pop off the electrical connections to the coil packs themselves. These do not need to be completely removed from the engine bay, just simply popped off the coil packs (all four connectors are in one unit) and then tuck those connectors out of the way. The coil packs themselves simply pull right out of their bung holes. Pop them up and out, then set them aside.
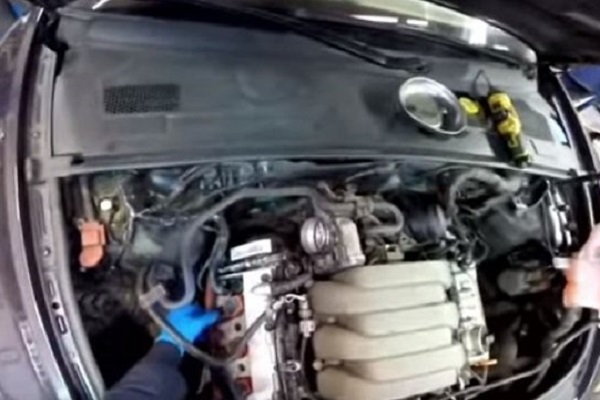
Figure 7. Disconnect the electrical connectors on the coil packs. 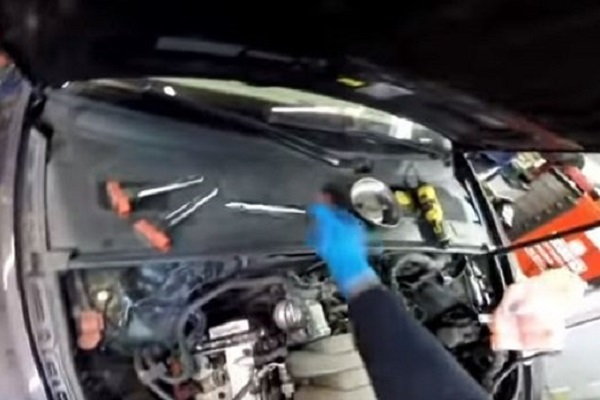
Figure 8. Pull the coil packs and set them aside.
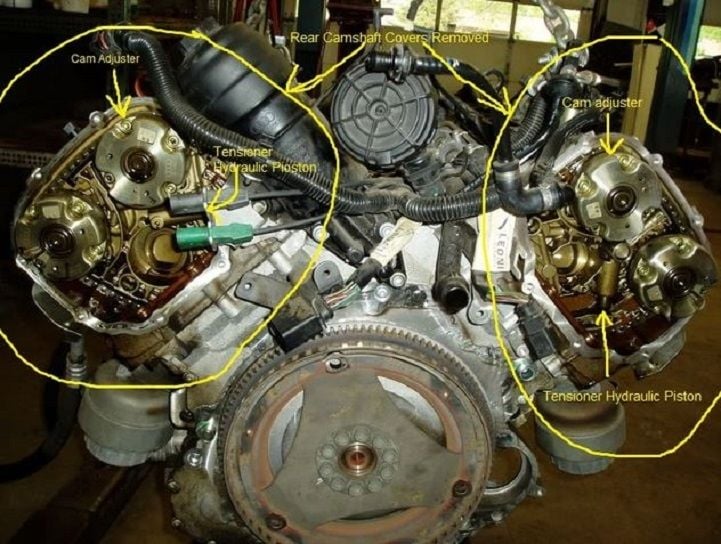
Step 5 – Remove valve and timing chain covers
Use a T30 Torx bit and driver to remove the right and left valve cover bolts. Set the covers aside. After the valve covers are off, use the same T30 Torx bit to remove the rear timing chain cover bolts. These bolts can strip relatively easily, so take care when removing them. You have limited space to work in for these covers, so a wrench or small ratchet will be needed with the Torx bit to remove these covers. After removing all covers, check their mount points and make sure you scrape off all the gasket residue, as you'll be replacing with new gaskets.

Figure 9. Remove the left and right valve covers, and set aside. You'll need to make sure you get off all the gasket residue as well. 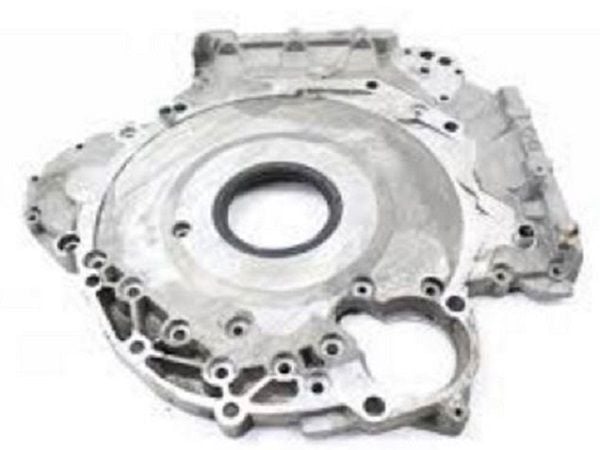
Figure 10. Next to come off is the rear timing chain cover.
Step 6 – Remove cam adjusters
This step in the process requires the use of several specialty tools. You will need:
- T40058 crankshaft tool with 1/2 inch drive ratchet
- T40070 cylinder locking tool
- T10035 12 point socket
You will be aligning the camshafts on each side in order to lock out the engine so you can get the adjusters off. This is some precision work here—you can easily do some damage if you are careless.
- Put the crankshaft socket (T40058) onto the end of the crankshaft and use the 1/2 inch drive (you may want an extended handle) to turn the engine clockwise. While you are turning the engine clockwise, you'll be watching the tops of the camshaft on either side, looking for the threaded holes for the lockout tool.
- Once you see the threaded holes lined up, top dead center, on top of the camshafts, stop turning.
- Place the lockout tool and bolts into position on the threaded holes on top of the camshafts. You may need to wiggle the crankshaft back and forth a little until these are lined up exactly. It's very easy work to break one of these special bolts right in the hole, and that would be very bad.
- When you lock out the cams, you can then remove the camshaft adjusters on the ends of each cam (right side bank) with the T10035 special tool.
- Wiggle the cam adjusters until you can pull them straight off the ends of the cams. Make note of the intake versus the exhaust. Just move the chain out of the way; the engine is locked, so the position isn't important right now.
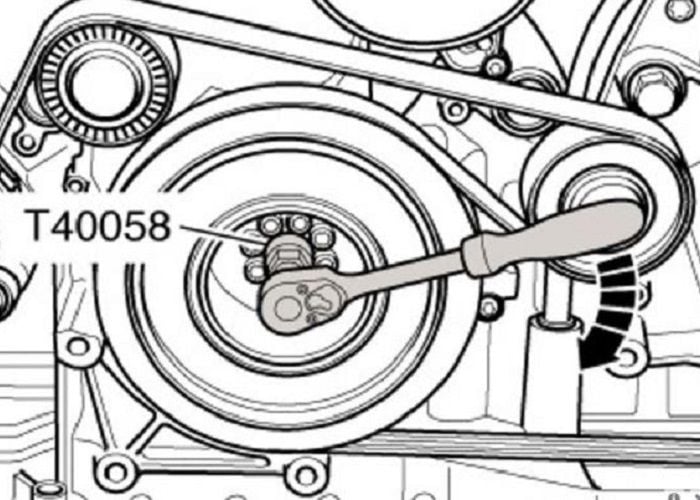
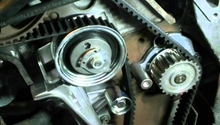
Figure 11. Use the special tool to turn the crankshaft clockwise to get the cams in the correct position. 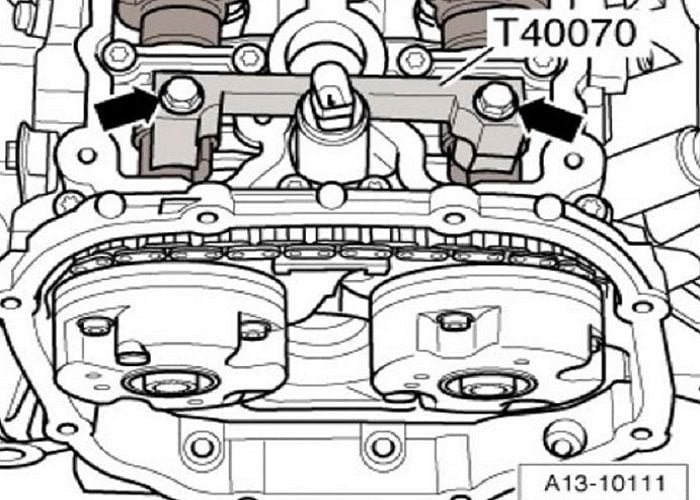
Figure 12. Once you have turned the crankshaft enough to get the cams perfectly aligned, install the camshaft lockout tool. 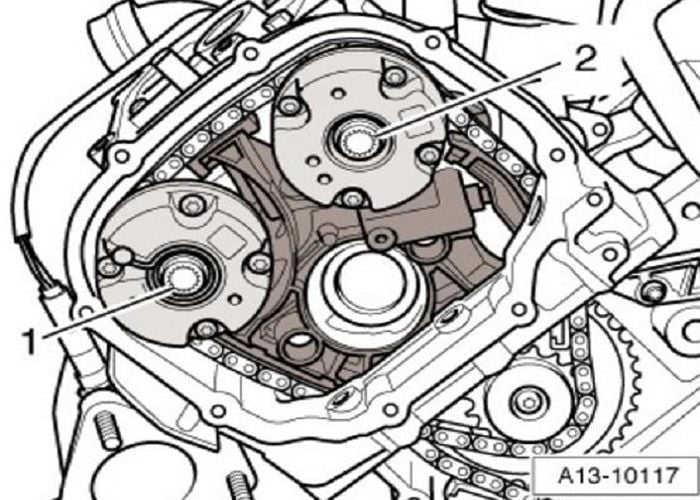
Figure 13. With the cams locked out, use the special 12 point socket to remove the bolts and pull the adjusters.
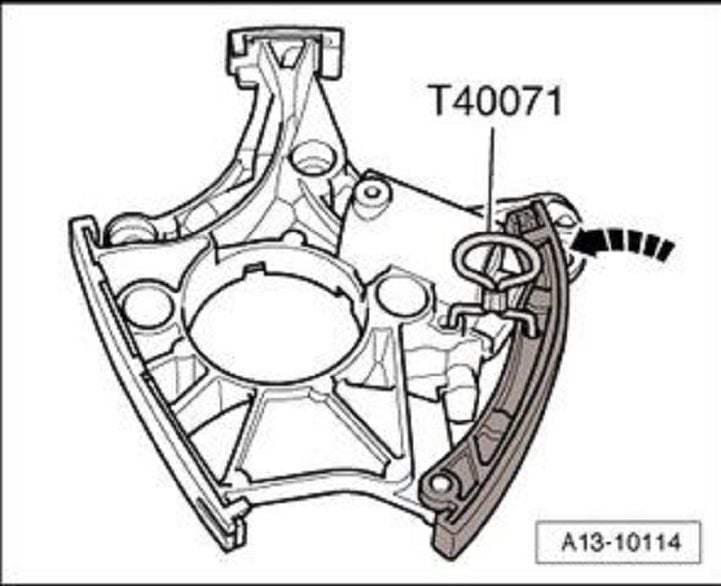
Step 7 – Install the new chain tensioner
Grab the new chain tensioner and check out the mounting holes. These should line up exactly to the existing. Make sure they do before proceeding. Take the necessary precautions and extra care when removing the mounting bolts as well as when you reinstall them. If you drop them, they will likely fall below the chain and roll into the back of the engine, which would be very bad indeed.
- Carefully remove all of the T30 Torx bit mounting bolts on the old tensioner.
- Wiggle the tensioner around a bit as you are pulling it off the engine.
- There is a hydraulic piston in the tensioner that may drop out when you remove it, so be careful that this doesn't drop down into the engine as well.
- Carefully get the new tensioner into position, working it around the chain.
- There is a retaining pin on your new tensioner. You cannot touch this pin yet.
- Reinstall all of the tensioner mounting bolts and tighten them. Be careful that you are all lined up when doing this and don't strip or cross thread these bolts.
Step 8 – Reinstall the cam adjusters (now you can pull the pin)
- Install the exhaust cam adjuster before the intake (do not install the bolts yet) and move the chain around the adjusters carefully while doing this work. The adjusters need not go back on in any certain position. You just need to make sure you are putting the intake on the intake and exhaust on the exhaust cam; although, it would be difficult to screw that up.
- Once the adjusters are back on and the chain is back in place, pull the pin. This will pop that hydraulic piston out in the tensioner and it will push a plate until there is tension on that chain.
- Now install those adjuster bolts, first torque each one to 30 foot-pounds, then repeat and torque to 60 foot-pounds, then repeat again but only tighten about a 1/4 turn more. Do this for both the left and the right cylinder banks.
Step 9 – Reinstall the covers and put car back together
- Before installing the rear camshaft covers, make sure that the old gasket residue is completely removed and the mounting surfaces are nice and clean.
- Reinstall new gaskets, RTV sealant, or both. Just make sure to follow the cure time instructions on the bottle before riding off into the sunset.
- Install the camshaft covers.
- Do this same process for the valve covers.
- Remove the lockout tool and make sure the crankshaft turning socket is removed as well.
- Reinstall the coil packs and their electrical connectors.
- Reinstall the air intake, plenum, any vacuum lines you may have disconnected, air box cover and cleaner.
- Reinstall the coolant reservoir and replace the engine covers.
- Once the RTV cure time has passed, start her up and be thrilled that your clicking noise is gone.
Featured Video: Audi 3.2 FSI Upper Timing Chain Tensioner DIY
Related Discussions
- Upper Timing Chain Tensioner Replacement - AudiWorld
- Timing Belt or Chains? - AudiWorld