Audi: How to Install Remote Start
The remote start feature is a great addition to make to your Audi vehicle. Read on to learn how you can do it yourself.
This article applies to the Audi A3, A4 B7/B8, A6 C5/C6, Q5 and Q7.
Adding a remote start to your Audi is a terrific, not to mention convenient, upgrade to make. Whether it's hot or cold, a remote start also allows you to set your car's cabin to the ideal setting prior to getting in. Adding the system isn't too difficult – you can do it yourself, saving a trip to the auto body shop and some money too.

Materials Needed
- Remote start kit
- 8mm socket wrench
- Phillips head screwdriver
- Flat head screwdriver
- Wire strippers
- Wire cutters
- Electrical tape
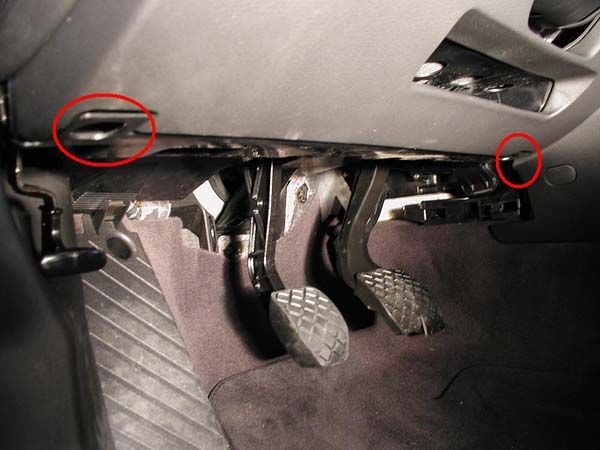
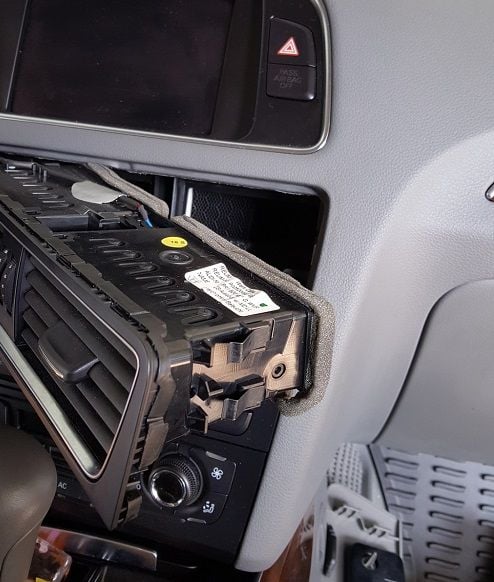
Step 1 – Remove panel and bracket under steering wheel
This step is fairly straightforward. Get under the wheel and remove the protective panel as well as the bracket in order to access the necessary wiring. Depending on your Audi model, there may be various bolts you need to loosen to remove the panel; it's likely an 8mm socket wrench is required.
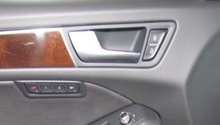
Step 2 – Remove the vents
Wedge a screwdriver down the side of the vents to catch its side, and pull the vent out. Push it off to the side in order to access the wire that is glued to the side of it.
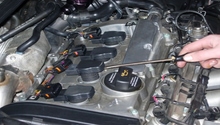
Step 3 – Remove the key cover
Pull the ignition key cover off and remove the top 8mm bolt. Push the ignition backwards and then and pull it out from underneath the dash.
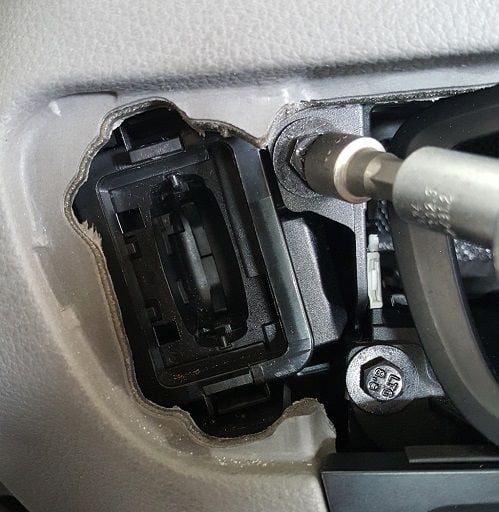
Figure 3. Undo the ignition bolt. 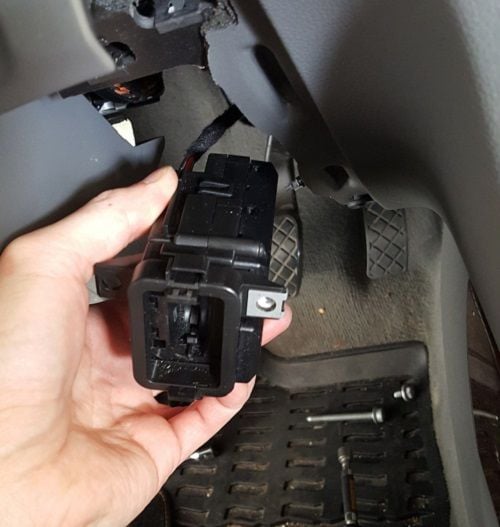
Figure 4. Push the ignition out.
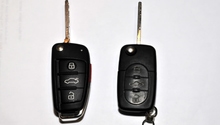
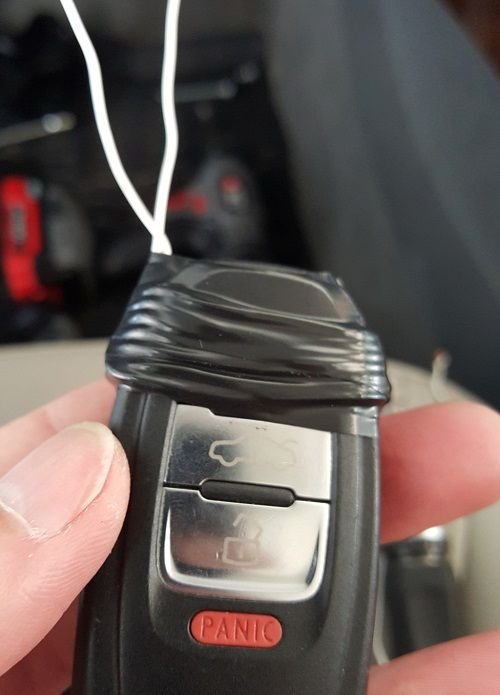
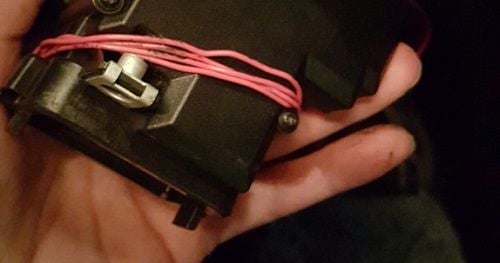
Step 4 – Wrap the fob and ignition
It's recommended to use 22 gauge solid copper core (provides best signal). Wrap the ends of the ignition up around the fob unit.
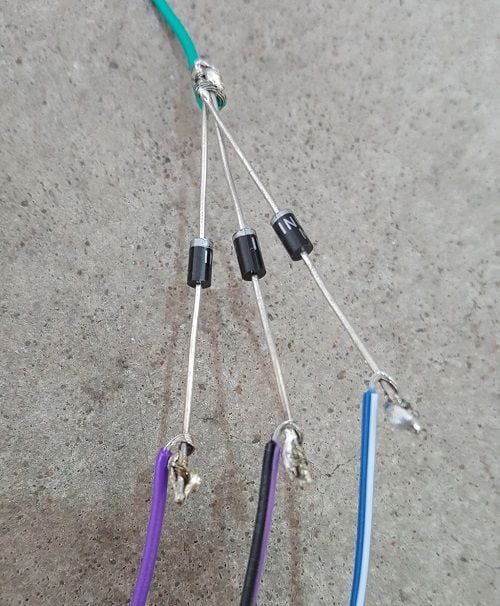
Step 5 – Wire everything up
Using the wiring diagram that comes with your remote start kit, wire the system into your vehicle. While each system differs, for the most part you are going to apply three diodes to isolate the three ignition wires, and tap it in at the ignition harness.
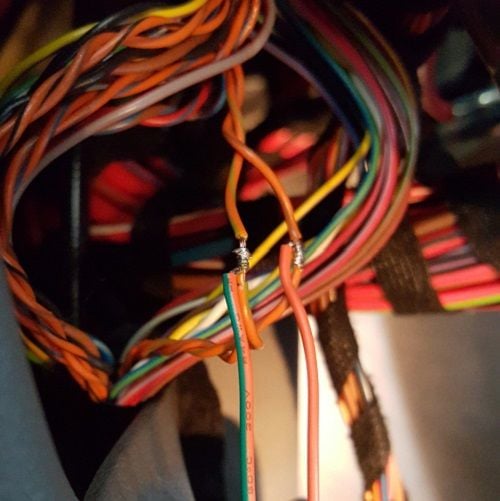
The two CAN wires are those nearest the door – there should be three or four pairs of twisted sets. Look for the orange/green, orange/brown twisted set, and tap into it.
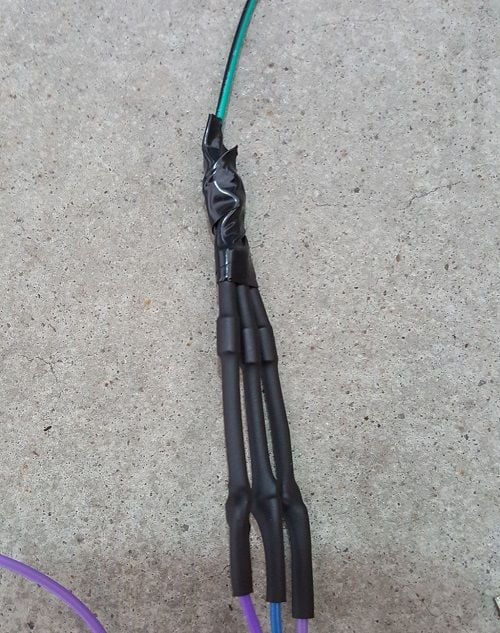
When complete, wire up the relay using type 2. Cut the gray/yellow wire and tap in the three wires from the three diodes.
Step 6 – Put everything back
Bring the ignition back into its housing chamber and secure with bolt. Replace the vents and snap into place. Replace the bracket and protective panel under steering wheel. Test the system out from varying distances.

Related Discussions
- DIY Remote Start Q5 - Audiworld.com
- Remote Starter Installed - Audiworld.com