Audi: How to Replace Interior Lights with LEDs
A simple swap of factory interior lights with LEDs can transform your Audi's interior. This article will show you how to replace each of the interior lights.
This article applies to the Audi Q5/Q7, A3, A4 B7, A4 B8, A6 C5, A6 C6.
Swapping out the factory interior lights with LEDs is one of the easiest modifications you can make to your Audi. You can get brighter lights or even colored lights if you're looking for something like that. The swap is pretty straightforward, and the instructions below will explain how each light can be swapped.

Materials Needed
- Type 194 festoon base LED bulbs for the dome lights and vanity mirror lights
- Type 194 wedge base LED bulbs for the glove box light, puddle/door lights, trunk light, and map lights
- Trim tool or soft pry tool
- T21 Torx screwdriver
If you're still not sure what type of bulb you need, there are plenty of full interior lighting kits available online.
Step 1 – Replace front dome lights
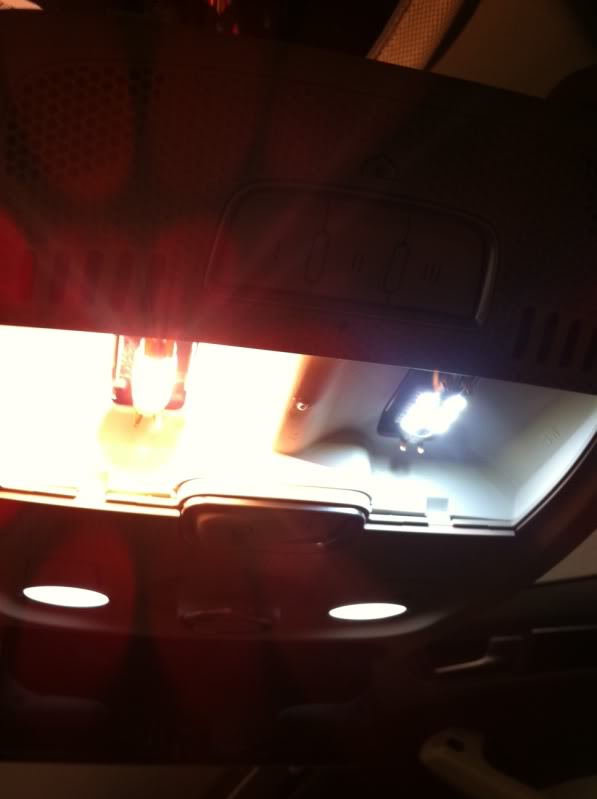
Take your prying tool to the cover of the front dome lights. The tabs for the light are all along the back, so you'll have to pry it forward and from the sides. Remove the cover and you'll be able to see the two front dome light bulbs. Pull off the factory bulb and insert your replacement festoon base LED bulbs. Line up the tabs on the dome light cover and snap it back on.
Pro Tip
It's a good idea to test your bulbs immediately after plugging them in. LED bulbs are sensitive to polarity, so if they don't come on at first you may need to turn the bulb around. If that doesn't help, it's also possible that the contacts for the bulb were moved and need to be bent back into shape.
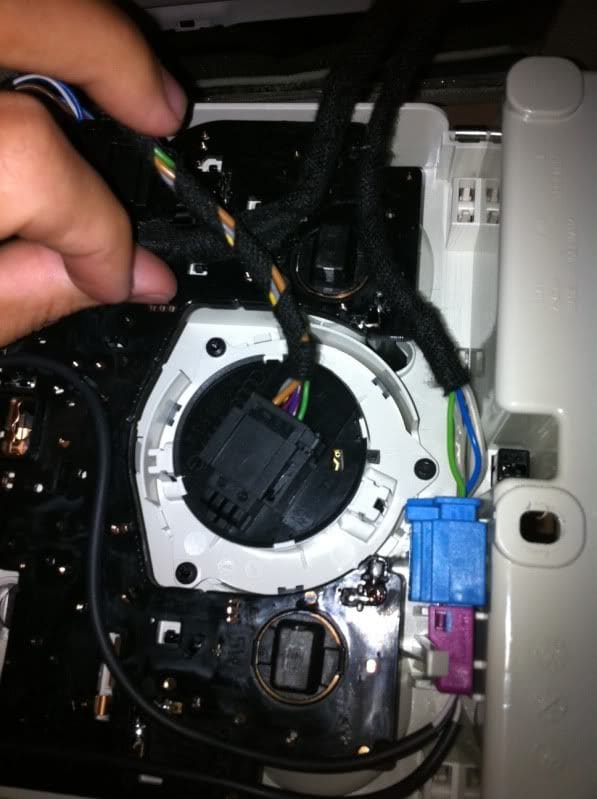
Step 2 – Replace front map lights
Pop open the sunglasses tray. On the inside you should see a single Torx screw. Remove the screw and pull down the entire front dome and map light assembly. On the back of the assembly you'll see the two dome lights you just replaced. They can only be replaced from the front of the assembly.
The map lights are hidden by a pair of black sockets. Each socket should have a knob. Twist the knob counterclockwise and pull the bulb socket from the assembly. Pull the factory bulb out and replace it with a wedge base LED bulb. Repeat this for the other bulb. Return the sockets to the assembly and twist them clockwise. Return the assembly to the ceiling and tighten down the Torx screw.
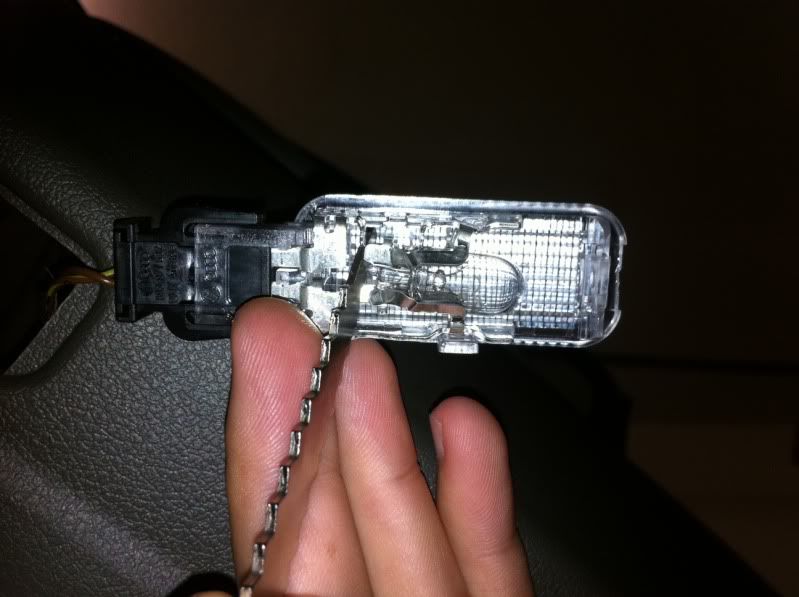
Step 3 – Replace door/puddle, glove box and trunk lights
All of these lights are pretty much the same. Pry the cover out with your pry tool. Each light will also have a back cover you need to pry off. Pull out the factory bulb and replace it with a wedge base LED bulb. Be careful with these bulbs because they turn on when you open the doors associated with them, so they might be hot when you remove them.
Step 4 – Replace vanity mirror light
Changing this light is similar to the door lights. Pry out the vanity mirror light housing with your pry tool. Remove the back cover. Pull out the factory bulb and replace it with a festoon base LED bulb. Replace back cover and reinstall light housing.

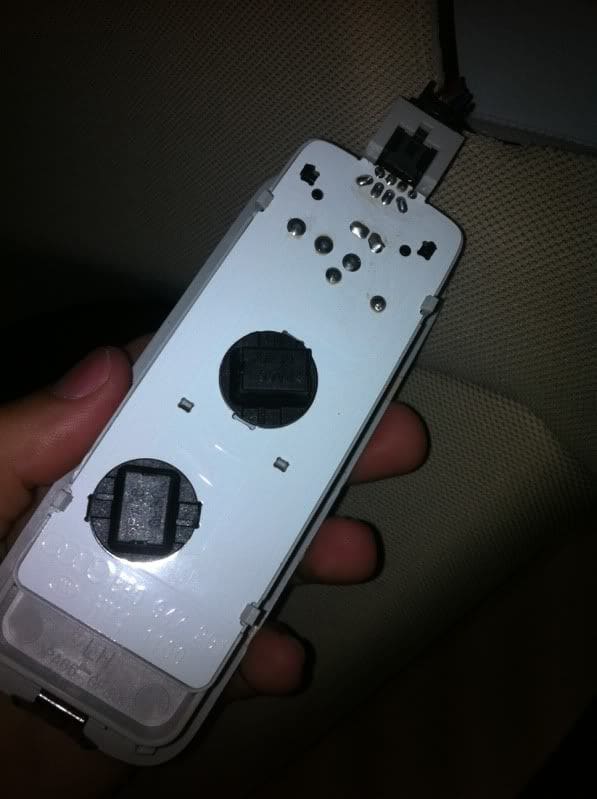
Step 5 – Replace rear map lights
Pry out the rear map light housing starting from the front of the housing. Pull it down and, just like the front map lights, you should see a pair of black sockets with knobs. Twist the knobs counter clockwise and pull out the bulbs. Replace the factory bulbs with wedge base LED bulbs. Then, return the socket the map light housing, twist the sockets clockwise, and return the housing to the ceiling of the car.
Featured Video: Audi B8 Interior LED Kit Installation
Related Discussions
- Interior LED swap DIY with Pics - AudiWorld.com
- Dome light (how to remove) - AudiWorld.com