Audi Q5: How to Replace Wheel Hub and Bearings
After enough miles your wheel bearings will probably have worn out, and they can be expensive to fix at a shop. Learn how to do the job yourself with this article.
This article applies to the Audi Q5 (2009-present).
With all the miles we put on our cars, it can be expected that moving parts will eventually wear out and need replacing. While replacing tires, brakes and oil is seen as a given, a great many drivers don't think about a component like the wheel bearing. Your wheel bearings are moving any time the car is in motion, and after enough miles, they will need to be replaced. Replacing a wheel bearing can be expensive at a dealership or professional shop, but in this article you will learn how to replace the hub and bearing yourself, and avoid a substantial hit to the wallet.

Materials Needed
- Metric sockets - 10mm, 17mm, and 19mm
- Torx - T27, T30, and T60
- Impact gun - 19mm Hex driver
- 10mm Triple-square socket
- Mallet
- Wire hanger, bungee cord or paracord
Step 1 – Loosen the center hub bolt and lift the car
Before lifting the car off the ground you will need to loosen the center hub bolt. Remove the center caps from your wheel and use the 19mm driver to loosen the bolt. It is important that you loosen the bolt, but do not remove it. Once you have loosened the hub bolt, lift the car and remove the wheel.
Pro Tip
Your car will have marked jack points as shown in the image above. Only ever lift the car by these jack points, otherwise your lift may be unstable and dangerous.
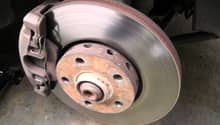
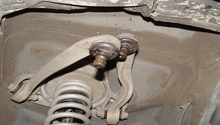
Step 2 – Remove the brake caliper, rotor, and shield
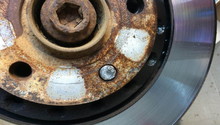
Now that you have the car in the air and the wheel off, it's time to remove the brake, starting with the caliper. Locate the carrier bracket and use the 19mm socket to remove the bolts on the back side of their housing. Make sure that when the bolts are removed that the caliper does not fall or hang by your brake lines. Use a wire hanger, paracord, or bungee cable to hang the caliper out of the way without tension on the brake lines.
Once the caliper is removed, use the T27 Torx to remove the retaining screw from the rotor. If the rotor does not come loose from the hub, use the mallet to tap it loose. Place something soft under the rotor since it will fall from the hub suddenly, and hitting the concrete floor could damage the rotor. Finally, use the T30 Torx to remove the dust shield.
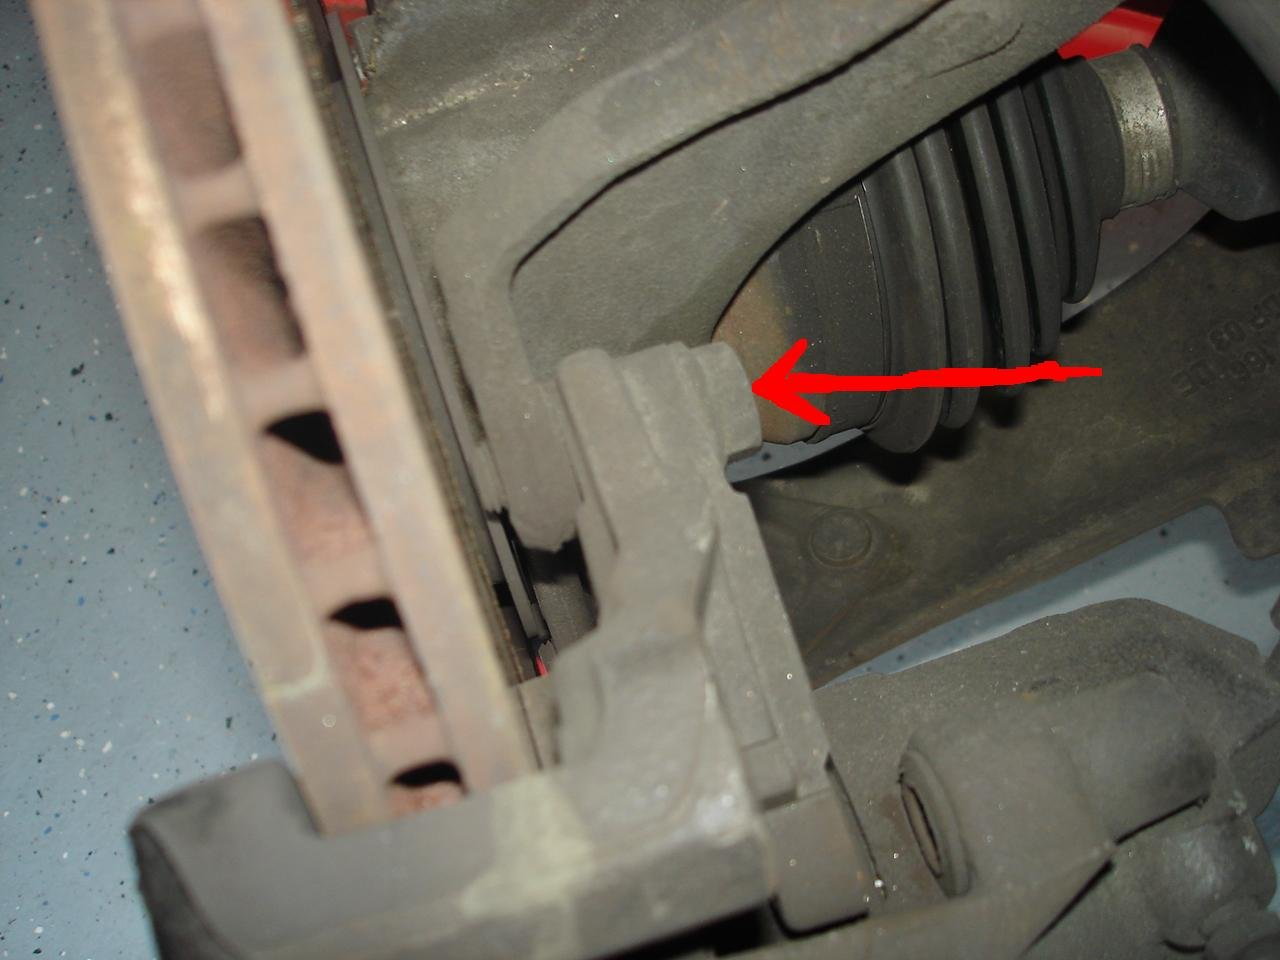
Step 3 – Remove the axle
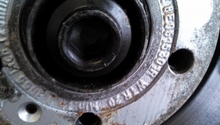
Remember that bolt you loosened before you lifted the car? It's time to remove that bolt now. You'll want to use the impact gun here to avoid having the axle just spin while you're trying to remove the bolt. Once that is done, use the 10mm Triple-square socket to remove the six bolts securing the axle to the differential output flange and then remove the axle.
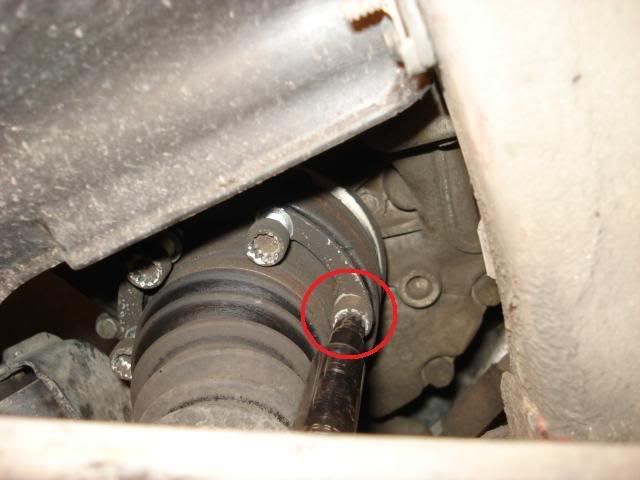
Pro Tip
Triple-square bolts are known for stripping out easily if the socket is not seated straight. Be extra careful when seating the socket to the bolt.
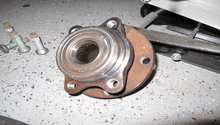
Step 4 – Remove the wheel bearing assembly
Now it is time to remove the wheel bearing assembly. You will find four bolts on the back side of the hub which need to be removed using your T60 Torx. Once the bolts are removed you may have to tap the assembly to get it loose.

Pro Tip
The four bolts you are removing may be 12mm Triple-square bolts. In the event that your T60 Torx does not work, use a 12mm Triple-square.
Step 5 – Install the new assembly
It is now time to install the new hub assembly. Bolt the assembly in first, following a "cross" pattern as you tighten the bolts. Do not use the bolts that you removed; instead, use the bolts that came with your hub kit.
After installing the hub, reattach the axle, tightening the six differential bolts in a star pattern. After this, reinstall the dust shield, brake rotor, and brake caliper.

Step 6 – Tighten the center axle bolt and reattach the wheels
Replace the center hub bolt that you removed earlier and torque the bolt to 147 ft-lbs. The axle will try to move when you apply torque to the bolt, so if you have someone helping you, have them stand on the brakes. Otherwise, do not torque this bolt until the car is touching the ground. Now reattach your wheel and torque the bolts to 100 ft-lbs. If you did not torque the center hub bolt down earlier, do it now.

With this you are done. The typical lifespan for a new hub assembly is about 100,000 miles, so enjoy the drive until the next maintenance project. This job could have cost you a lot more at a professional shop, but since you did it yourself, you can afford the gas for a road trip. You've definitely earned it!
Related Discussion
- Wheel Bearing Replacement DIY Instructions - Audiworld.com