|
|
Below are photos and instructions for a Do-It-Yourself install of Sirius Satellite Radio in a US-market RS6 sedan [C5]. Most applies to XM as well. I used the 8E0 035 593 Tools required: Important notes:Some people say this only takes 10-15 minutes - give yourself more time to find wires and not strip bolts, screws. Step 1: The Patient.Whatever... it never rains here, but as soon as I wash this car, it does. 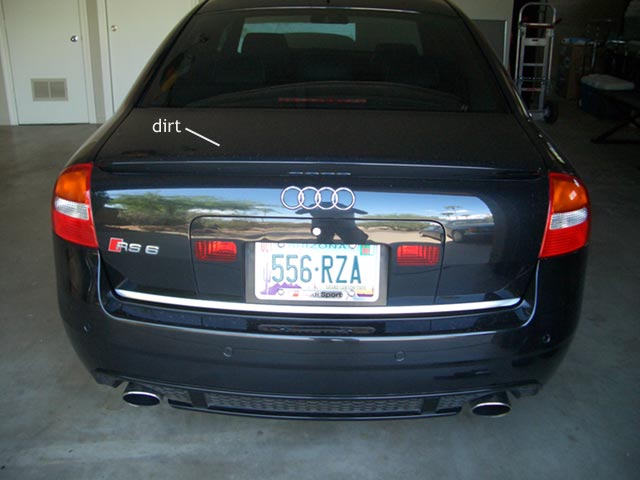 Step 2: All Takes Place on Driver's Side. In that panel is everything you need, except for a few tools. Thanks to AW's Rally for supplying me with my replacement grill at a reasonable cost :-)  Step 3: Behind the Jack Panel (jack, GPS antenna splitter, Audi Navi, sat module bracket, etc) Remove the jack, and begin to remove the Nav unit mount as detailed below.  Step 4: 4 x 8mm Bolts and 1 Phillips  Step 5: Get the Right Tools! Unless your brother is a TV repairman with some righteous tools, you will need long ratchets and screwdrivers, or extenders.  Step 6: Left Side Bolt & Hook Toward the back of the Nav mount is a bolt and hook, under some foam.  Step 7: The Problematic Phillips.I hate this screw. The angle created by the trunk liner makes it difficult to line up on this screw head that holds the Navi mount (and other stuff above and to the right) in place. Be careful not to strip it!  Step 8: Navi Mount Removed You don't need to unhook anything, just pull out the slack to get the Navi mount out of your way.  Step 9: Pre-wired Sat Harness. This seems to be the area where most people have trouble... finding the pre-wiring. It is there! Just follow every harness you can find to a logical termination. In my case, it was tucked behind the lower foam piece towards the front of the car. It was also wrapped in foam that you can discard.  Step 10: 4 Sat Audio Cables - 1 Bundle "4 Sat cables and a Microphone!"  Step 11: Ready to Close Up, But...Where to put it? Other have described some crazy crawl space right next to the sheet metal. Also note, once those little antenna hook-ups are in (brown and green guys with lavender sleeves)... good luck getting them out. (Make sure to note your ESN or module ID number - can also get from head unit display in car once turned on, when you call to activate.)  Step 12: Where It's Supposed to Go? I guess that works, but let's check it out.  Step 13: A Choice to Make - Use the Bracket or Use the Navi Mount  Step 14: The Alternative Solution - Velcro to Navi Mount for Easy Access  Step 15: Finito! (I hope...)  Step 16: Success! Last step is activating with your service provider (note that if you got from 3rd party, make sure they de-activated their account and retired the module)  Sirius http://www.sirius.com/ 1-888-539-SIRIUS (7474) XM http://www.xmradio.com/ 1-800-967-2346 That's it unless I missed anything. If anyone else does this and notices any notes or steps I glazed over, let me know and I'll happily add it to this tutorial. Good luck! |
|
Advertising |
Contact Us |
Cookie Policy |
Privacy Statement |
Terms of Service |
Do Not Sell My Personal Information
© 2020 MH Sub I, LLC dba Internet Brands |