|
|
So this small write-up is for any present or future B5 owners who are unfortunate enough to not have HID's to begin with. Before you start, all Canadian B5 S4's use DRL's. Disable this before you turn on your newly installed HID's for the first time. The write-up in the Tech Articles can be found here. First, remove headlight and all halogen bulbs and wires. 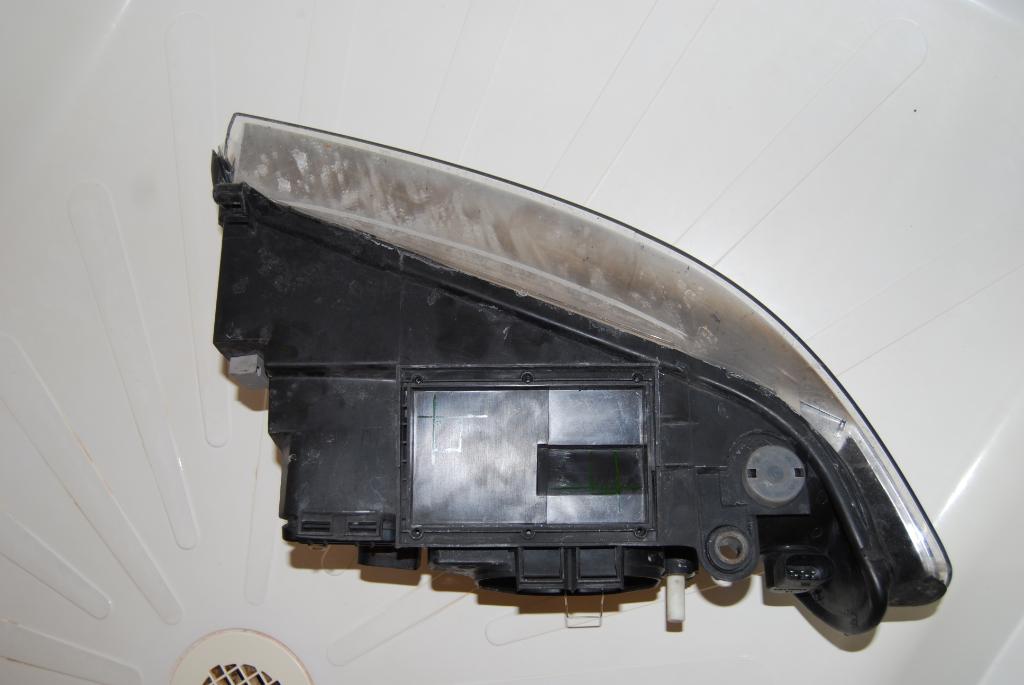 Then test fit the ballast into position and either measure or guesstimate (I measured with a small ruler)where you need to cut out the openings on the housing for the two connectors. 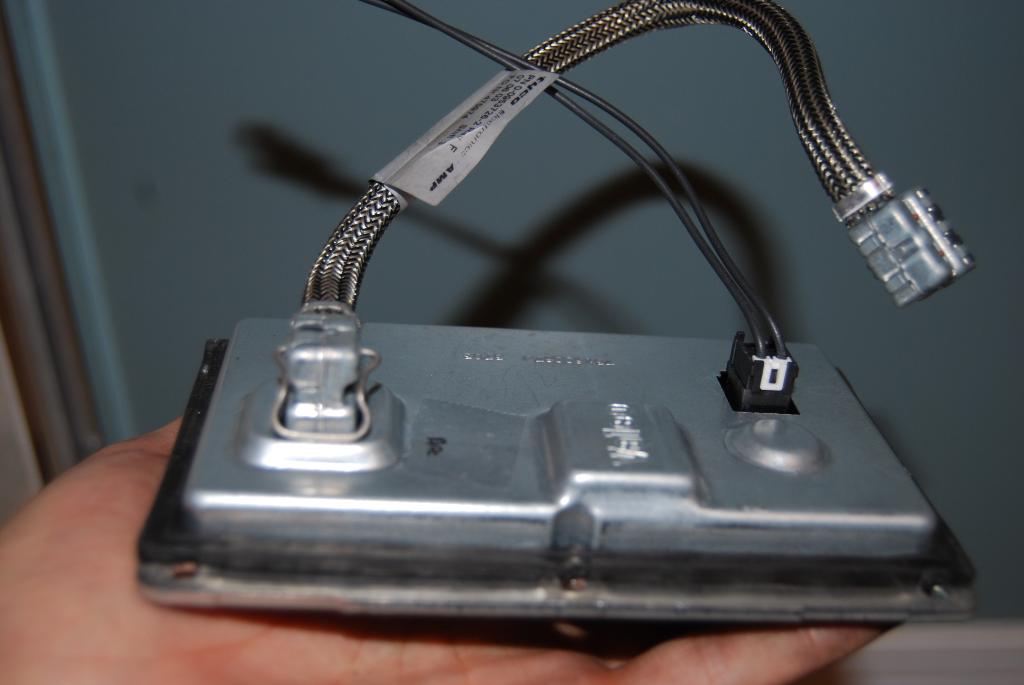 Another pic of ballast for reference: 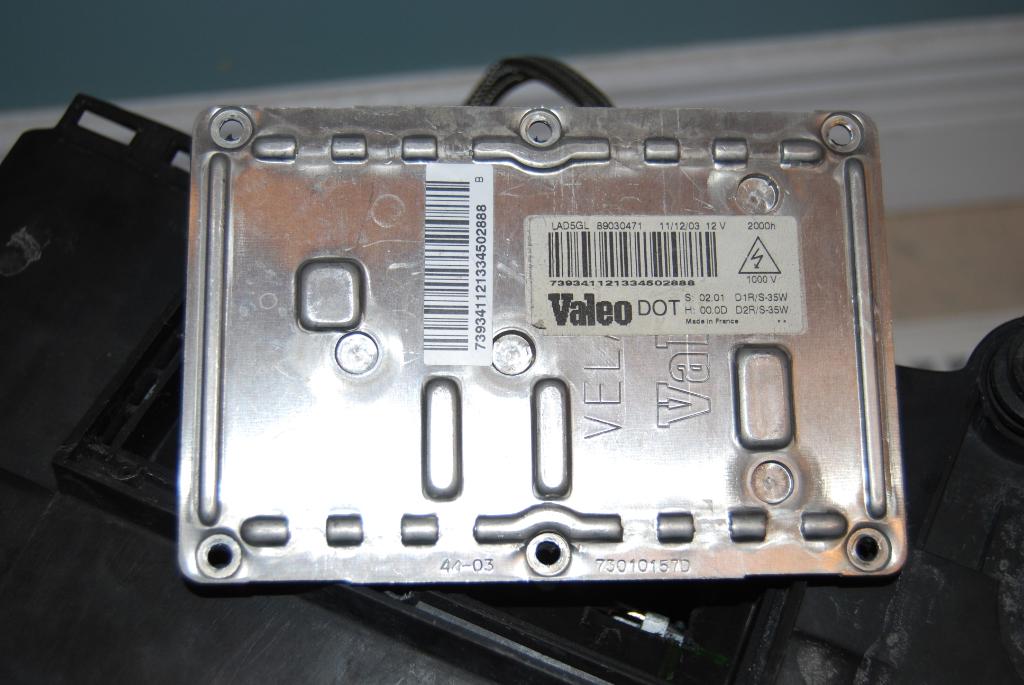 Then either dremmel or cut out your marked areas. If dremmeling, small plastic pieces will fall into your housing, so be aware of that. 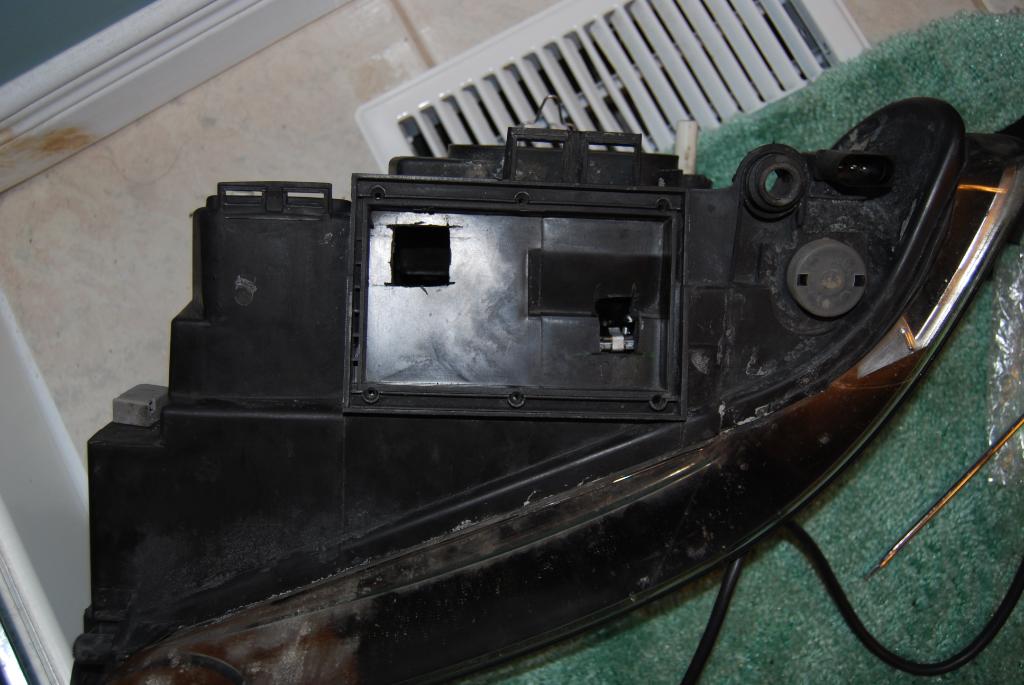 Test fit again to see if the holes line up or if you need to make them bigger. You can do the following at anytime; crimp these metal tabs onto the open ends of the power connector. These are what you will use to connect to the original plug that connected onto the orginal halogen bulb. 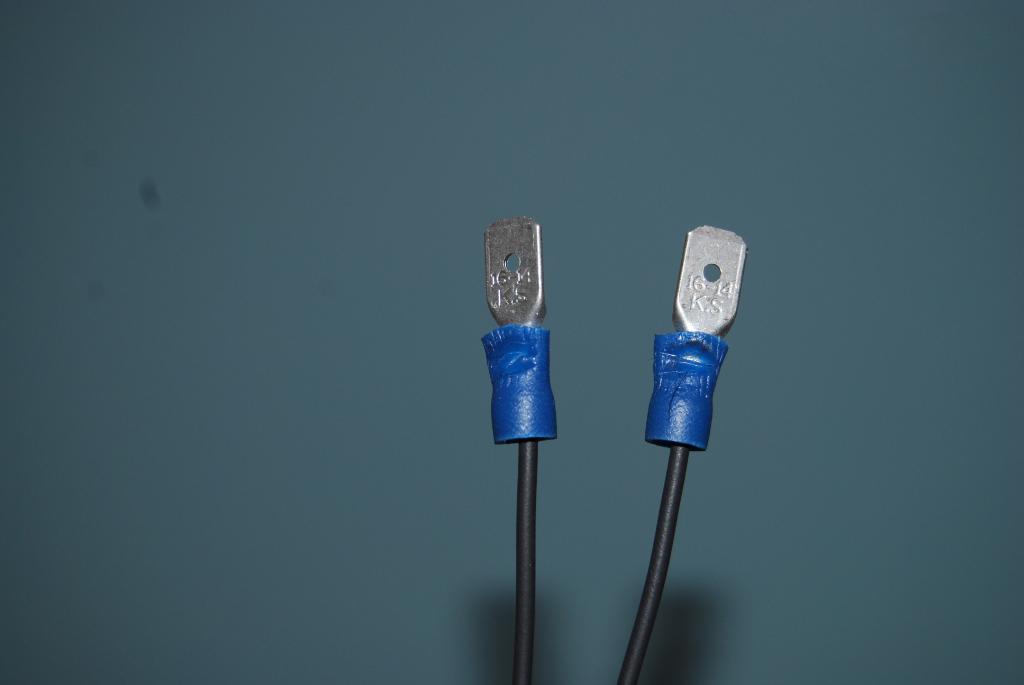 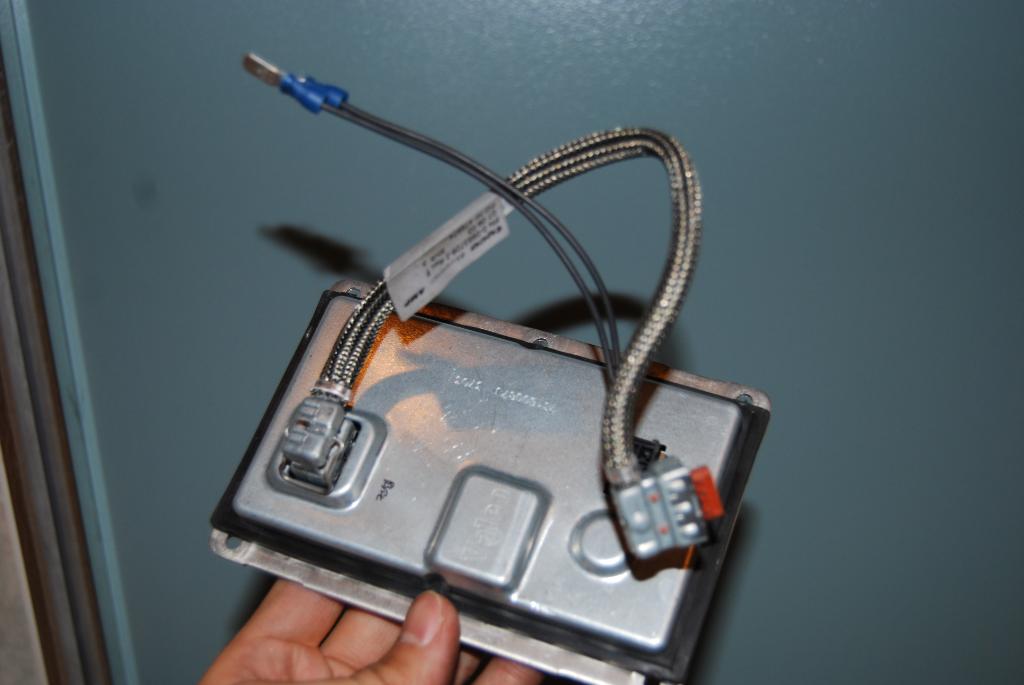 Now, either connect the two connectors onto the ballast before you install onto the housing or you could attach the connectors after, but if you have large hands I suggest you do the former. I attached them first and fished the wires into the housing before installing the ballast. 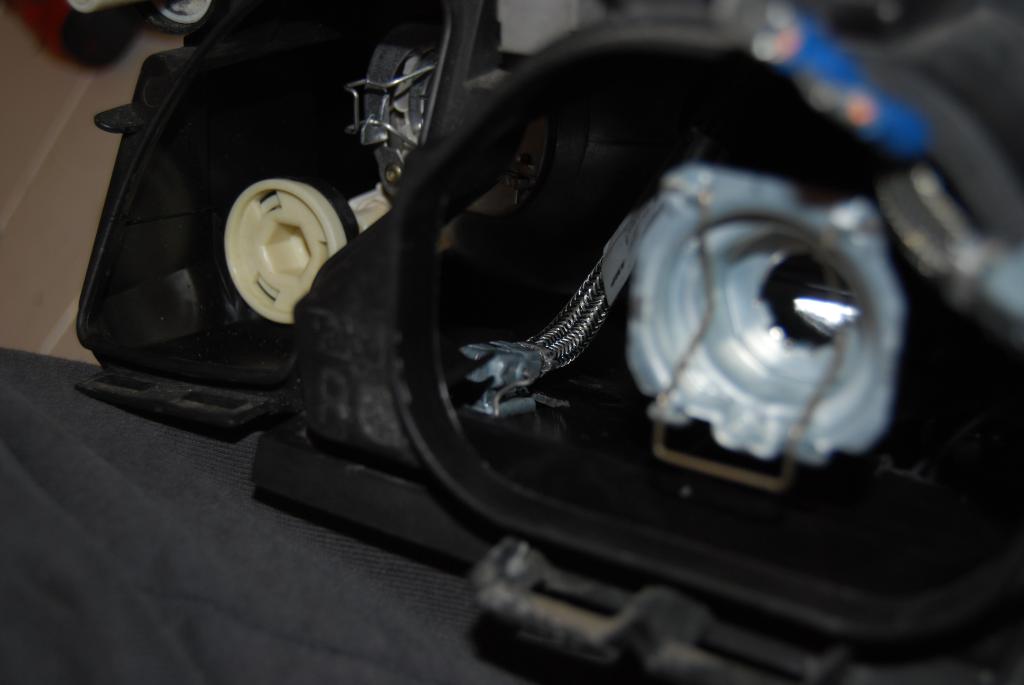 ^^You can see where the silver connector comes out of the cut hole. 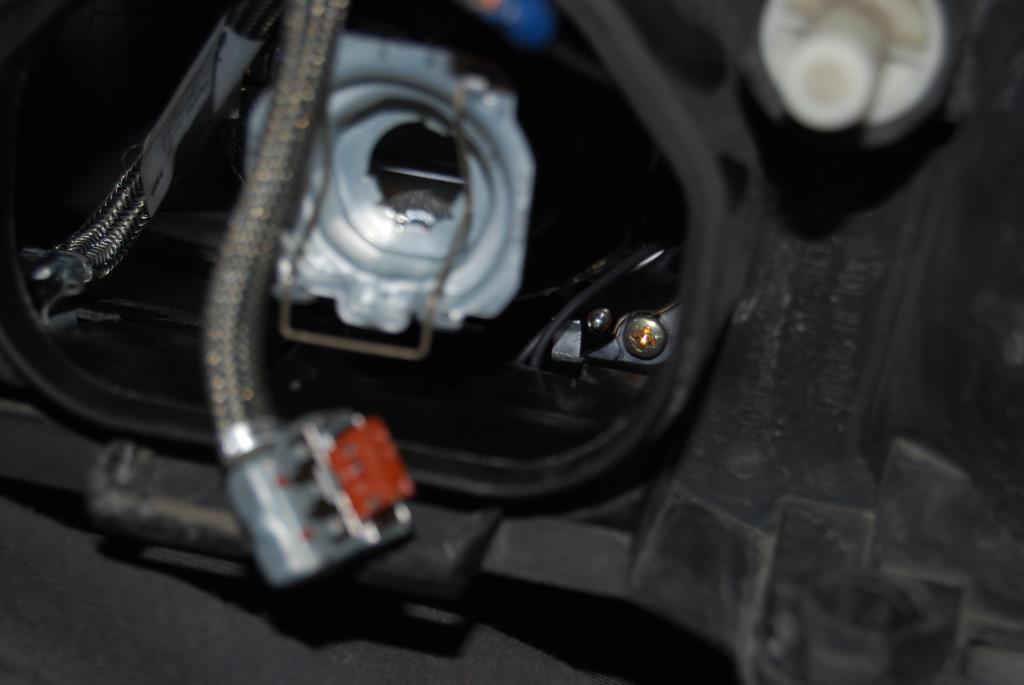 ^^Here you can see where the power connector wires come through. Next you can do at anytime; the OEM "kit" that I bought came with a H7 adapter washer. I'm sure you could just rig it so you don't have to use this, but I used it anyway. Whether you use it or not, you will have to cut small slits in the plastic on the xenon bulbs to make it fit into the halogen hole, the adapters just make it easier for you to do this as it gives you a guide so you know where to cut exactly. I used a dremmel with cutting disc. Here's the normal unmodded bulb: 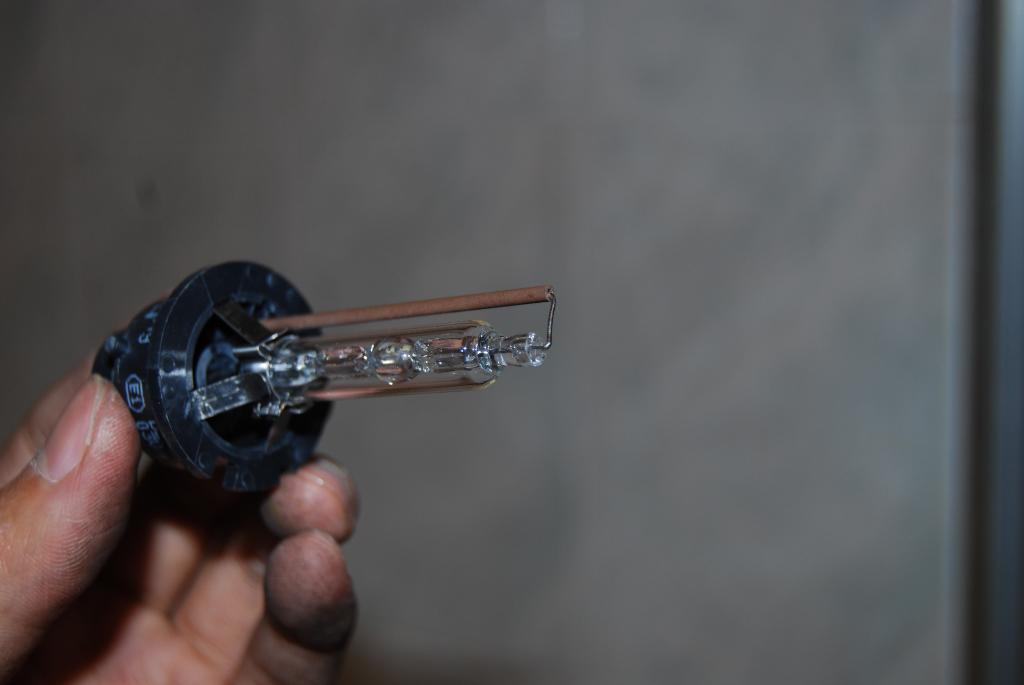 Here's the modded bulb with the two small slits cut out: 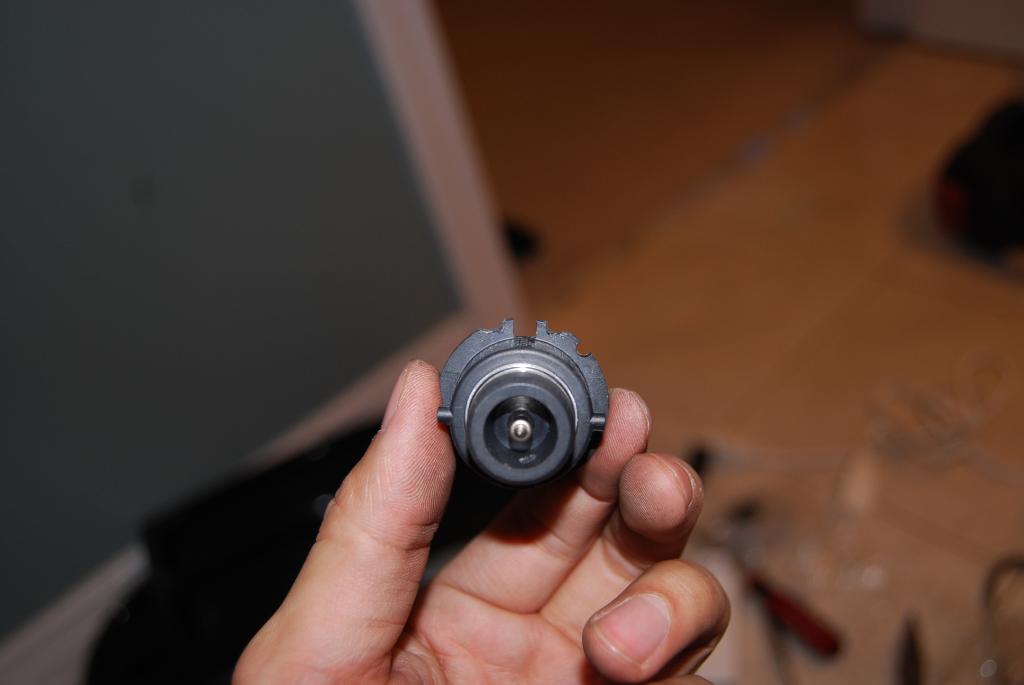 Here's the bulb with the adapter washer. You can see where the cuts line up with adapters': 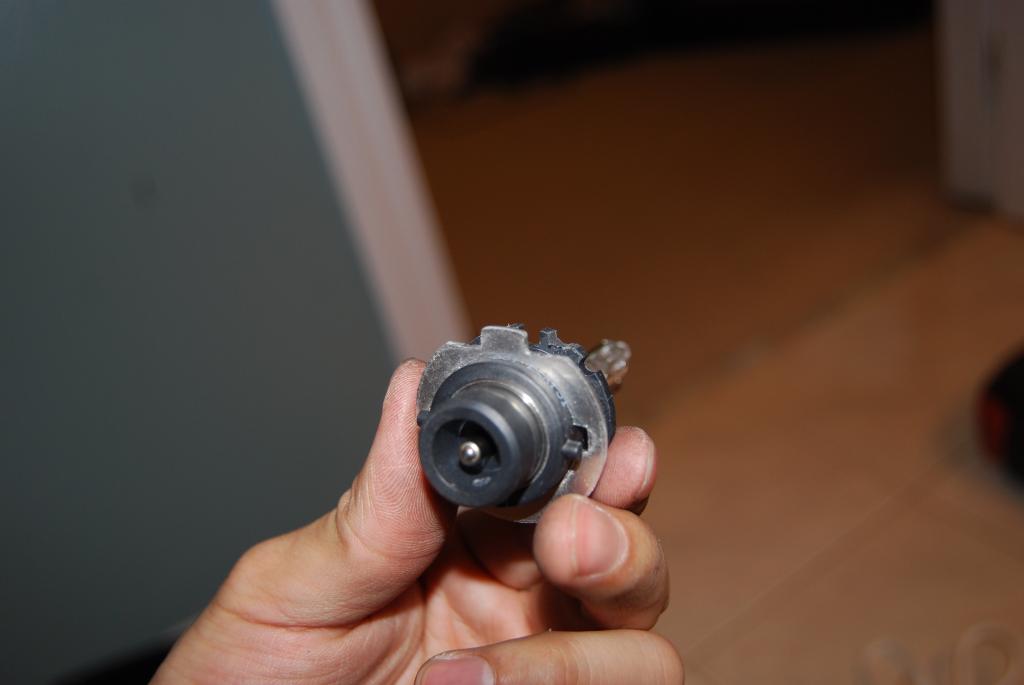 Now, stick the bulb (with or without washer) into the hole and it should only fit one way. Bend the two teeth (where it secures the clamping mechanism)on the bottom of the socket down a little bit. This will make clamping easier afterwards: 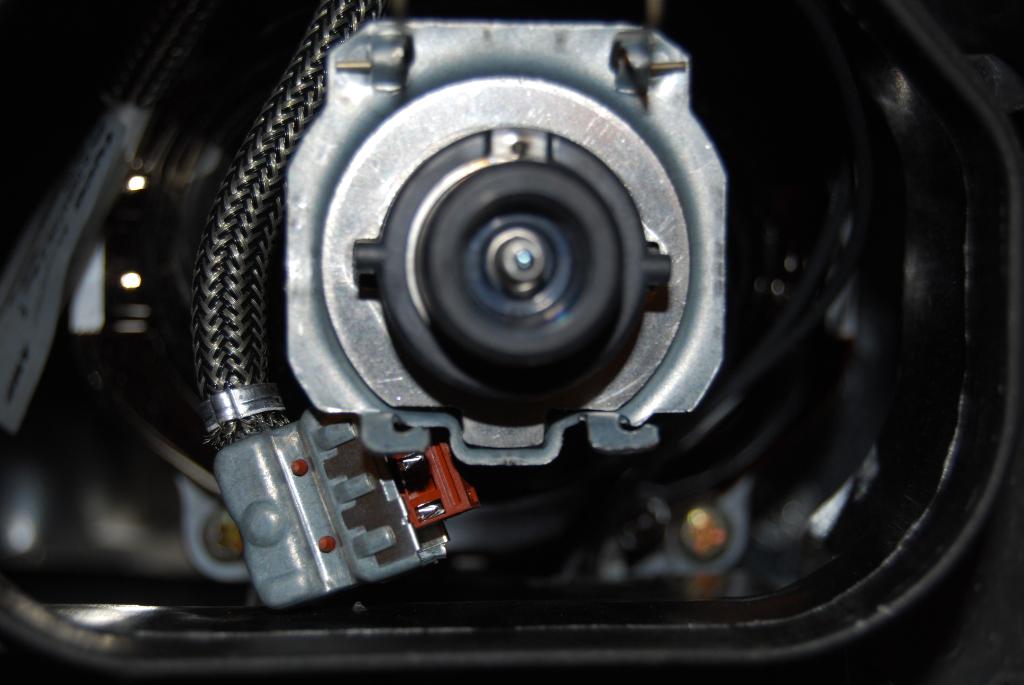 Now stretch the clamp slightly, over the bulb and clamp into the teeth: 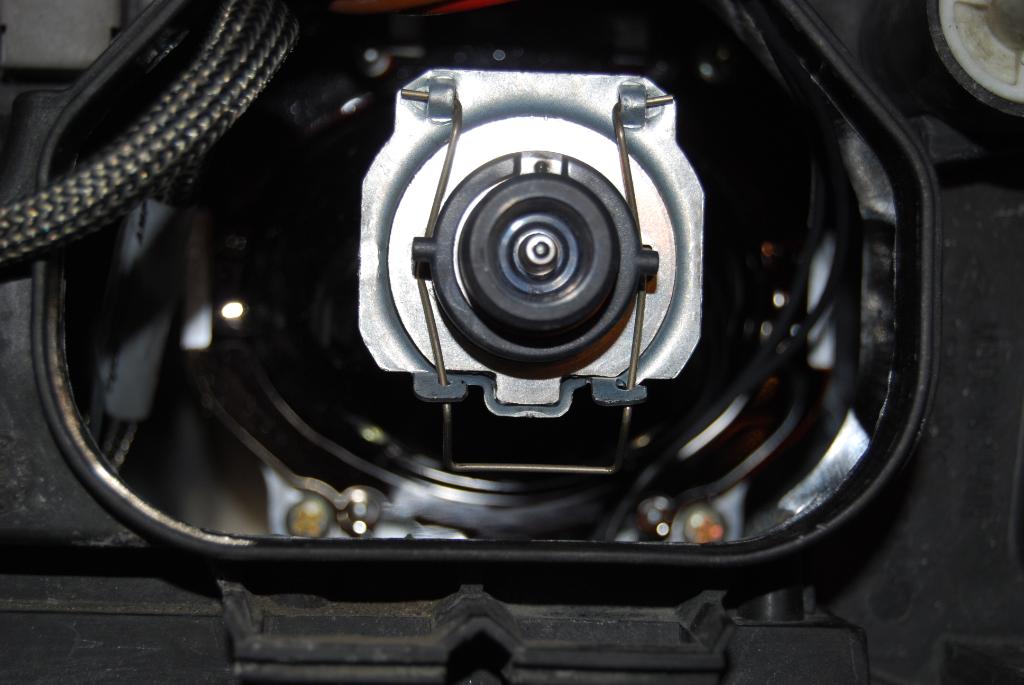 Connect the metal tabs to the power connector from housing: 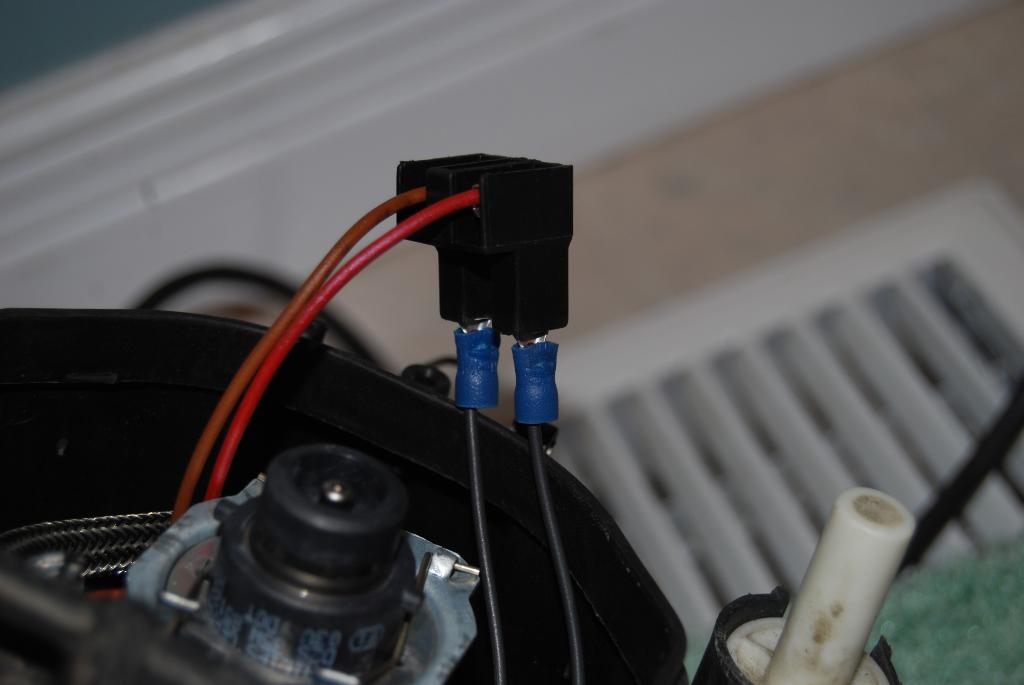 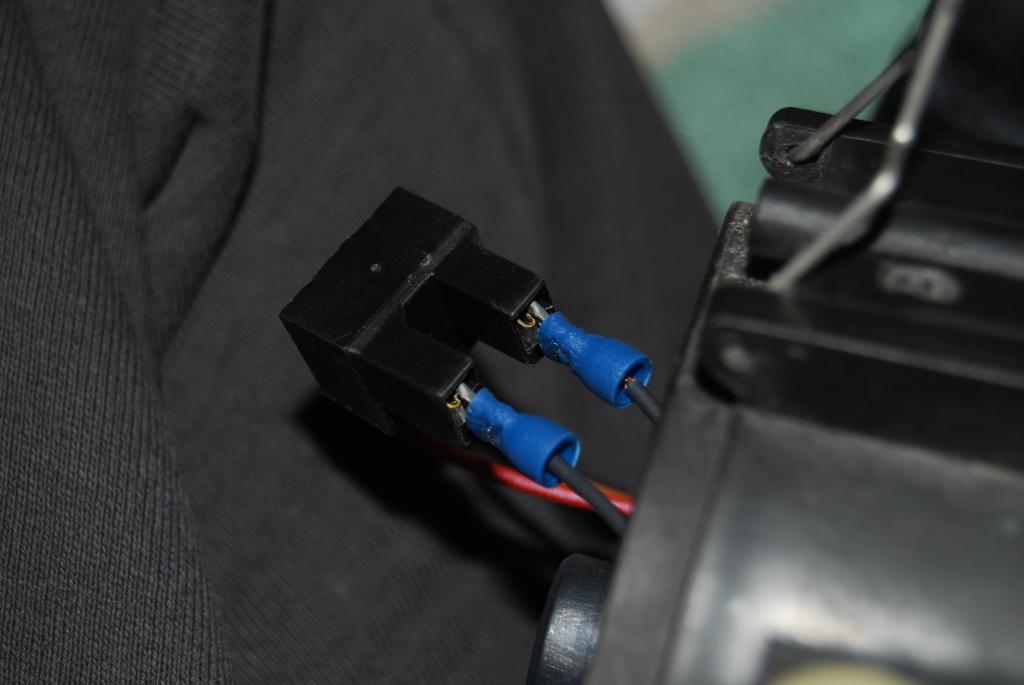 Connect the bulb harness onto bulb: 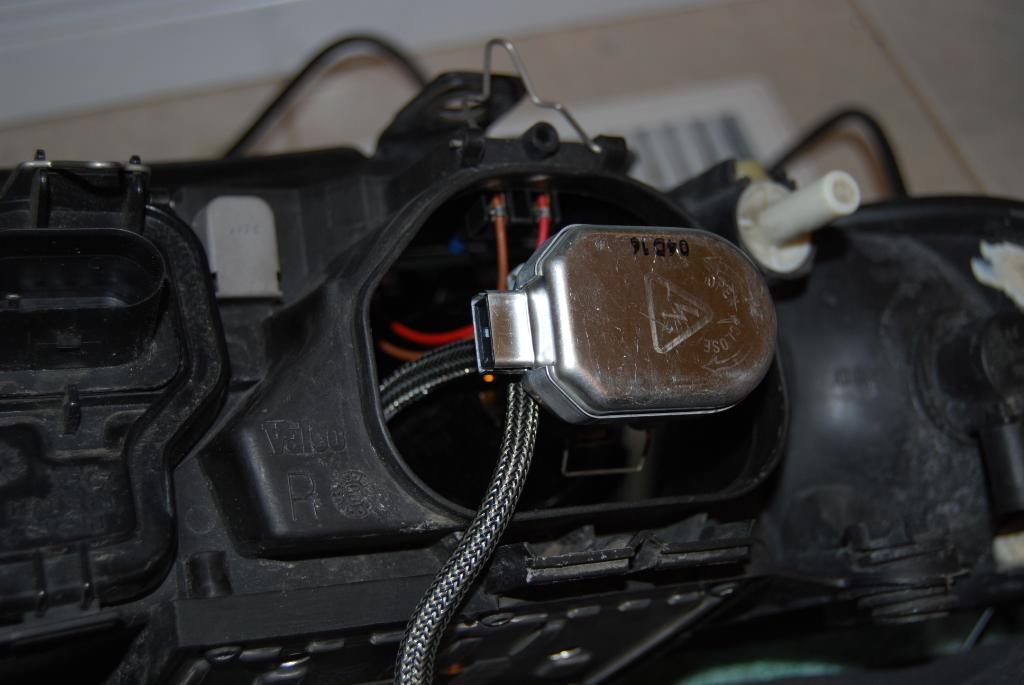 Another pic for reference: 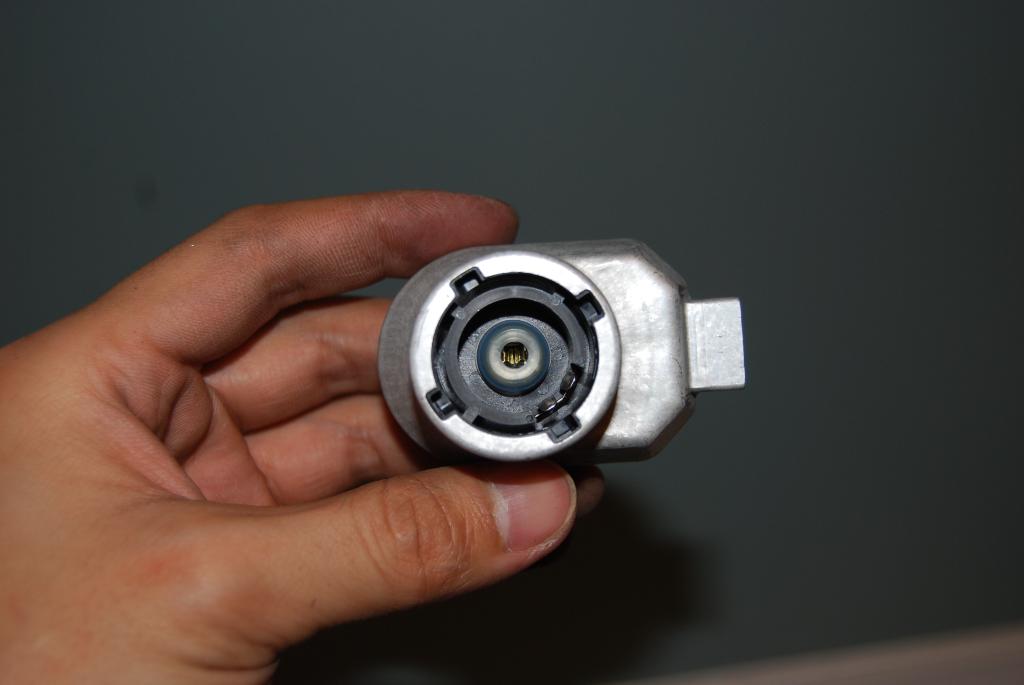 Throw all your other bulbs back in if you haven't already and reconnect all the wires. Put the plastic covers back on, reinstall the headlights onto your car and you're done!  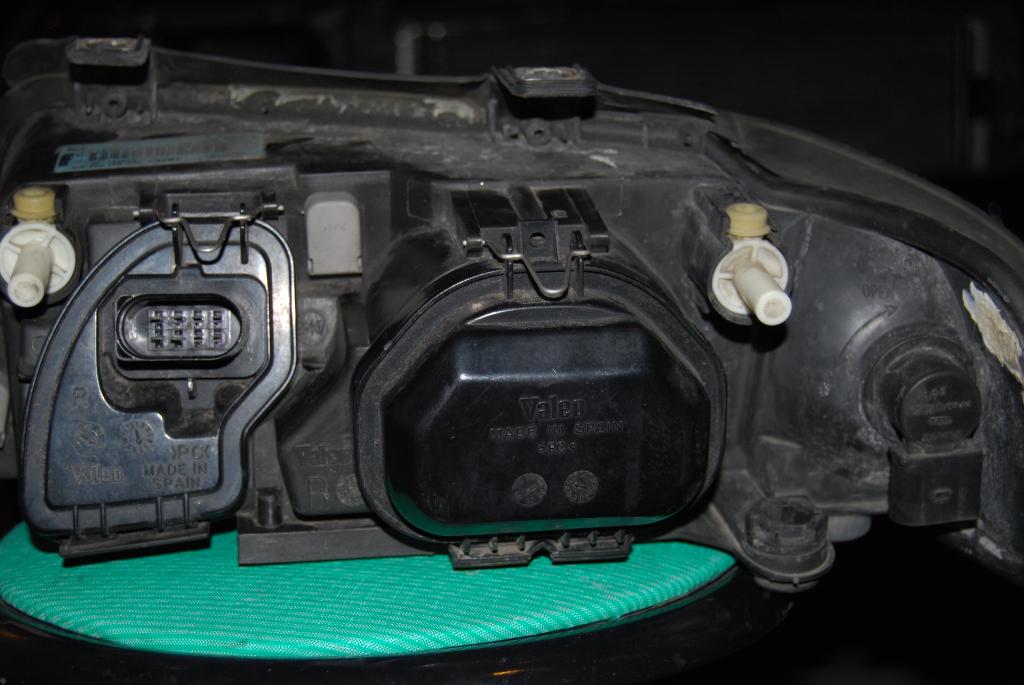 Now enjoy your new found vision and clarity! 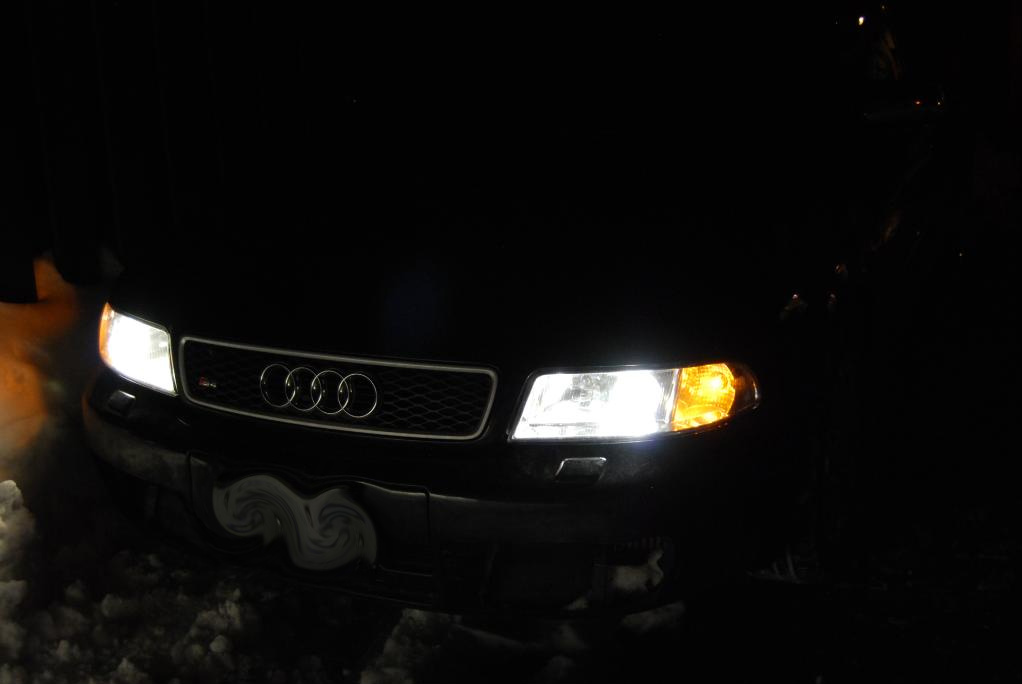 |
|
Advertising |
Contact Us |
Cookie Policy |
Privacy Statement |
Terms of Service |
Do Not Sell My Personal Information
© 2020 MH Sub I, LLC dba Internet Brands |