| Tech Article Title |
Author |
Date
|
| 12v V6 Timing Belt/pump/seals/etc |
Catamount90 |
2007 |
First of all, a HUGE thank you to Joe Marconi. He lent me (someone he doesn't know) the two Audi tools necessary for this job. Thank you!
I ordered my parts though Axis Motorsport. Joe @ Axis was extremely helpful. His prices matched or beat the cheapest I could find online, the parts arrived the next day and the service he provided was terrific.
For the most part I followed this guide on 12v.org and cross referenced this post and this post on audiworld. I had my Bentley handy and I also used this photo that MikTip scanned in so many years ago:

I don't need to re-hash the instructions, I'll just make a few key points and provide some photos that might be of help to someone else in the future.
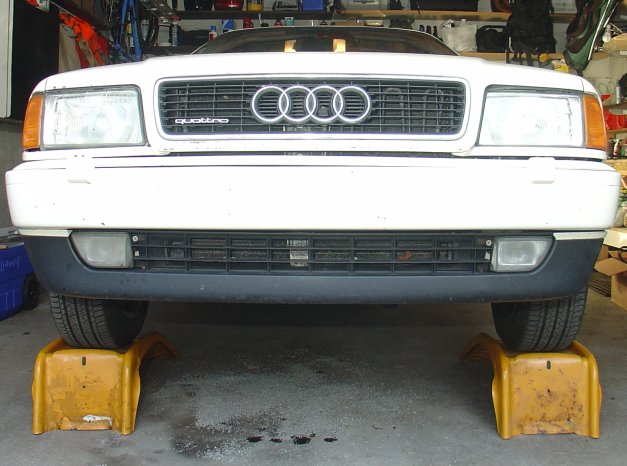
First of all, make sure you have an alternative form of transportation before digging in. I found myself making quite a few trips to auto part stores to pick up a few tools. I was lucky to have a motorcycle and several days without rain.

Make sure you have everything you need ahead of time. I went through quite a few gallons of distilled water, Zerex cooling system flush, a new expansion tank, water pump, tb tensioner, tb roller, tb, ribbed belt, black RTV, various hose clamps, thermostat, crank seal, two cam seals, new o-ring for the block drain plug and in my case a new crank bolt. I also used two rolls of paper towels, WD-40, brake cleaner and a few pairs of rubber gloves (everything was saturated with oil & sludge).

Grab a beer or two and read through everything. Then re-read it.

I decided to flush the cooling system a couple of times before replacing my expansion tank. I followed this great guide from natwhite. Don't forget to drain the block and replace that o-ring!
Draining the radiator:


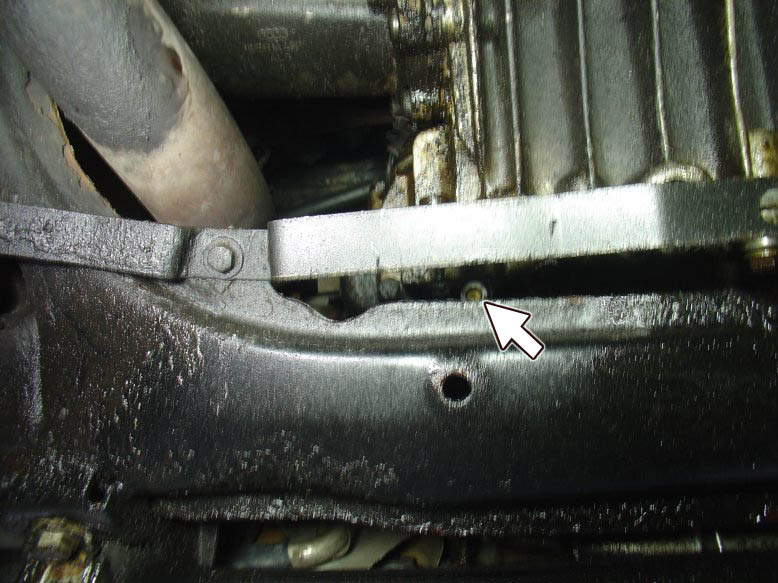
The block drain plug (replace that o-ring!):
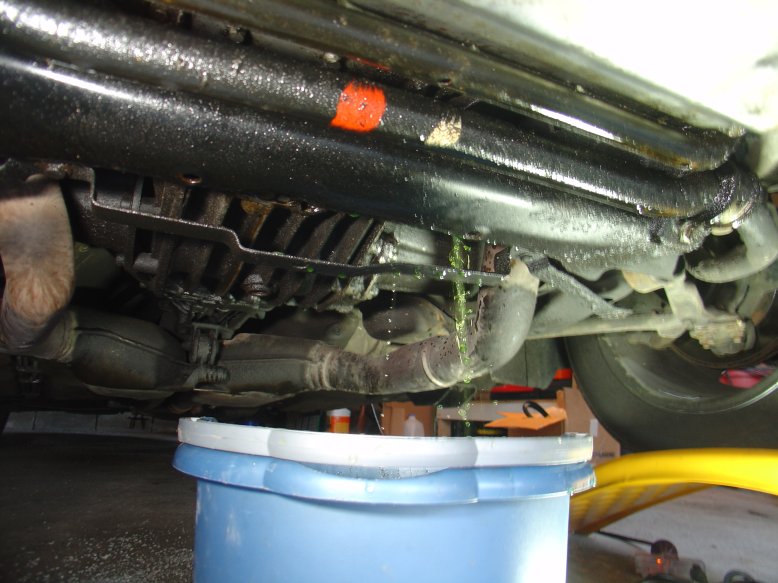
Draining the block:
My crusty old expansion tank (it had a pin sized hole on the top):


You've got to pull the radiator fans to give yourself more room to work. The fan is connected to this plate on the driver's side behind the bumper. In this photograph, the wires at 12 o'clock and 6 o'clock need to be removed. The wires at 2 o'clock and 3 o'clock can stay.

The fans are held in by three bolts. Remove them, and the fan, and you're left with the picture below.
Loosen the bolts on the power steering pulley before you pull the serpentine belt off... If you don't you'll have to find a strap wrench with a ~14" diameter (uncommon) or try to wrap your old belt around the pulley to hold it in place while you loosen the bolts. Just loosen them now!

In order to find TDC I used a 15/16" socket and turned the crank CW to align the line on the crank pulley with the arrow on the plastic crank pulley cover.

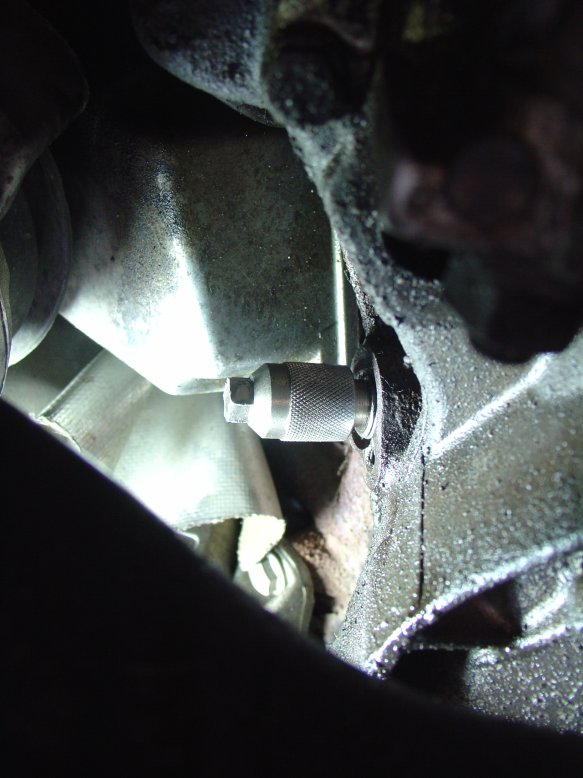
Audi tool 3242 - Crank holding pin:

On the driver's side of the block you'll see the crank position sensor. Pull it and replace it with tool 3242. This is going to keep your crank in position while you're wrenching on the pulley bolts or crank bolt. I struggled to get this tool threaded but it finally went in.
Audi tool 3243 - This bar spans the cam shafts and holds them in position and aligned while you wrench on the cam bolts. Make sure that the "fat" holes on the "wing" are oriented towards the center. Once in place you can break the cam bolts free. Don't remove them, just unscrew them 2 or 3 turns.

My crank seal was leaking so I decided to replace it. In order to get to the seal you have to remove the crank bolt which is supposed to be torqued at 148 lbs + 1/2 turn!!! Better get a breaker bar and a long pipe for this! Aud recommends you always replace this bolt as it is a "torque to yield" bolt.
Of course Audi recommends that you use their seal extracting tool but I thought I'd try the "drill a hole in both sides of the seal, screw in drywall screws and pull" trick. This probably works best for the crank seal because it is not easy to get to. BUT it's also really hard get a drill into position down there to drill a pilot hole into the seal (the seal has a metal backing so you pretty much have to drill a pilot hole). The fear is scarring the crank seal or housing and ending up with a perpetual oil leak. These seals are REALLY in there so it will take quite a bit of pulling. Good luck.

To install the new seal Audi again recommends using their tool. I recommend using a 5" section of PVC and a something to bang it home with. Worked great.

The new crank seal. Notice the sludge that built up from years of leaking oil.

My waterpump housing. Yikes.


I tried using a razor blade first but it was really hard to get your hand close enough to do any real work. I bought this $10 tool from Sears and it made the job 10x easier.

Scrape the old gasket off with a gasket scraper or razor blade and clean it up with brake cleaner. Be careful not to get any bits of paper towel or rag into those holes.

The new pump:

In order to install the new timing belt the cam sprockets have to be broken free from the cam shaft. The end of the cam shaft is tapered and you need to free them from the taper so they can move independently of the shaft. Be careful not to spin the cam shaft during this process. I bought this $12 gear puller from the local auto parts store. Made in China, not high quality, but perfect for this job. Sears wants $50 for a similar tool. You have to make sure that the one you buy isn't so long that it bumps into the radiator.

Since I wanted to replace both cam seals, the cam sprockets had to come off. Just unscrew the bolt and remove the "wing washer", noting it's orientation on the cam shaft.

Leaking cam seal. This is a wear item. It took you several hours to get here, why not replace it now?

You could use the "drill and drywall screw" technique here but these seals are in a much easier position to access. Almost every parts store has those big seal pullers used for larger applications but while at Sears I ran into this tool. It was $10 and it was perfect for this task and it saves you the stress of having to drill next to your cams. These seals took a ton of work to get out as it was.
Remove the plastic cover surrounding the cam shaft before you try to pry these seals out. Each side is held on by two bolts and it'll make access much easier.
You push the flat side of this tool in between the cam and the seal then turn the tool 90 degrees. Start pulling and you'll feel like you're not getting anywhere. 2 minutes later and it might seem like the seal has moved. 5 minutes later and it'll be out.

Drive the new one in with your section of PVC.

Thermostat time. First remove the two bolts holding the thermostat housing in place and let it fall out of the way.

Note the orientation of the thermostat, relief valve at 12 o'clock. Remove the thermostat and clean around the housing. Replace the thermostat making sure that a new o-ring is in place before re-installing the housing.


Now would be a good time to remove and replace the timing belt tensioner and timing belt roller.

Re-route and re-tension the new belt!

The carnage:

That's it! This took me much longer than it should've as it was my first time digging around in there. I'm pretty confident that I could do the job again in 5 hours or less.
I wouldn't attempt this job without Audi's special tools 3242 or 3243. I also had to run out to pick up the gasket scraper, seal puller and 4" gear puller. I'd recommend having those ready before you start. I spread this job out over a couple of days... it would've been pretty stressful to do it all in one day the first time around.
|