| Tech Article Title |
Author |
Date
|
| Fuel Gauge Sending Unit Replacement B6 S4 |
Hindsight |
2007 |
WARNING: Do not attempt this yourself unless you have mechanical experience beyond simple things like oil changes. This is not a very difficult job, but it is obviously dangerous due to the fuel you are working around and if you break anything in the process, you are going to have to get it towed into the dealer to be fixed. I assume no liability if your hair catches on fire or whatever.
Tools Needed:
- Mini flat-head screwdriver
- Flathead screwdriver
- Hammer
- Philips Screwdrivier
- Multimeter ($15 auto-parts store kind works fine)
Since I bought the car used a couple of weeks ago, the fuel guage never goes above 3/4 tank, even when full.

The two most likely causes are either a bad fuel sender or a bad fuel guage. Since the guage can't really be tested by a backyard mechanic and since it costs ~$900, I figured I'd start with the sender.
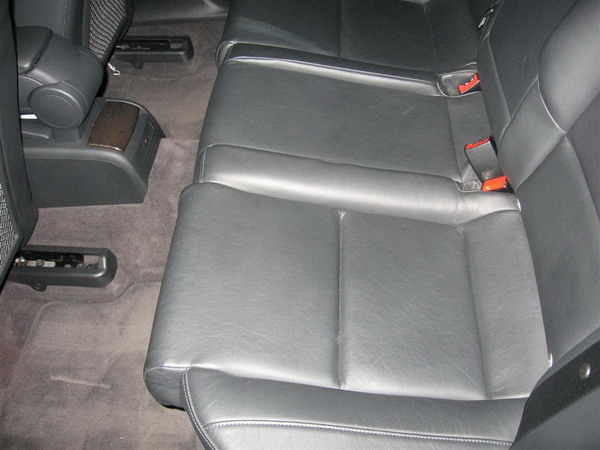
The B6 S4 has two senders. Both are located under the rear seat, one on the left side, one on the right. The one on the driver's side is by itself; the one on the passenger's side is attached to a fuel pump. To access the connectors, remove the rear set and unscrew the access panels. The seat can be removed by pulling up on the front of it. Pull hard, it's ok. Make sure you have a FULL tank of gas when you begin this procedure.

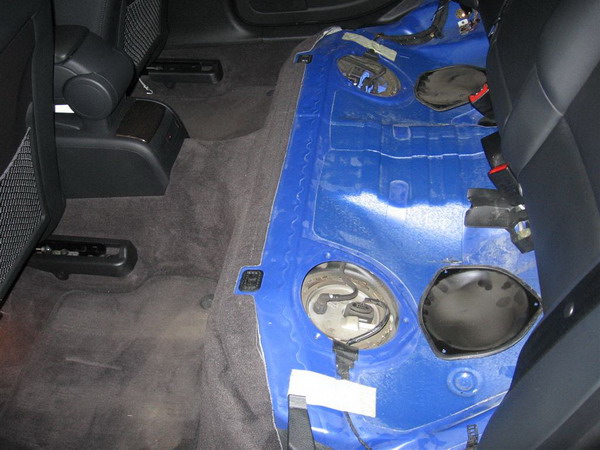
Both sides feature a 4-pin connector though the left side only uses pins 2 and 3 (the middle two). This is because there is no fuel pump on the left side. Disconnect the connectors.


Now get out your multimeter, turn it to the ohm setting, and probe the two pins of the left side male connector (there are only two pins). With a full tank of gas, the reading should be 66 to 68 ohms. If you get no reading or some reading way off from that, the sender is bad. My left-side sender read 54 ohms. Not quite within spec, but close enough.
On to the right side. This one is harder because the connecter is horizontal and the body of the car blocks easy access to it. I had to bend the pins of my multi-meter 45 degrees to reach in there. There are 4 pins on this connector. Probe the middle two. Should be 66 to 68 ohms. Mine registered nothing, indicating a bad sender on the right side.

The local dealer stocked senders for both sides, leading me to believe bad senders are not a rare occurence on these cars. Each sender costs around $150 and you'll need a new rubber o-ring gasket too. Of course, you probably only need one sender (like me). Here is what you get for your $150.

I still can't believe I paid $150 for this thing but I suppose I should get used to it. Ok, so now comes the fun part. Your tank should be as empty as possible to replace the sender. I did mine with just over half a tank but I would suggest 1/4 of a tank or less! So go out and drive!
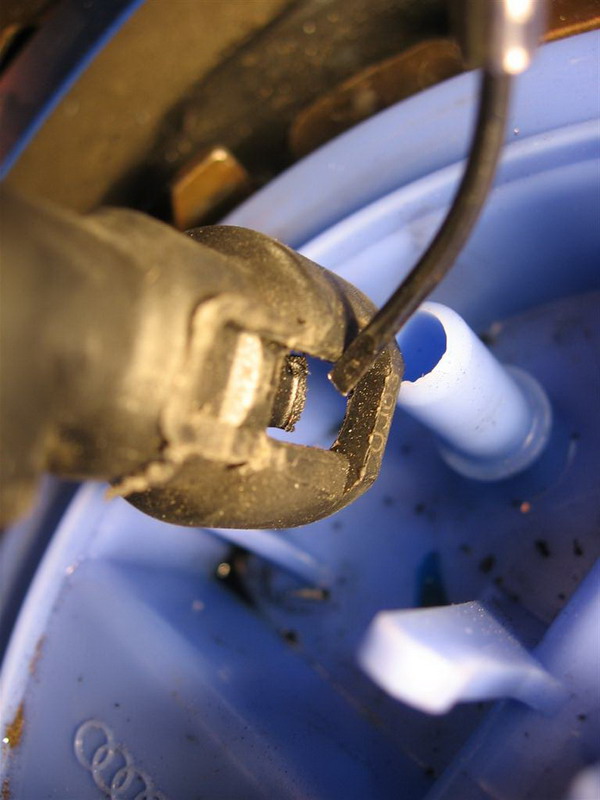
Ok, now that you have below half a tank of gas, unscrew your gas cap to let out any pressure. Make sure you have a fire extinguisher near by. Don't smoke etc etc. You will now need to disconnect both hoses attached to the lid. The big hose has tabs that need to be pulled out. Once you have the tabs pulled out (it helps if you push the hose down first), push the hose down and you will see an inner hose. You need to pull up on that with a small screwdriver while you push down on the out house, then pull up on the whole unit and it will unlock. It's tough, be gentle. Keep trying. Don't break it! Ok, now that its off and you have sprayed the entire interior of your car with fuel..... Note: fuel may drizzle or SPRAY out of the hose. About half a liter or so came out of mine. Have rags and a jar ready to catch it. Did I mention not to smoke while doing this?

The smaller hose has an area on the left side that can be pushed in to unlock it. Pay no mind to my screwdriver on the right side, that's the wrong side to push.

Now disconnect the electrical connectors. Next step is to remove the retaining ring. There is a special tool for this but it's easy to just tap it off gently with a screwdriver and hammer. It should be obvious which direction it needs to turn. Once off, move it out of the way. Now pull the lid up and move it aside a little bit to gain access to the tank, sender, and pump.
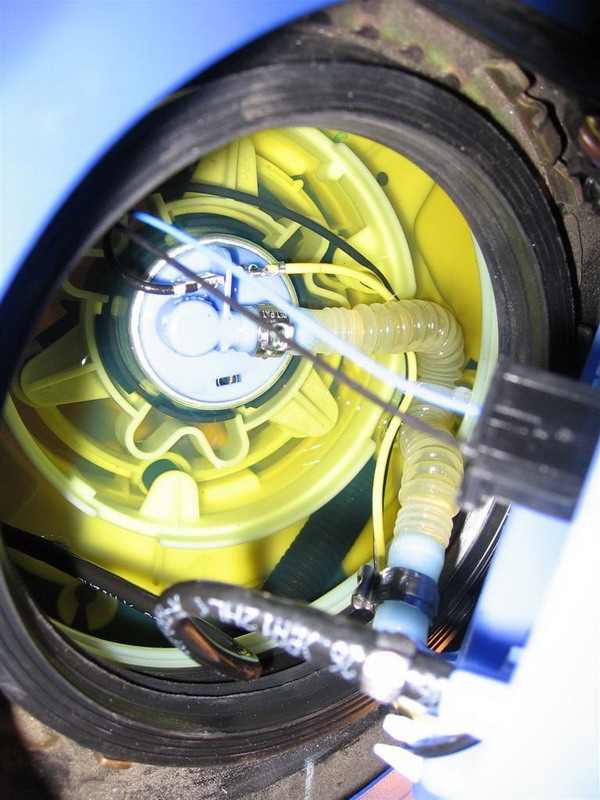

The fuel sender is in the last picture.... all the way on the right, it's purple and white. It clips on to the plastic fuel pump holder. First disconnect its connector from the bottom side of the lid, then reach in and remove it from the pump body. It has a very big tab that you push in to release it, then it just slides up and out. Because of its float arm, you will need to move it around to get it out of the hole. Once out, slide the new one into the slot and push all the way down till it locks in place, then plug the connector into the bottom of the lid.
Now install the new rubber gasket over the top of the lid, put the lid back on, then the retainer ring, followed by the connectors and hoses. The hoses just push right on and lock into place. Just to make sure, I then probed the connector to see if I got a good reading now

Yup! Now re-install the access panel cover, and wipe everything down with warm soap and water, then replace the rear seat.
The engine won't start right away because it won't have any fuel pressure. On all the other cars I've had and worked on, you could prime the fuel system by turning the key on and off repeatedly which would run the pump for a couple of seconds each time; not the same on the S4 for some reason so you'll just have to crank it till it starts.
Now drive to the gas station, fill up, and.....

Oh yeah! And only $150 + $17 for the gasket to fix. Such a deal right?
|