My goal was to come up with a method that was not only reversible (i.e., no superglue) but also clean and low-profile (i.e., no zip-ties).
First, of course, you need to sand or Dremel down some of the plastic on the mounting post on the S4 badge. Below you can see an unmodified badge next to the modified one. It's the vertical "shoulders" that need to be reduced. This is necessary for the S4 badge to fit cleanly though the hex holes in the RS4 grille. Keep grinding it down until it fits through all the way, with the face of the badge flush with the face of the grille.

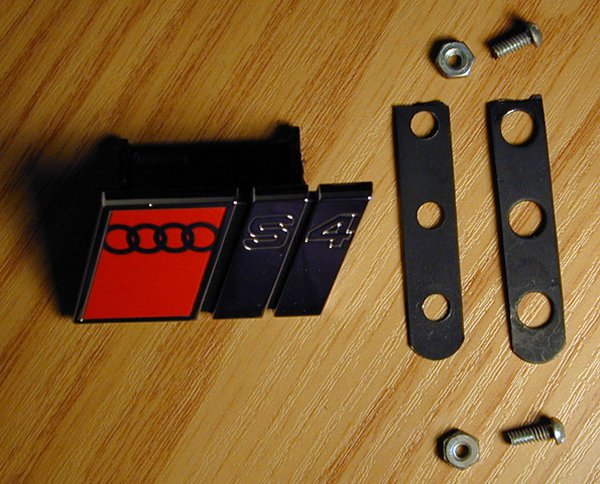
Here are the components of my clamp/bracket setup. Two small nuts and bolts along with two pieces of thin metal. The metal strip I used was some weird-looking doohickey I found at Home Depot -- I have no idea what its original purpose was, but it was the right length and width, and already had holes cut in it, so it worked perfectly. I painted it black to inhibit rusting.
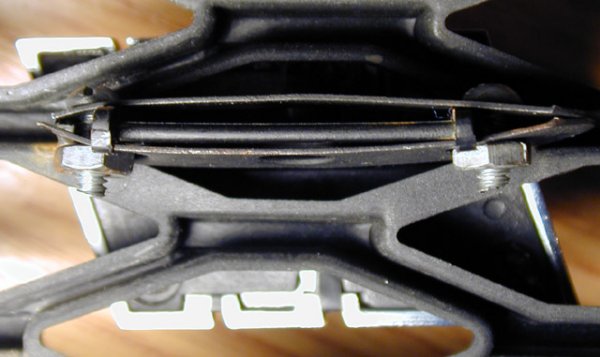
The two pieces of metal go over and under the mounting post on the badge. The bolts go through the holes in the ends of each piece of metal, just outboard of the mounting post, and the nuts tighten down, clamping or sandwiching the mounting post in between.
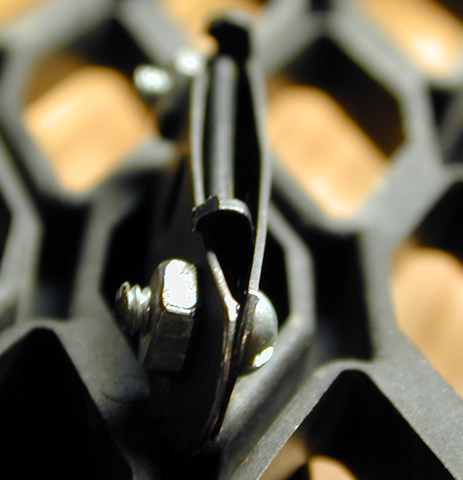
The clamp is secured from coming off the mounting post by the little hooks that are already built-in to the post itself:
While this isn't the easiest solution in the world (finding metal strips that are the correct width and length is key), I present this as my solution for others who are looking for an easily removable and stealthy-looking method of mounting their badges.