|
|
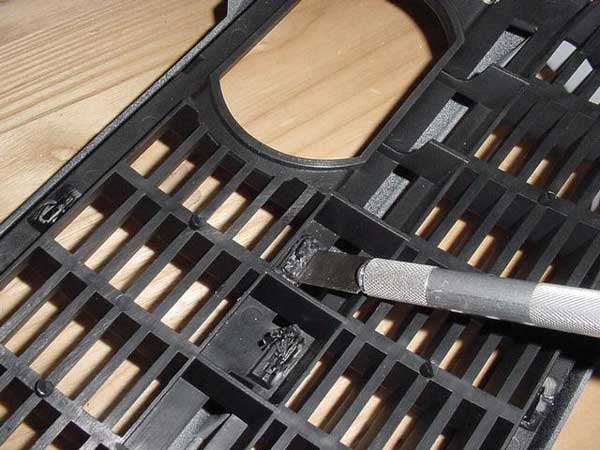
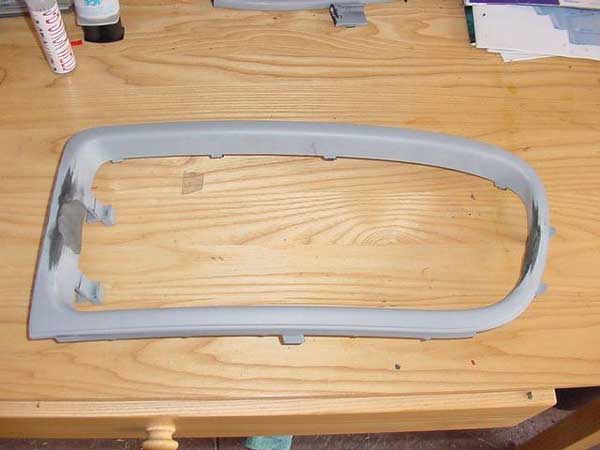
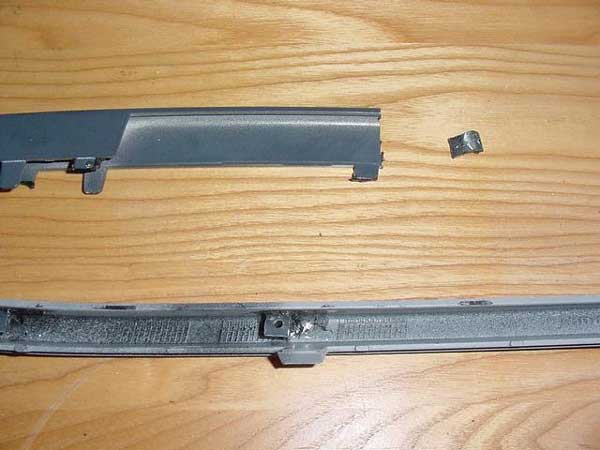
Look at the back side of the grille and see where the black grille insert is held on by melted tabs. Remove these tabs by cutting or grinding them off. Remove insert from grille.
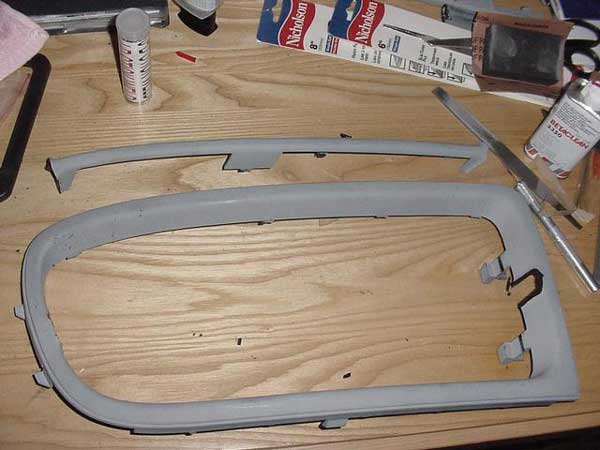
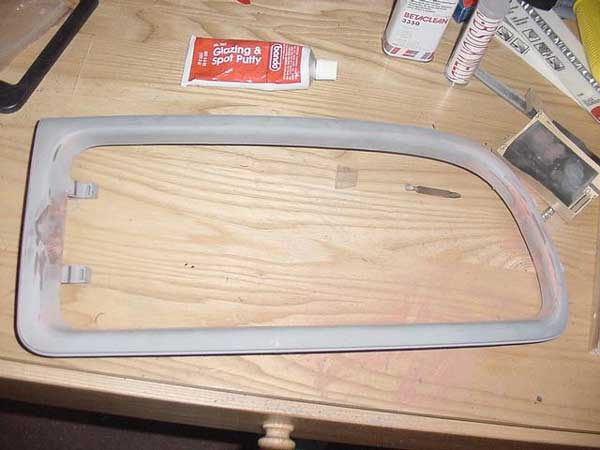
Cut center bar from the grille frame. Make sure you cut close enough to eliminate the flaired contours where they meet the edges. Take the center bar you just removed and cut a slat that will be big enough to cover the holes you just made in the frame.
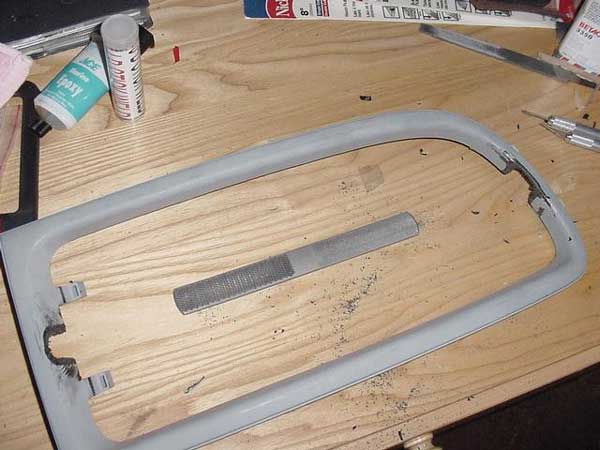
Rough up the slats you just made and the backside of the frame on each side of the holes you made.
Use the liguid two part epoxy to attach the slats to the frame. This will give you back some of the rigidty you lost when you removed the center bar. Set them aside for 24hrs.
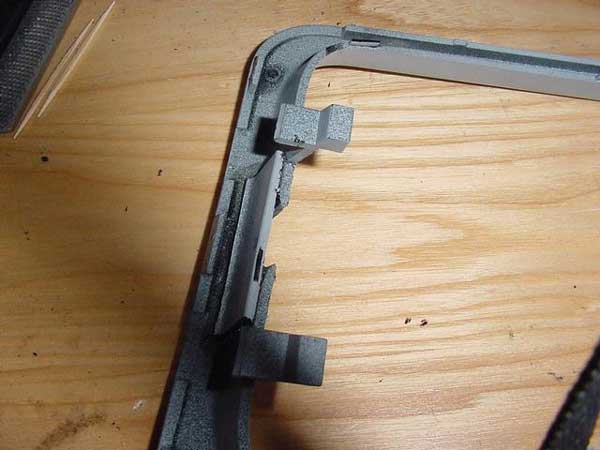
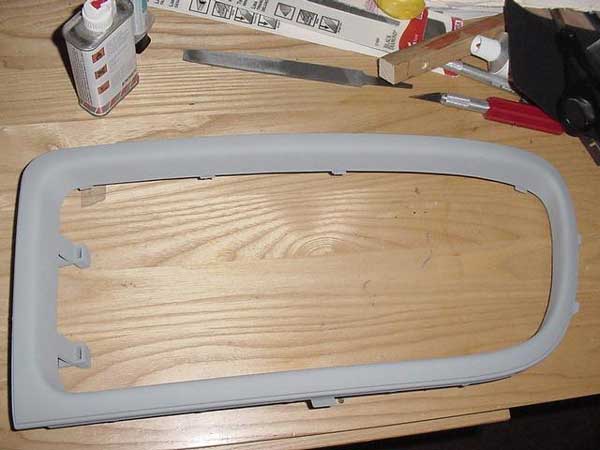
After they above has cured ,take some of the two-part clay epoxy and fill the holes on the frame. Makes sure you have enough epoxy so that it is a little higher/thicker than the surrounding frame. Also wrap some of it around the backside over the slat you epoxied on earlier. Let it cure for it least the time specified on the package. Once the above has cured use a rasp to remove the bulk of the epoxy to get it close to the shape of the frame your are trying to match. Finish with finer toothed files and sand paper until you have matched the frames contours. Prime the area and let it dry. Check to see if any areas need to be addressed. High areas can be sanded more, low areas can be filled with more epoxy, once the area is sanded free of primer, and the above step repeated.
Small pin holes can be filled with spot putty and left to dry and resanded again. Prime and recheck and repeat any of the above steps until the desired results are achieved.
Set aside until dry.
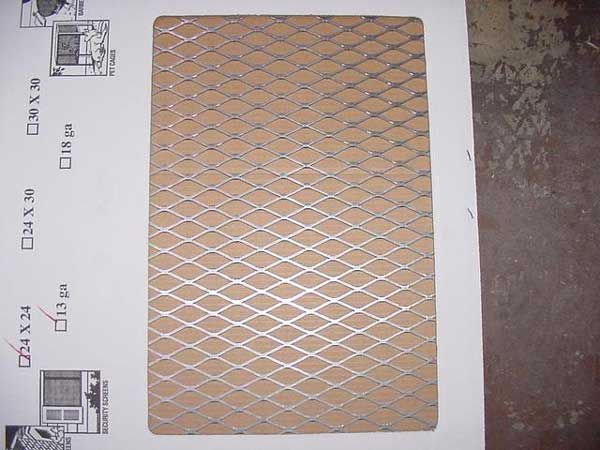
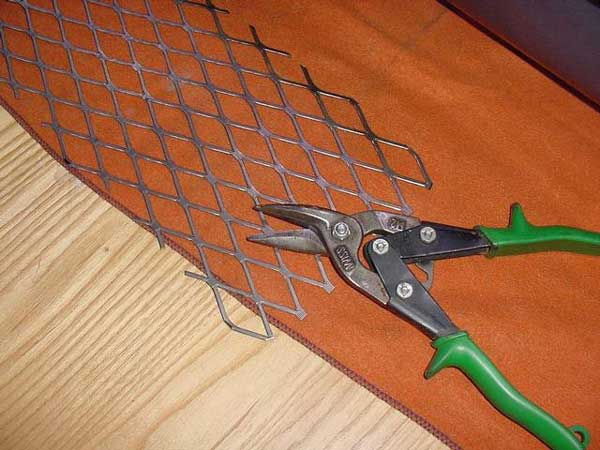
Take the frame and the mesh of choice. Lay the mesh on the backside of the grille and trace the outline of the grille onto the mesh and cut out. Give yourself some extra, which will be cut down later.
Take some of the center bar removed at the beginning and cut sections off that resemble the letter "J" .
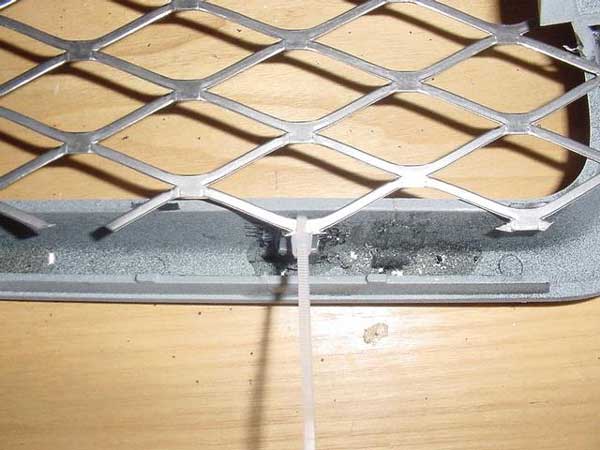
You will epoxy these to the outer edge of the frame on the backside to use as attachment points for the mesh. Lay the mesh on the backside of the grille frame and line up as desired. Mark places on the frame that would line up with the mesh and could be used as attachment sites (make sure these site will not interfere with the grilles mounting tabs). Trim the "J's" you made earlier until they are shorter than the height of the grille edge. Also remove some of the material from the "J" until it looks like an "L". Take the "L's" , roughen the attachment points, and epoxy them to the
pre-chosen areas with the liquid two-part epoxy. Let it cure for
24hrs. Drill a hole into each of the "L's" large enough for a small cable
tie to pass through. Lay mesh on grille frame and attach with cable
ties. Mark excess areas of the mesh to be cut off. Remove cable
ties. Cut off excess mesh.
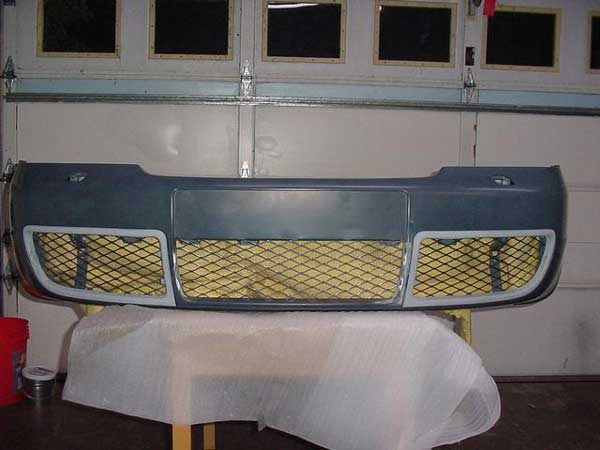
Done
Painted
parts.
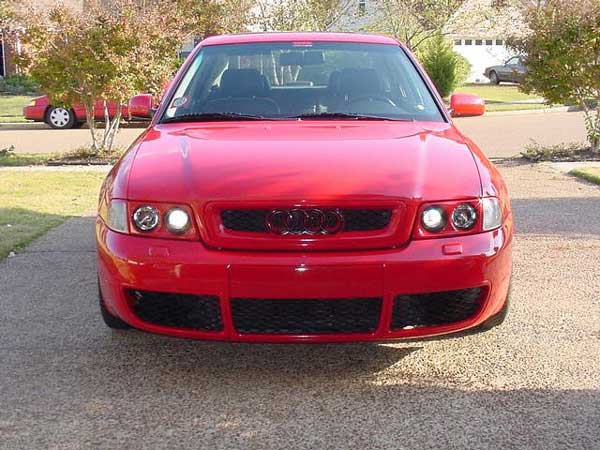
Finished product. |
|
Advertising |
Contact Us |
Cookie Policy |
Privacy Statement |
Terms of Service |
Do Not Sell My Personal Information
© 2020 MH Sub I, LLC dba Internet Brands |