|
|
I went back to my buddy's body shop to have the spoiler installed today...his shop closed early for Good Friday, so we took advantage of this opportunity to sneak in the spoiler install before the weekend. I was present for the install, but shame on me for forgetting my digital camera, so I had to make do with the cruddy camera phone for the actual spoiler install. Oh well. Part number for the spoiler (OEM RS6) is 4B5 827 933 GRU which I got from Mike at Pure Motorsports along with my replacement carbon fiber shift surround. To save time on the install at the shop, I pulled the trunk liner the other day. The proccess is fairly simple, and only requires a T-25 torx driver, and a philips-head. screwdriver. Here is the trunk waiting for me to remove the liner. First, remove the emergency triangle... 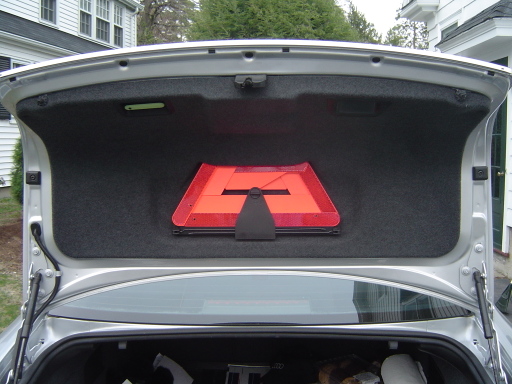 With the safety traingle removed, now remove the two philips-head screws in the lower corners of the bracket...  Then, locate the hidden carpeted screws at the outermost corners of the trim (the upper corners in the first pic above, which are really the lower corners of the trunk when closed)...  Remove the glow-in-the-dark cover for the handle, revealing the single T-25 torx bolt, and remove the bolt and handle...  On the right hand side of the liner, there is a small recess/handle. Looking inside the handle, there are two philips-head screws that have to be removed...  Next is the fun part, removing the 10 clips that hold this sucker in place. If you do not have those handy trim removal tools that TeddyBGame recommended, just use your fingers, but watch when you pull near a clip...it is easy to rip the clip base off the felt liner if you are not careful. I started on the bottom corners (which is really the forward edge of the trunk when closed)... 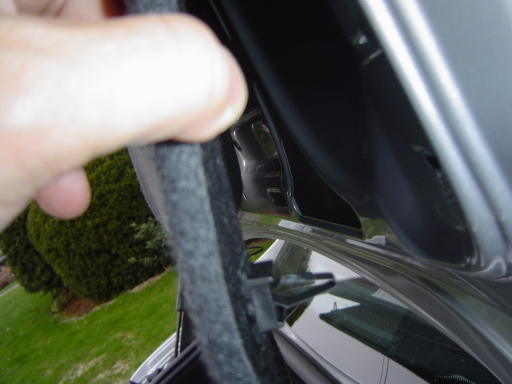 And here is a shot of the inside of the trunk lid with the positions of those 10 clips marked here for your reference... 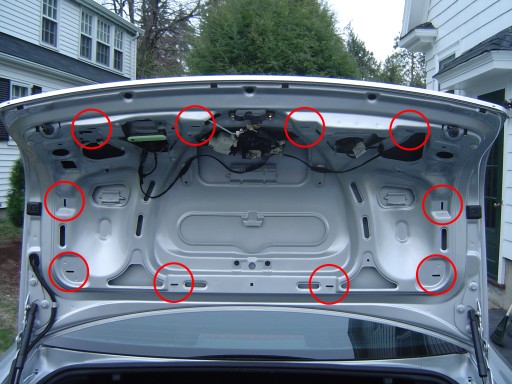 Here is the liner removed, which ended up sitting in the trunk for later reinstallation after the spoiler is installed. You can see the 10 clips here as well... 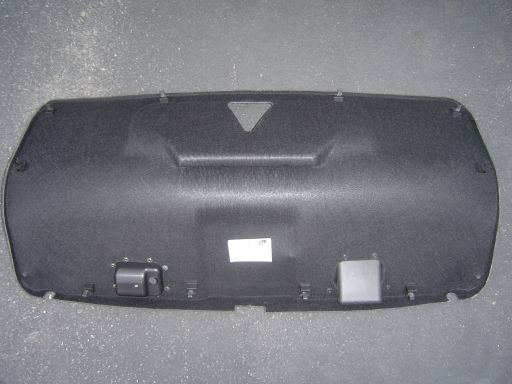 Now, the spoiler!!! Billy marked the leading corners of the spoiler so that they line up with the top edge of the rear tail lights where they meet the rear quarter. Using a piece of cardboard as a template (sorry, no pic of that), he marked where the holes were to be drilled (sorry again for the camera phone pics)... 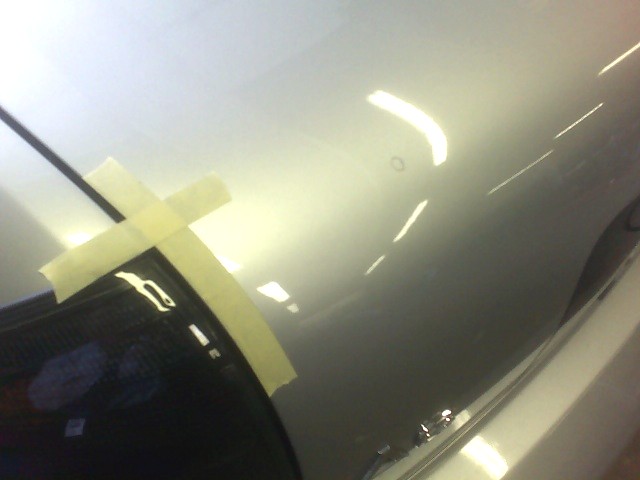 This is one thing I would not be able to do, drilling the holes...  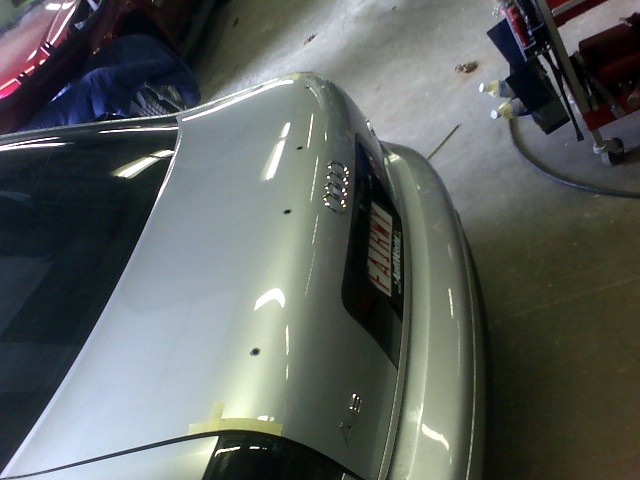 A test fit to make sure everything lined up properly, centered, lined up with tail lights, etc...  Now with the adhesive tape exposed, some sealant around the bolts to provent water from seeping into the holes, and the nuts fastened down...  And now, the results!   ...I know...I am thinking about the debadge thing...jury is still out... I am VERY pleased with the results!!! The fit is so perfect, as I had expected for an OEM spoiler. Of course, I would never drill the holes myself, and it was worth it to have a professional do this for me. No disrespect to the replica spoilers, but the OEM fits so snugly agaist the decklid, there is harldy any gap at all for adhesive tape. The bolt-on method does make a difference. However, drilling holes is not reversible at all...so I guess I am stuck with the RS6 spoiler...but that is okay with me!!!!! |
|
Advertising |
Contact Us |
Cookie Policy |
Privacy Statement |
Terms of Service |
Do Not Sell My Personal Information
© 2020 MH Sub I, LLC dba Internet Brands |