| Tech Article Title
|
Author
|
Date
|
| Refrigerated
(air cooled) Glove Box Install |
Need
for Sleep
|
2004 |
Parts needed:
- Part number: 8E1816311 AIR HOSE
- Price: $8.00 Quantity: 1
- Part number: 8E08207014PK AIR OUTLET
- Price: $23.51 Quantity: 1
- All available at www.vwparts.com
Tools needed:
- 8mm socket with a minimum 9" extension arm
- Hammer
- Flat Head Screwdriver
Picture of parts:

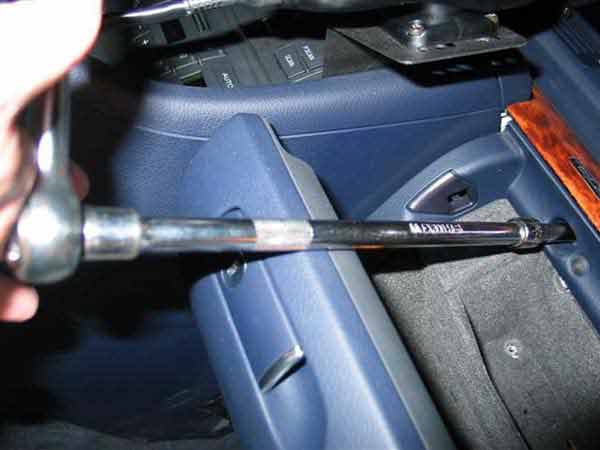
Begin with taking the glove box out. There are 9 screws.
7 are located inside the glove box and are easily located. The last two are
located under the glove box on the extreme left and right sides of the passenger
footwell area.
It's highly recommended that you use an extension arm for your socket driver
when trying to reach the two screws in the back of the glove box. They are
nearly impossible to get out without an extension.
Removing the top screws.
Next you should disconnect the power harness to the glove box light.
Connected:
Disconnected :

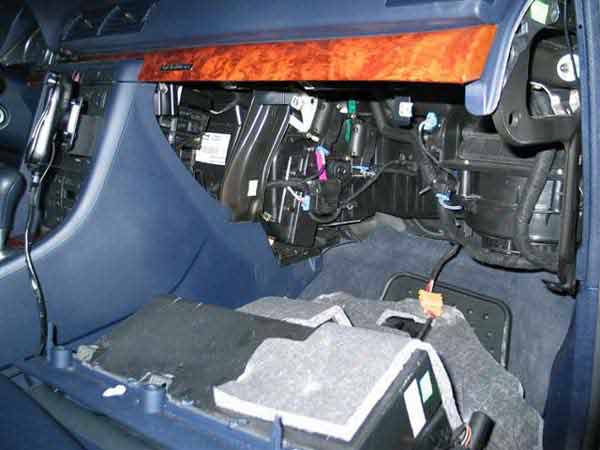
You should see the plug for the A/C duct near the back of the center console.
Just give it a tug and pull the rubber plug out.
Rubber Plug:
Removed Plug:
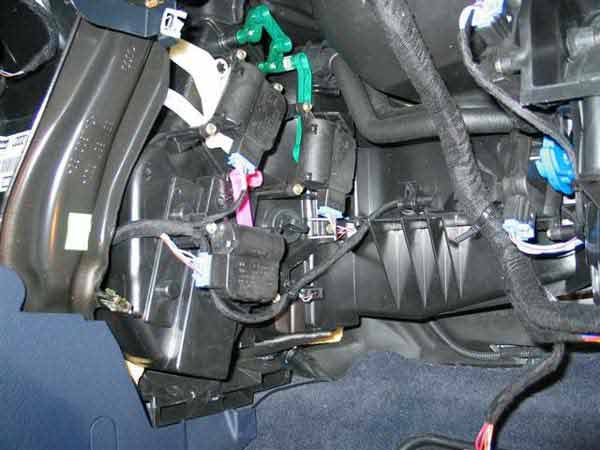
Now install the glove box air duct by lining up the keyed end of the pipe with
the hole. Once it's lined up you will need to give it a counter clockwise turn,
about a 1/4 turn. The duct should feel nice and snug with no movement at all
when touched.
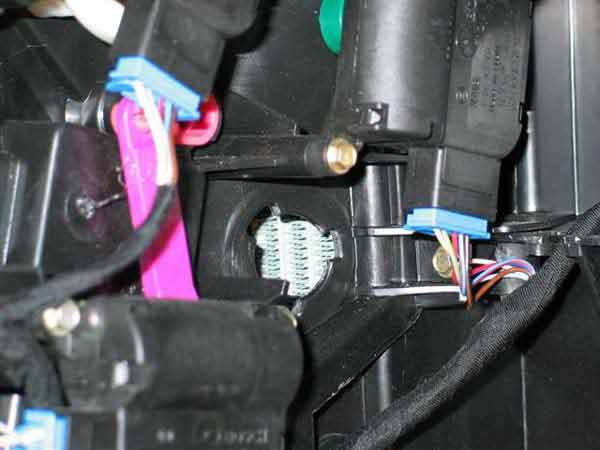
Duct in the keyed position (before the 1/4 turn)

After 1/4 turn:

Next you will need to tear the insulation along the perforations. It's obvious
the area that needs to be removed. Just pull easily while holding back the rest
of the insulation with your other hand so that you don't rip the entire
insulation from it's connection to the back of the glove box.
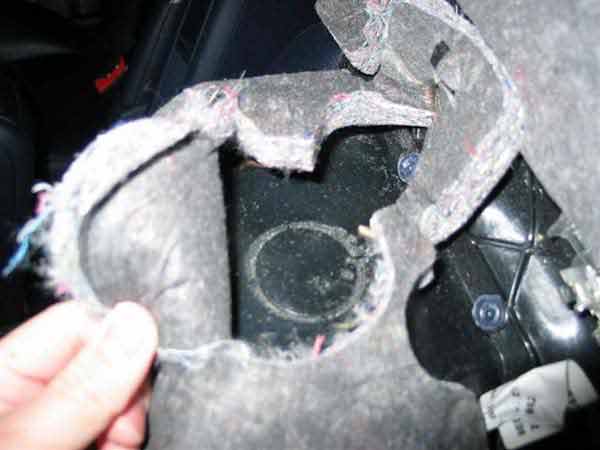
Without insulation:
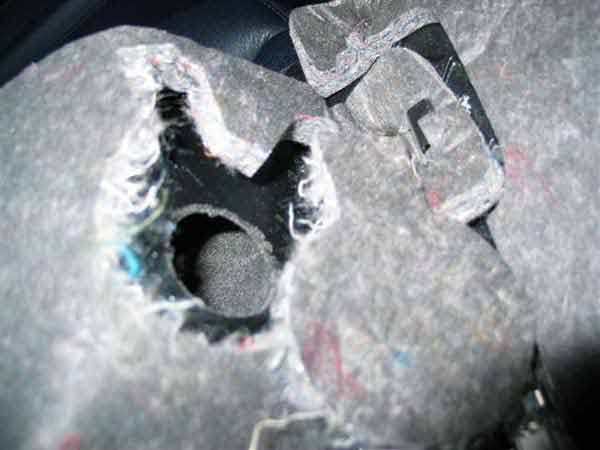
The next step is to remove the temporary hole cover in the back of the glove
box. (See picture above)
Punch out the hole using the flat head screw driver and the hammer. Just line
the flat head screw driver up over the small pieces of plastic that is holding
the hole cover onto the rest of the assembly. There are four locations. You will
want to prevent damaging the glove box by not hitting the screw driver too hard.
A small tap should do the trick.
Temporary Hole Cover seen below (Stock configuration):

Now all that's left is to re-install the glove box. If done correctly, the air
duct you installed should line up perfectly with the glove box hole. It's best
if you support the bottom of the glove box with something so you can use both
hands to turn the socket screws.

Picture of the glove box reinstalled:

Next screw the valve cover onto the pipe and you're done.

Valve Open to let cool air in:

Here is all the left over parts you should have (Rubber plug not shown. That is
a leftover part too):
CAUTION: It was brought up that the proper glove box should be installed along
with this. You can buy this expensive part (~$125) or use a small tray when
keeping drinks in the glove box to prevent condensation from soaking the soft
lining inside the box. Mold and other funky things could start growing if you
don't do this.