|
|
 The hardware package includes everything you need for the install.  Here are the tools you will need: Drill, bits, jack, wheel chocks, dremel, tools to remove tires, torque wrench, 14mm wrench and socket with extension. Razor blade, persuader, needle nose, adjustable wrench, measuring device, safety glasses and torx bit. You'll need to remove the rear seat (Mine is already removed) and the bolsters that go next to them. That is where the rear braces are going to bolt in. The bolsters are clipped in on the bottom and top.  Pull them up on the bottom and you can see the clips. Pull down on the bolster and it will pop off the clip. The top clip is a little harder. Rotate the bolster up and you should be able to see a brass colored angle clip that holds it in place. Wiggle and pull the bolster up to remove it.  Getting the bar into place is a little tricky. We left the plastic in place while we worked on it. With the rear seats out you can slide it through the trunk into place. It took us a couple of tries to figure out that it should go in face up and then rotate it into position.  We had to pull the front seat and move it forward to give us enough room to rotate it. So the rear seats and both the front seats need to come out to complete the install. Luckily, the A4 only has one Cobra seat in it, two bolts and it's out. 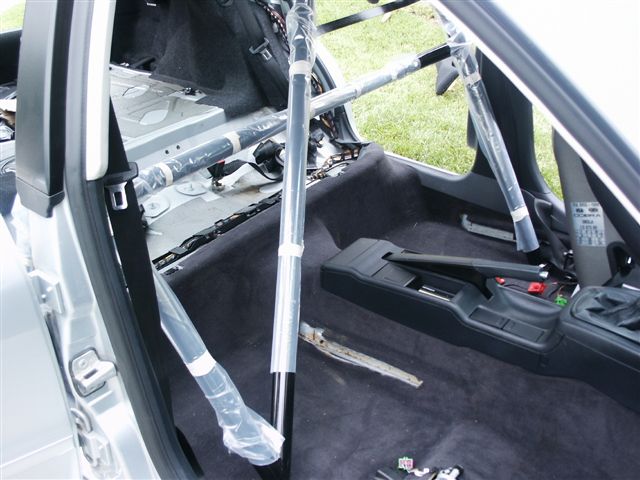 The rear arms bolt into the fender well area. They have angle plates on them but they don't appear to have the correct angles. Plus, the area where they are supposed to be installed already has these big wiring harnesses in place. In order to install them, you'll need to unclip the wire harness and get out the dremel moto tool and remove one of the studs on each side that hold the harnesses in place. The rear arms need to bolt right where the stud is. 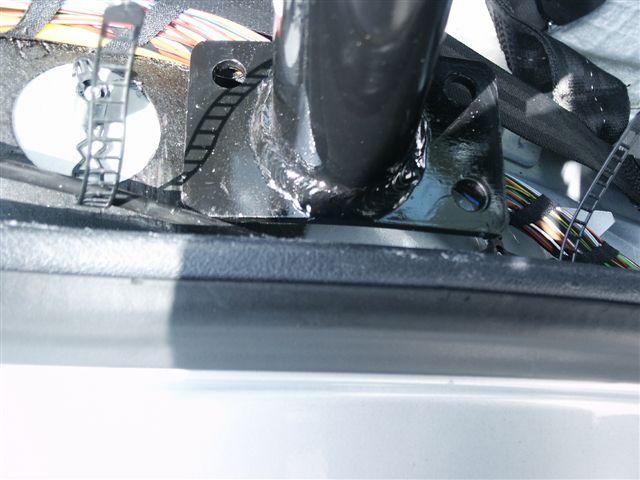 Here is the stud that needs to come out. 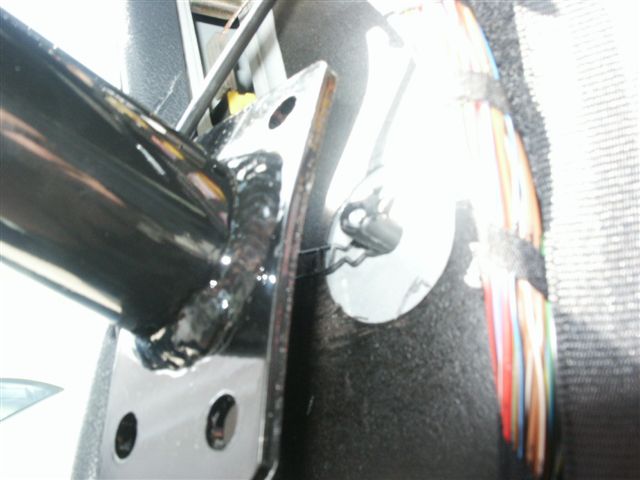 And here it is removed. Very easy, although I still don't like to do things that can't be reversed. 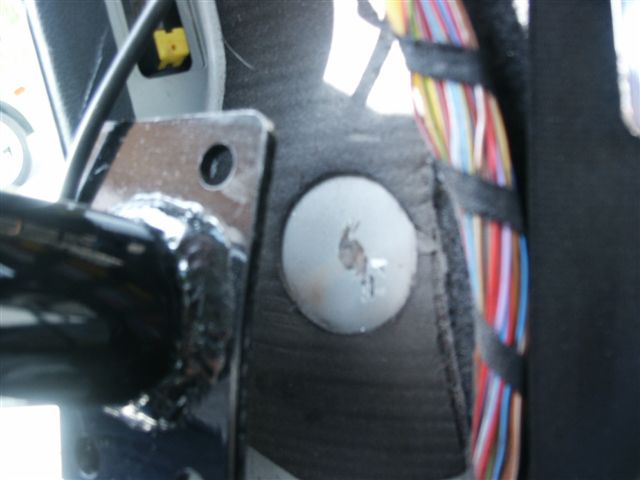 Need to decide to: 1. Remove all the carpet and soundproofing. 2. Drill through the carpet an install over the top. 3. Cut the carpet and install on the floor. I chose (3) and cut the carpet. I figure it will be as strong and stable as having the carpet removed but keeping the stock look and not having to drive around in a "tin can" with all the noise. Yeah, it's a track car but...  Well, good thing I pulled up the carpet. There is a wire harness that runs right under where the bar would bolt in. 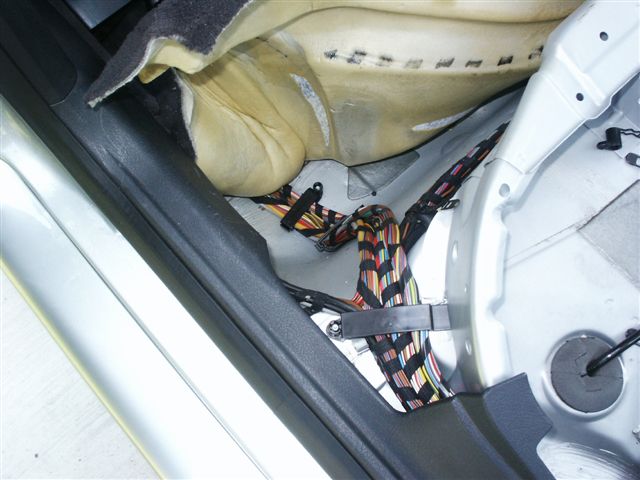 Well, that could have been really bad, drilling through all those wires. 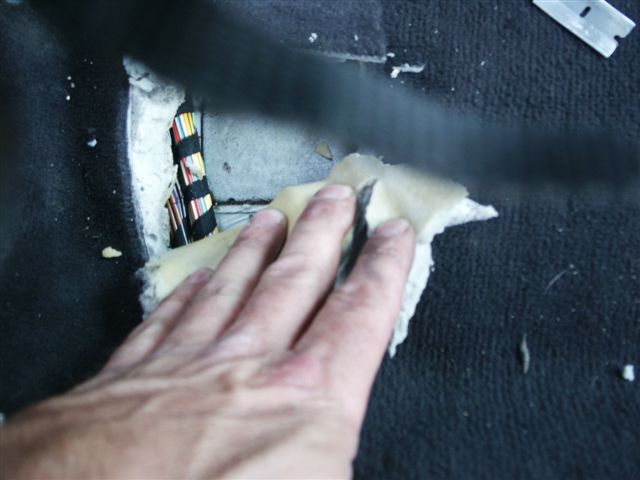 I cut through the carpet and moved the wires to one side so that the roll bar could be firmly bolted to the floor pan. 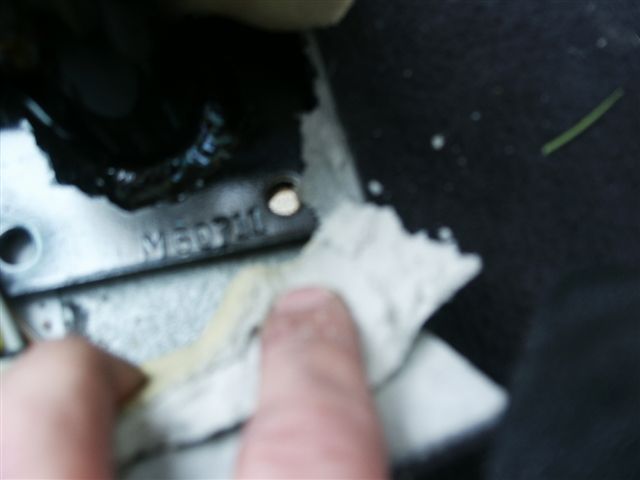 Time to drill some holes. Let's not hit anything! 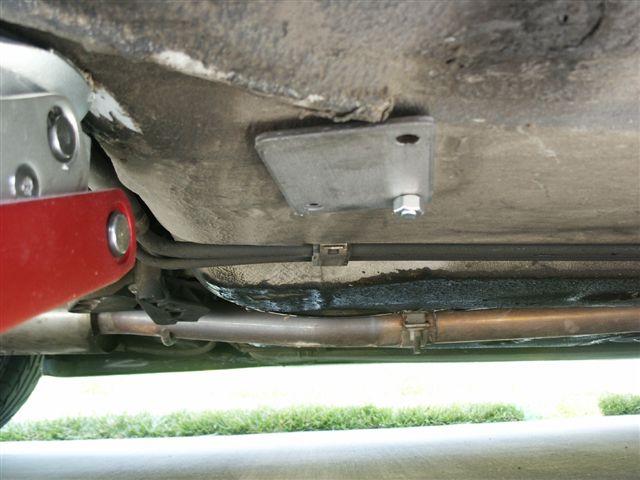 Everything clears just fine, the bolts come through in a nice flat area without any obstructions. 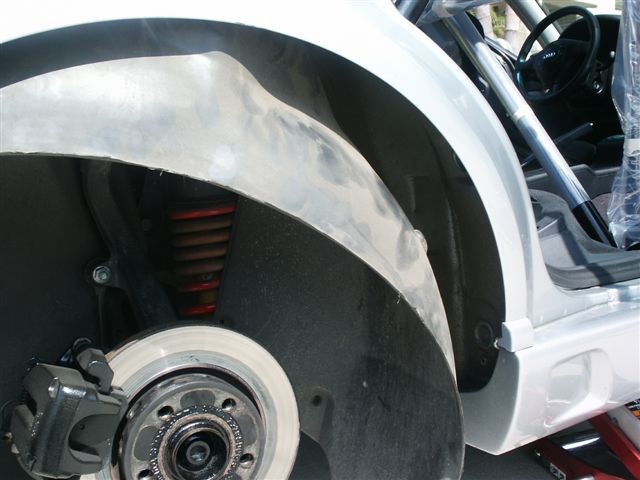 You'll need to remove the rear tires and the inner liner to install the rear section. 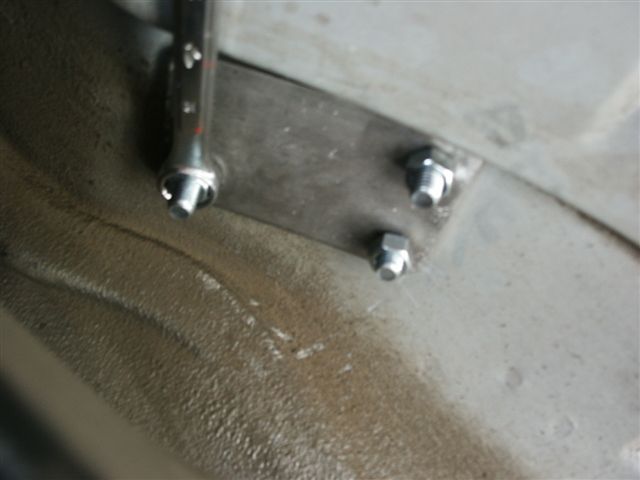 The rear bolts come through in a clear area as well. Once these are bolted into place the brackets seem to fit a lot better too. 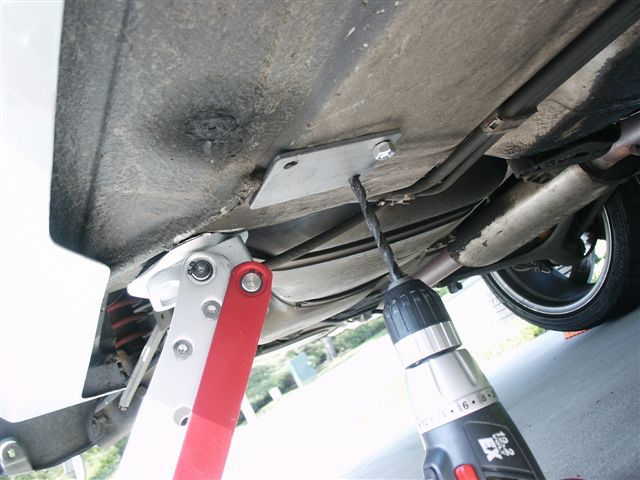 One of the bolts for the main bar needs to be drilled up from the bottom. That is about it, finish bolting everything up, using two nuts on each bolt per the instructions. 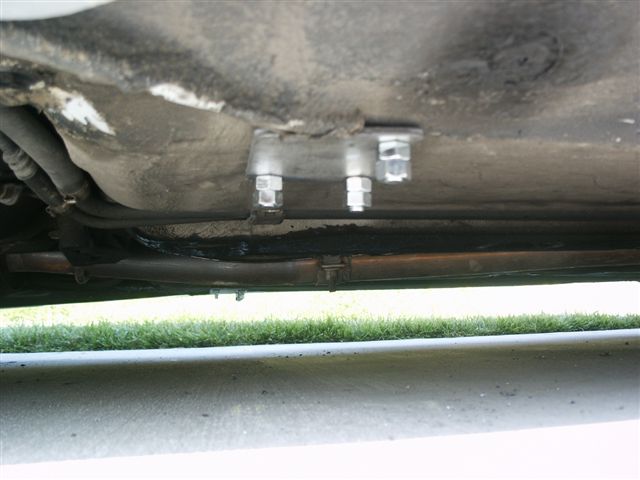 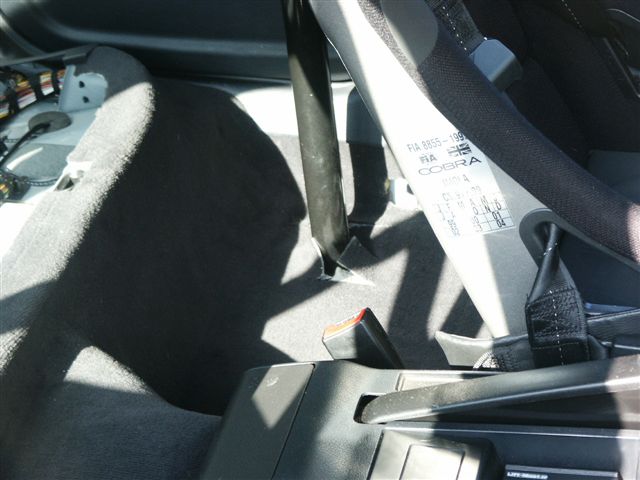 Here is how the cut carpet came out. It doesn't look too professional. If it bothers me I can have it sewn up. But since it is behind me I'll probably never look at it again. 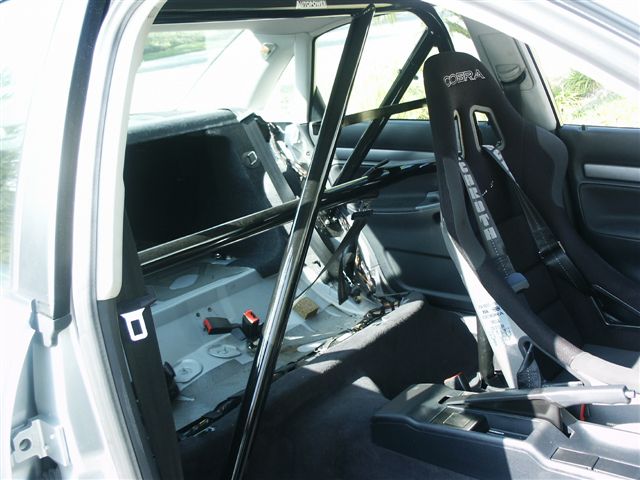 Finish bolting everything back together, reinstall the tires and seat...Done! I'm not planning on installing the rear seat. It looks like it would fit. The side bolsters would have to be cut (and ruined) but they could be reinstalled as well. Don't think the rear seat would be functional anyway. The top bar is about 2" from the roof. 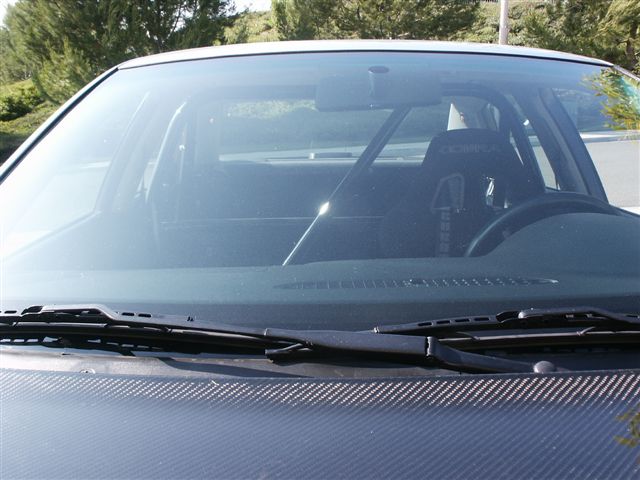 Pretty stealthy. |
|
Advertising |
Contact Us |
Cookie Policy |
Privacy Statement |
Terms of Service |
Do Not Sell My Personal Information
© 2020 MH Sub I, LLC dba Internet Brands |