| Tech Article Title |
Author |
Date
|
| Audax Speaker Install/Upgrade |
bac2h |
2007 |
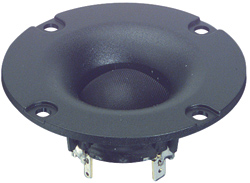
Being kind of an audio nut, I have always thought about upgrading the Bose system that came in the C5. I had no interest in gutting the whole system. I wanted a clean oem looking upgrade. My searching brought me in touch with Bob Murphy aka Murph. He is also somewhat of an audio junkie and told me about Audax speakers. He had installed them in his car and kept the original head unit and amp. I located the speakers at Parts Express. They are pictured here.
Tweeter = Audax TM025F1 1" Textile Dome Tweeter
Woofer = Audax AP170Z0 6-1/2" Shielded Aerogel Midbass

It just so happened that my good friend Lewis Preston who owns The Electrical Connection in Knoxville TN was coming to stay with us a few days as he always does after the Americade Motorcycle Ralley in Lake George NY. Lewis has mad skillz when it comes to this kind of stuff so I let him earn his room and board!!!
A quick word about the woofer. They only sell the Aerogel version of the 6.5 in a shielded version which will not fit in the doors depth wise. We'll get to that solution in a bit.
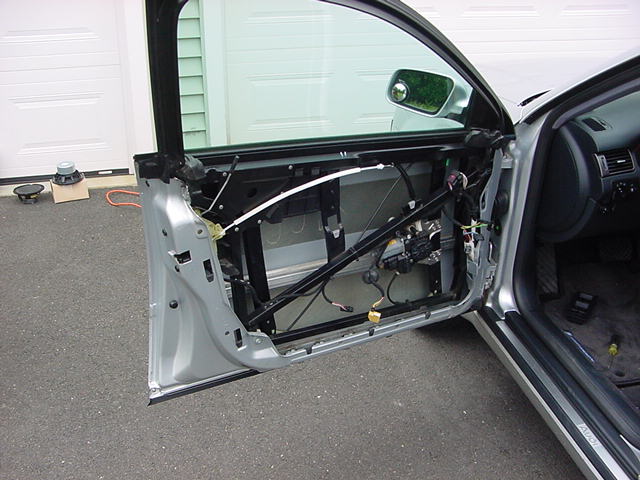
First: door panel removal
We tackled the tweeters first. The plastic surround of the Audax tweeter is easily trimmed with snips etc to perfectly fit the existing location.
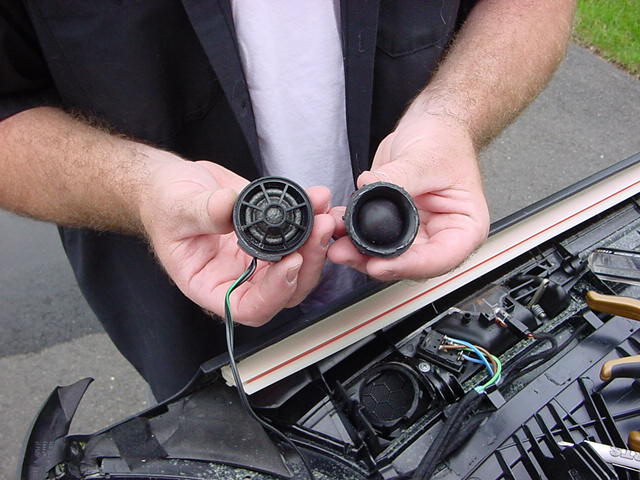
Tweeter trimmed and installed.

On to the woofer. As I stated before it comes shielded with an extra magnet in back in case you are using it in an Audio/Video environment. The mounting holes do not match up exactly to the existing so new holes were drilled with a uni bit for mounting.
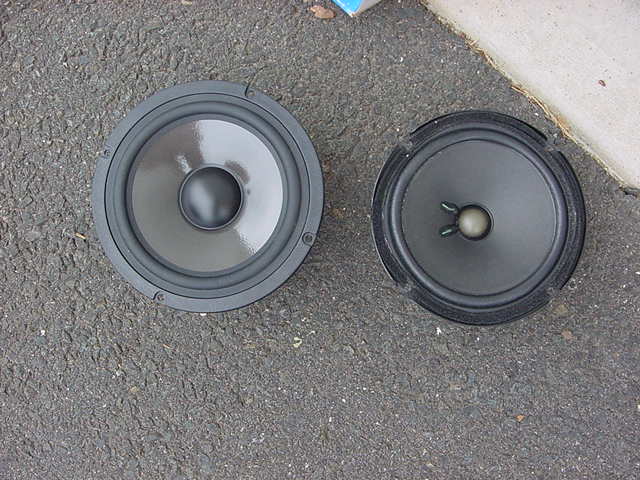
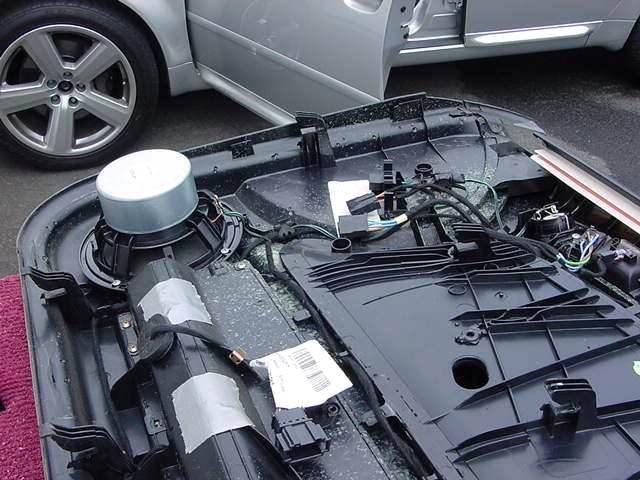
Here is a comparison of the Bose and the Audax. You can see the Bose looks a little tired.
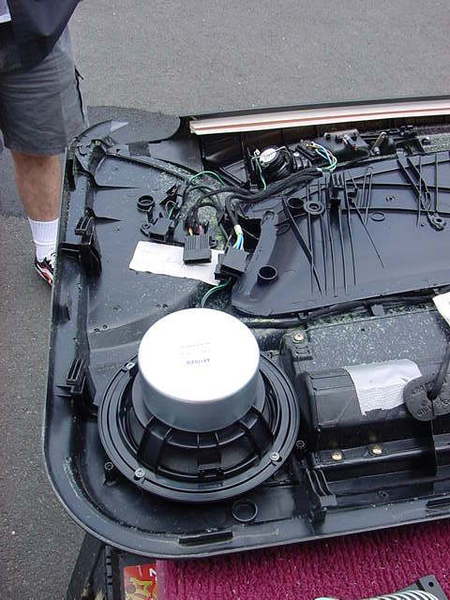
And here it is installed before we 'fix' the shielding issue.
To solve the depth problem we took a Dremel with a cutoff wheel and made a slit in the aluminum housing at the back of the woofer. Make the slit about three or four inches long. Use a large screwdriver to pry the aluminum housing off. It actually pops off pretty easily once you have created the slit.
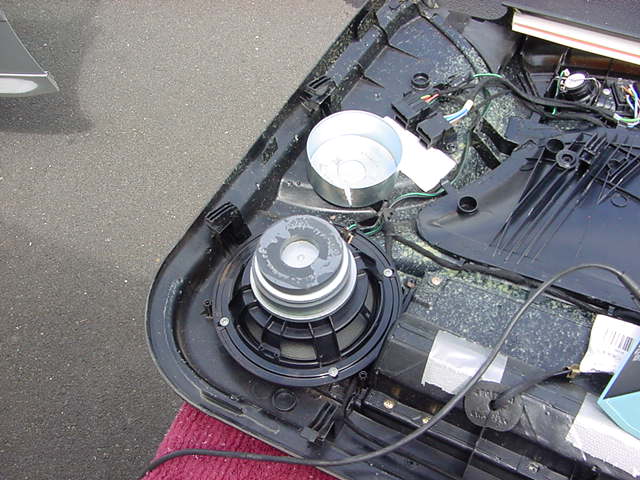
In the pic above you can see the aluminum housing sitting in the background and you can see the size of the cut we made with the dremel. In this pic you can also see the extra magnet at the back of the woofer. Use that same large screwdriver to carefully pry the extra magnet off. Again, it was surprisingly easy.

We cut off the existing Audi plugs and soldered the speaker wires directly to the tweeter and woofer.
At this point re-install the door panels.
Some random thoughts on fine tuning the sound. If you have changed the internal eq settings I would put them back to flat along with the radio bass/mid/treble settings before you listen to the speakers. Listen to a variety of music with the settings at flat and then make your changes to the internal eq and radio settings. You will note I did not change the rear door drivers as I have basically turned them down to almost zero. I prefer the sound staging using just the front speakers. I have however brought the back speakers back up a couple of notches to sort of 'fill' behind me a little. I found the tweeters to be extremely bright and I needed to tame them using the internal eq settings. If you have not done this yet please do yourself a favor and get familar with the internal eq settings. It really opens up a whole new sound to your system.
In summary I am EXTREMELY happy with the upgrade in sound for a very modest investment. My last step will be a small sub in the trunk to replace the bose unit in the fenderwell to round out the whole sound experience.
|