|
|
After much searching for a suitable short throw shifter for my allroad, I came across the JHM Solid Shifter. Unlike most other shifters out there, It uses a spherical bearing for the pivot. The result is an incredibly solid & accurate shifter. As you can see from the picture below, it is quite a bit beefier tan the stock unit. This write-up was done on my 2005 allroad 2.7tt 6-spd. It took me about an hour to accomplish. It is is fairly straight forward and simple to do. There is also a link to an install video on JHM's web page, but it only covers the B5 S4 application. http://www.jhmotorsports.com/videos/ There are a few differences with the allroad.
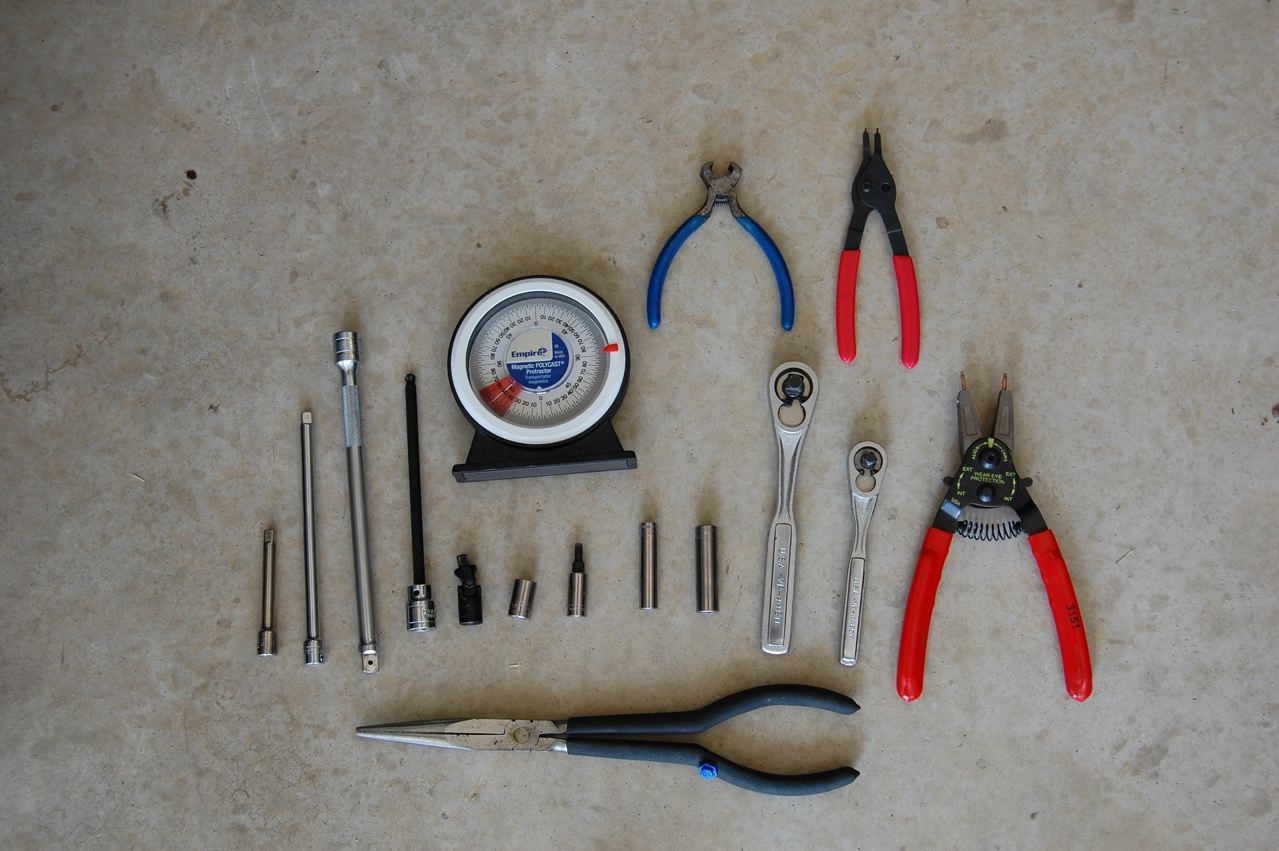
You will need a few basic tools for this install. 8mm & 10mm sockets, 1/4 & 3/8 drive ratchets, several extensions, pivot, 6mm hex key, T25 Torx head, L & S snap ring pliers, needle nose pliers and an angle gauge. Start by prying up the shift boot plate. It snaps into place and will pop up when you pull straight up on it. Make sure not to loose the metal spring clips that hold it in place. 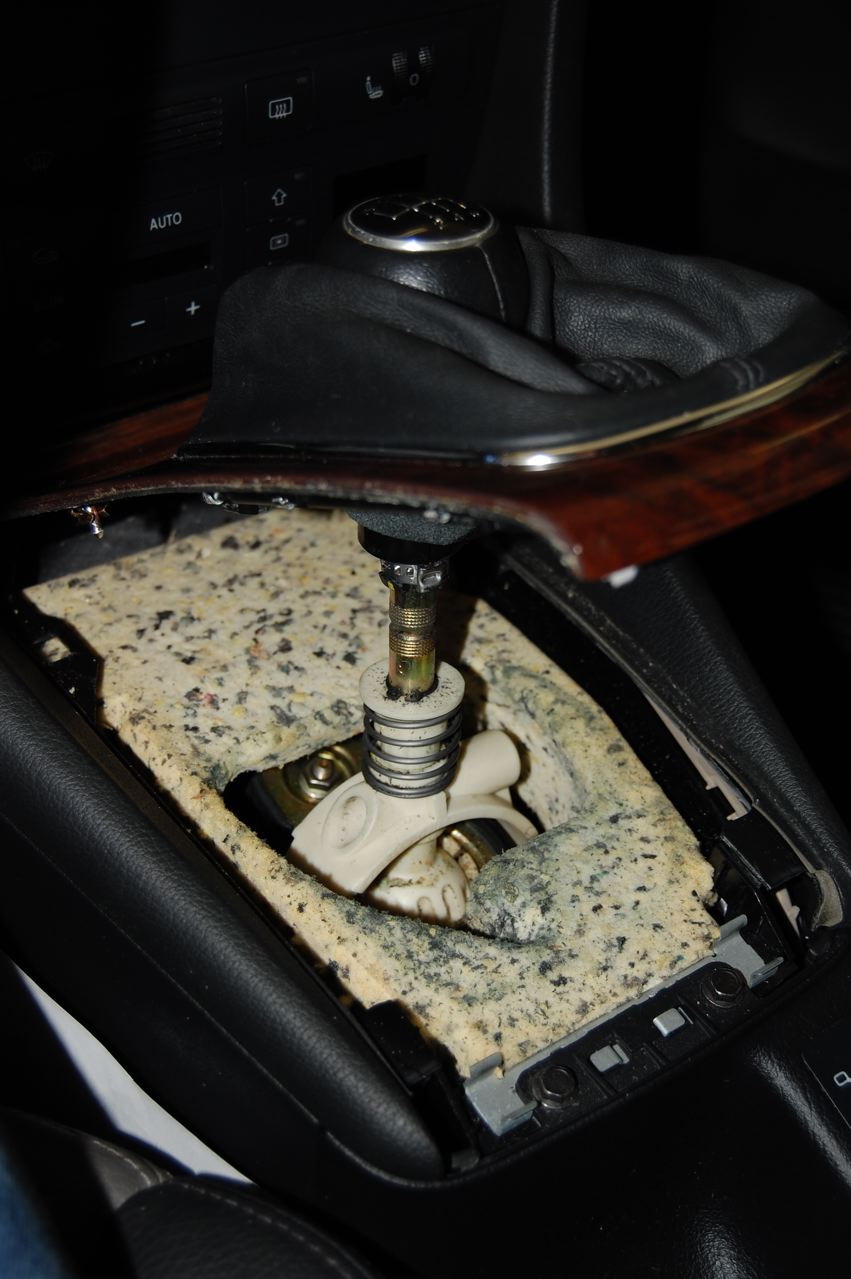
Next, you will need to remove the clamp that holds the shift knob to the shifter. This picture shows it already removed, but you can see more clearly how you need to pry the clip open to remove it. If you are careful, you can re-use it when you are done. Next, you will see the first layer of sound insulation. Just pull it out and set it aside. Be careful not to tear it. 
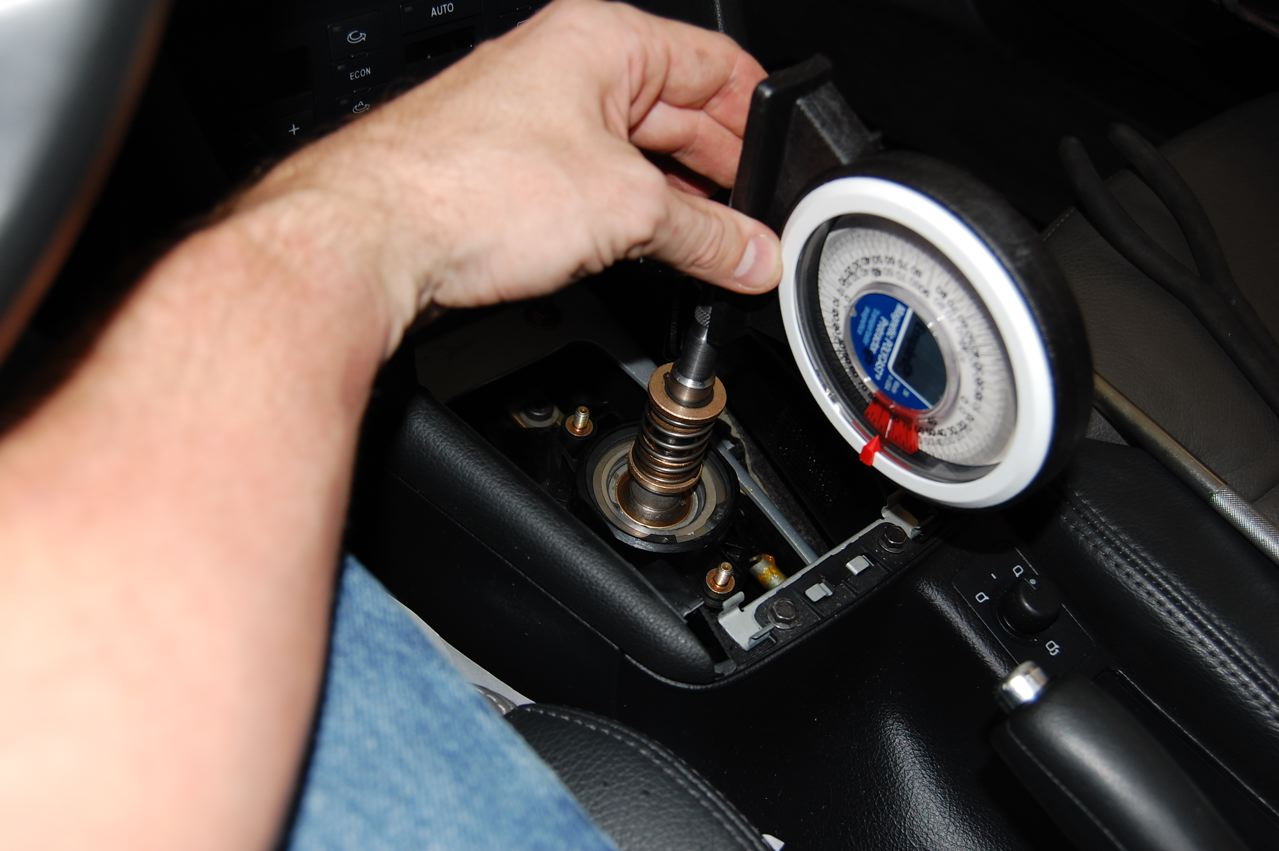
Now, remove the two nuts (in front and behind the shifter) that hold the dust cover in place. The cover will pull straight up. 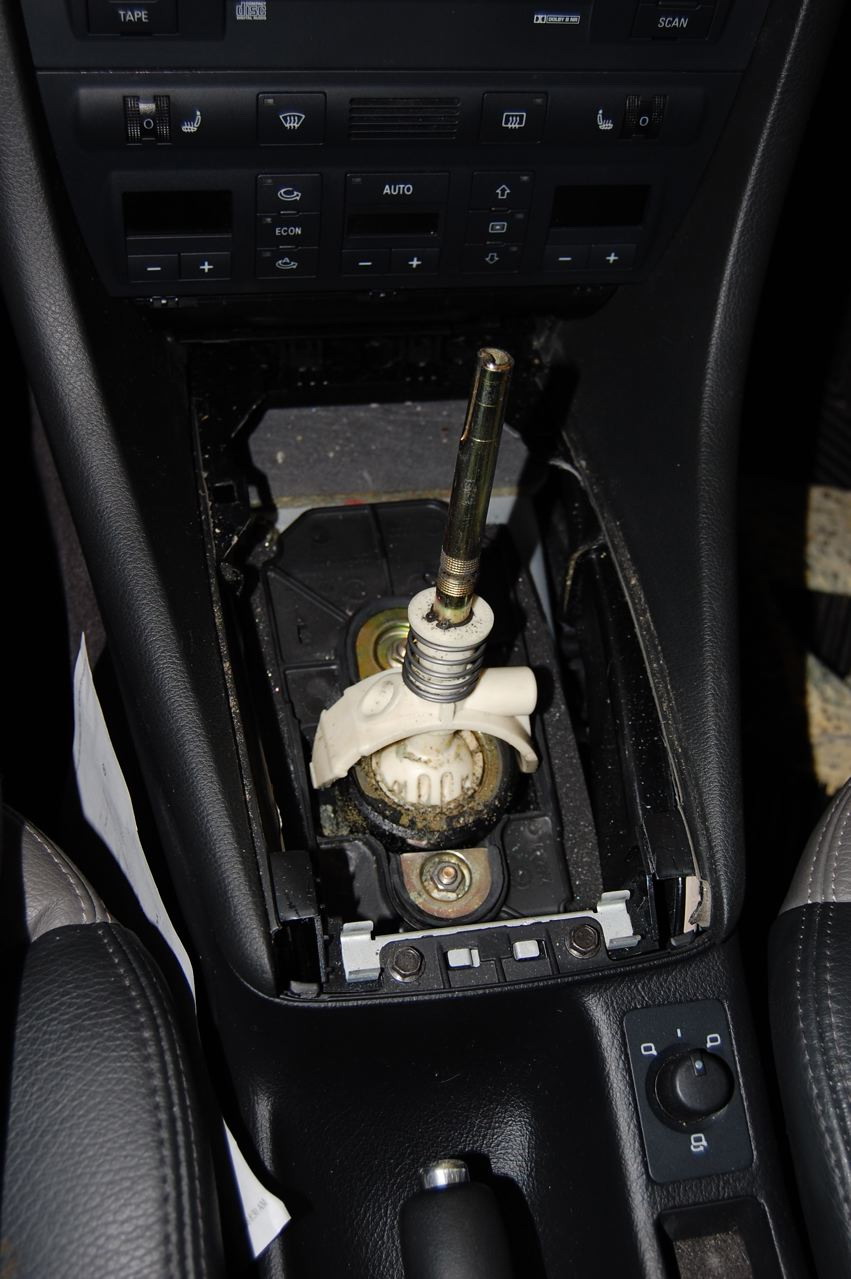
Now you can see down the the shift rods. 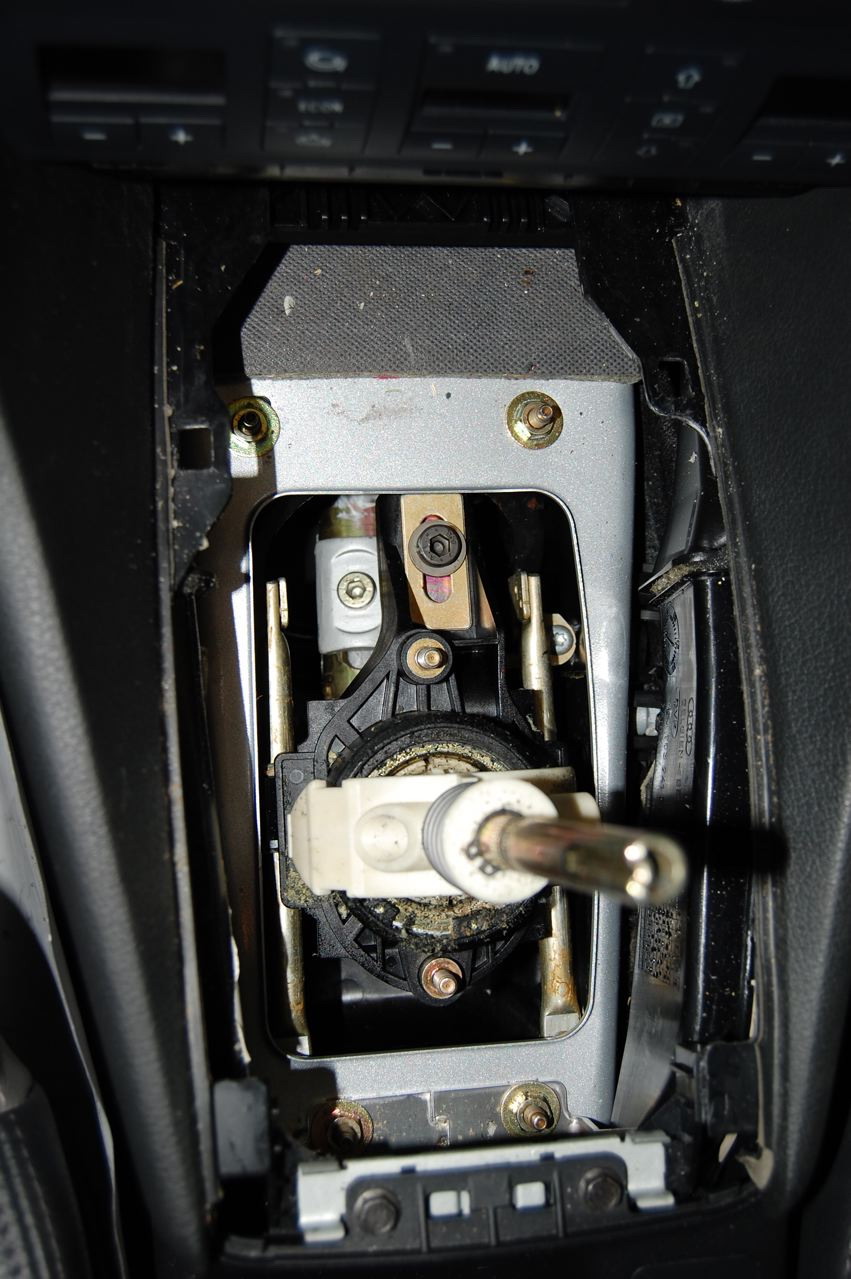
First, loosen the transmission brace rod screw with the 6mm allen key. This is how you will set the fore-aft position of the whole shifter assembly, so remember the position of the set screw for re-assembly. 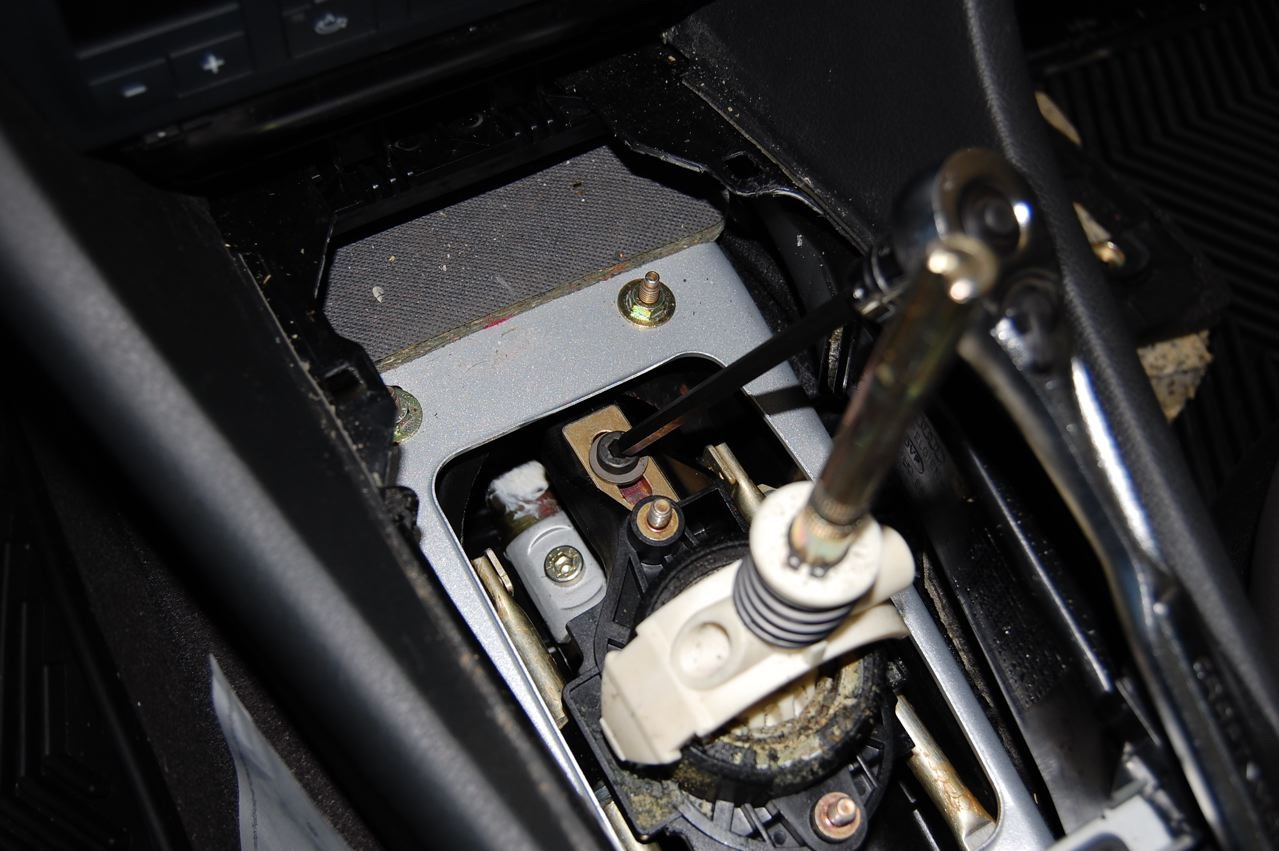 Next, loosen the shift rod set screw with 6mm hex key. This will allow more movement of the shifter as we remove it. 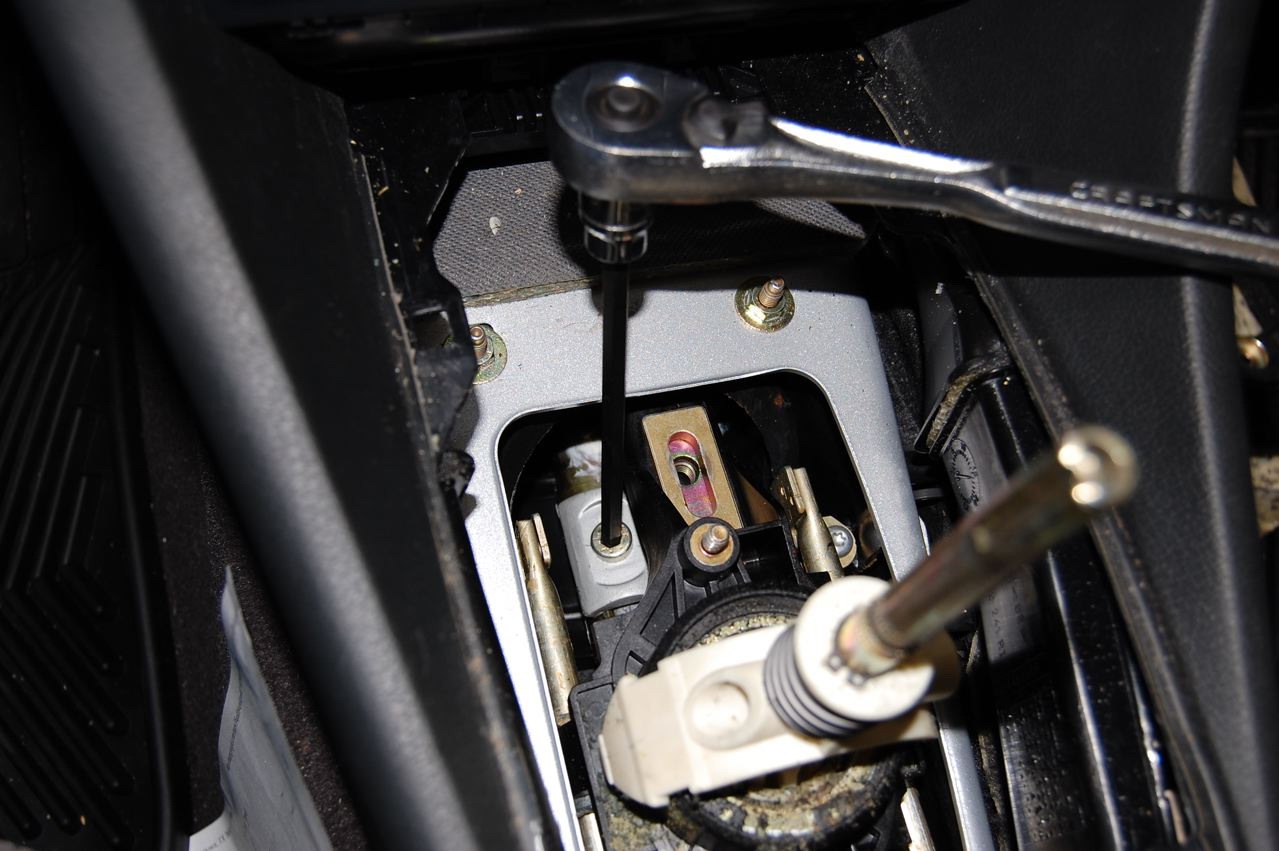
Now comes the fun part. You need to remove the four 10mm nuts that hold the shifter housing bucket in place. As you can see, you do not have the access you need to remove the four T25 torx screws that hold the shifter slide rails. 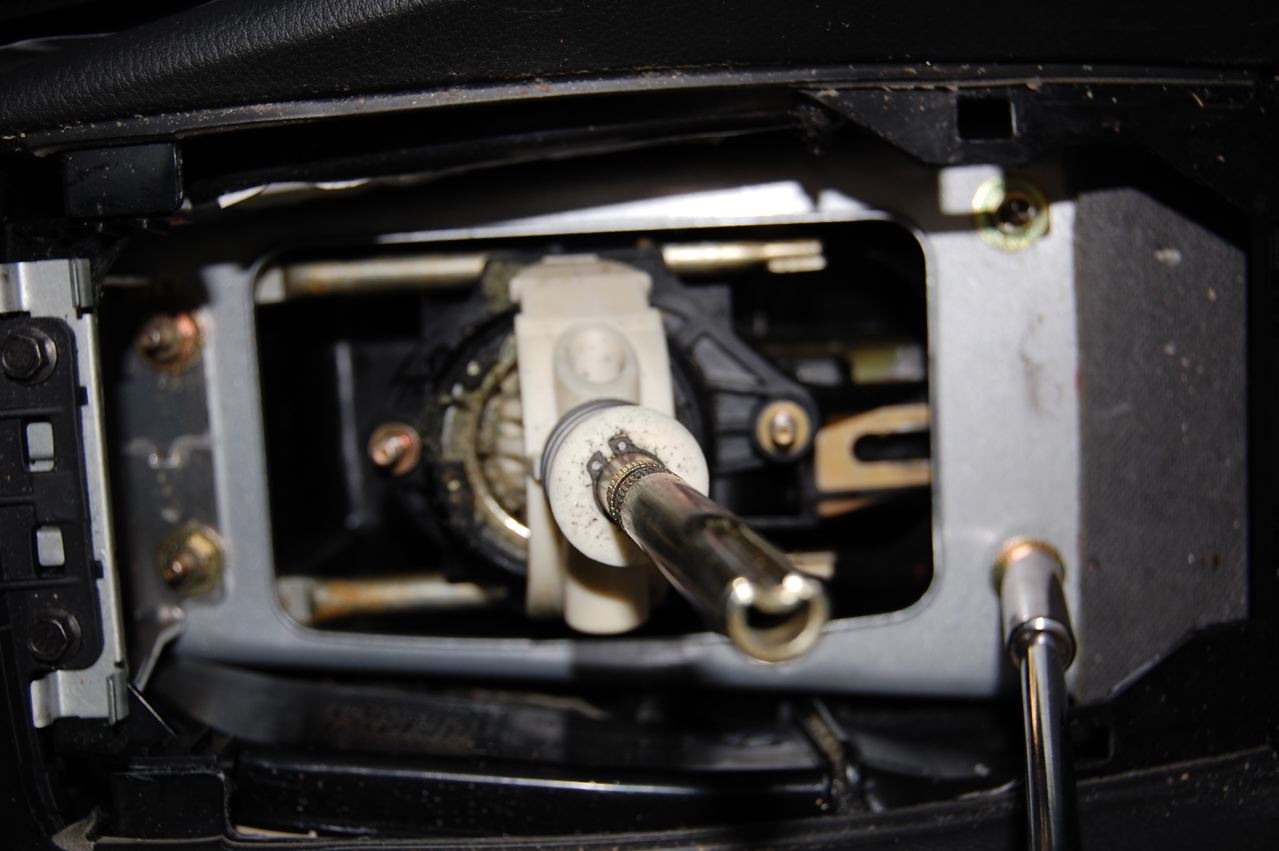
Once the four nuts are off, the bucket will drop down. Don't worry, it will rest on a heat shield after it falls a few inches. 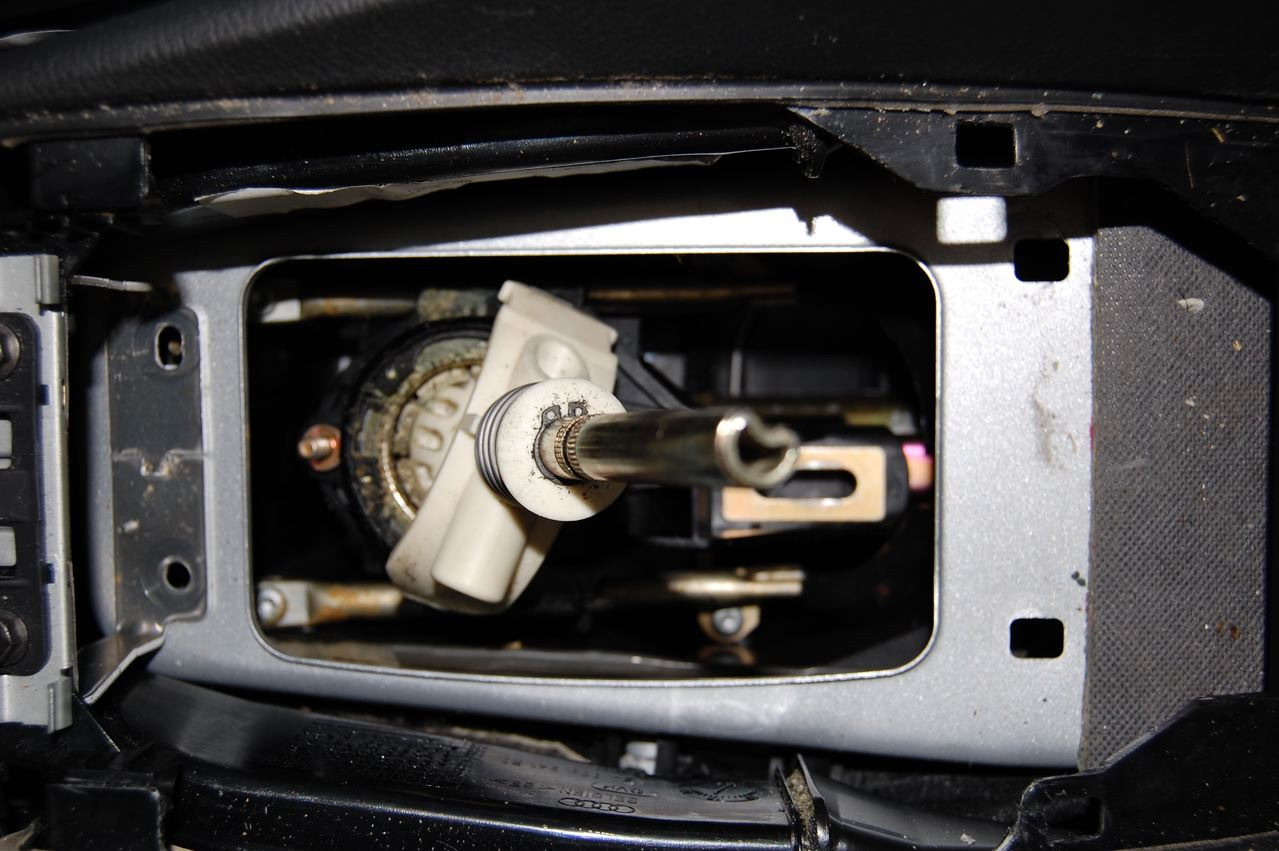
Now remove the four T25 torx screws that hold the shifter slide rails in place. Be careful not to drop these screws down into the car. Use the needle nose pliers to get the screws out if you have to. 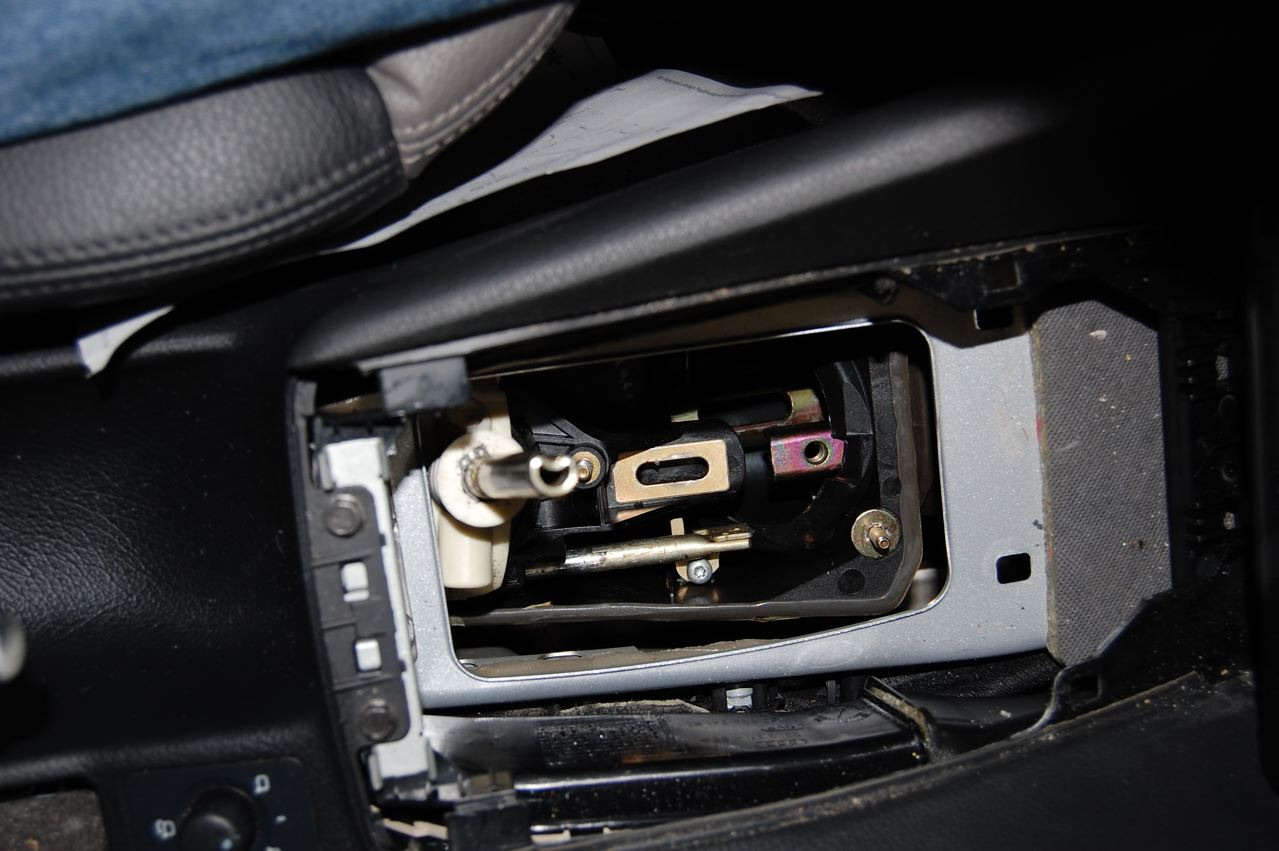
You should now be able to remove the whole shifter assembly from the car. 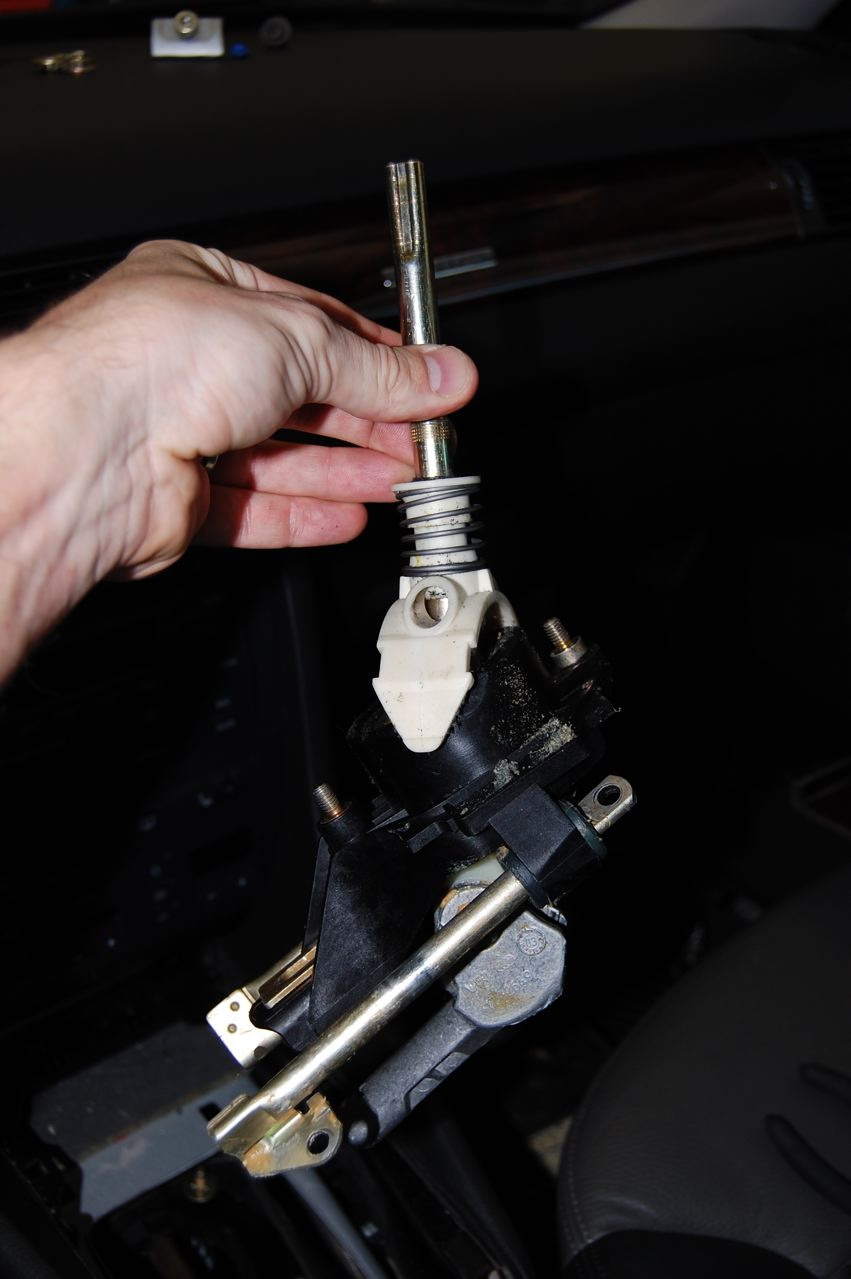
Take a moment to observe the orientation of all of the pieces of the shifter. You want to make sure you have everything pointed the right way when you re-assemble it. 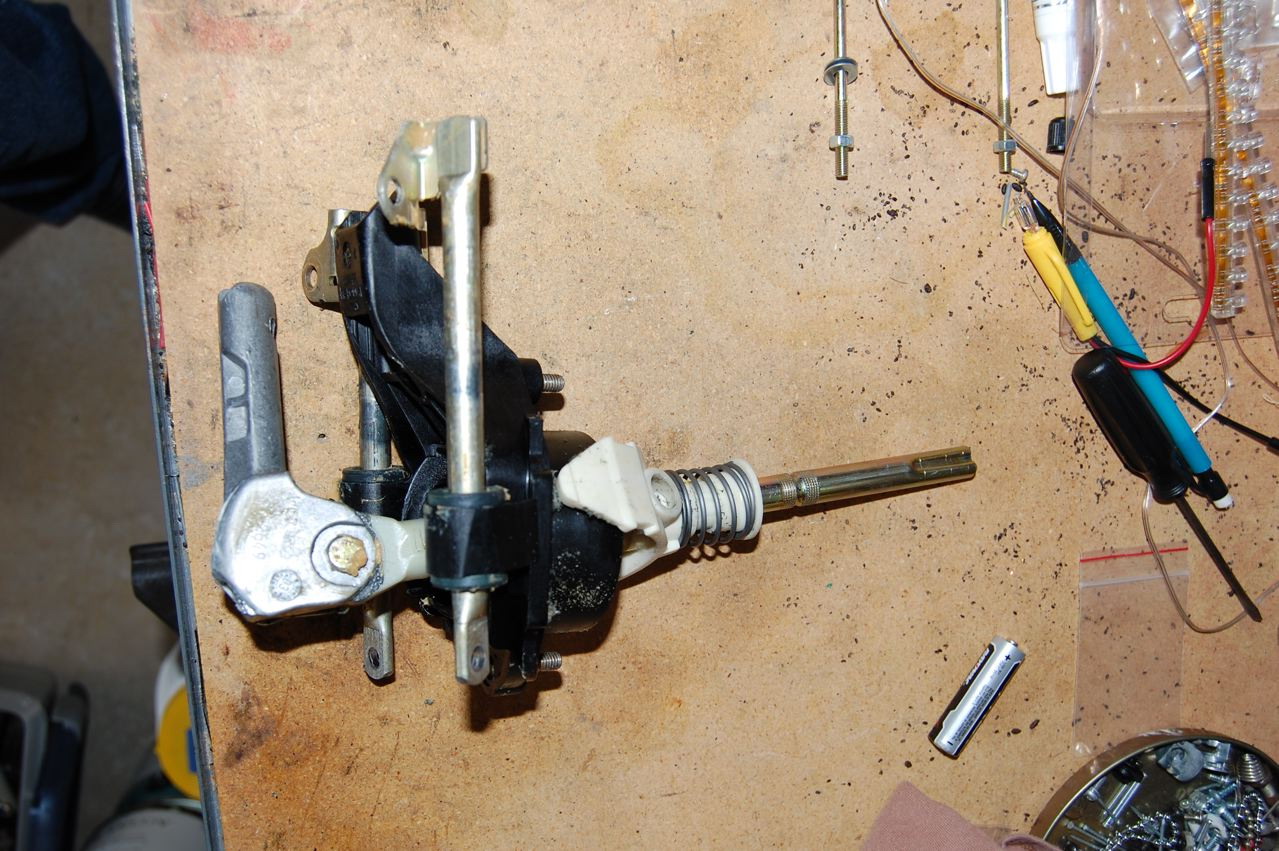
Now, remove the snap ring that hold the stock shifter together. 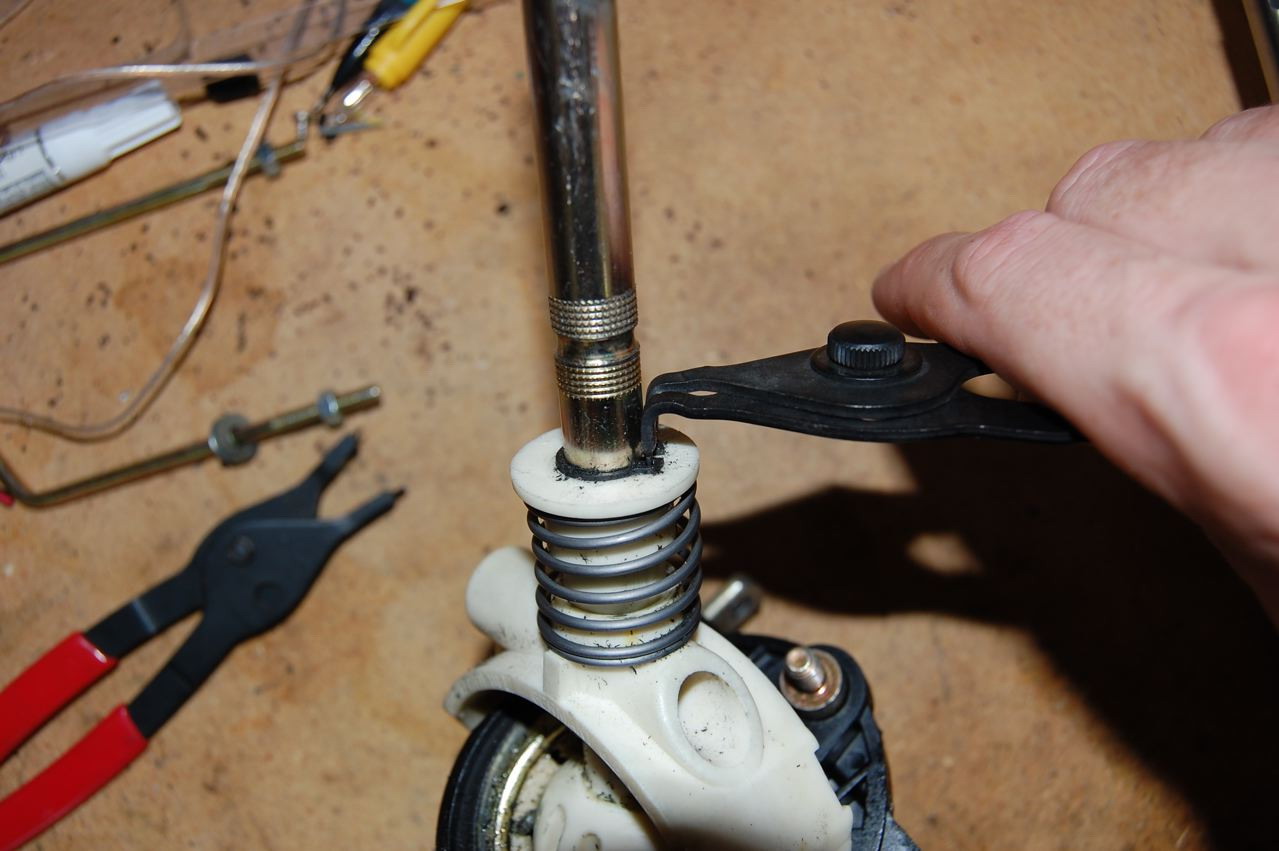
You should be able to remove the reverse lockout spring assembly. 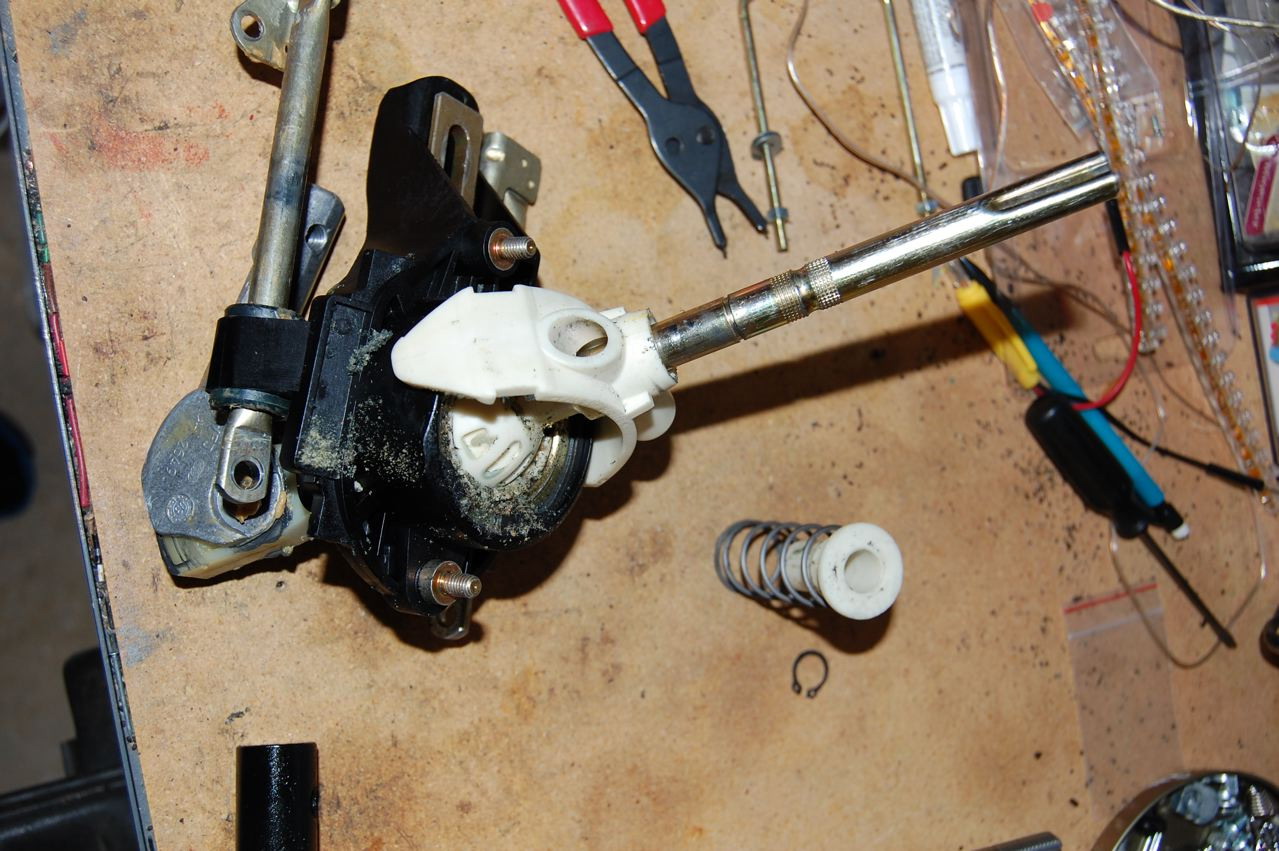
Next, remove the large snap ring that holds the pivot ball into the shifter housing. 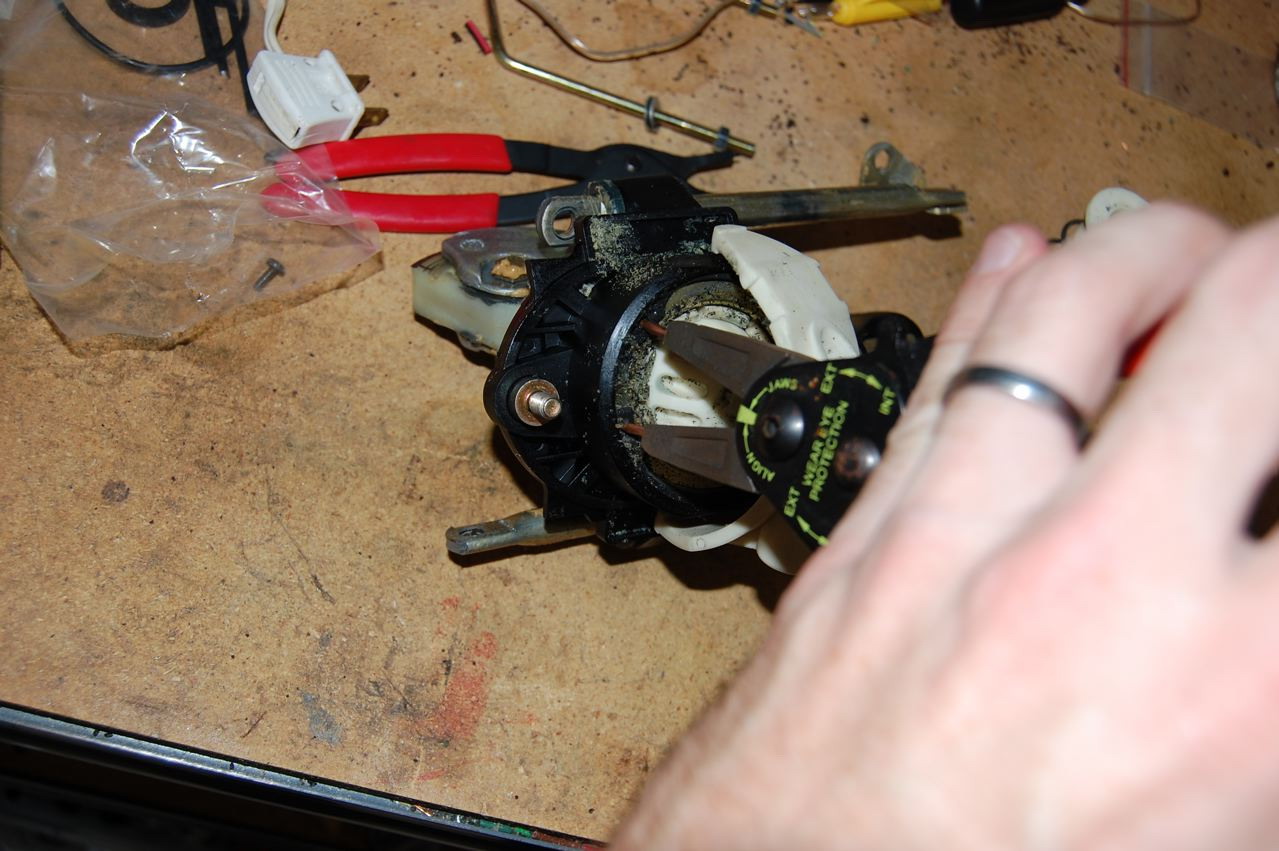
The pivot ball should come free now. 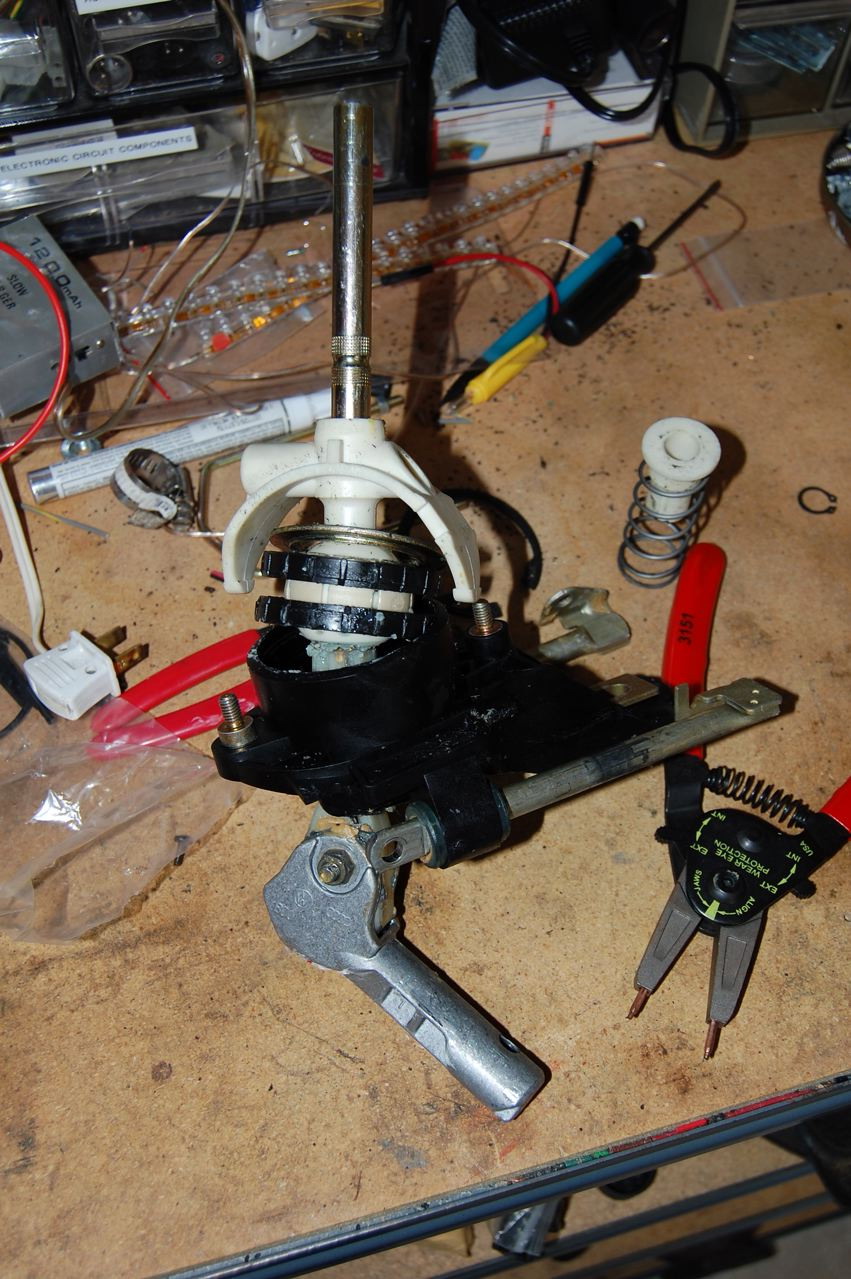 Just pull down on the Shifter to slide it out of the housing. Here you see the two shifters side by side. You can see how much beefier the JHM unit is compared to the stock unit. The second set of upper holes you see is to set the shifter to the 10% reduction mode. The stock setting is 35% reduction. 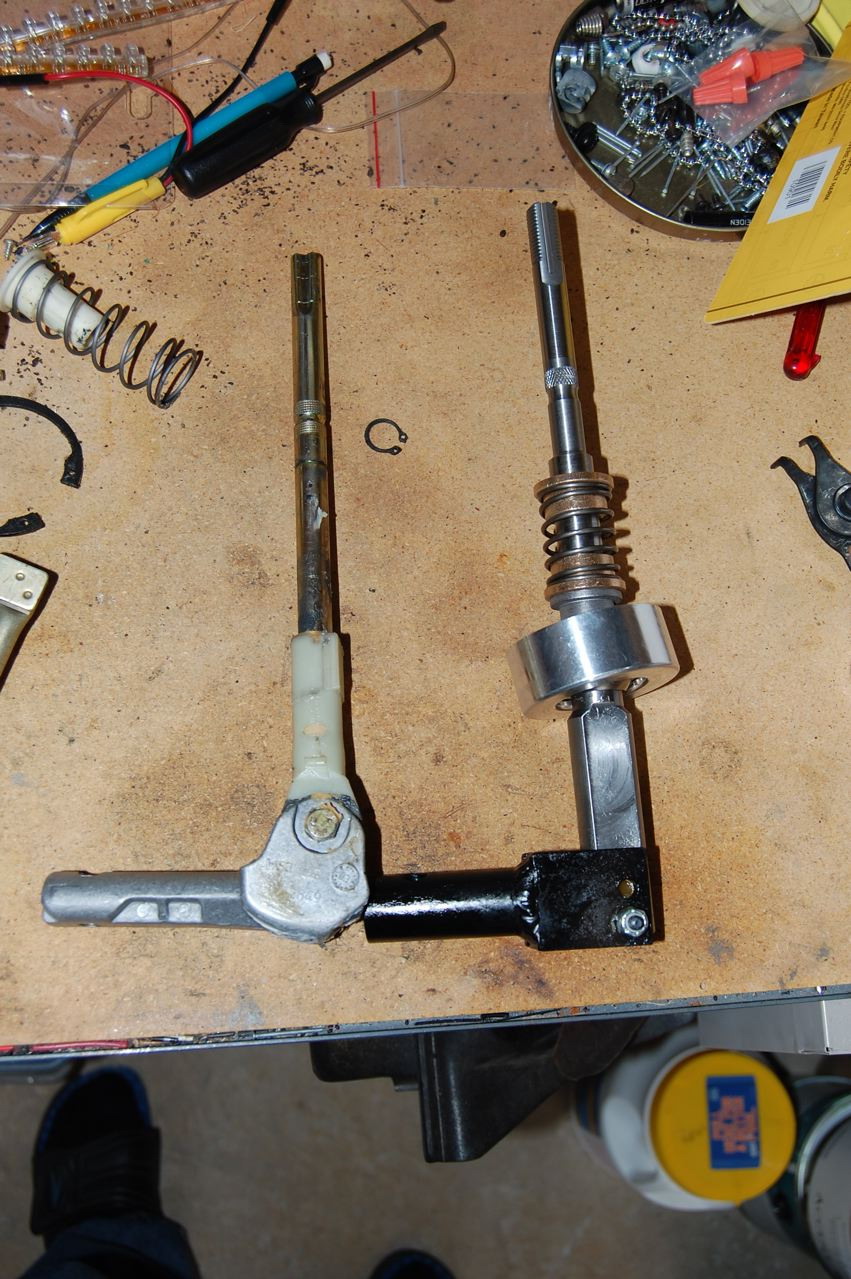 Now, you will need to pull the shift guides out of the shifter base. The factory bushings are rubber, so you just need to pull firmly on them. They will pop out. 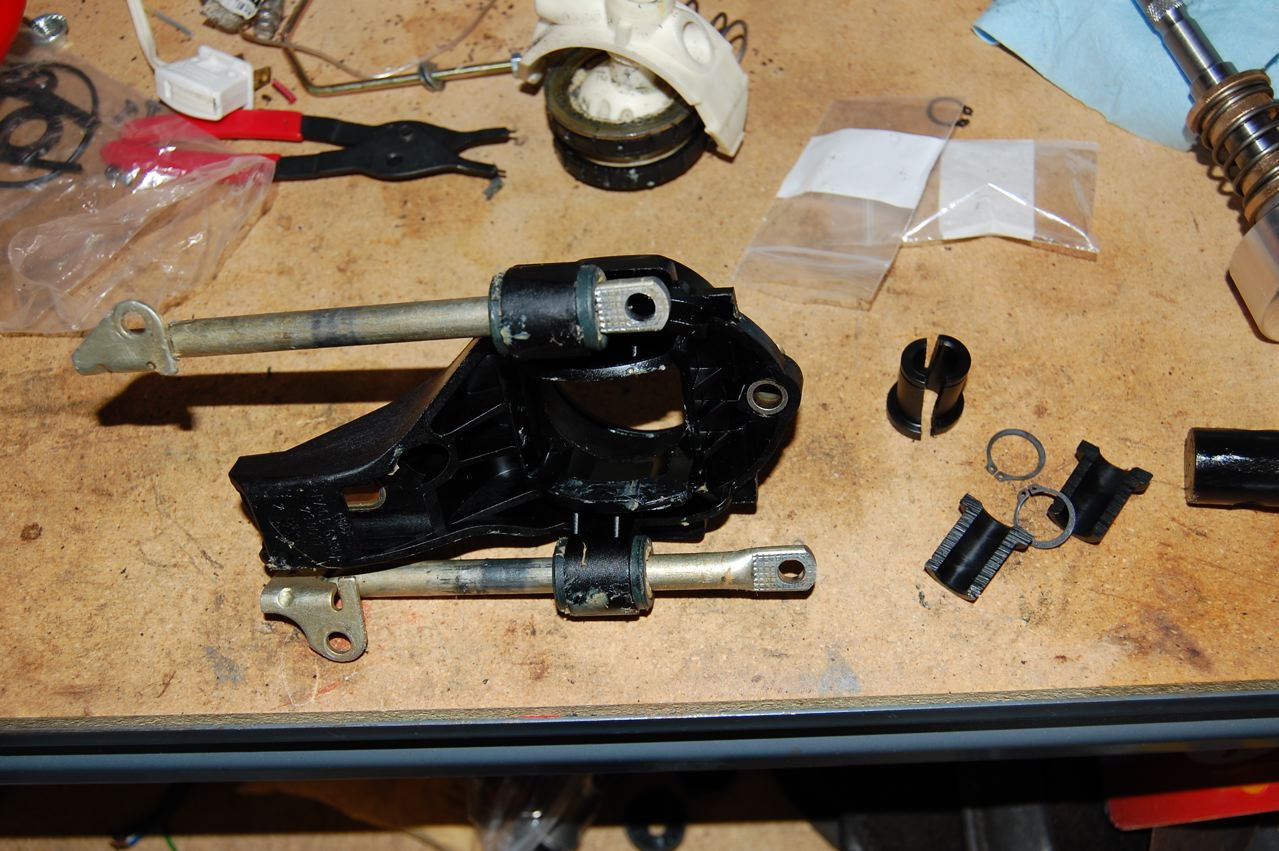 The new bushings are made from delrin. This takes some more slop out of the system. They are split, so be careful and keep the matched pairs together. 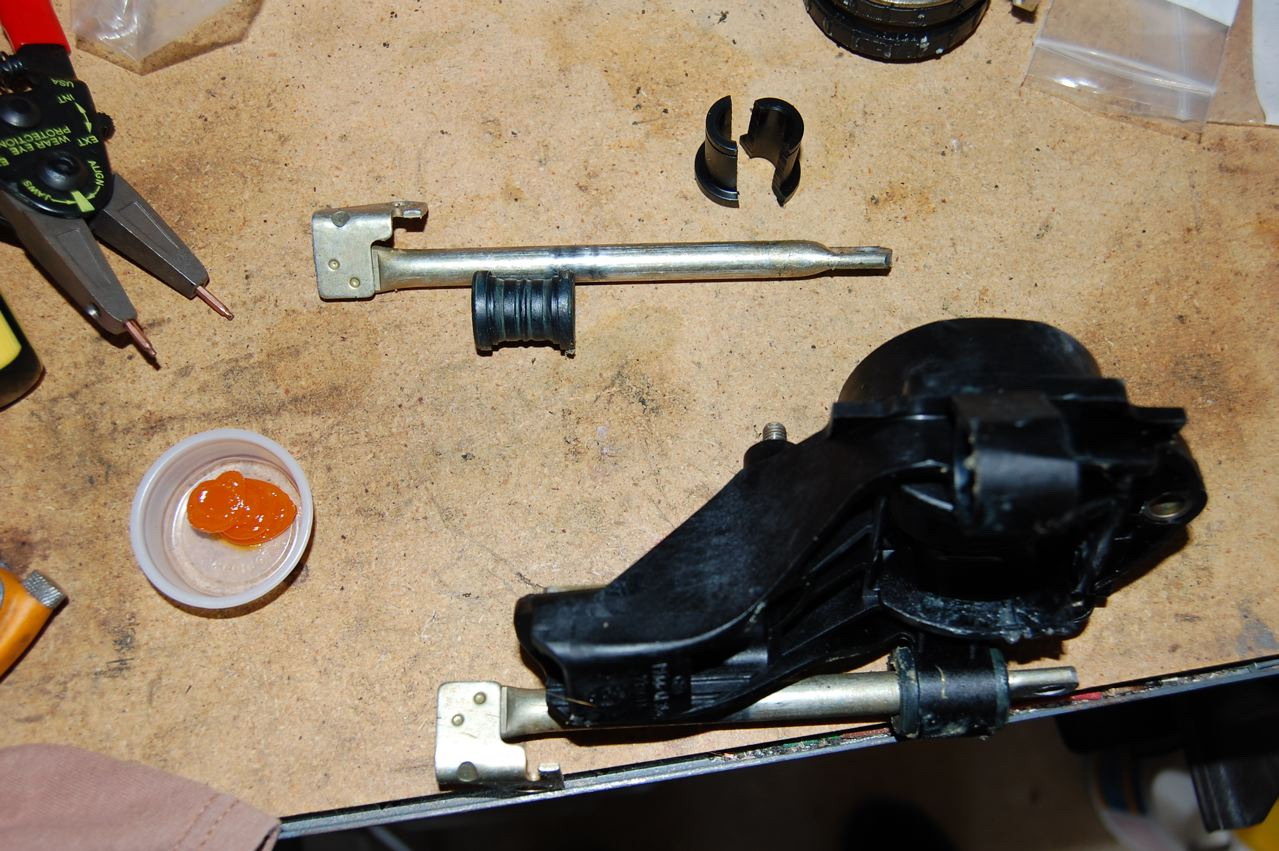 Put some grease on the new guides and orient them so the collared end faces forward. Don't forget to secure them with the snap rings. 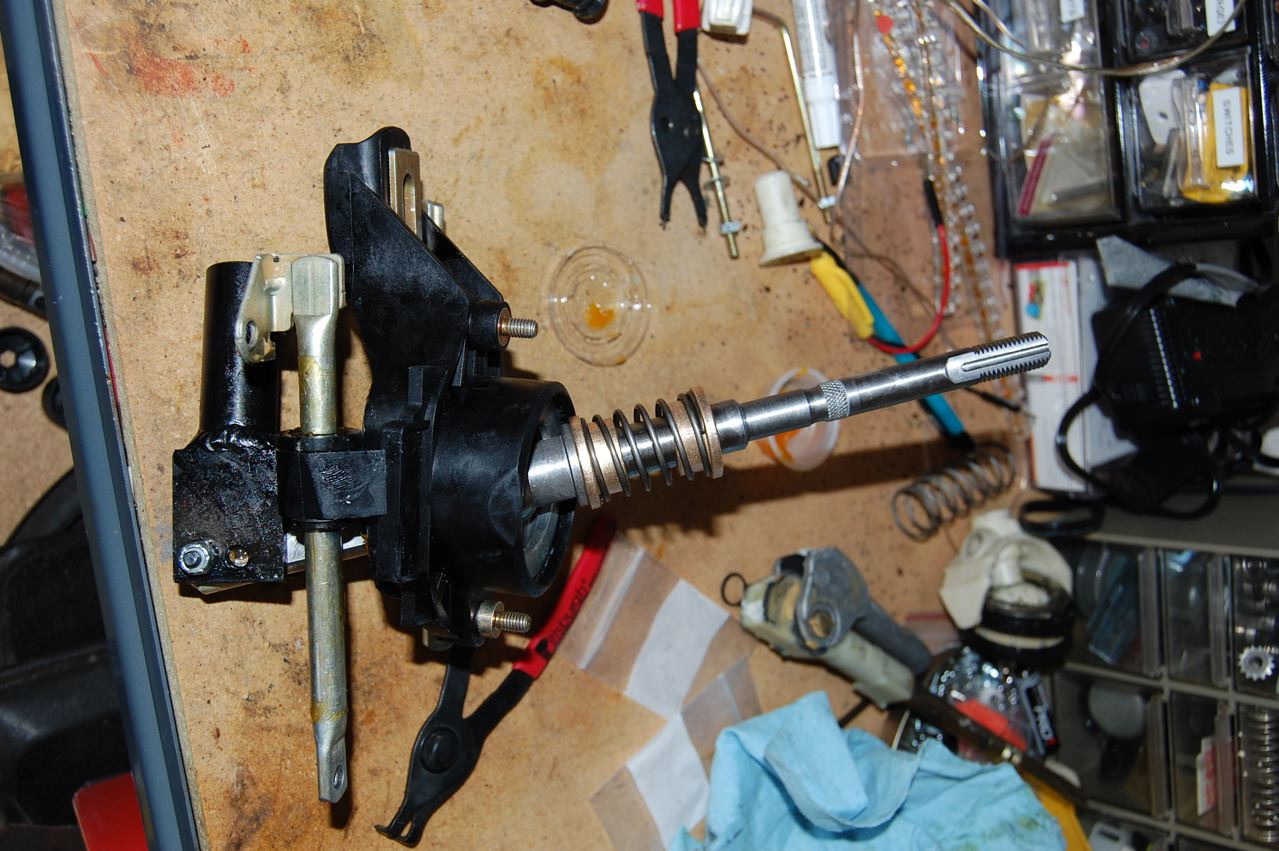
Now slide the new shifter into the cradle. It might take some twisting to get it to slip through. Make sure the pivot housing is fully seated, and then insert the shim. Add extra as needed. 
Finally, secure the whole thing with the large snap ring. Make sure it is fully seated and there is no play in the pivot. 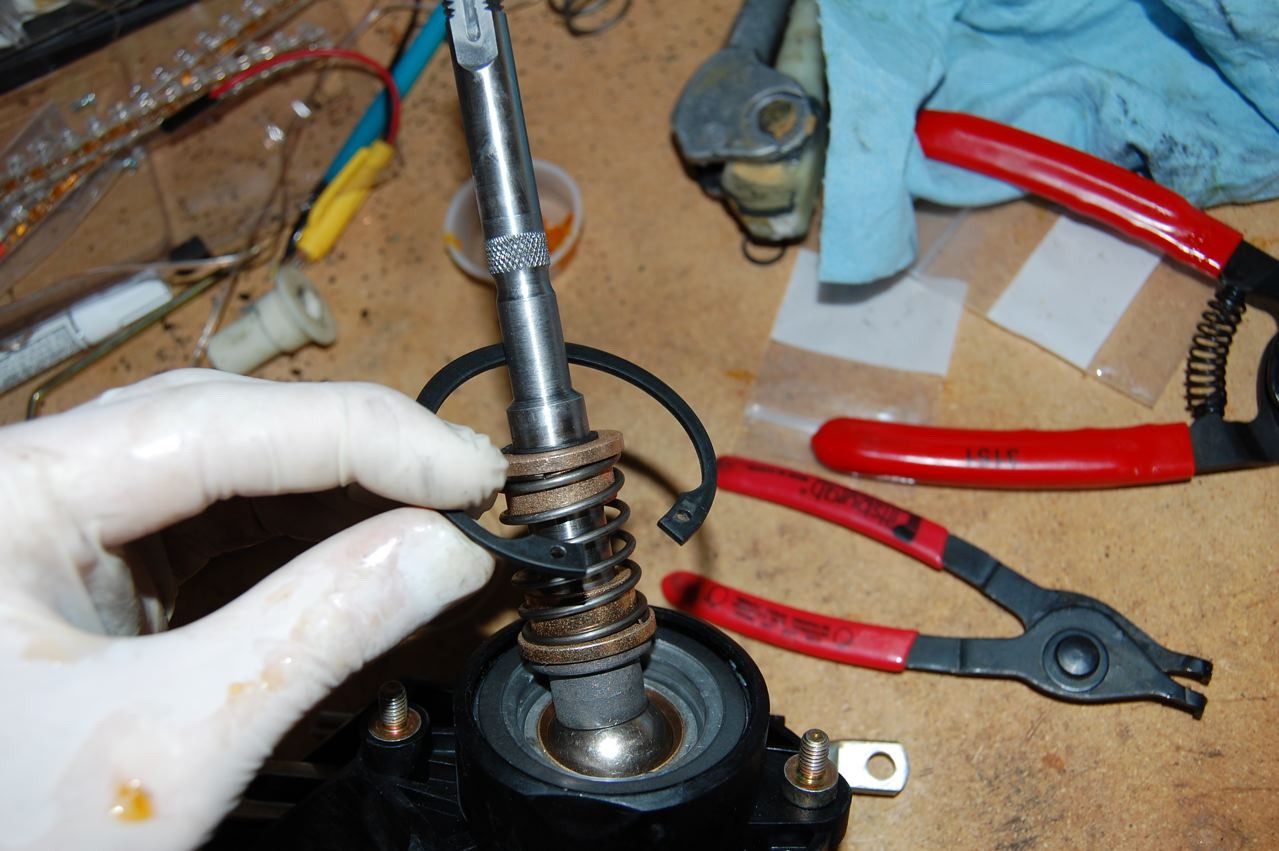
Here you can see the whole shifter assembled. It is quite a bit more purposeful looking than the stock unit. 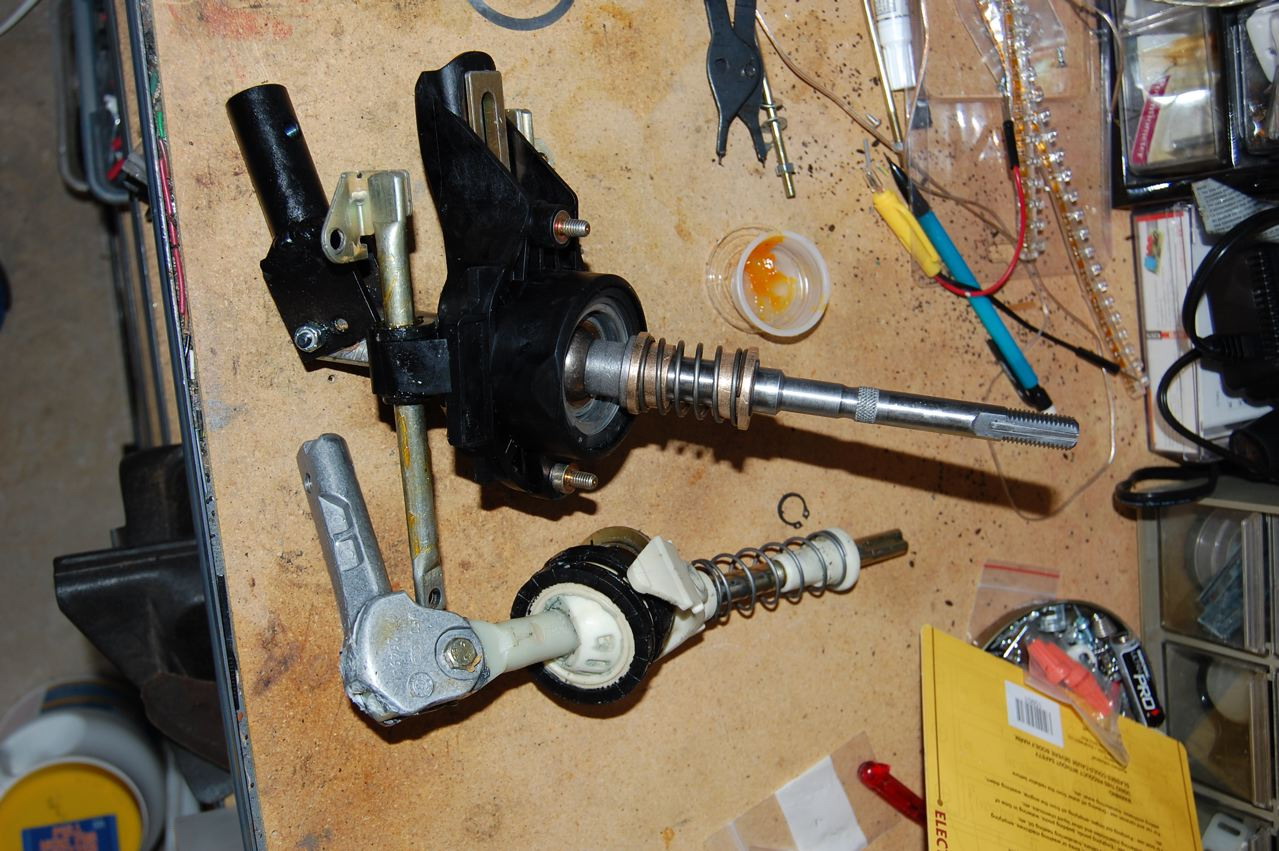
Now, re-install the shifter in the plastic bucket housing with the torx screws. 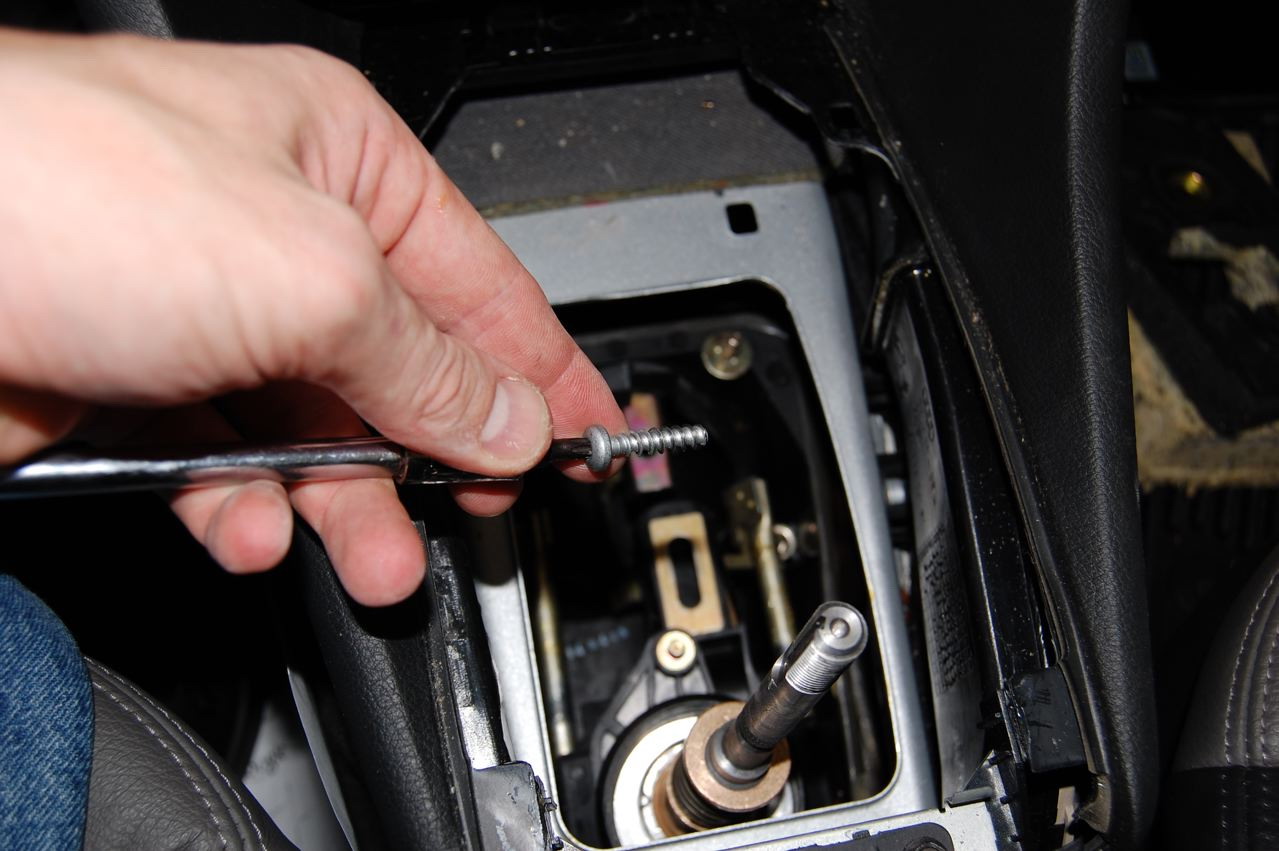
Make sure you align the two shift rods while everything is nice and loose. It will be easier this way. 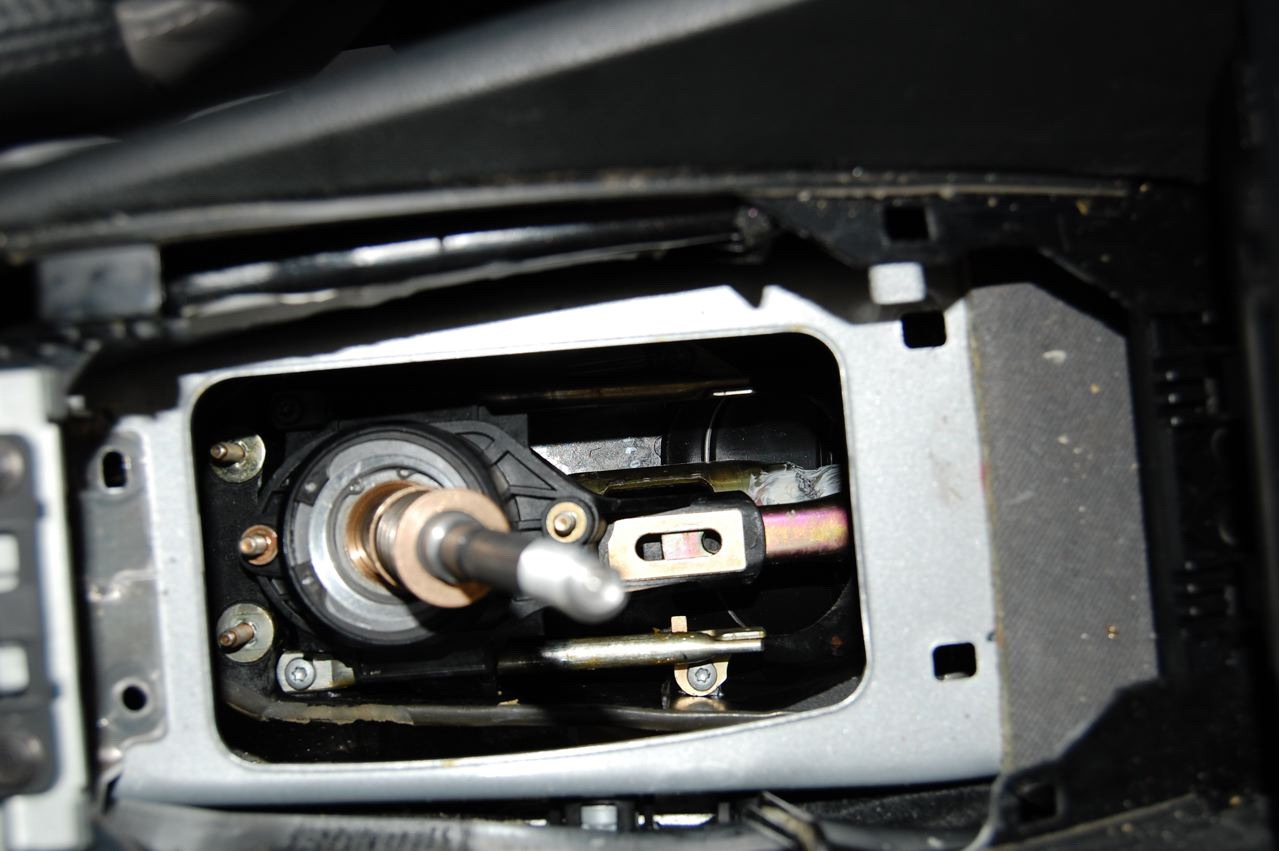
Now, re-connect the two shift rods. Set the shift brace rod back to the distance you measured before disassembly and leave the shift selector rod slightly loose. We need to align it before it gets tightened. 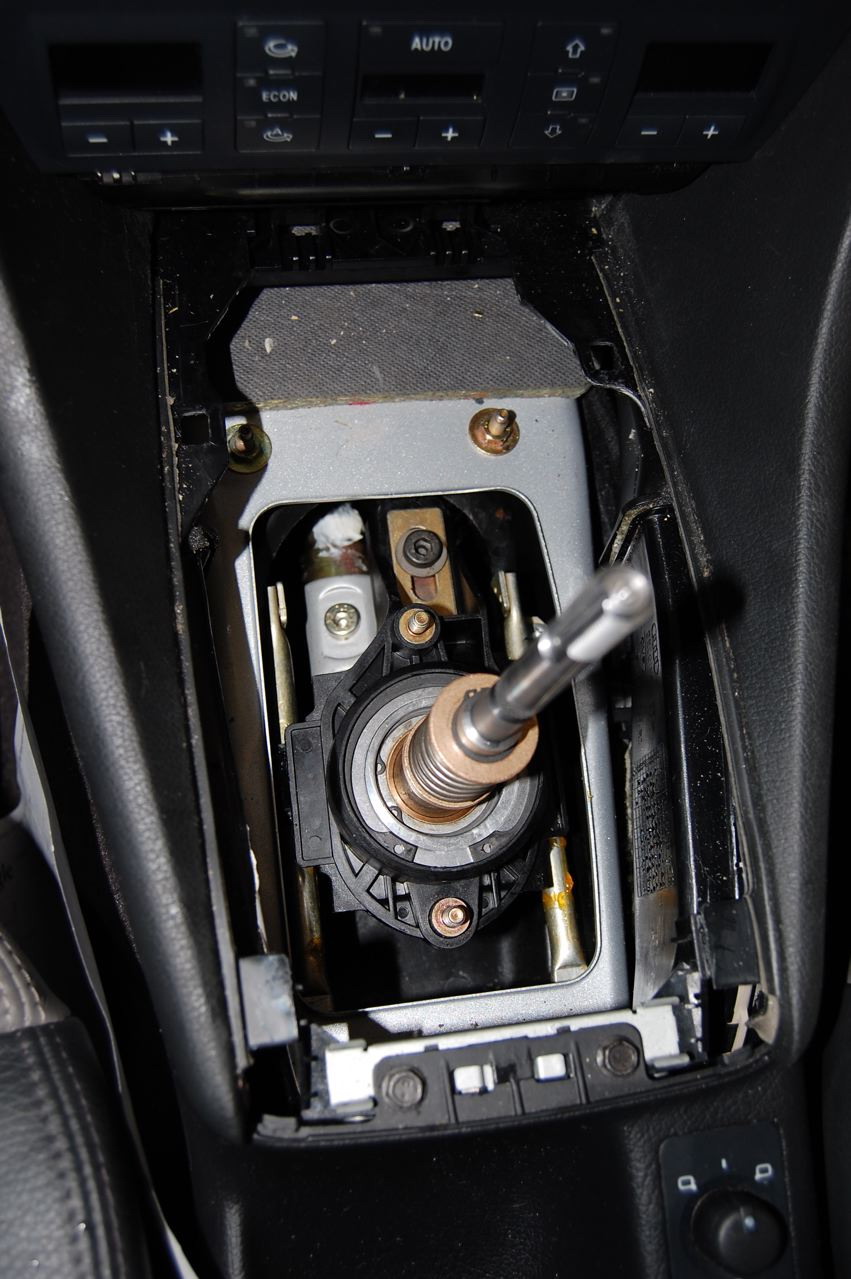
Now use the angle gauge to set the shift rod 7 deg back and 3 deg right. Tighten shift selector rod bolt. This will ensure proper Once you have verified that all of the gears can be selected, re-instal the dust cover. 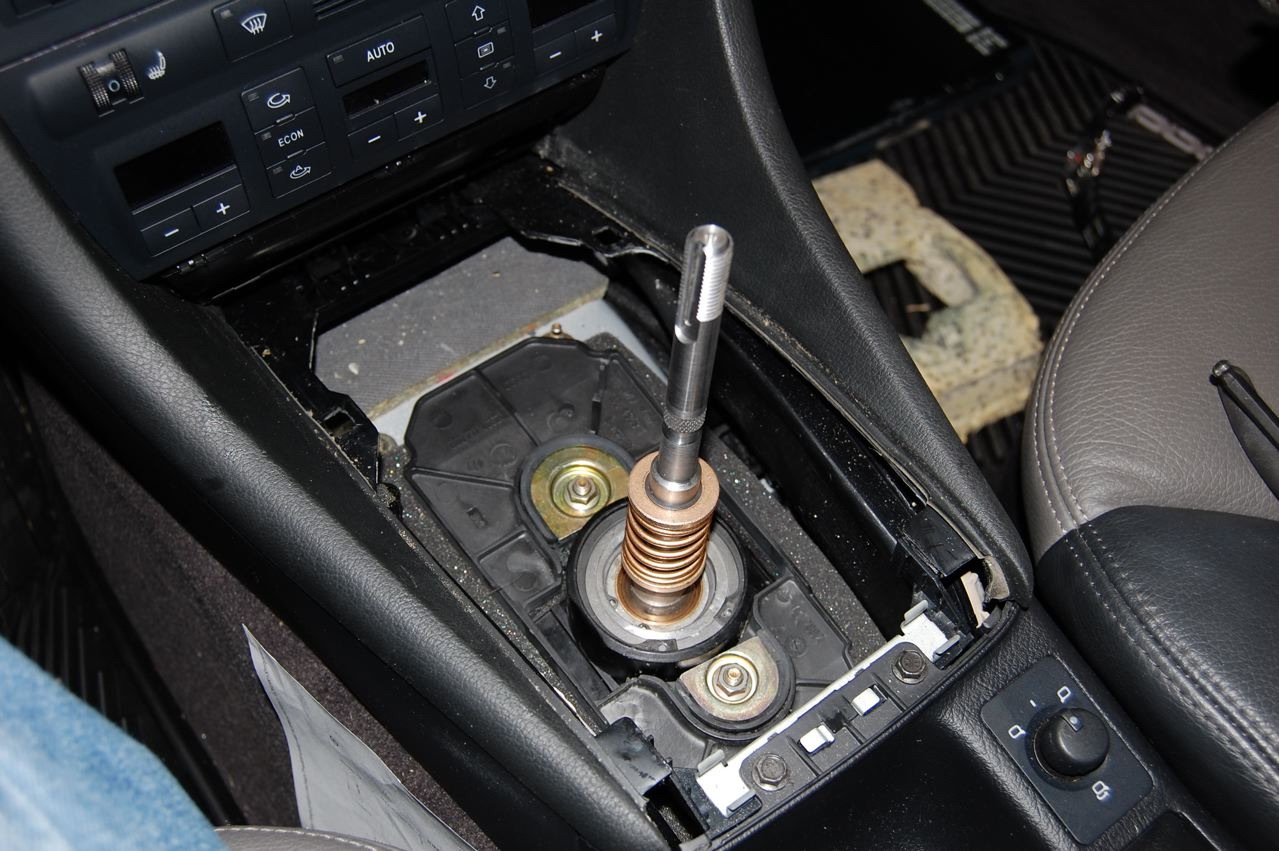
Now just slide the shift knob back on and crimp the clamp. The base should just snap back into place. Just make sure the metal snaps did not pull out of the base. You might have to put them back. Now you are ready to enjoy a MUCH more solid and precise shifter. Go to http://www.jhmotorsports.com/videos/ for videos on how to do this install. On a personal note, this is by far the best engineered and functioning short shifter out there. |
|
Advertising |
Contact Us |
Cookie Policy |
Privacy Statement |
Terms of Service |
Do Not Sell My Personal Information
© 2020 MH Sub I, LLC dba Internet Brands |