|
|
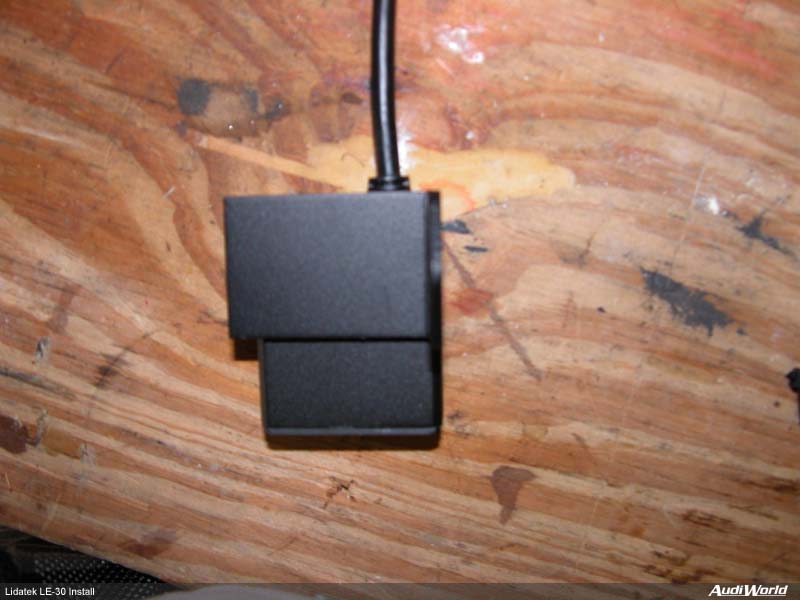
I've had a Lidatek LE-20 installed in my S4 for quite some time and it's been very effective at guarding me against the evils of laser base speed taxation by the Men in Blue. Lidatek recently released the LE-30 as the successor to the LE-20. Benefits of the LE-30 are a dramatic increase in the sensitivity of the LE-30's watchful eye (it's also more selective so as not to false on LED based brake lights), simpler wiring install thanks to a new plug-in interface module and dual purpose LED which now shows system status (system ready and alarm). The transponder is also shorter aiding where the installation location has limited depth. Now, on to the install...
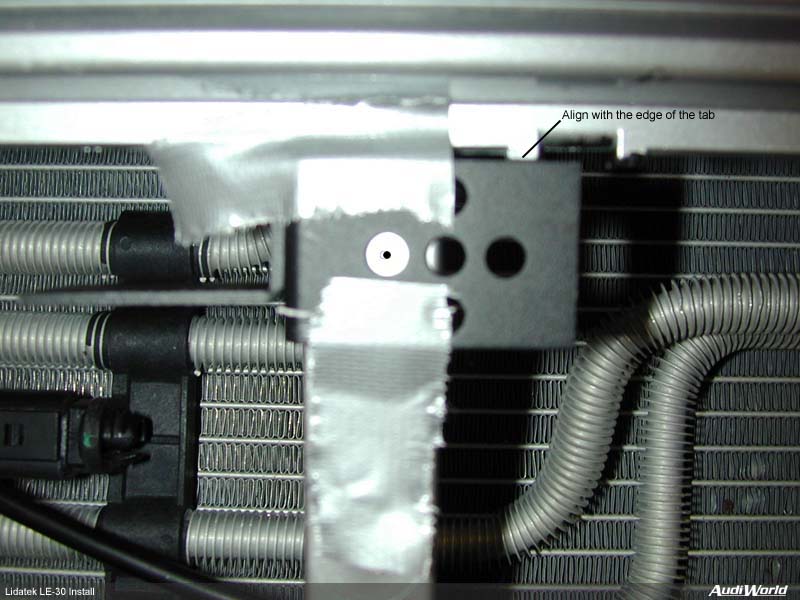
Remove the lower front grill by releasing the eight tabs on the grill with your finger (locations marked with red dots above). For my install, I used the supplied L bracket and mounted it to the bumper at the center vertical support. Luckily, there's a tab on the bumper that places the bracket in the correct location to line up the transponder with the second grill opening. Place the top edge of the bracket against the bottom of the tab and so about 1/8" of the bumper is visible through the three holes. Align it to use the hole closest to the L bend for mounting. Mark where you need to drill. My apologies for the poor picture. I used an 8/32" x1-1/2" machine screw with a nut and washers (not supplied) to mount the bracket behind the bumper. The bracket "could" be mounted on the front but it was a tight fit putting the grill back on so I opted to put it behind. The bumper support is hollow in the back--use a 5/16" nut as a spacer (not supplied) or tightening the bracket will deform the bumper. Mount the mating L bracket to the transponder with the back and right edges flush. I first put the double-sided tape in (adhesive not exposed) and held the bracket in place with duct tape to adjust the alignment. The tape should be in place as it's thick and your alignment with the grill will be off if you just duct tape the bracket directly on the transponder. The supplied double-sided tape is super strong--don't use it until you're sure of the alignment. Screw the two L brackets together with the supplied screw and lock washer.
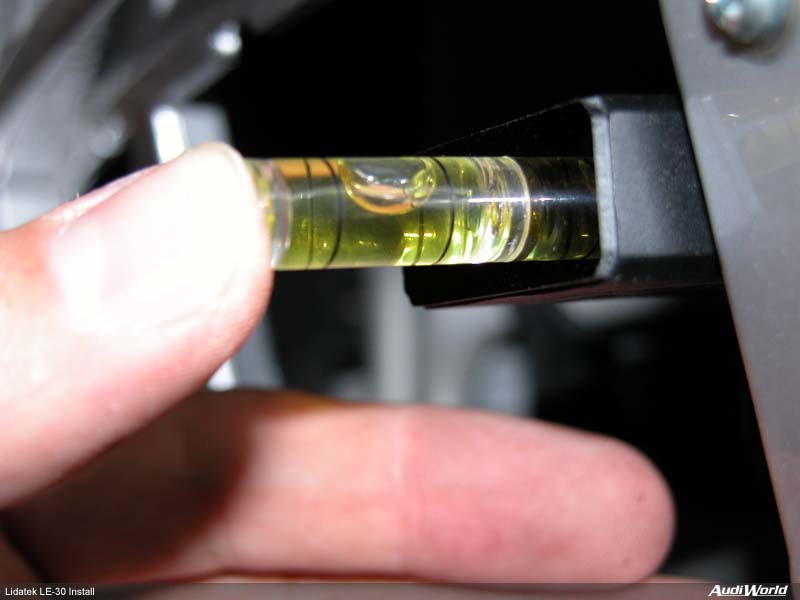
Level the transponder by placing the supplied level against the face and on the top. Test the alignment with the opening in the grill. The hole in the L bracket is large enough that you have some room for adjustment if it doesn't exactly line up with the grill opening. Once you're sure, mount it all together with the double-sided tape. Re-level the transponder. Don't forget it must point as close to perfectly straight ahead and level as possible (make sure it's not aimed off to the left or right!). Tighten securely. All mounted. I trimmed off the excess L bracket to keep things neat. If you trim the bracket make sure you leave enough excess so it sits on the rear lip of the bumper. Remove the plastic cover on the left side of the engine. It just pulls straight up. Also remove the weather strip at the back of the engine (pull straight up) and remove the plastic cover at the base of the windshield.
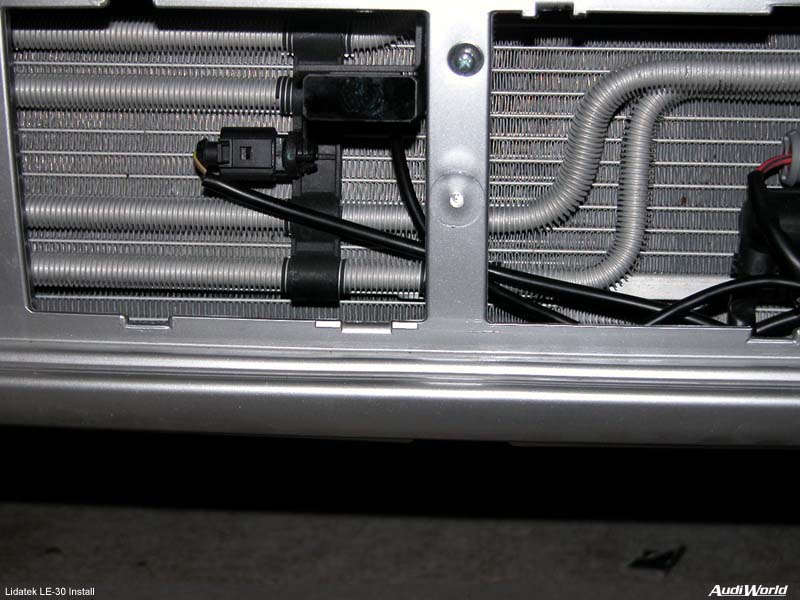
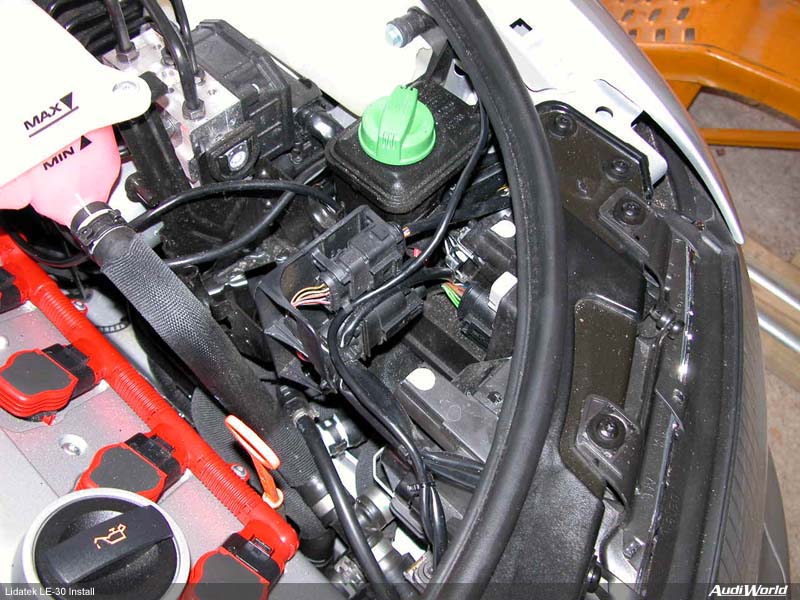
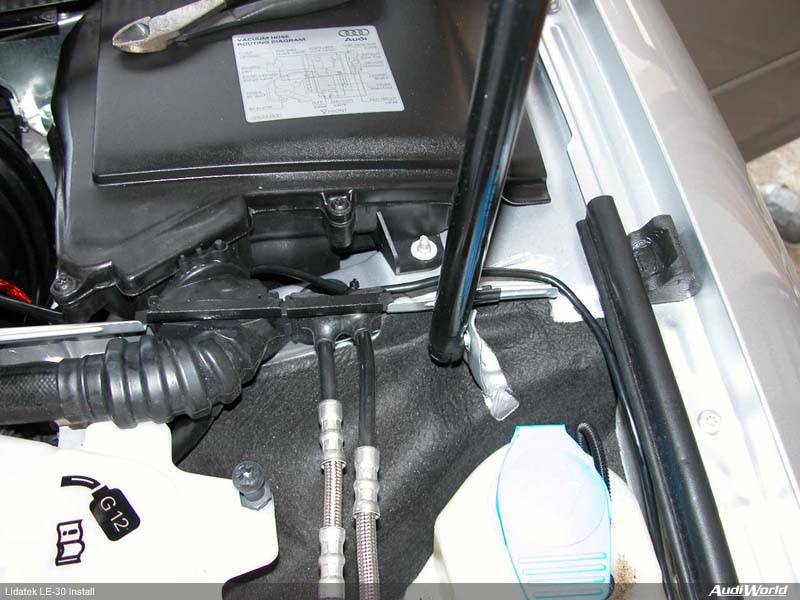
Connect the cable to the transponder and route it up the left side of the radiator between the headlight, along the existing harness, up the fender, under the ECU box harness and to the firewall.
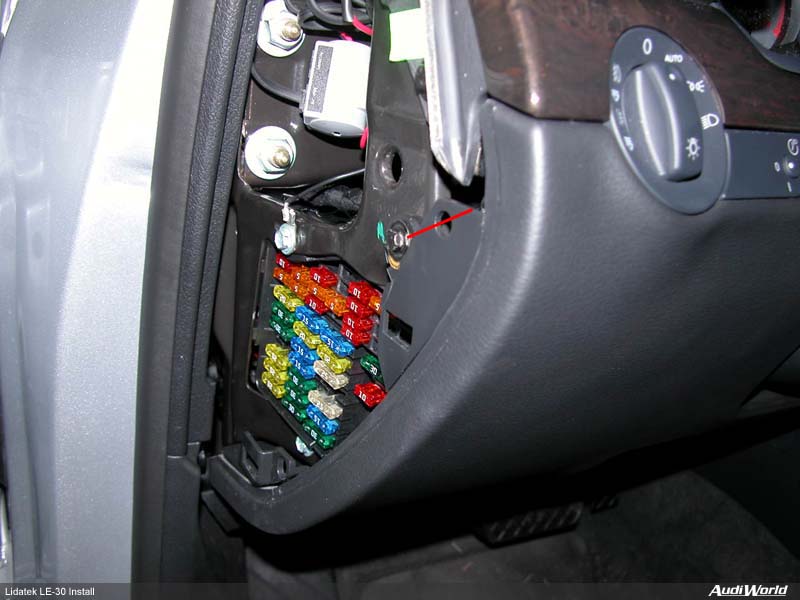
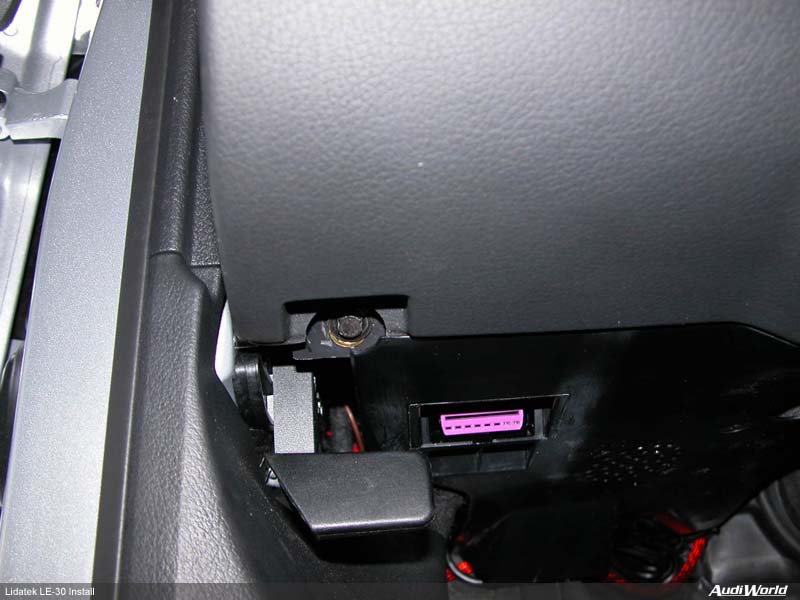
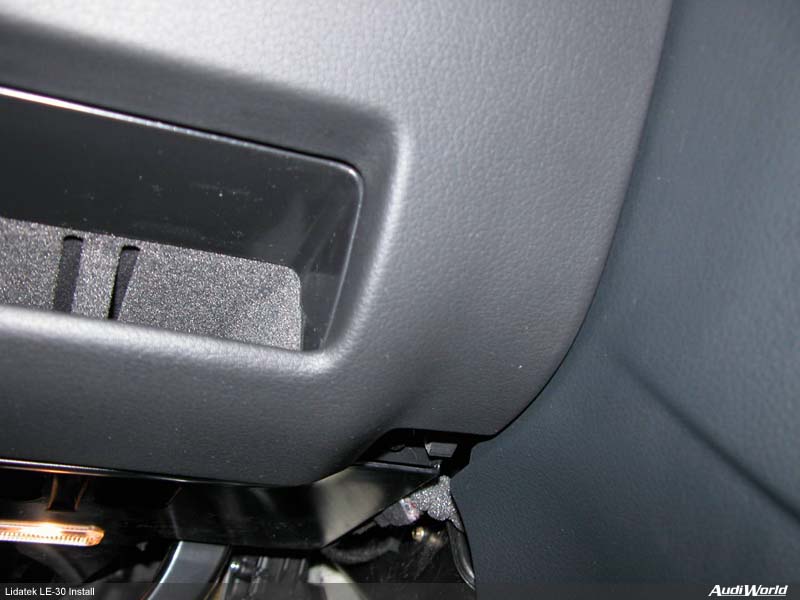
Move to the inside. Remove the fuse panel cover on the left of the dash. Remove the three screws to drop the dash knee panel. Pull the knee panel straight back. [1][2] |
|
Advertising |
Contact Us |
Cookie Policy |
Privacy Statement |
Terms of Service |
Do Not Sell My Personal Information
© 2020 MH Sub I, LLC dba Internet Brands |