| Tech Article Title
|
Author
|
Date
|
| Coilover
Suspension Installation (continued) |
Frank_Sheperson
|
2003 |
13. Put a compressor on each side of
the shock and snug them up. I used the supplied safety hooks, but found
myself wondering if I'd be wearing them like bellybutton jewelry if
something went wrong. Be sure to get the compressors as diametrically
opposite as possible to balance the load. If your spring compressor is
different (read: better than the POS I'm using), follow the instructions
that came with it.
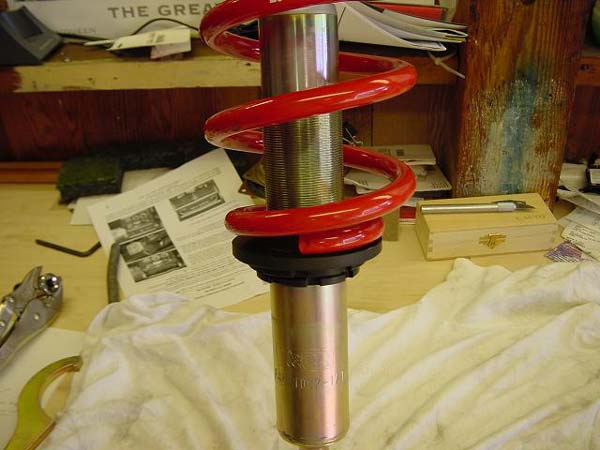
14. Compress the spring *slowly*. 24mm or
15/16", I guess you could use a crescent in a pinch, but I wouldn't
recommend it. I did a full turn on alternate sides. That may be a bit
cautious, but this type of compressor scares the crap out of me. If you go
more than two turns per side, you're nuts IMHO.

15. Squeeze the spring 12-15 turns,
about 3/4" to 7/8". Any more, and you may be taxing the compressor; less,
you're asking for more excitement when you take the shock apart. If
anything starts bending, creaking, cracking, or otherwise acting strange,
STOP!

16. Now you're ready to take the top
of the shock off. 18mm. I didn't have any problem with the shaft spinning
on either shock, perhaps that had something to do with the age/condition
of the suspension (~27,000 mostly highway miles). If the nut won't break
loose from the shaft, you may have to get creative--see step 25 below for
ideas. The cap may pop off with a little force behind it (depending on how
much you compressed the spring, it moved a couple inches for me), so you
may want to clear stuff out of the way.

17. Success! (No, that's not how far
the stuff popped off)


18. Pull the shock body out of the
spring, then *slowly* un-compress the spring. Bear in mind that the spring
will expand to its free length, so it will take more turns than you put
into it. It expanded over two inches from compressed-->free in my
case.
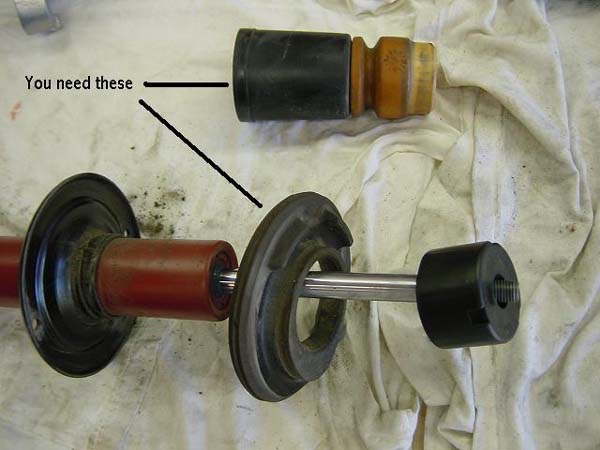
19. Take the rest of
the shock apart. The parts you'll need are the jounce bumper/dustcover and
(perhaps) the spring seat.
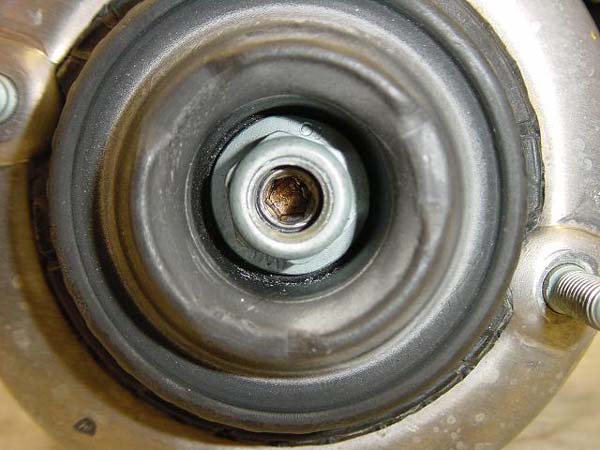
As far as the next couple of steps go,
they could be considered optional. My coilover kit (H&R) didn't
include a spring seat, nor any instructions, so I guess they intend that
you just let the spring rest on the perch as shown in this
picture:
I've seen lots of
installs like this, and I'm sure it probably works fine, but to me it
looks like a potential source for squeaks/rattles. If the front springs
were like the rears (tapered, pounded flat, whatever) and sat more flush
on the perch, I wouldn't care. Piggie talks in his write-up about using
the stock spring seat, so that's good enough for me. Other than it being a
bit of a PITA, I can't think of a good reason not to do it. If you
disagree, then please feel free to ignore the relevant
steps.

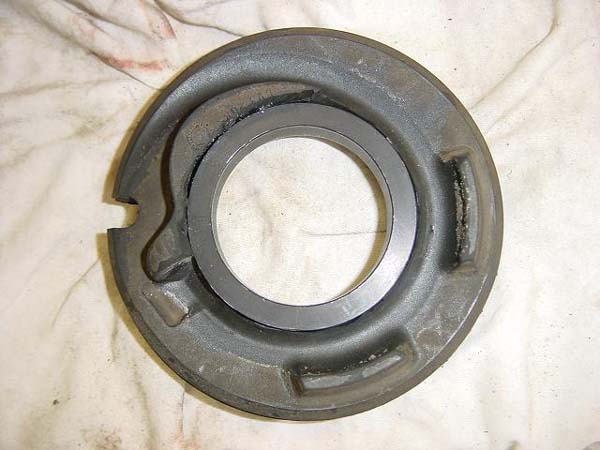
20. The spring seat doesn't fit nicely
on the spring perch, so you have to make adjustments. Pull out your weapon
of choice and have at it. I used a large exacto knife. *Note* Performing
this step makes it impossible to revert to stock without obtaining some
new spring seats.
[1] [2] [3]
[4] [5]
|