|
|
Flexible brake lines are at all 4 corners of all cars. They connect the brake calipers to the hard steel brake lines, allowing the wheels to move up and down. Over time they can become cracked and even develop bulges, indications of possible weakness and failure. New OEM brake lines can be purchased from a wide range of internet and physical parts stores for between $12 and $25 each. In most cases they have SUPERIOR longevity to the fancy stainless braided lines sold as performance add-ons, and are rarely the culprit in bad brake feel.  New Flexible Brake Lines. Caliper fitting at right, receptacle for Flare fitting at left. 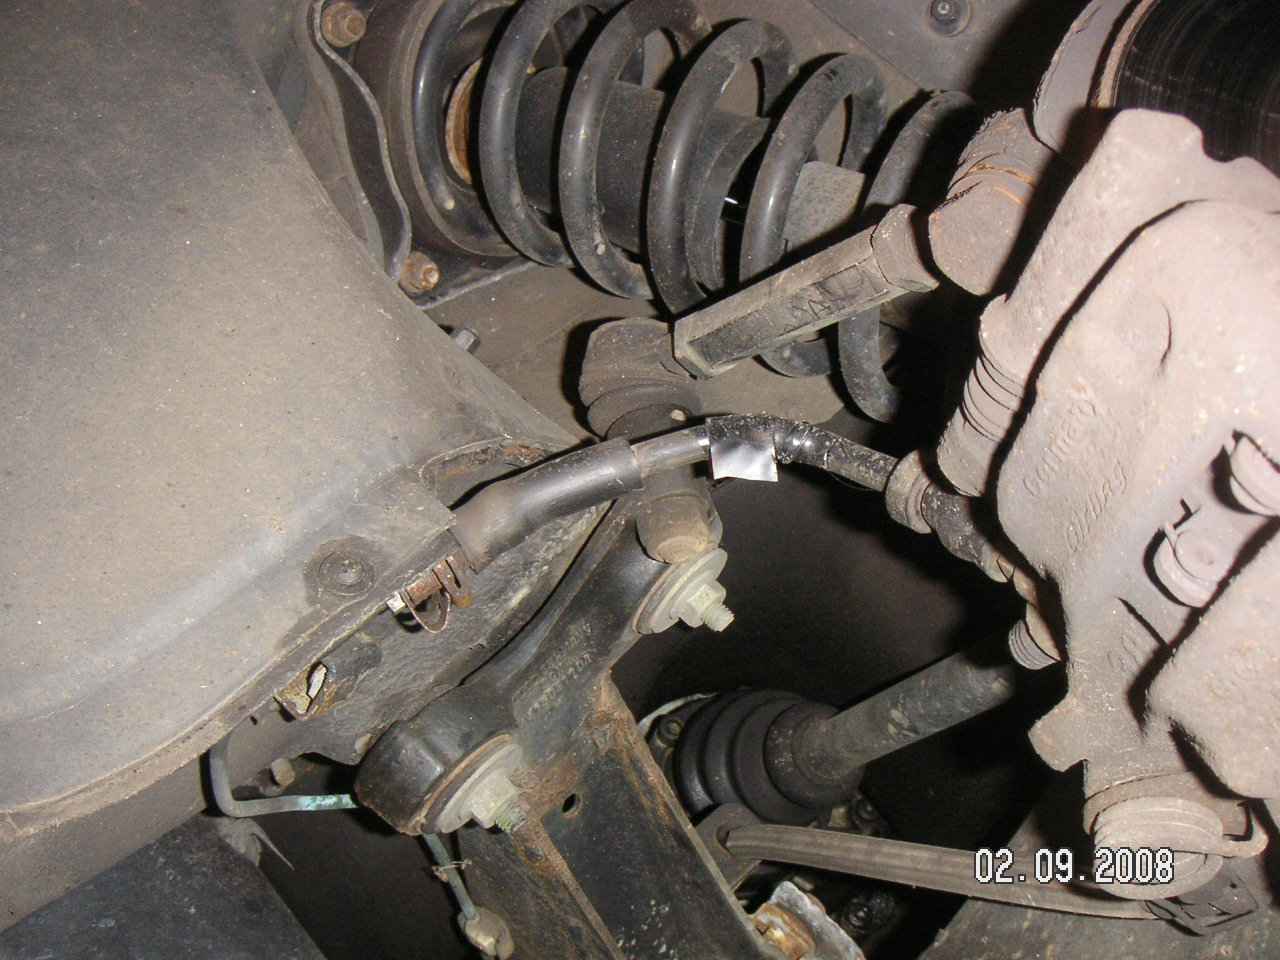
Picture of flexible brake line, in place, on 1995 C4 – Right Rear On the surface, this job looks easy. But a few gotchas exist. That’s why I wrote this piece. The key “gotcahs” are: First let’s look at the overall layout. Refer to the picture above. 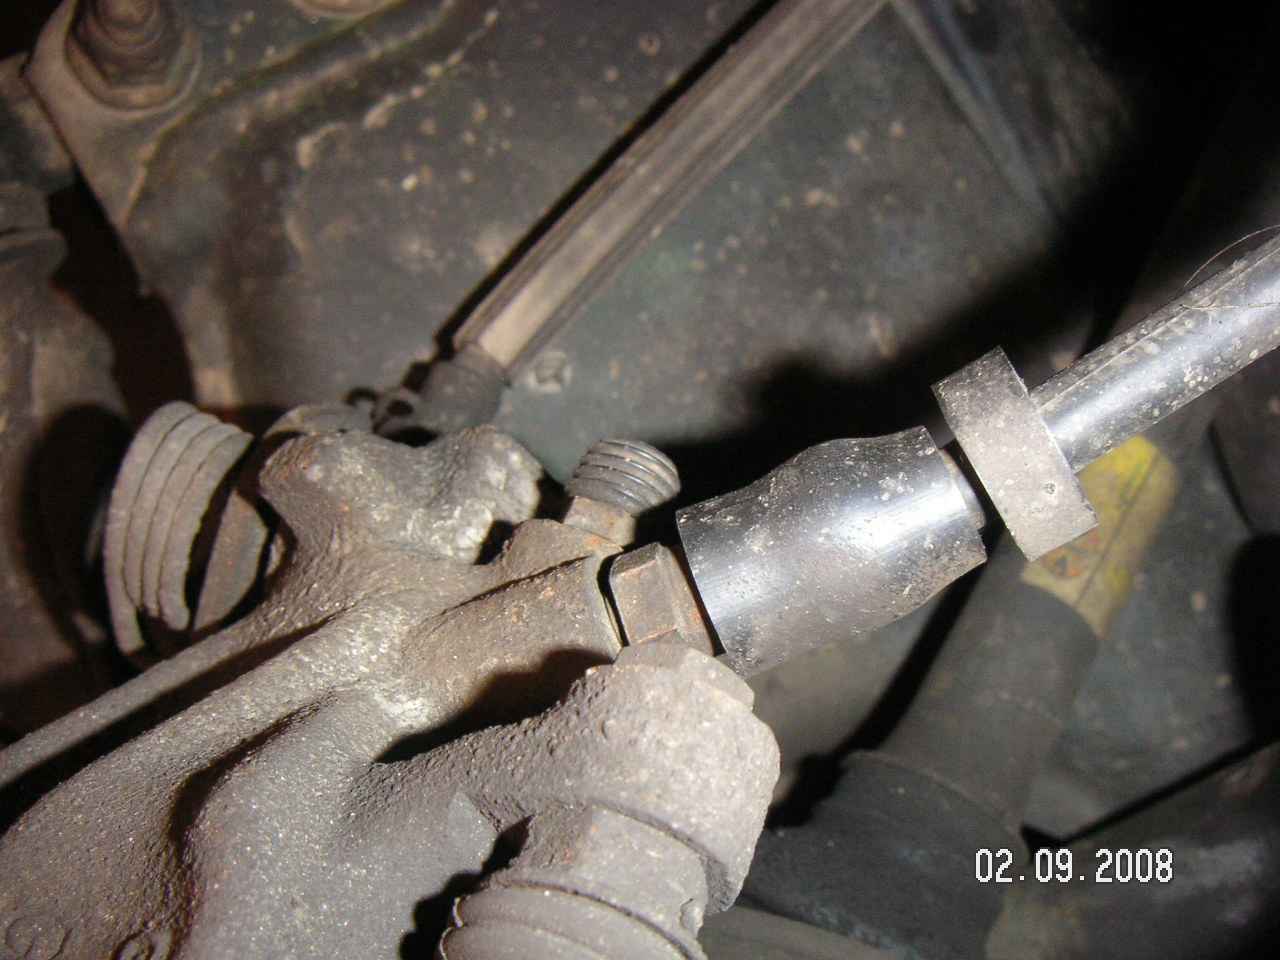 Flexible brake line where it screws
into rear caliper (14mm wrench)
Flexible brake line where it screws
into rear caliper (14mm wrench)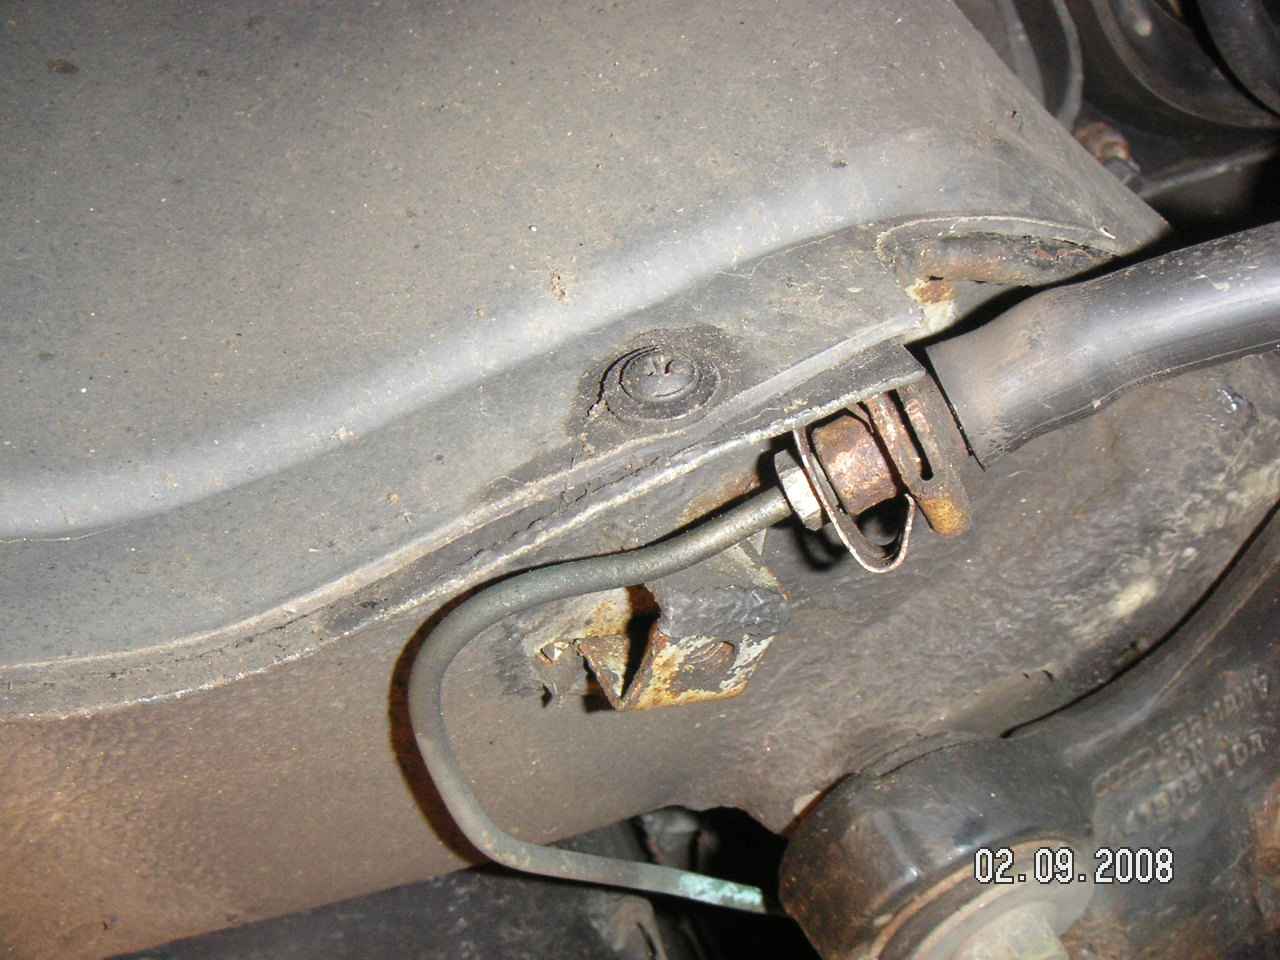
The Flare Nut (11mm) – where the steel and flexible brake lines meet. note: hanger and spring clip securing them to underbody of car 
Ugly, ugly, ugly. Nothing’s taking this nut off without a fight and likely a destroyed brake line. Once rounded, this nut began to literally disintegrate as pressure was applied with channel locks and vice-grips 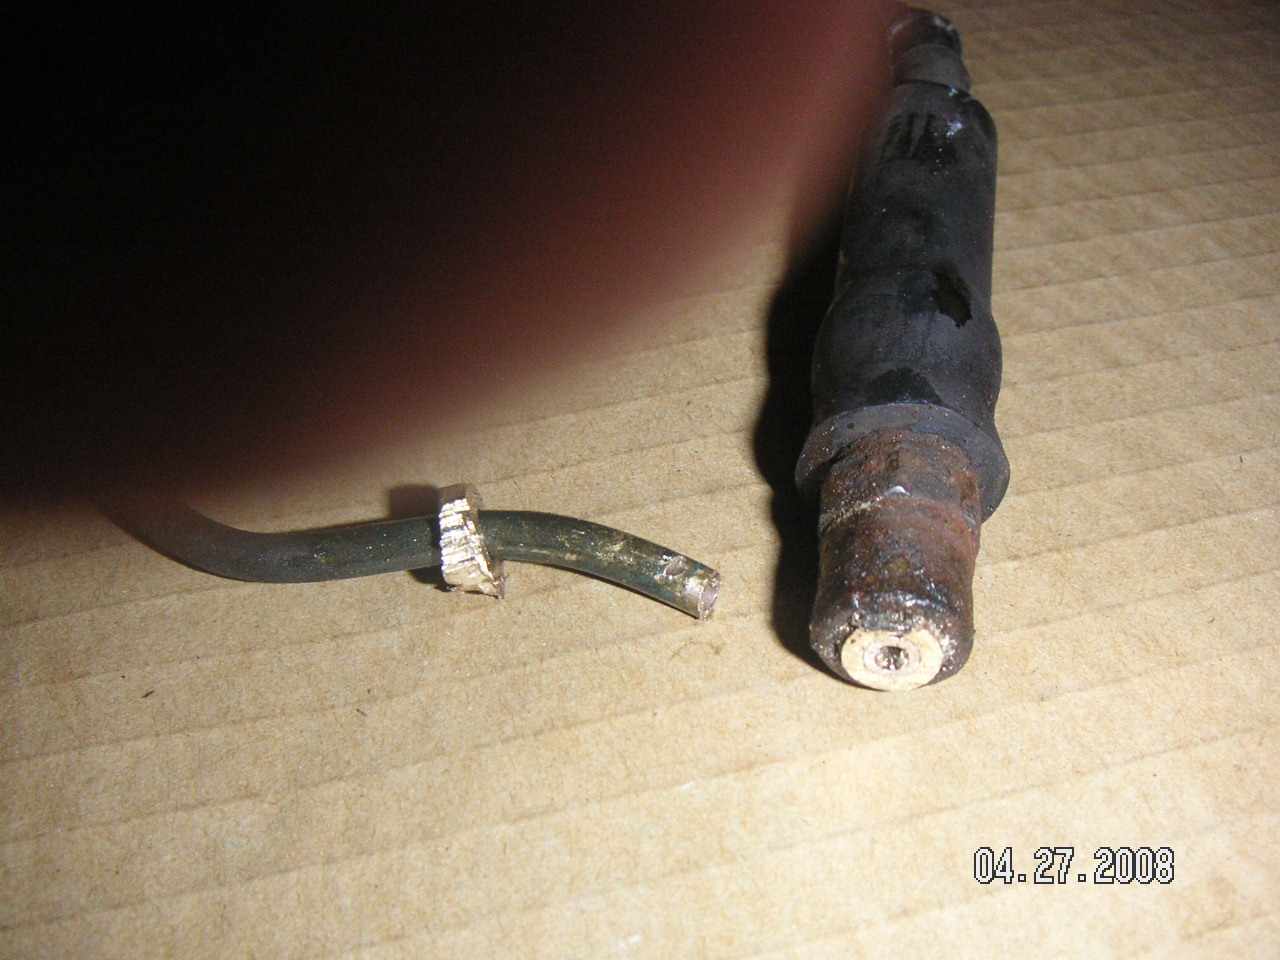
The old flare nut, cut by Sawzall 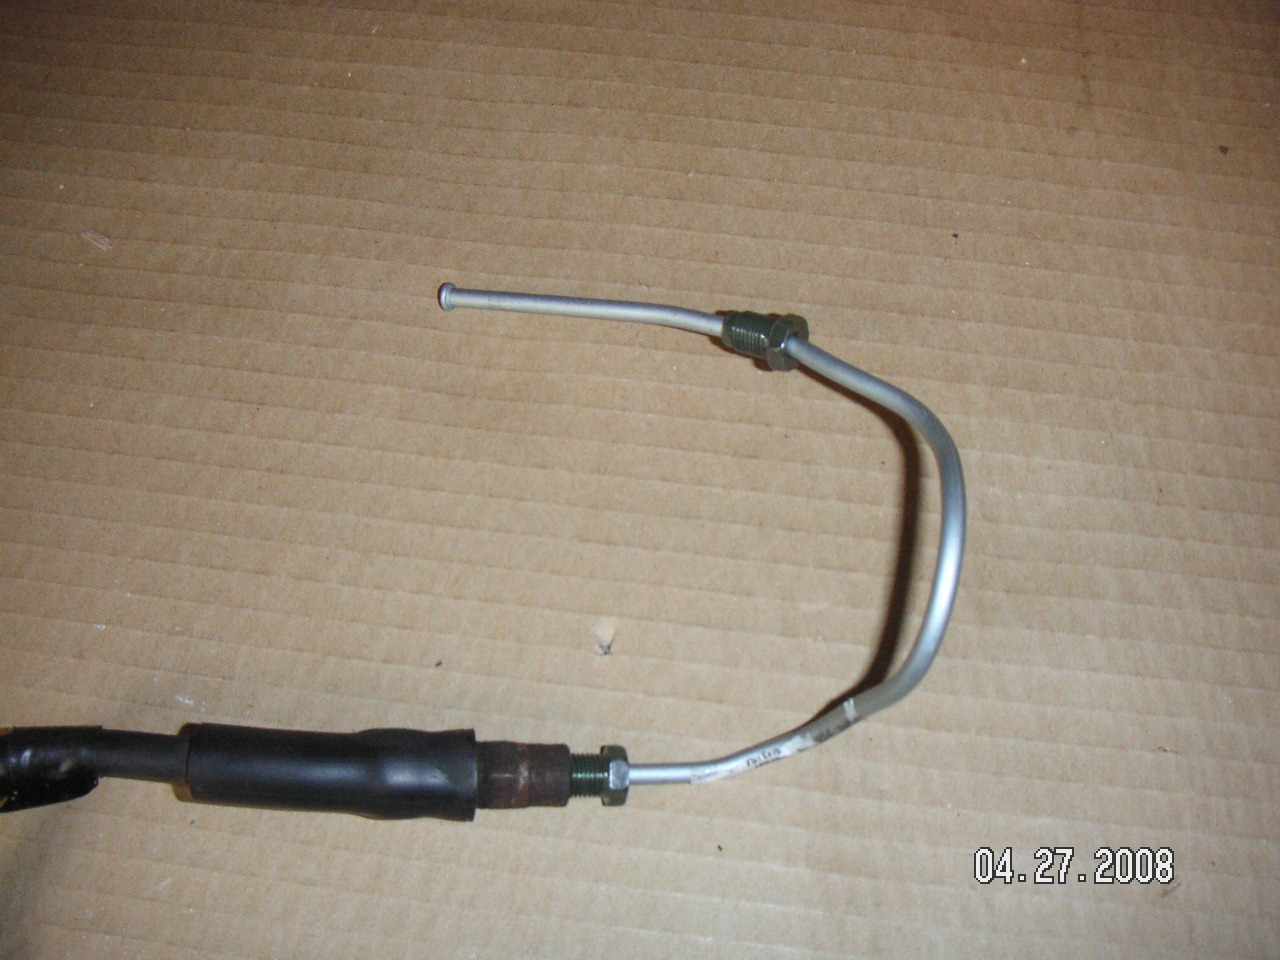
The new brake line, bent to fit. Expect to, ahem, practice ( aka, wreck stuff) Flare Nut Wrenches The flare nut is a typical 11mm nut, as it also is on VWs, BMWs and Porsches, among others. Seems pretty simple, right? Wrong. Since it is so soft, a special wrench is needed to turn it, called a flare nut wrench. This is commonly available, and looks like 7/8ths of a six-point box end wrench, with just enough opening to get around the brake line. Flare nut wrenches are far better than open-end wrenches - - of any quality - - at turning the flare nut without rounding it off. But that’s not the whole story. Flare nut wrenches are good, but on a particularly difficult nut, they can fail too. I had a flare nut socket (on a 6” extension) round off a flare nut, causing me tons of agony – once they round, they may disintegrate as you try to grab and turn them with channel locks or vice- grips – not fun. Don’t get there in the first place. Two wrench manufacturers have metric flare nut wrenches with patented head designs that drive the flats instead of the points/ tips. They both claim to be able to exert 50%-100% more torque without damage to the flare nut. In practice they work. Snap-on makes an 11mm “flank drive®” flare nut wrench for between $30-50 (ouch). S-K makes an 11mm SureGrip® flare nut wrench that sells for between $11-16 (much better). Get one of the two. I bought the S-K and it works great. I would avoid the “well made” tools, even from prestigious names, that don’t have these patented designs. It’s the design, not the pretty mirror polish nor the precision forging, that makes these tools stand-outs. 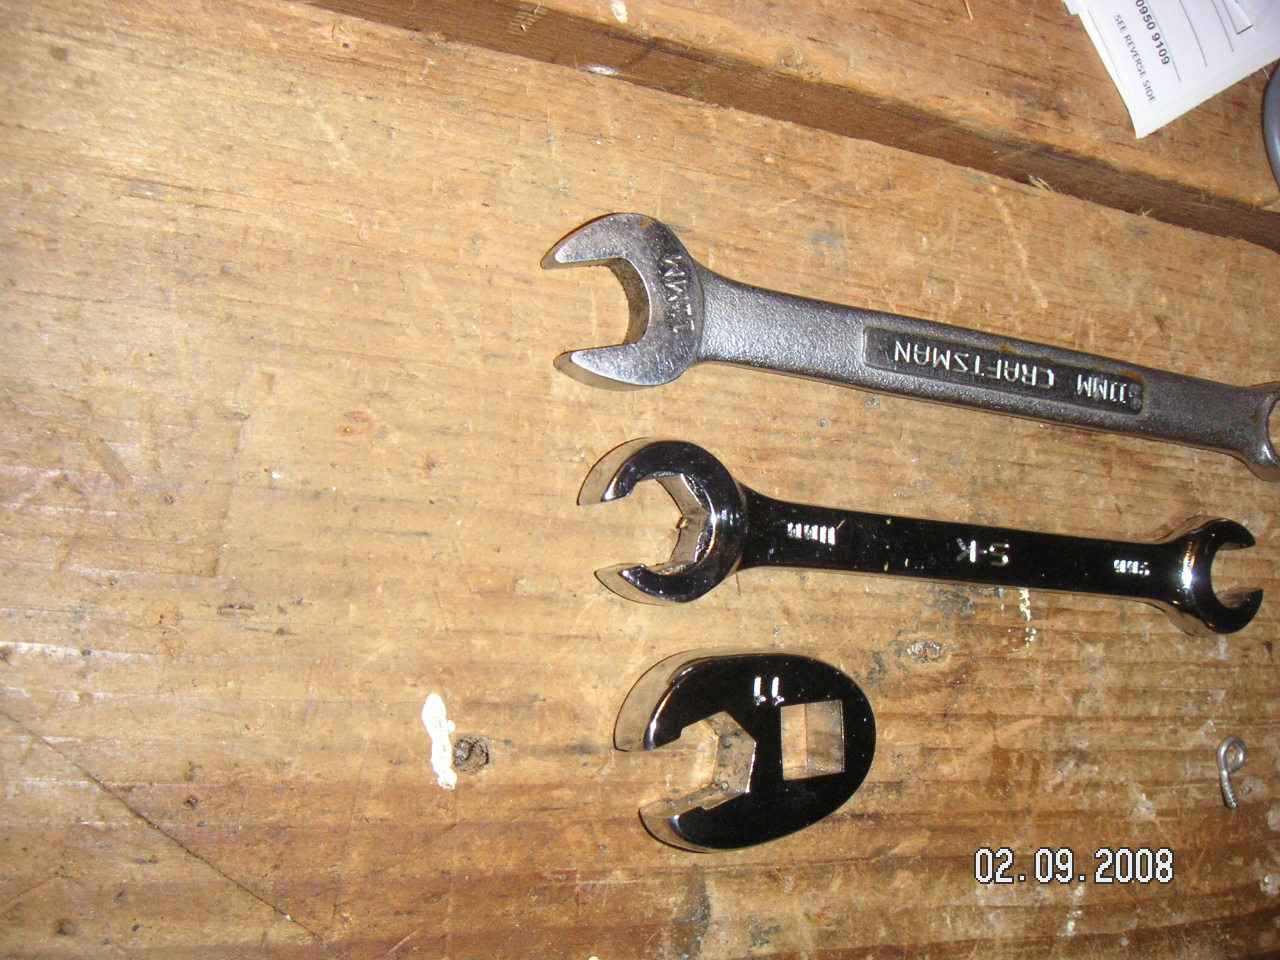 Close-up of (3) 11mm wrenches. If you look closely, you can clearly see
the difference between a normal and a
flare nut wrench, and the difference between a flat-sided wrench ( the socket)
and a SureGrip® wrench ( the S-K).
Close-up of (3) 11mm wrenches. If you look closely, you can clearly see
the difference between a normal and a
flare nut wrench, and the difference between a flat-sided wrench ( the socket)
and a SureGrip® wrench ( the S-K).
I believe that a little penetrating oil, and a really good wrench would have spared me lots of trouble, and will spare you trouble. The Mess. When you open up brake lines, you can make a mess. And brake fluid is somewhat messy. The best advice I have is: Bleed me. Don’t forget to bleed the lines. Better yet, flush out that old, water-absorbing brake fluid. I hope this was helpful, Grant |
|
Advertising |
Contact Us |
Cookie Policy |
Privacy Statement |
Terms of Service |
Do Not Sell My Personal Information
© 2020 MH Sub I, LLC dba Internet Brands |