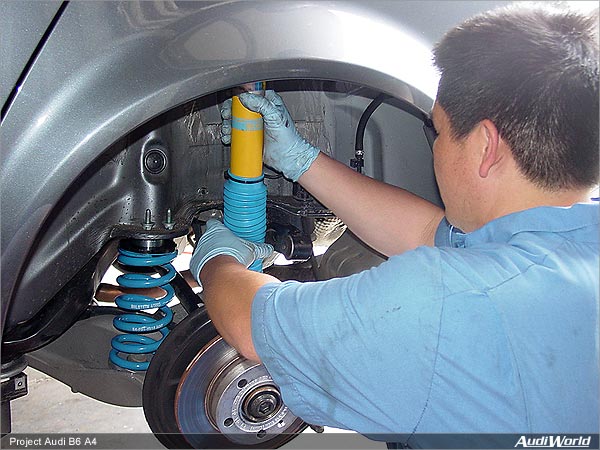
Coilover Installation
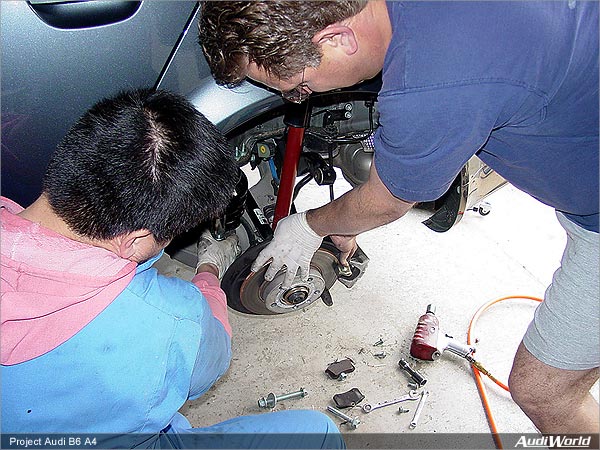
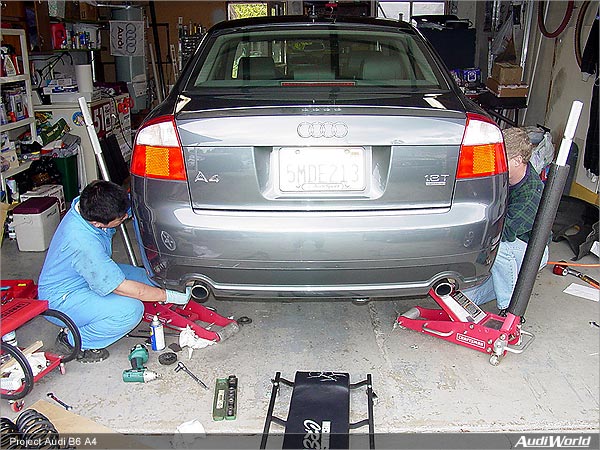
It pays to have friends who enjoy working on cars, particularly when one needs help installing a new coilover kit! The following weekend we assembled a group of locals (self-named "SFG Performance") and got busy on the install.
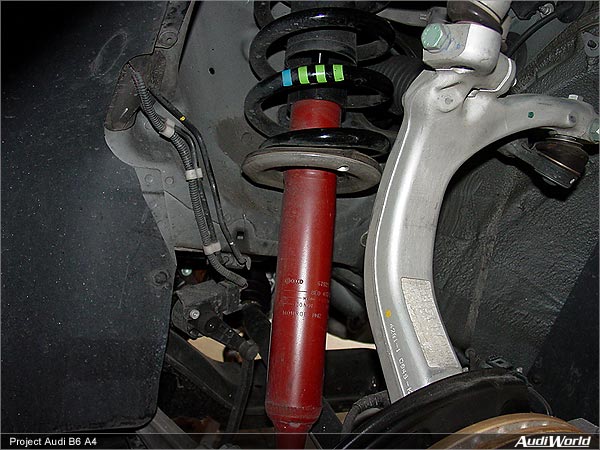
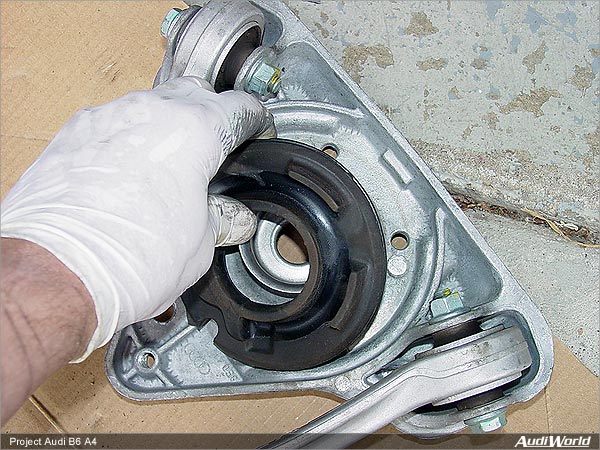
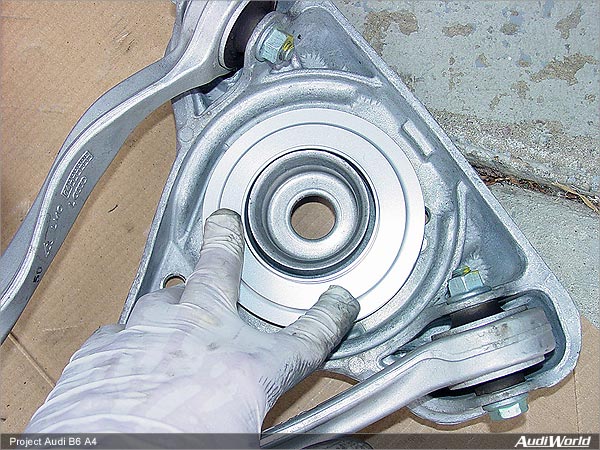
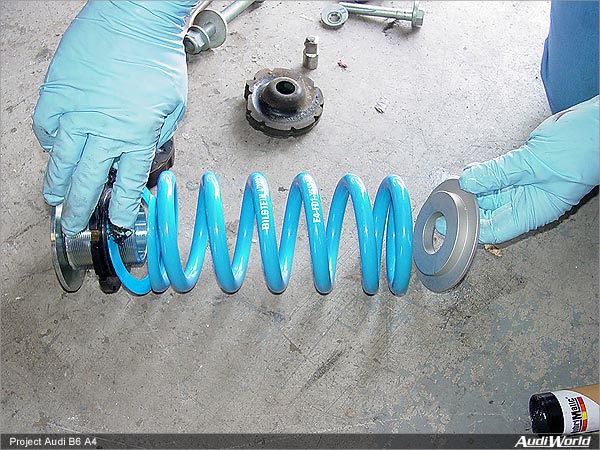
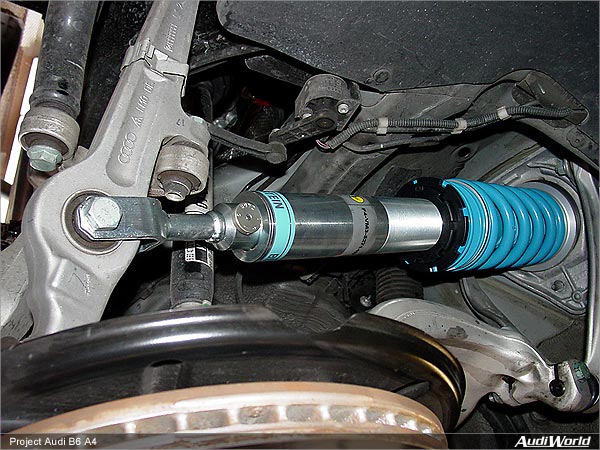
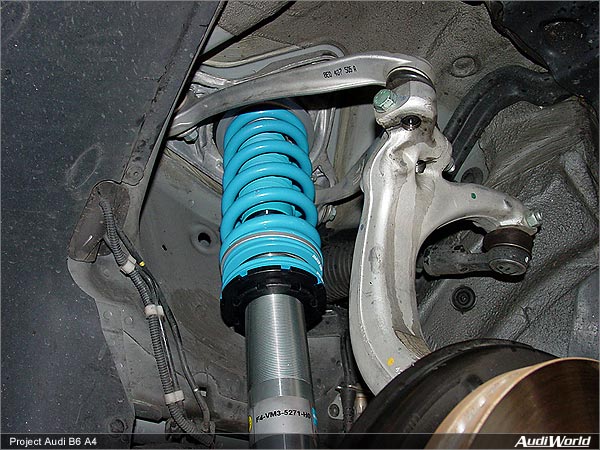
Scrutinizing the kit prior to installation we definitely felt like we had selected something of excellent quality and workmanship. The nogaro-bluish components were visually striking (blue is the current "cool" color after all), looked very sturdy and were clean and complete. The only bit of perplexity came via the mostly German instructions which were provided by Bilstein with the kit. We did manage to find a short paragraph in English to help with adjustability.
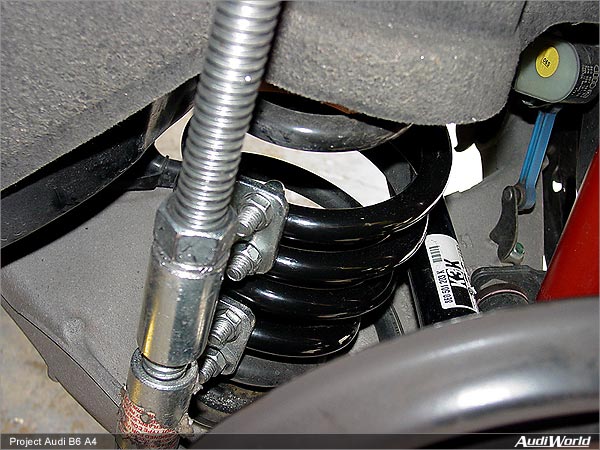
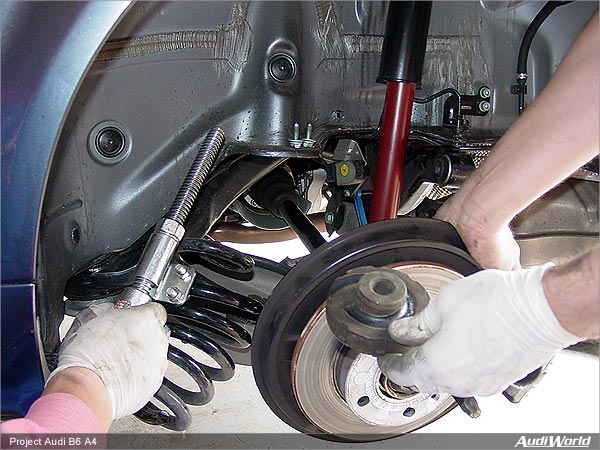
With everything on the car we chose an initial front setting of "8" (setting "9" being the softest) and same setting for the rears. Although we had earnestly tried to estimate exactly where the ride height needed to be, we were unfortunately off by approximately two-thirds of an inch in the front. Height adjustment was achieved by way of adjustment to the perches with spanner wrenches. Using the supplied spanner wrenches in such tight spots supplied us with the usual banged up and bruised knuckles.
The rears were also a tad bit high, but after looking at the room for getting a spanner wrench into such a tight spot we decided to regroup in a few weeks, evaluate how much the suspension had settled, and then possibly take another whack at it. At the time of the install it still needed to be lowered about a quarter of an inch in the rear.
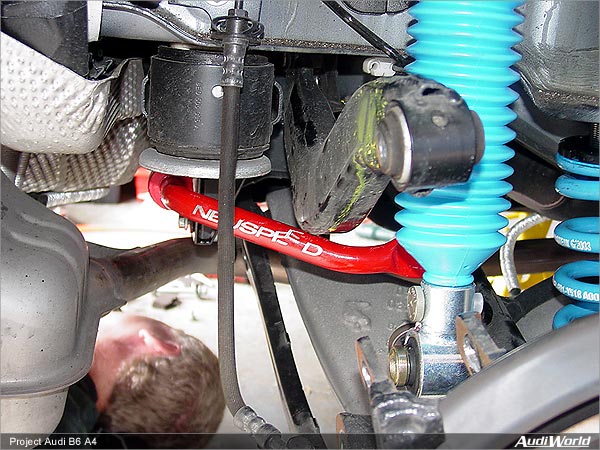
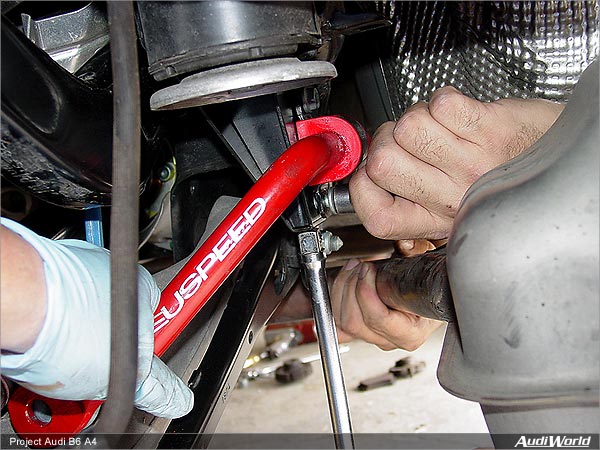
Sway Bar Installation
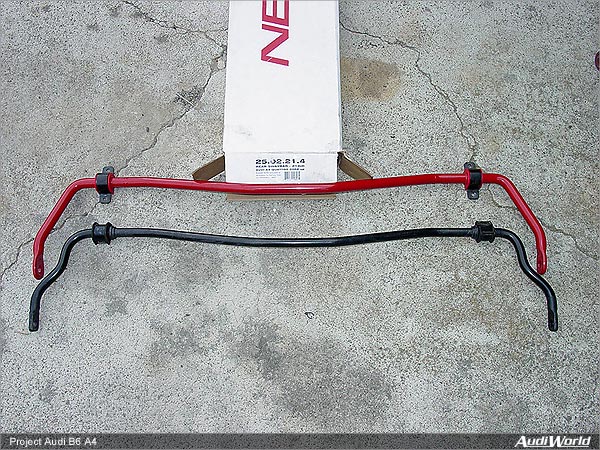
For a little more help neutralizing the suspension we opted to also install a thicker rear anti-sway bar; it would help in our quest for a bit of oversteer. Neuspeed was once again the supplier of choice and provided a 21mm bar. In the interest of overall safety this particular kit also included some bracketry to help reinforce the sway bar mount. The upside of the brackets was that it does indeed do a really good job reinforcing the mounting. The downside, unfortunately, is that the mounting includes welding, usually performed by a local exhaust retailer.
Bottom line: the average enthusiast cannot perform a quick DIY install of Neuspeed sway bars like used to be possible with the B5 platform cars. The install itself - sans welding - took about 30 minutes and then we were off to find a place to do some quick welding.
Quick Impressions
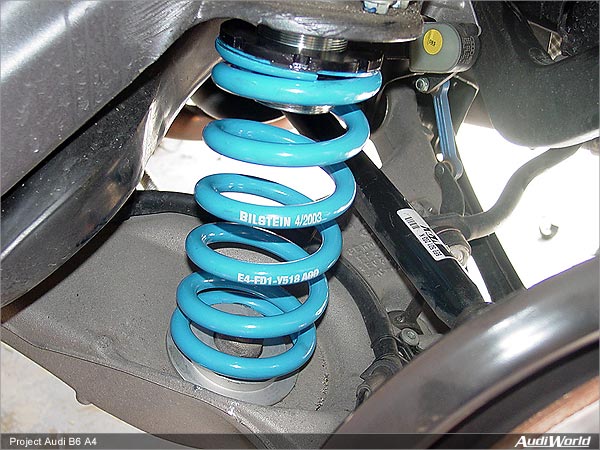
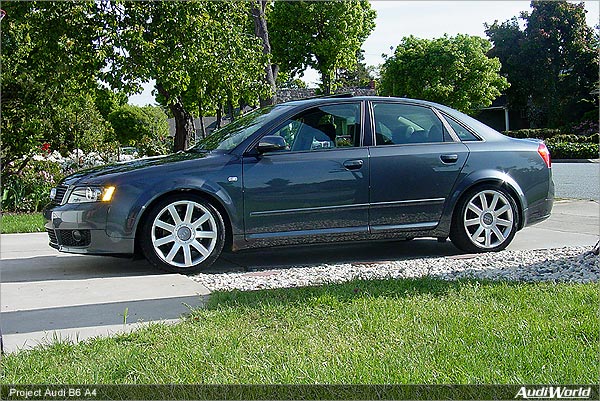
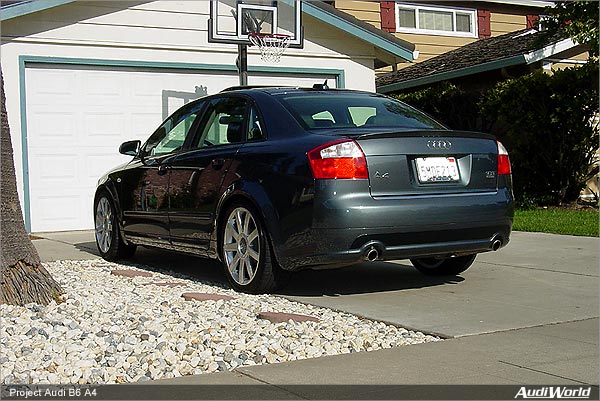
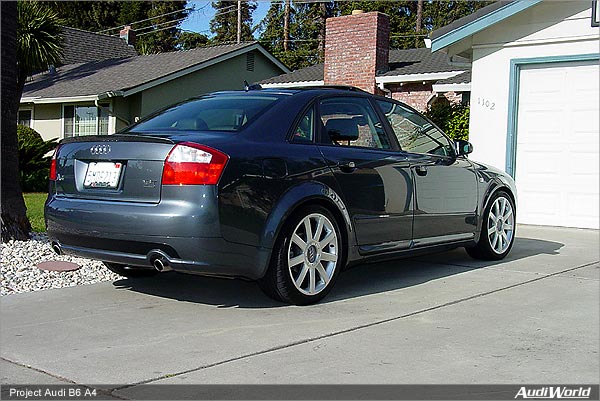
While there remains a significant amount of tweaking to do to maximize this set-up, the benefits are immediately apparent relative to the Ultrasport OEM suspension that came with the car. The dive and squat, although minimal from the factory, is almost totally eliminated with this Bilstein suspension. Add to that the stiffer rear, and we now have one hell of a nice handling car. Dialing in the suspension will be the focus of the development in weeks and months to come.
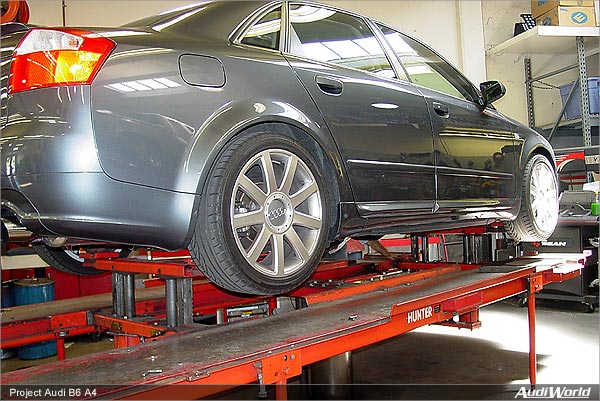
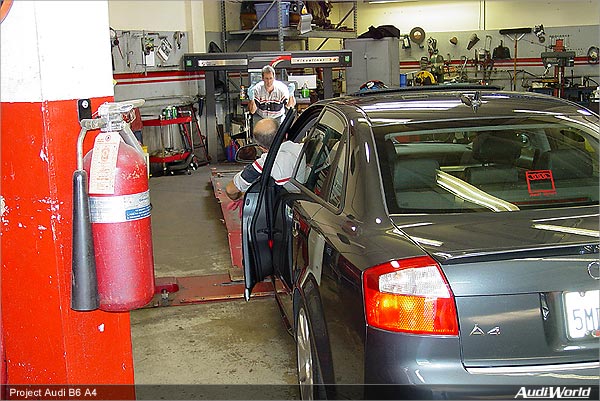
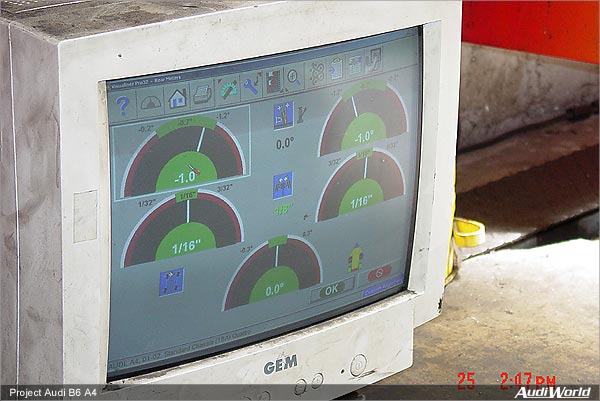
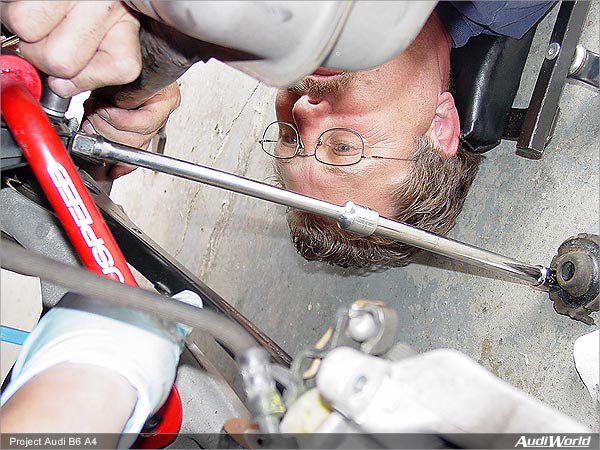
Alignment
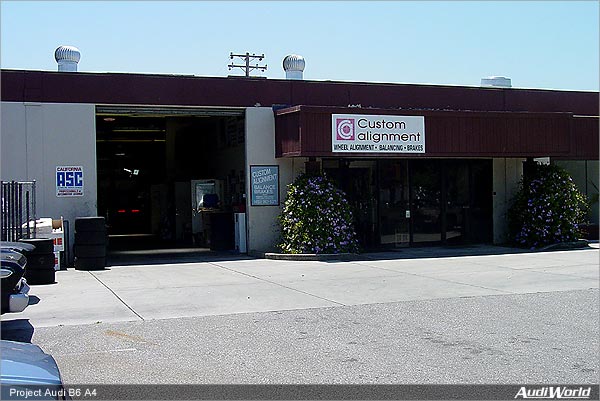
Whenever an aftermarket suspension is installed on a vehicle an alignment should be performed at the same time, or within a few weeks of the suspension install. It almost goes without saying, but since our project car is all-wheel drive a four-wheel alignment is necessary. In Northern California there is a shop called Custom Alignment that specializes in performing not only alignment services, but actually provides quite an extensive list of ancillary services including:
We contacted the owner of Custom Alignment, Joe Silva, and asked if he would like to be involved in this project car development. Joe enthusiastically agreed to do what he could to get this car on the road with a safe and performance minded alignment.
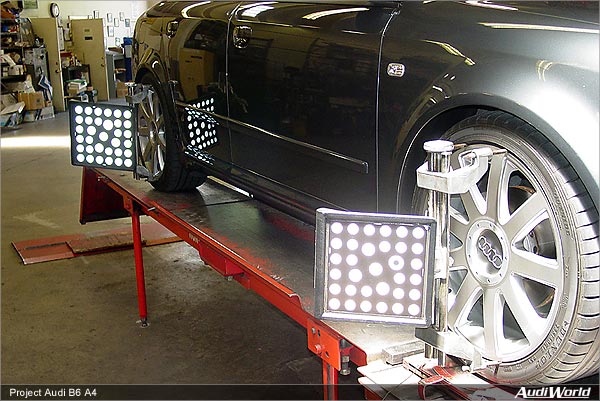
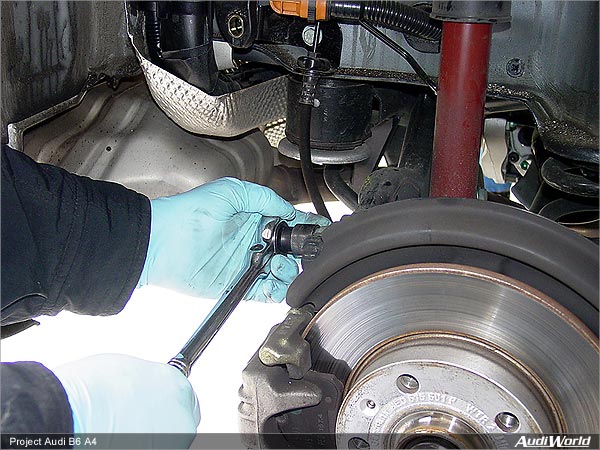
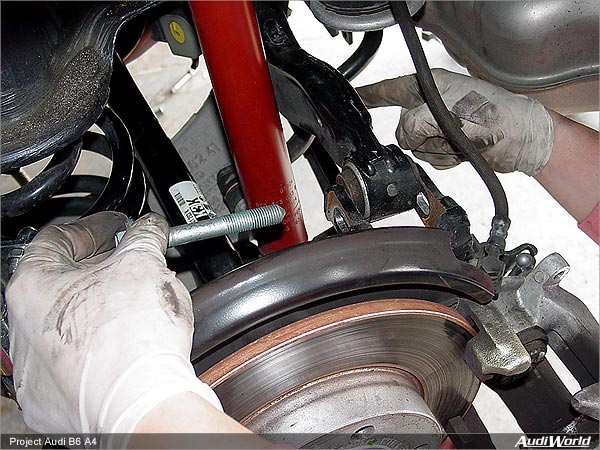
Once Joe and his team were set loose on the car and had performed their inspection a few recommendations were brought forward. First, Joe's staff mentioned that the bottom bolt on the suspension was not installed in the recommended direction. He stated the bolt needed to be positioned to point forward, with the sharp bolt end pointing towards the front of the car. The reason is simple - if it is pointed in the other direction it has the potential to hit the lower aluminum control arm and do some damage.
Second, Joe recommended that since a new aftermarket suspension had just been installed that the toe link should be loosened and pressed farther into its fitting so as to eliminate any stress on the bearing. At the same time they would correct any mounting angles discovered.
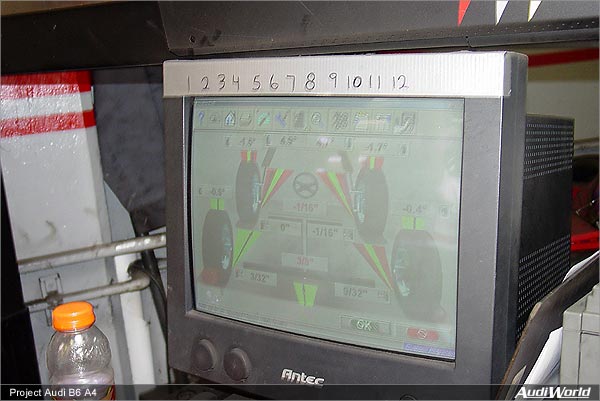
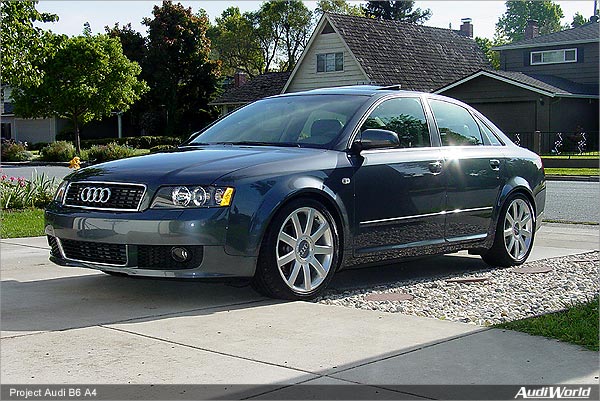
We left Custom Alignment with a properly sorted out suspension. We are pleased with the versatility to adjust height as we see fit, and more importantly we have the ability to adjust the shocks while they are installed on the car. This means that if we go to an autocross event, we can adjust the suspension after each run to maximize our autocross performance. The suspension can also be driven in stock softness to the road race track, and then adjusted to our required stiffness based upon the weather conditions. Last but not least the car's overall stance on the road is more aggressive looking.
We definitely scored on this modification.
|
|
|
|
|

|
|
|
|
|
|
|
|
|
|
|
|
|

|
|
|

|
|
|
|
|
|

|
|
|
|
|
Parts Installed: |
||
| Qty. 1 Qty. 1 Qty. 1 |
Bilstein PSS9 Adjustable Coilover Suspension Neuspeed 21mm rear anti sway bar Four Wheel Alignment w/corner weighting measurement |
$1,500.00 |
| Total: |
$2,035.00 |
|
Neuspeed
3300 Corte Malpaso
Camarillo, CA 93012
http://www.neuspeed.com
805-388-7171
Custom Alignment
2599 Wyandotte Street, Unit A
Mountain View, CA 94043
http://www.customalignment.com
650-961-5311
Pages: [1] [2]