When you click on links to various merchants on this site and make a purchase, this can result in this site earning a commission. Affiliate programs and affiliations include, but are not limited to, the eBay Partner Network.
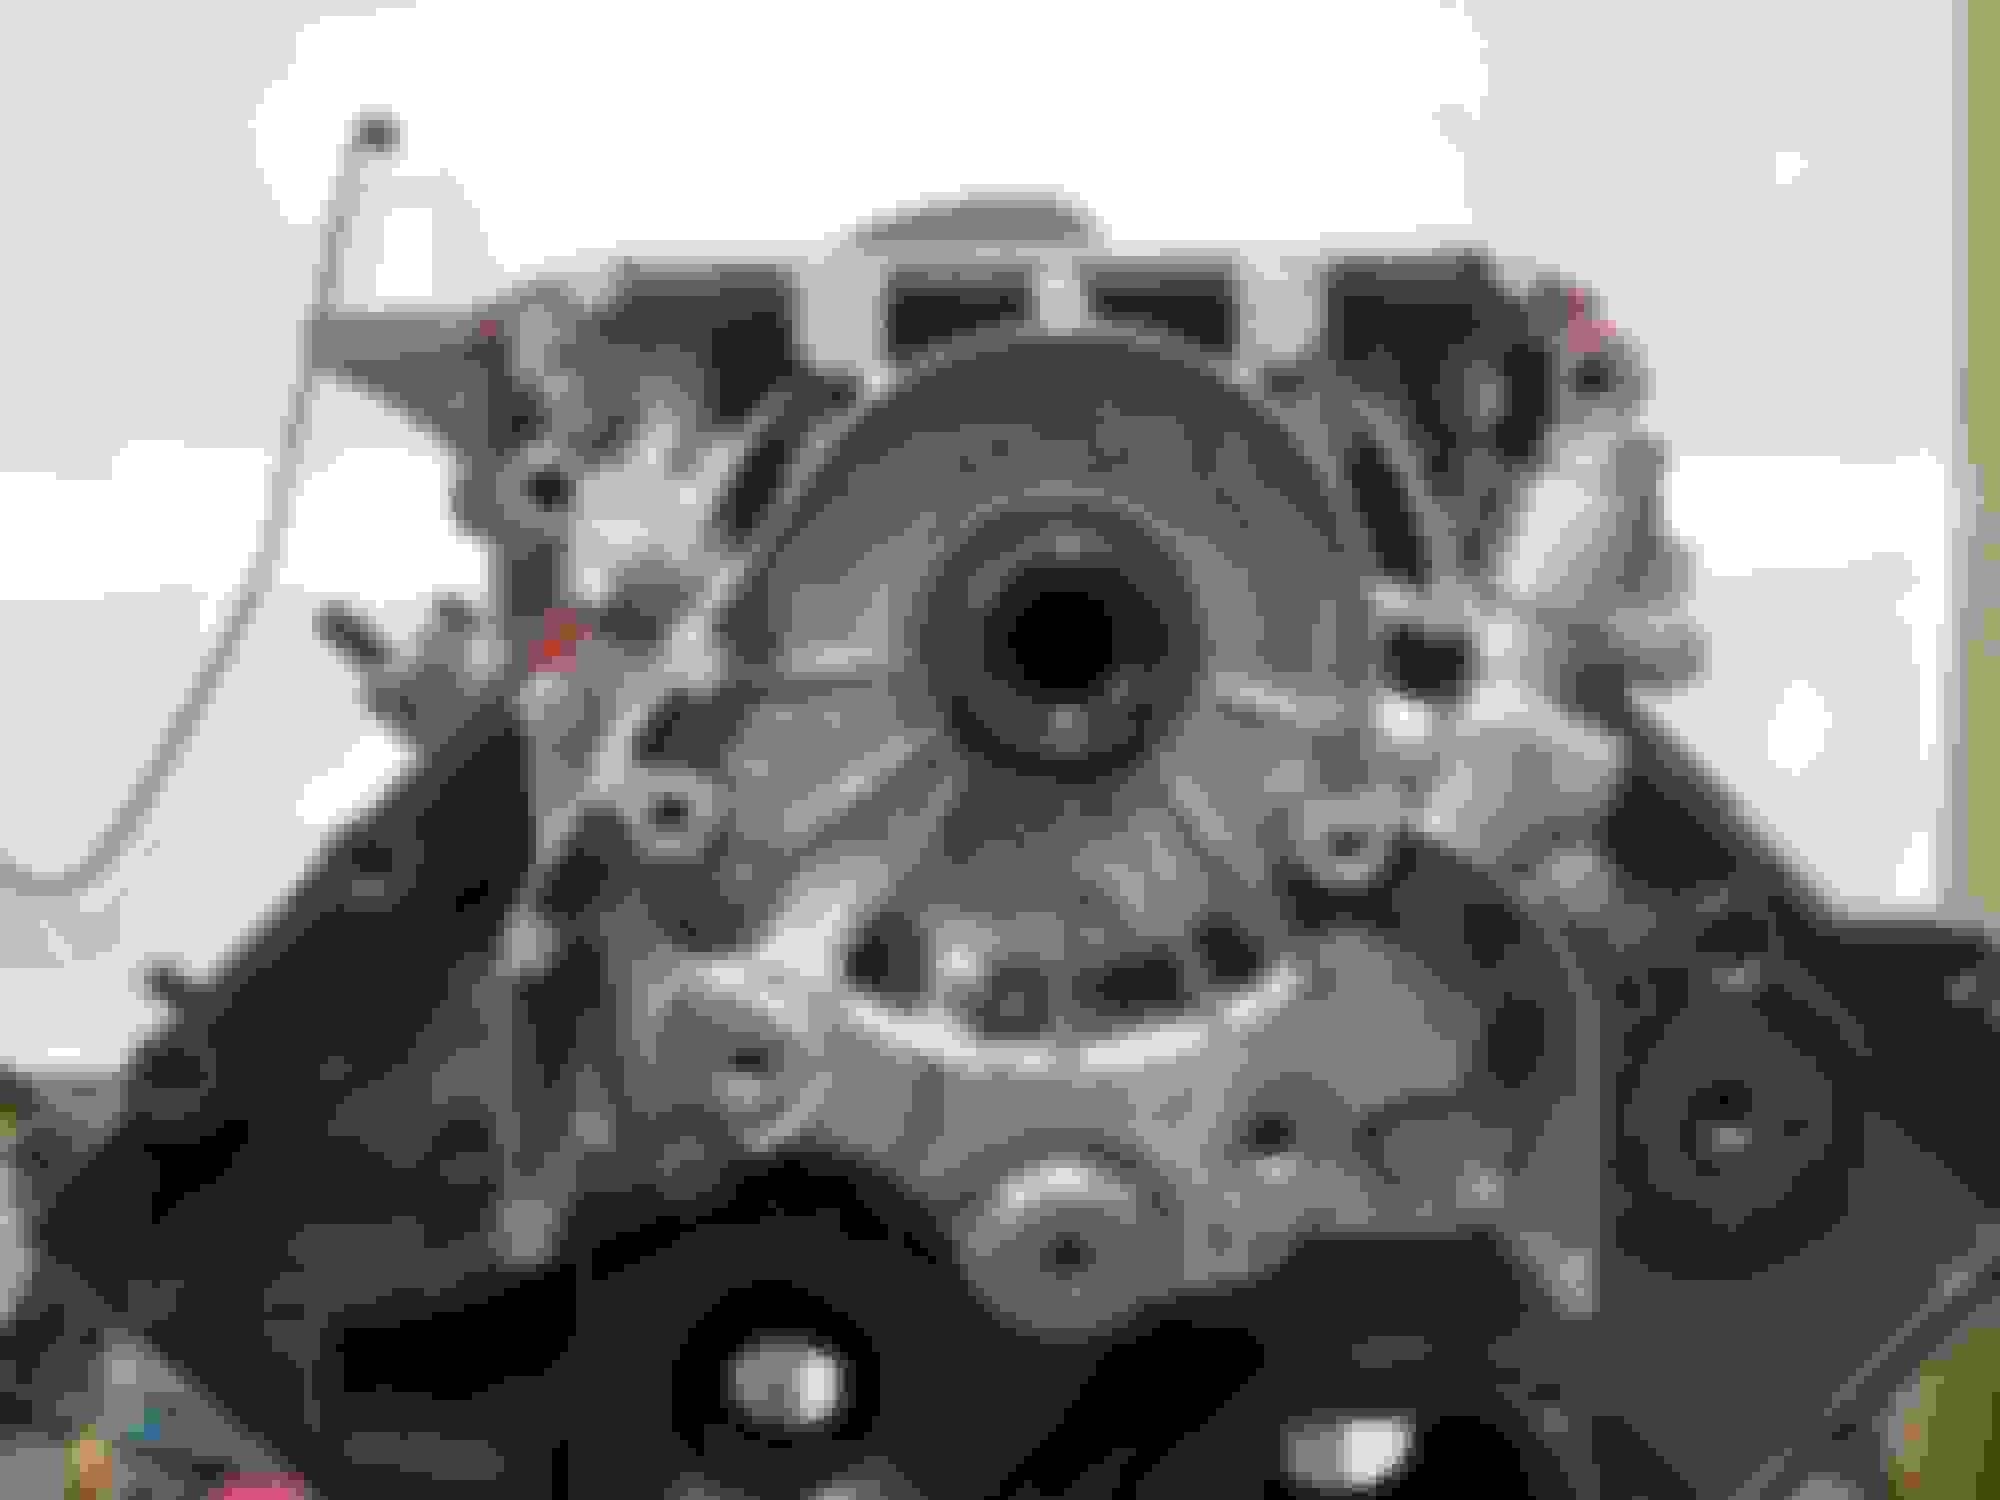
Beautiful work..and the metal in your oil mystery..that bottom end looks very good.
Could be some problem with the camshaft bearings in the heads? If the engine had an oil pressure problem the bearings in the head(s) will seize first it seems.
Those main bearing bolts and rod bolts are "stretch bolts" and intended to be used once and dis-guarded when rebuilt. Others may know if they can be used twice..the book say no..always replace.
Thanks for the reply Rusty, and you nailed it when you said the oil mystery I guess I should just be grateful that these parts are all reusable. The can bearings look fantastic as well so I may never know but thats OK cause she be a brand new engine when I'm done
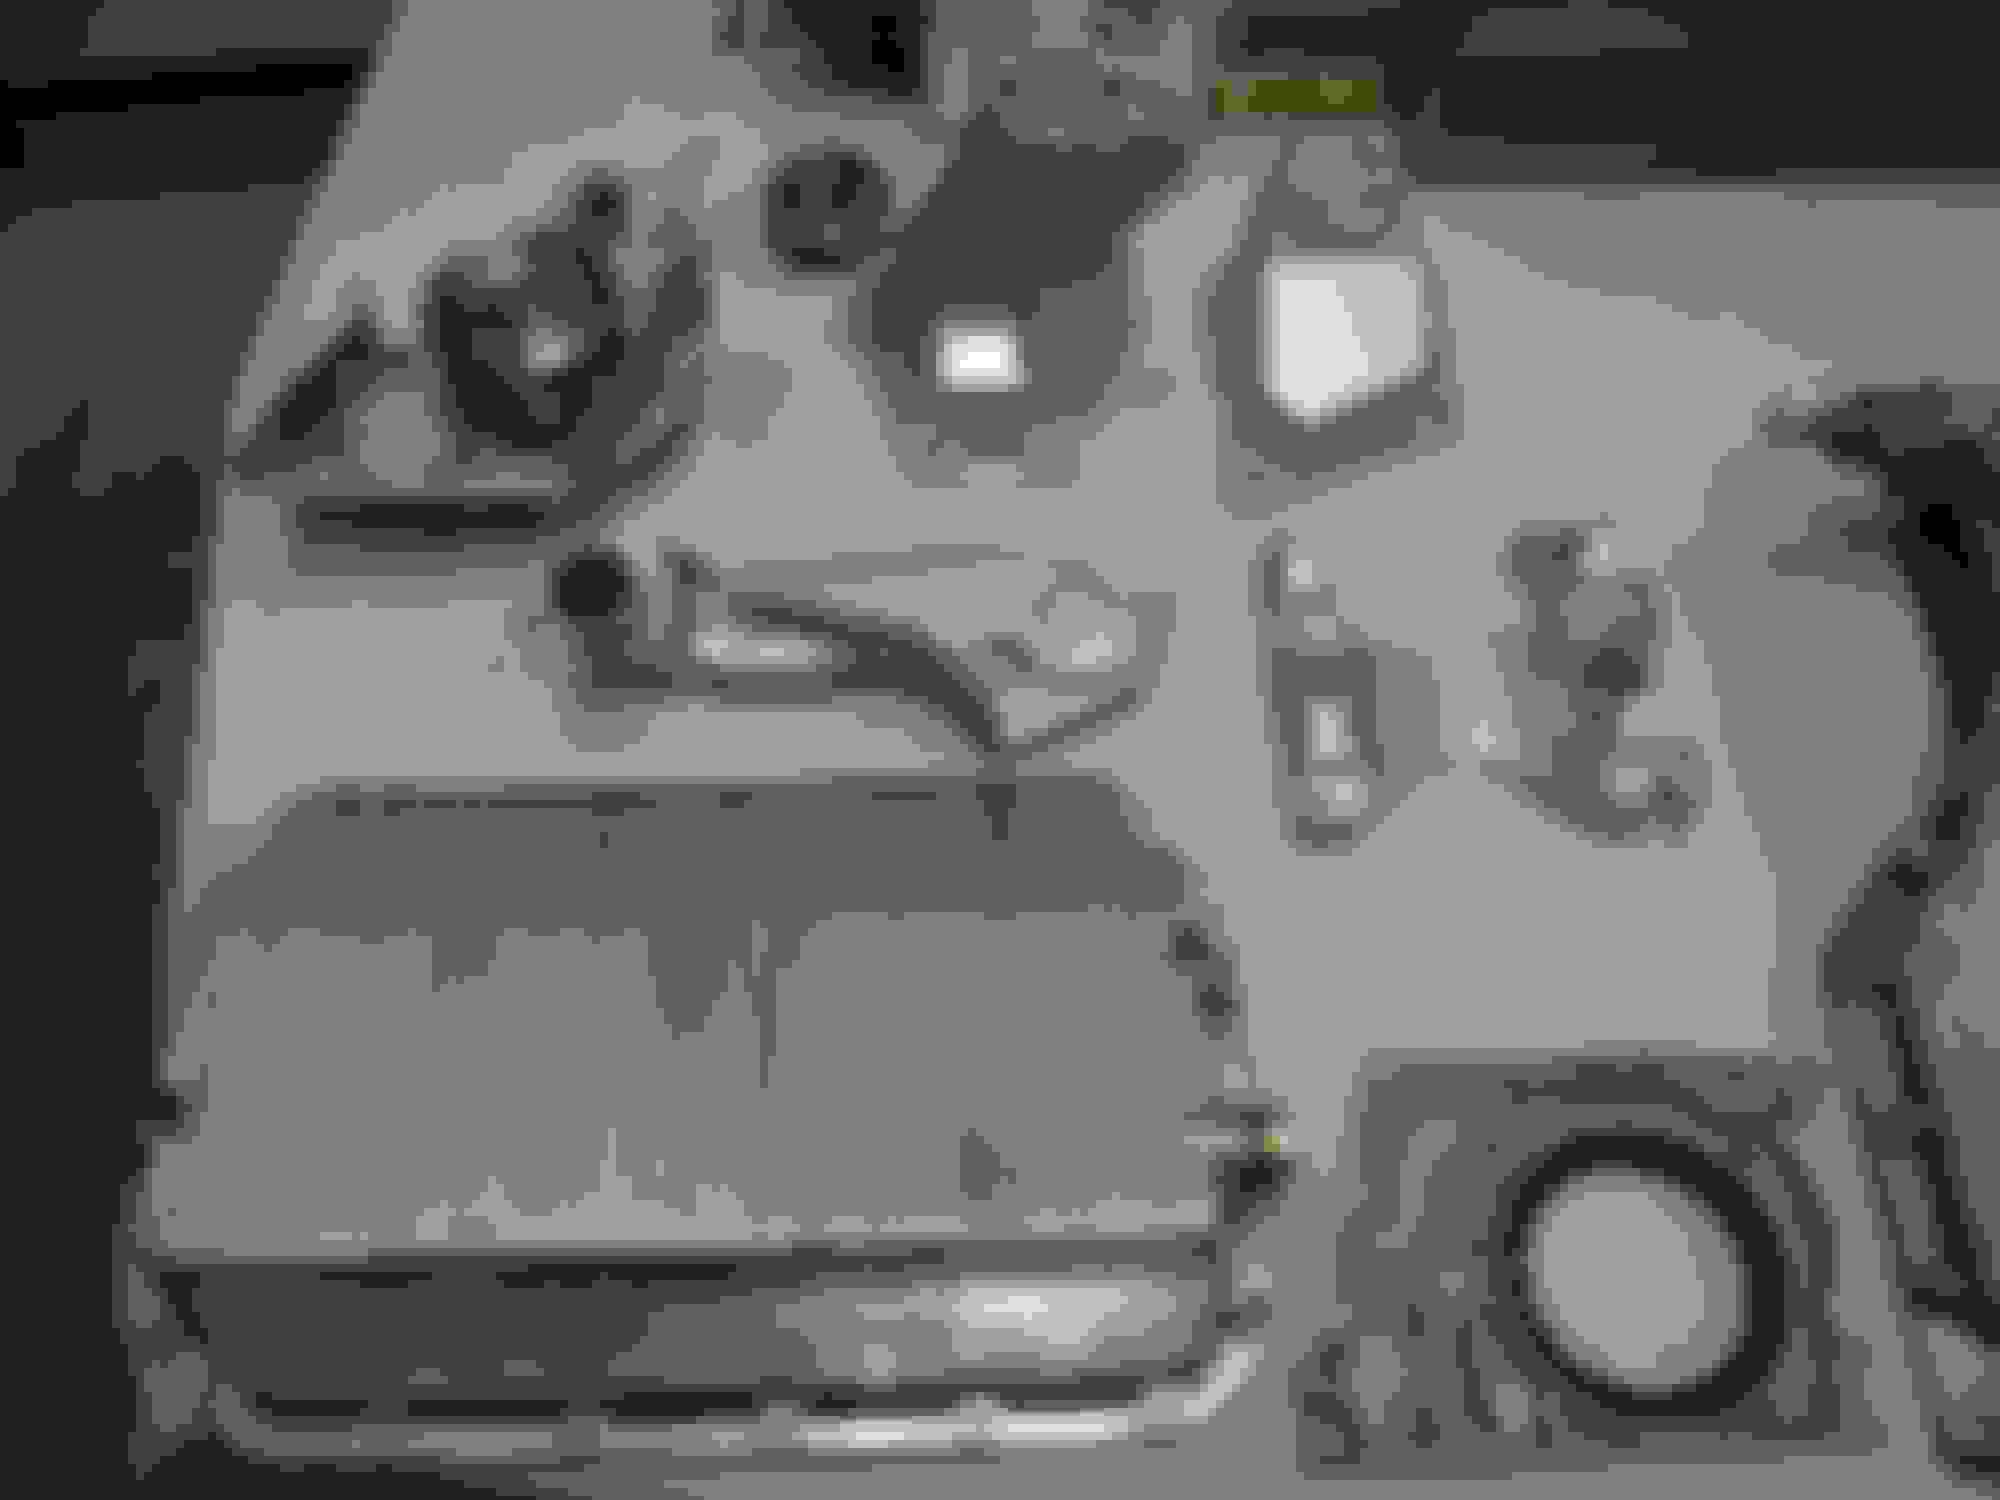
My table of goodies.
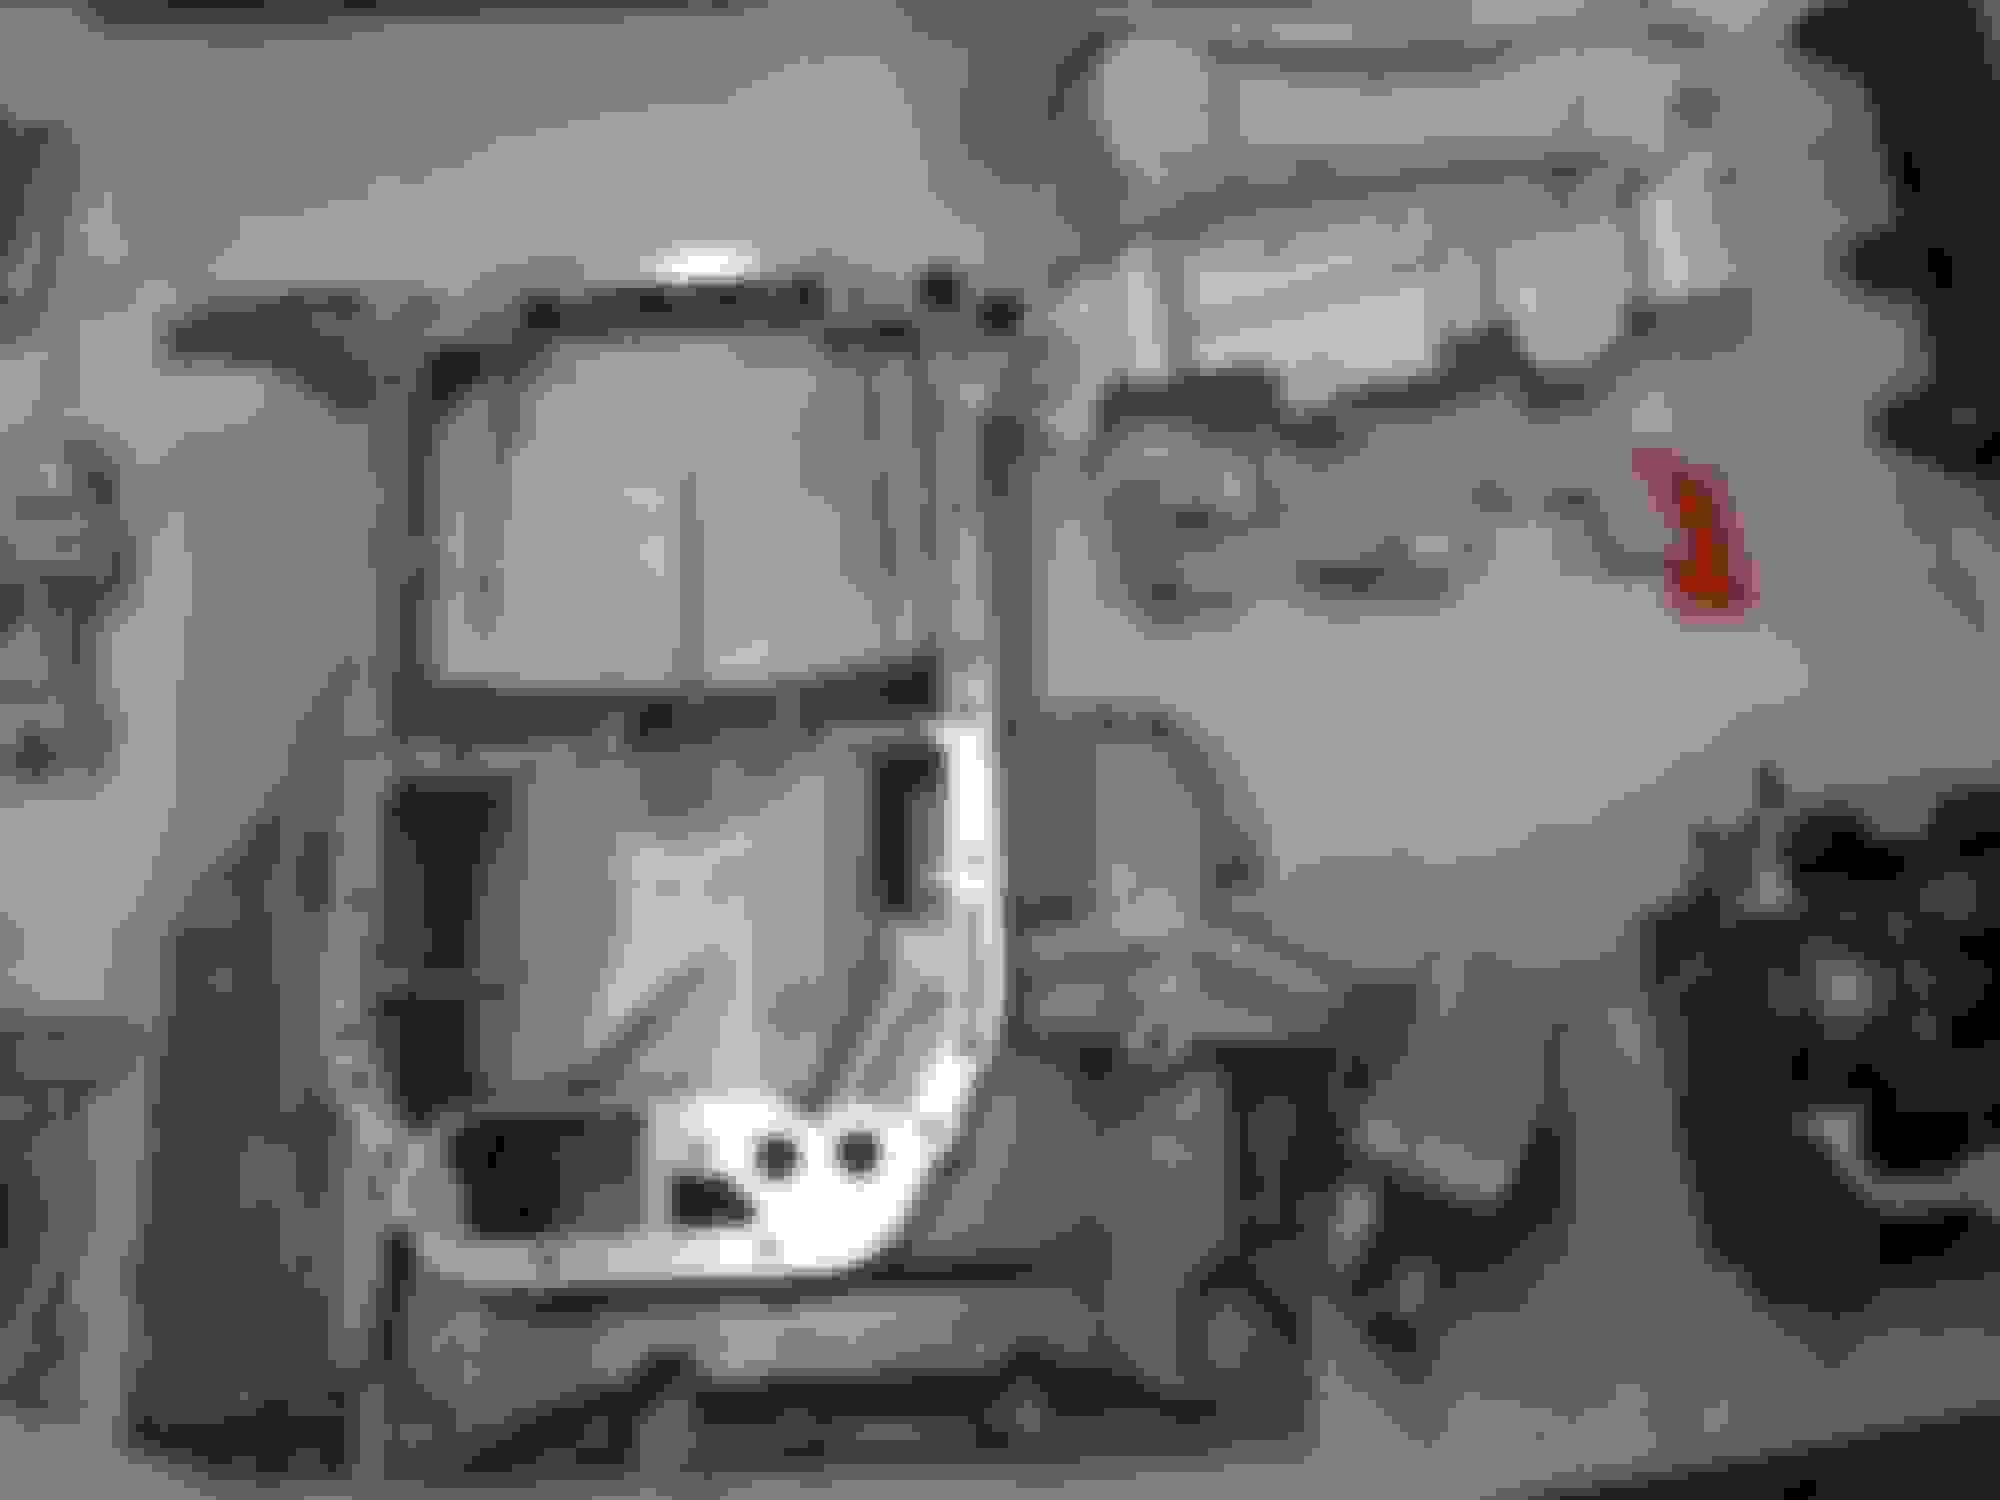
The engine mount and A/C compressor brackets, and thermostat housing pipe were bead blasted then given a few good coats of high temp paint. I love the way they turned out the upper and lower oil pans will be install then painted when i paint the block. Still havent decided on the color. :!
The exhaust heat sheilds were also blasted there was no other way that was gonna get that baked on oil residue of of them and theyll get a nice coat of very high temp paint along with the exhaust manifolds.
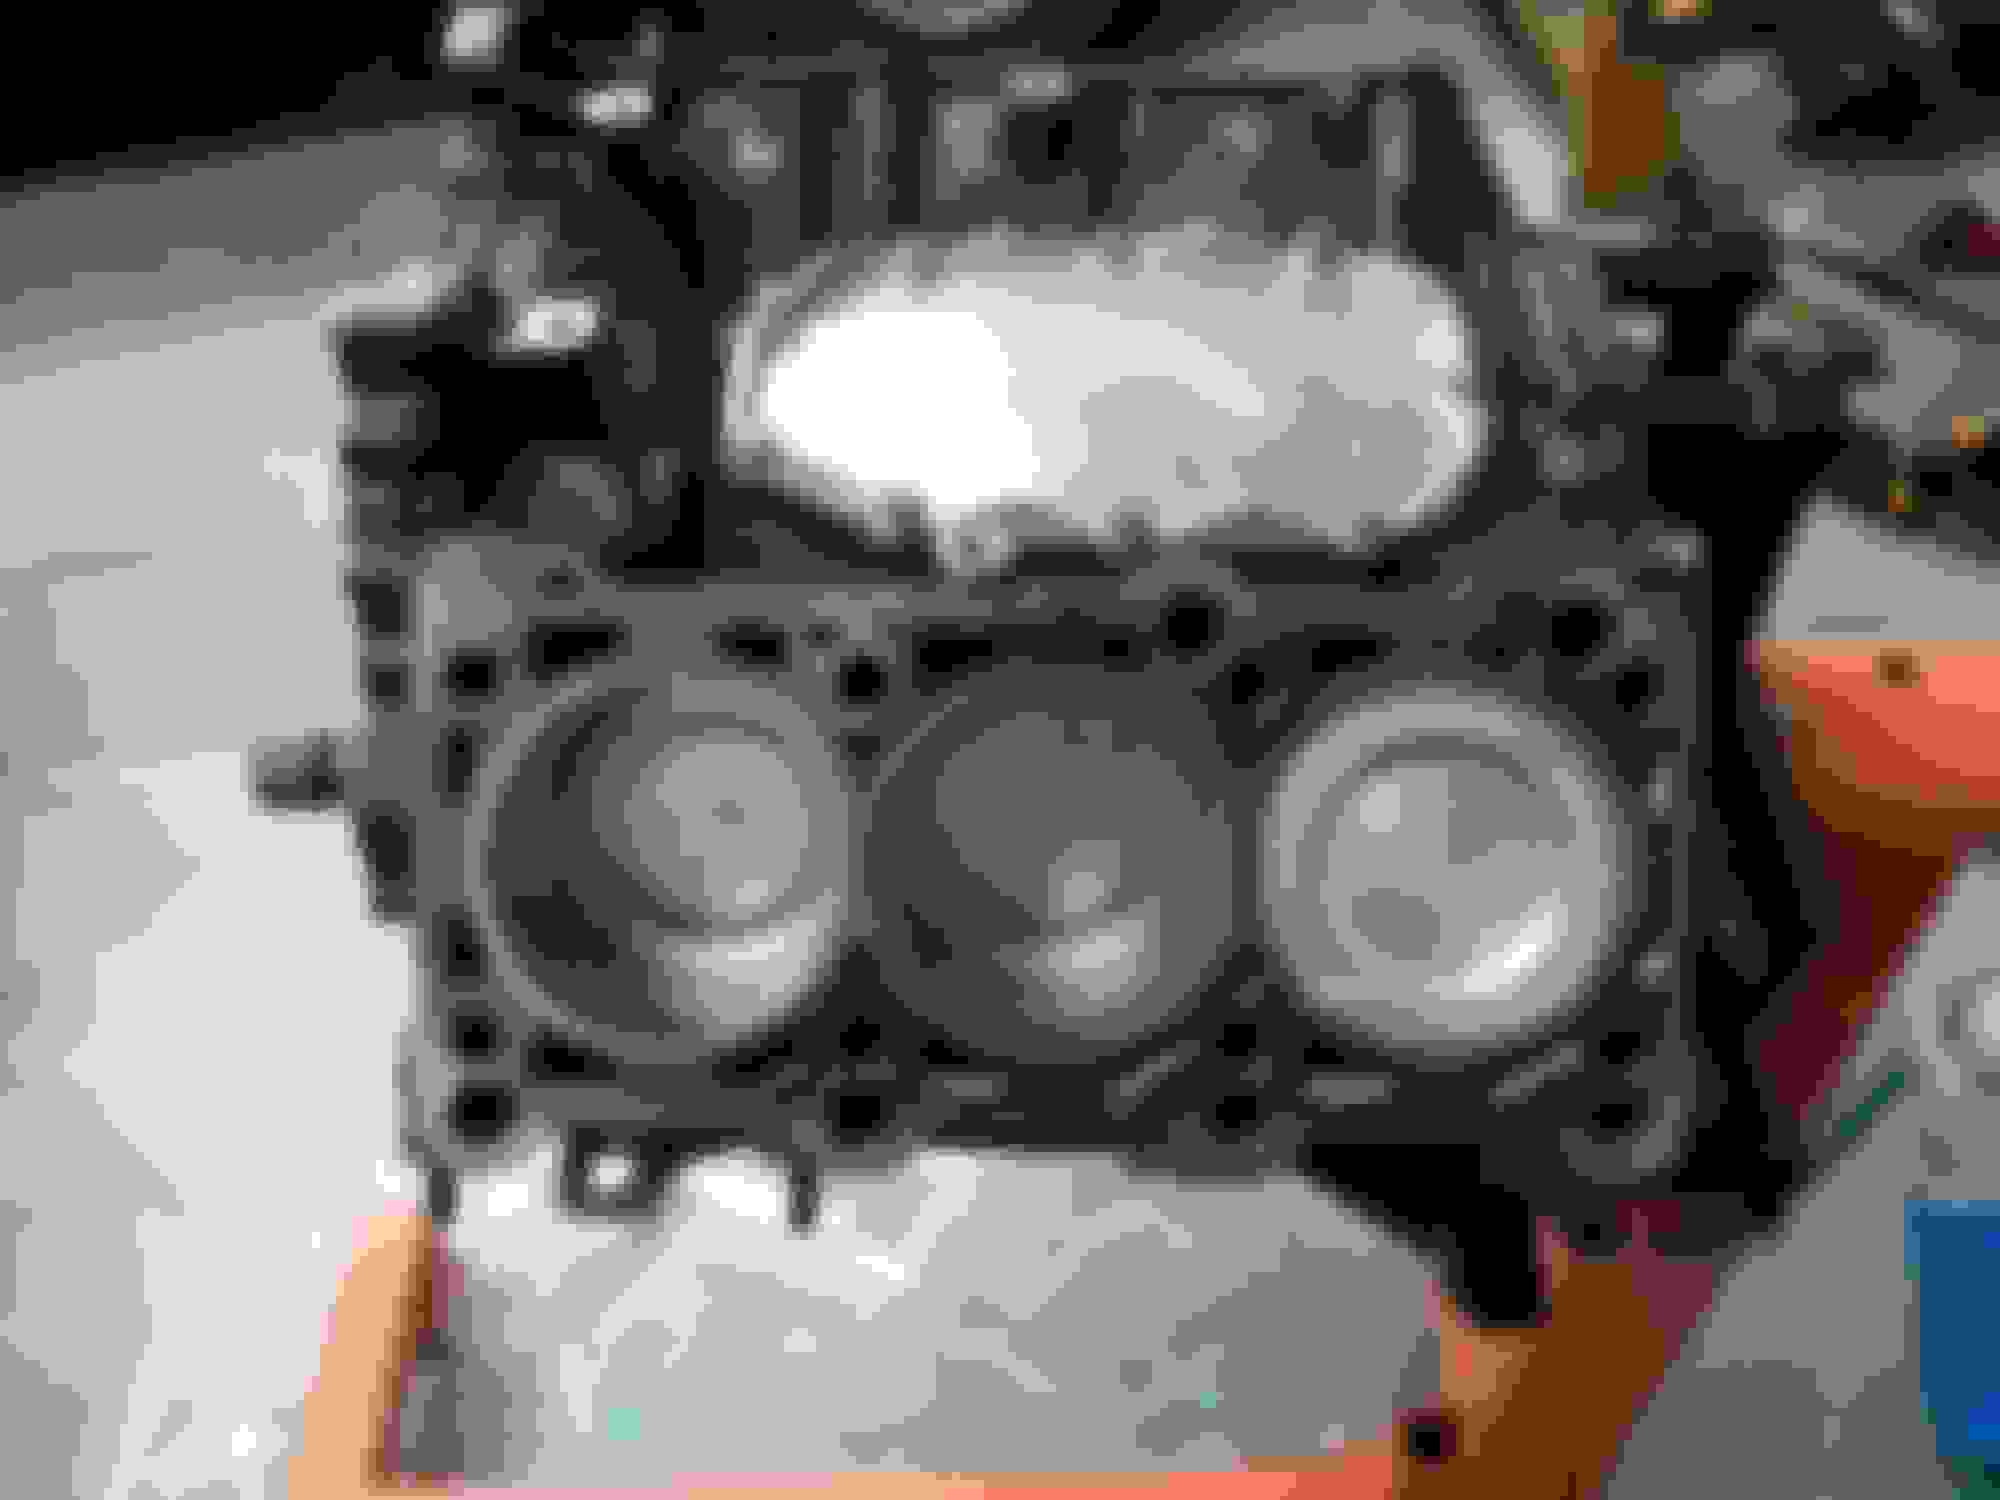
This is one head completely finished back from my friend and i must say he is a miracle worker to see it before and now this is amazing to say the least. My valves and valve guides were all still in fantastic shape, along with the cam and bearings. I bought new valve guide seals and a whole set of new hydraulic lifters. We werent sure what that old oil could have done to the insides of the previous lifters and so i just bought new ones.
The other head hasnt even been touched yet. My good friend does impecable work however his timing is terrible as in forever long time to get done. So the other head will be sent to a machine shop to get done and ill send this one as well so theyll both be resurfaced the exact same.
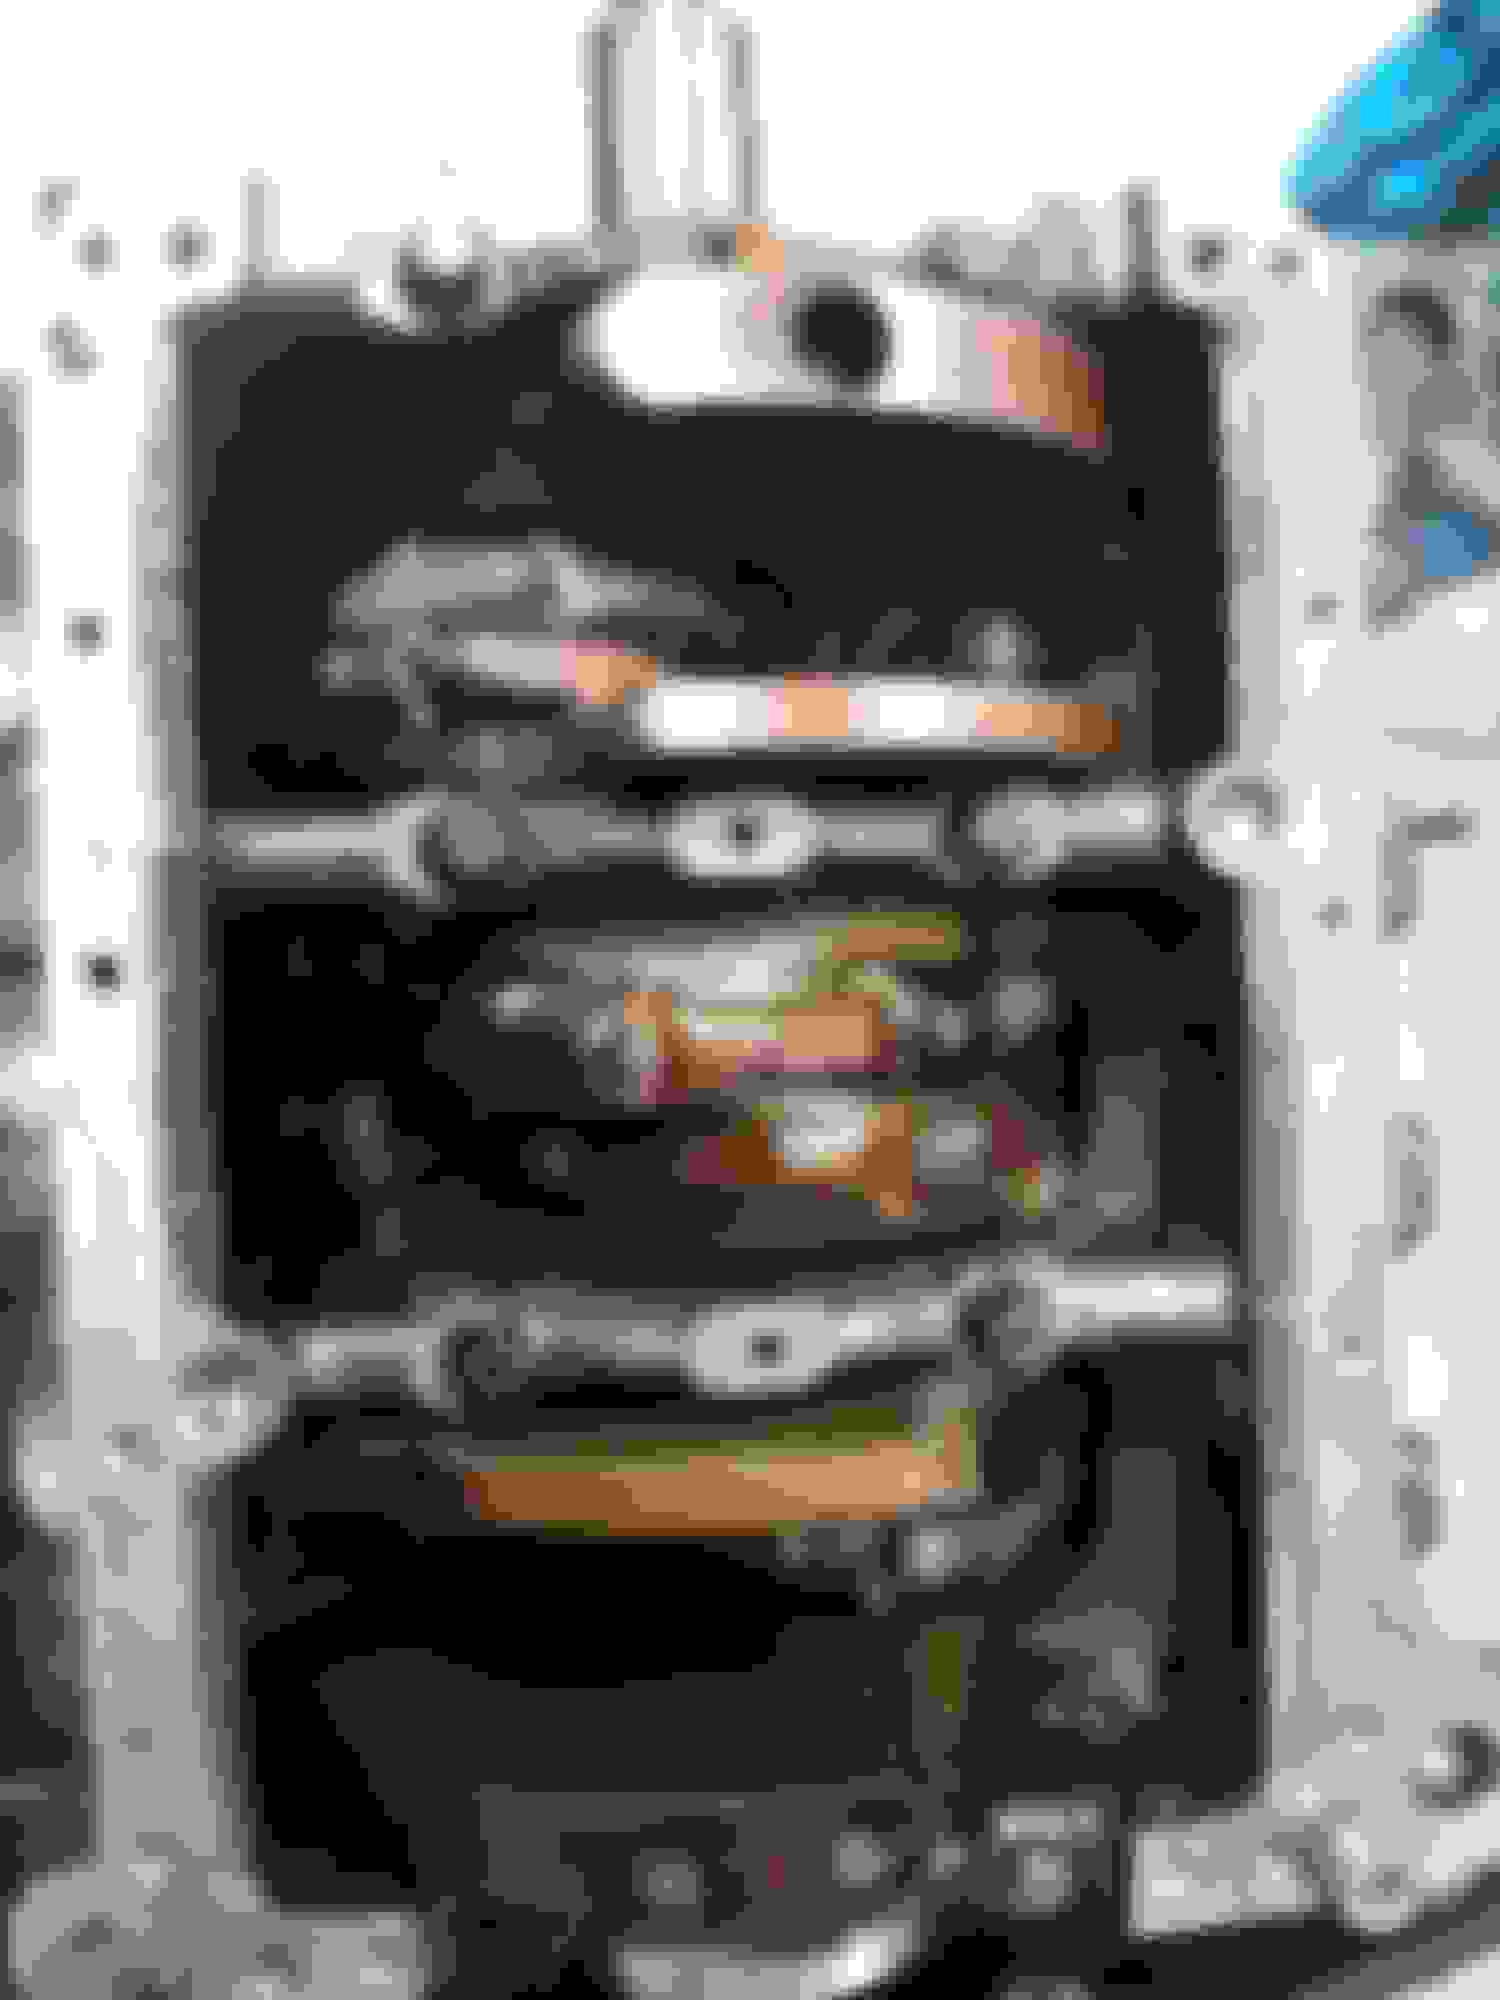
Just when I thought I was almost done the heads I read the head workshop by mence. Mind is officially blown. I will now be gasket matching my heads intake and exhaust. Rusty progress has been a little slow do me me breaking a piston ring upon assembly so I have pics of all but one piston installed and will post all that I have I also installed the oil pump and rear main seal carrier although I don't have a pic of the carrier installed yet.
Youll notice a couple connecting rods look cleaner i media blasted them then decided i would just solvent clean them so while while the miscoloration drives me nuts it will soon be covered by a nice shiny freshly painted oil pan.
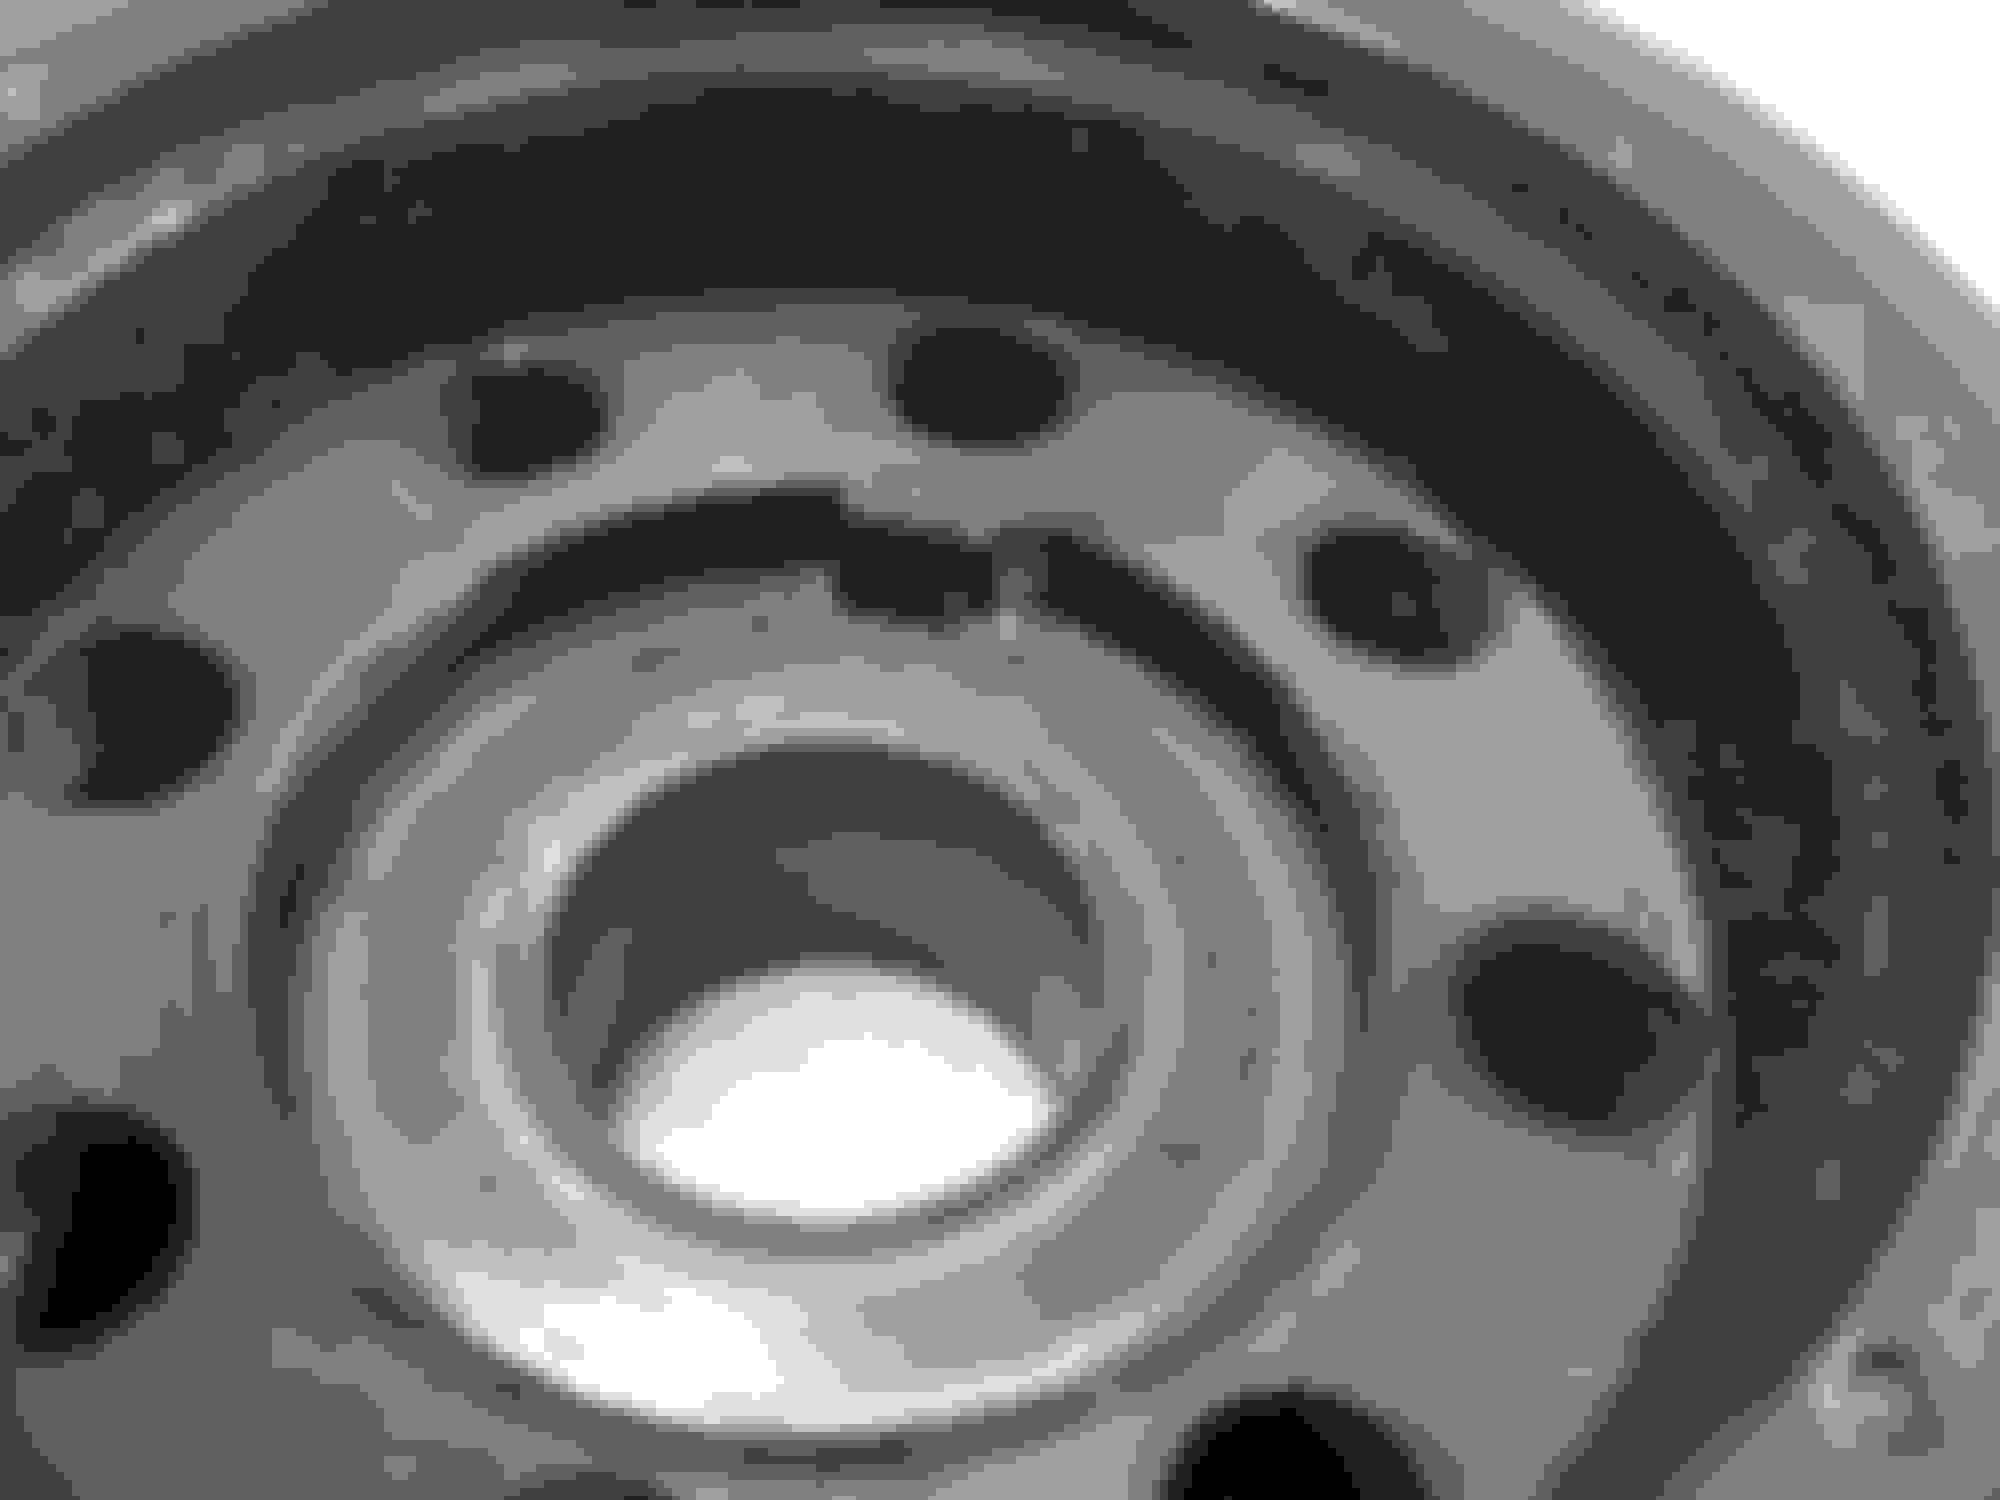
If you have followed this build thread this is a picture of the backside of the crankshaft timing sprocket/gear that was damaged during initial disassembly. Obviously if reinstalled it would result in a timing issue for the entire engine so it will be replaced.
Gasgacinch is wonderful stuff..I used it years ago when I was in school and worked at the local Triumph motorcycle shop. It was the only thing that helped keep those Brit engines from leaking oil. CR is right. Try and find some if you can. Permatex High Tack gasket sealant #80062 works well too as a second choice..available at most FLAPS Use Gasgacinch as a first choice.
I appreciate all the advice on this build gents. I have been wrenching for a long time now but always nice when treading in unfamiliar territory to have the seasoned pros tips and tricks. Its greatly appreciated and Ill pick up some of that gasket sealant asap for the rest of the build. Thanks again and happy holidays guys
 12-15-2014, 05:52 AM