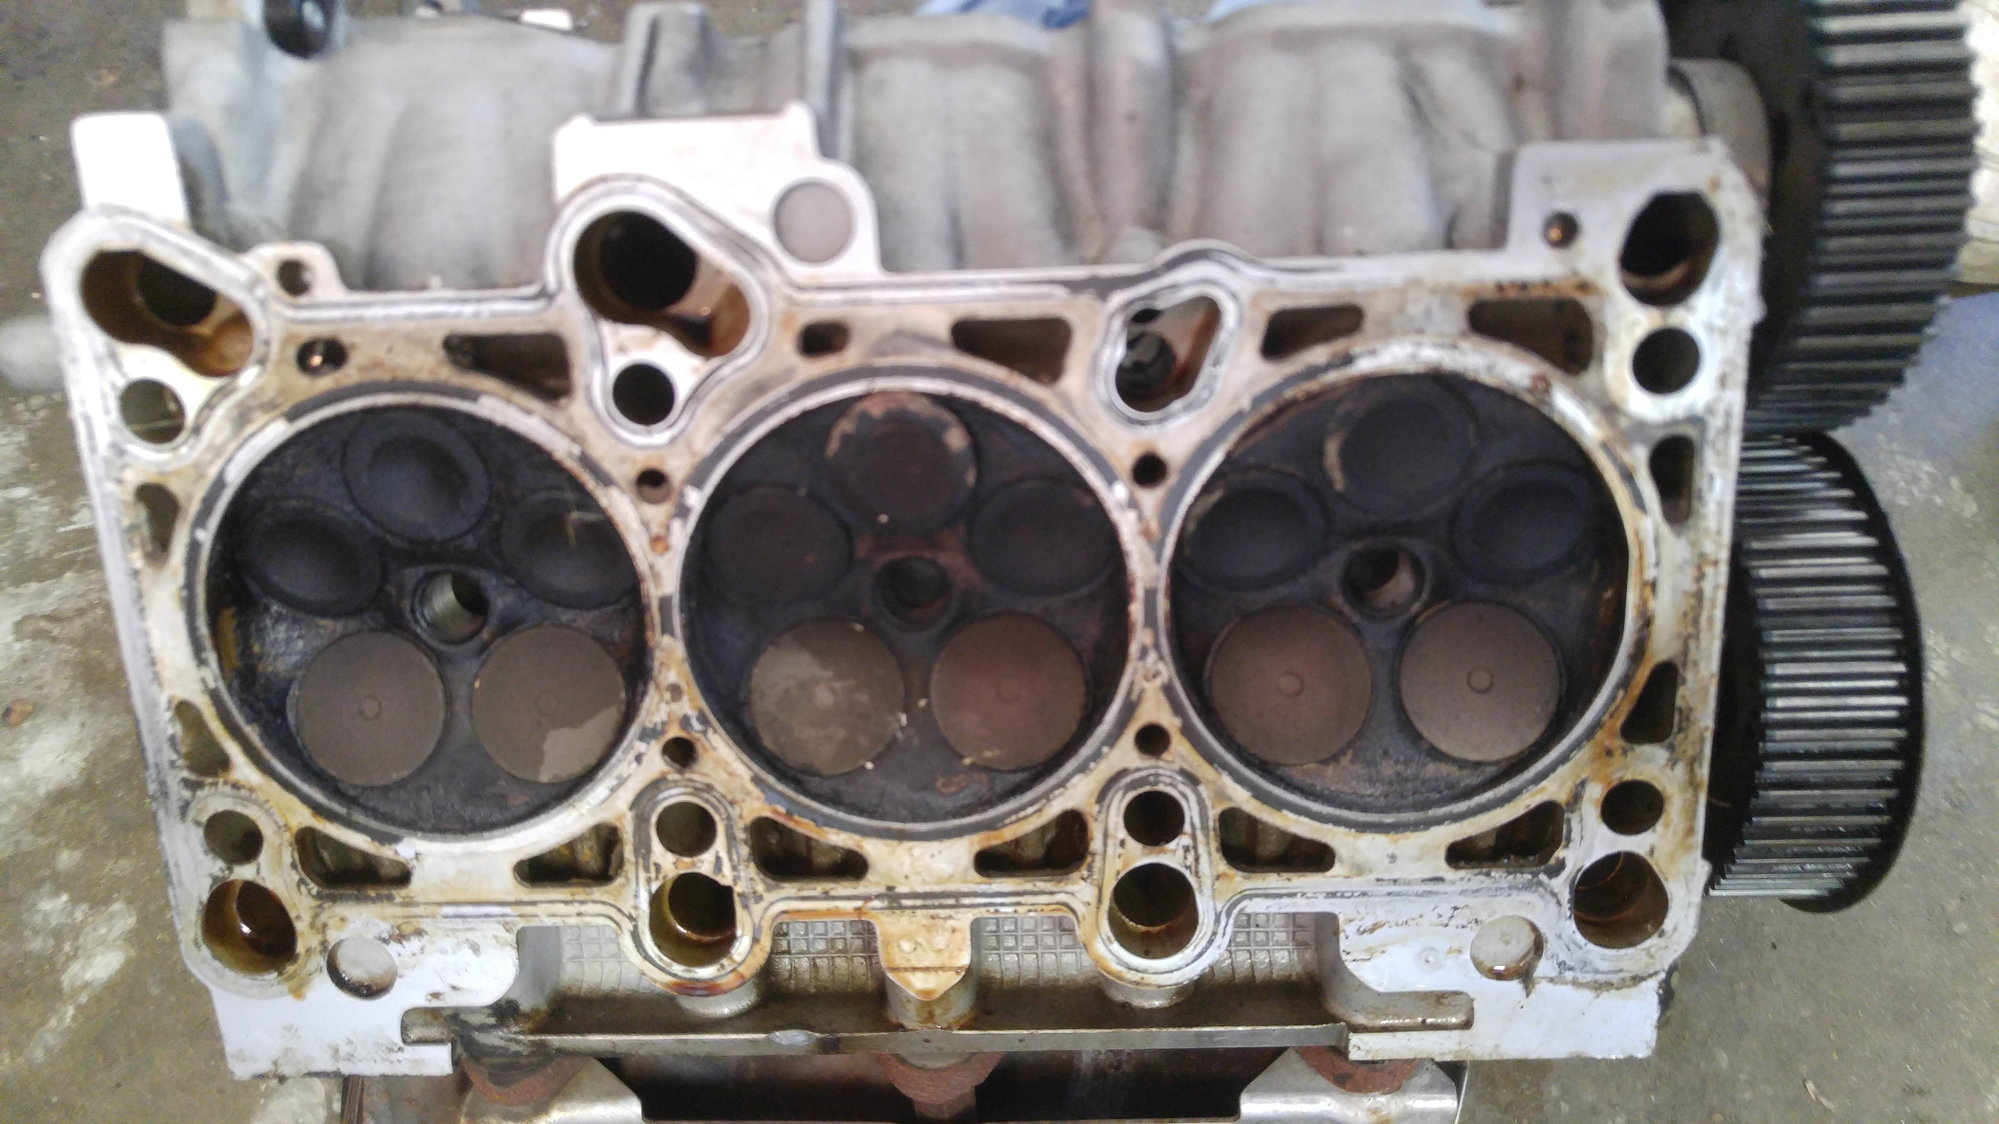
a4 b6 3.0 crank timing not matching cams
#1
Audiworld Junior Member
Thread Starter
Join Date: Apr 2018
Posts: 8
Likes: 0
Received 0 Likes
on
0 Posts
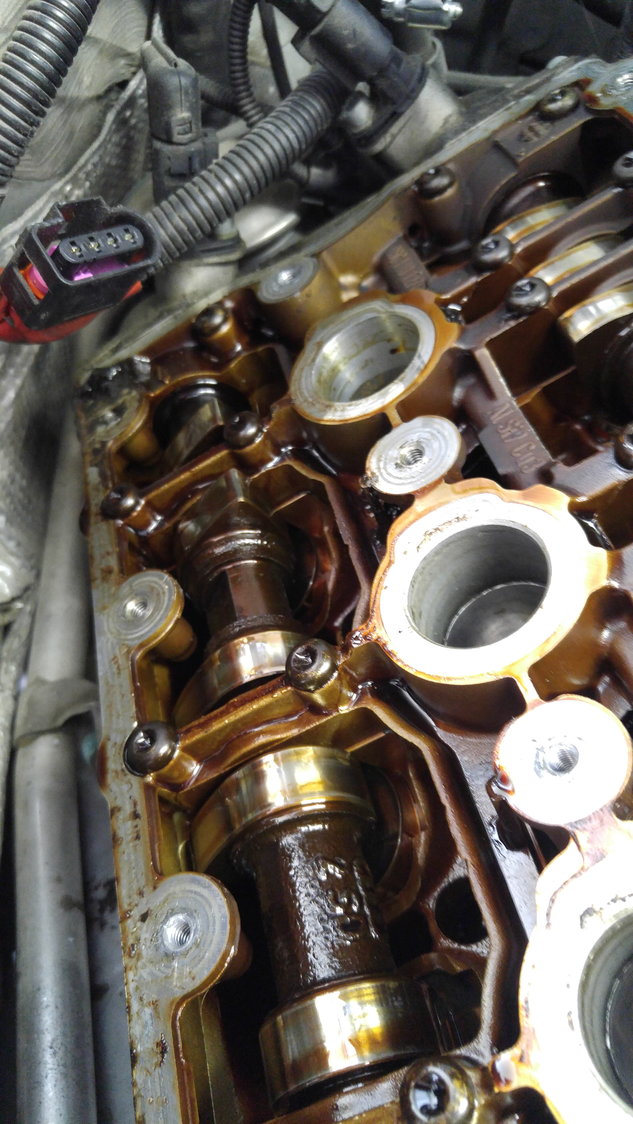
Hopefully you can see how the cam lobes are \"out of sync " when the crank marks are lined up.
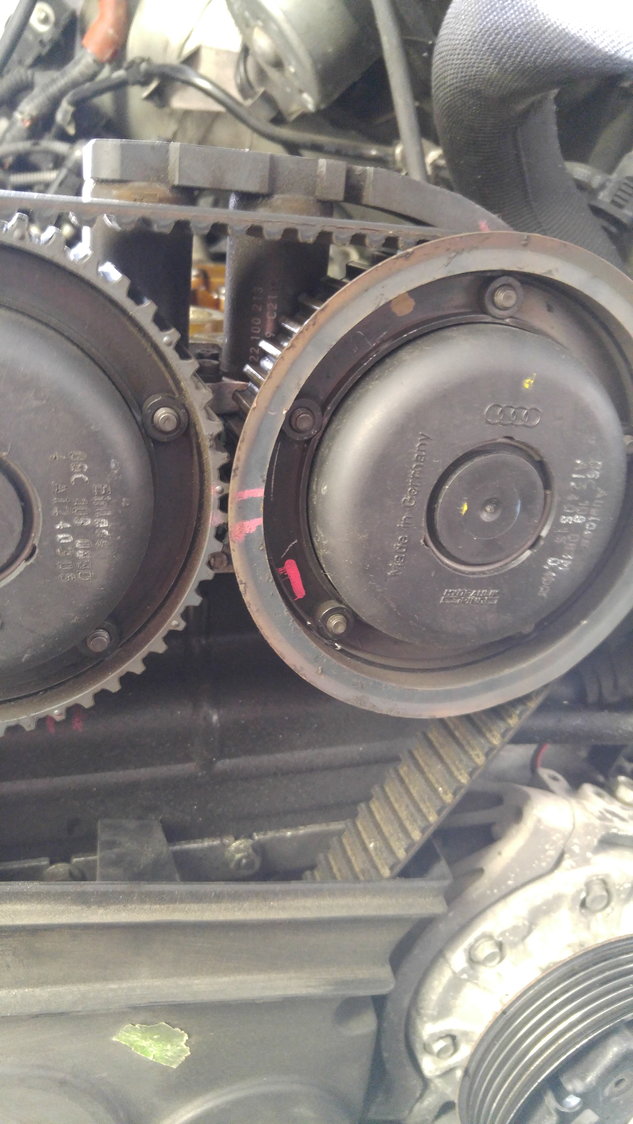
A previous mechanic marked. These but they don't quote line up when the crank marks are on.
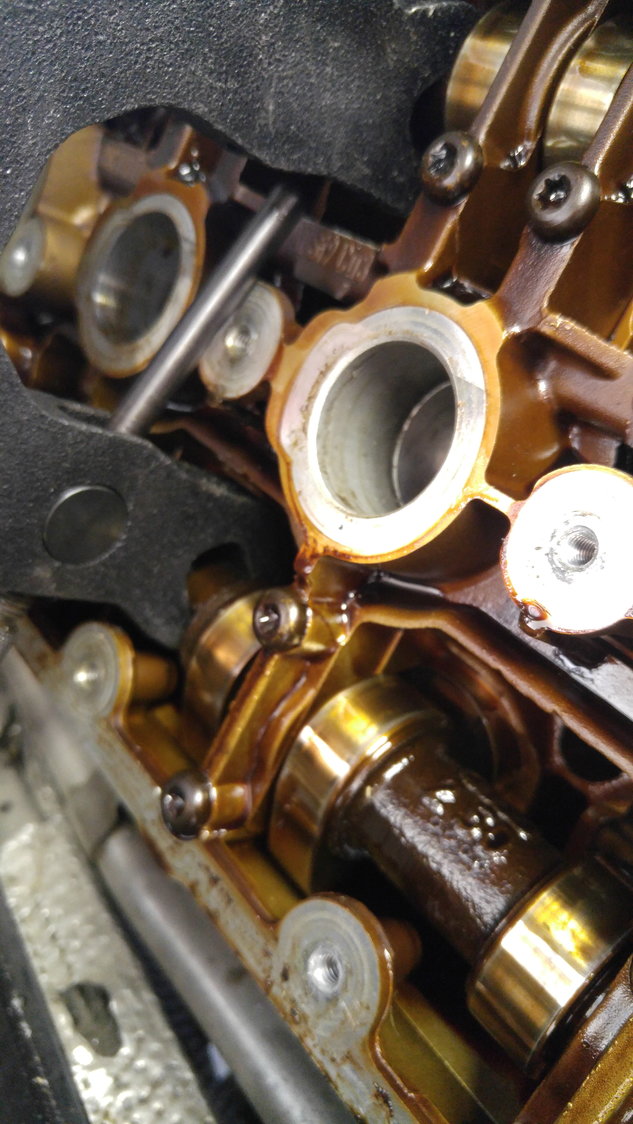
Cam lock tool fit with crank at tdc
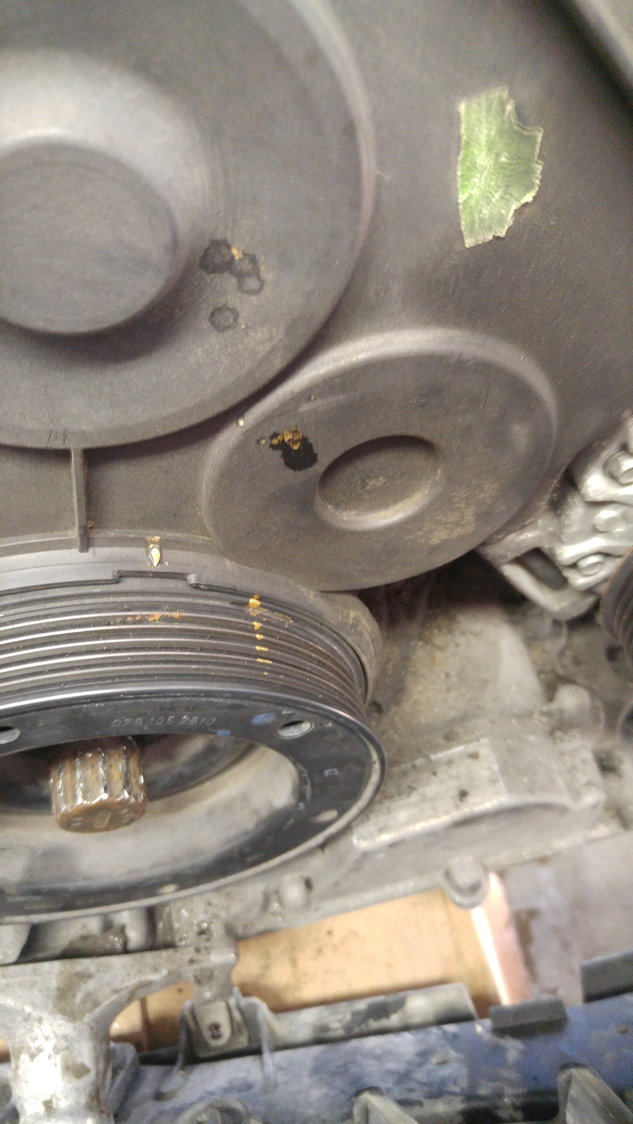
Crank with cams lined up . you can kind of see the line across the pulley
Hi everyone. Confused newb here. I have an 02 a4 b6 3.0 AVK Quattro. I'm in the process of changing the timing belt. Valve covers removed, timing chain covers removed and as I go move it to TDC, I line up the marks on the crank and go to put on the cam lock tool and the cams aren't quite lined up. The tool goes on awkwardly and not very far, the cam lobes by 3 aren't quite in sync.When I rotate it just a bit further, maybe an inch along the crank pulley the cams line up much better and the cam lock tool fits better (still not that great though). A previous mechanic made some marks on the cam pulleys and they seem to line up when the cams are lined up better.I tried to a. Do I just set the crank to tdc and pull the timing belt then adjust the cams to fit the lock tool ?
#2
AudiWorld Super User
I assume that you are changing the whole set of parts including pump and rollers, and tensioner. I suggest that before the belt is taken off, loosen the eccentric roller's bolt, to the right of the pulley, and rotate it with the tool that has two pins, so the belt loosens. It will be easier to then fit those cam clamps by grabbing the sprockets to rotate the cams.
When the cam tools are on, you will remove the circlips from the cam sprocket adjusters, then carefully pry out the plastic cap. Have a rag underneath to catch the oil which will dribble out. With a breaker bar, loosen the cam bolt, then push the cap back to stop the oil leak. Do all four like this.
After the new belt and other parts are installed, the belt gets tensioned. I've got the factory instructions if you need them. Your tool set should also have the special "socket" for setting the exhaust cam adjusters. After doing that, the cam bolts are torqued to 70-75 ft-lbs.
#3
Audiworld Junior Member
Thread Starter
Join Date: Apr 2018
Posts: 8
Likes: 0
Received 0 Likes
on
0 Posts
Thanks Turbo510 for your reply. I think I've narrowed down where the crank locking pin goes, so I'm going to attempt that. It seems to have a lot of folklore an d mysticism surrounding it so hopefully it goes well. I plan to change the passenger side head gasket as well but that should be a matter of inserting those steps in between the steps you laid out. I have the Elsa, Alldata and Haynes manuals which seem pretty comprehensive for the most part. Thnaks again for your help. Hopefully I don't have any other questions
#4
AudiWorld Super User
Thanks Turbo510 for your reply. I think I've narrowed down where the crank locking pin goes, so I'm going to attempt that. It seems to have a lot of folklore an d mysticism surrounding it so hopefully it goes well. I plan to change the passenger side head gasket as well but that should be a matter of inserting those steps in between the steps you laid out. I have the Elsa, Alldata and Haynes manuals which seem pretty comprehensive for the most part. Thnaks again for your help. Hopefully I don't have any other questions
#6
Audiworld Junior Member
Thread Starter
Join Date: Apr 2018
Posts: 8
Likes: 0
Received 0 Likes
on
0 Posts
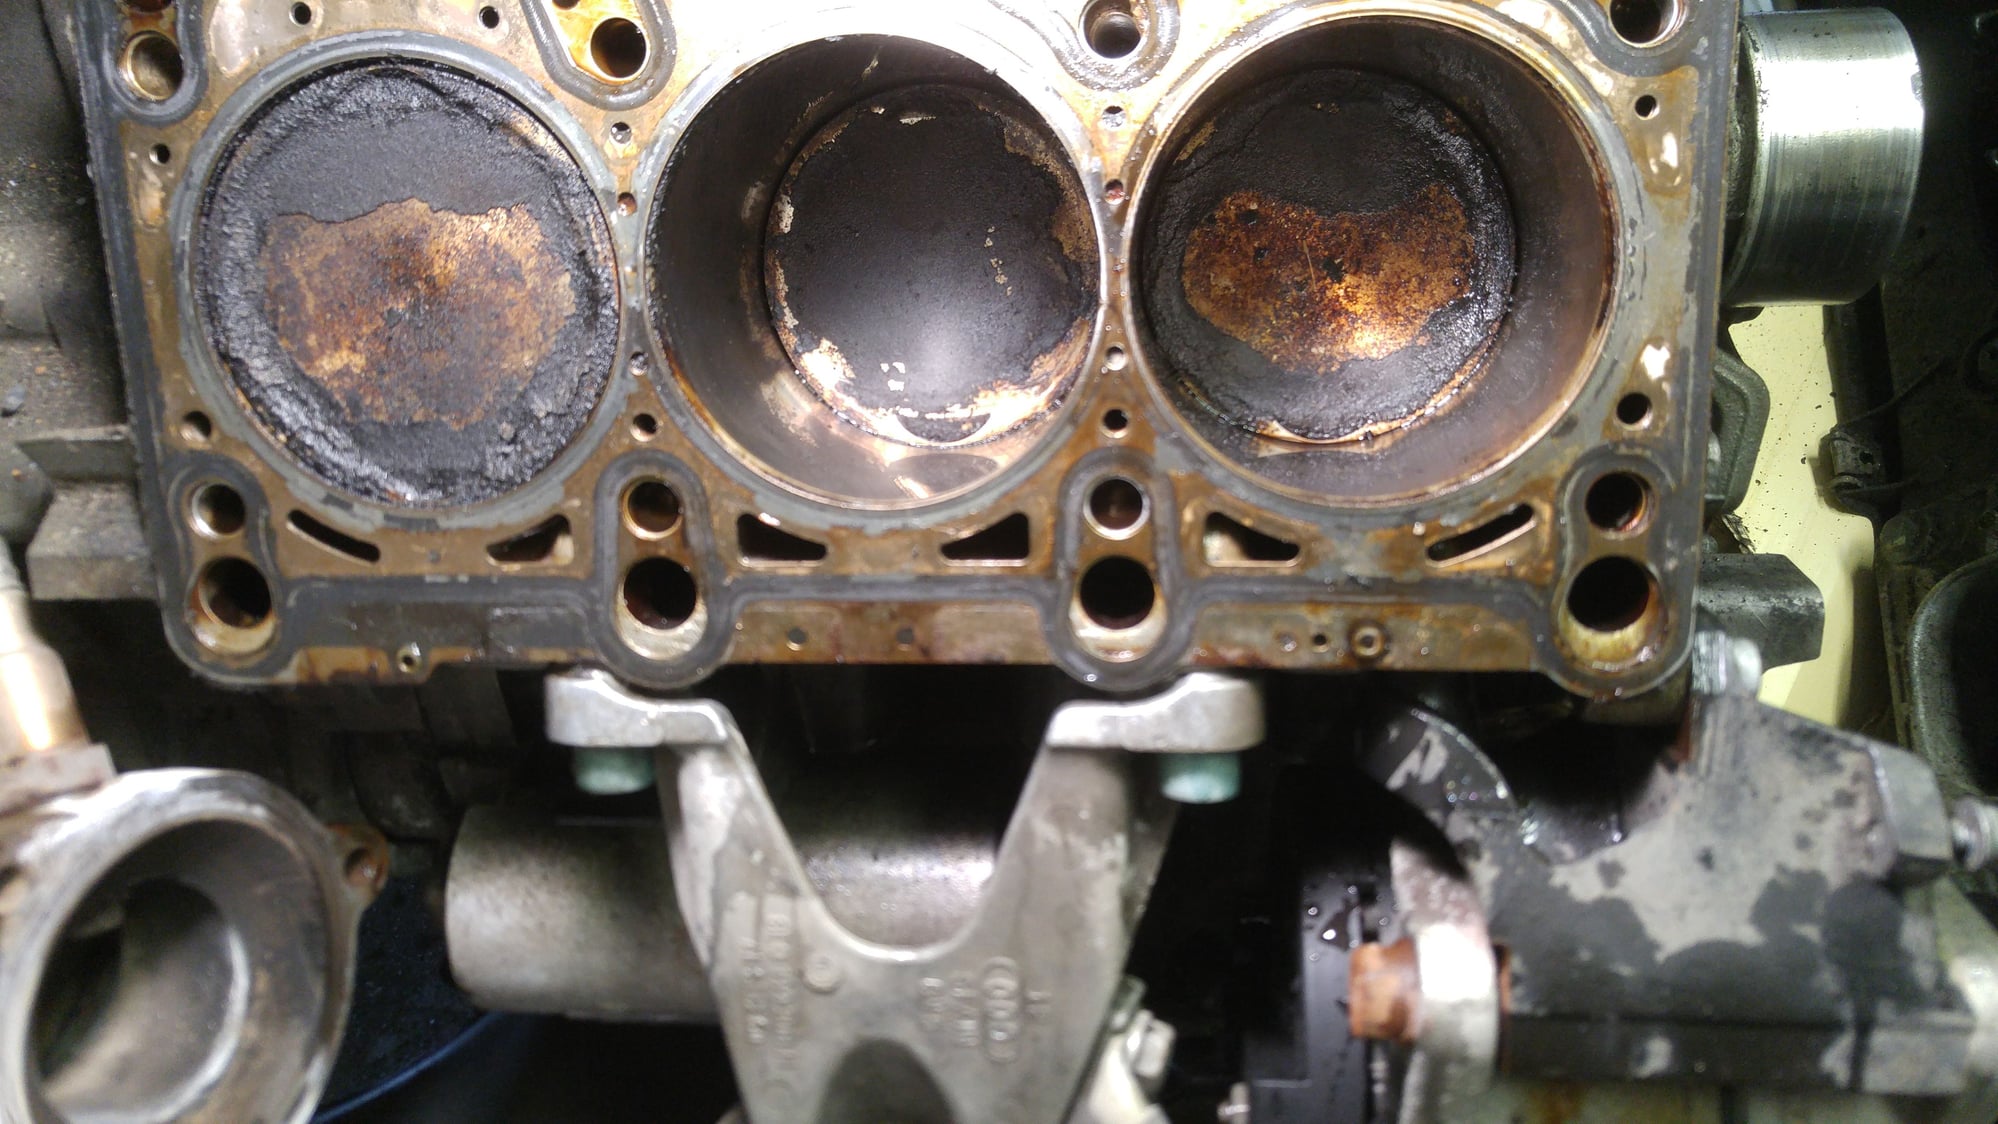
Passenger block
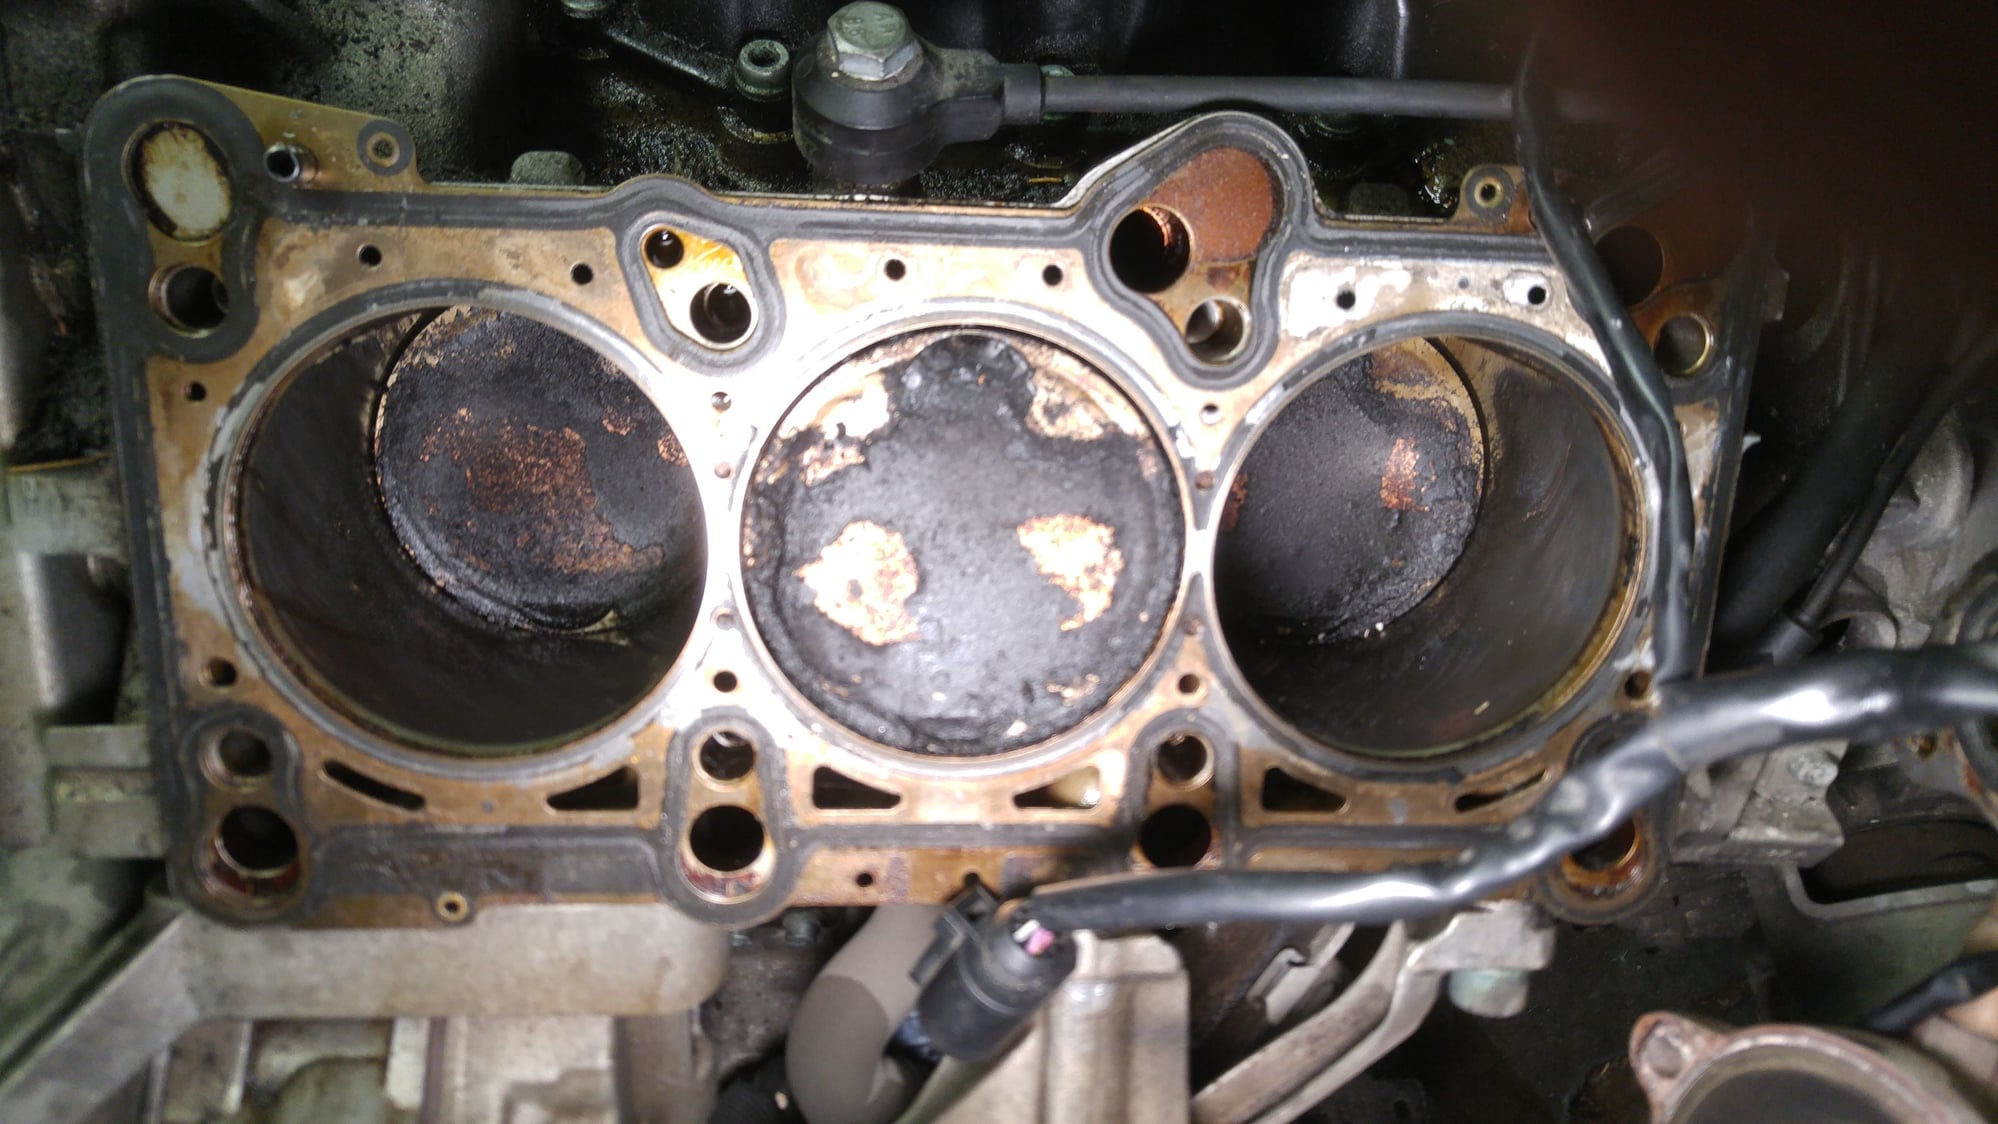
Driver block
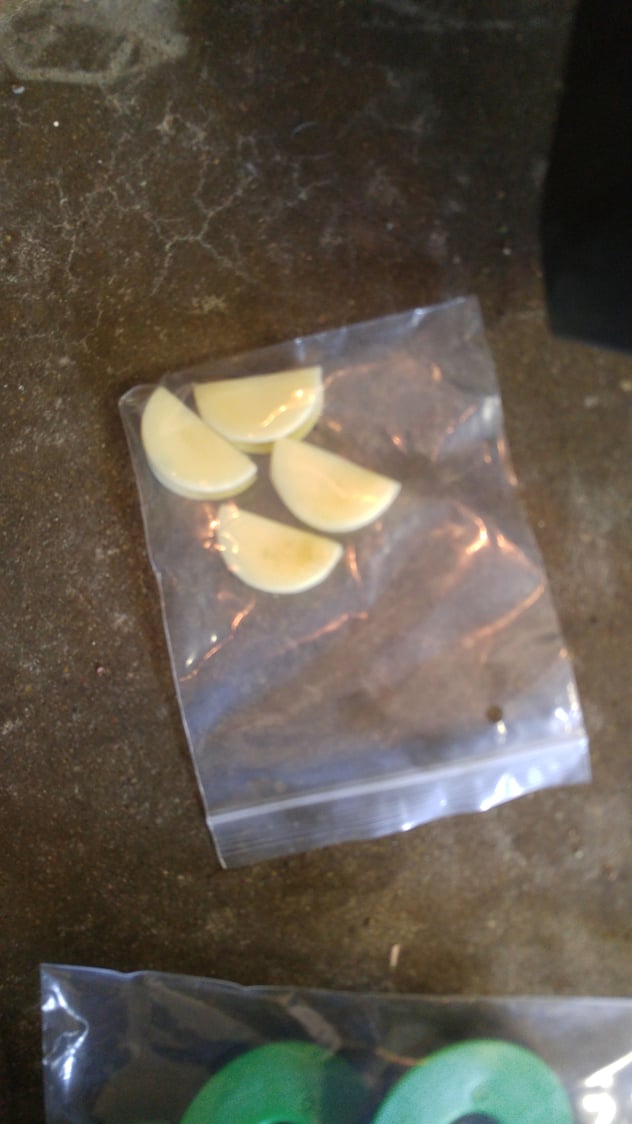
These came with my head gasket kit. Should there be half moons on a 3.0 ?
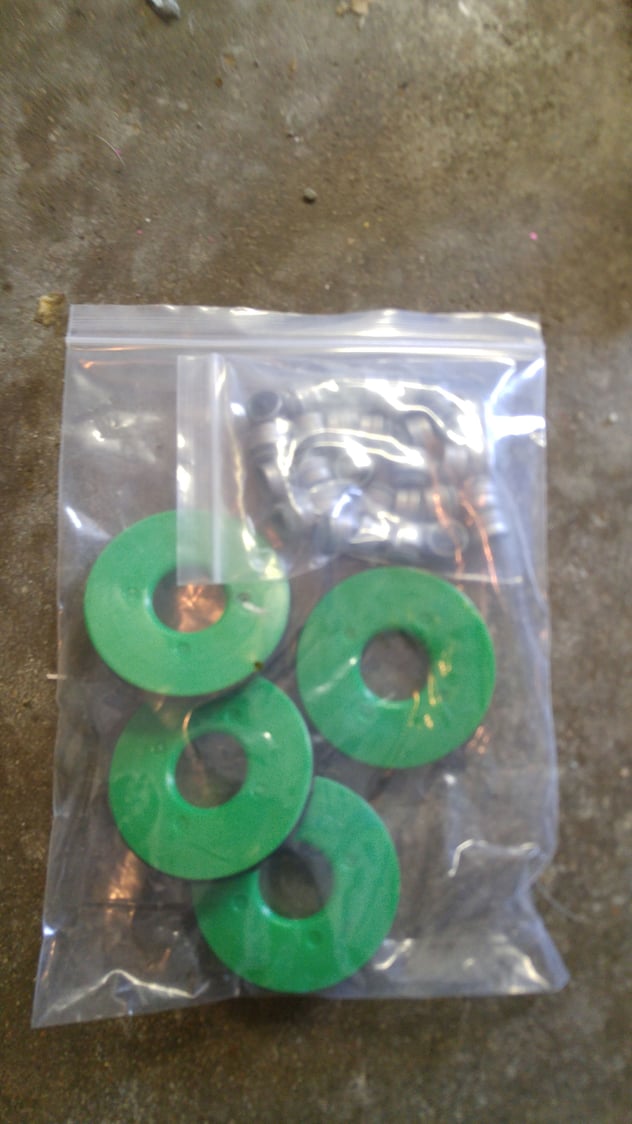
Also came with head gasket kit. Can anyone tell me what the green things are ?
Finally got my heads off. Had a bit of a fright when I thought that half moon shapes at the top and bottom of the pistons were stamping from the valves. I'm not seeing any glaring issues. For the next step I plan to clean up the surfaces and straight edge them, leak test the valves and swap valve seals. Is there anything to look for visually on the valve guides or does that take a machine shop or that $200 tool ? Should I swap out the valves just to do it while I'm this far in ?
#7
AudiWorld Super User
You took both heads off? My opinion is that you leave the valves in place (and the seals) unless there is some serious reason to take them out. You should check for leaky valves using a solvent in the ports, but unless you find a major leak, I would leave well enough alone and just prepare that sealing surface. I would probably remove the carbon deposits using a hard plastic scraper to avoid nicking the aluminum, maybe wire brush those valves. The idea is to remove anything that can become incandescent enough to pre-ignite the fuel.
Thread
Thread Starter
Forum
Replies
Last Post
turbo510
A4 (B5 Platform) Discussion
0
12-21-2012 06:12 PM
Ertman
A4 (B5 Platform) Discussion
4
01-25-2007 02:40 AM
BrianG
S4 (B6 & B7 Platforms) Discussion
7
05-09-2003 02:12 PM


