When you click on links to various merchants on this site and make a purchase, this can result in this site earning a commission. Affiliate programs and affiliations include, but are not limited to, the eBay Partner Network.
Does anyone know how to access the B1 S1 Oxy Sensor on a 2003 A4 B6 3.0L cabriolet ???
It doesn't appear possible from the engine bay, there's zero access from underneath. I've been working on cars for over 30 years but I cannot figure out how to get to this sensor.
There is zero clearance between engine and wheel well, zero clearance from underneath. I have removed the MAF and air intake at rear of engine. Followed sensor wires to back but cannot see the sensor.
I did a search on this, perhaps it's what you're looking for:
Just completed this task. Unlike the 2.8s, the front 3.0 sensors are right at the very front of the down-pipe where they can barely be seen. The Bentley says to remove the right down-pipe in order to replace the sensor, but of course that means lowering the sub-frame as well.
It can be done from the top.
1) Remove flex hose coming from the MAF and the plastic intake runner (Air Duct) which attaches to the Throttle Body.
2) Remove the rubber 'Y' air hose which is just below the intake runner. This is part of the secondary air system.
3) You can now look down toward the B1S1 O2sensor from an eye position near the rear center of the engine. The O2 sensor is pointing roughly to the coolant reservoir.
4) Thread a 02 sensor wrench with a long extension down toward the B1S1 sensor. It may help to have a flex-joint on the sensor wrench. There is not a lot of room to turn it. Plan B, which I used, is to cut off the O2 wires close to the sensor and use a conventional 22mm long socket to loosen the sensor. Lots of fun trying to get the aviation snips down there. It helps to remove the nut holding the PS hard pipe so you can re-position that effectively.
5) Since it is next to impossible to screw in the new O2 sensor by hand, tape a long extension to the body of the sensor and use that to rotate the sensor around so you can get it threaded in. You'll need the sensor wrench to fully tighten it, but this time the hex faces lined up OK for me and I had the swing room to do so.
6) Re-install everything. Run the readiness tests or just drive around for a few trips.
7) The best price on the sensor (06C906265B) was through Amazon, $81.66 with
free shipping. Probably a $500+ repair at the dealer.
#2 gibraltar943 , 07-27-2011 12:47 PM
Thanks for this. I've been looking everywhere to see if anyone has been able to get to these bastards from the top. I actually had the dealer replace B1S1 on my 02 3.0 last year to the tune of $600 which is insane for a sensor. I managed to get to B1S2 myself and replace it so my passenger side bank is good, but the driver side will need both sensors replaced on my car soon I would imagine. For now it runs great.
#3 CalSam , 06-12-2016 01:48 PM
Quote:
Originally Posted by gibraltar943 Thanks for this. I've been looking everywhere to see if anyone has been able to get to these bastards from the top. I actually had the dealer replace B1S1 on my 02 3.0 last year to the tune of $600 which is insane for asensor. I managed to get to B1S2 myself and replace it so my passenger side bank is good, but the driver side will need both sensors replaced on my car soon I would imagine. For now it runs great.
Yeap giving this one a bump in case anyone is looking for this. Spoke to couple mech's and they said the time estimated is about 5.5 hours, and everything I've read online calls for removing the cat or going from the bottom. Glad to see this thing can be done from the top. Any particular tool beside the socket wrench that we need?
#4 02a63.0q , 08-12-2017 07:36 PM
I know that this thread is old, but it's short, so I hoped to add to this. I too was able to do this through the top. I followed most of the procedure above.
1) Removed flex hose from MAF. Spring clip w/ channel pliers and screw clamp w/ assorted ratchet size/screw driver
2) Remove intake runner and the plate above it (1st) as well as resonator. It required unclipping some harnesses and using a 5mm hex and/or assorted small sockets (my bolts were mixed). That other Audi forum had VERY detailed instructions. Not sure if I can cross linke, but look for this on Google "DIY: B6 3.0L Vacuum Actuator/Drive Unit + Intake Manifold"
4) I used an o2 socket, the kind w/ the groove up the side. The crows foot didn't do anything b/c it kept hitting the engine block. I used a 3/8 ratchet, and cheap from china o2 socket w/ a universal joint, and a wonderful 30" solid ratchet extension. In fact, it took me the 5.5 hours of the dealer b/c I was fighting w/ this socket. It would have worked better if the socket was deeper, and the groove wider, b/c it barely fit over the sensor wire and kept pushing the sensor out.
5) putting it back was terrible. but eventually I settled on the socket and wedged the sensor in there with a piece of string that I also used to guide the head of the socket so it wouldn't dip down. If you use a ton of light and put your eye just above the manifold where the top plate came off, you can see the bung opening to the precat. I did not remove the Y hose, or a nut to the hard pipe. It was difficult, but again, mostly b/c of this one tool. The 30" extension saved the day.
Everything went back together easy. I did manage to bust a few clips (hey, it's 2017, and this is a 02) but I used zip ties from my own stash plus some from the sensor kit to get everything back together. I did NOT perfectly route the new sensor cable the exact same as old, but I did ensure that I zipped it away from strong heat sources and made sure it didn't interfere with anything else.
Got a misfire on the first test drive, I guess I got some dust into the intake, but the o2 sensorcode cleared, and then I was able to clear the misfire as well. BTW, I used Carista and a generic bluetooth OBDII adapter to check and clear codes. Works great. Also allows some customization on newer audis. I didn't set readiness since I live in the city, but I'll keep checking it as I drive around.
This was on an AVK engine, 30v, 3.0L, from a 2002 c5 a6 quattro. Sensor cost me 100 w/ tax from pepboys after a discount code (similar price on amazon), and I didn't have all the tools, so that was another 45, but I won't count it against the job. The 5.5 Hours was a little rough, but I put at least 50% of that on the bum socket. get one with a wide groove that is extra deep!
W261w261 Thank you so much! I have been searching for a couple of weeks now. Could not find anyone that knew how to perform this procedure. Unbelieveable!
I would love to have 5 mins with the engineer that designed this.
FYI, I ended up taking this B1 S1 sensor to a local German Auto repair shop. Of course there was a young kid who had seed this before. He accessed it from the top. Said he had to remove a 4 way valve first then he could reach the B1S1 sensor. Actually said he had built a jig to reinstall the 4 way valve. At any rate $400 later it was fixed. Didn't feel bad at all about farming this one out..
I wanted to post that it took me 1.5 hours to replace the upstream bank 2 oxy sensor. I feel pretty lucky considering how many people have spent MUCH longer on this job.
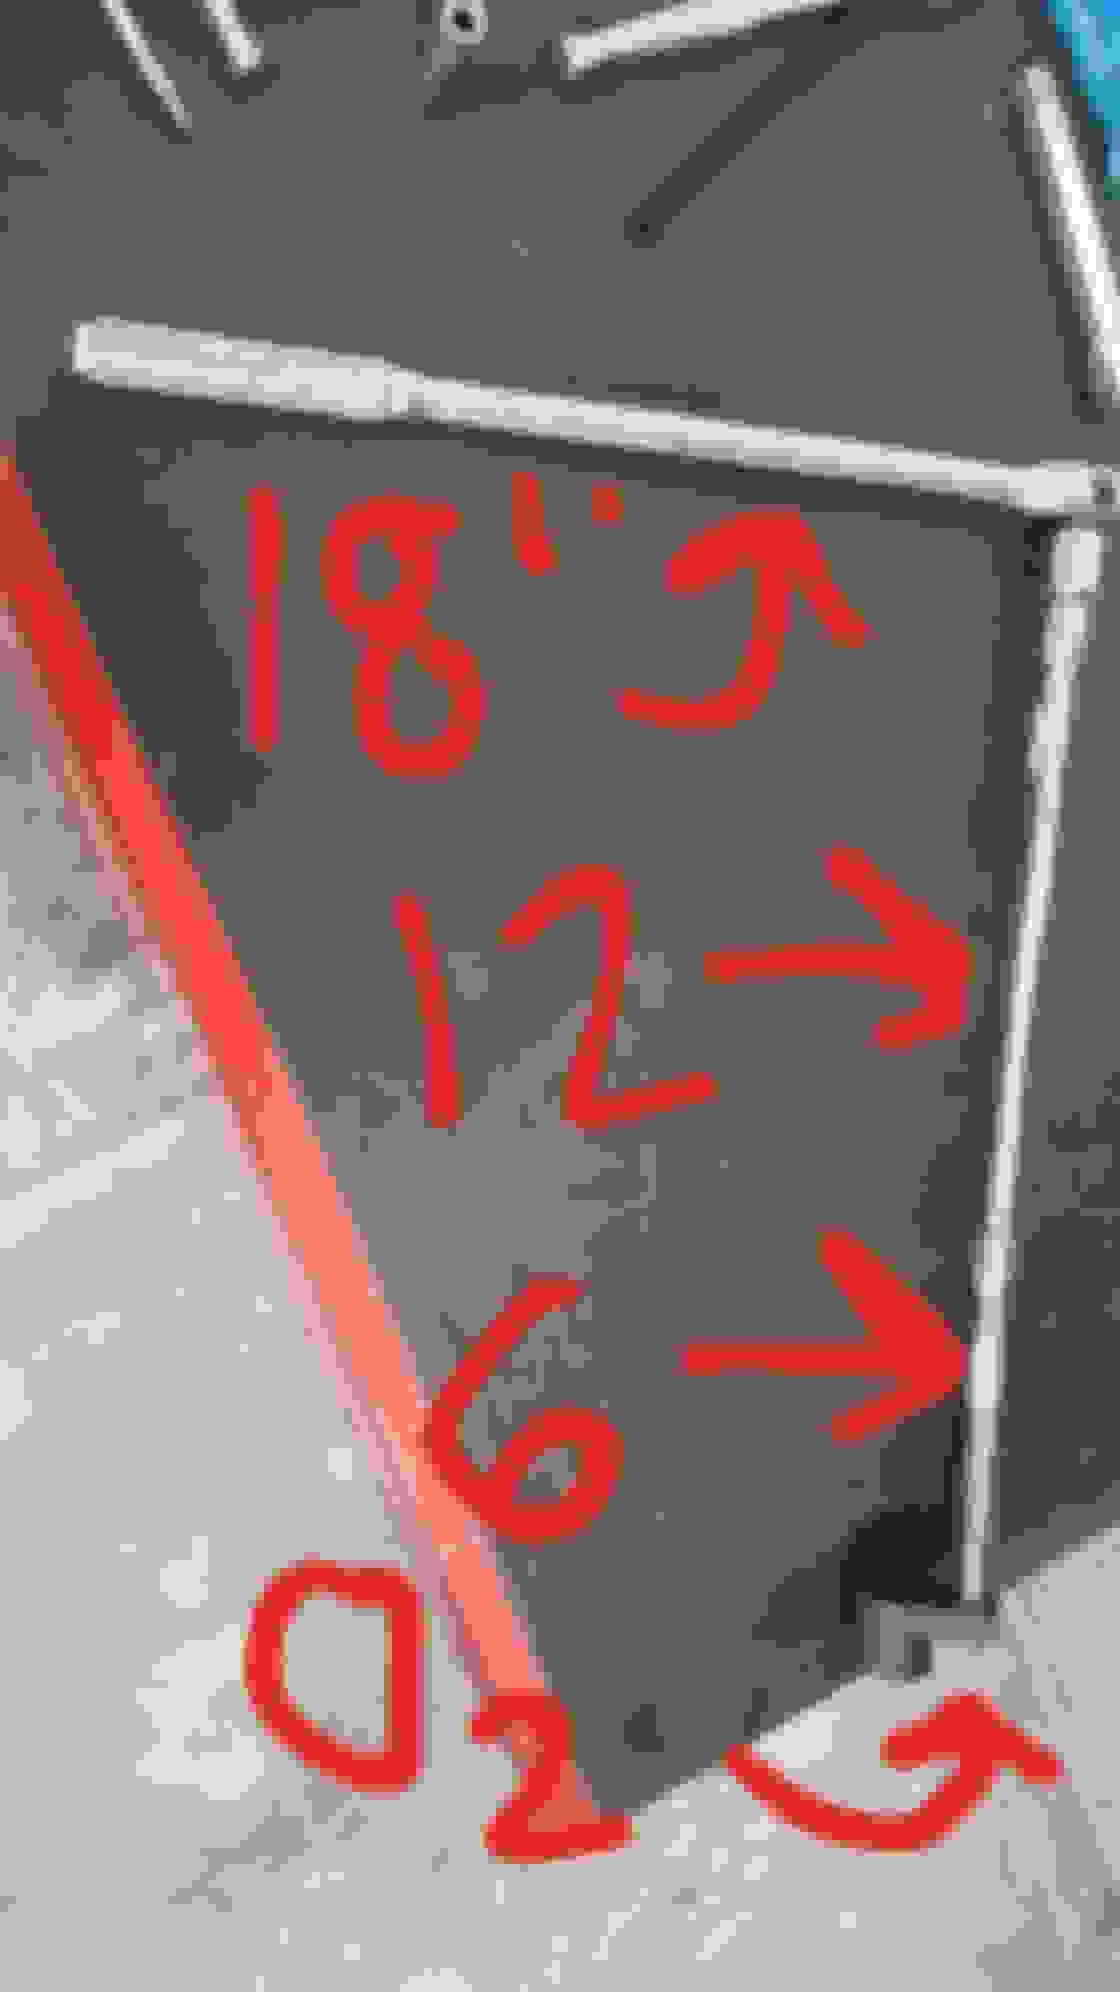
The only "special tools" were an O2 socket, a torque ratchet, and an 18" prybar which I used from below to push the O2 connector union out of its metal bracket retainer.
Please see pics below of the job. Hope it helps someone one day.
STEP 1: Removed two 10mm nuts and upper coolant line (plugged it) in order to make room for access to sensor.
STEP 2: Identifying both sensors for bank 2
MIL code says this is the culprit. Sensor 1 (upstream) Bank 2 (driver)
STEP 3: From below, removed both the front and middle debris protector panels. I then used the prybar to gently push up on the O2 connector union to free it from the metal retaining bracket to provide room to disconnect the harness/connector
STEP 4: From topside, clipped two tie straps to free up the sensor harness.
STEP 5: Freed loose the O2 sensor. Ehat you see above is what I used to free the O2 sensor. Nothing fancy except a 17$ O2 Socket. Once free, I pulled the connector harness straight up with no slack and twisted the cable counter clockwise. This helped unthread the old sensor without using hands in small space. Came out easily. I used an 18" thin flathead to release the clip, and separated the O2 harness from the vehicle's connector. I then pulled out the old sensor.
Definitely some heavy carbon, but visually I dont know if this looks bad. Codes that she threw pointed this as faulty, however.
STEP 6: Inserted the new sensor to simply catch the first thread, then twisted the wiring harness clockwise to thread the sensor in, without hands. Then I used the tooling above to tighten, which I closed up with 37 ft lbs.
STEP 7: Underside, I reattached the two panels and reattached the coolant tank with the two 10mm nutd and top coolant line
NOTE: I disconnected the battery when I started, but MIL light was still on after reassembly. I drove 17 miles to have the codes reset/erased. I drove back home - no MIL. Used two new cable ties to correctly route and secure the harness. Have plenty of light as well.
Very nice and illustrated write-up. However not a whole lot of use for the 3.0 B6, which is laid out differently. This is a job that I've got to do sooner or later; I have recently collected all four O2 sensors, since the others are all OE from 2004 when the car was built.
 09-22-2017, 11:34 AM