Wiring questions.
#1
AudiWorld Junior Member
Thread Starter
I have need of info on splicing the wiring under the dash on an A4. Any tips, tricks, requirements? Will the speedo and gauge package work wired straight to the end items or do they have to go through a computer? This A4 (2002) dash is in my 67 Coronet. No computer.
#3
I believe all the gauges are run through the ecu, hence why you can read the outputs with a scanner and if there's an issue you're going to get a code. Not sure if they can be wired direct. The speedo gets it's signal from the abs wheel speed sensors but sounds like you have that figured out. Sounds like an ambitious project, would love to see pics.
#4
AudiWorld Junior Member
Thread Starter

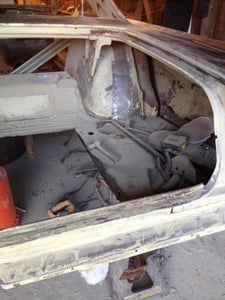


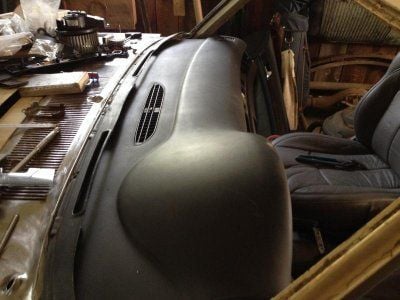

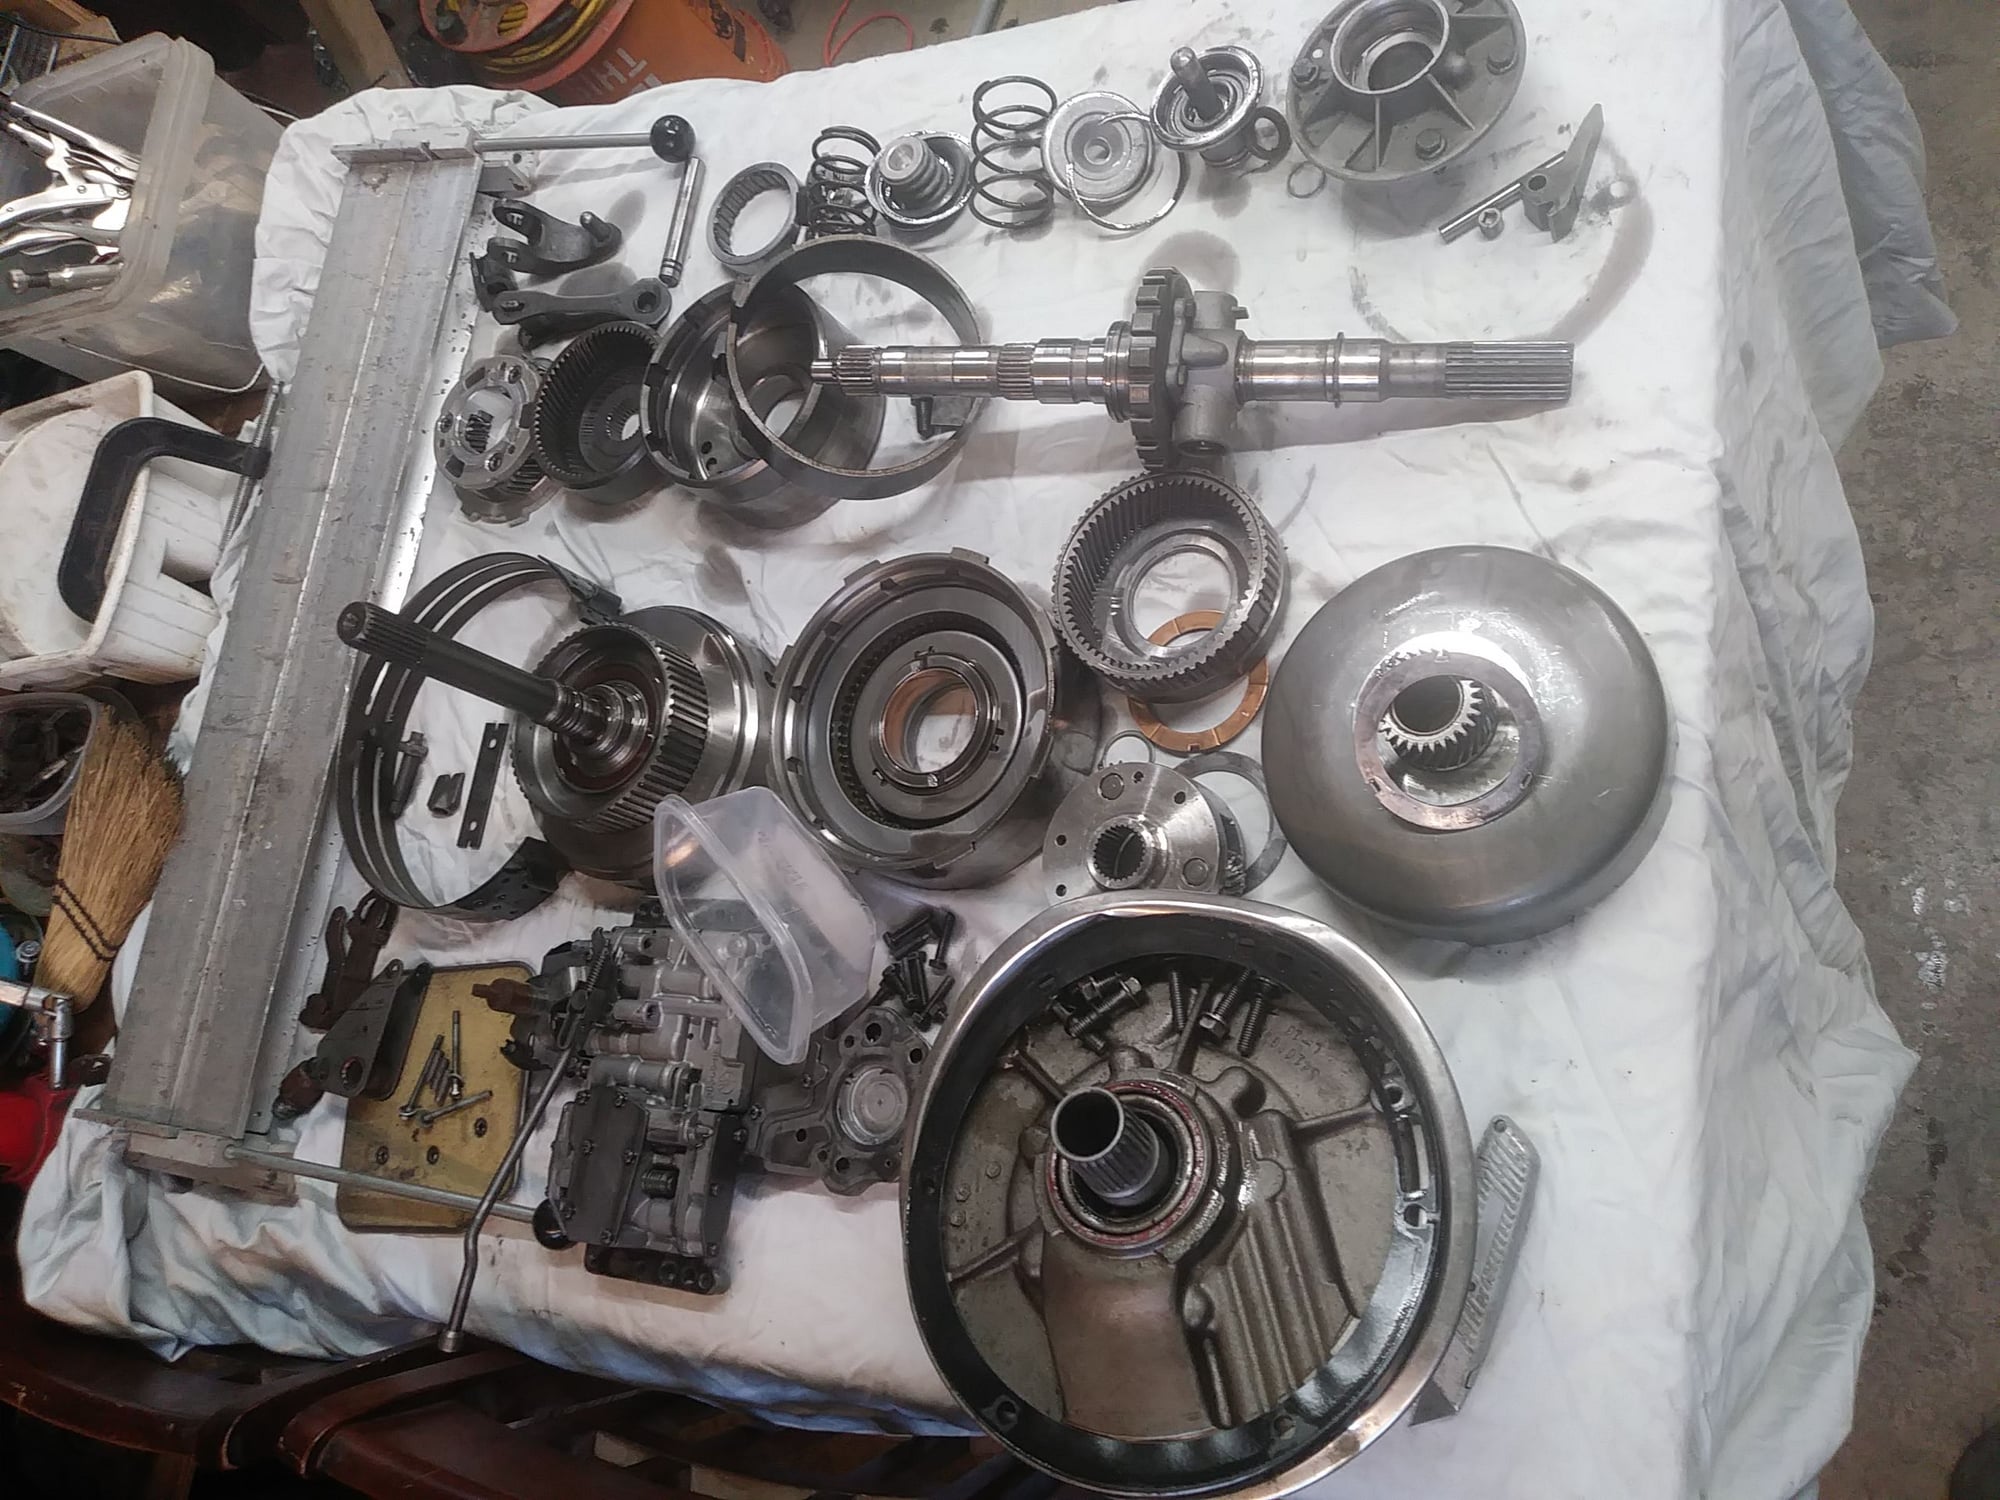
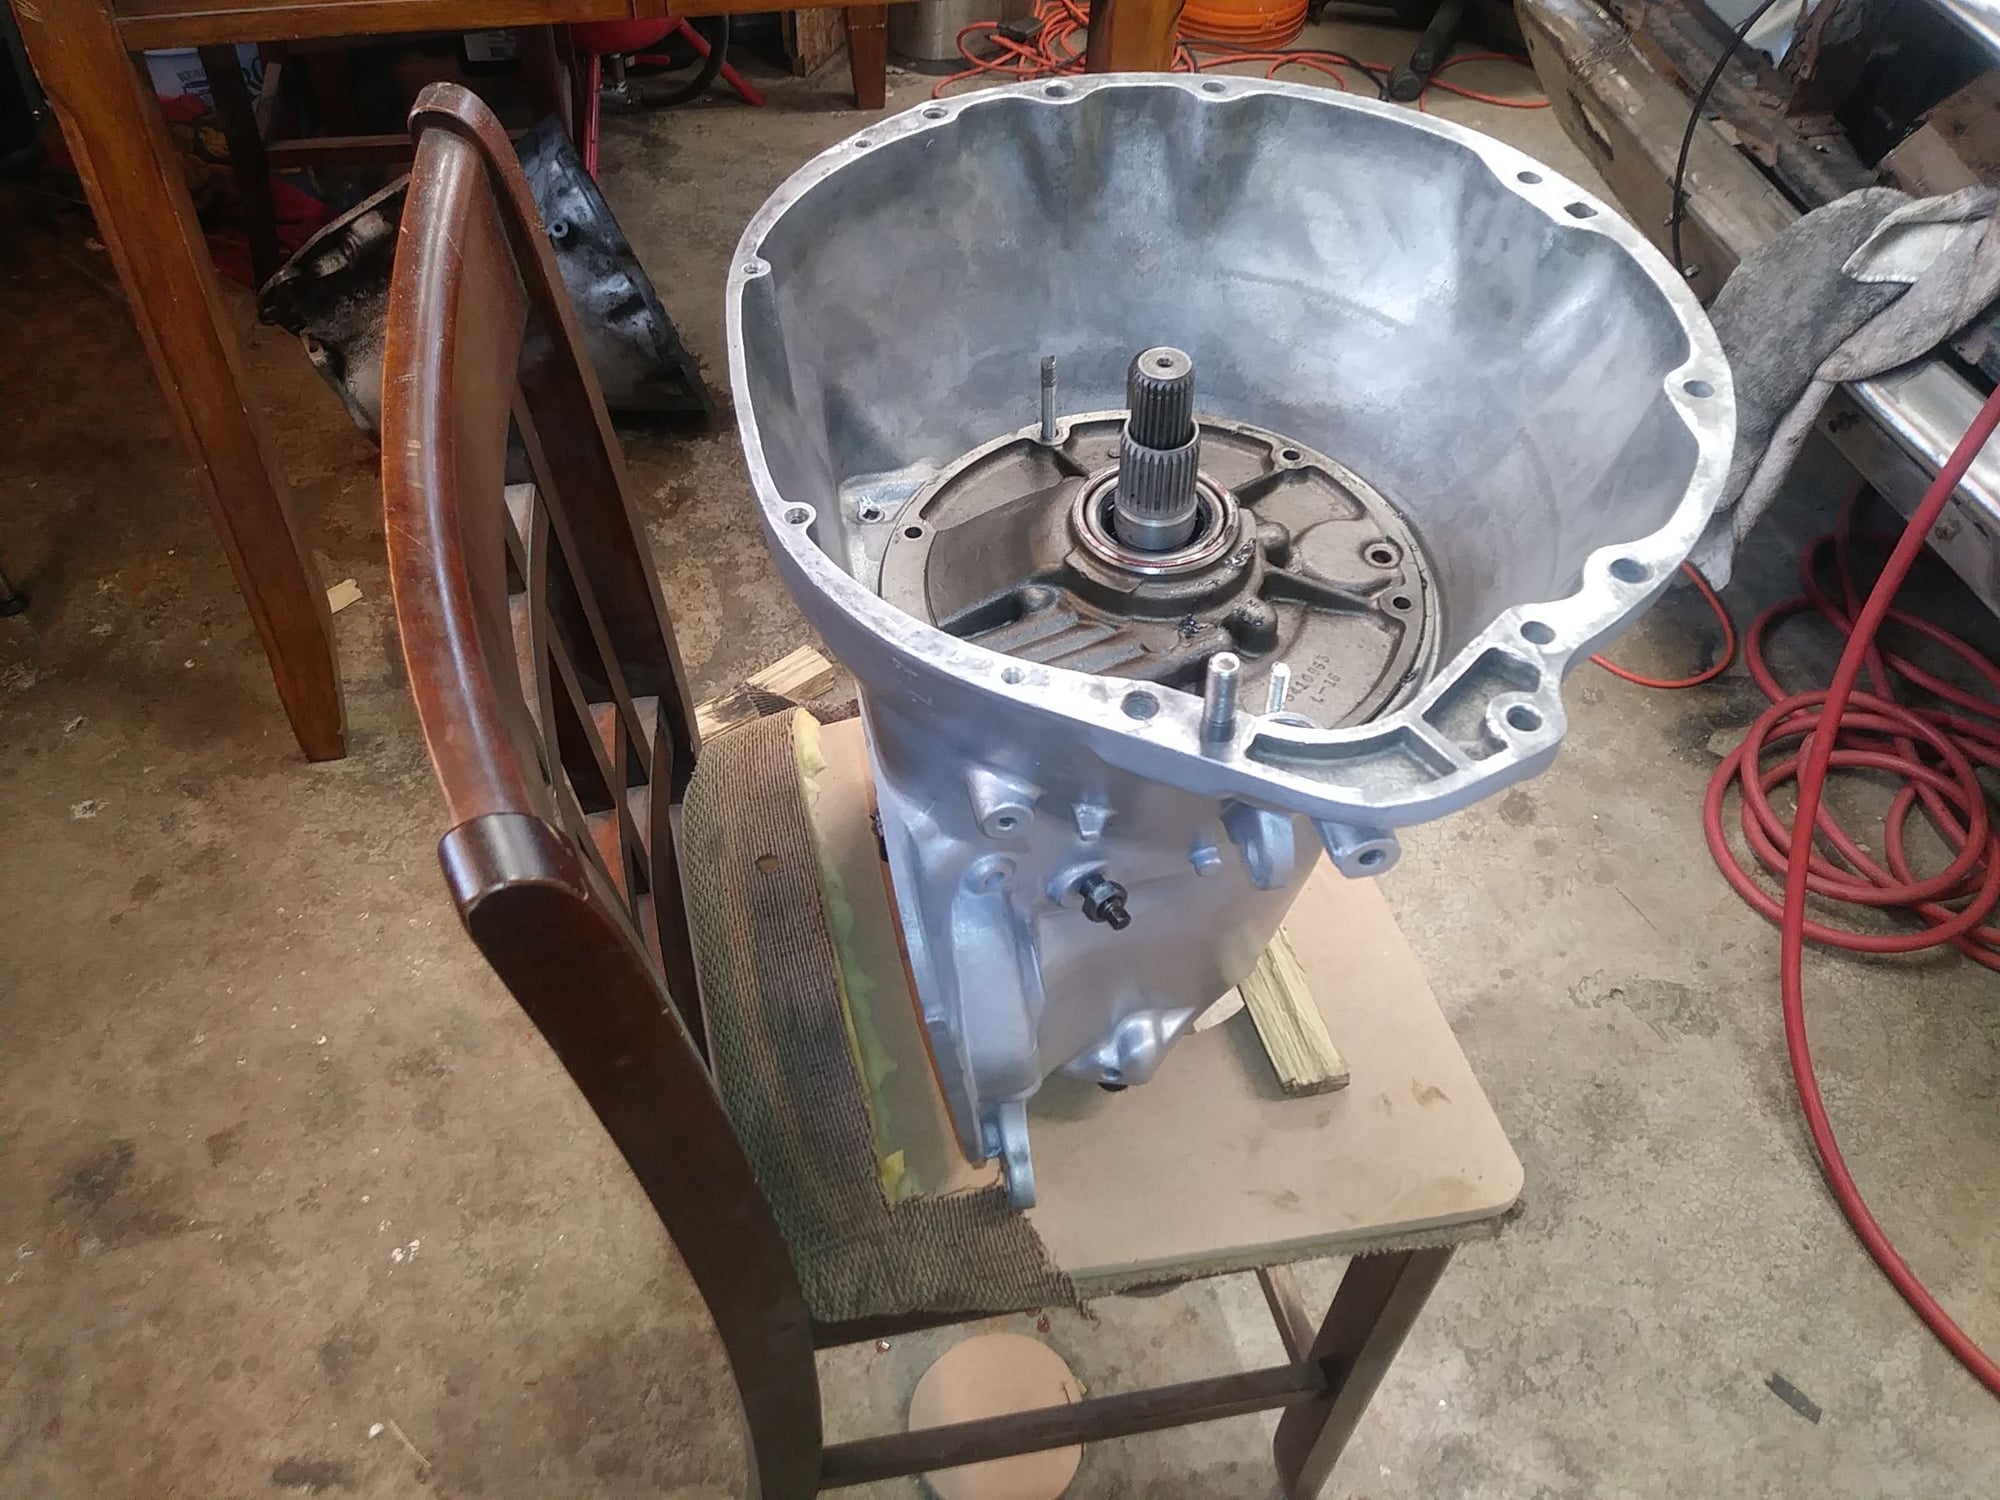
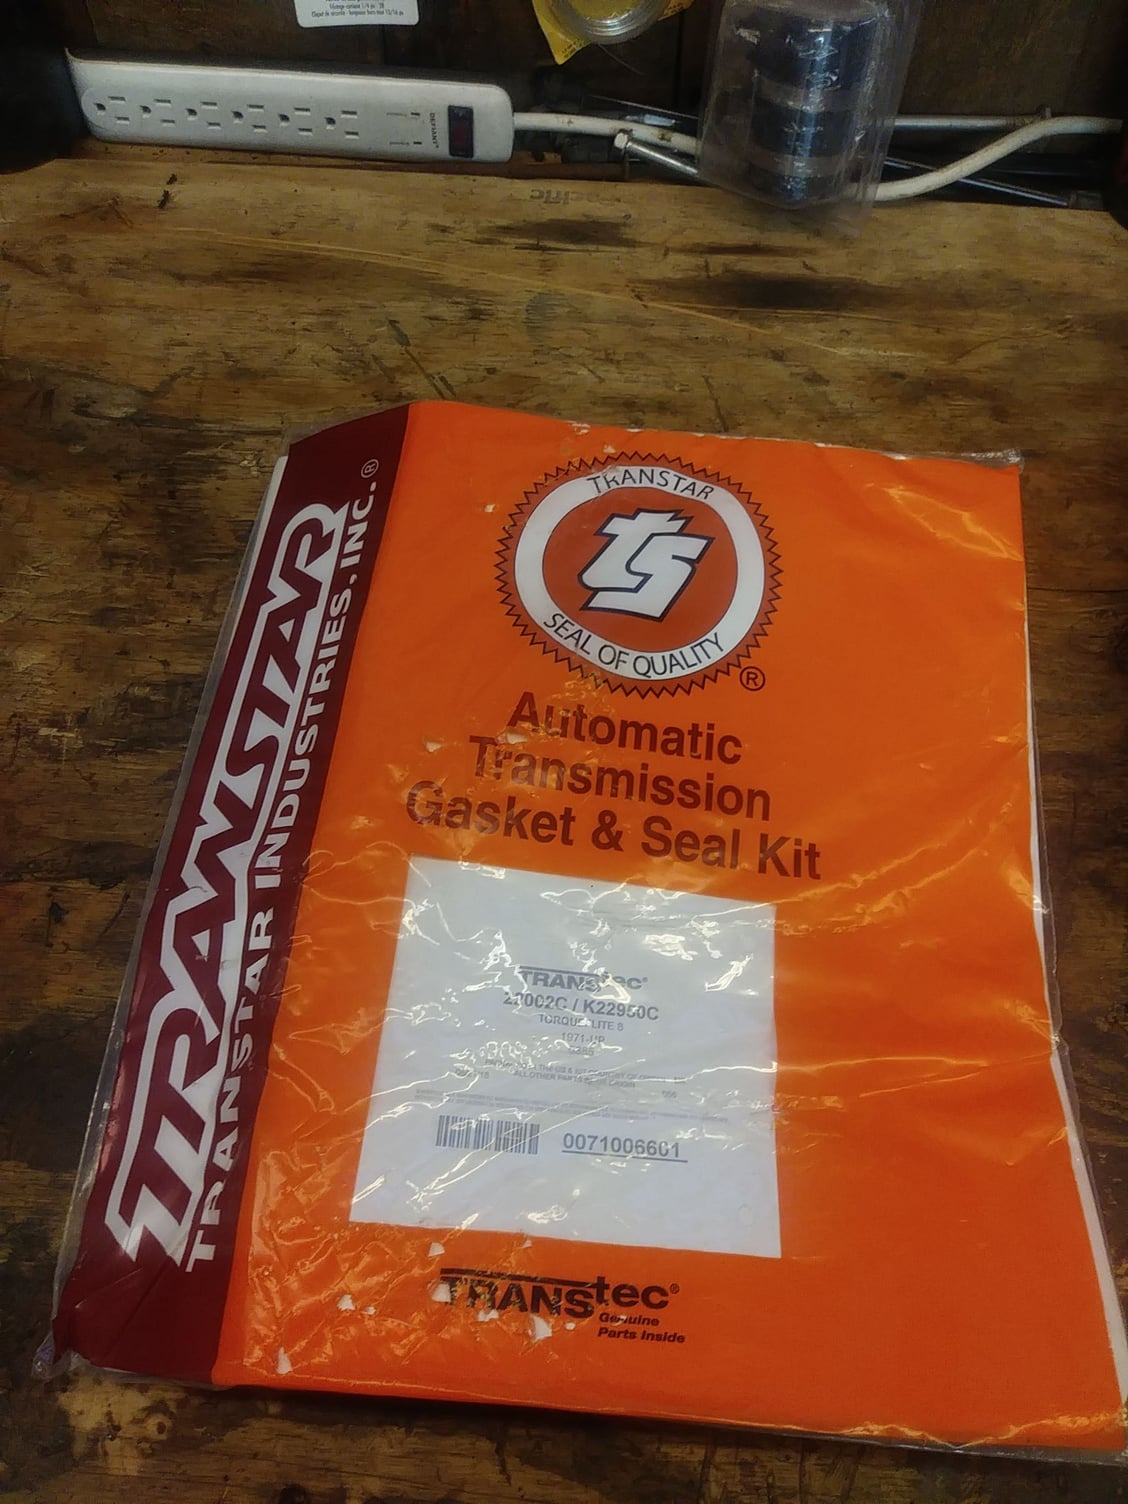
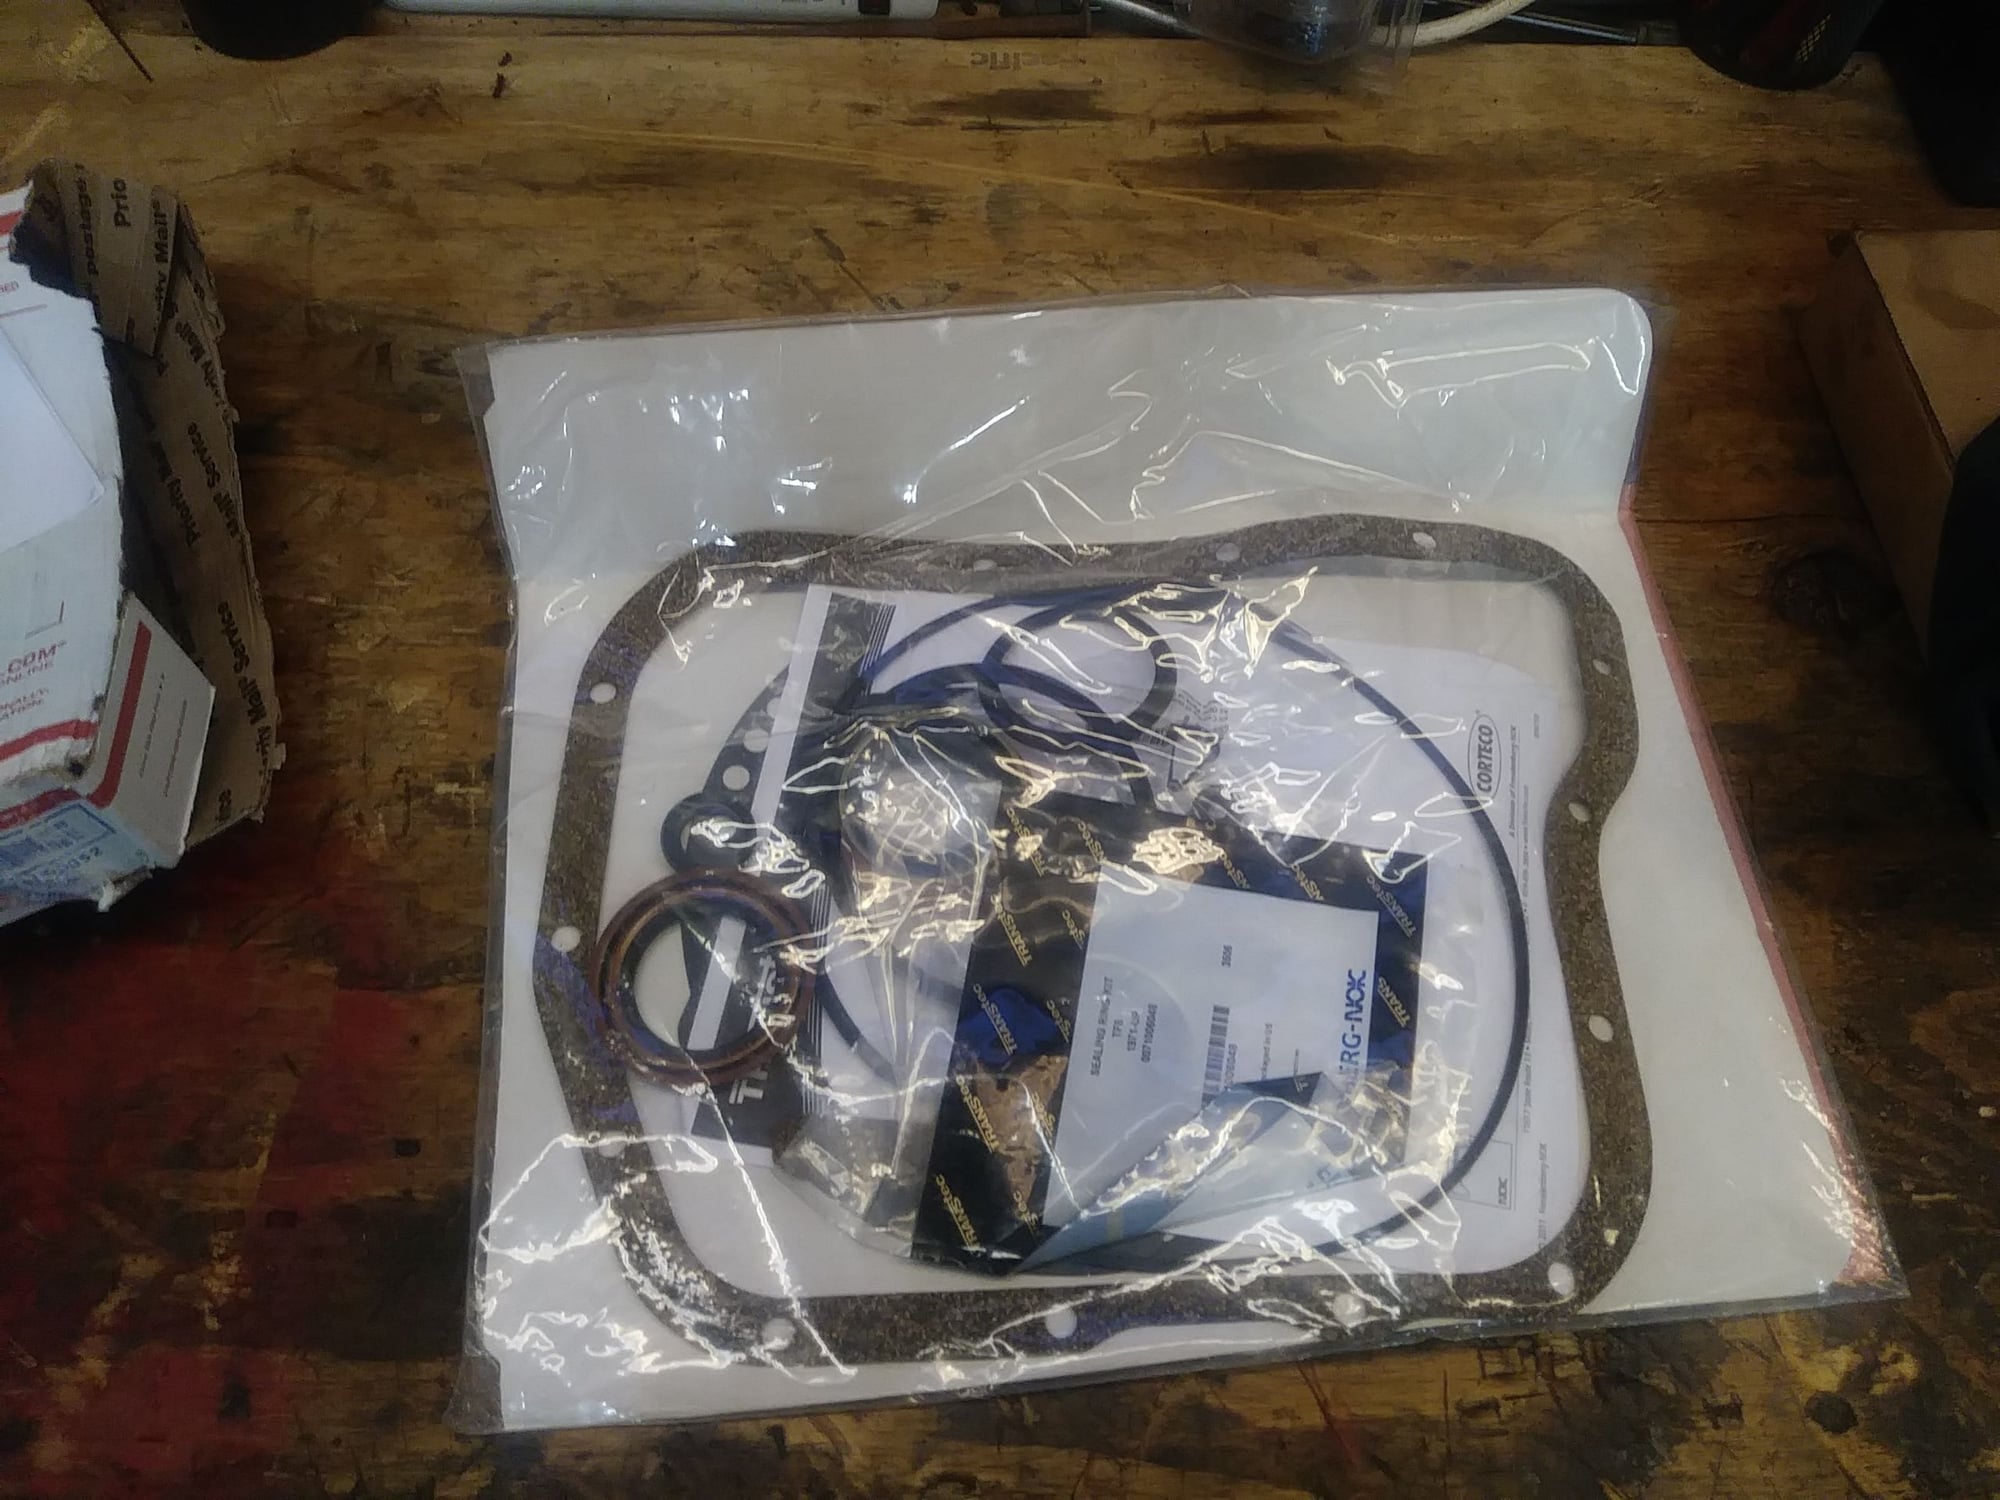
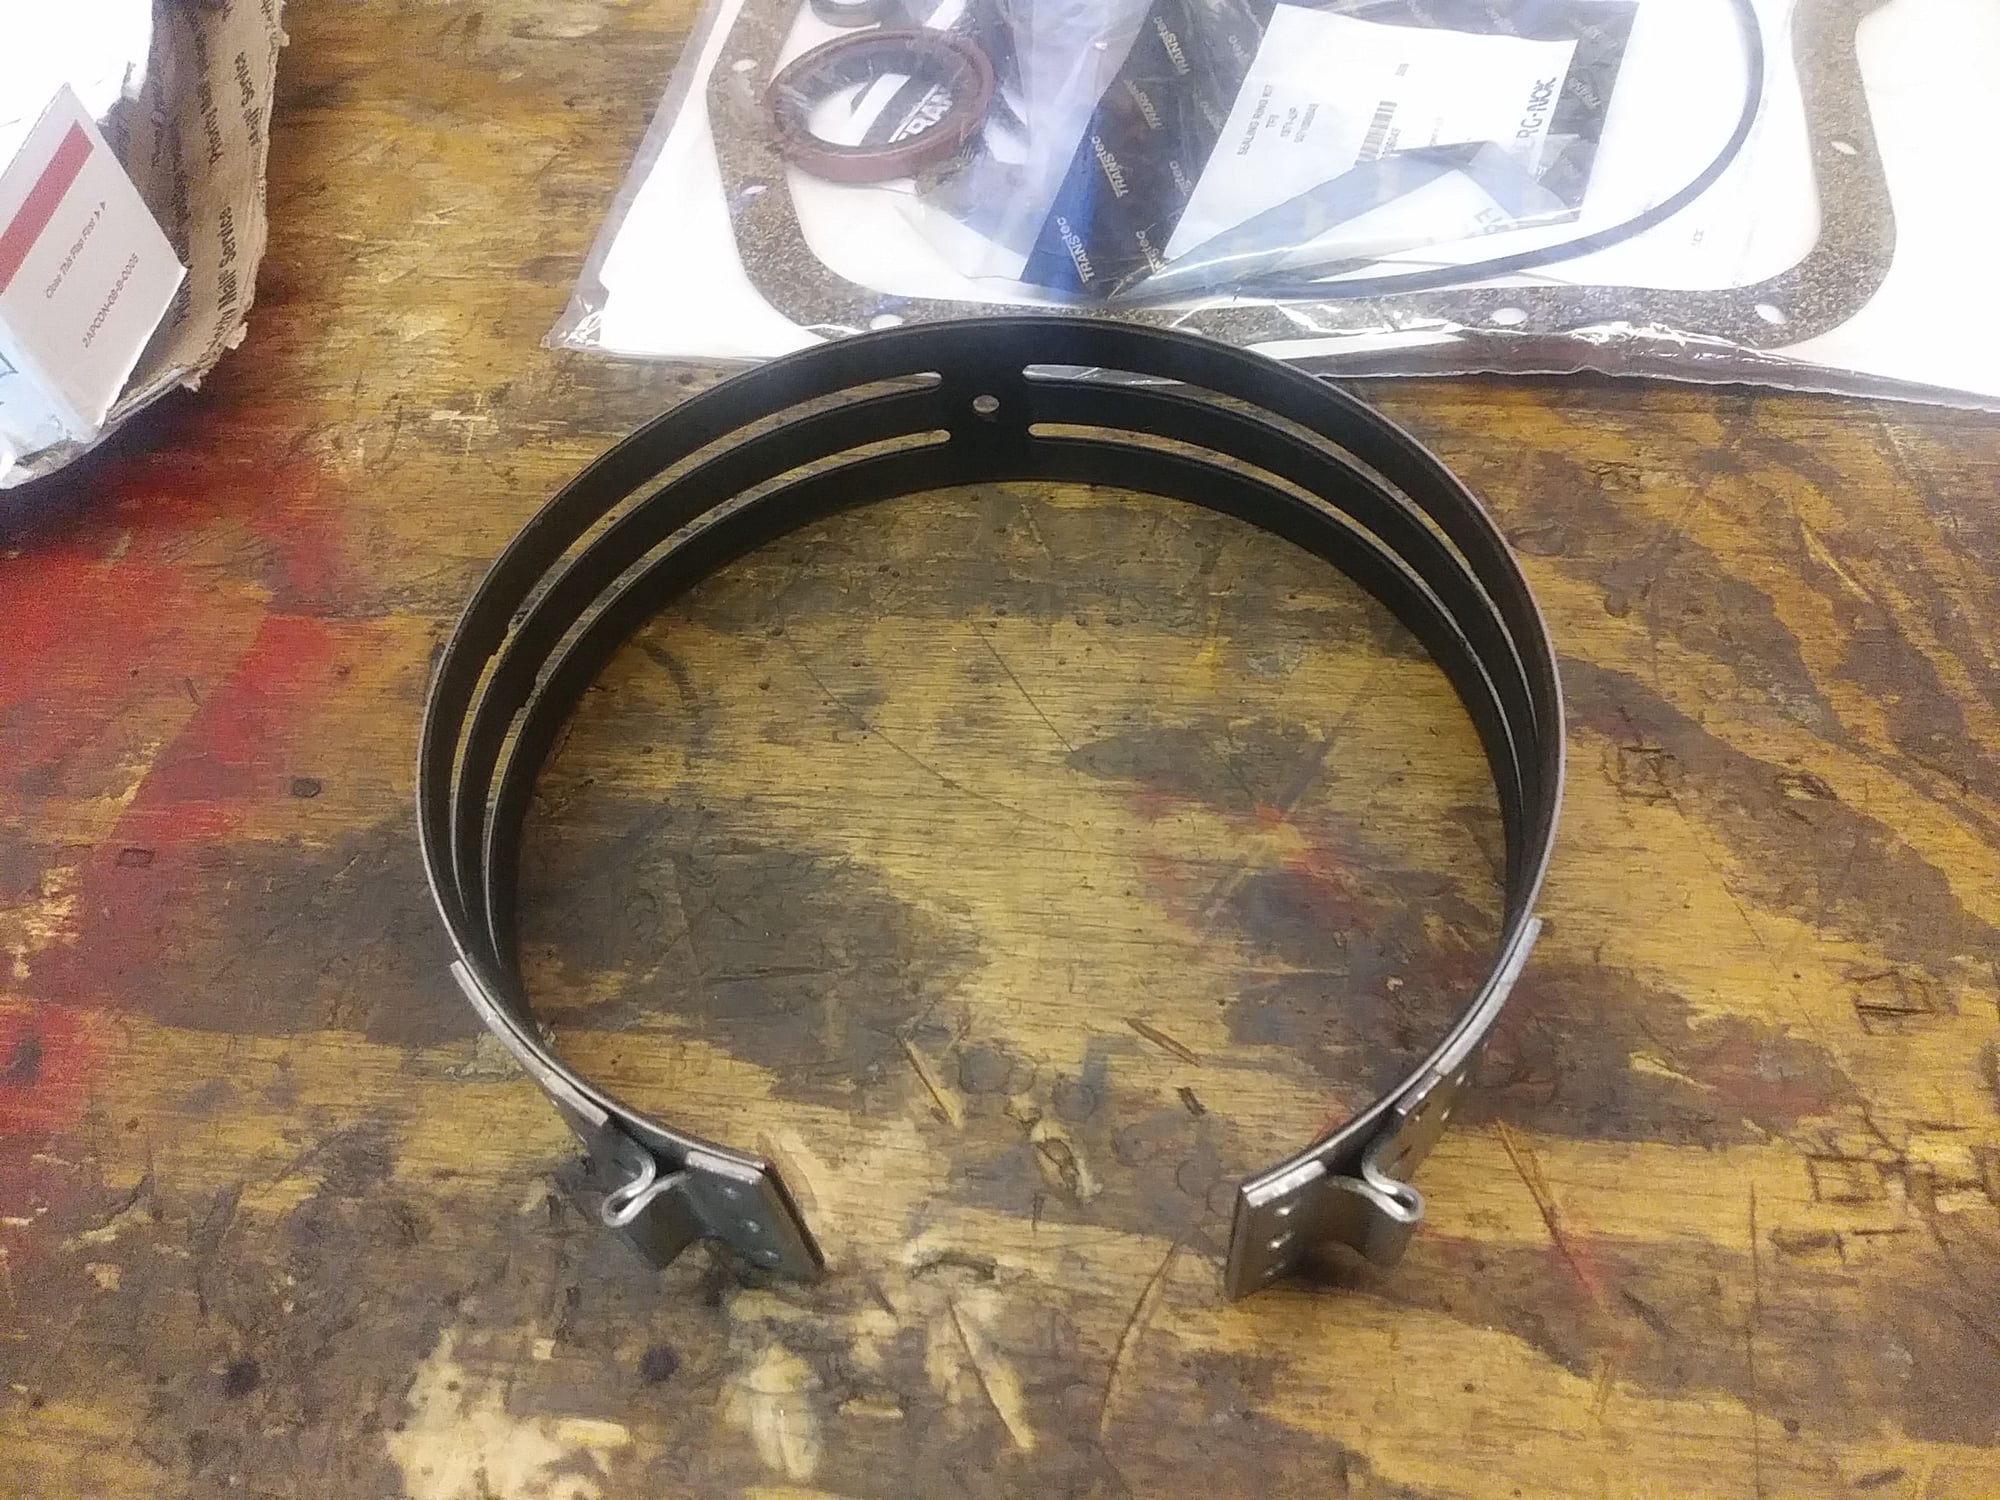
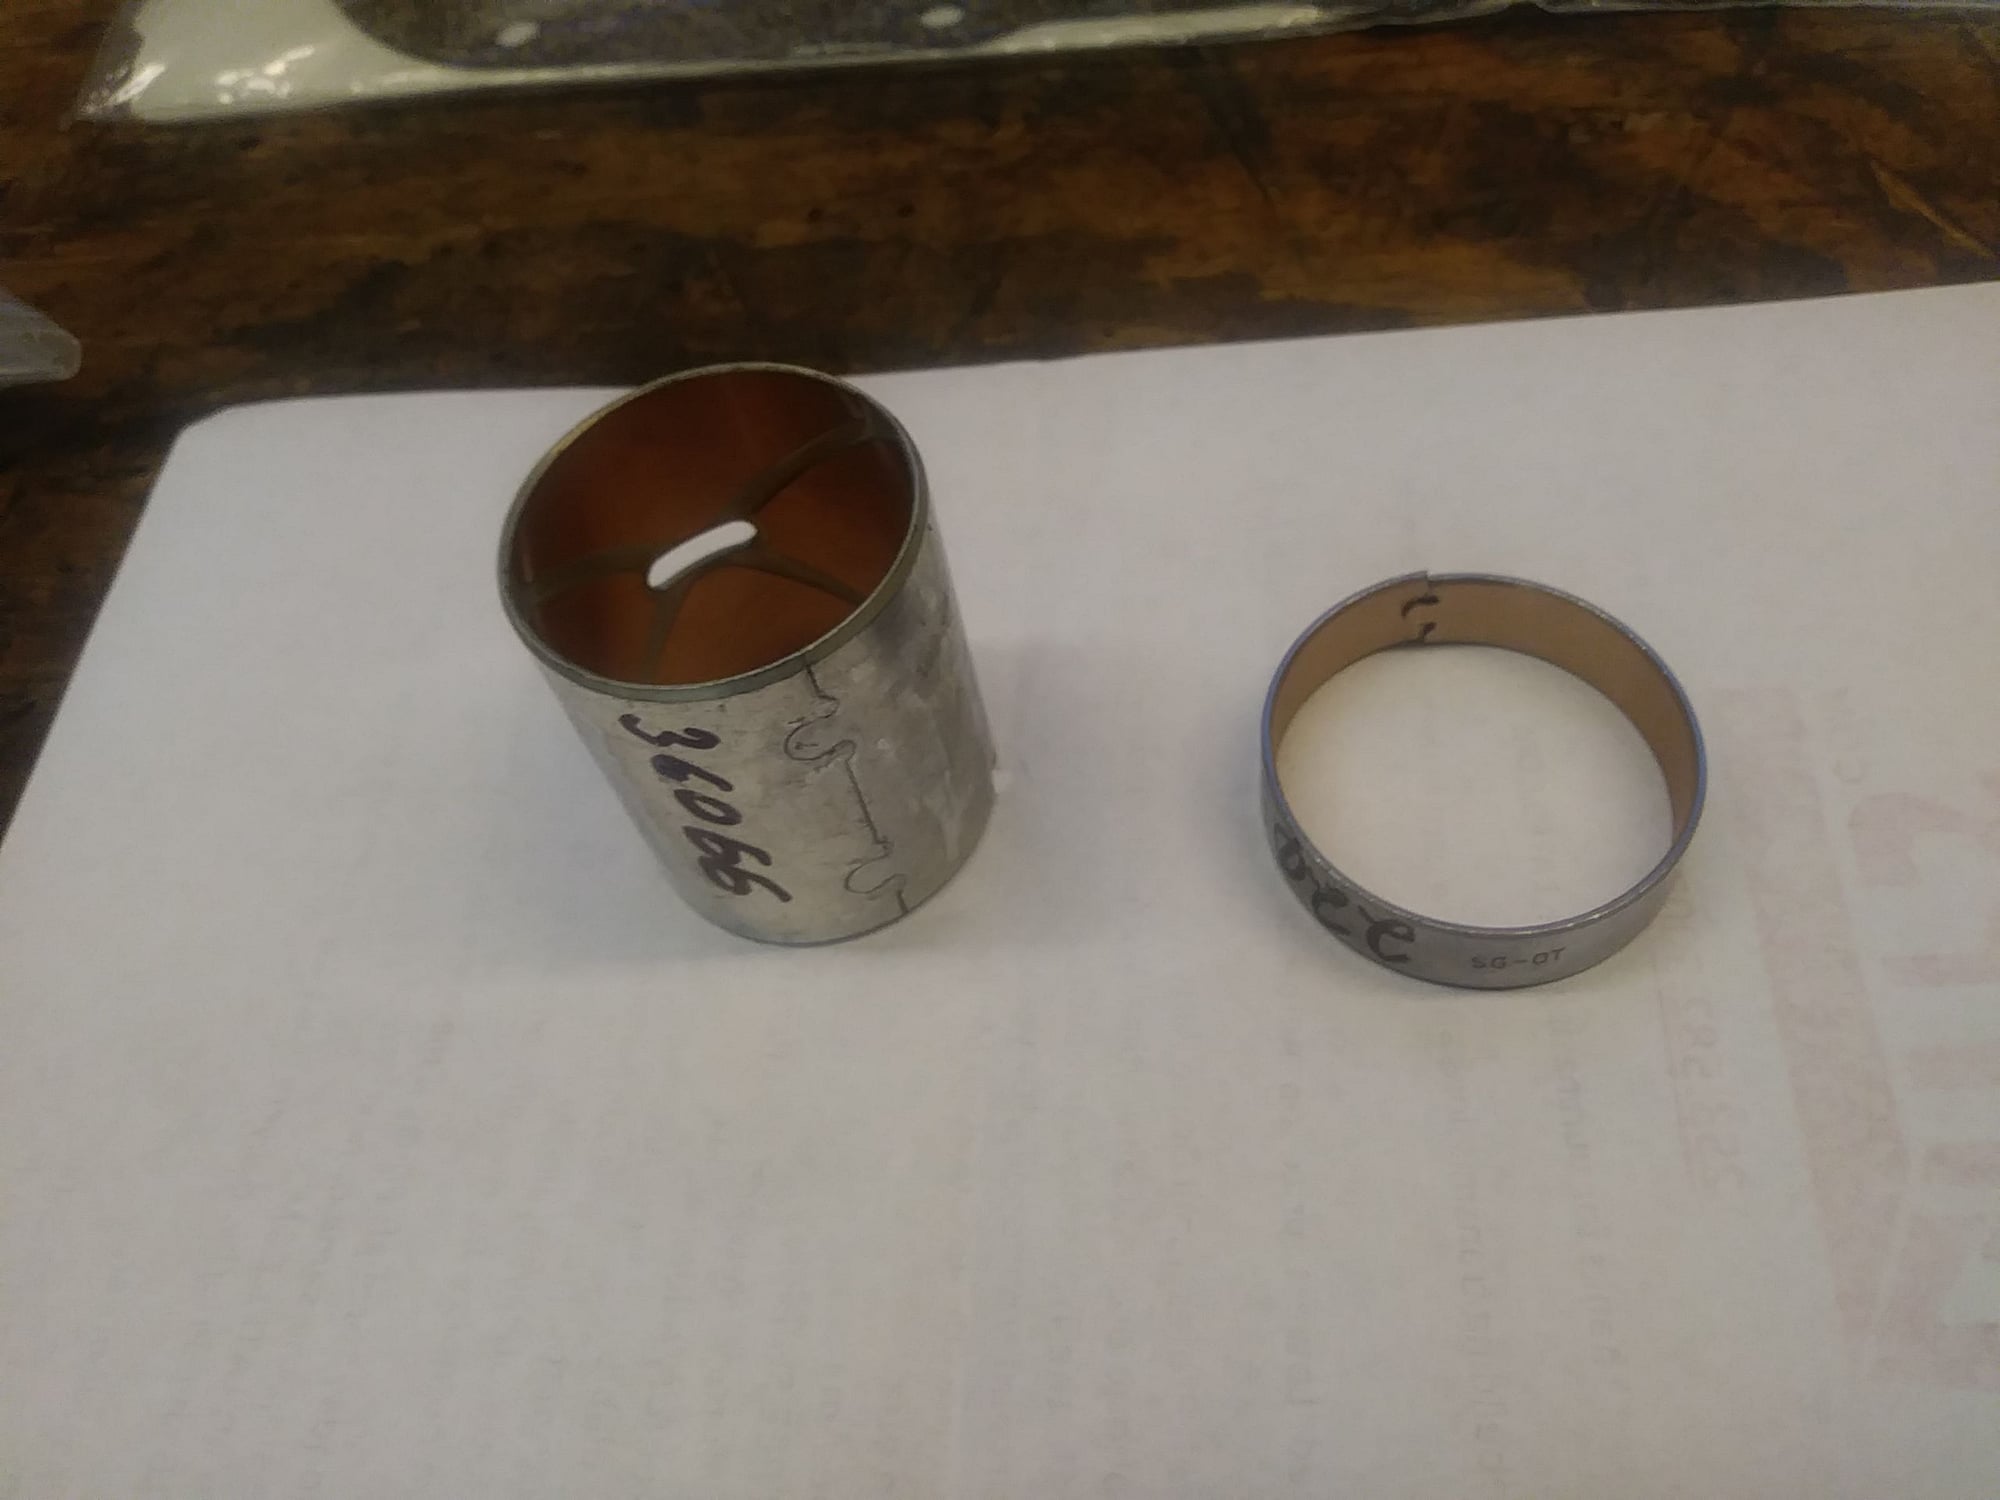
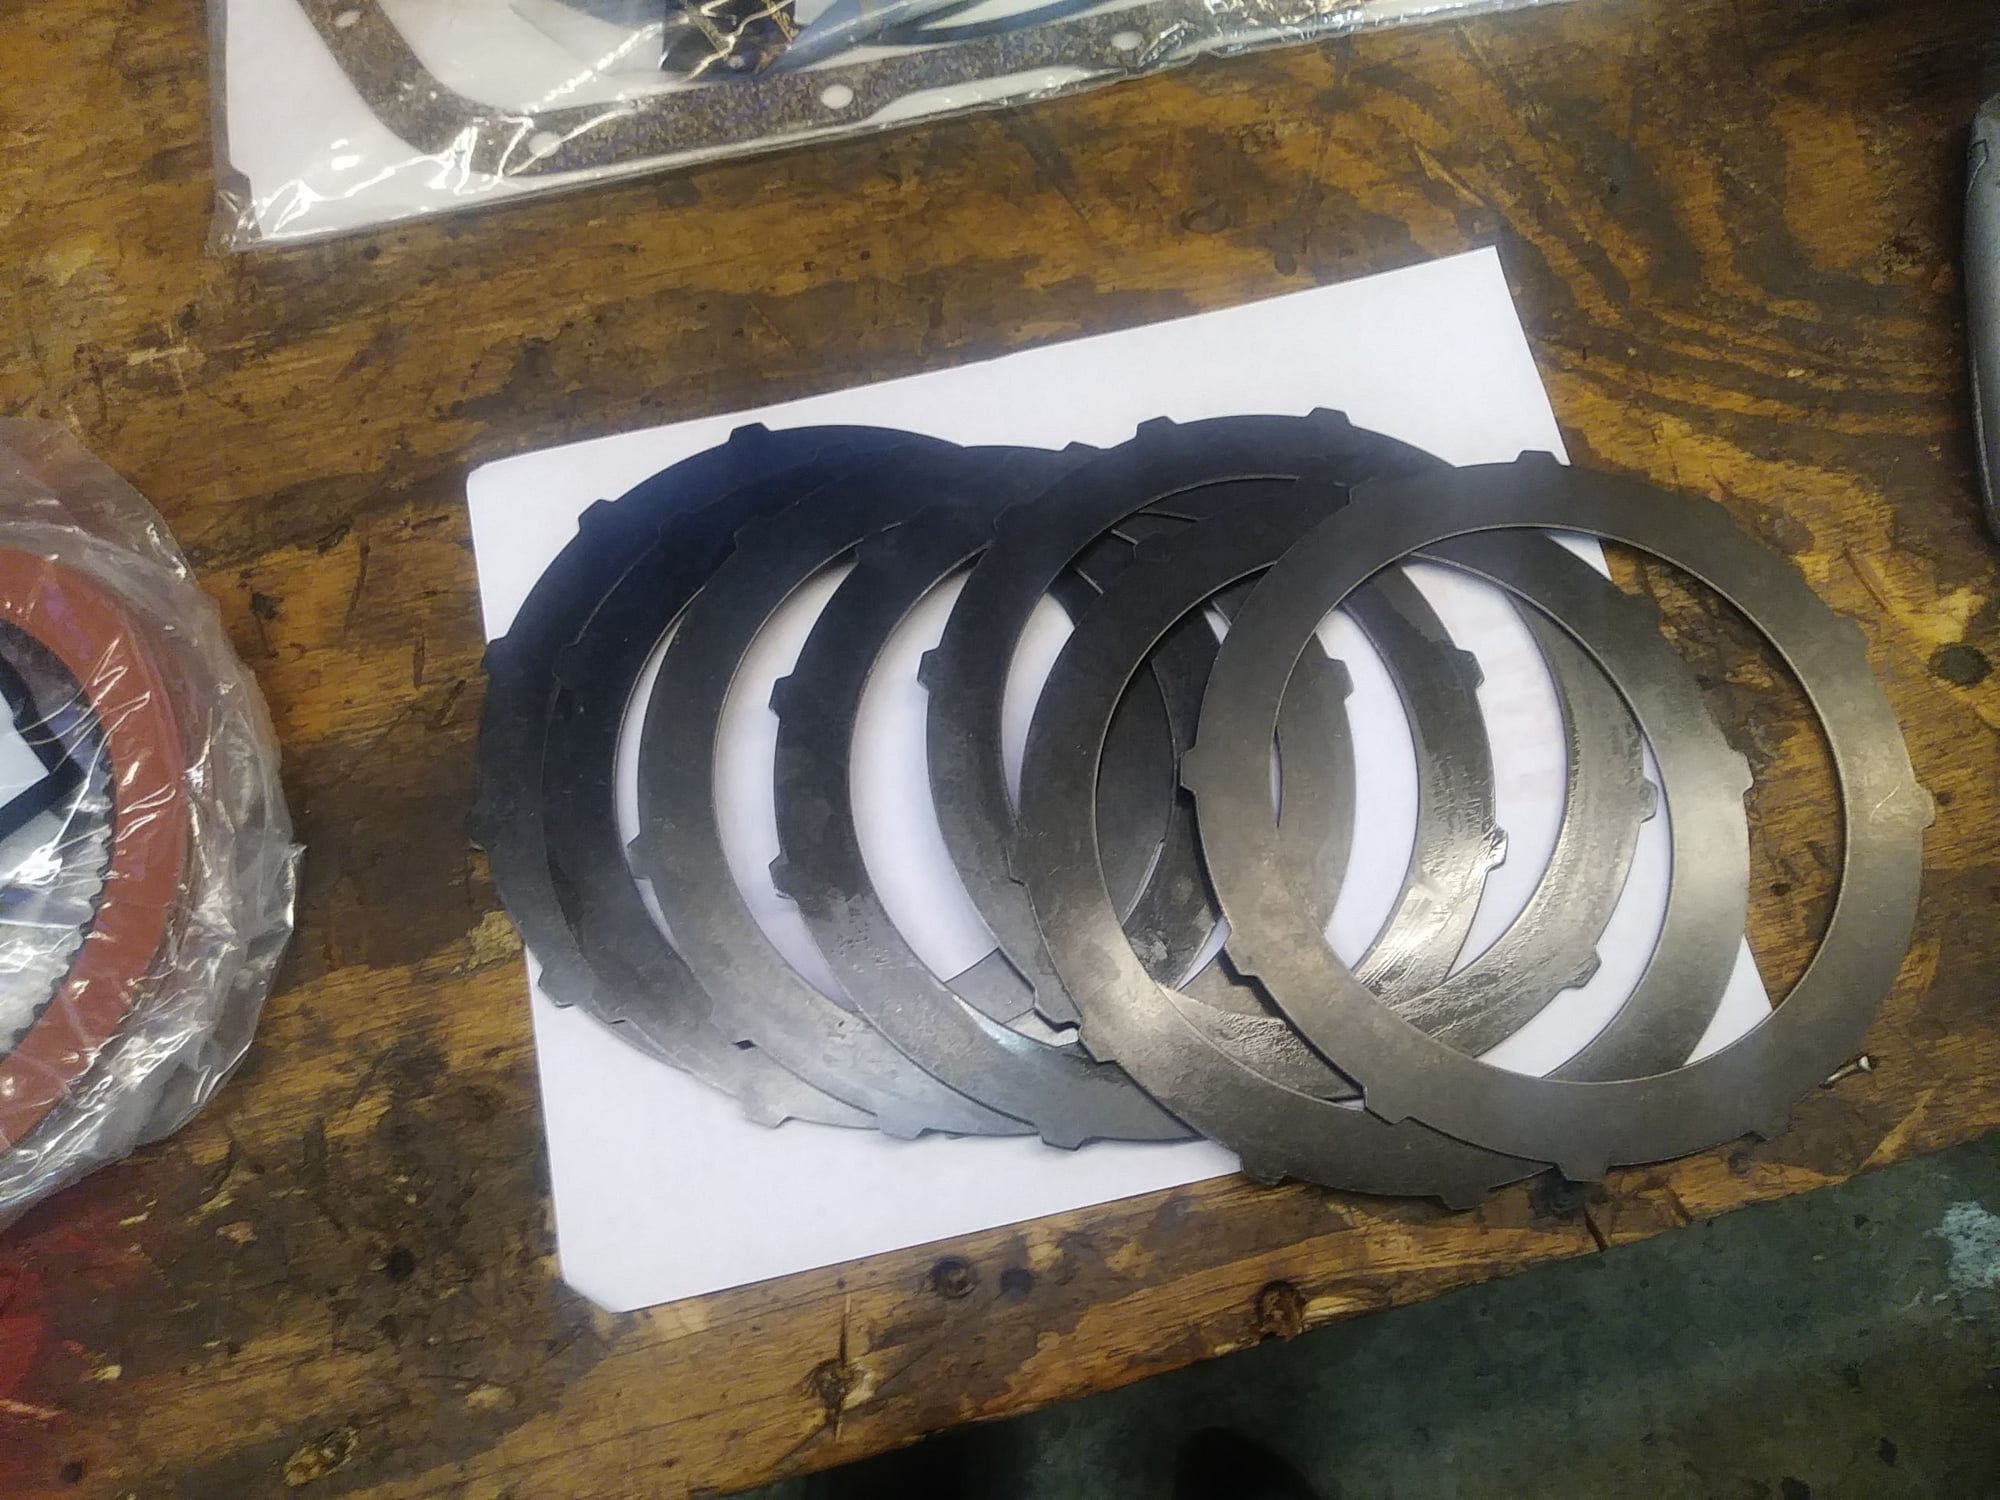
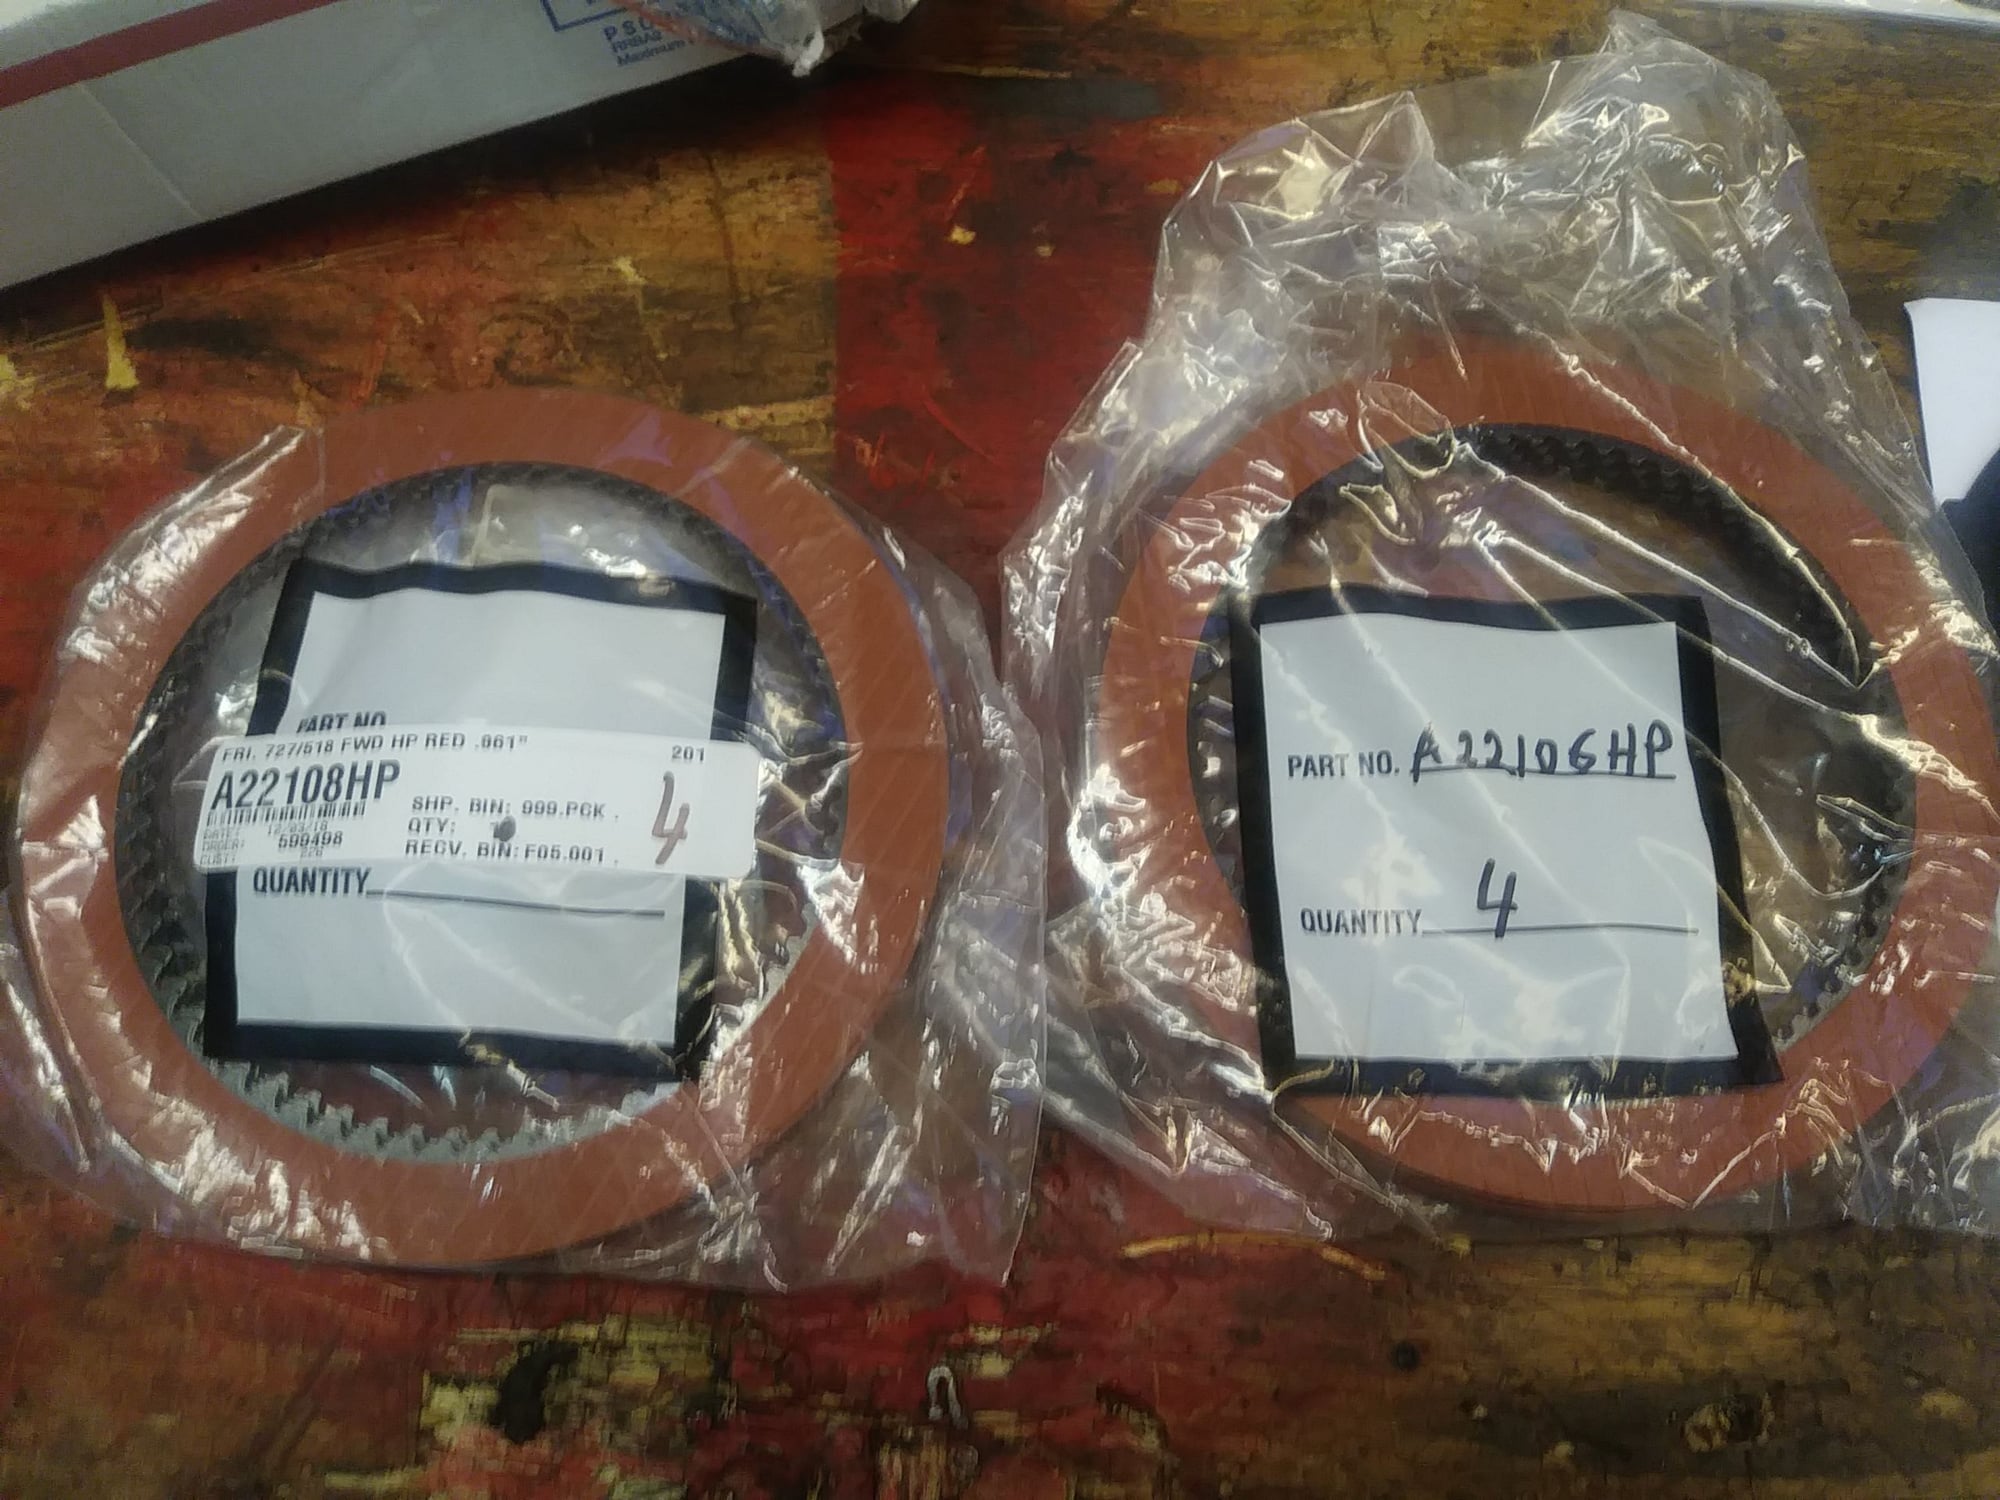
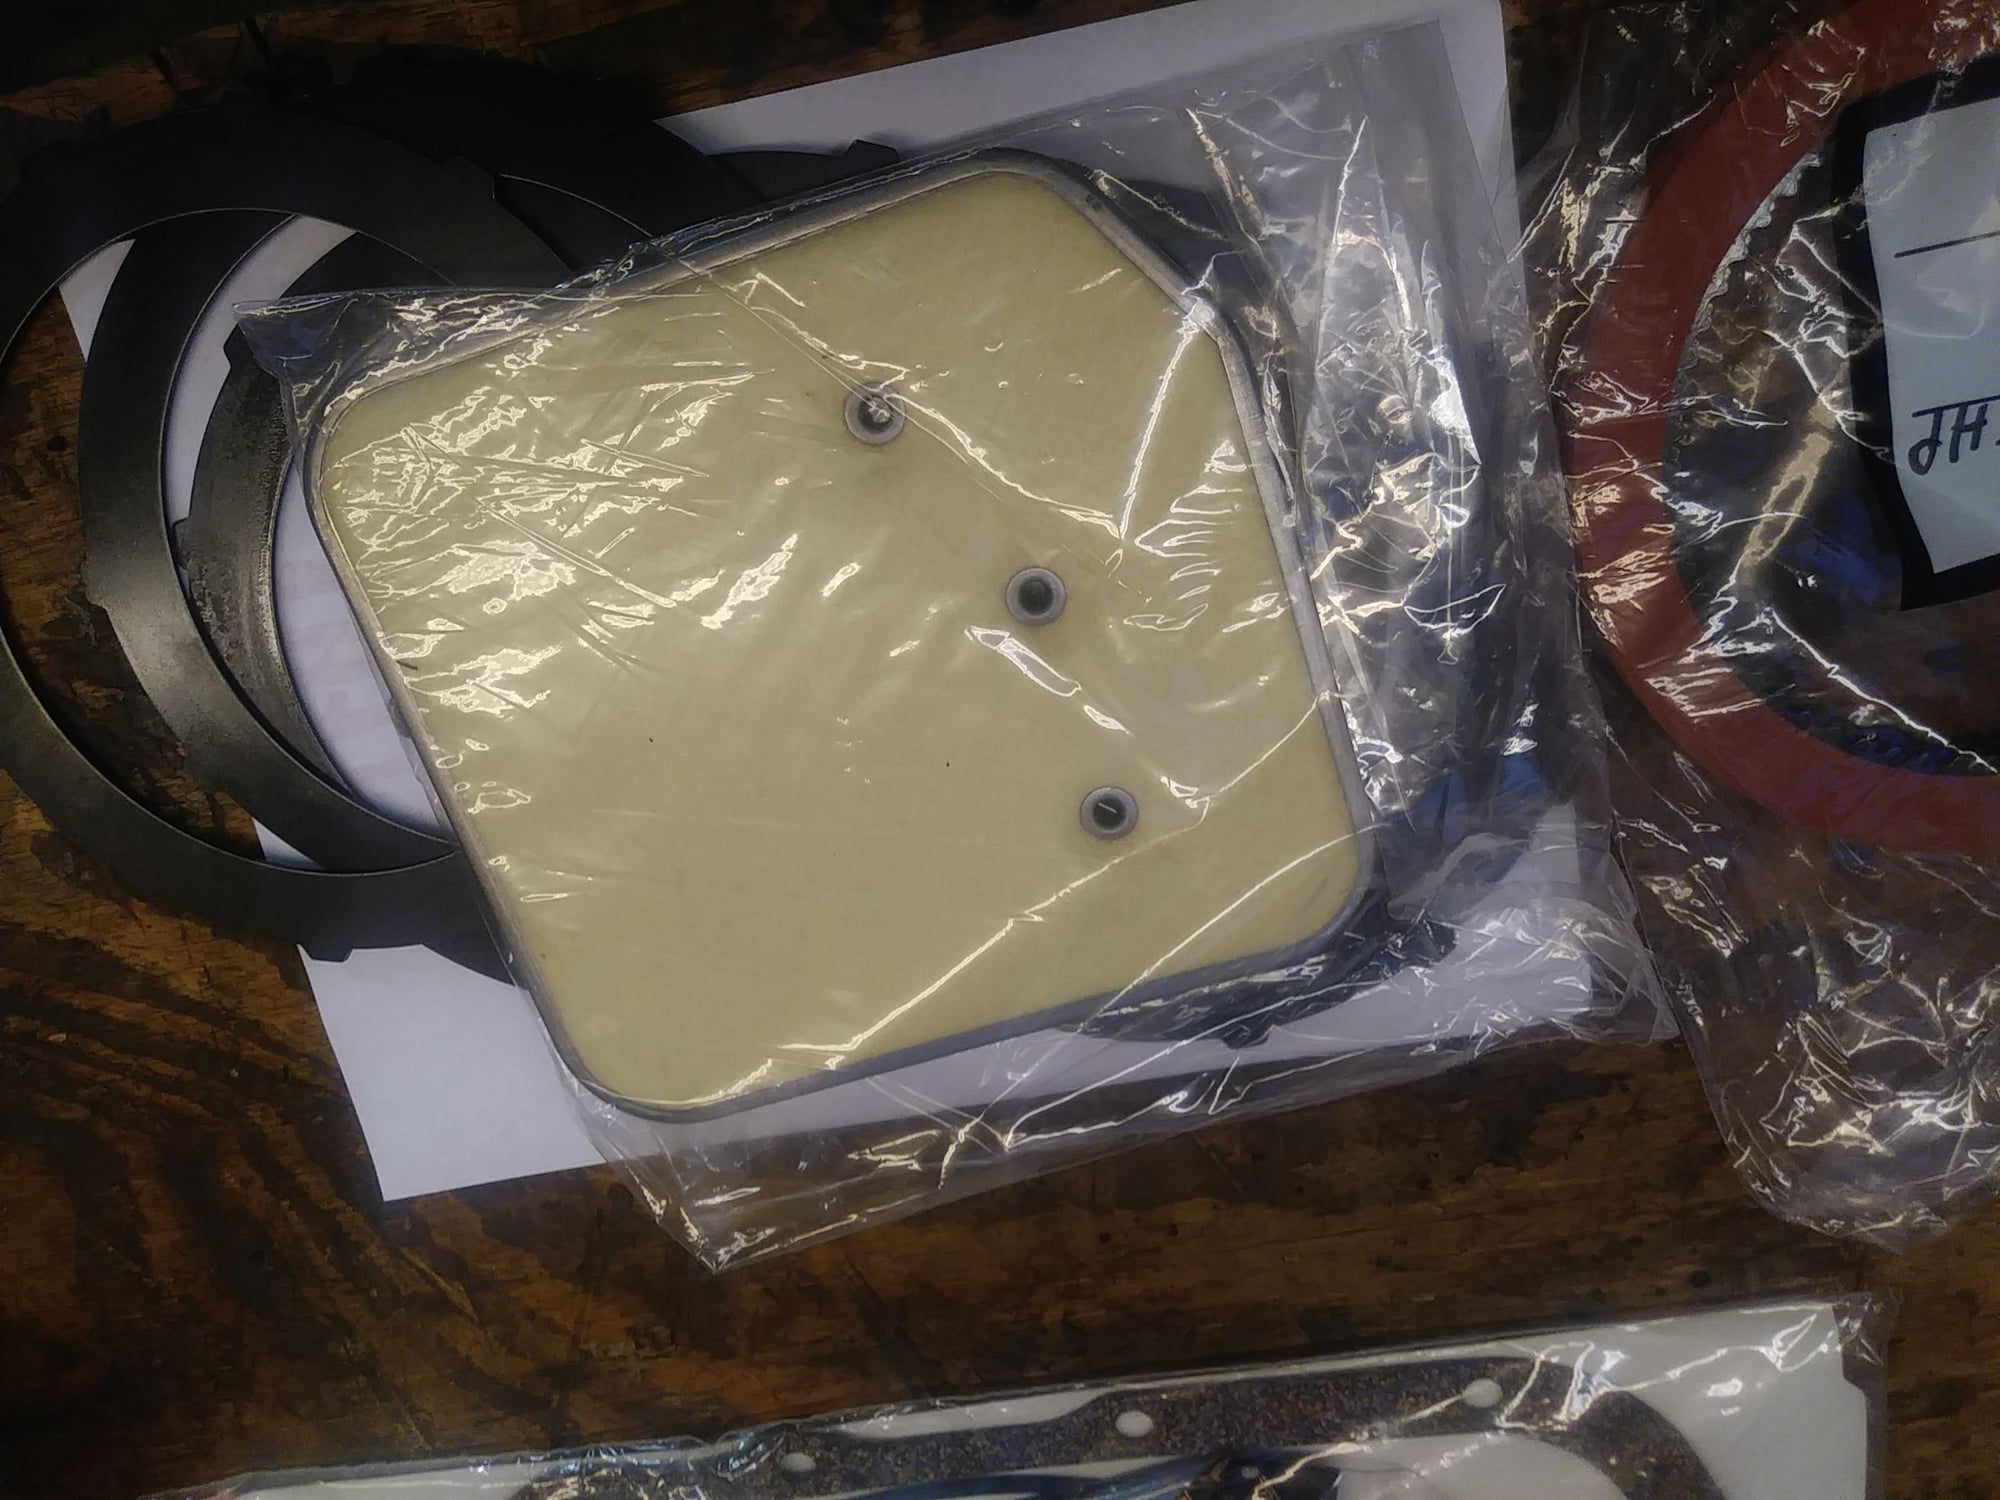
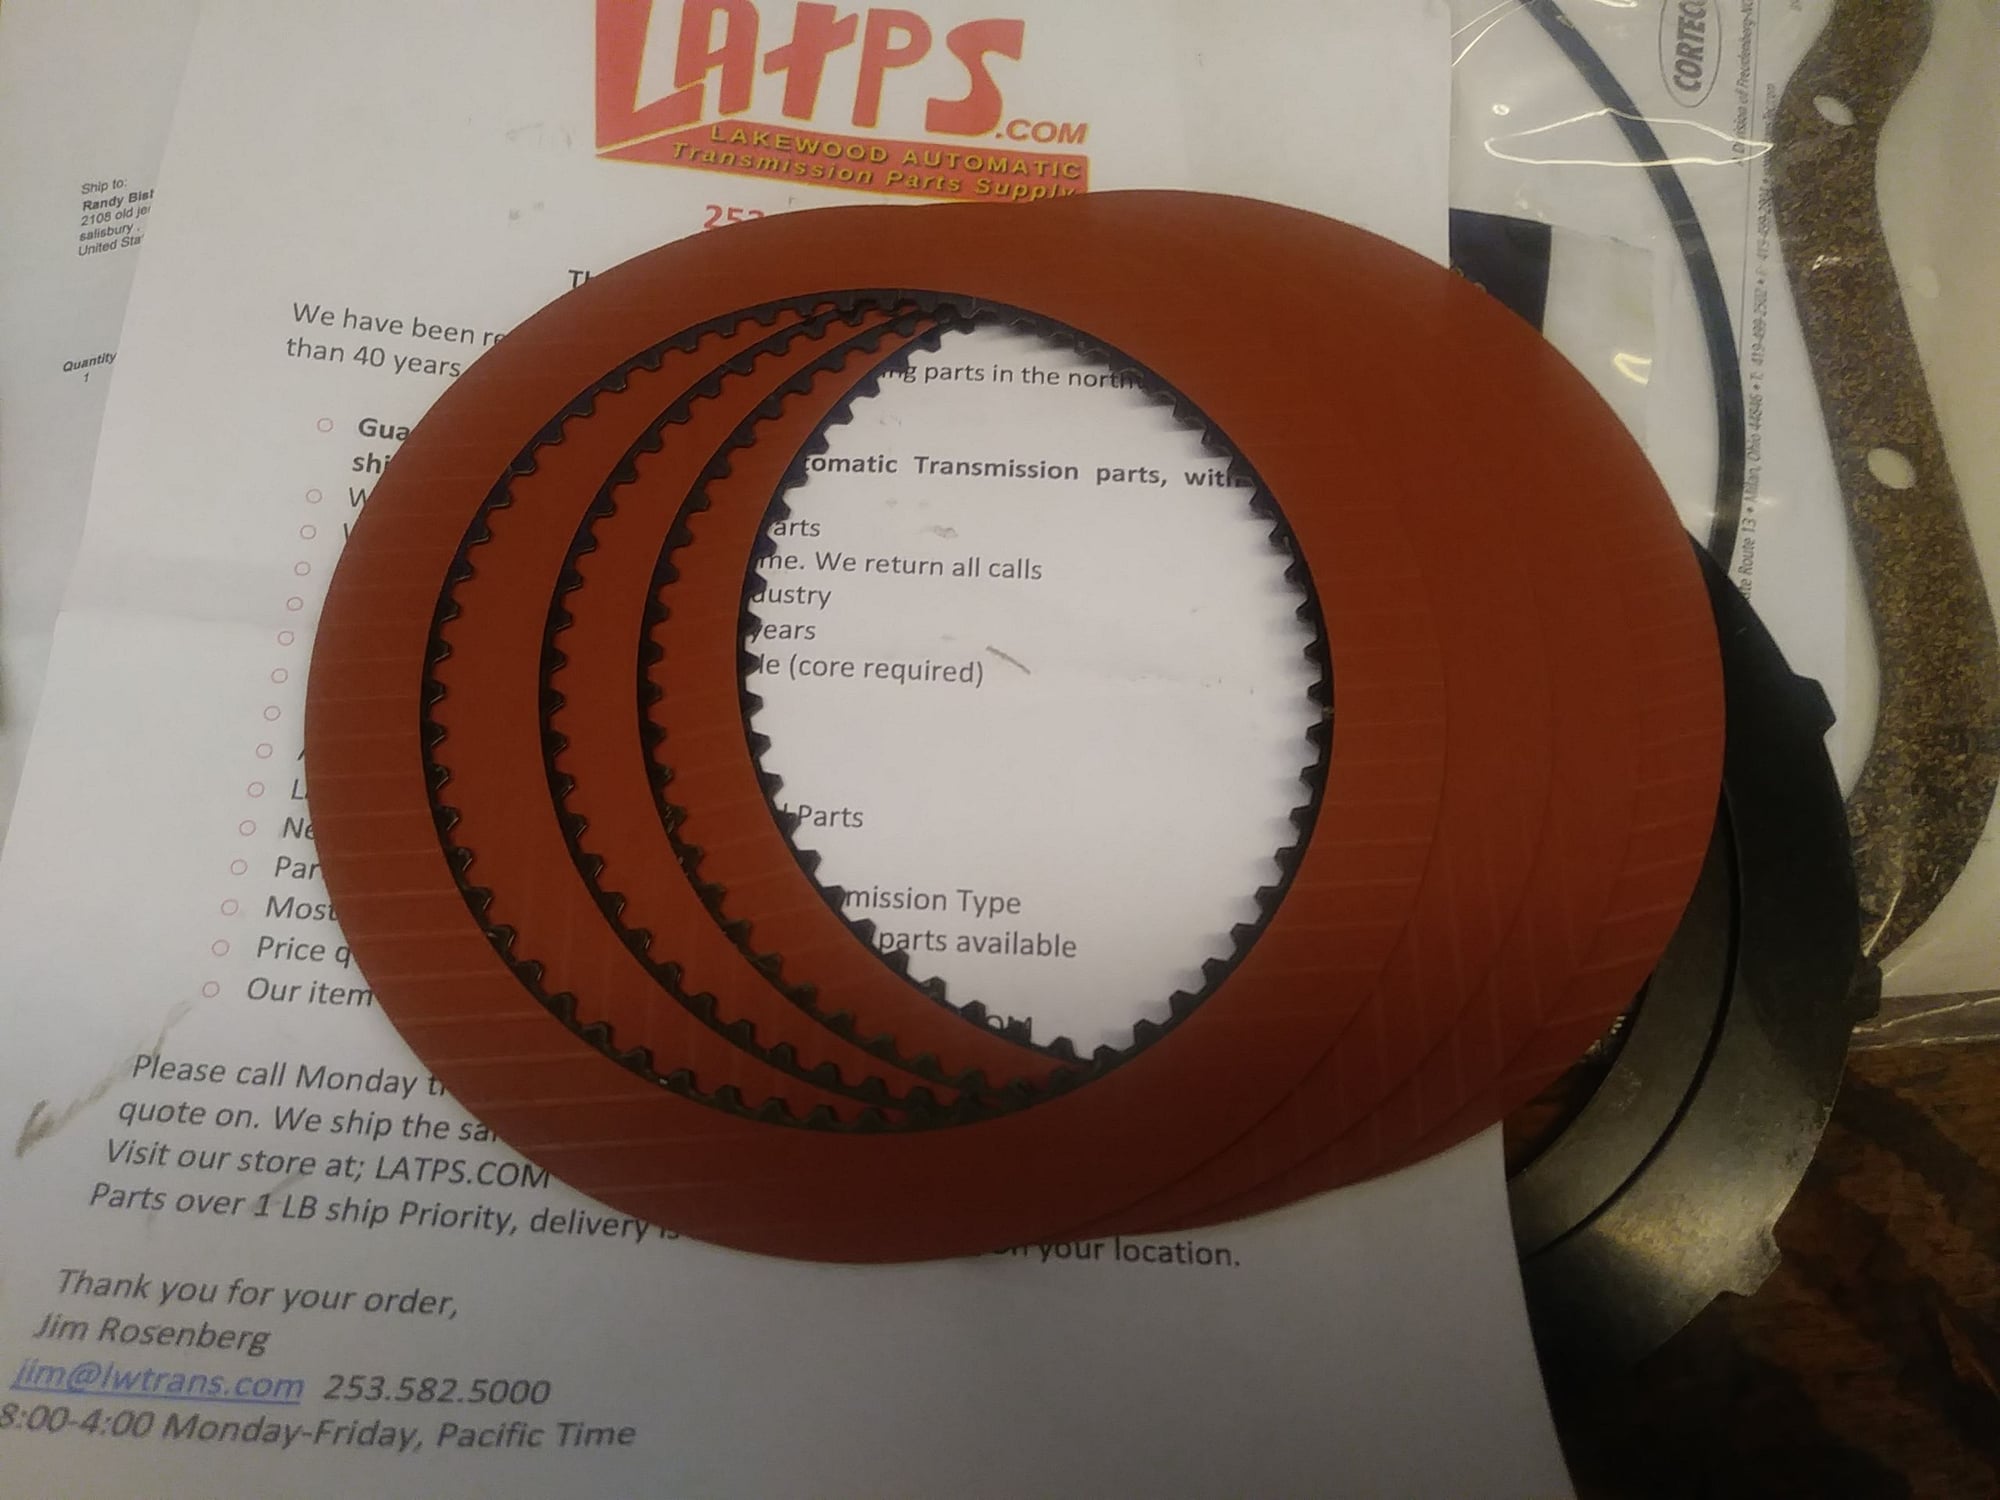
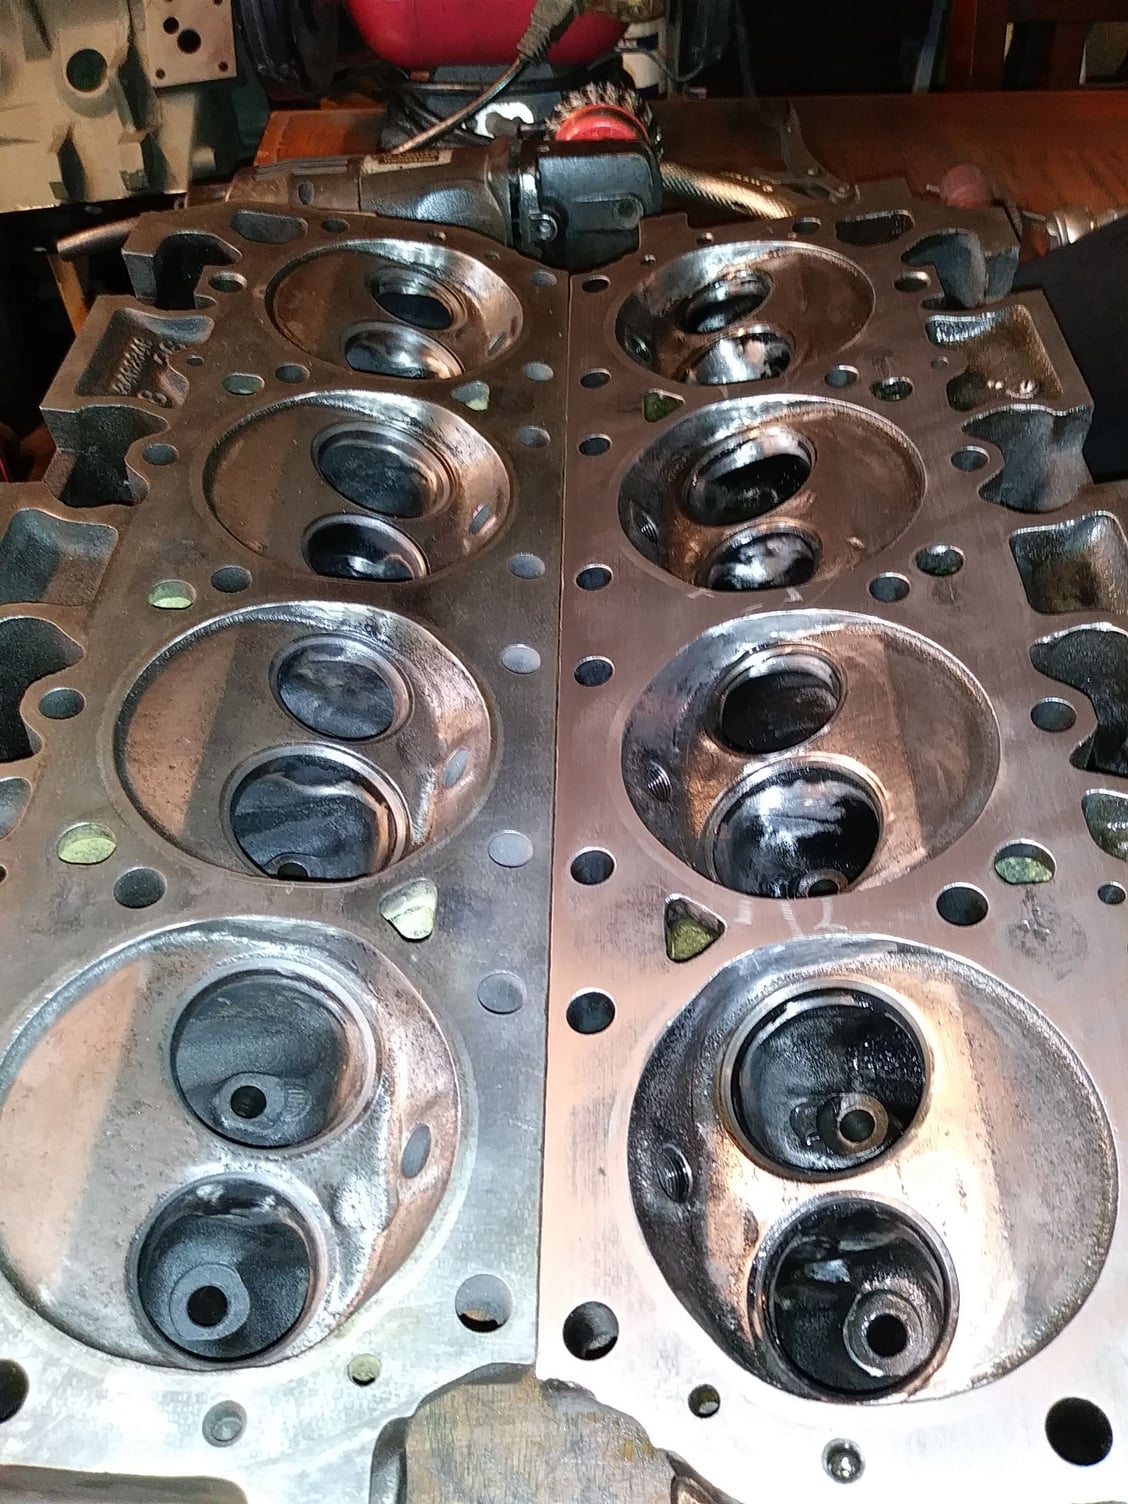
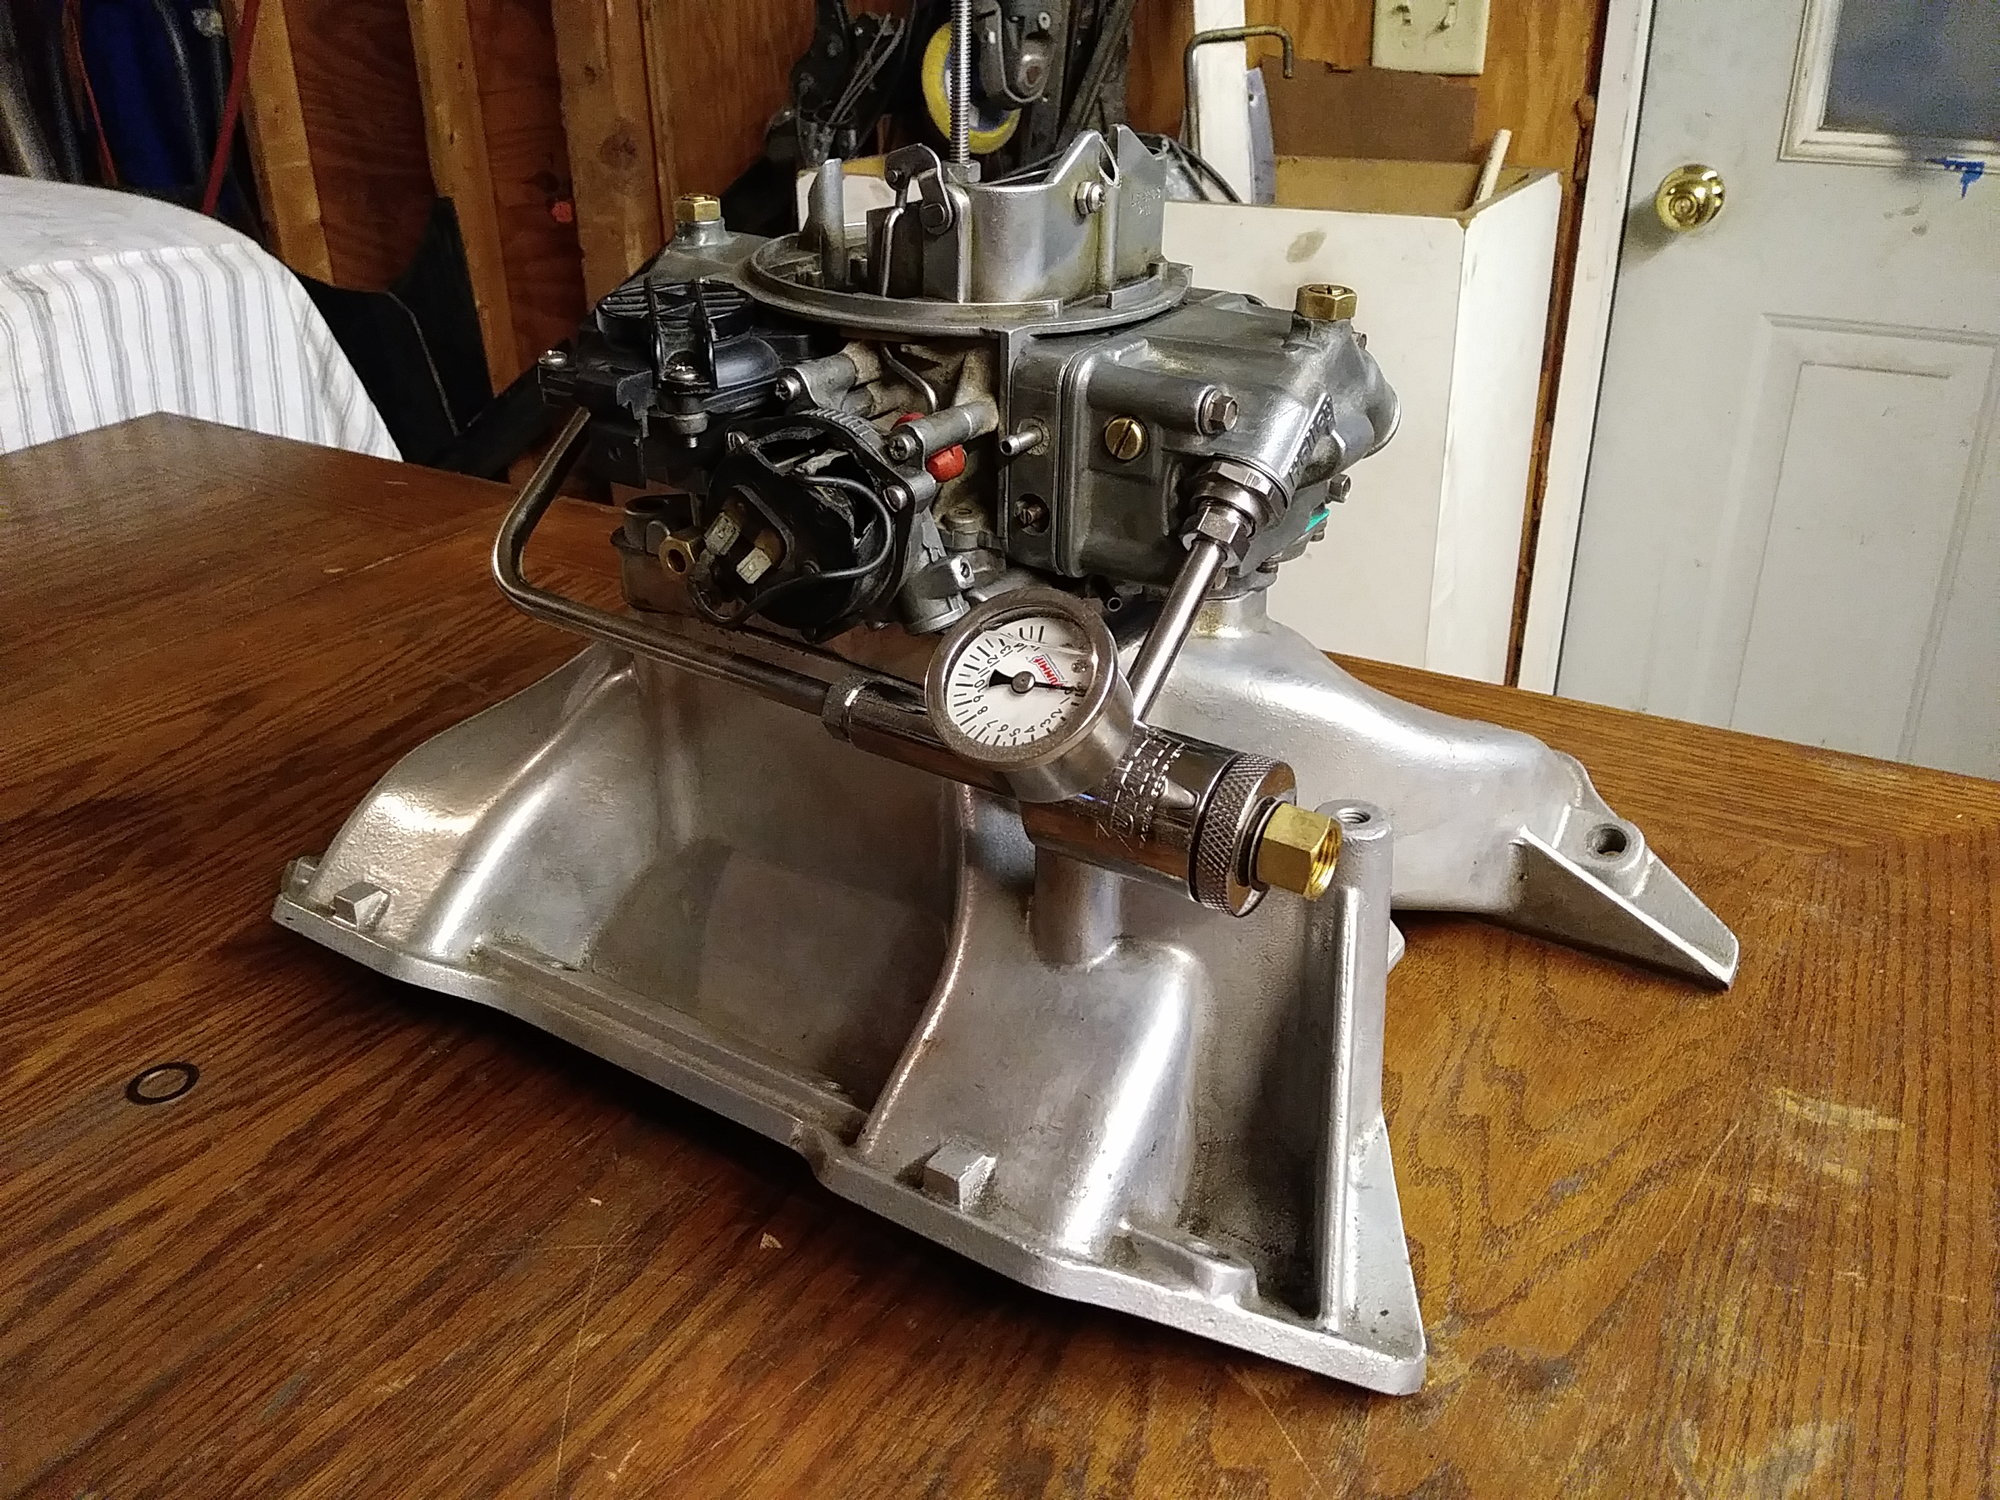
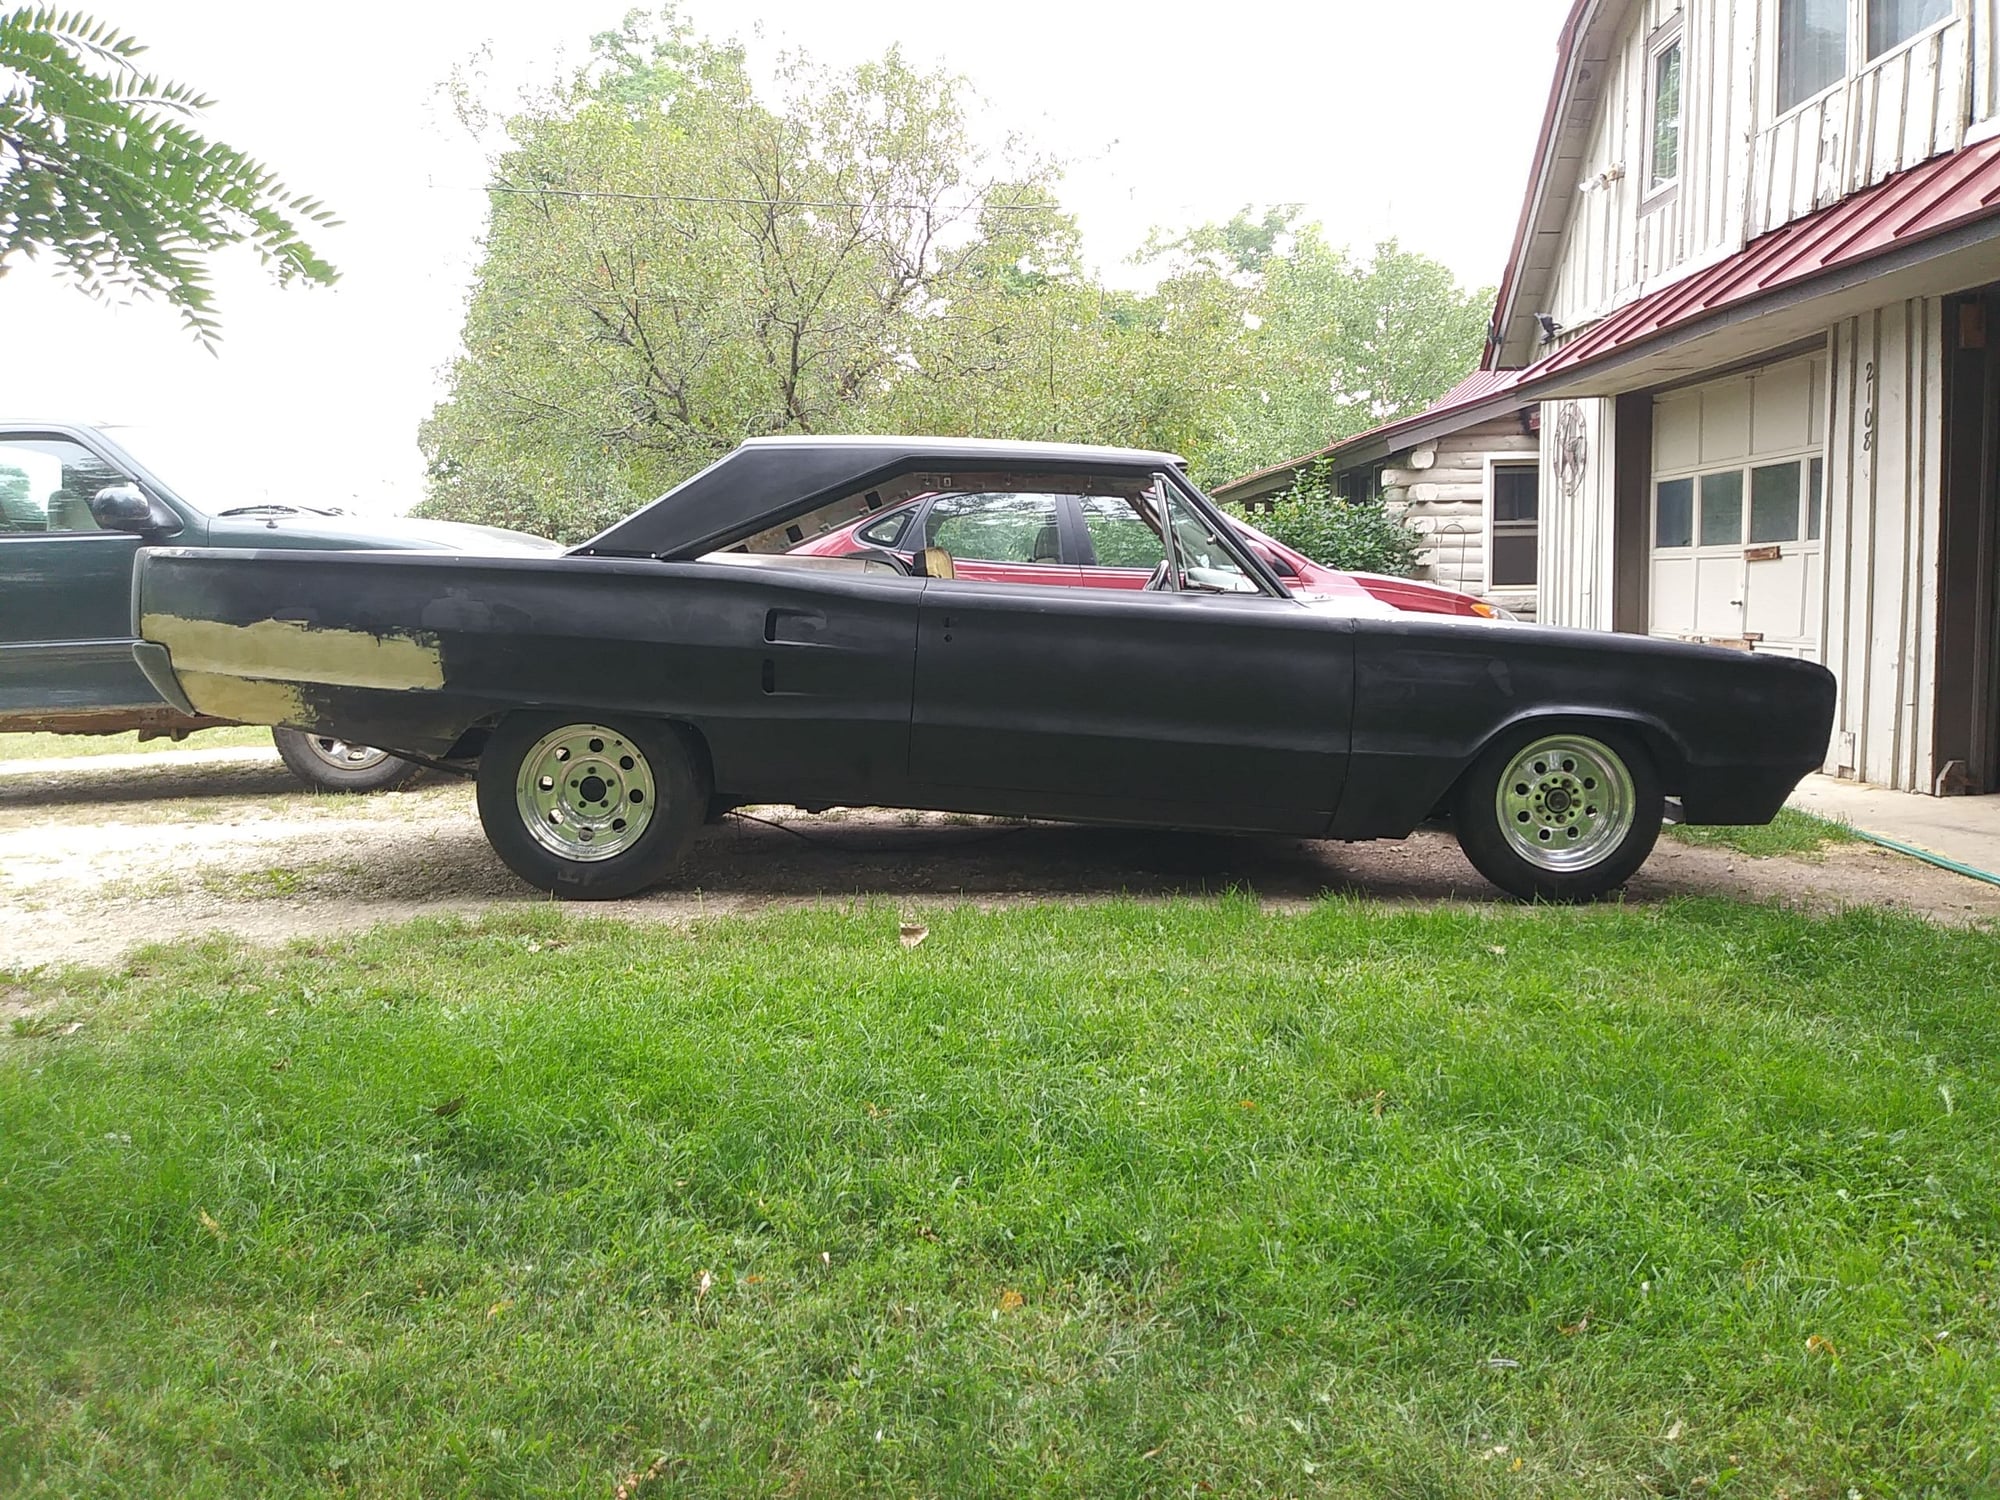
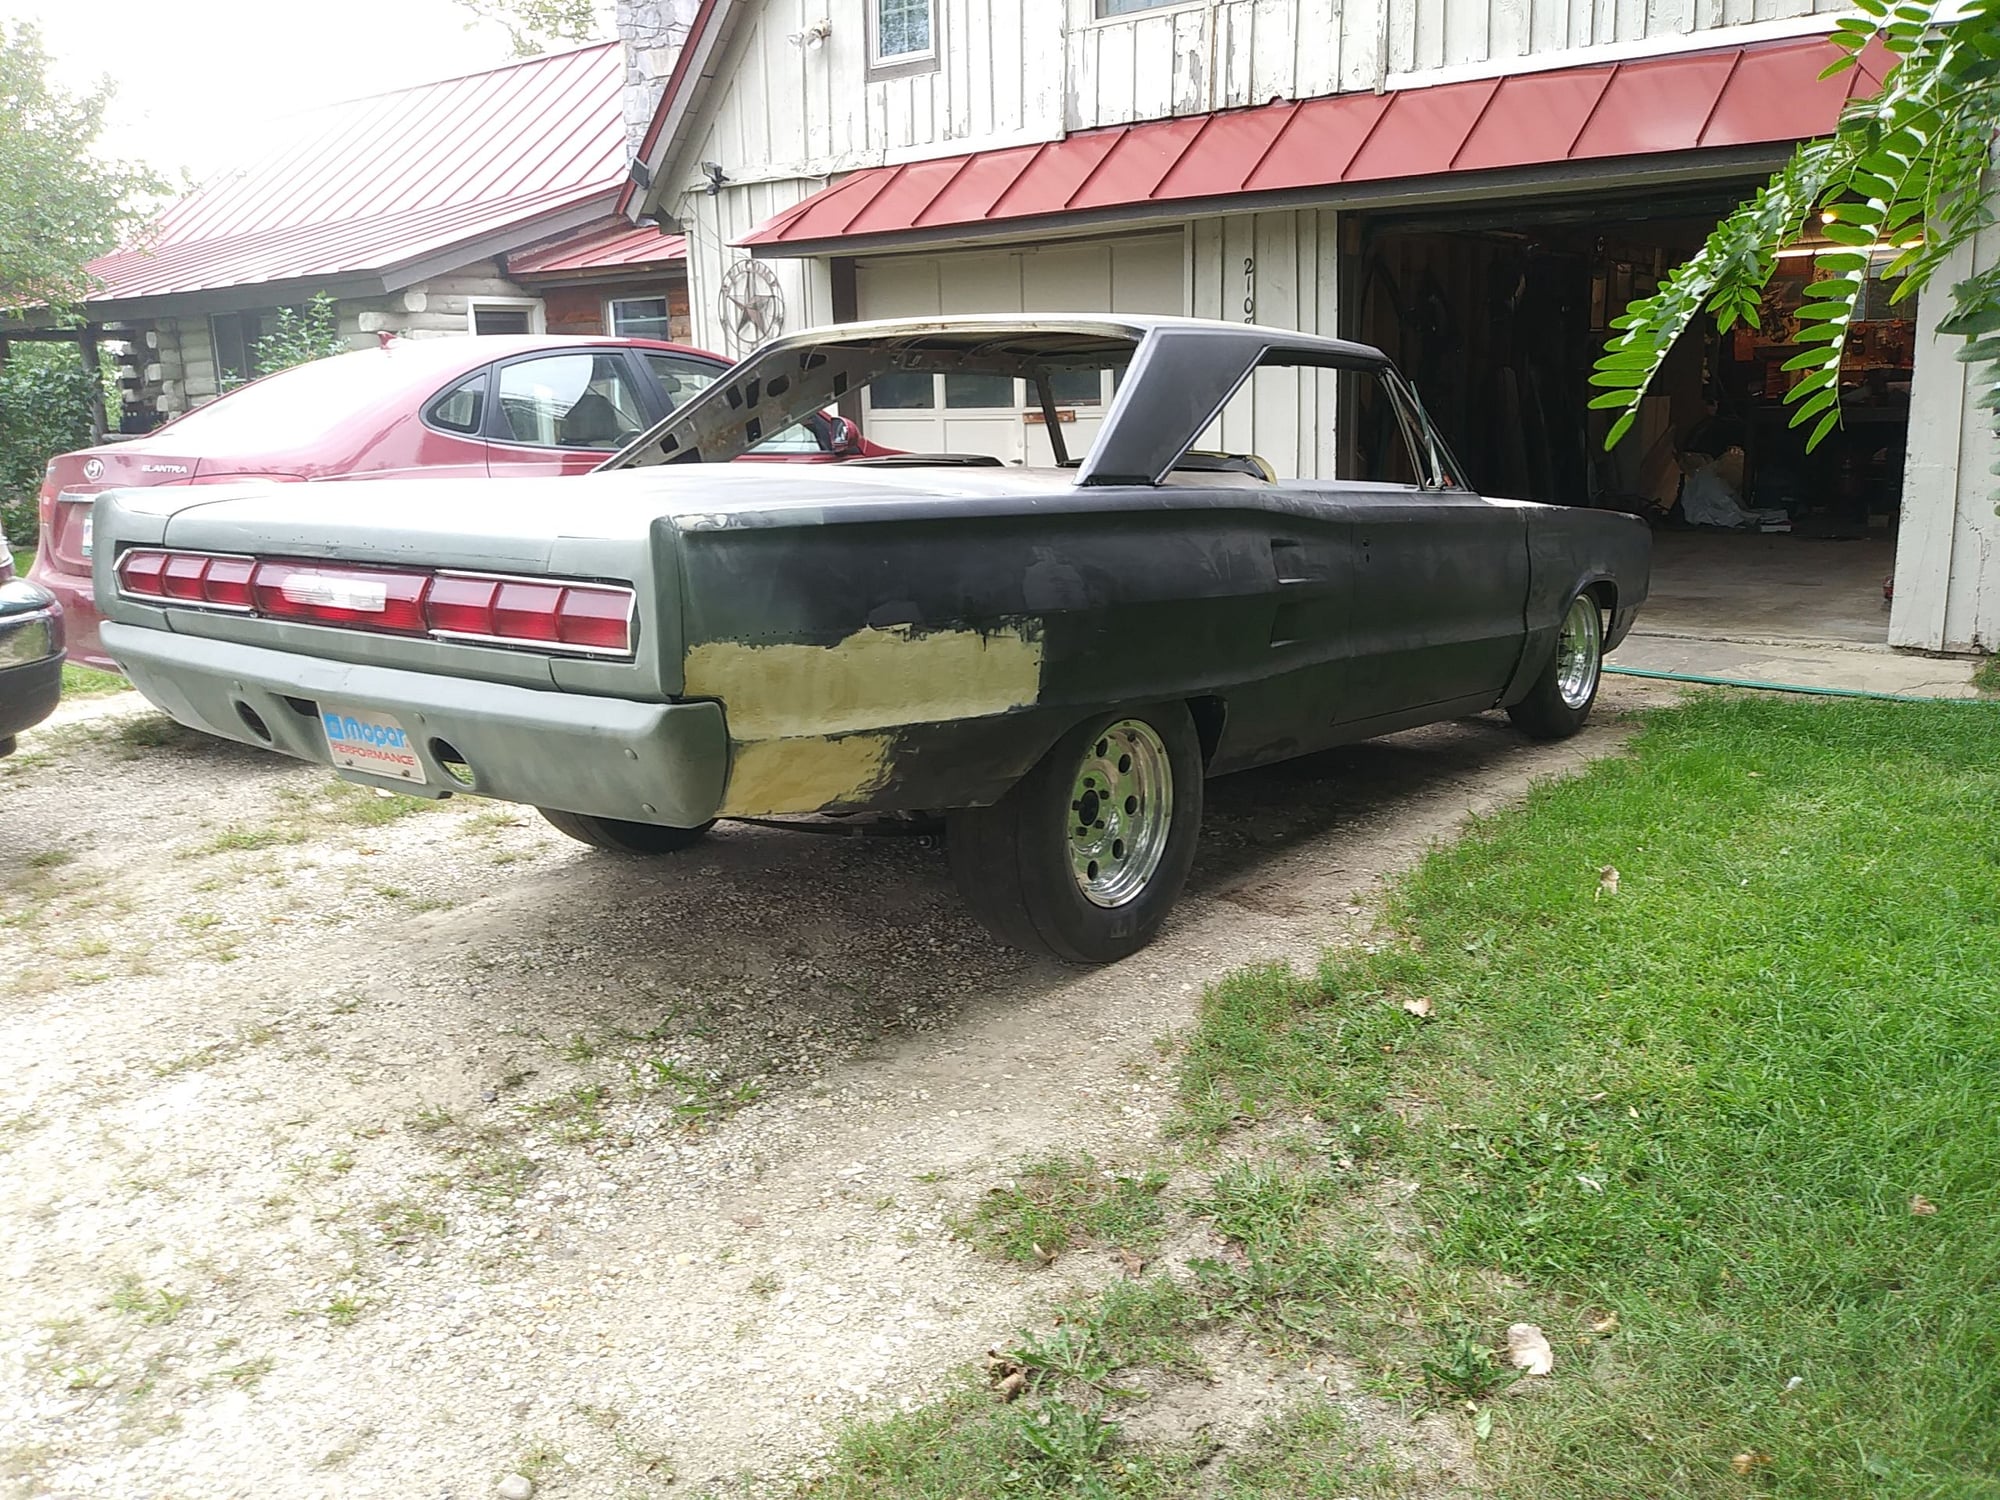
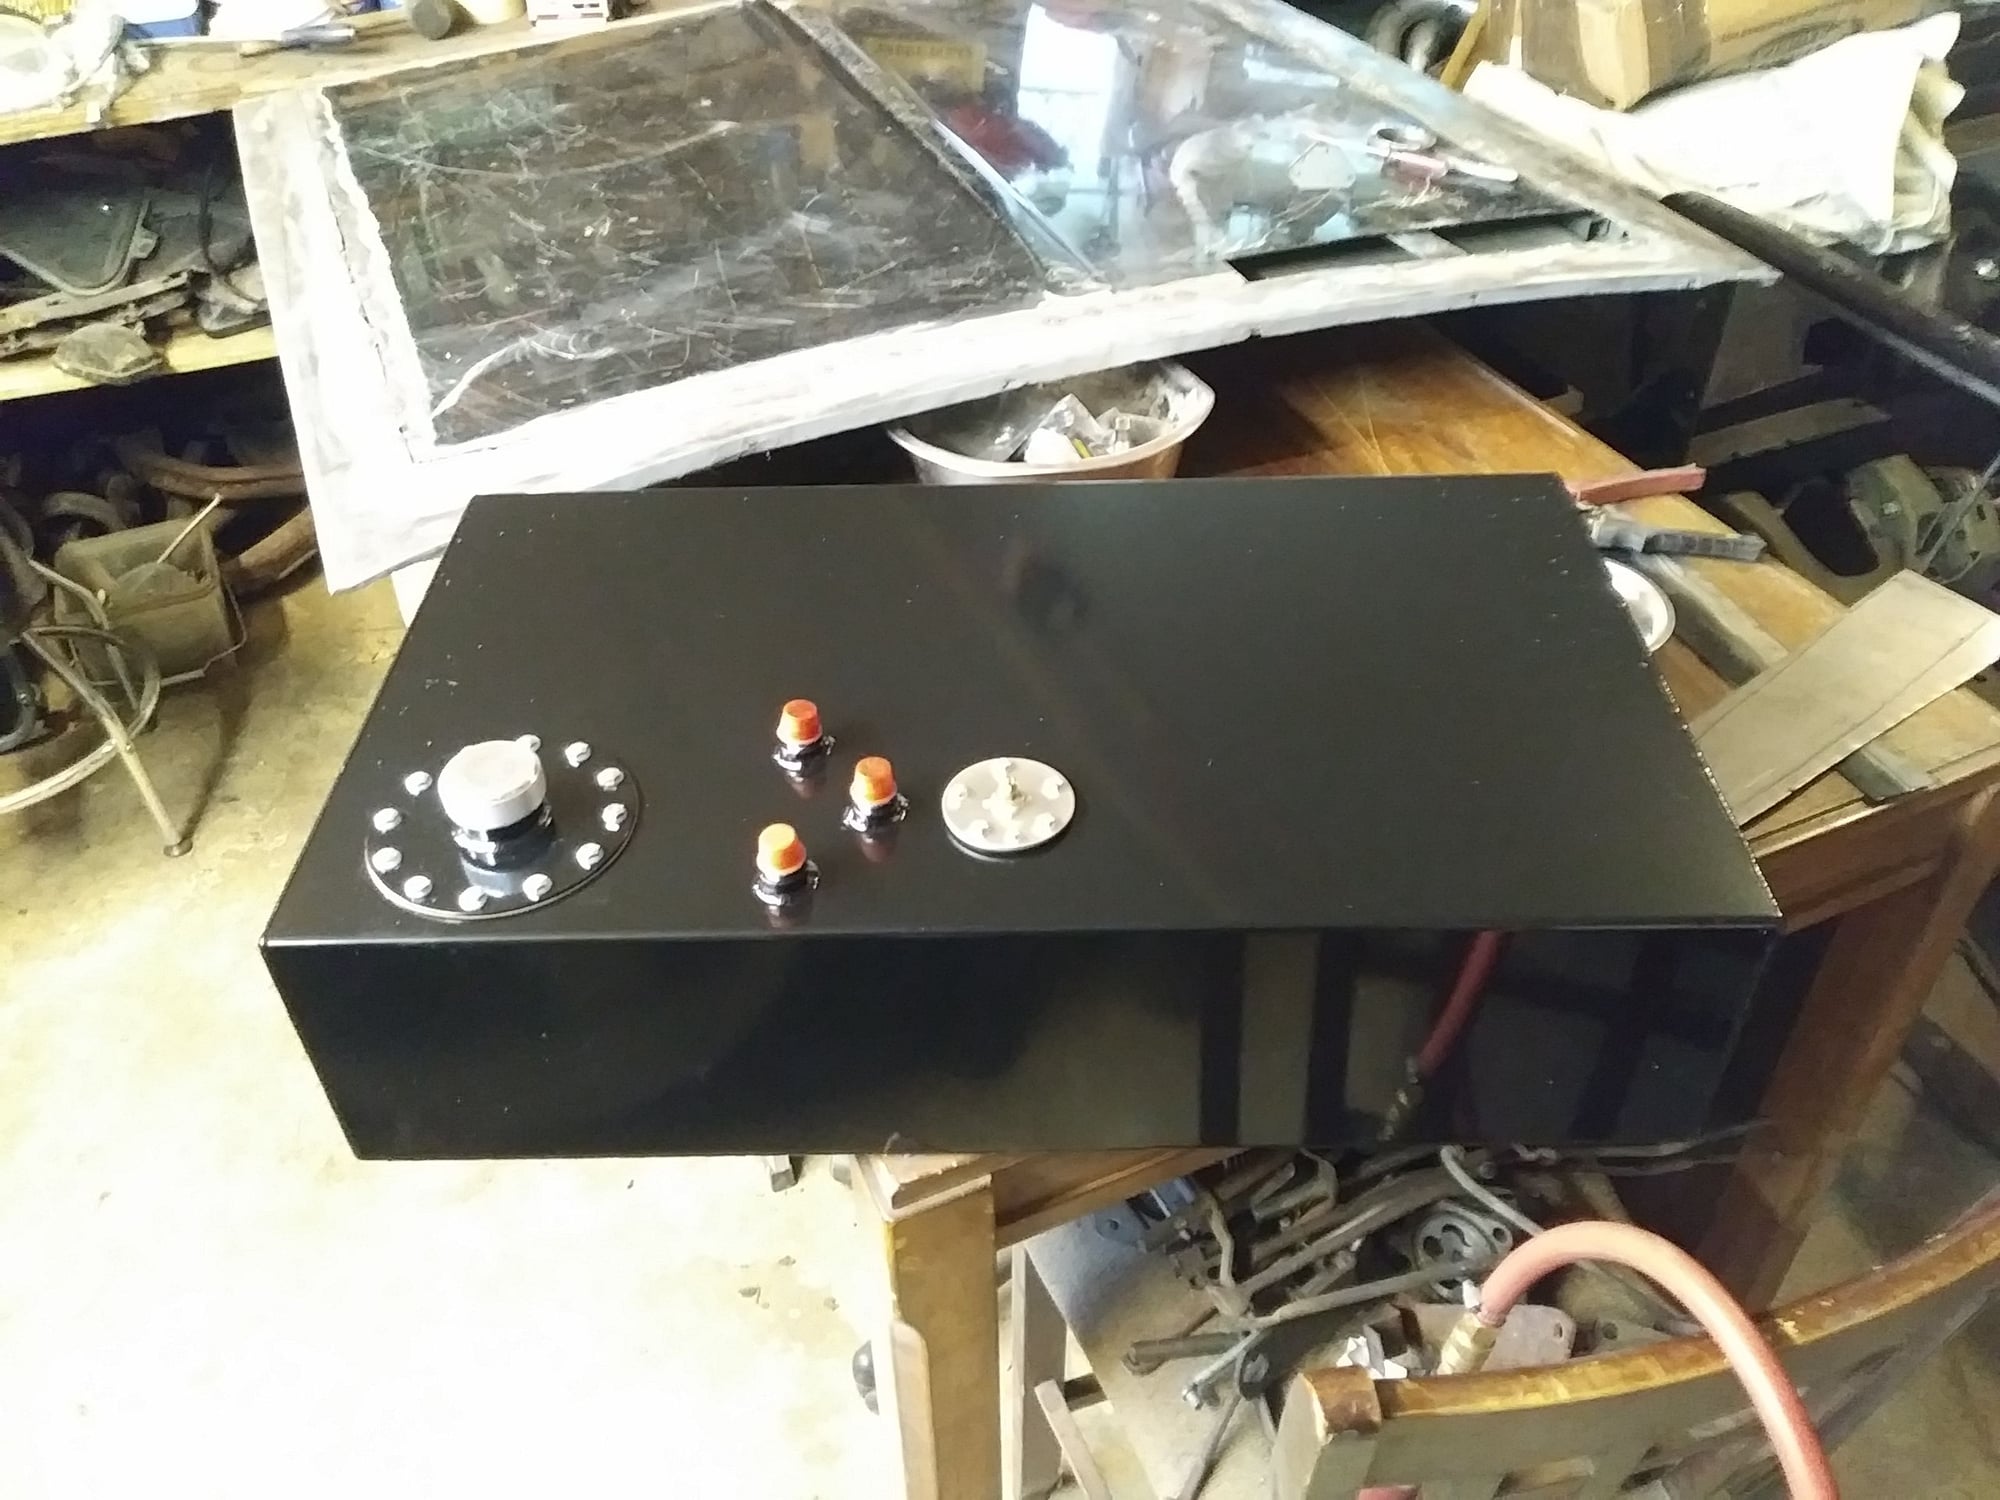
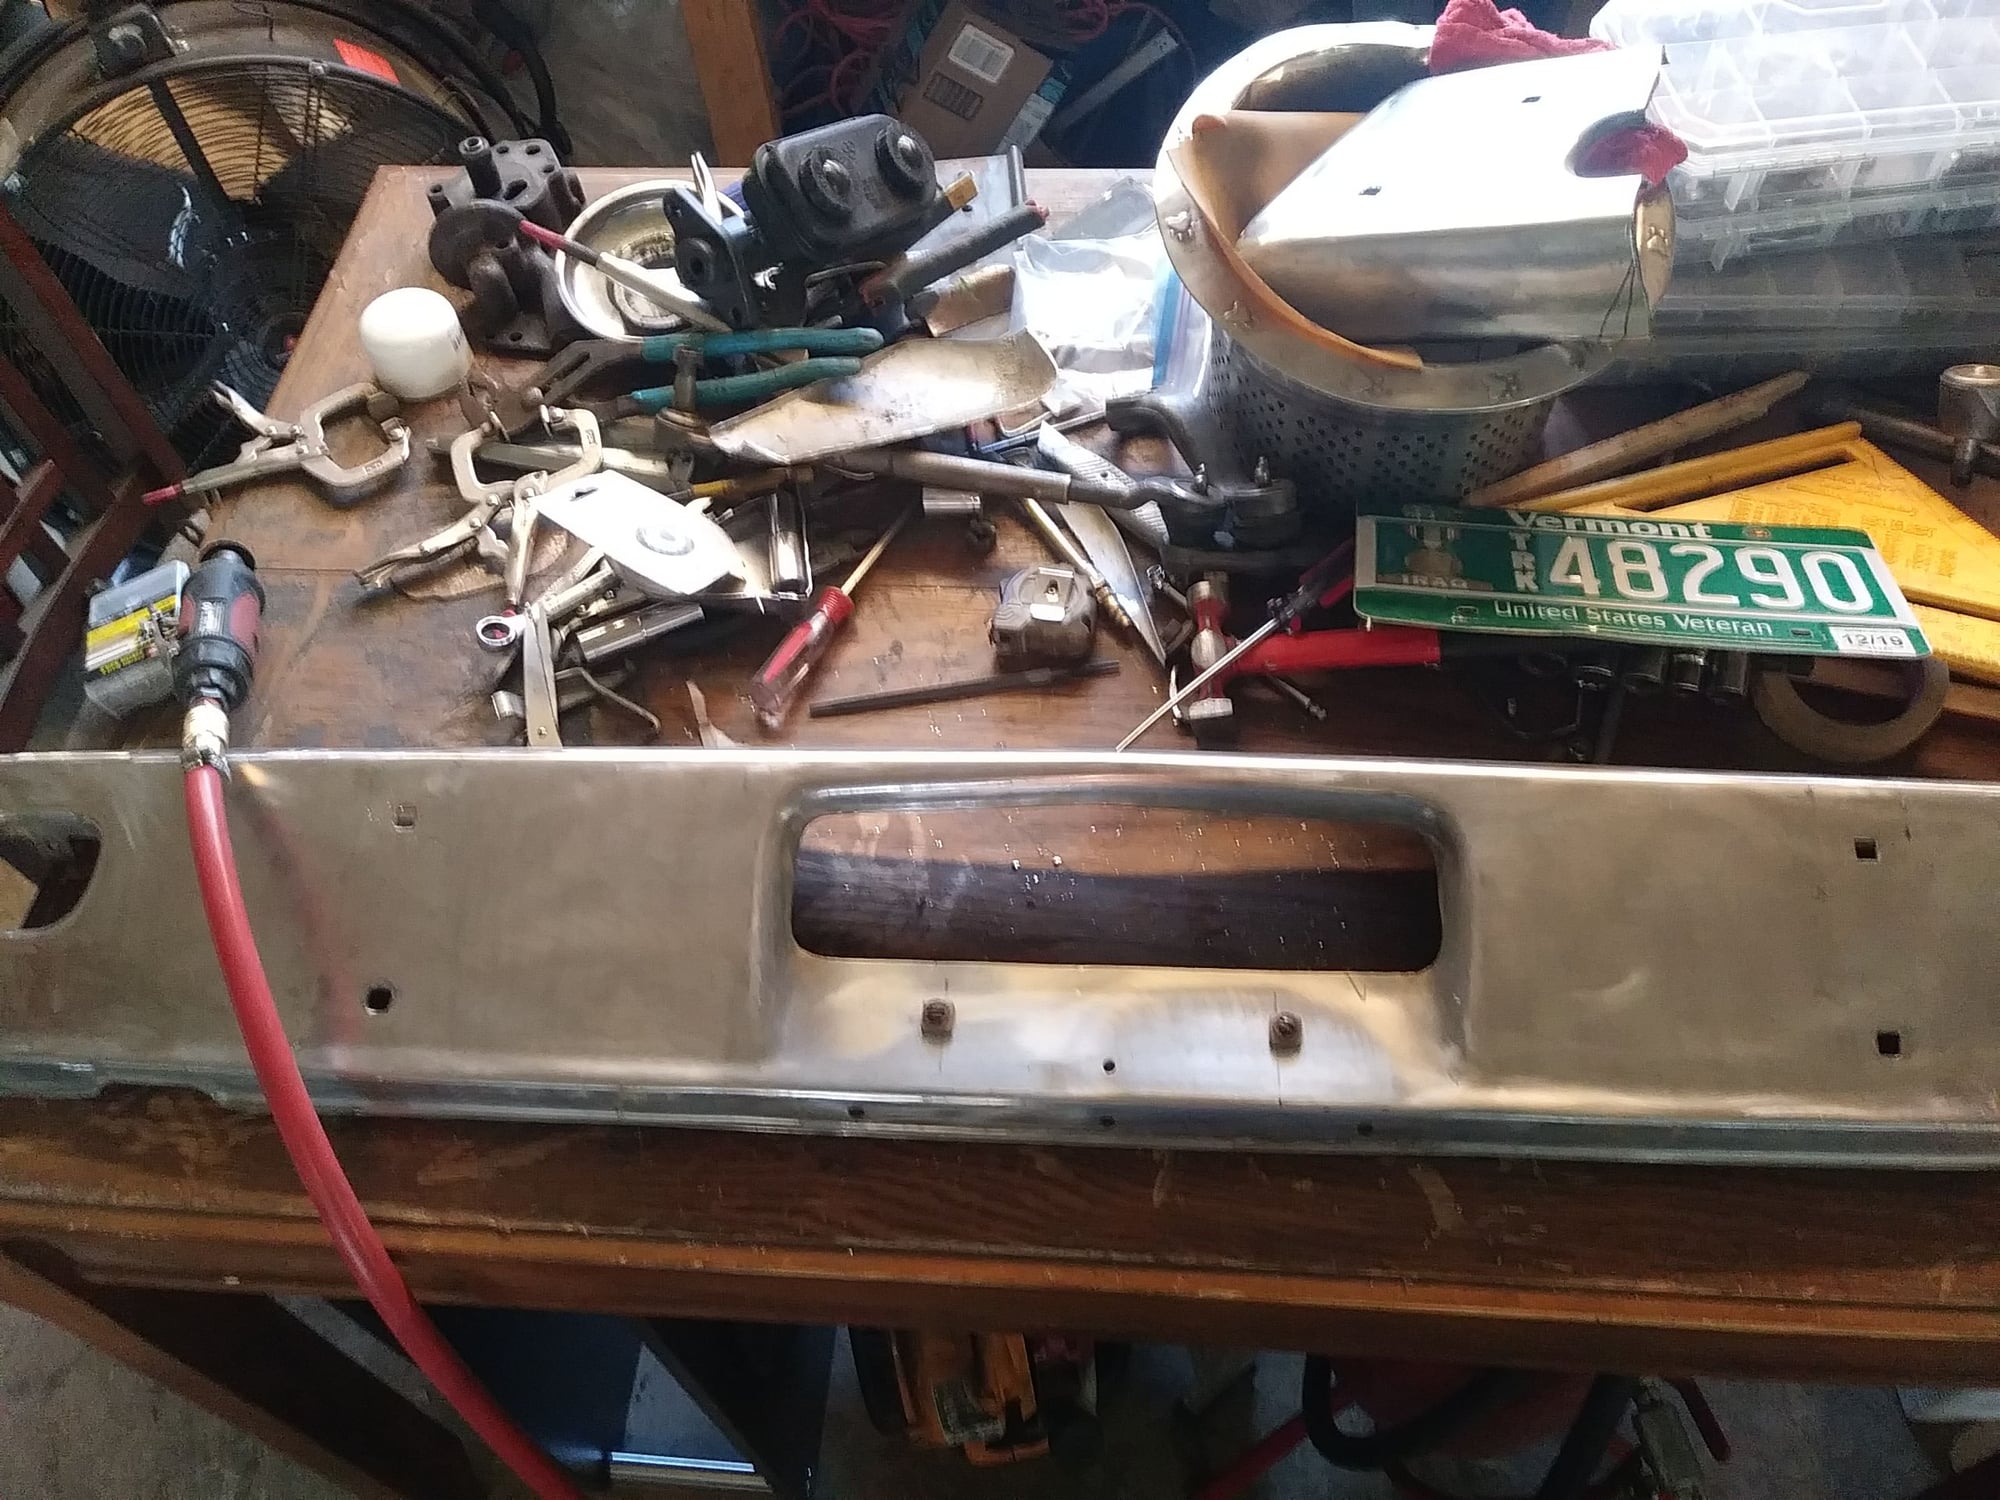
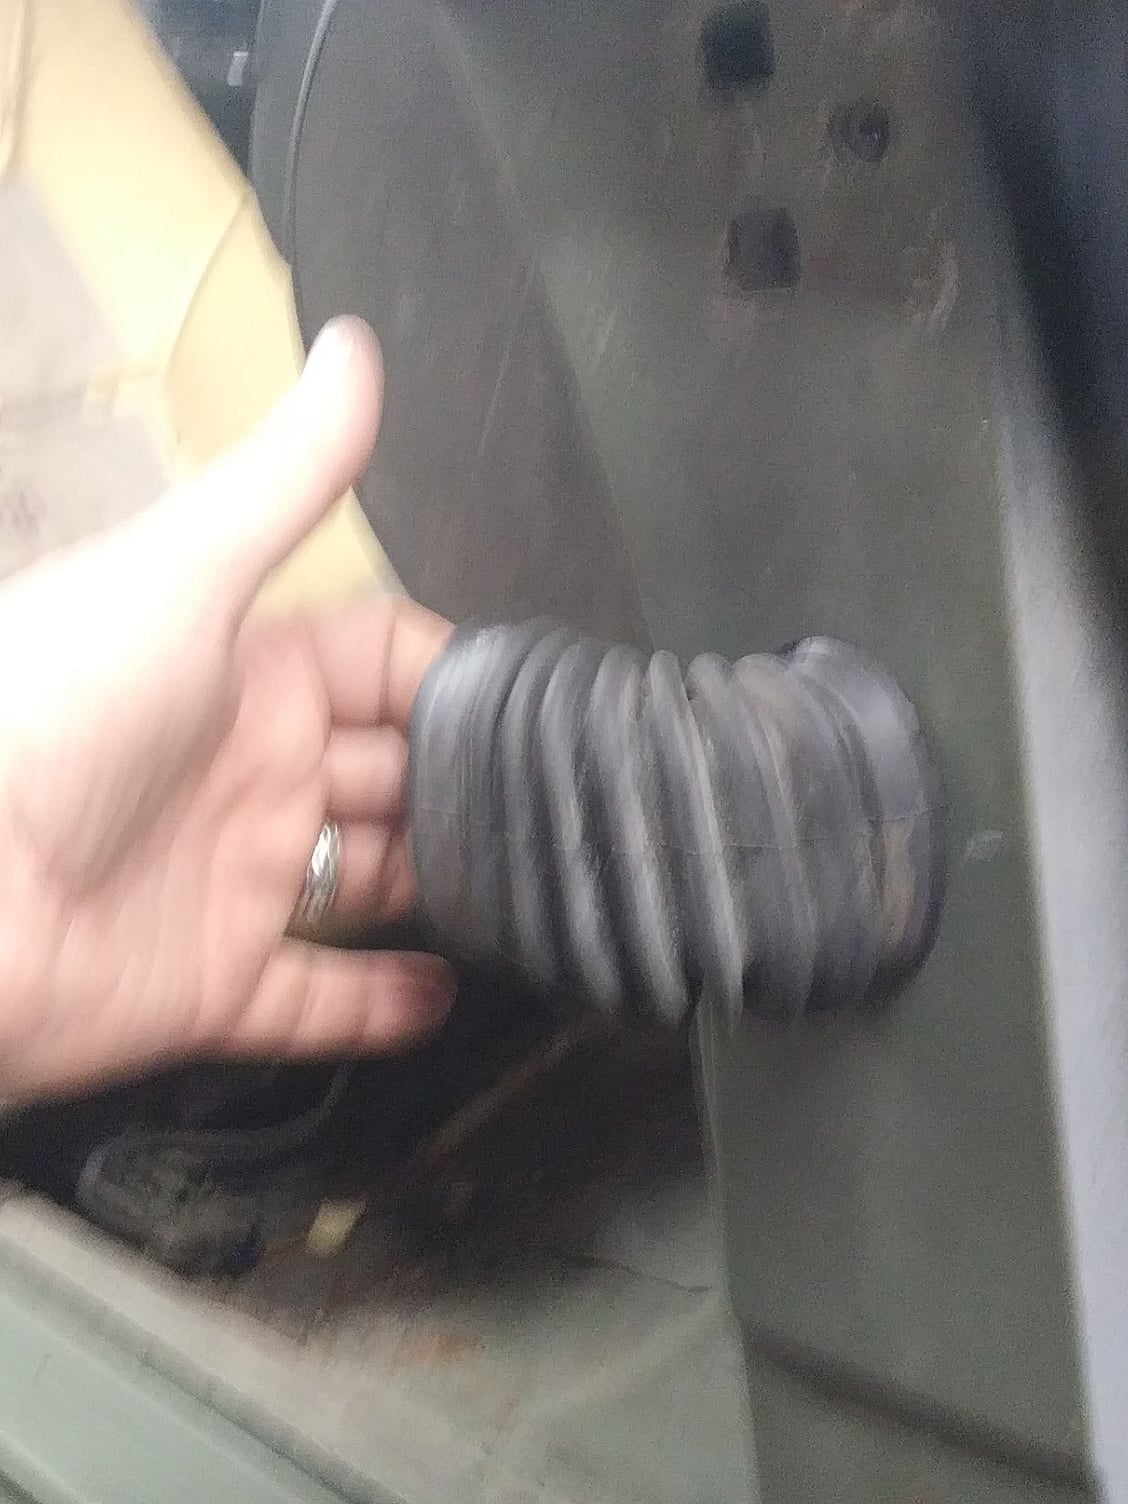
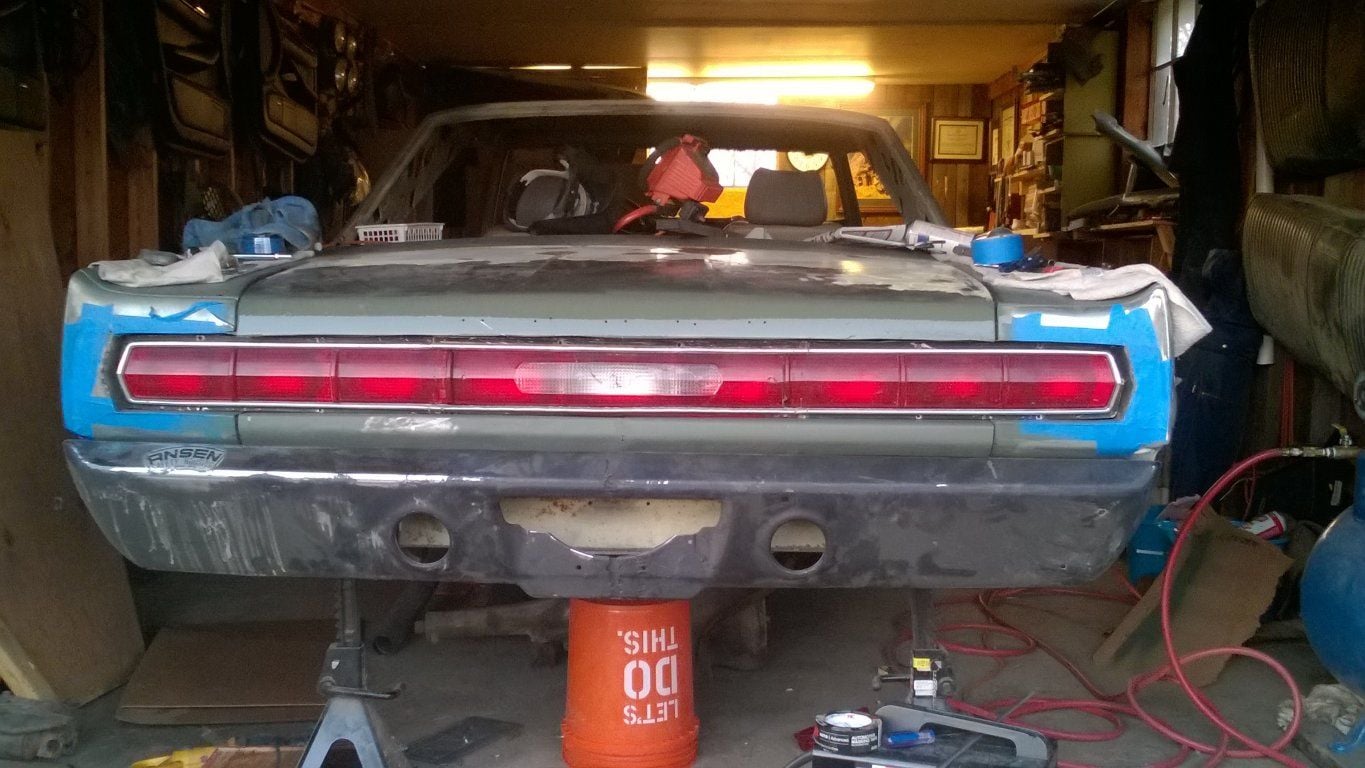
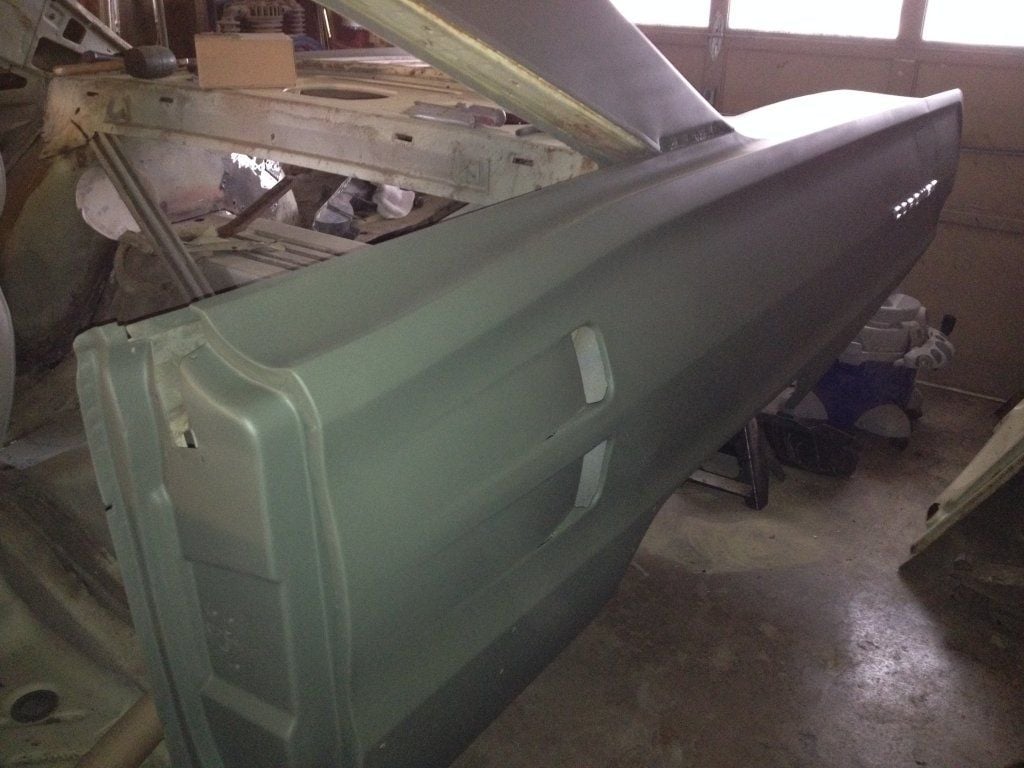
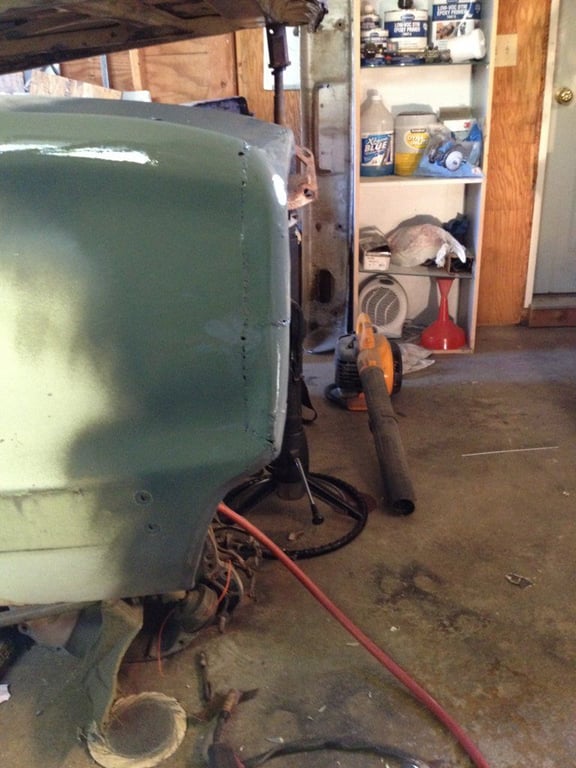
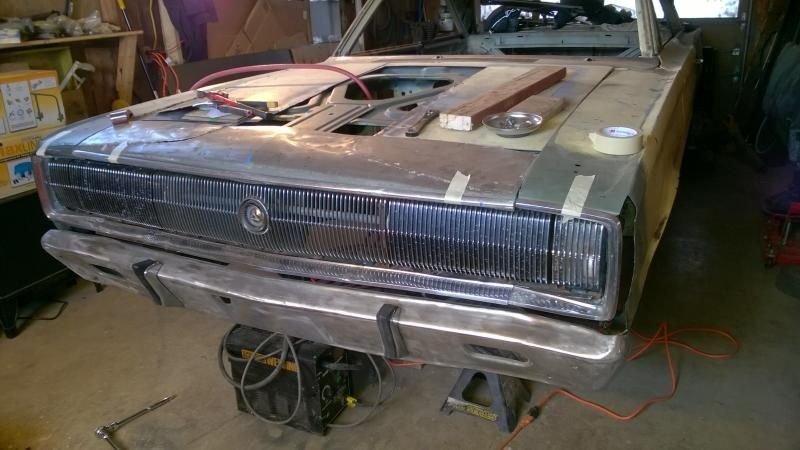
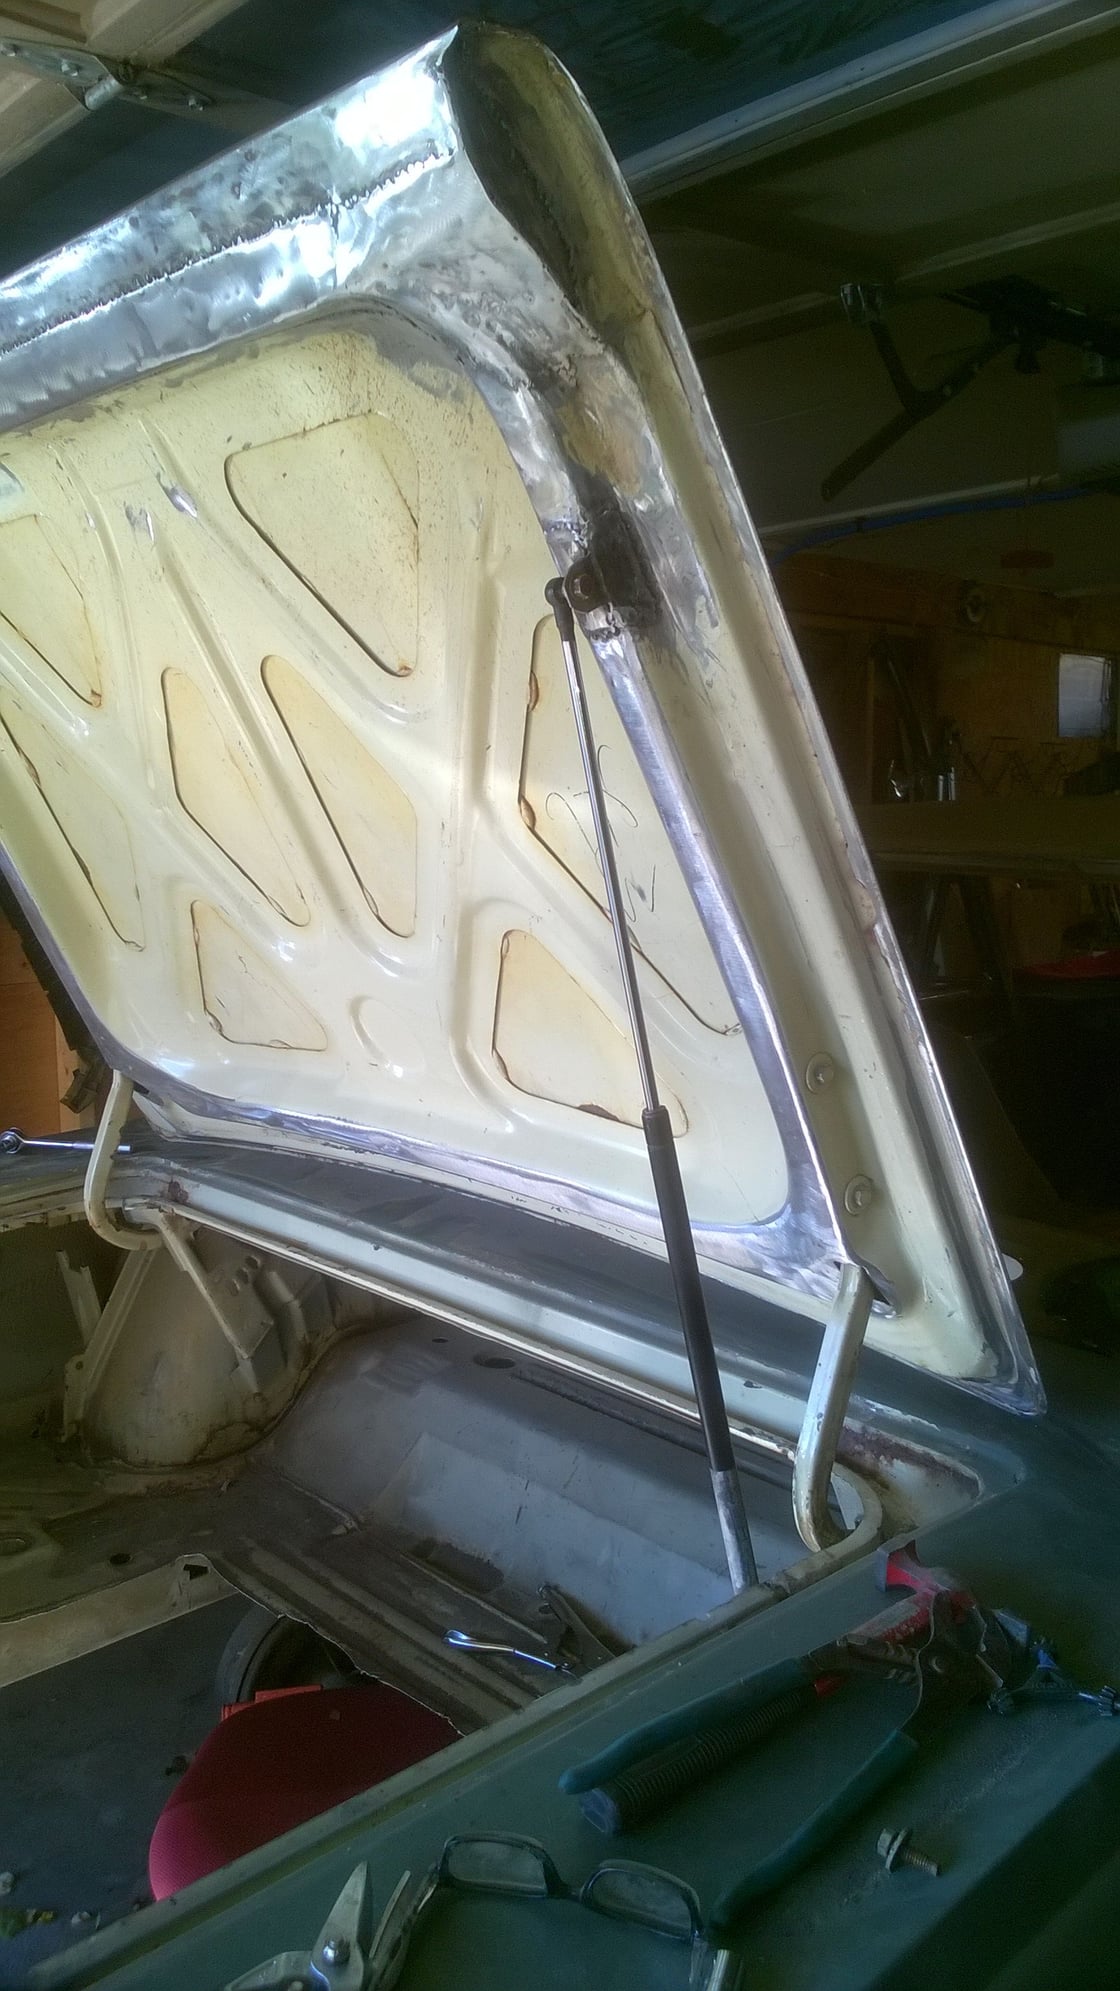
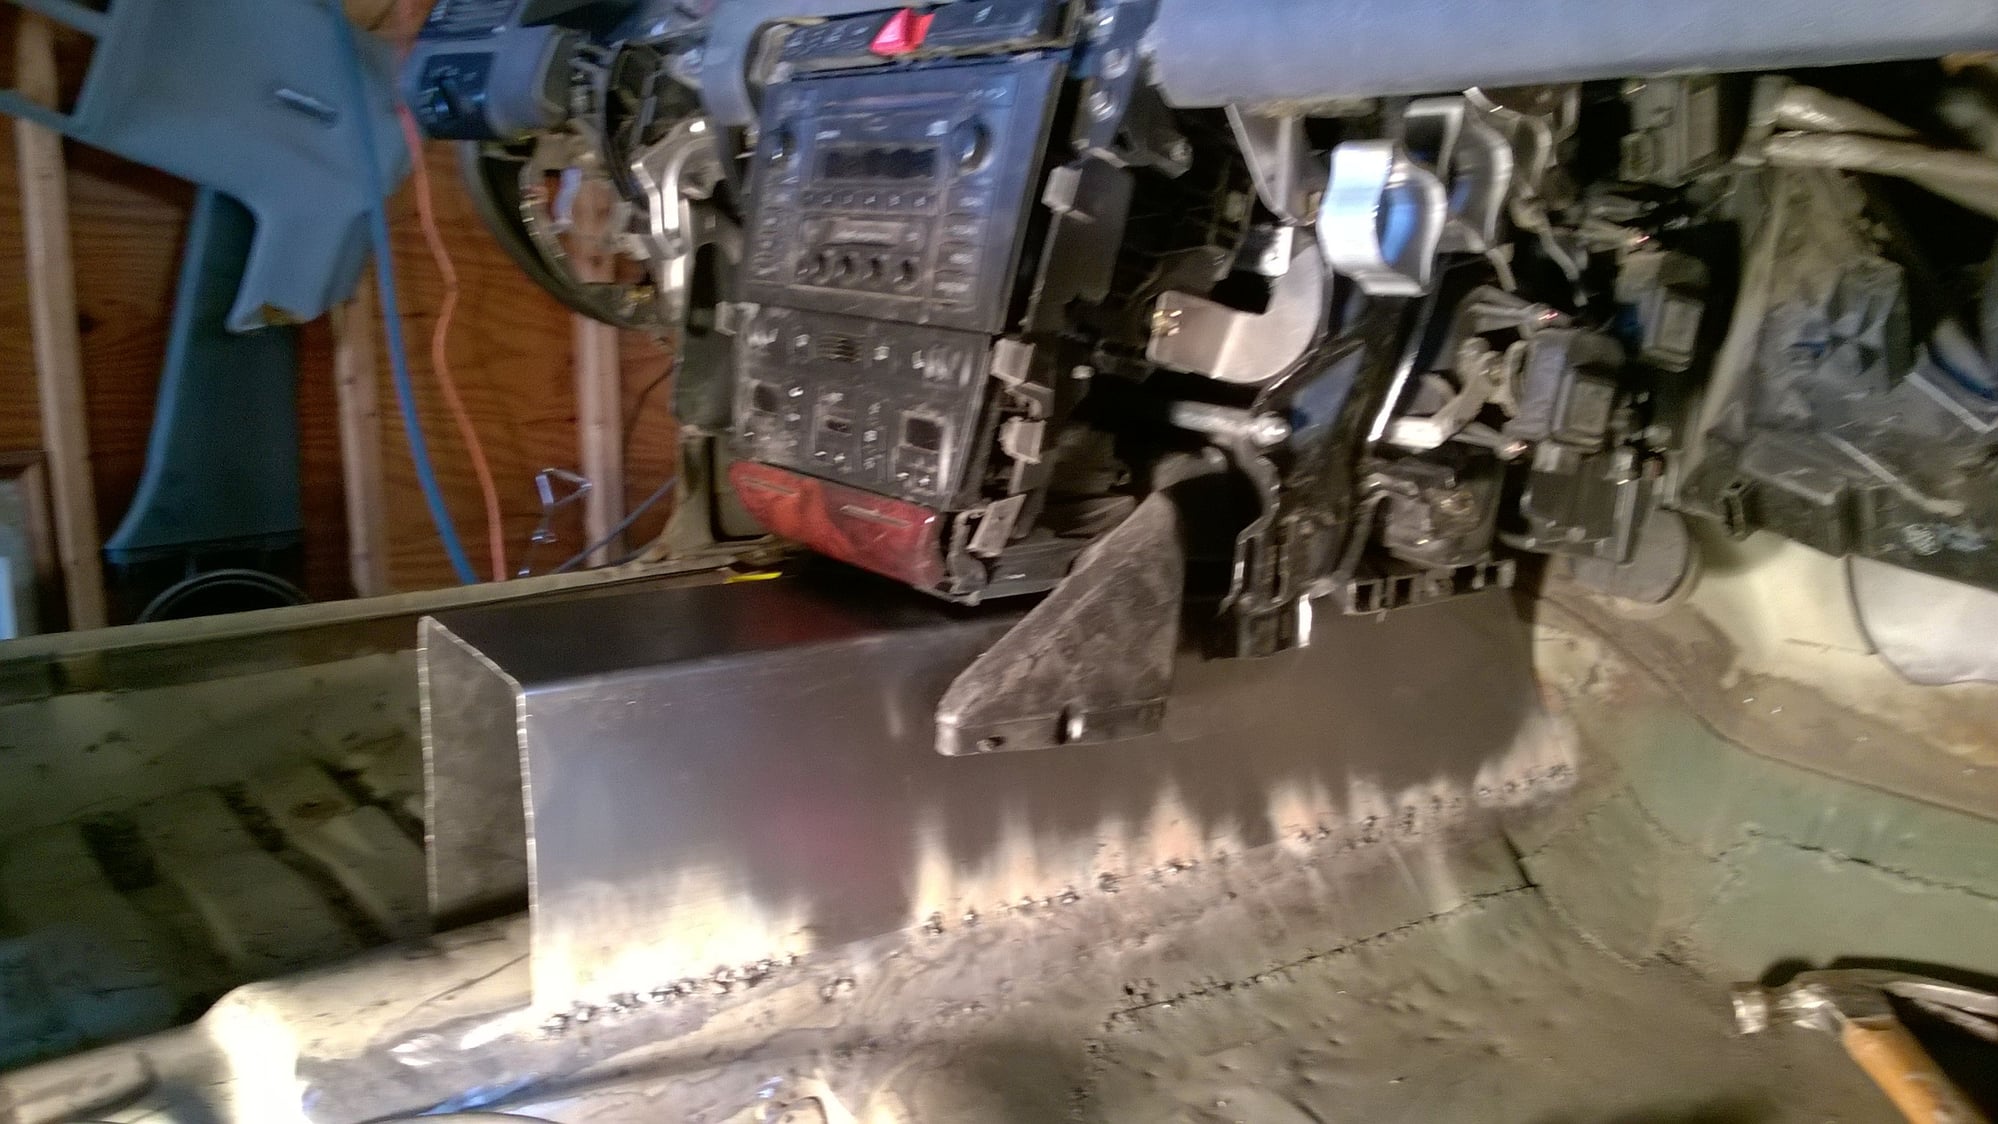
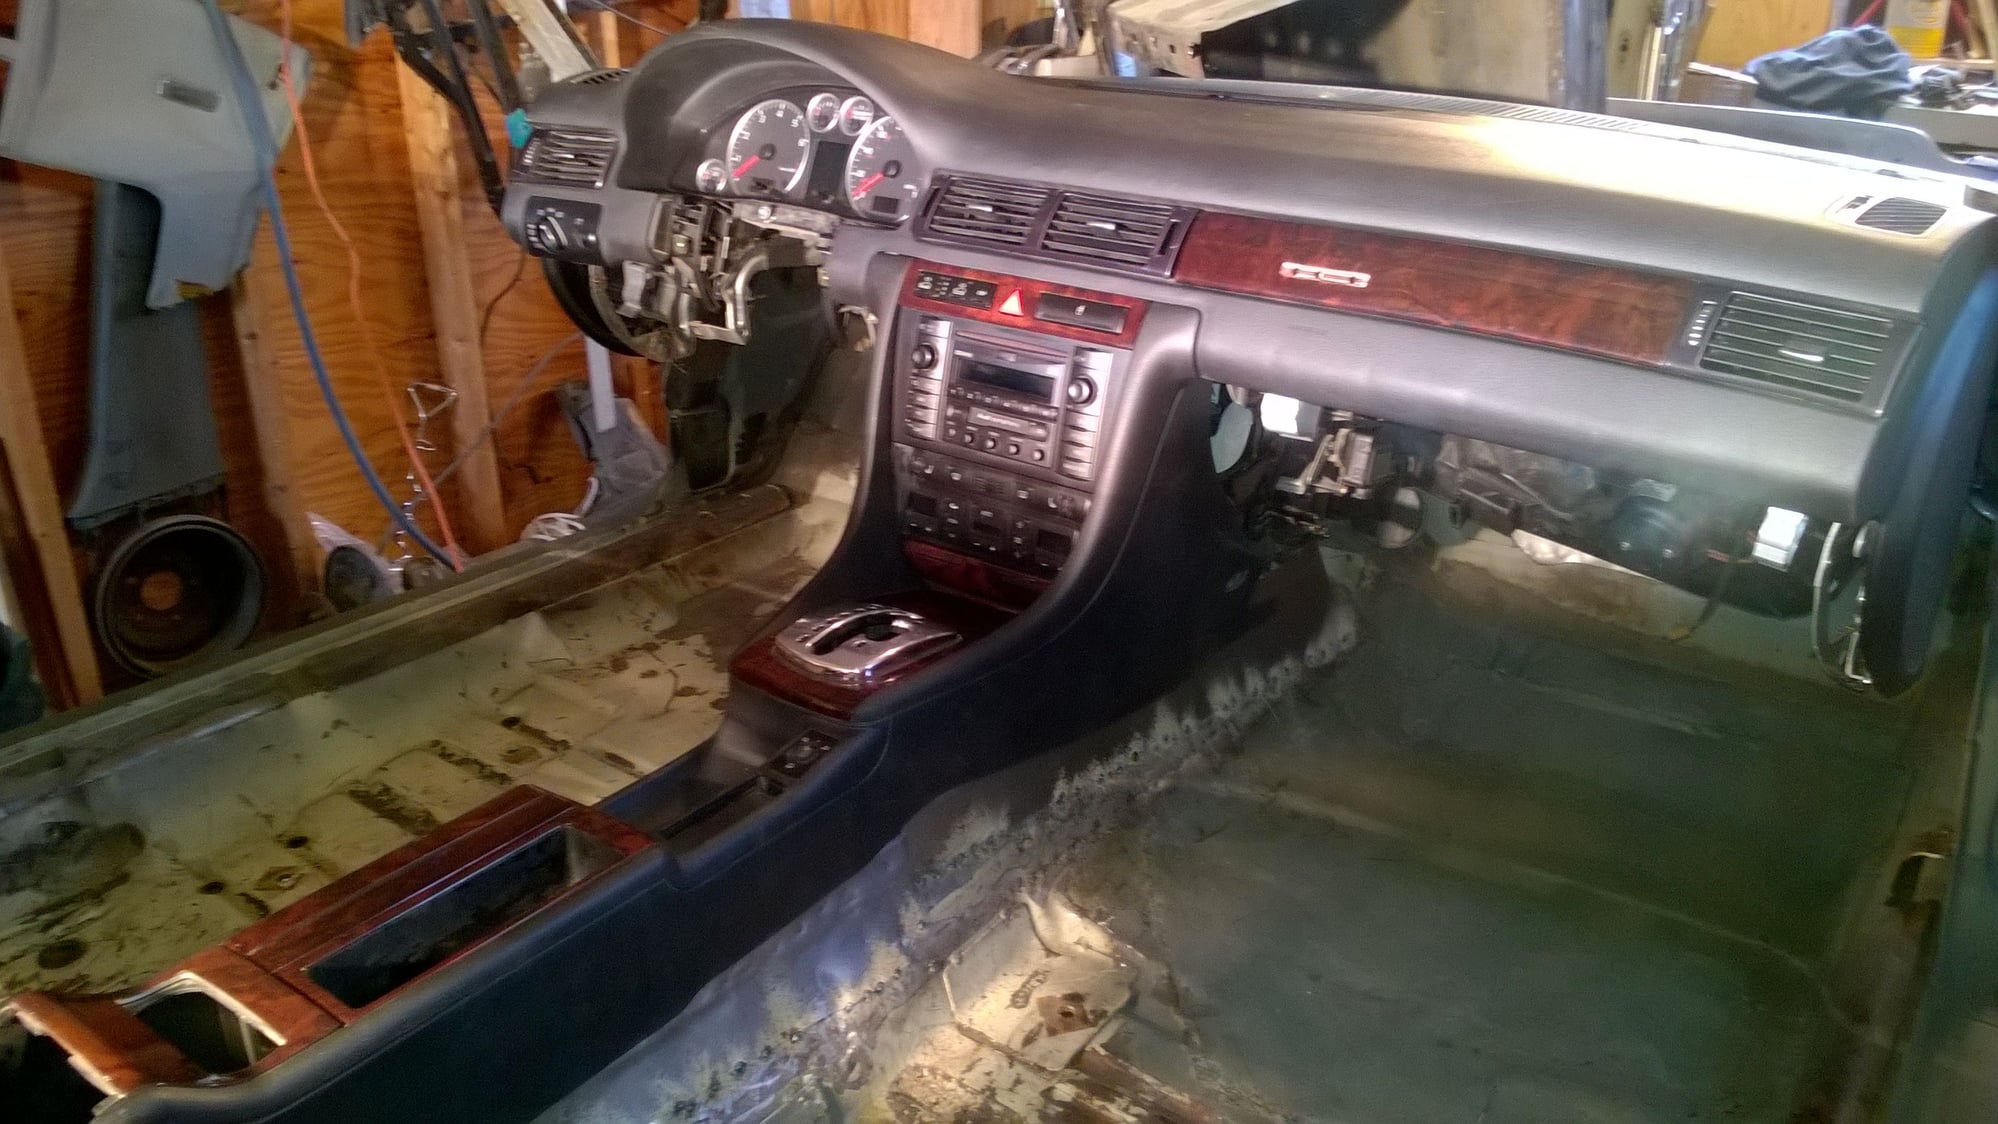
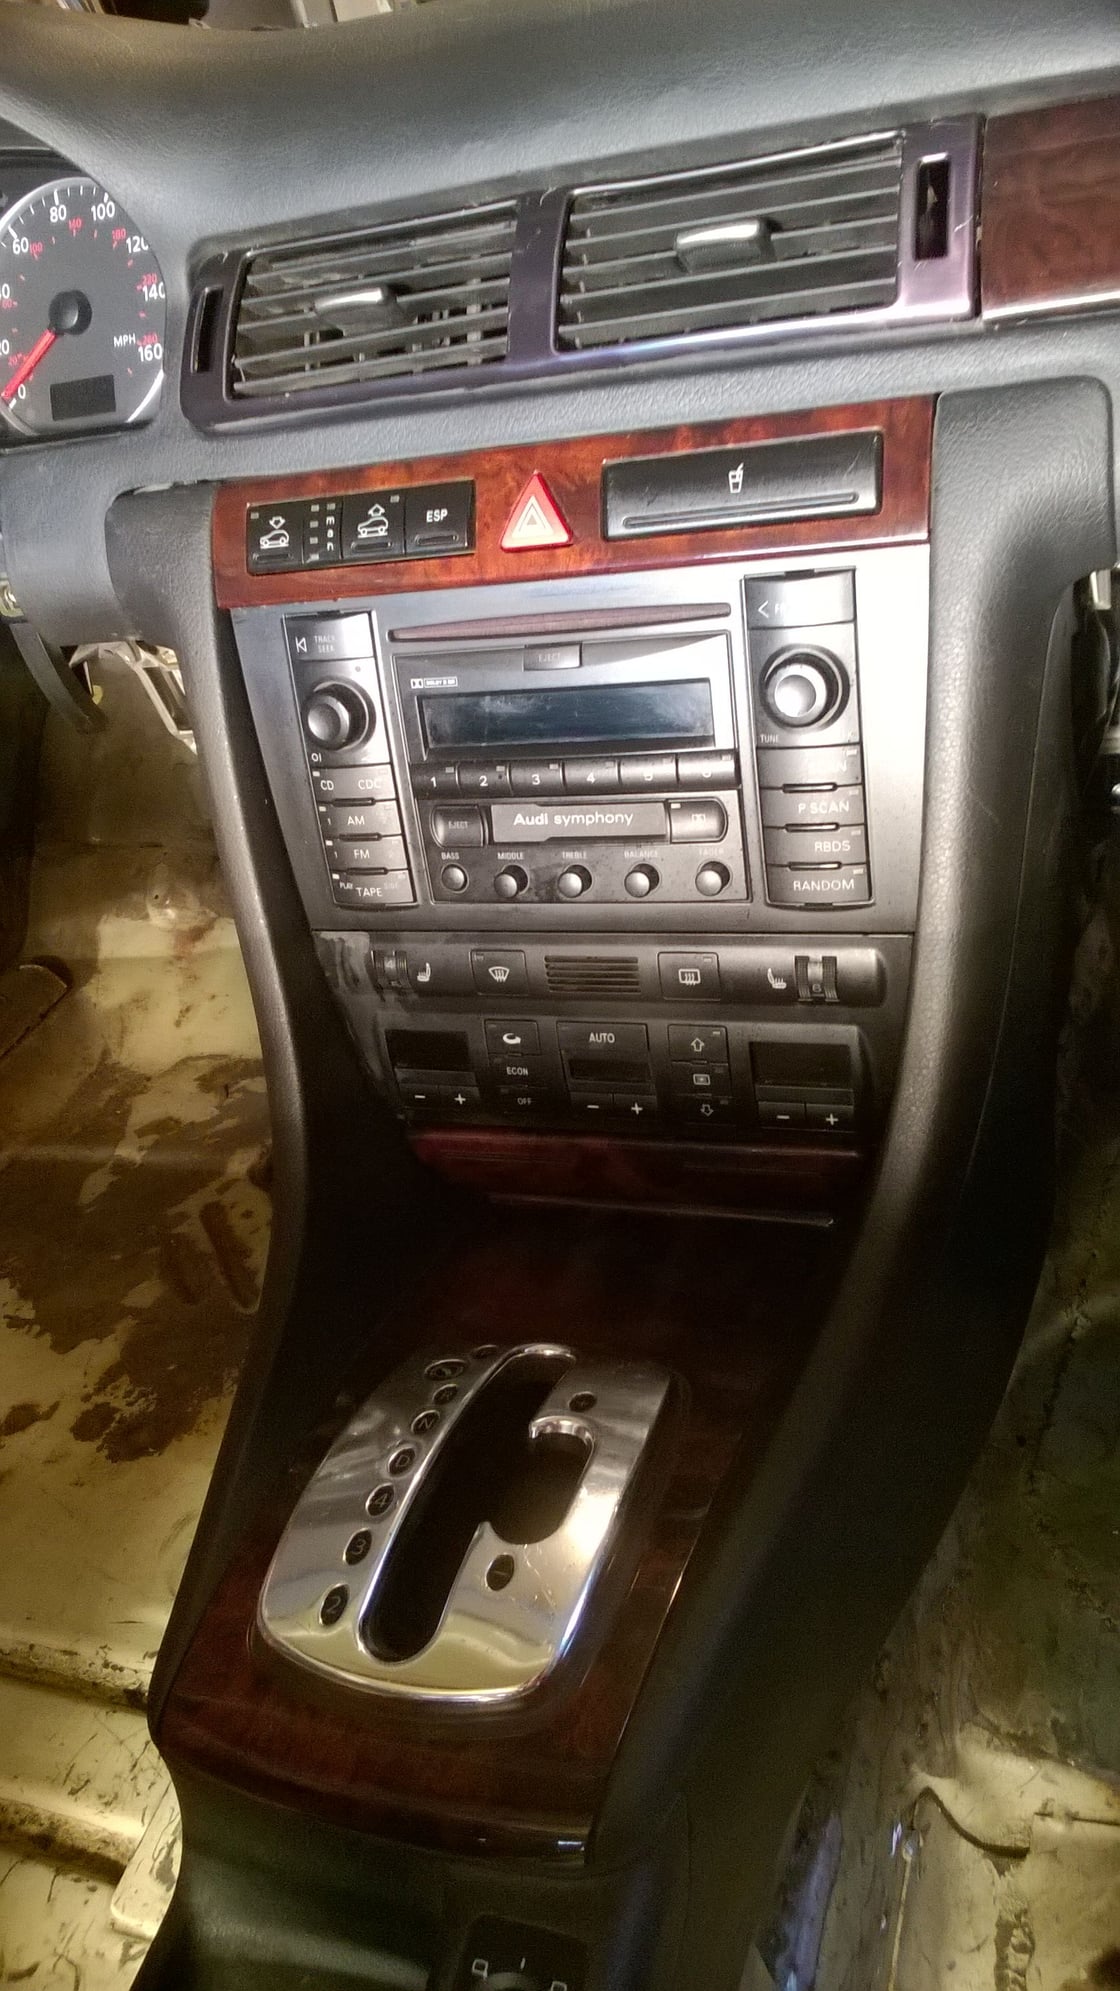
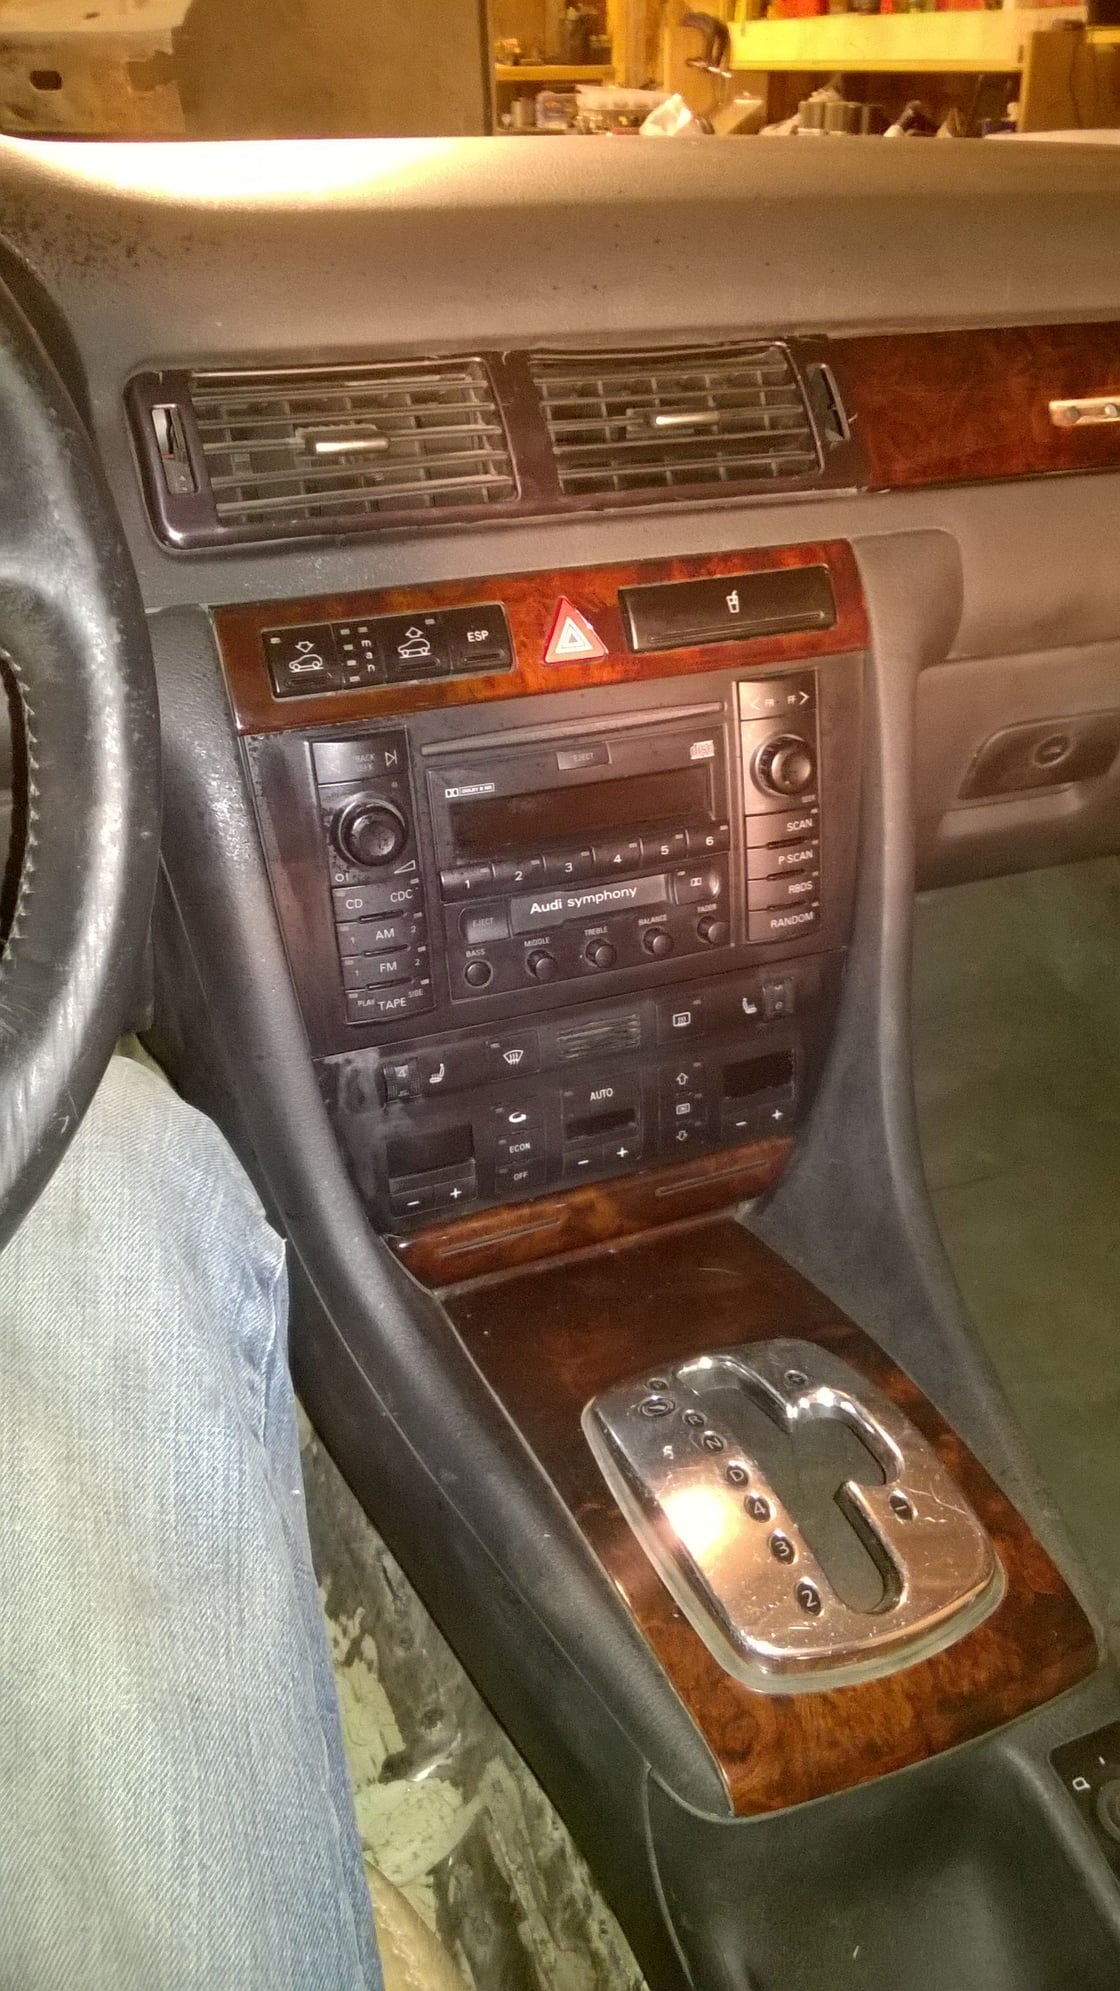
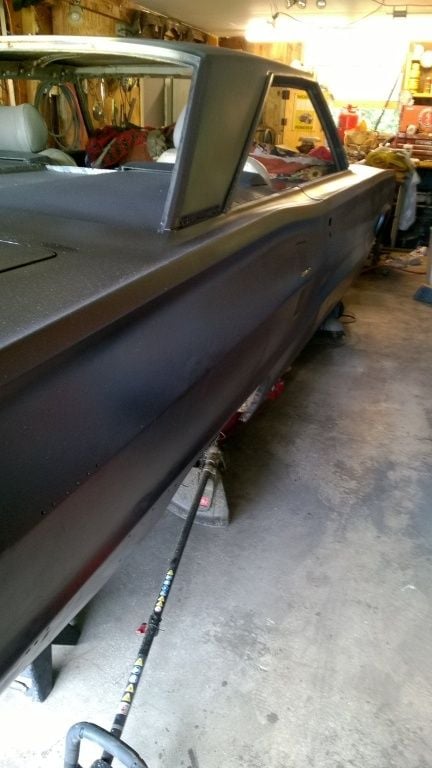
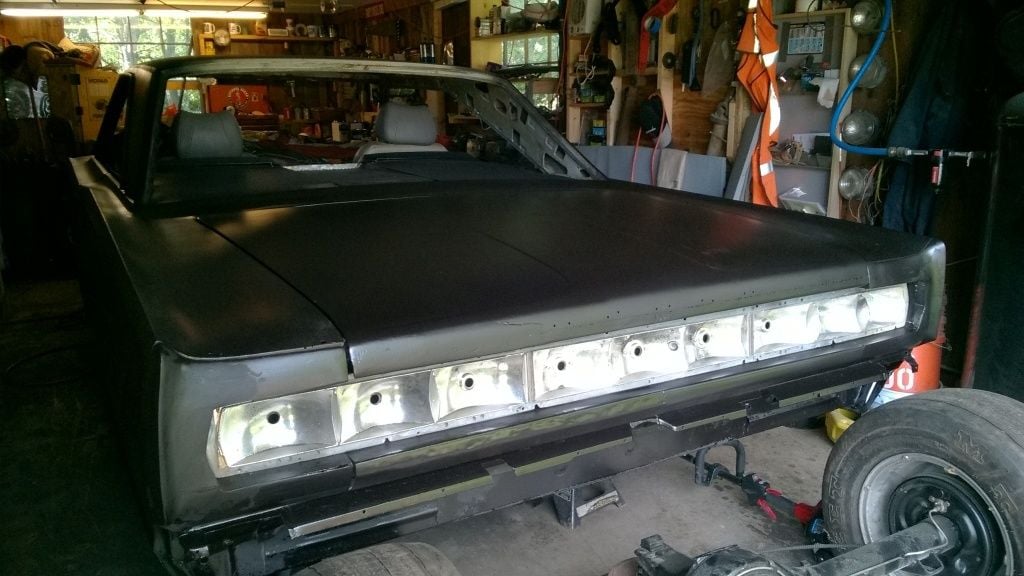
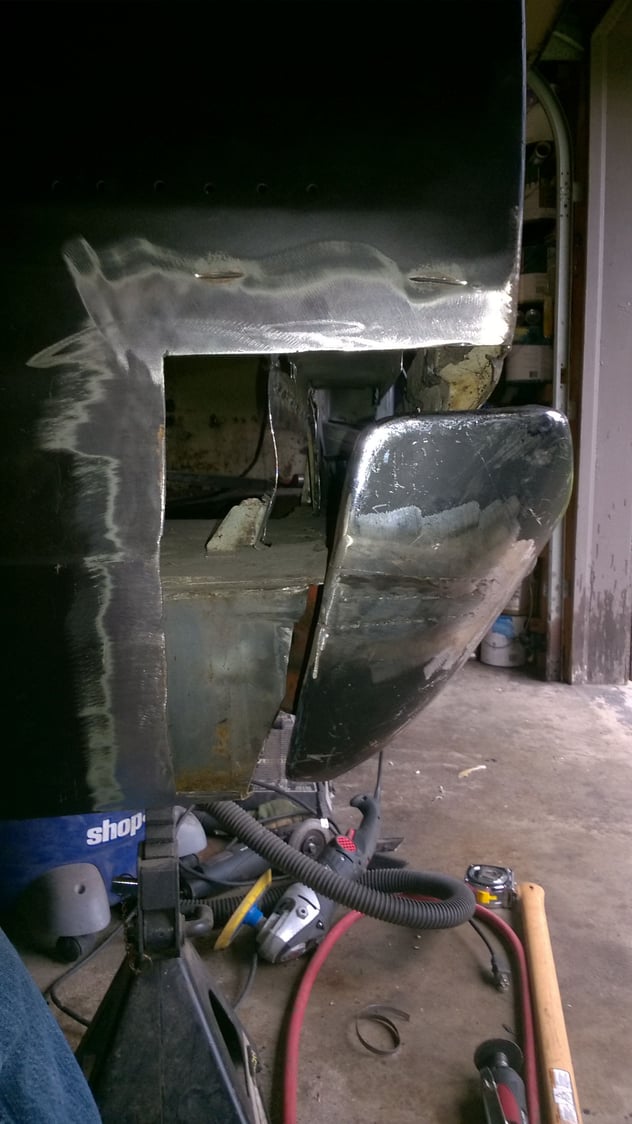
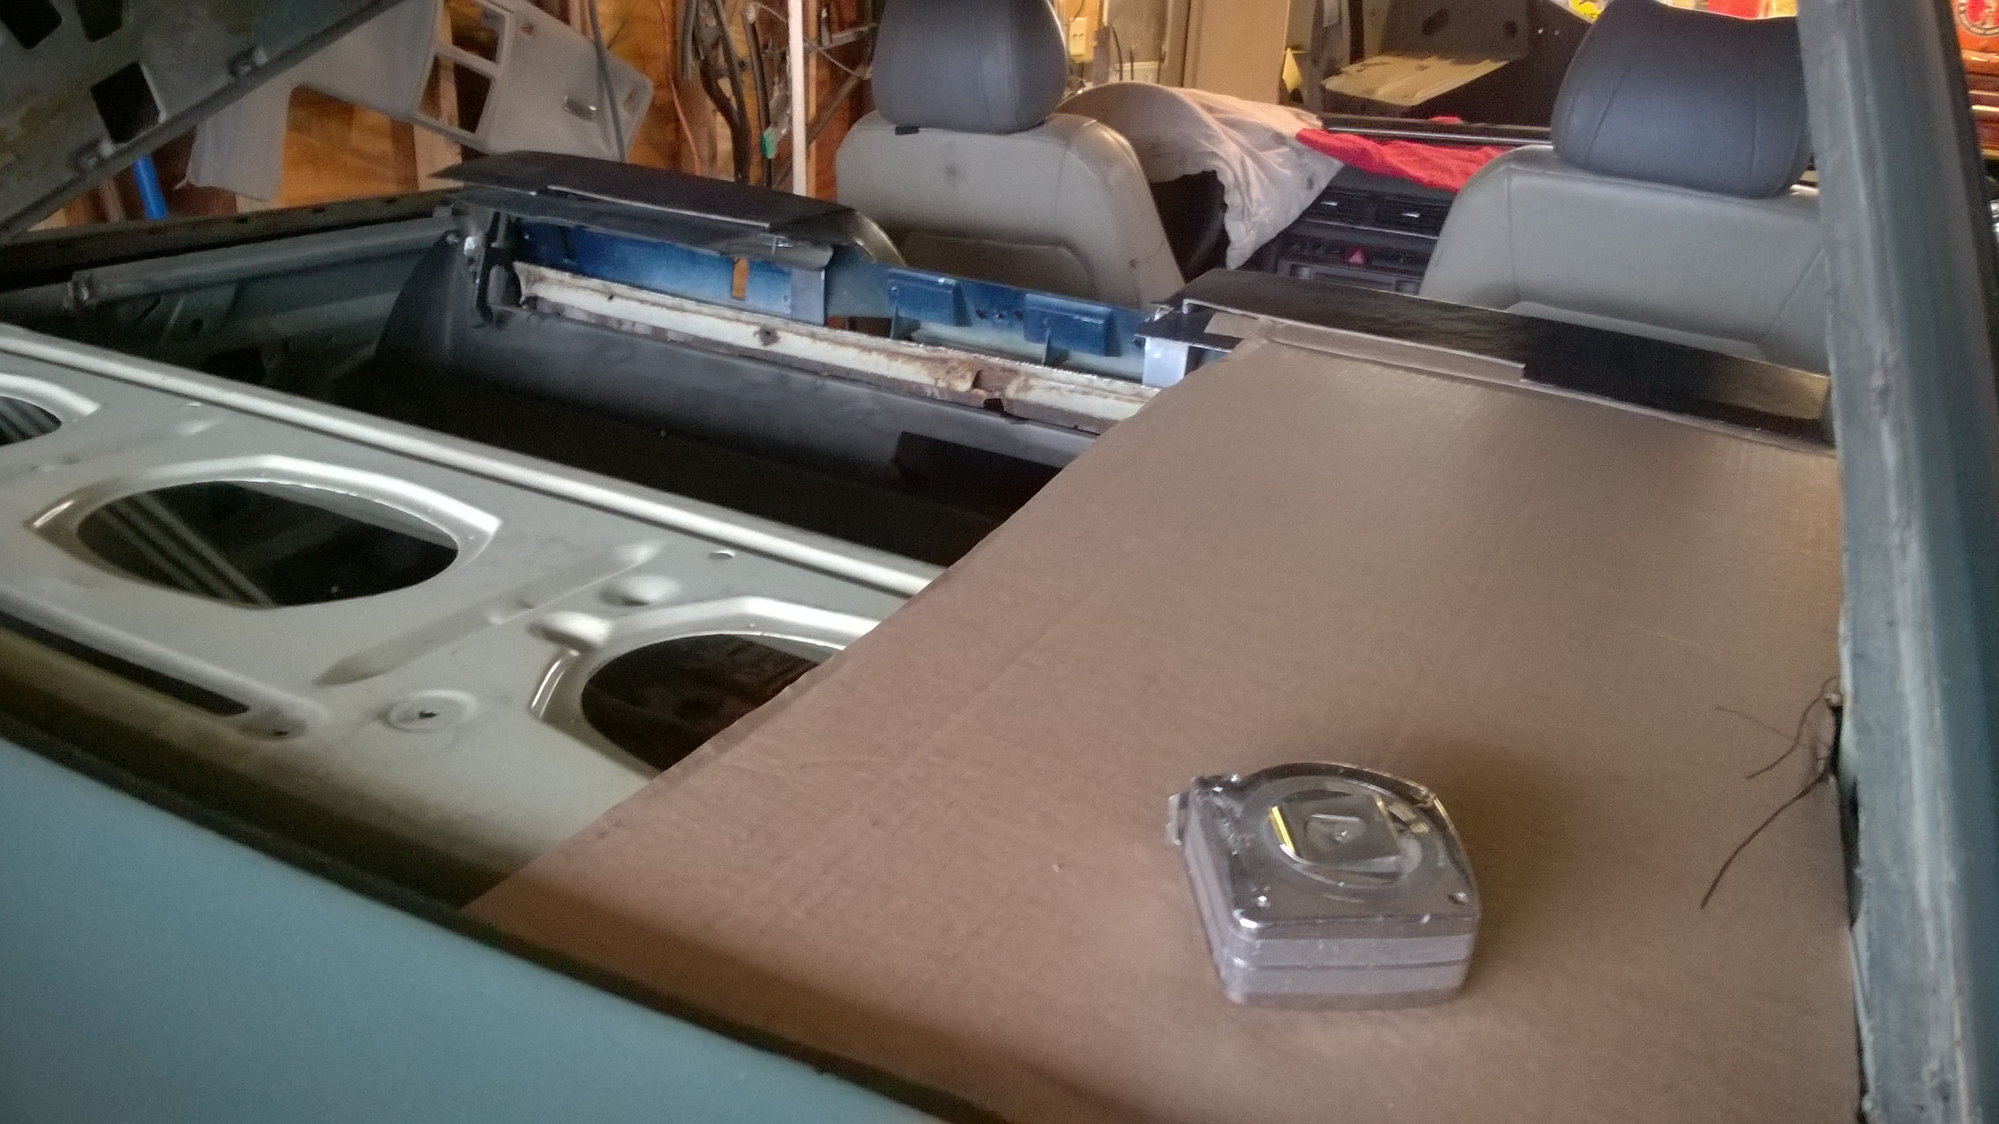
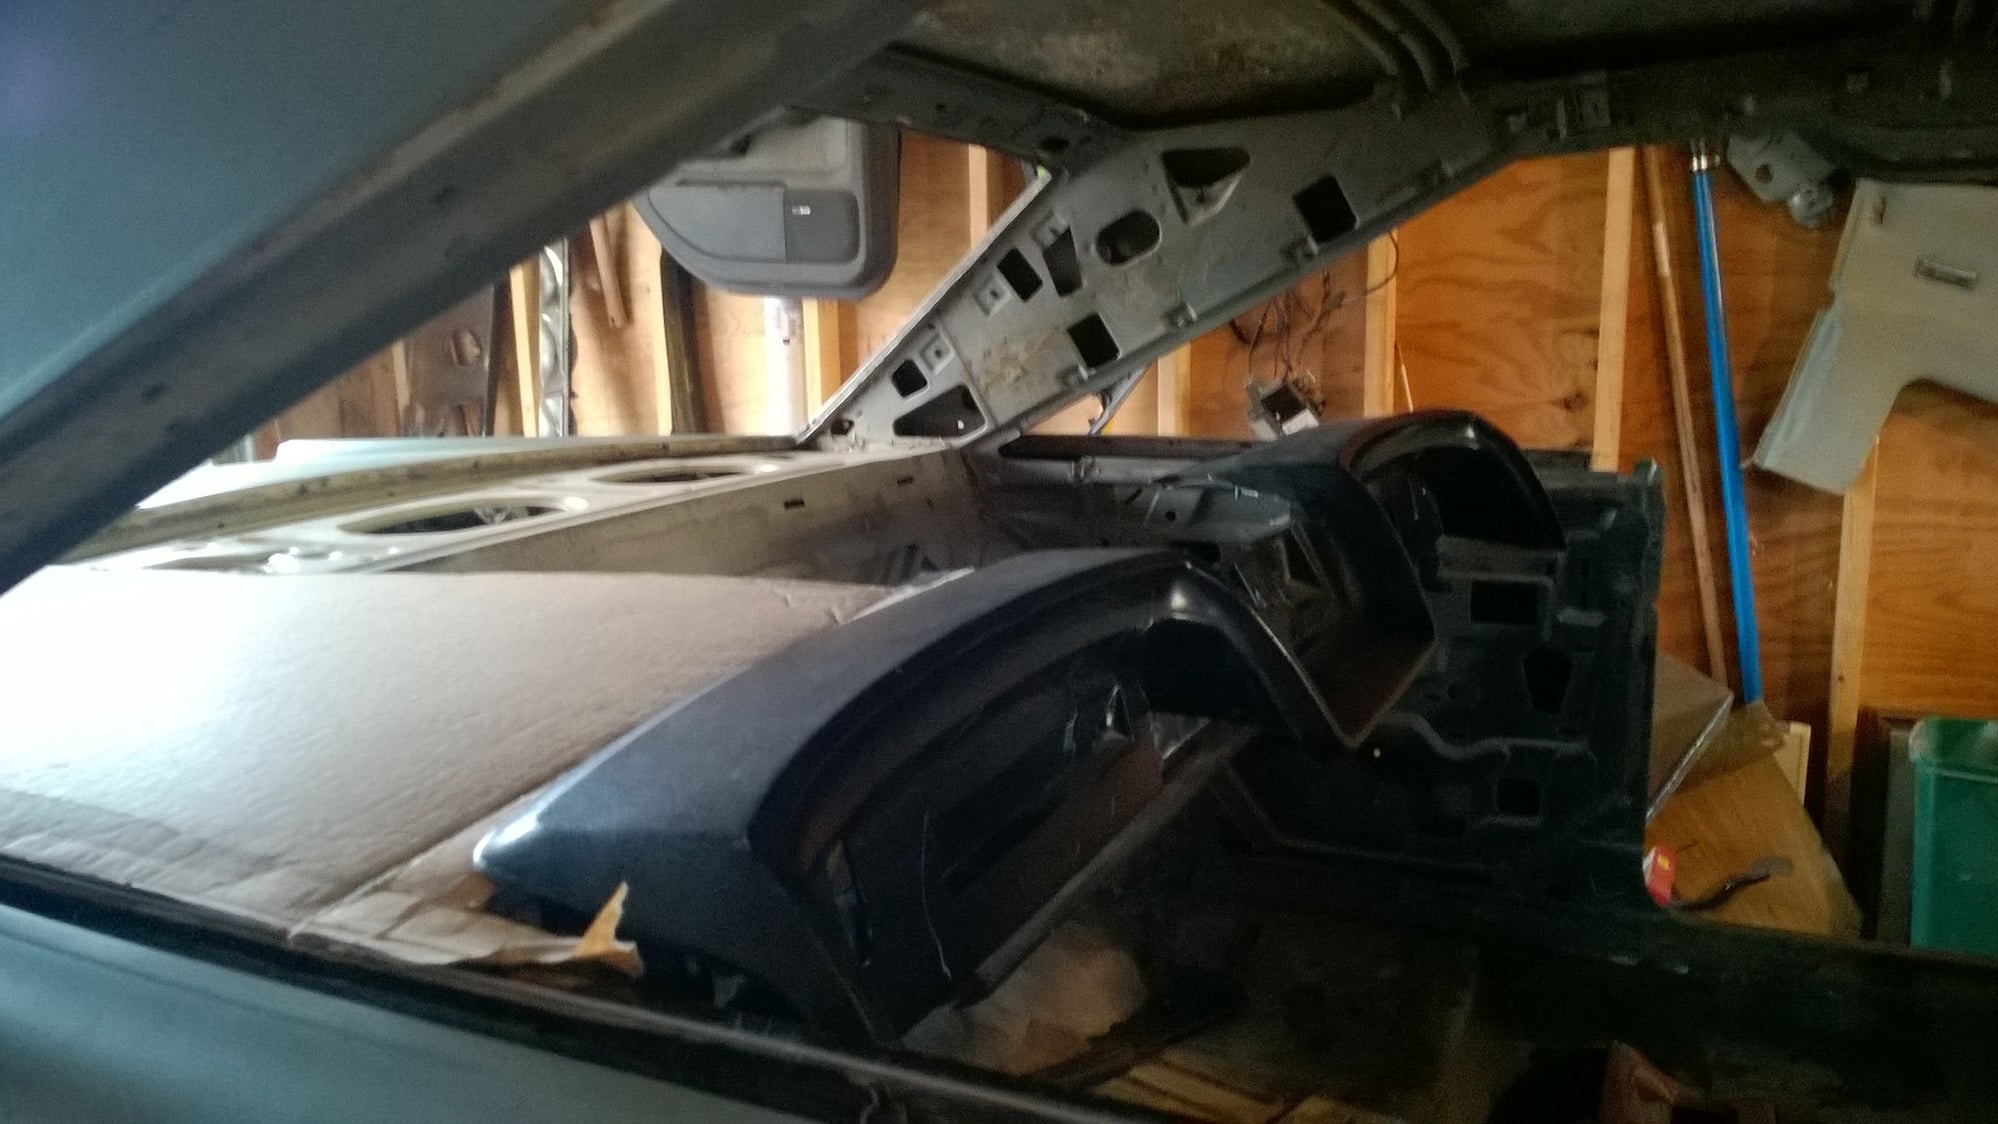
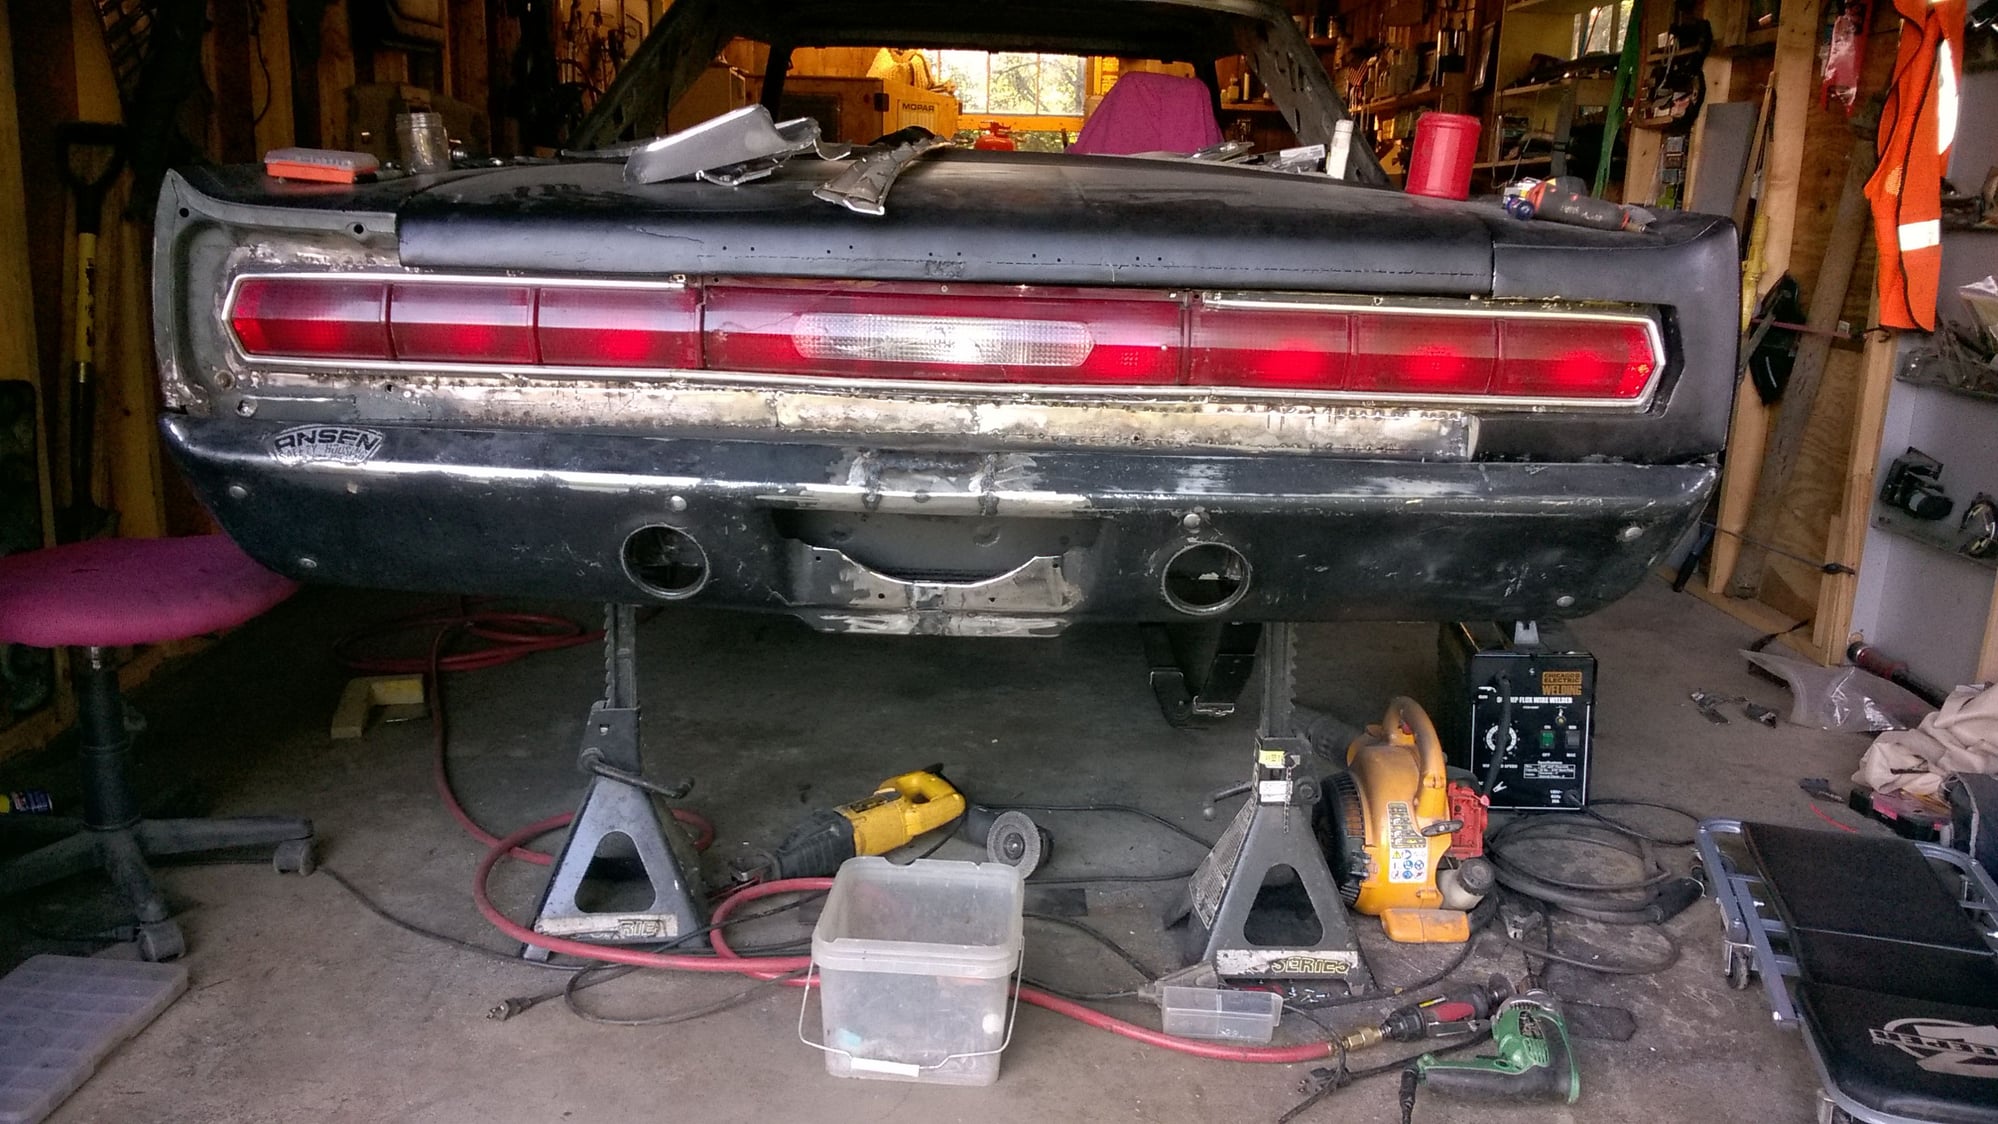
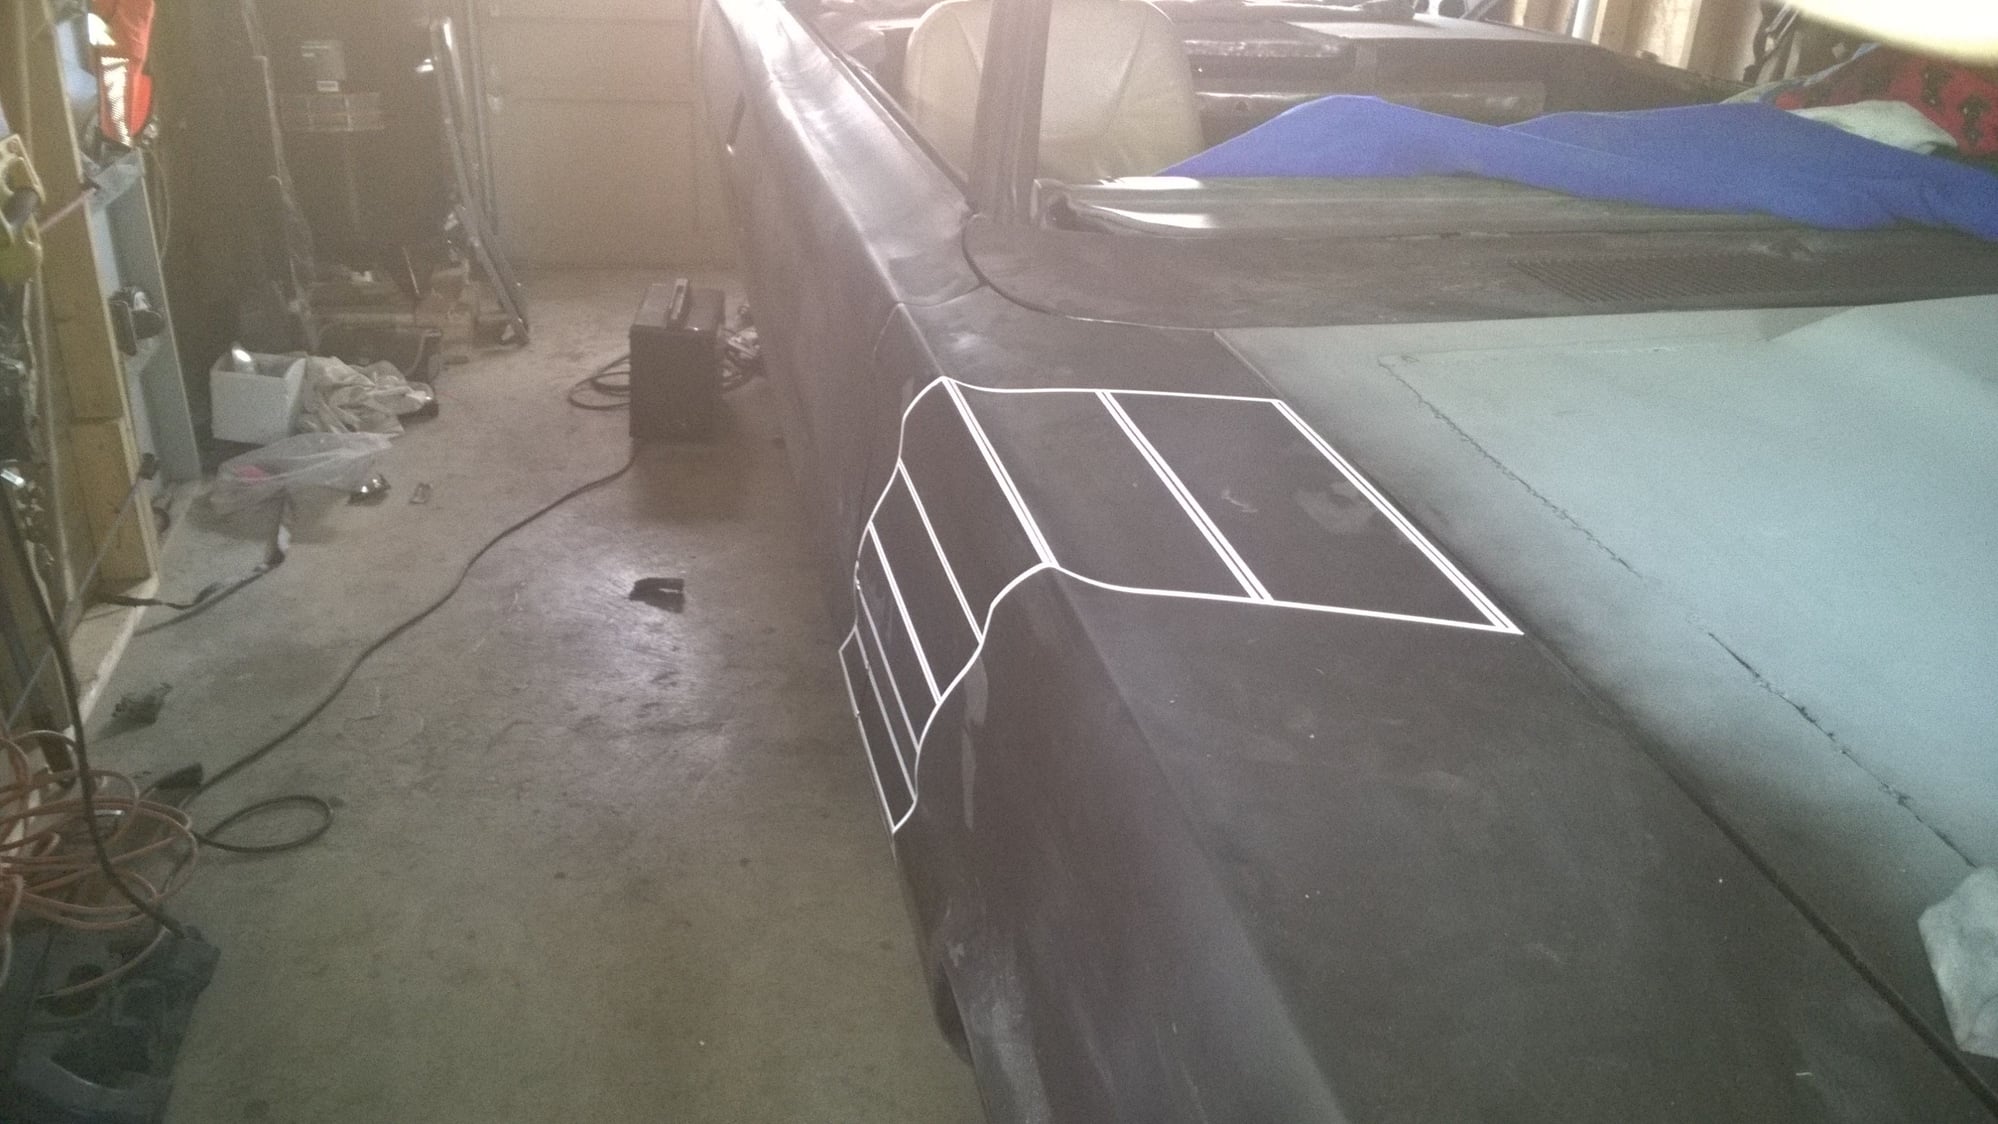
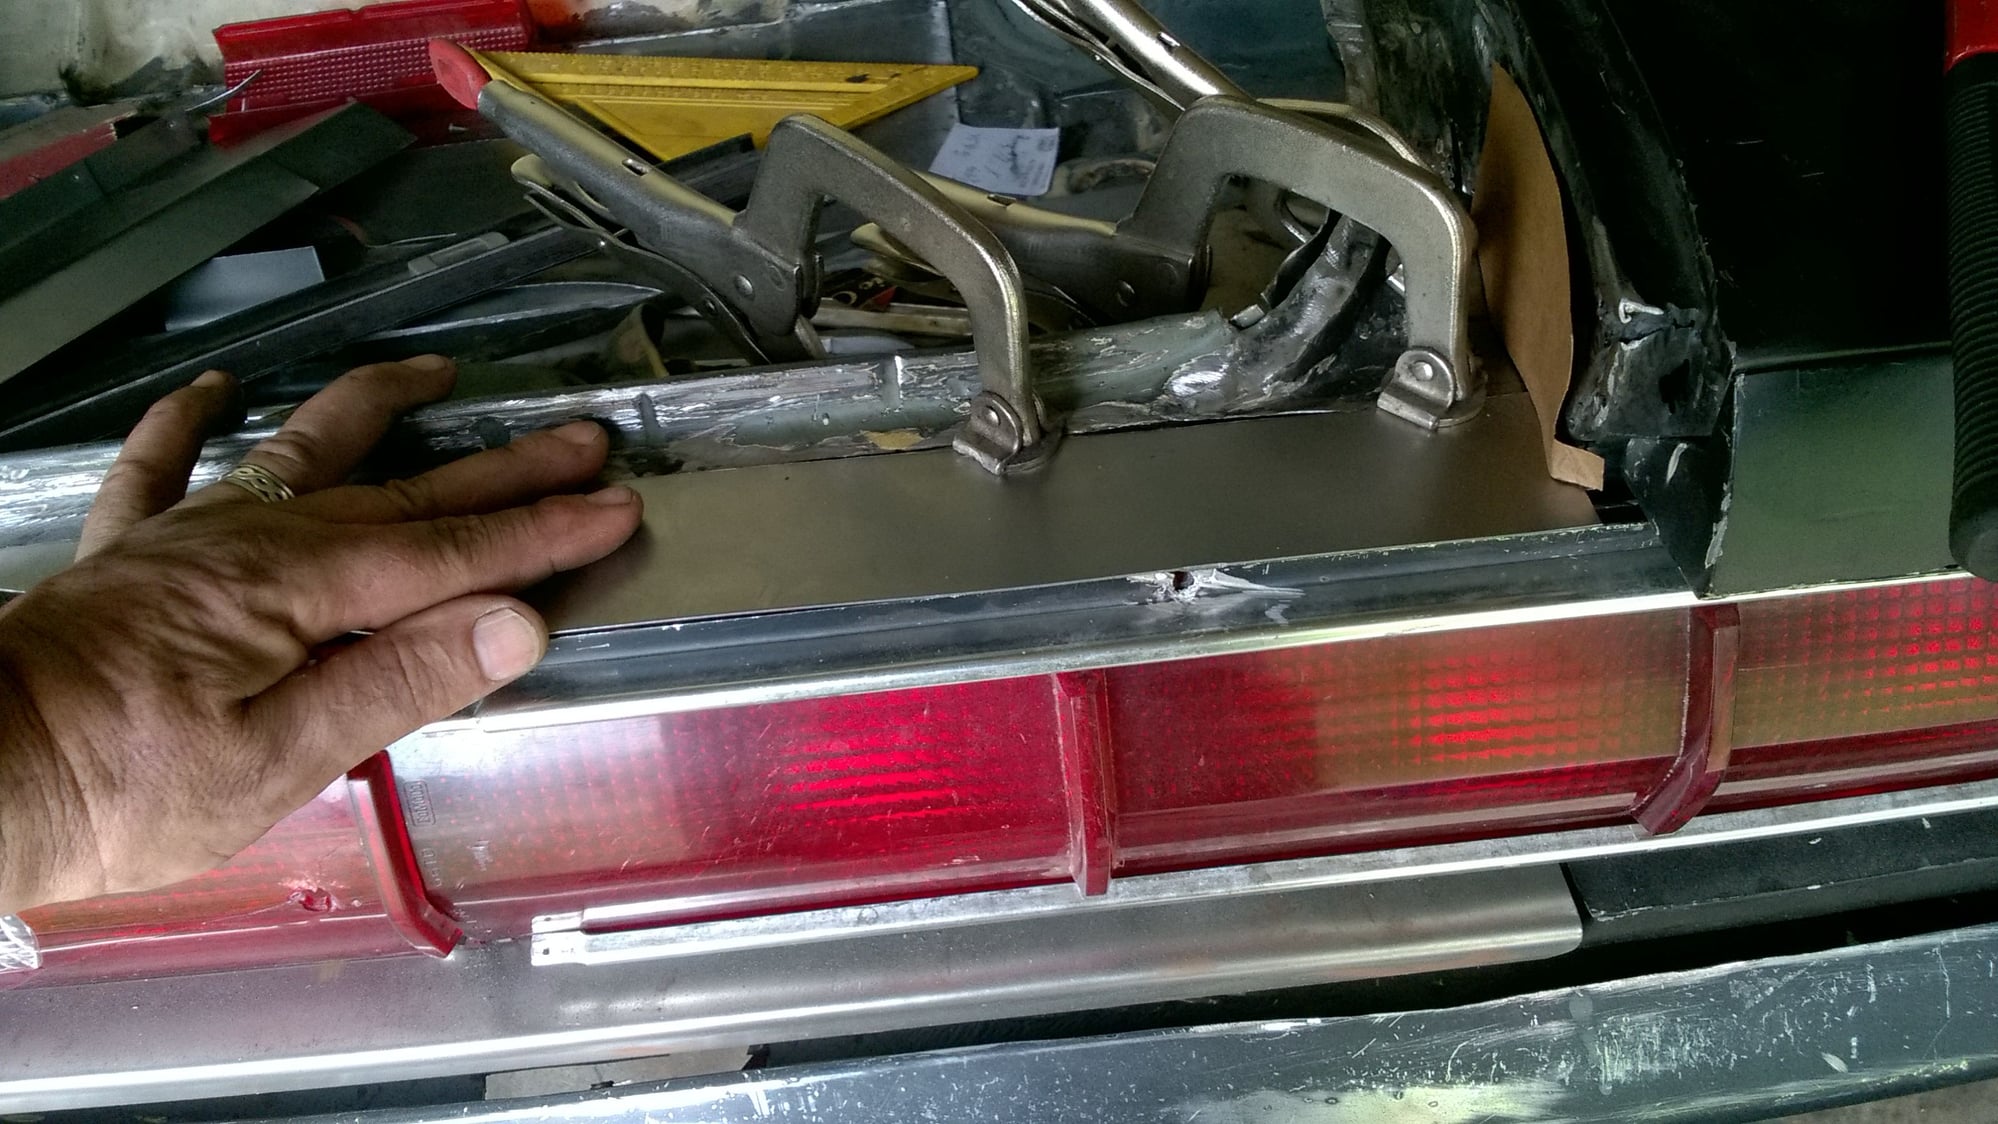
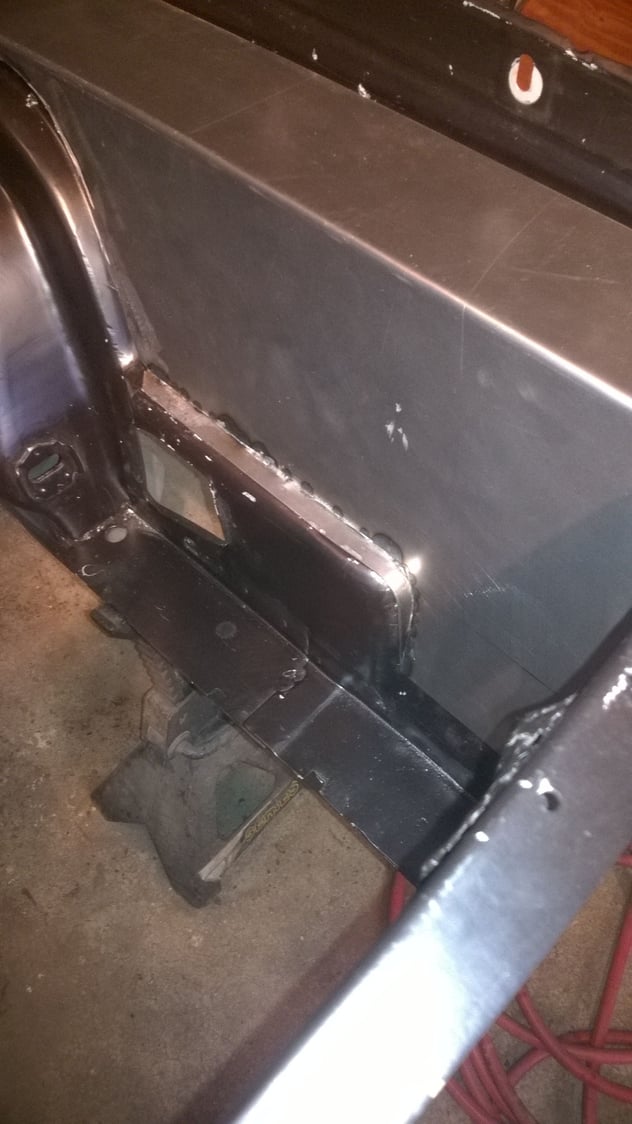
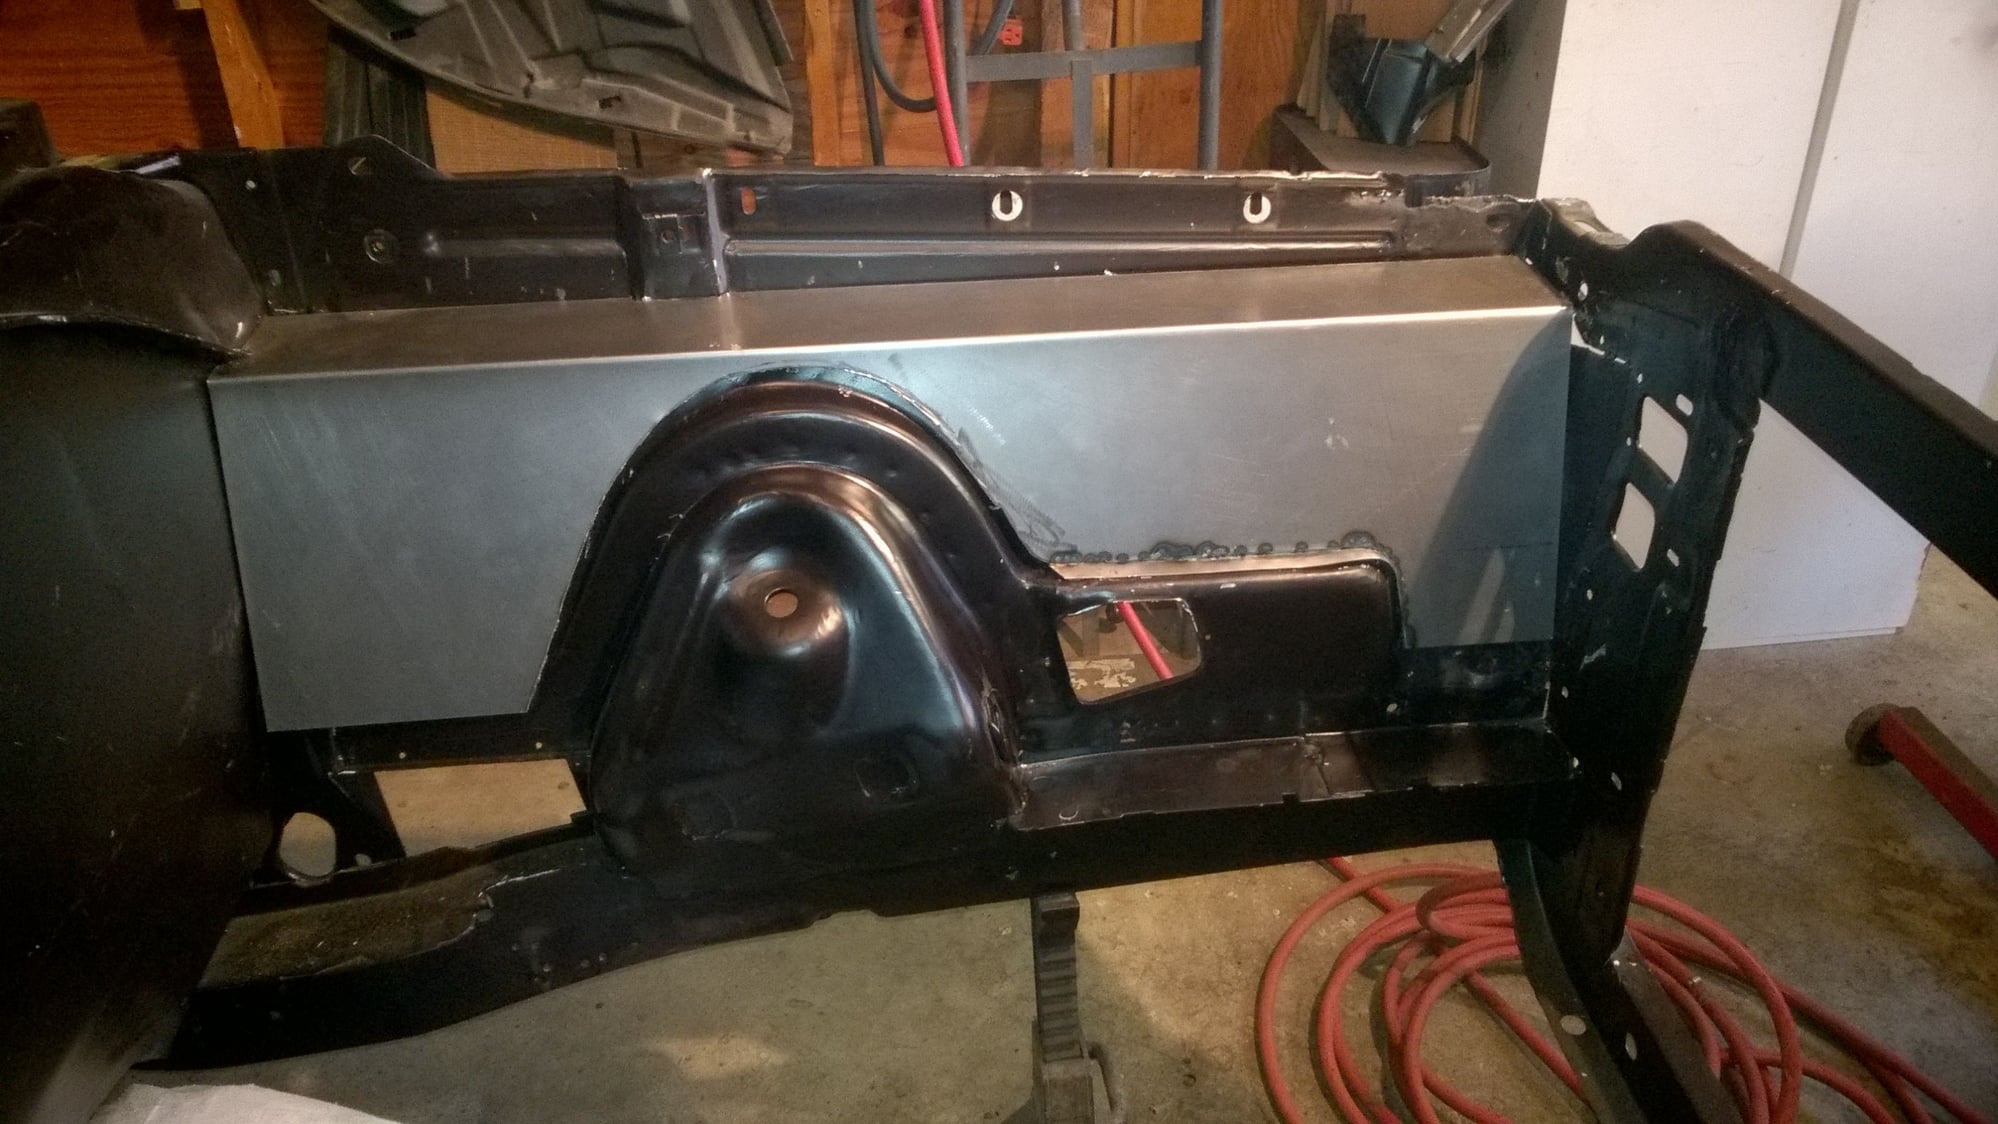
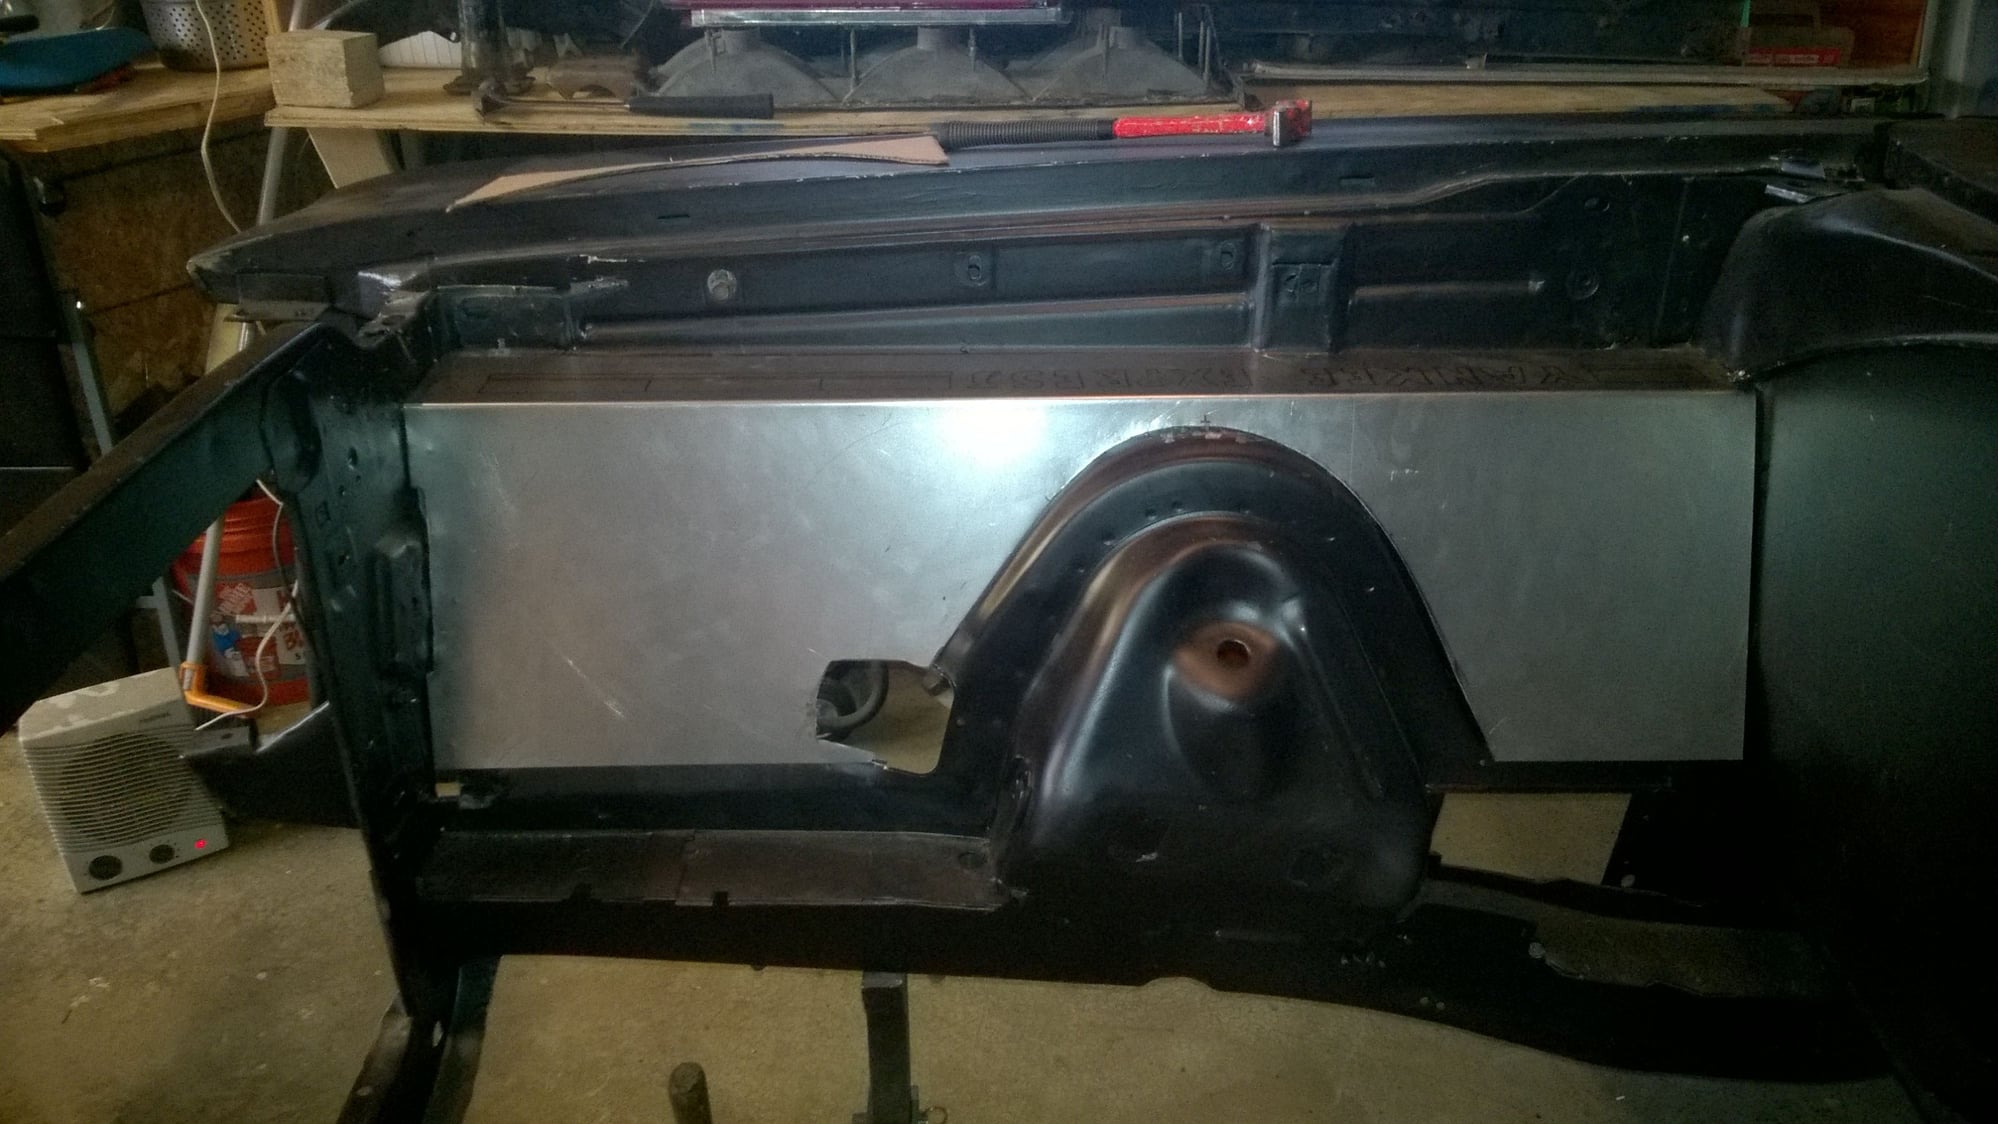
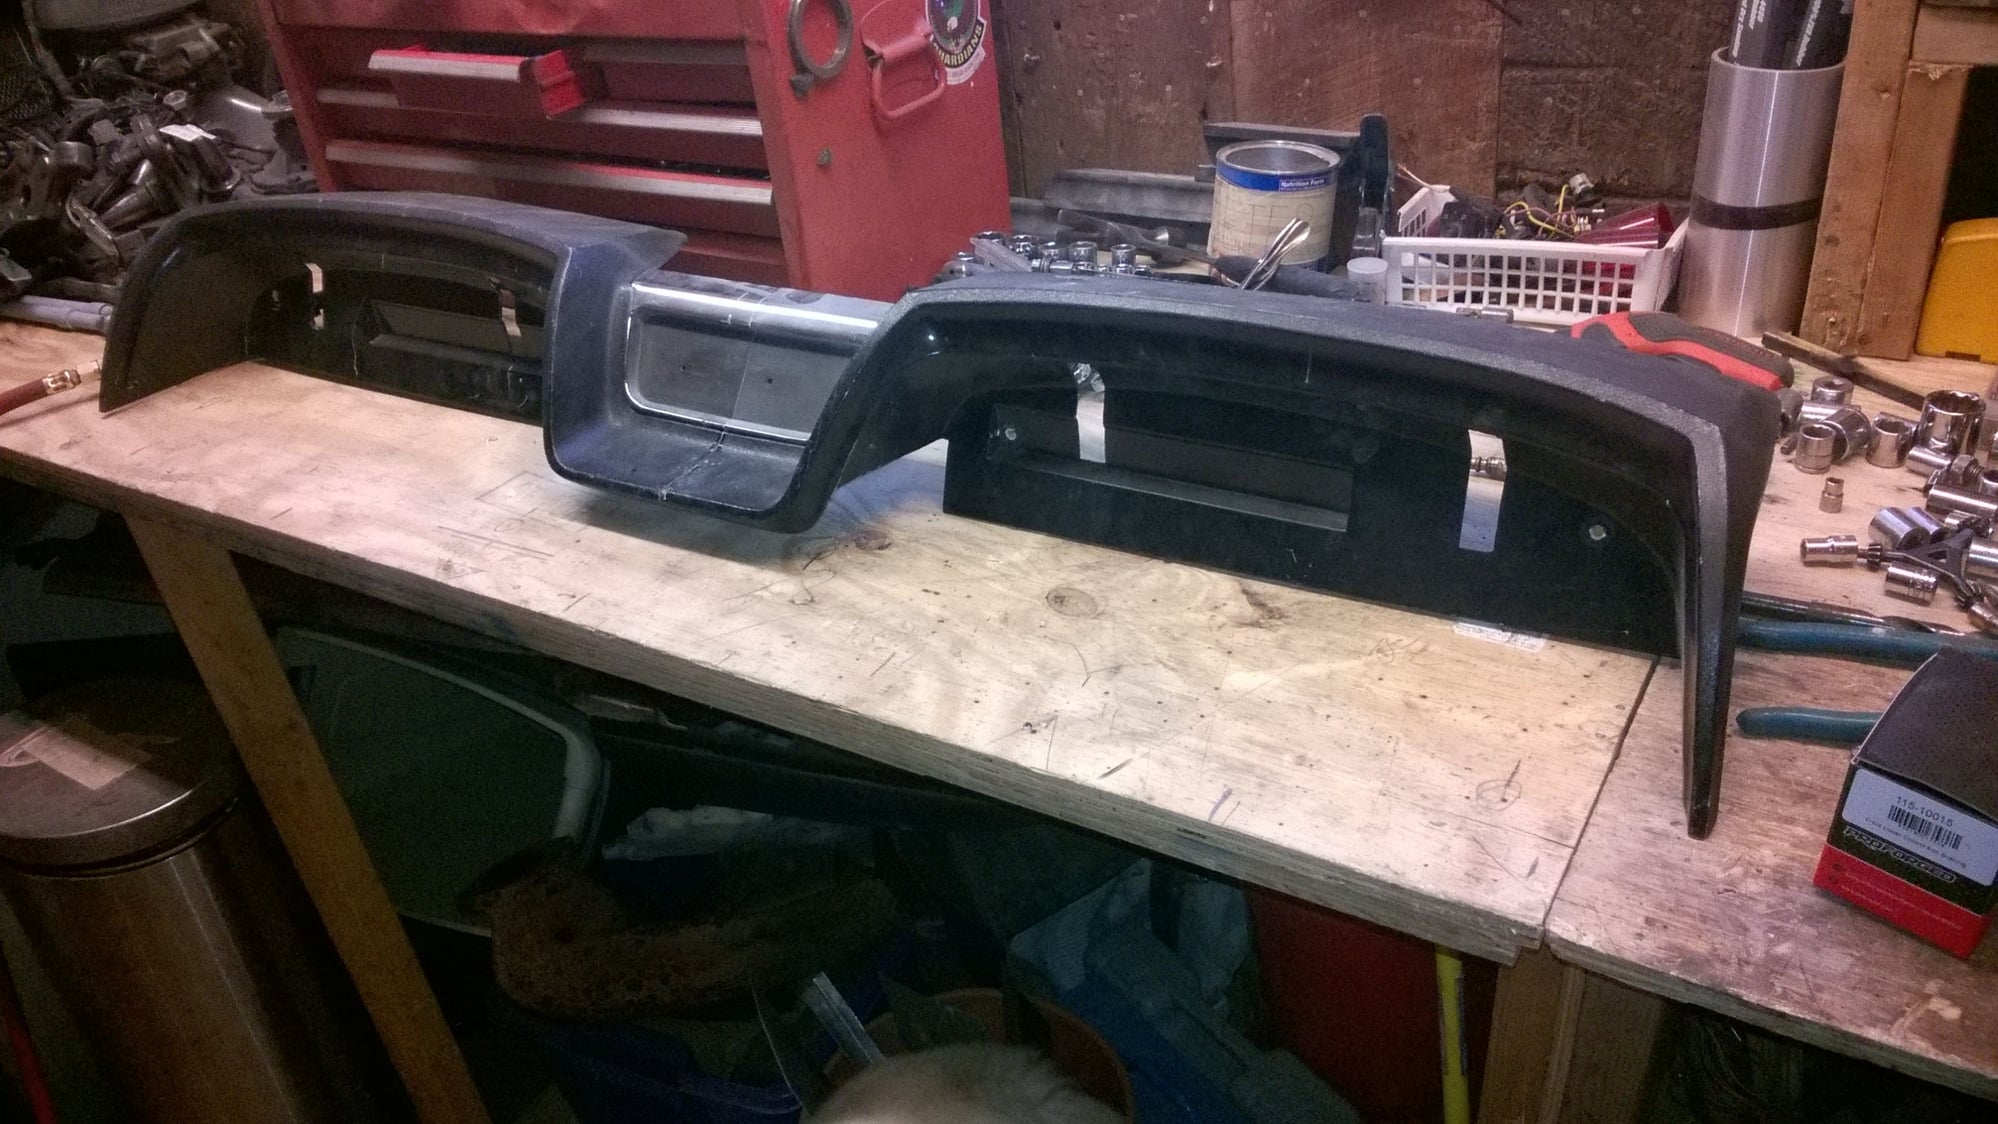
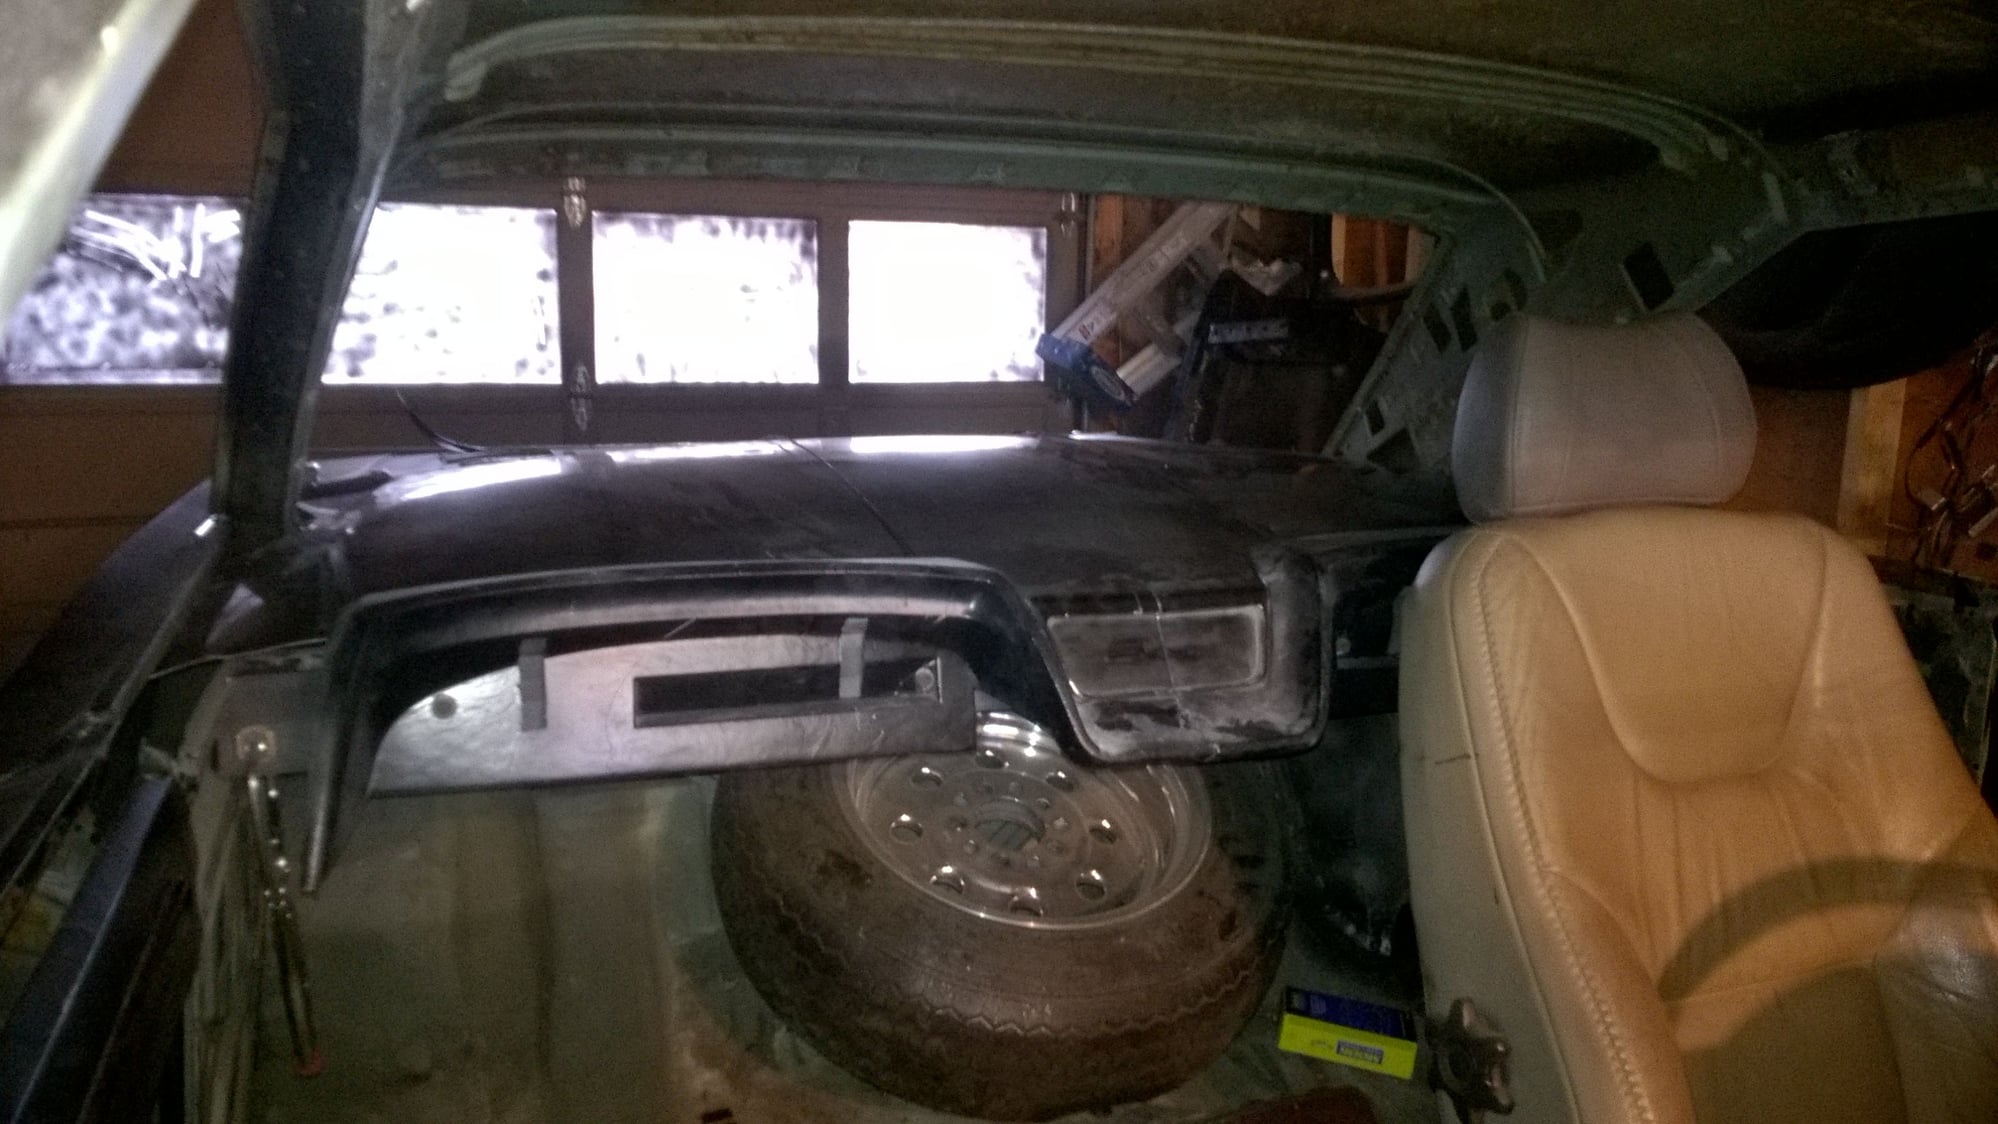
Thanks. I guess I will have to visit the wrecking yard and pull a complete harness and ecu. The car (The Yankee Express) is a 1967 Dodge Coronet 500. There are many modifications done to it including the Audi parts. As it happens the Audi dash was the only one I could find that was the right length and shape to fit the car! And I liked how it looked. I have had to fabricate a bunch of stuff along the way but it's been interesting. For example; The entire rear face of the car has been reengineered to accept 1966 Thunderbird tail lights and a 1970 Plymouth Road Runner rear bumper. The bumper ends have been reshaped to hug the quarters and the front fenders. The front bumper has been sectioned and reshaped to fit and has a air scoop cut out in the center to feed cool air up to the 524 HP 440 Wedge Big Block V8. The front fender noses have been cut back to 90* with the front face and a 1967 Charger hidden headlight set up and grill resides there. The firewall has been replaced with smooth Sheetmetal and close out pans fitted to the inner fenders. The wiper motor is under the dash and the indention in the firewall removed. Borgeson steering shafts and knuckles through to the neck clamp of the Audi steering wheel. The Audi dash aluminum frame is hung from custom mount brackets on either side of the inner door frames under the dash. I trimmed the front windshield edge of the dash back by 4 inches or so to just ahead of the vent in the center. I shaped the curvature to match the Coronet windshield. I have the complete dash and all components and the console in there. That required some fabrication as well for shifting linkages and console support as well as E-brake handle assembly mounting. The Symphony stereo and the climate control are complex. A/C and heat are not going to be used however. I modified the Hurst floor shift assembly and built custom shift linkages that are longer since the dash sits out about 16 inches into the cabin more so than the original dash. That also changed the position of the bucket seats. 2006 Volvo XC 90 10 way power/ heated leather bucket seats. Since that was the case, that they had to be moved rearward so far I got a 1967 Plymouth Sport Fury rear seat topper and built a steel mount for it to sit behind the front buckets like a 1959 Corvette. Built a roadster panel with a trough in the center that extends all the way across the cabin and back to the rear glass. Will cover it in vinyl. The Audi door panels got deconstructed and I used the armrests and the faux wood panels and backing along with power locks, window switches and handles, and speakers. Fabricated all else. Also installed the rear facing red jamb lights and downward facing puddle lights in the jambs. Spare tires and battery under the roadster panel. The side faux scoops on the quarters are cut out and ramped in. The gas filler door is gone, shaved, and a pop - up cap and filler resides on top of the left quarter next to the front of the rear deck. The spare tire well was cut from the trunk floor and it was smoothed out. A 16 galloon fuel cell rests there. The rear deck is on gas lifts. wheel wells are tubbed out for 15" wide rear shoes. A spring relocation package from Mancini Racing was applied. Frame connectors and torque boxes applied. new shocks all around. Front disc brake conversion done. M/T ET Streets all around. All new rear brakes and wheel cylinders. New lines for brake and gas. Parking brake cable on the left replaced with a right to bring them both into the center for the center pull handle. The engine is a 1973 440 wedge BB with 346 heads fully ported and polished. .030 over on the cylinders and stock forged steel crank with HP aluminum rear seal, Compo Cam & lifters, TRW flat tops and 6 pack rods. New mains and cams. dual valve springs and 10* titanium locks. Factory hardened seats. 6 Pack pushrods. M1 MOPAR single plane intake with a Holly dual feed 750CFM. Hooker headers to 3" exhaust all the way. Dynomax muffs. The exhaust runs out through the '70 bumper back up light holes. The T Bird lights have a back up provision in the center. It was an A/C car so it has factory tinted glass. The 727 trans I rebuilt with 4 pinion carriers, 4 disc clutches with Red Eagle frictions and Kolene Racing Black steels, 1/4inch thick billet steel apply band strut, 3.8 ratio apply lever, hardened steel input shaft, shift kit drilled into the valve body separator plate and 8 steel ball bearings. 12 springs in rear clutch, deep chrome pan. So, all in all a wicked ride. lol. It's in black primer right now but will be getting a few coats of TCP Global AU single stage Gold Dust Poly and Wet Jet Black with a HotRod flats black roof. Block type accel line across the rear hood and down the front fenders. RO 23 Hemi hood scoop.. Here's some pics from along the way, it's been in the shop 5 years now, first time back on it's own tires and rolling last fall.
Trending Topics
#9
AudiWorld Super User
Got nothing to say on the project. Here is a diagram for a B5 which I'm told is mostly the same and I have used with success on my B6.
http://www.vaglinks.com/Docs/Audi/B5...ingDiagram.pdf
http://www.vaglinks.com/Docs/Audi/B5...ingDiagram.pdf


