When you click on links to various merchants on this site and make a purchase, this can result in this site earning a commission. Affiliate programs and affiliations include, but are not limited to, the eBay Partner Network.
Did you had to take off the door panels or possible to fish through the wire harness.
My package is in the way takes some time to arrive from West coast, and on the other side mother nature is still playing four seasons every week, if you don't know what that means:
minus 15 for a weekend and plus 15 for Wednesday than again minus 15 for the weekend....on and on
I have aftermarket puddle lamps. Not the red light on the door panel. The puddle lamps pop off using a trim removal tool or a small screw driver (butter knives and stuff don't work - I'm speaking from experience). No need to remove any trim or door panel. It took me all of 5 minutes to pop out all four puddle lamps and put the replacements on.
Did you had to take off the door panels or possible to fish through the wire harness.
I just tried fishing the harness in without removing the door panel and its definitely possible. Quite easy too. Instructions below :
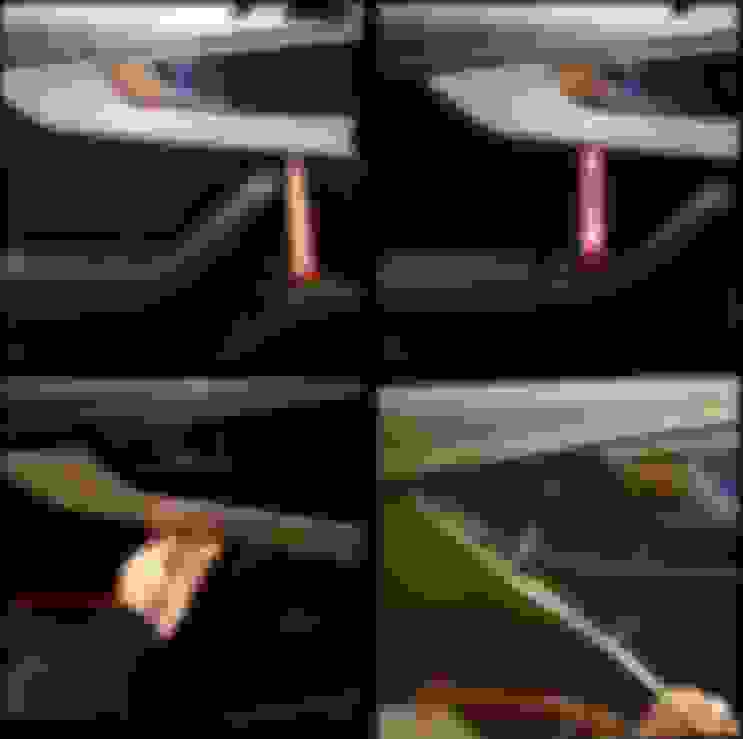
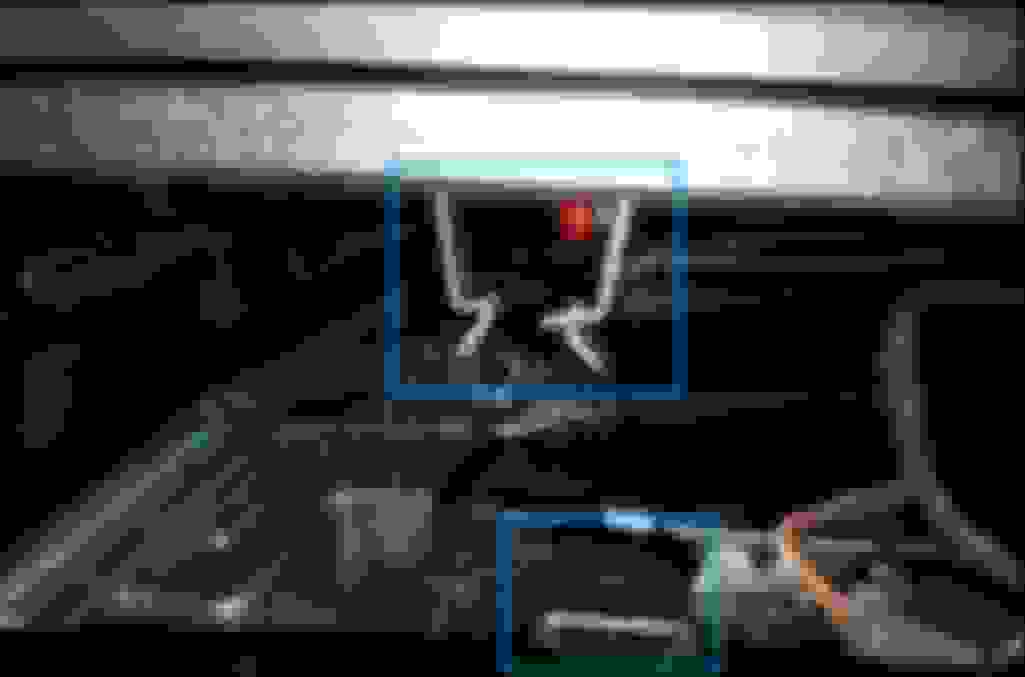
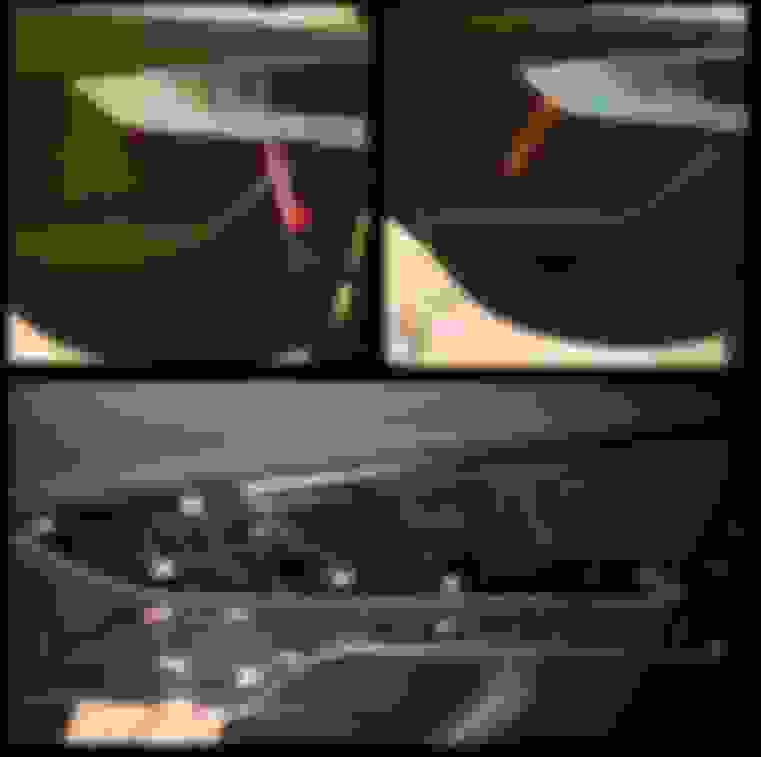
1. Remove the puddle light and the door warning light cap. I suggest using a small screwdriver
2. Remove this single Torx screw under the armrest
3. Stick a trim removal tool in the 3 spots shown (just below the door warning light slot, in the lower left corner, just to the right of the puddle light slot), once you stick the trim removal tool in, this should pop the 3 door clip behind. The door clips are a simple push in style, they disengage/engage by fairly light pressure
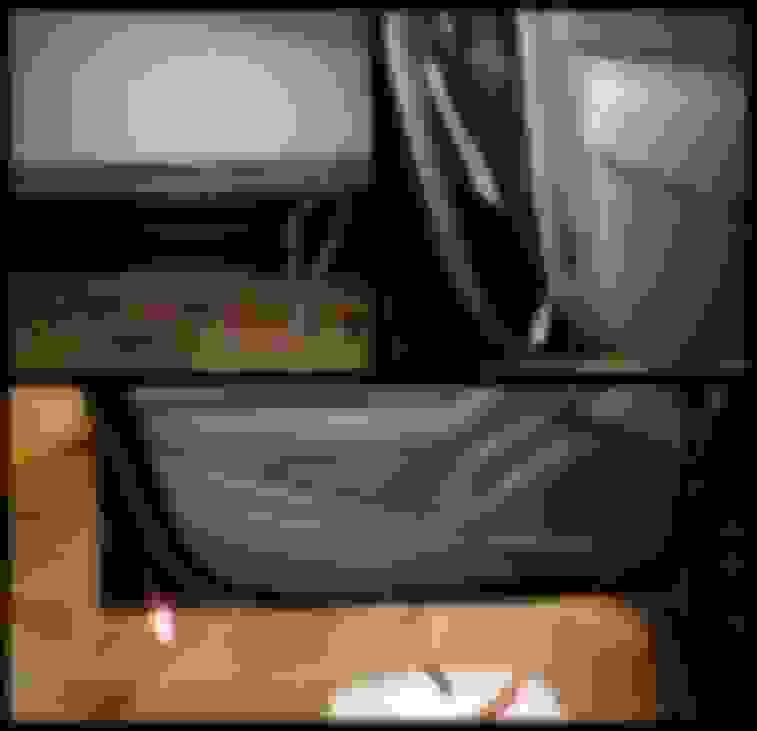
4. You'll see once you popped a few clips, there's a gap between the door panel and the door. This allows you to slide the harness in
5. Simply stuff the wires in then connect the light. The wires are wrapped in cloth tape and should not make any sound so it's fine to stuff them behind the door panel.
6. Apply pressure to the door panel where the clips are (the clips are near where I placed the trim removal tool), you should hear a click sound when you apply pressure.
7. Ensure you put the Torx screw back in
Hope this helps and let me know if you have any questions!
Did you had to take off the door panels or possible to fish through the wire harness.
My package is in the way takes some time to arrive from West coast, and on the other side mother nature is still playing four seasons every week, if you don't know what that means:
minus 15 for a weekend and plus 15 for Wednesday than again minus 15 for the weekend....on and on
I managed without removing the door panel. Granted, I built my own harness, so one end had no connectors on it. But you should still be able to if you use a good nylon fish tape.
I just got my kit yesterday, and used a straightened coat hanger as a fish tape. I did not have to remove anything on the door card. Installed all four lights in about 20 minutes.
I just got my kit yesterday, and used a straightened coat hanger as a fish tape. I did not have to remove anything on the door card. Installed all four lights in about 20 minutes.
So I have installed the red light mods but notices an issue.
The lights (red light and puddle light) will flicker and short out whenever the engine is running. But they act normal whenever ignition is in accessory mode only. This only occurs on my drive side doors. Passenger side doors are not affected.
ECU scan shoes a static shirt on driver side door module.
Anyone else experiencing this issue?
Hey, I've seen similar issue before when I was installing door warning light for my friend's VW. The problem we found was the screw/clips that we used to hold the door panel were touching the wires and broke the insulation of the wire causing a short in the circuit.
Did you install the light by removing the door panel or just fishing the wire in? I would inspect the wire harness and make sure there's no damage on it. If you remove the door panel to install the light, I would take a look at the OEM wiring for your puddle light as well to see if there's any damage on it. It's possible the screw under the armrest is interfering with the wiring.
Also, I would suggest you to do the following to test:
- Disconnect the wire harness and see if the puddle light would flicker on its own (if it flickers without connecting the harness, inspect the wiring for your puddle light from the door module to the light)
- Swap the wire harness from your passenger door to your driver door and see if you can replicate the problem.
- Swap the door warning light from the passenger door and see if you can replicate
If it's the light or the wiring harness that has the problem, please let me know and I can send you a new one
Sounds good. I will do some trial and error to see if I can track the source of the issue. It seems unusual that it only occurs with the engine running
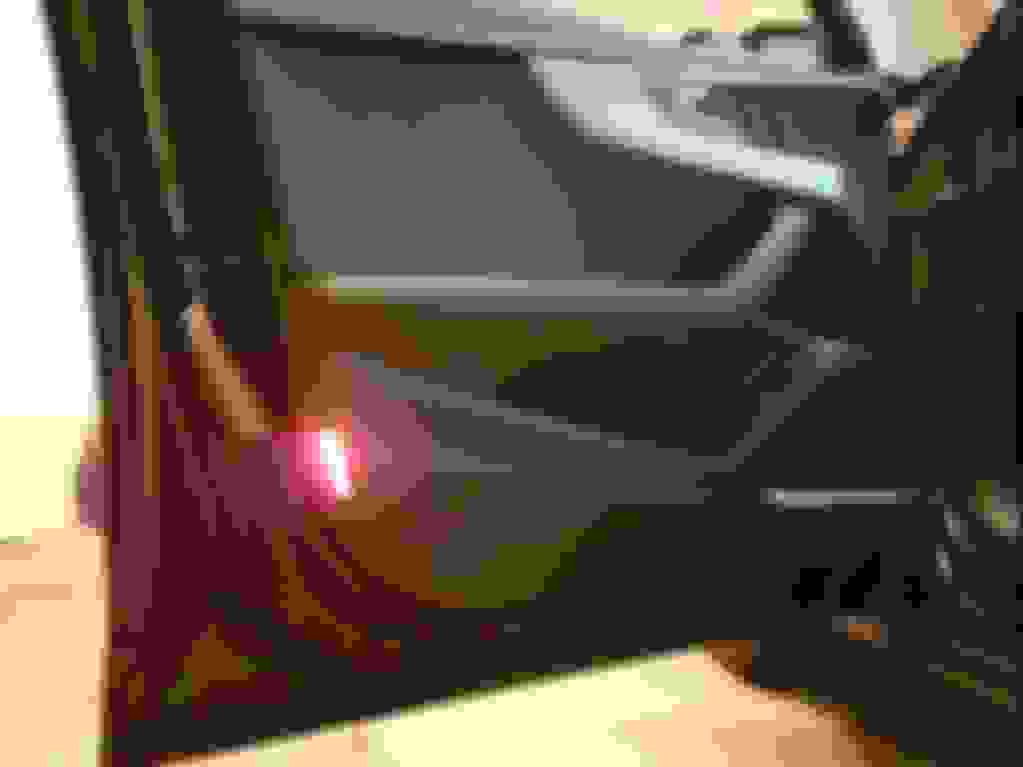
When I first got my B9, I was quite surprised to find that Audi decided to skip the active door red warning lights for this generation. Instead of a red light that gets illuminated when the door is opened, the new B9 now comes with a red reflector instead.
A while back, I decided to add the red warning lights back in. This involved some wiring work as the harness to connect the red warning light does not exist in the B9. I was able to source a plug and play harness for the door warning light. This DIY will show you how you can add the warning light back using this plug and play harness. Again, proceed at your own risk
The idea of this harness is simple. The red warning light will piggy-back off from the door puddle light. When you open the door, both the puddle light and the warning light will illuminated (this is how it is wired in previous generations). Everything is plug and play which allows you to remove this harness in the future if you sell your car or no longer require the light.
For anyone interested, I am selling the entire set for 4 doors for $60US. Please PM me for more details.
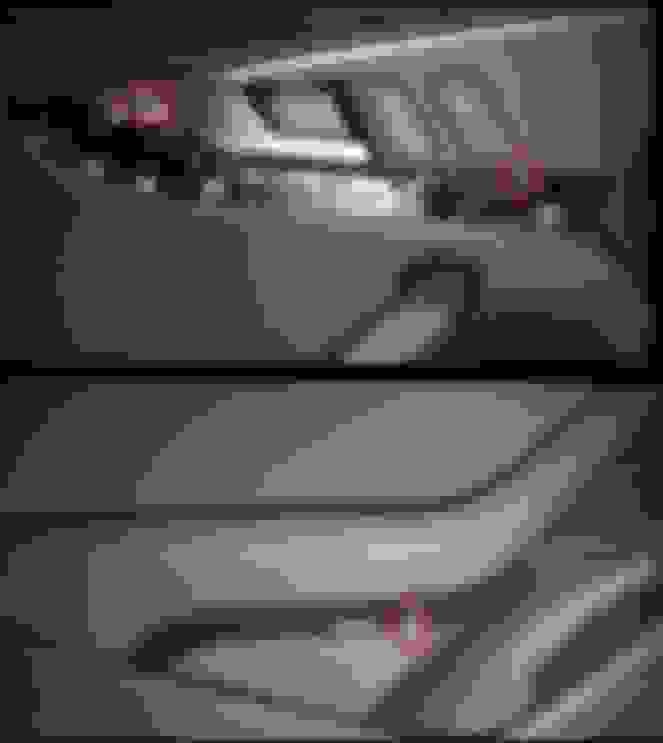
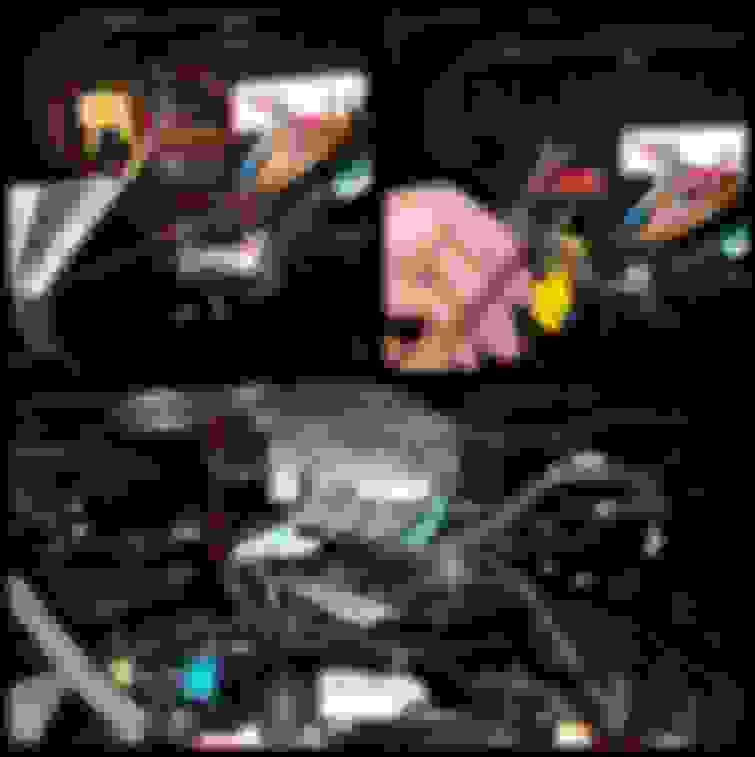
As you can see, the harness has 3 ends.
A - this connector accepts the plug that is currently used for the door puddle light
B - the plug from this harness will plug into your original puddle light
C - this plug will go into your new red warning light
The DIY below is the full instruction involving removal of the door panel and installing the harness. You can also remove some of the clips on the lower portion of the door panel and fish the harness through.
Step 1
Before you start, lower all your windows. This will give you more space when removing the door panel.
Step 2
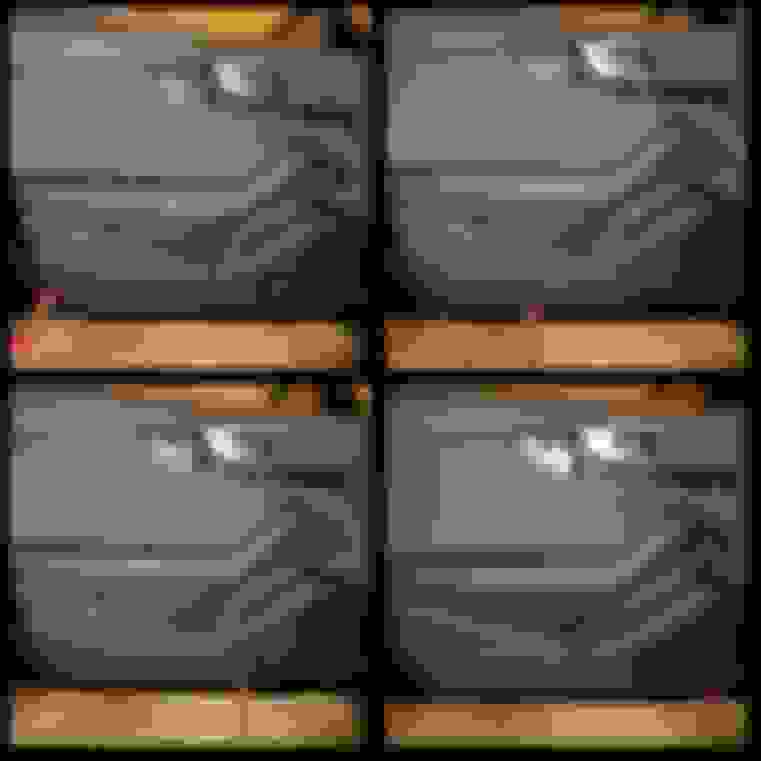
FRONT DOOR: Using a trim removal tool, unclip the aluminum/wood trim from the front door. You can unclip them from the bottom side of the trim starting from the front of the car
Step 3
Total of 3 bolts in the front door panel (marked by the red circle)
Step 4
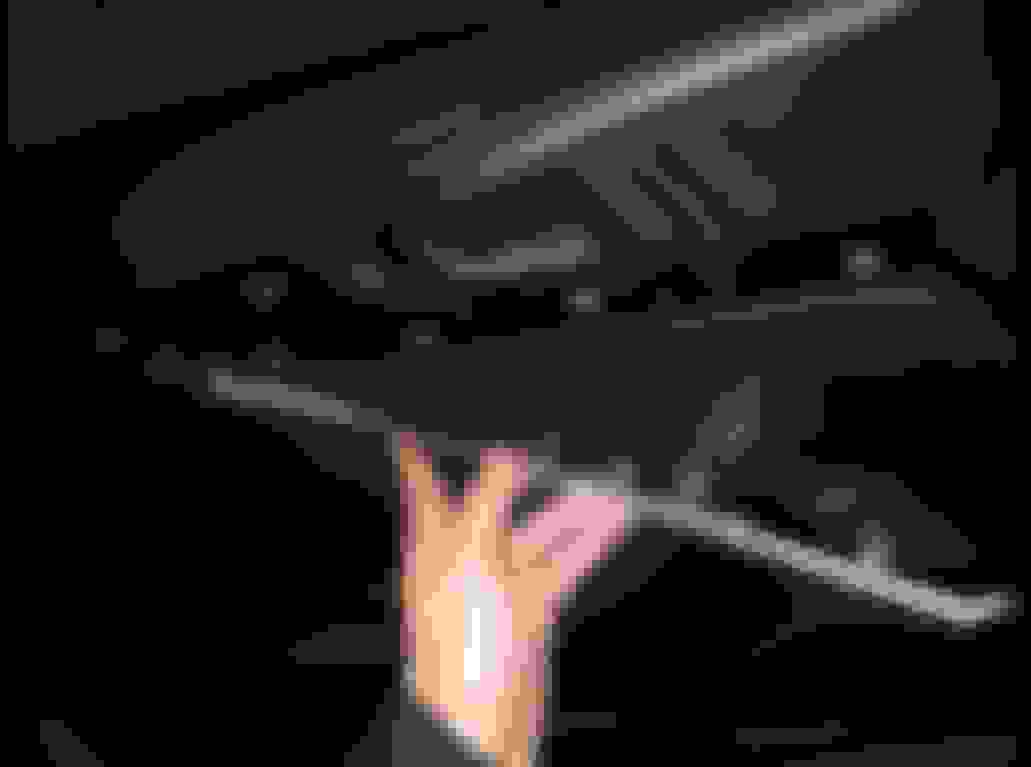
Using a trim removal tool, unclip the door trim panel starting from the lower rear corner. There are 8 clips in total (marked by red circle) For those who would like to fish the harness through, you should be able to do that once you've disengage the clips for the door panel
Step 5
Once all the clips have been unclipped, pull the door upward to disengage the door from the final metal clip. This is an image of the door clip looking down from the top. By pulling the door panel up, you are sliding the block away from the metal clip.
Step 6
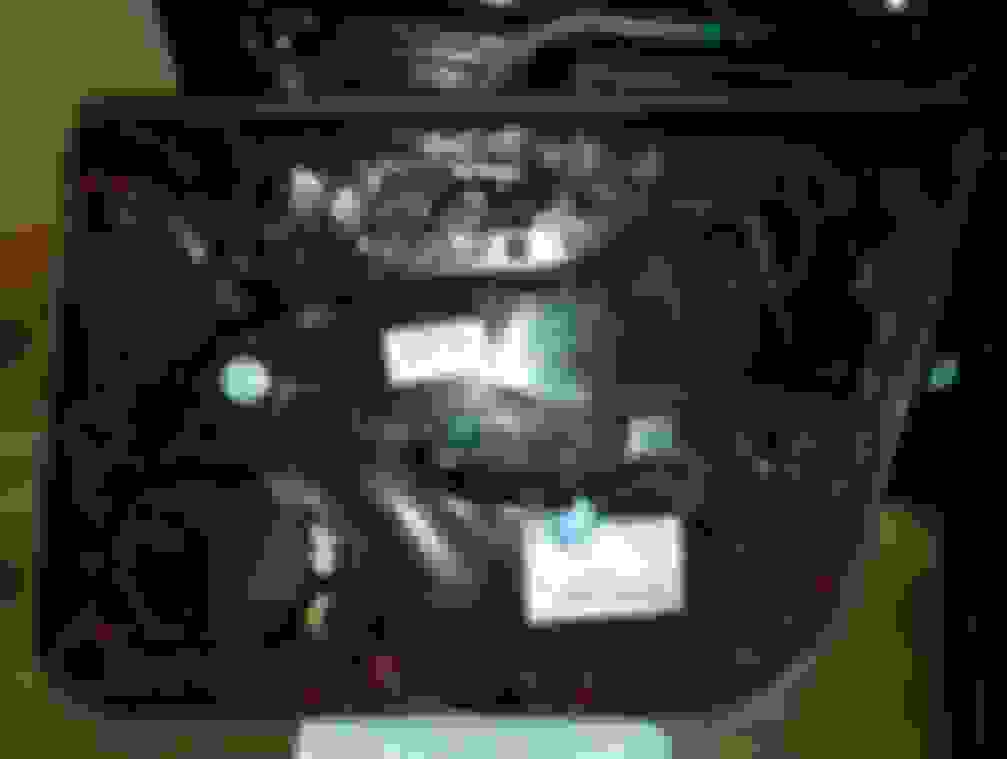
Unclip the door lock mechanism by pulling out the green clip, then unhook the wire from the door lock mechanism
Step 7
Cars with B&O will also require to remove the connector for the midrange speaker (red circle on top left picture). Disconnect blue and the black connector from the door controller
Step 8
Install your warning light harness and route it.
Step 9
Re-attach all the wire and the speaker connector, as well as the door lock clip. To install the door panel back, first push the door panel to the door to engage the metal clip. Once engaged, hook the door panel on the top and install the door panel.
Step 10
Install the 3 screws, and then reinstall the trim piece
Step 11
REAR DOOR: Remove the aluminum/wood trim. Notice the trim is hooked in to the door. To remove the trim, push the trim to the direction of the arrow and the out.
Step 12
Remove 3 bolts then unclip the 9 door panel clips behind (Similar steps to the front door)
Step 13
Remove the door lock mechanism then remove connector
Step 14
Route the harness in, re-attaches the door and the trim (similar steps to the front door)
DONE
Hope this helps.
Because I live in Australia I would like to know if the kit is compatible with right hand drive and whether you are prepared to ship to Australia.
thanks.
As I live Because I live in Australia I would like to know if the kit is compatible with right hand drive and whether you are prepared to ship to Australia.
thanks.
Hi Lesk,
Yes, this is compatible with RHD. I just PM'ed you with more details.
 03-10-2017, 07:09 PM

 :
: