When you click on links to various merchants on this site and make a purchase, this can result in this site earning a commission. Affiliate programs and affiliations include, but are not limited to, the eBay Partner Network.
Please see some photos which hopefully will help some of you with the removal & install of the lowering springs.
Some of the tools:
- 16mm, 12 points wrench
- 16mm, socket & wrench
- 18mm, socket & wrench
- knuckle spreader
- 13 mm socket & wrench for the upper bolts (inside engine compartment)
- car stands
- patience, especially for the front
Unfortunately I don't have any photos yet with the final result, what I can say is that the car look awesome and the ride quality is as good as the factory sport set-up; personally I don't find it way stiffer.
H&R doesn't recommend to trim the bump stops and I didn't trim them. NO issues whatsoever.
The car is lowered by about 1.5'' front and rear.
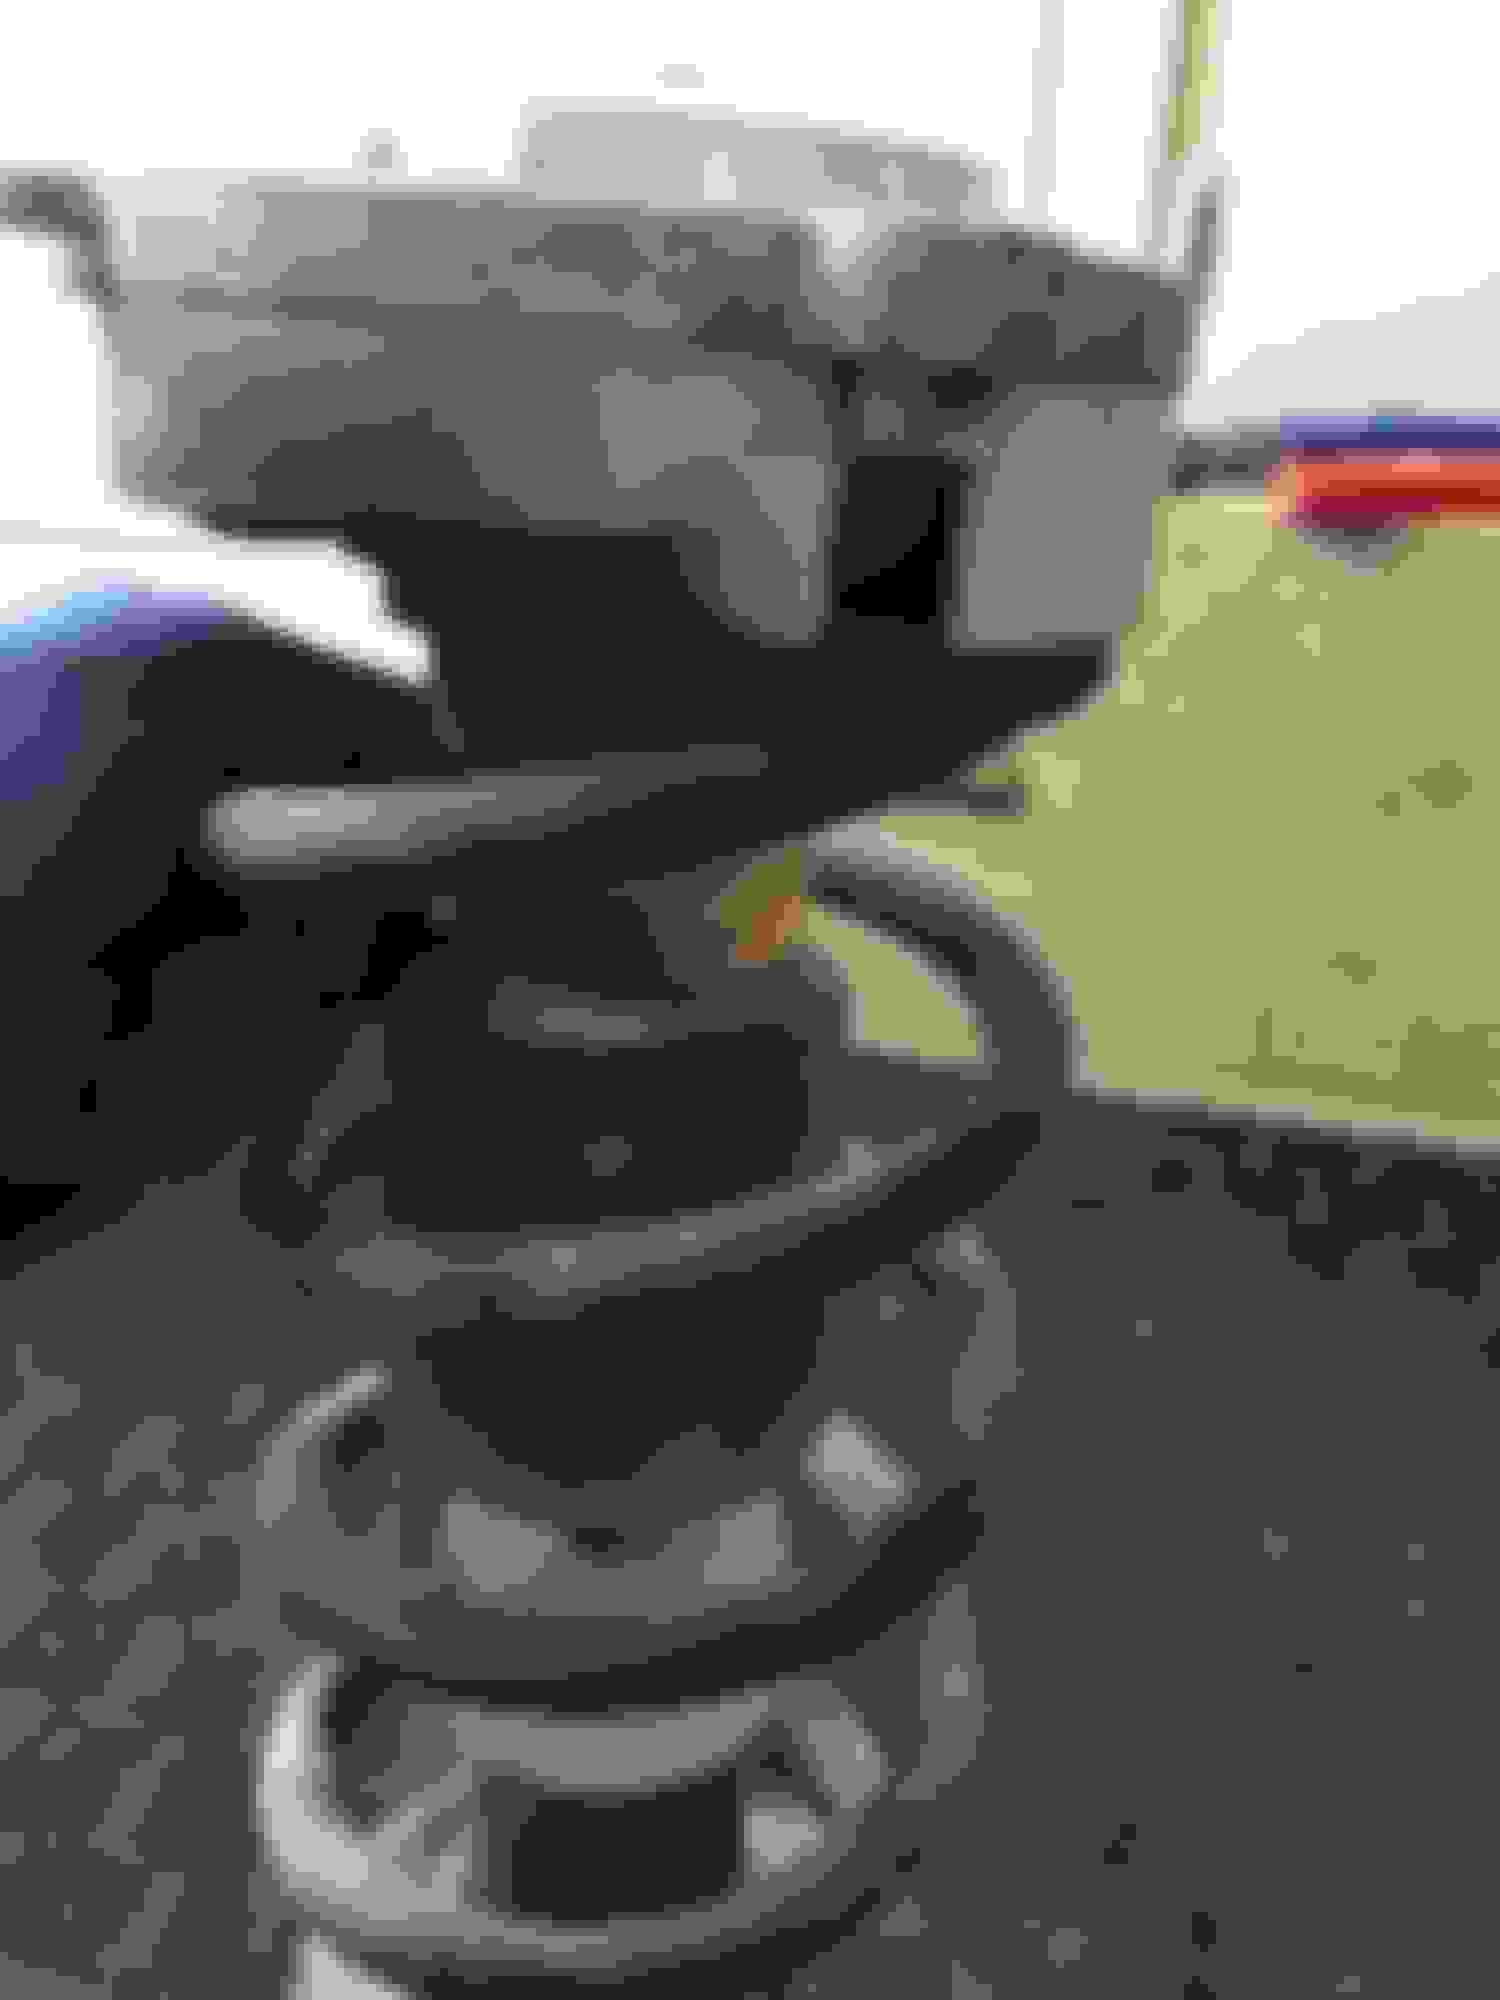
you need a 16 mm 12 points wrench
don't forget to support the suspension components
you need a spring compressor to remove the spring
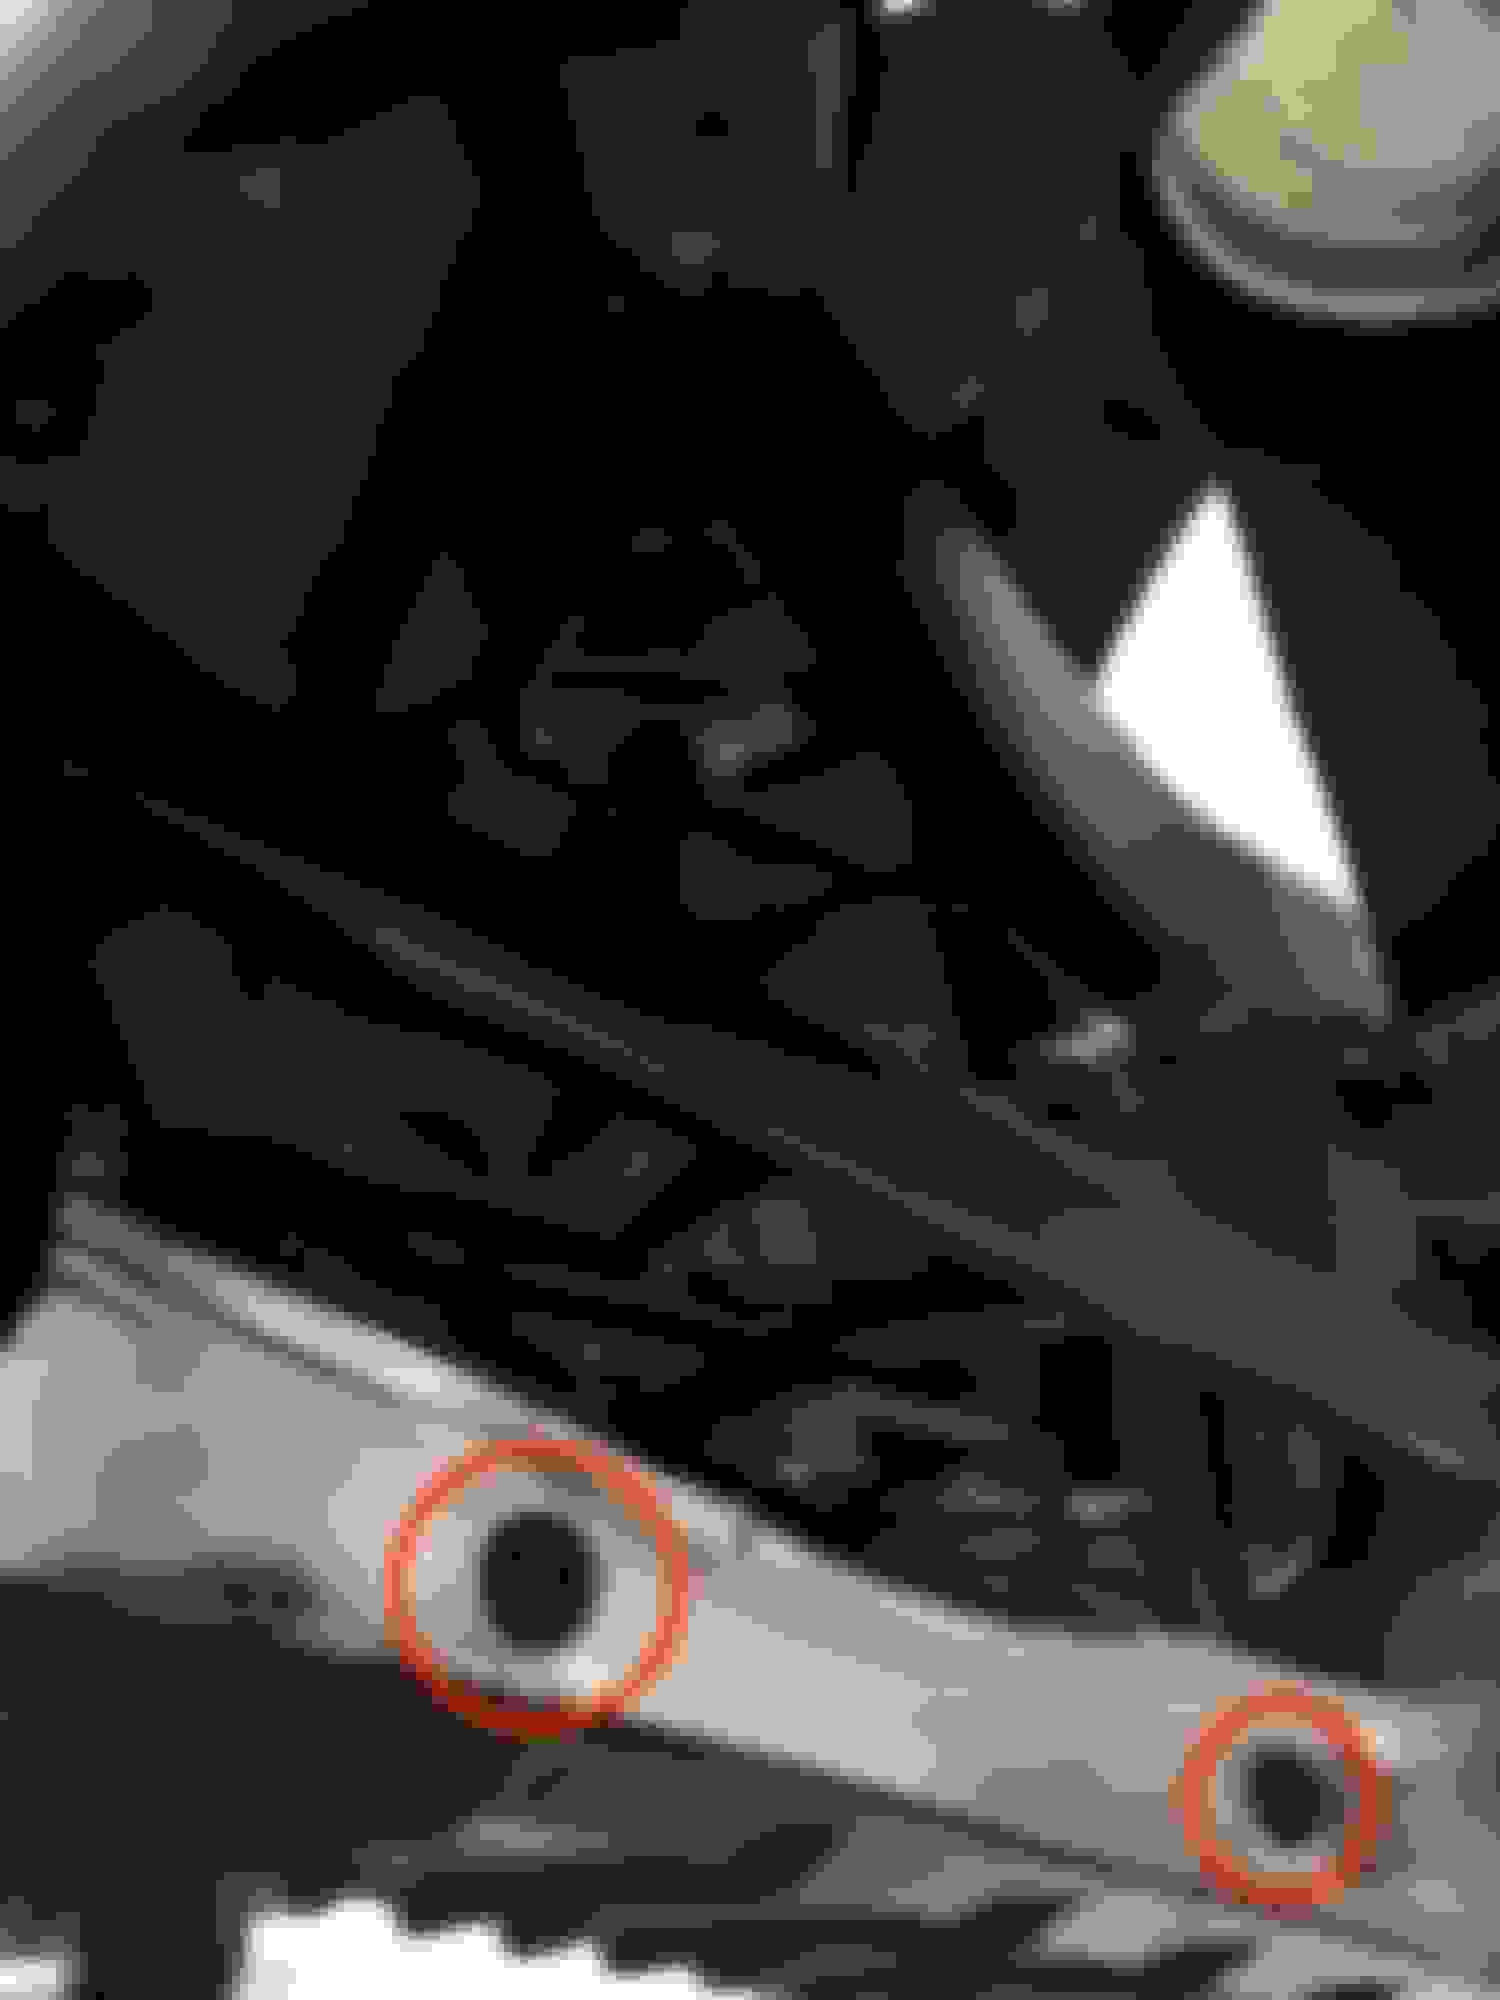
remove these 2 plastic rivets, they hold in place the stones shield
plastic rivet
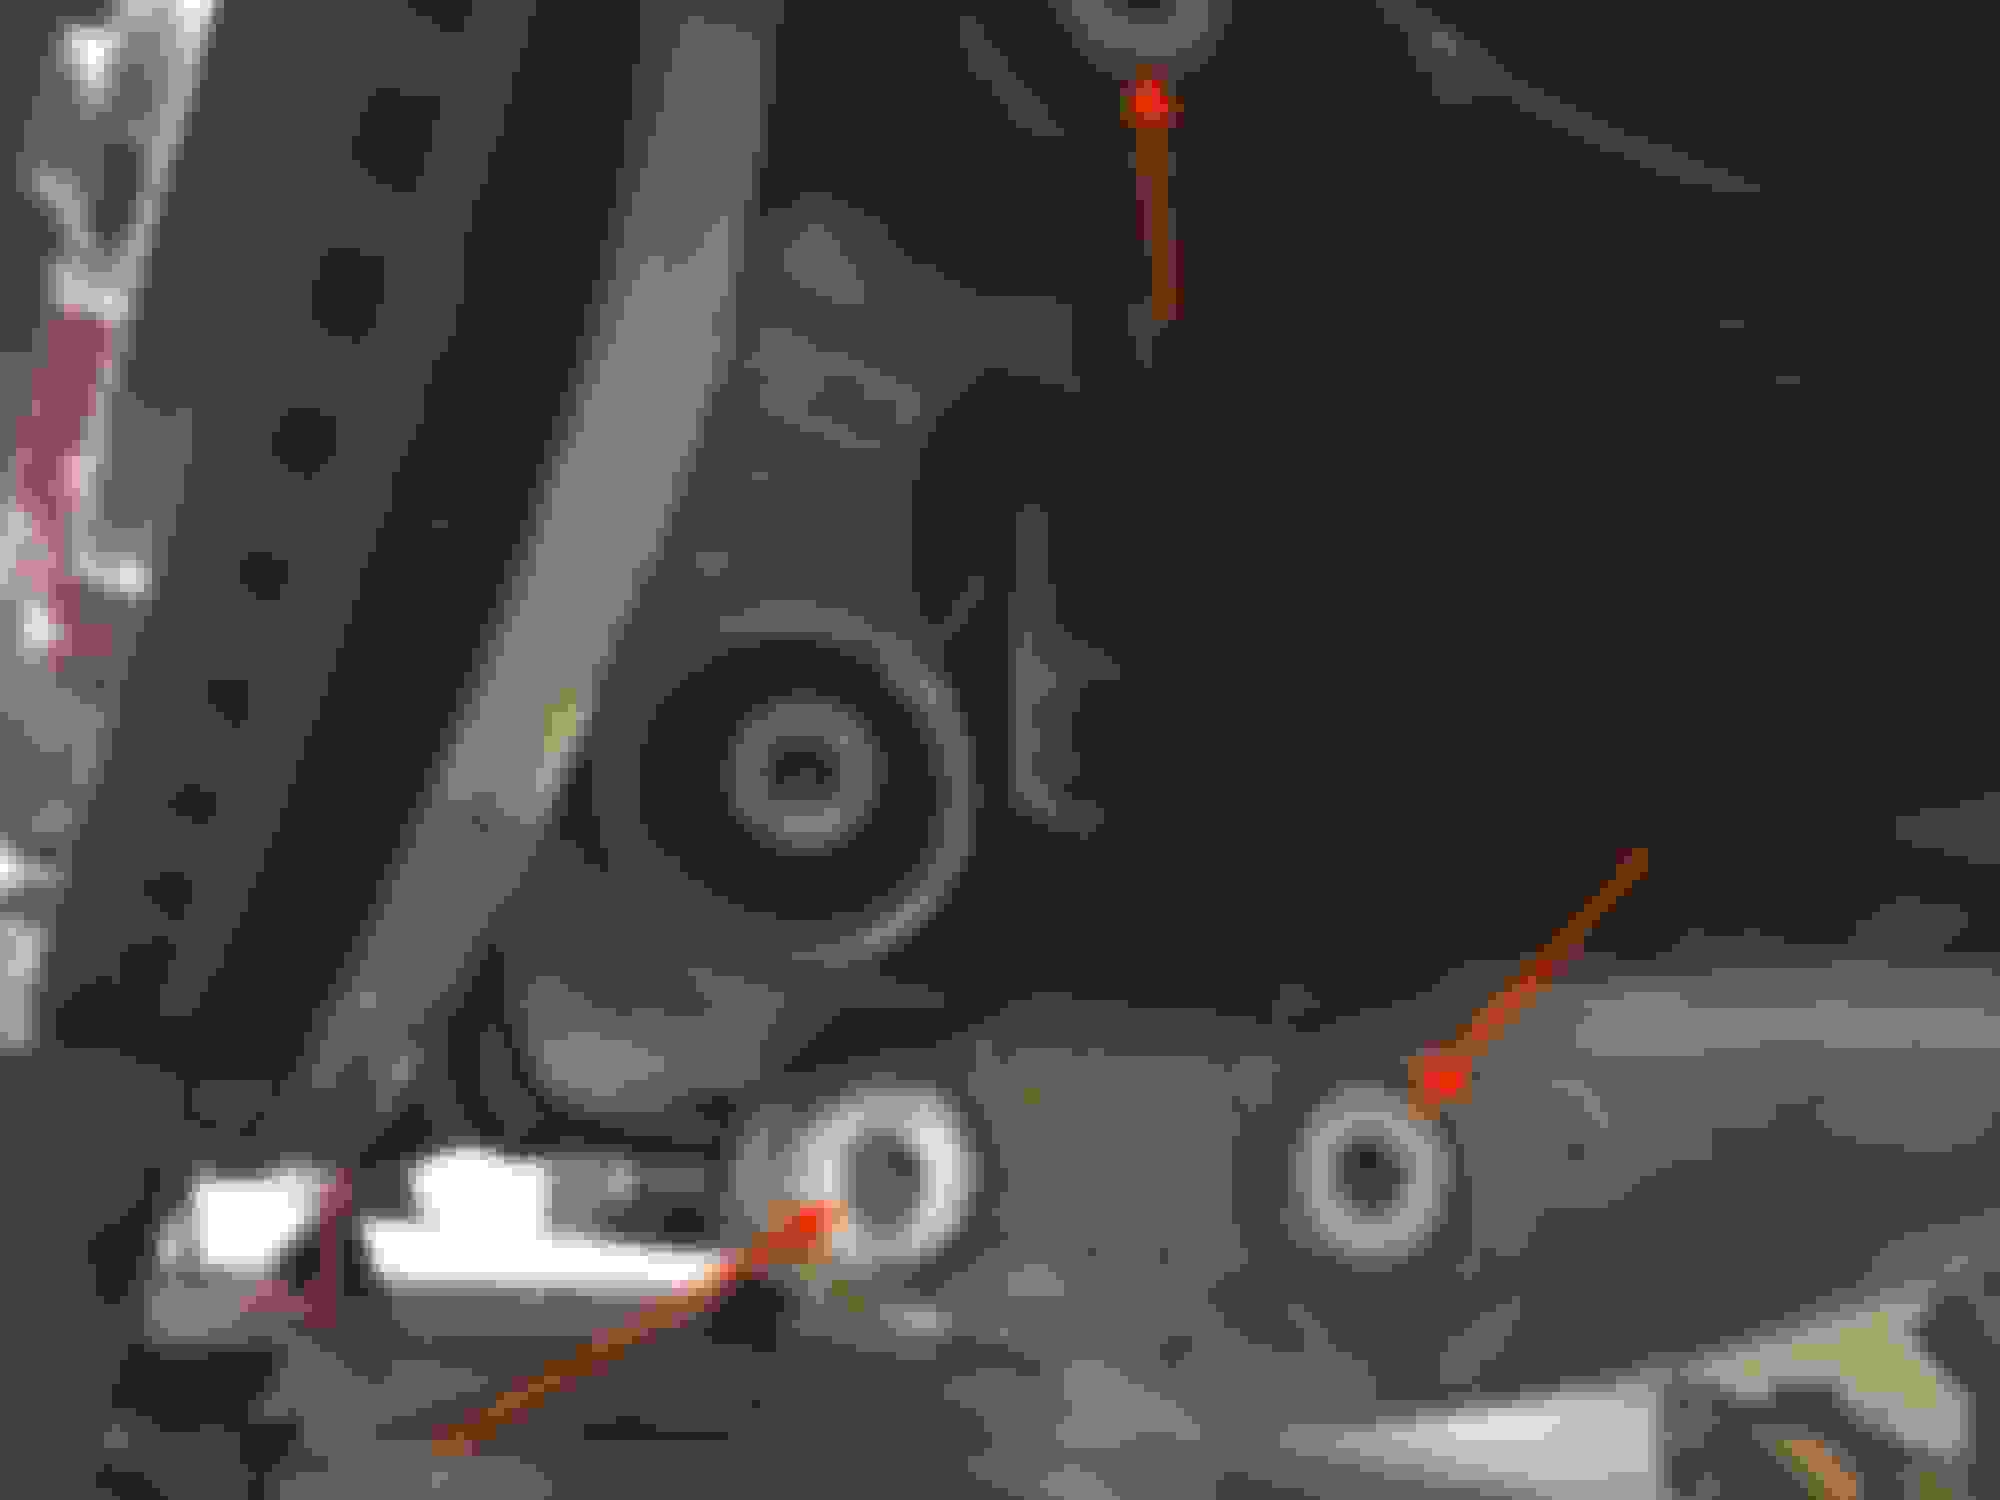
only 3 bolts to be removed don't forget to support the suspension components
I'm looking at the same setup, are you having any ground clearance issues, steep entrances , speed bumps, etc?
I know you mentioned the ride quality is good but did you find any situation where it does suffer or is it ALWAYS good as stock?
how were you able to compress the spring in such a tiny area? I ised a dofferent style and was able to slightly compress it but The spring seems to be wedged in the top mount and won't come out no matter how I pry at it.
how were you able to compress the spring in such a tiny area? I ised a dofferent style and was able to slightly compress it but The spring seems to be wedged in the top mount and won't come out no matter how I pry at it.
I tried following OP's instructions but they didn't work for me, so I ended up putting everything back together and doing it another way. You can do the whole thing without spring compressors. Here's a write-up I did earlier.
Did the rears first. Spring compressor was useless as there wasn't enough space around the spring to compress them. The instructions said to remove the outboard lower arm bolts, but when I did that there's a protrusion in the knuckle that prevents the lower link from dropping unless you disconnect the axle to allow the knuckle to move outward. So I put it back together, and instead pushed up about halfway down the arm with the jack to remove the tension on the inboard camber bolt and removed that instead of the outboard bolt (Mark your camber position first). This allows the lower arm to drop down. Disconnect the now-slack shock if you have trouble getting the spring out. Put the new spring in, reconnect the shock, and use the jack to compress the spring and raise the lower arm so that the holes line up for you to put the camber bolt back in. This won't work if you have super stiff springs since you'll just lift the car up but these H&R ones are really close to stock so it worked fine. I don't know how he pulled out his rear knuckle enough to clear the lower arm without disconnecting the axle but mine wouldn't do it.
For the fronts, look at the mount that the shock slots in to. You need to remove all the fasteners holding on this mount, and also remove that big long bolt at the top of the suspension that connects the knuckle with two arms. This will let you push down on the knuckle enough to clear the shock from its mount later. I didn't end up needing to remove this mount entirely like OP did. Use a knuckle spreader from Autozone to wedge that clamp open to remove the shock. The knuckle spreader I used didn't spread the clamp enough so I wedged a little flathead screwdriver in the gap and that was enough extra leverage to wedge the clamp open to get the shock out. Again once the shock assembly came out, using a spring compressor just made it so that the impact wrench had no resistance to remove the top retaining nut. The retaining nut came off easily without compressing the springs. Put the new shorter springs in, and then clamp onto the shock shaft with a towel and a channel lock so you can impact the nut back on.
Last edited by fettekatze; 05-16-2018 at 08:11 PM.
Just finished doing my install of Emmanuelle Design springs using some of this write up as a guide. Most helpful was just knowing the sizes of the wrenches and sockets needed. I was cursing while doing the rears. I chuckled when I read that the fronts needed patience, because they were simple for me (used to be a mechanic), but the rears I was cursing. It didn't help that I was using floor jacks in a VERY small garage and couldn't see under the rear knuckle to show why the lower control arm wasn't dropping for me. Once I figured out how to do it though, the other side only took about 10 minutes before it was finished. I found while following OP's write up you just need to grab hold of the brake rotor and pull hard enough and the lower control arm will pop out from the lip on the knuckle that was stopping it from dropping. Putting it back together just needed a bit of love and attention, but I definitely found the rear to be a bit more difficult compared to the front.
 03-18-2018, 03:40 PM