When you click on links to various merchants on this site and make a purchase, this can result in this site earning a commission. Affiliate programs and affiliations include, but are not limited to, the eBay Partner Network.
I bought some T-tap splices from Home depot for $7, but you can get 100's of them on Amazon for $10. Please note you need 18-22 gauge which is a measure of the wire thickness. Bigger numbers have a smaller diameter wire!! T-Tap's have an area to insert two cables, and they basically clamp electrically connect two wires by stripping off the insulation so that the metal part that clamps down is touching the core of both wires.
End Result:
First you need to remove the cover off the overhead lights/sunroof assembly. If you stick a credit card or some sort of prying tool, you should be able to get it off and just gently pull on all sides. Please make sure your car is not on when you are doing any of this work.
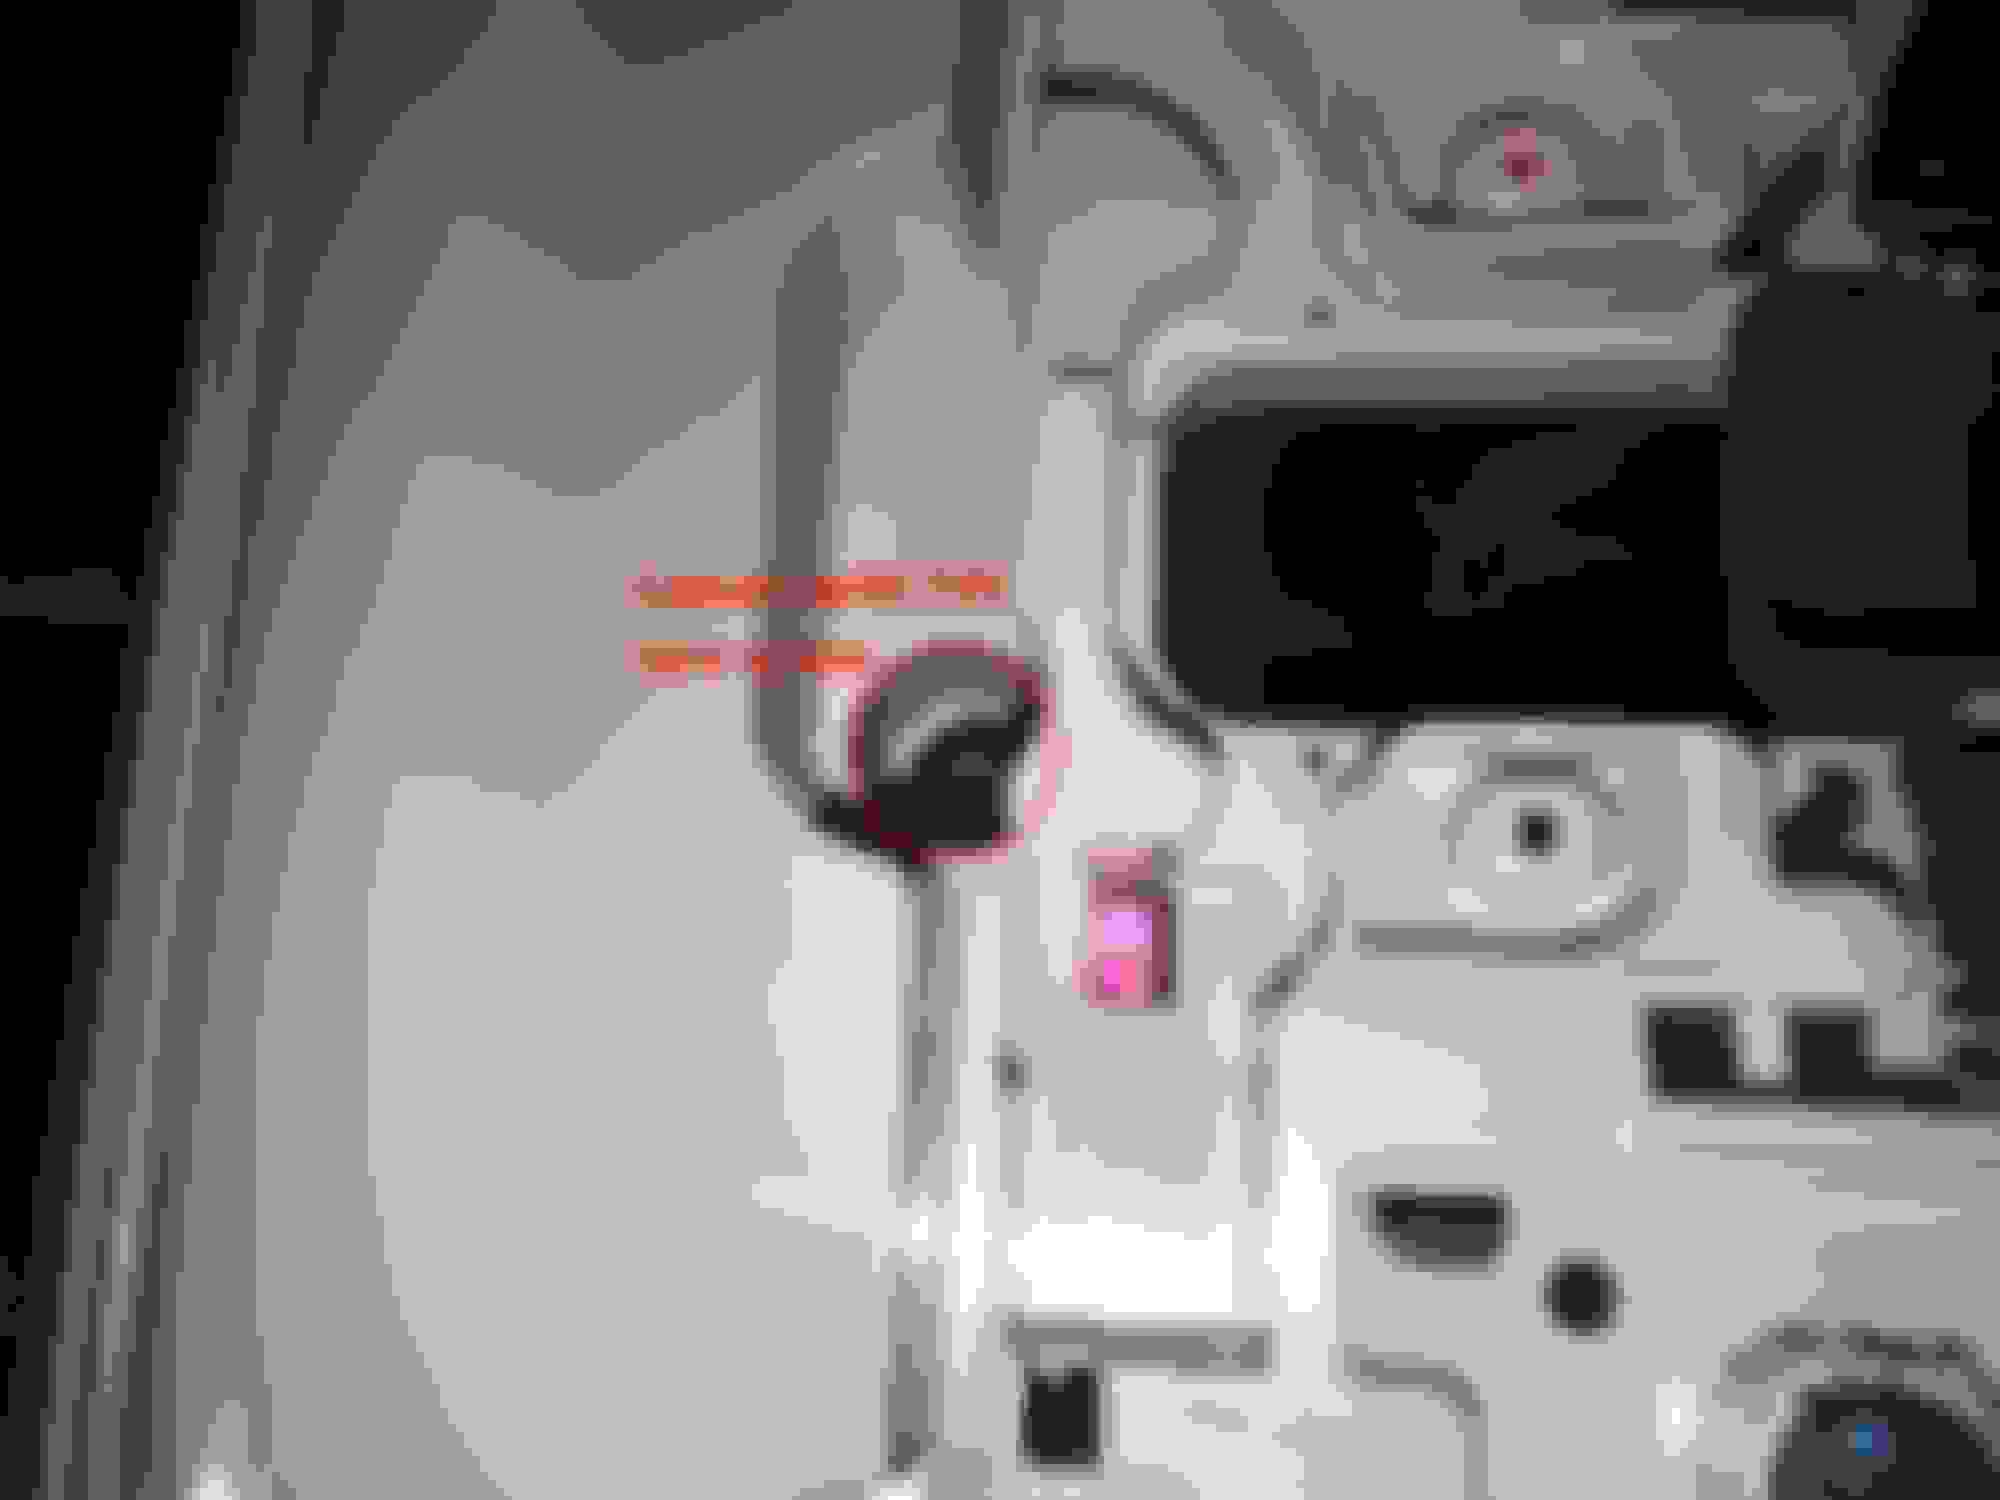
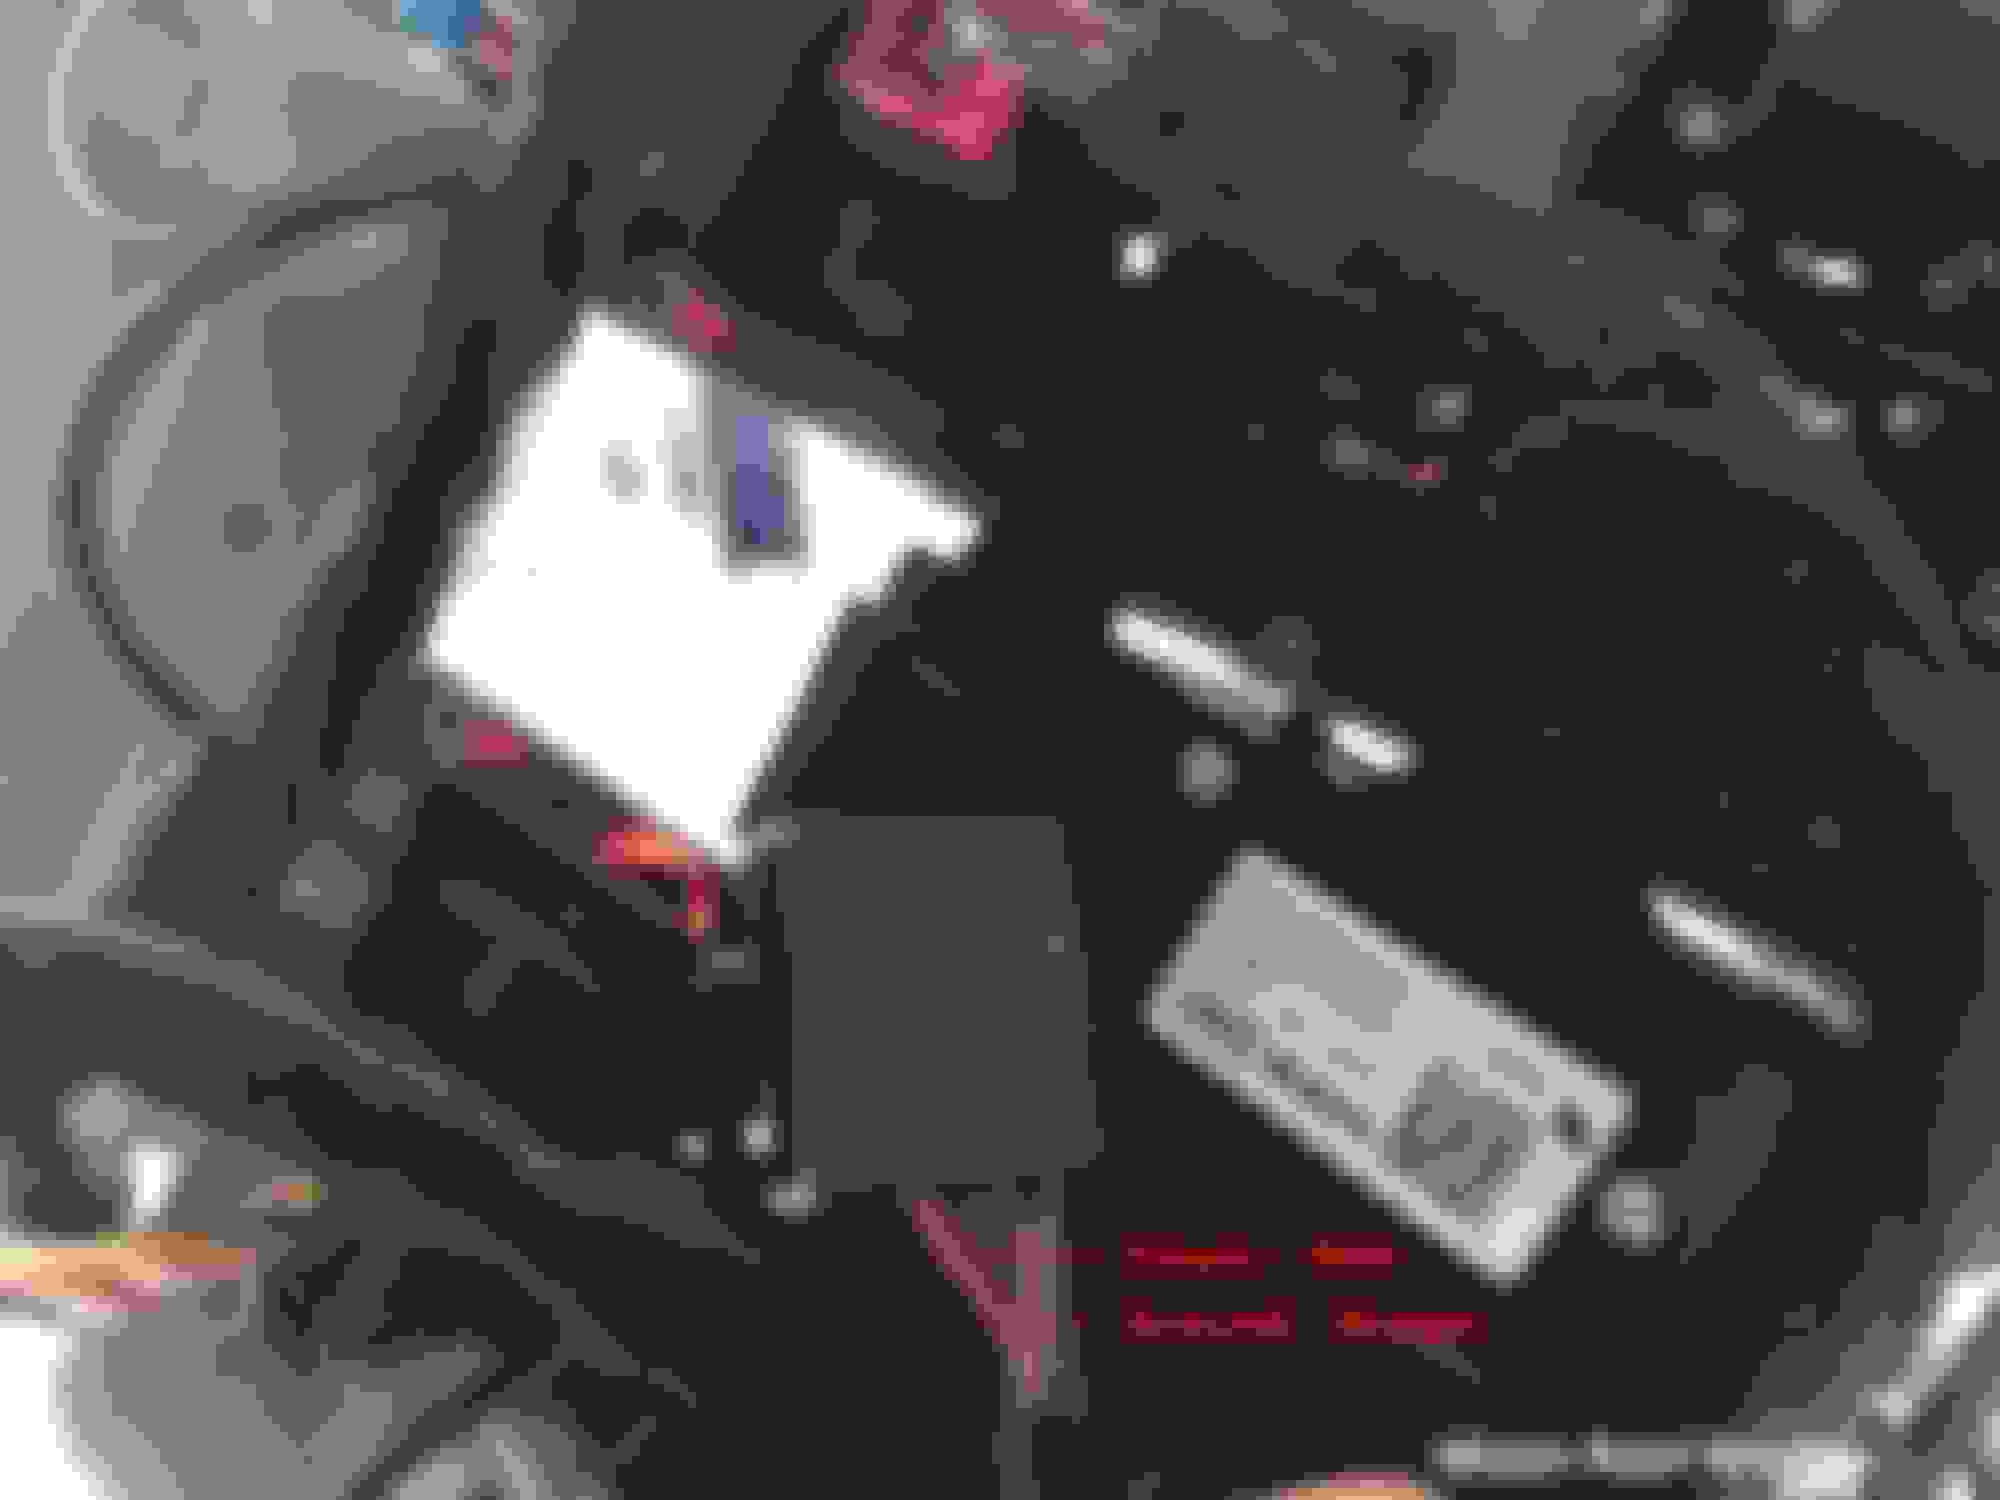
Once you get the cover off, you will need a torx screw driver to take off a bolt that's towards the back of the cover but front of the car. The black box on the right of the picture below is actually the moon roof switch just to give you an idea.
Once the torx screw is out, you can push back and pull down a bit and the whole assembly will come down. There's several different places you can pull power from to power the dash cam. You can snake the microusb cable through the top right and through the headliner. I would recommend tapping the moonroof power or the Homelink power. LED Lighting is labeled but I realized that the interior lighting receives power even when the car is off.
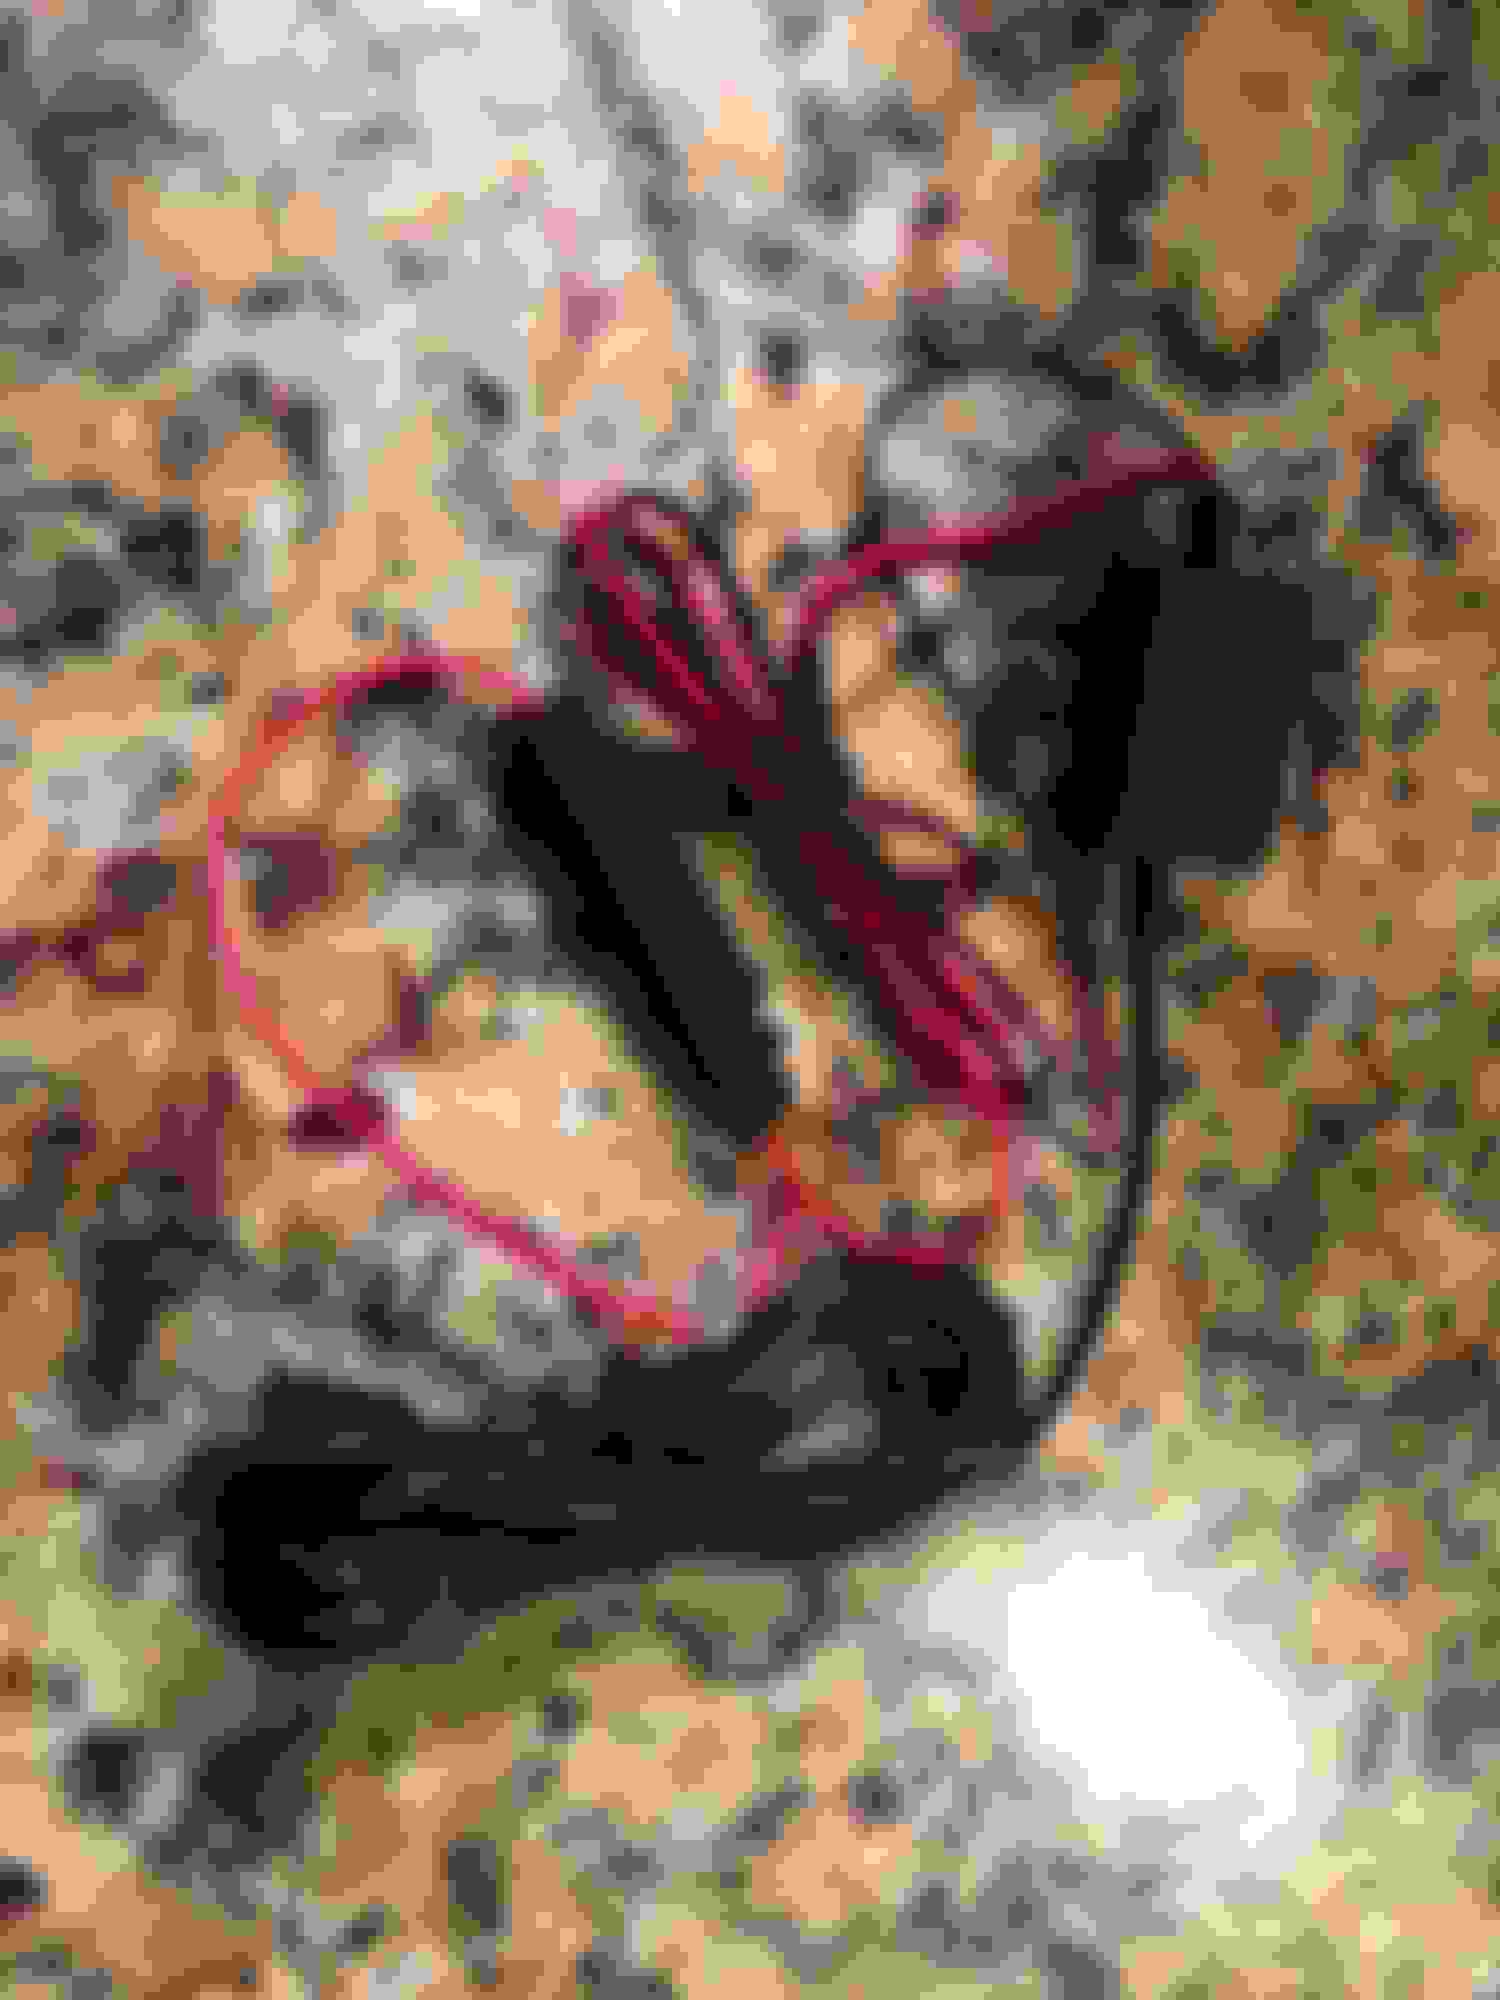
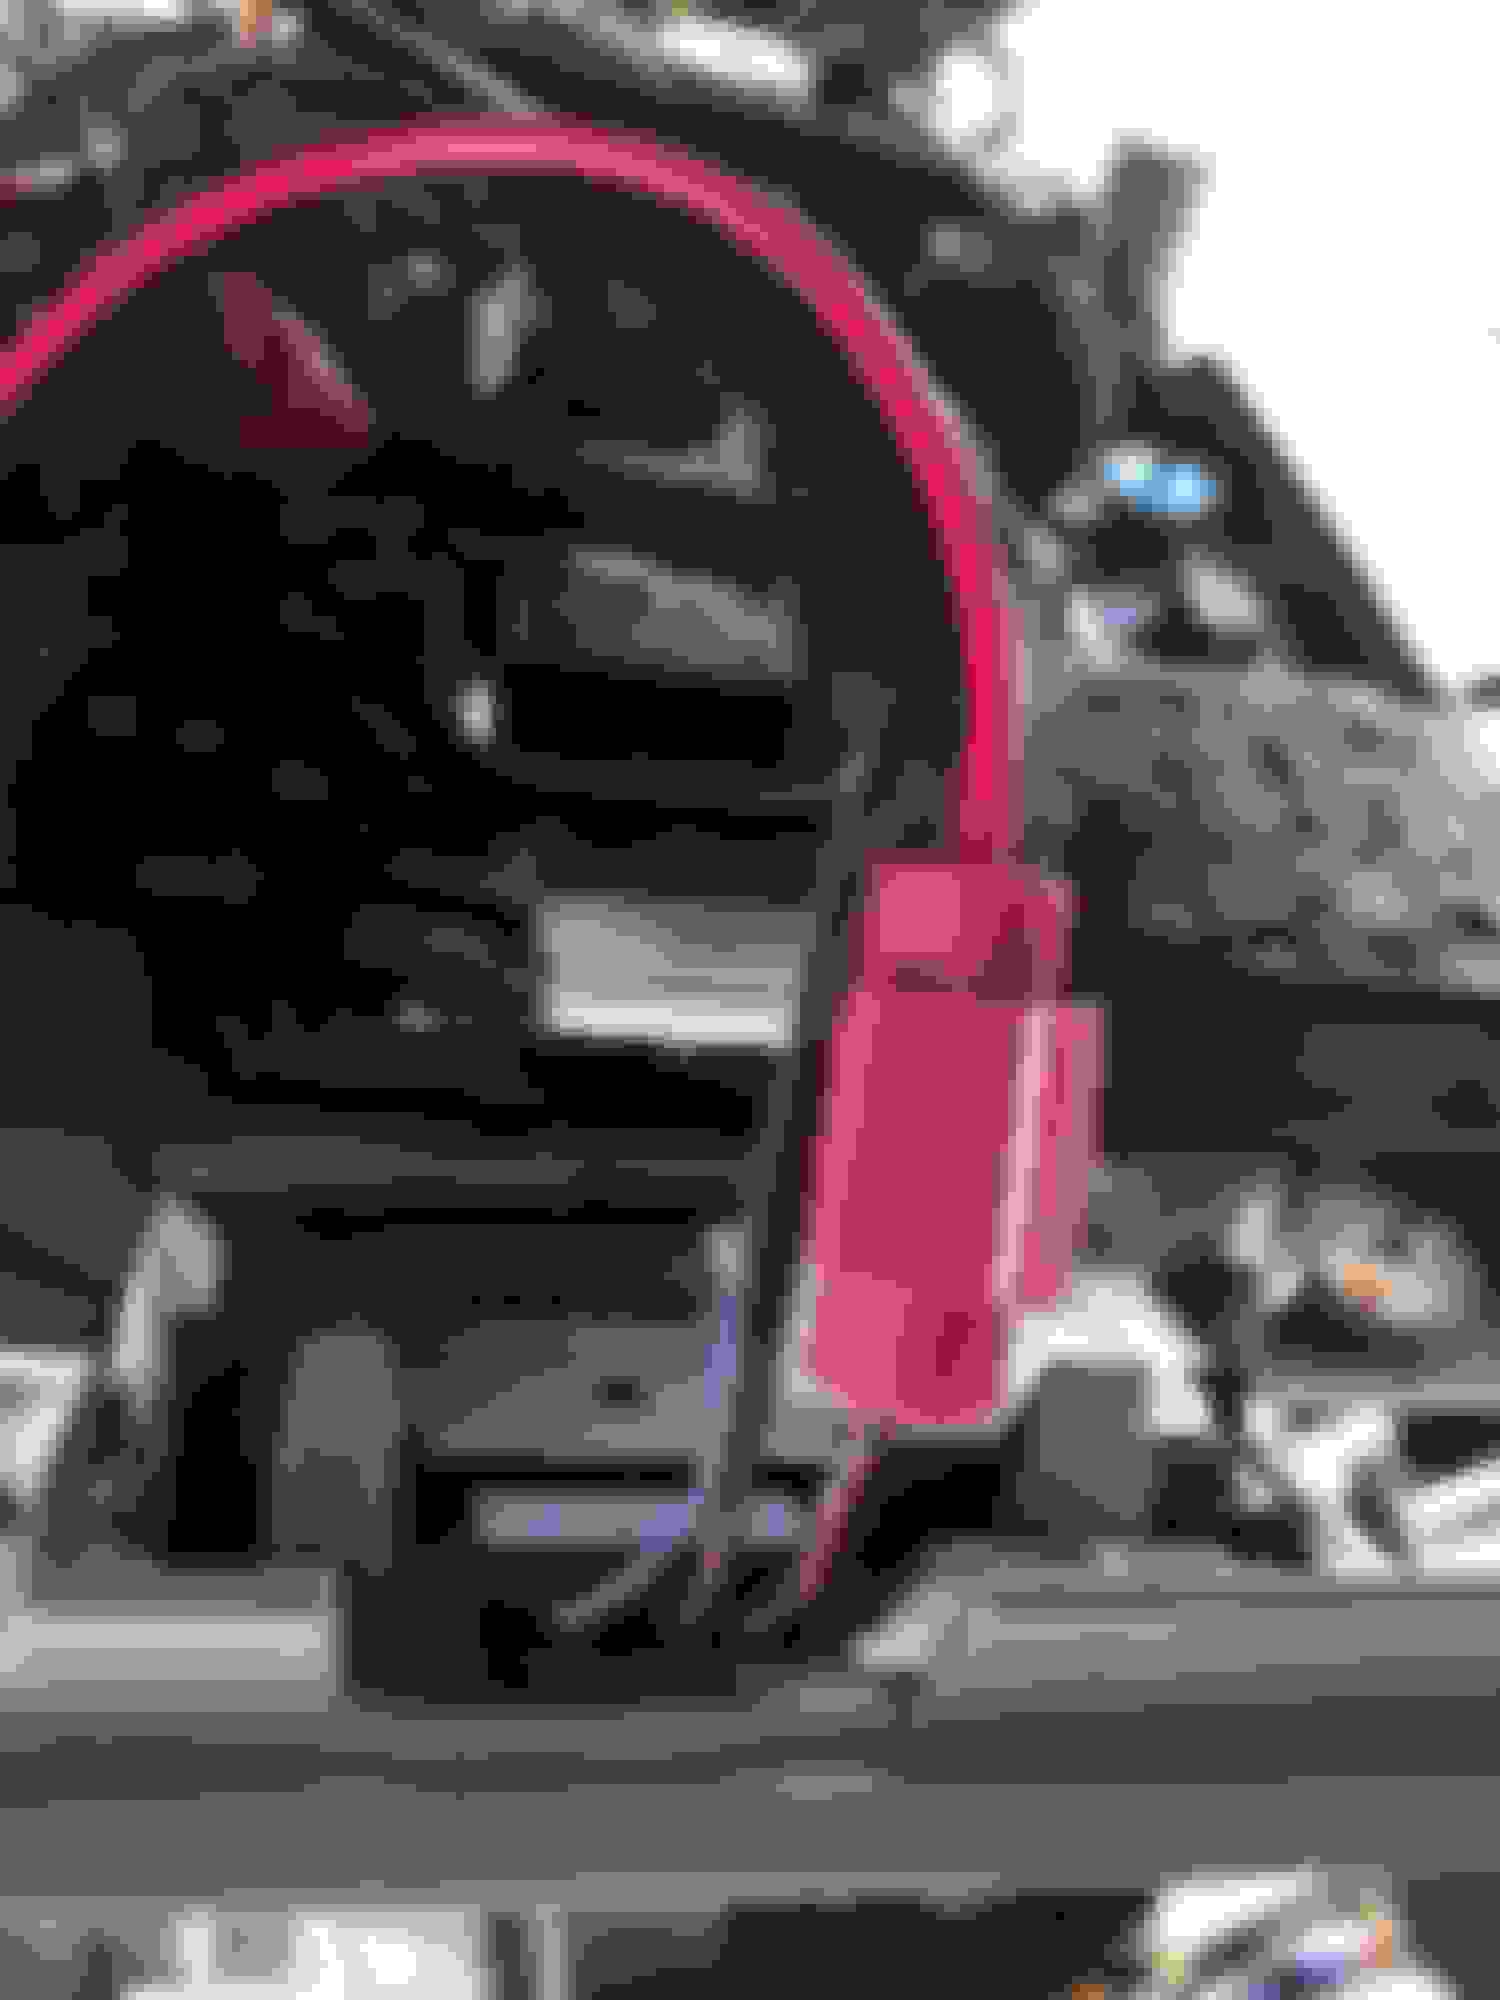
Close up on the homelink module cable. The power cable is red/blue (powered off battery) and the brown cable is a ground. These two are the wires I ended up tapping into. I measured both the homelink module and the moonroof module with a multimeter to verify that you receive power when the Car is turned on.
Alternatively, you can tap into the moonroof module as well. Red is power and ground is brown:
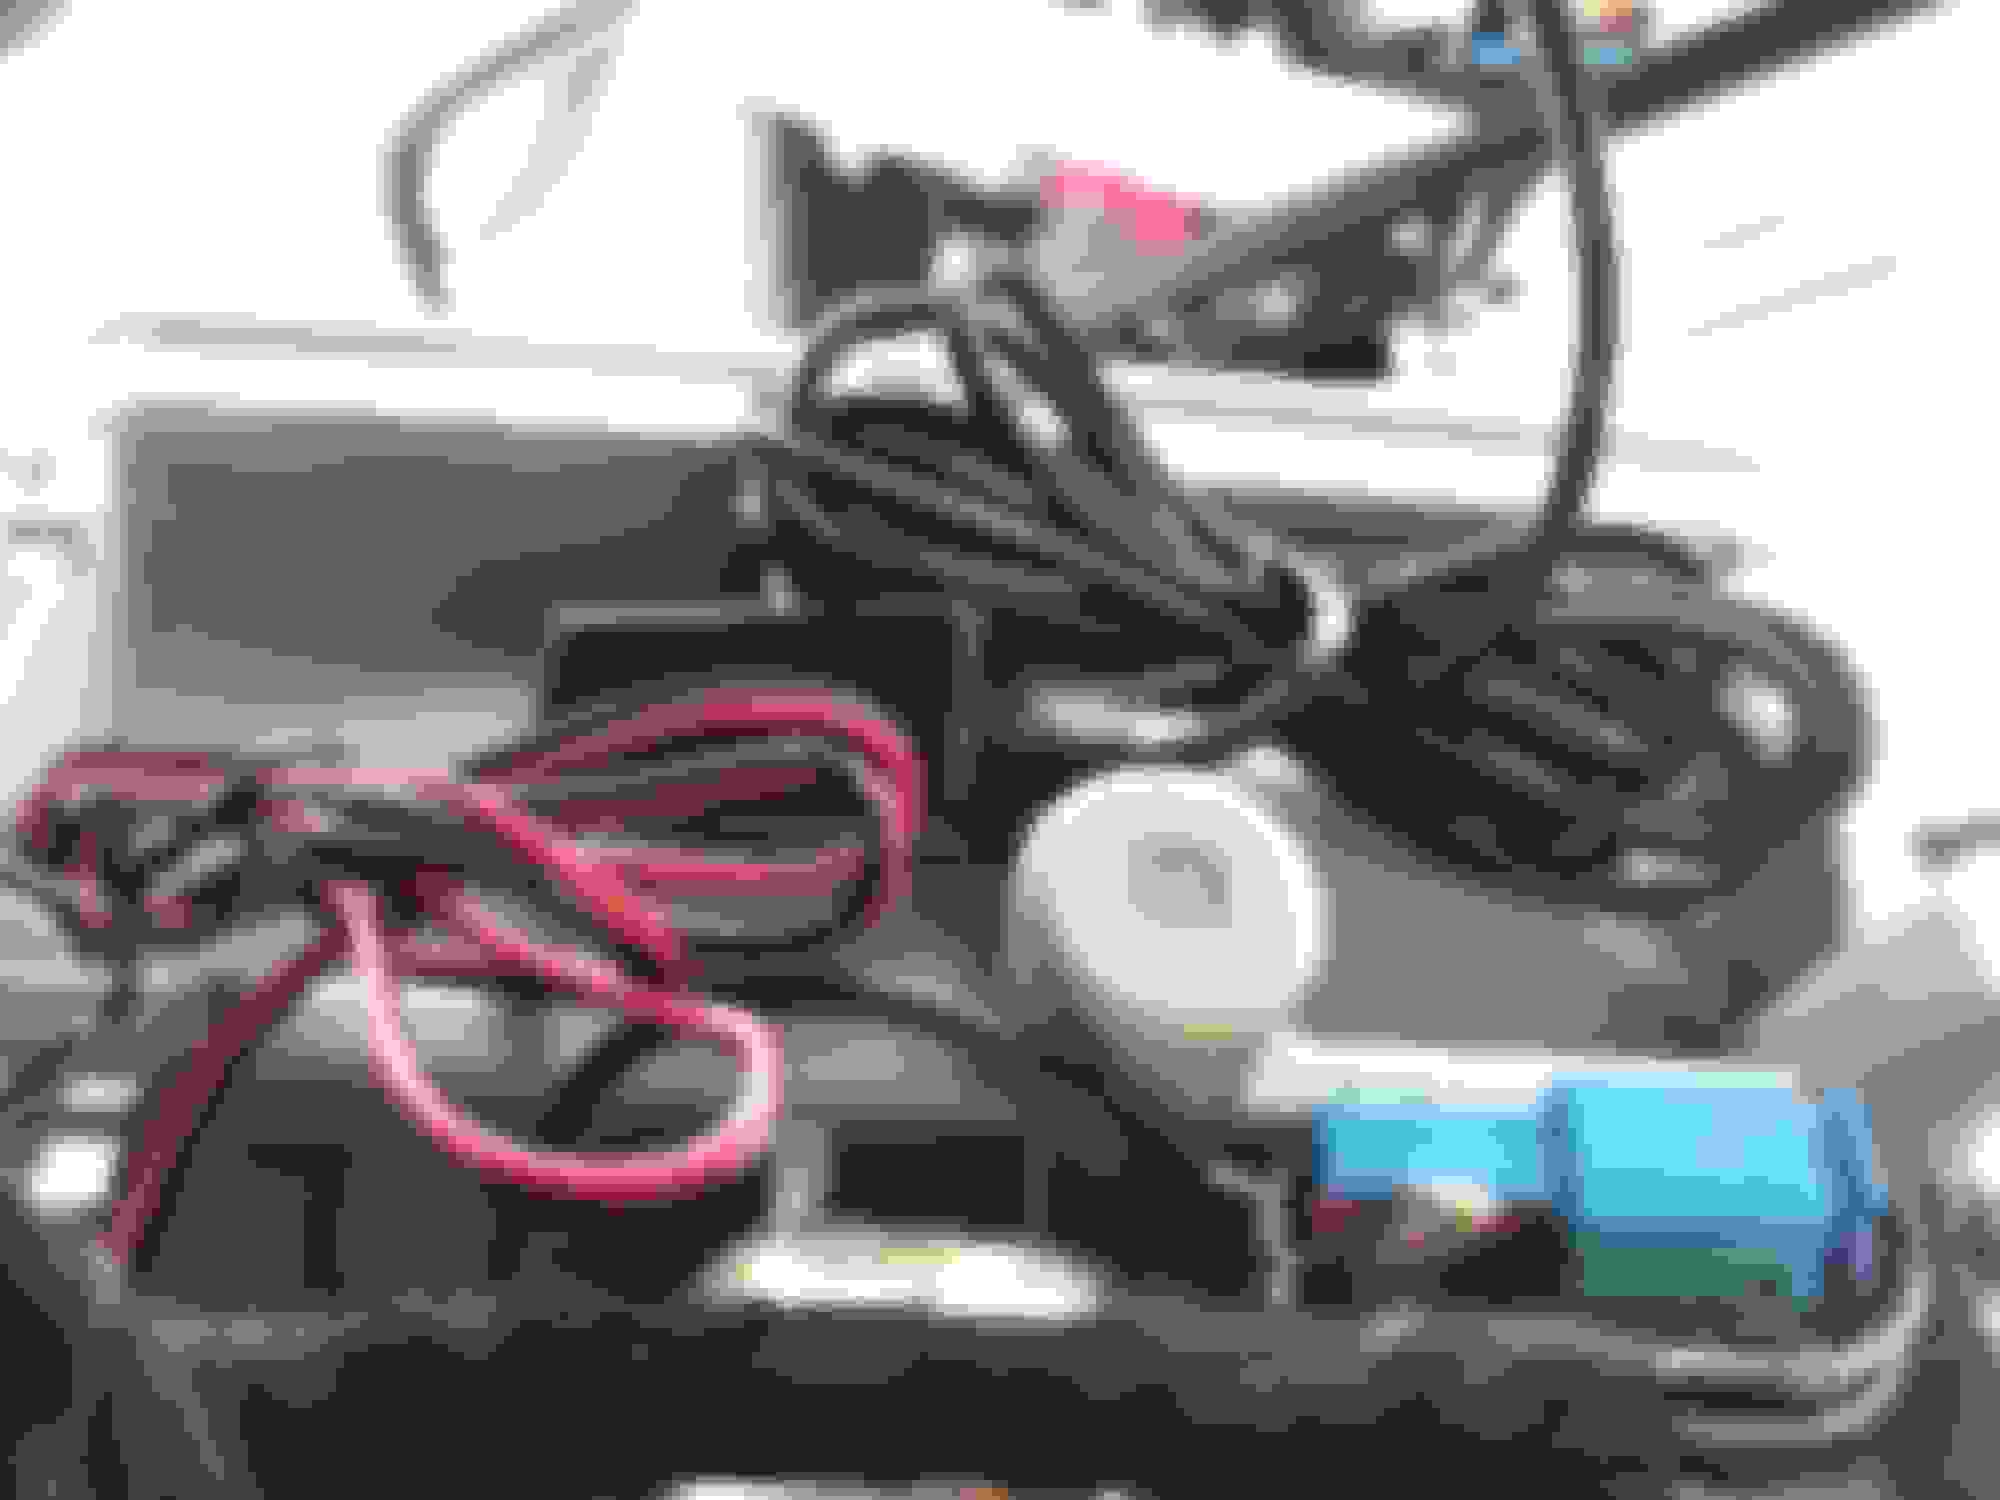
I have attached the red power cable from the harness onto the Red/blue power cable for the homelink. I used the T-Tap to make the connection between the two and used a pair of pliers to make sure there is a solid connection. If you look in the background, you can see another red T-Tap which is where I put the ground connection.
My ground cable is still the homelink ground cable, but I chose to put it on the other end of the wire harness, where there were a few different wire harnesses coming together. This is just because there is more space and the t-tap's are relatively big compared to the wires. i did move the sleeves back a little bit to provide more space. Here is the picture of the T-Tap connected to the BROWN, ground cable:
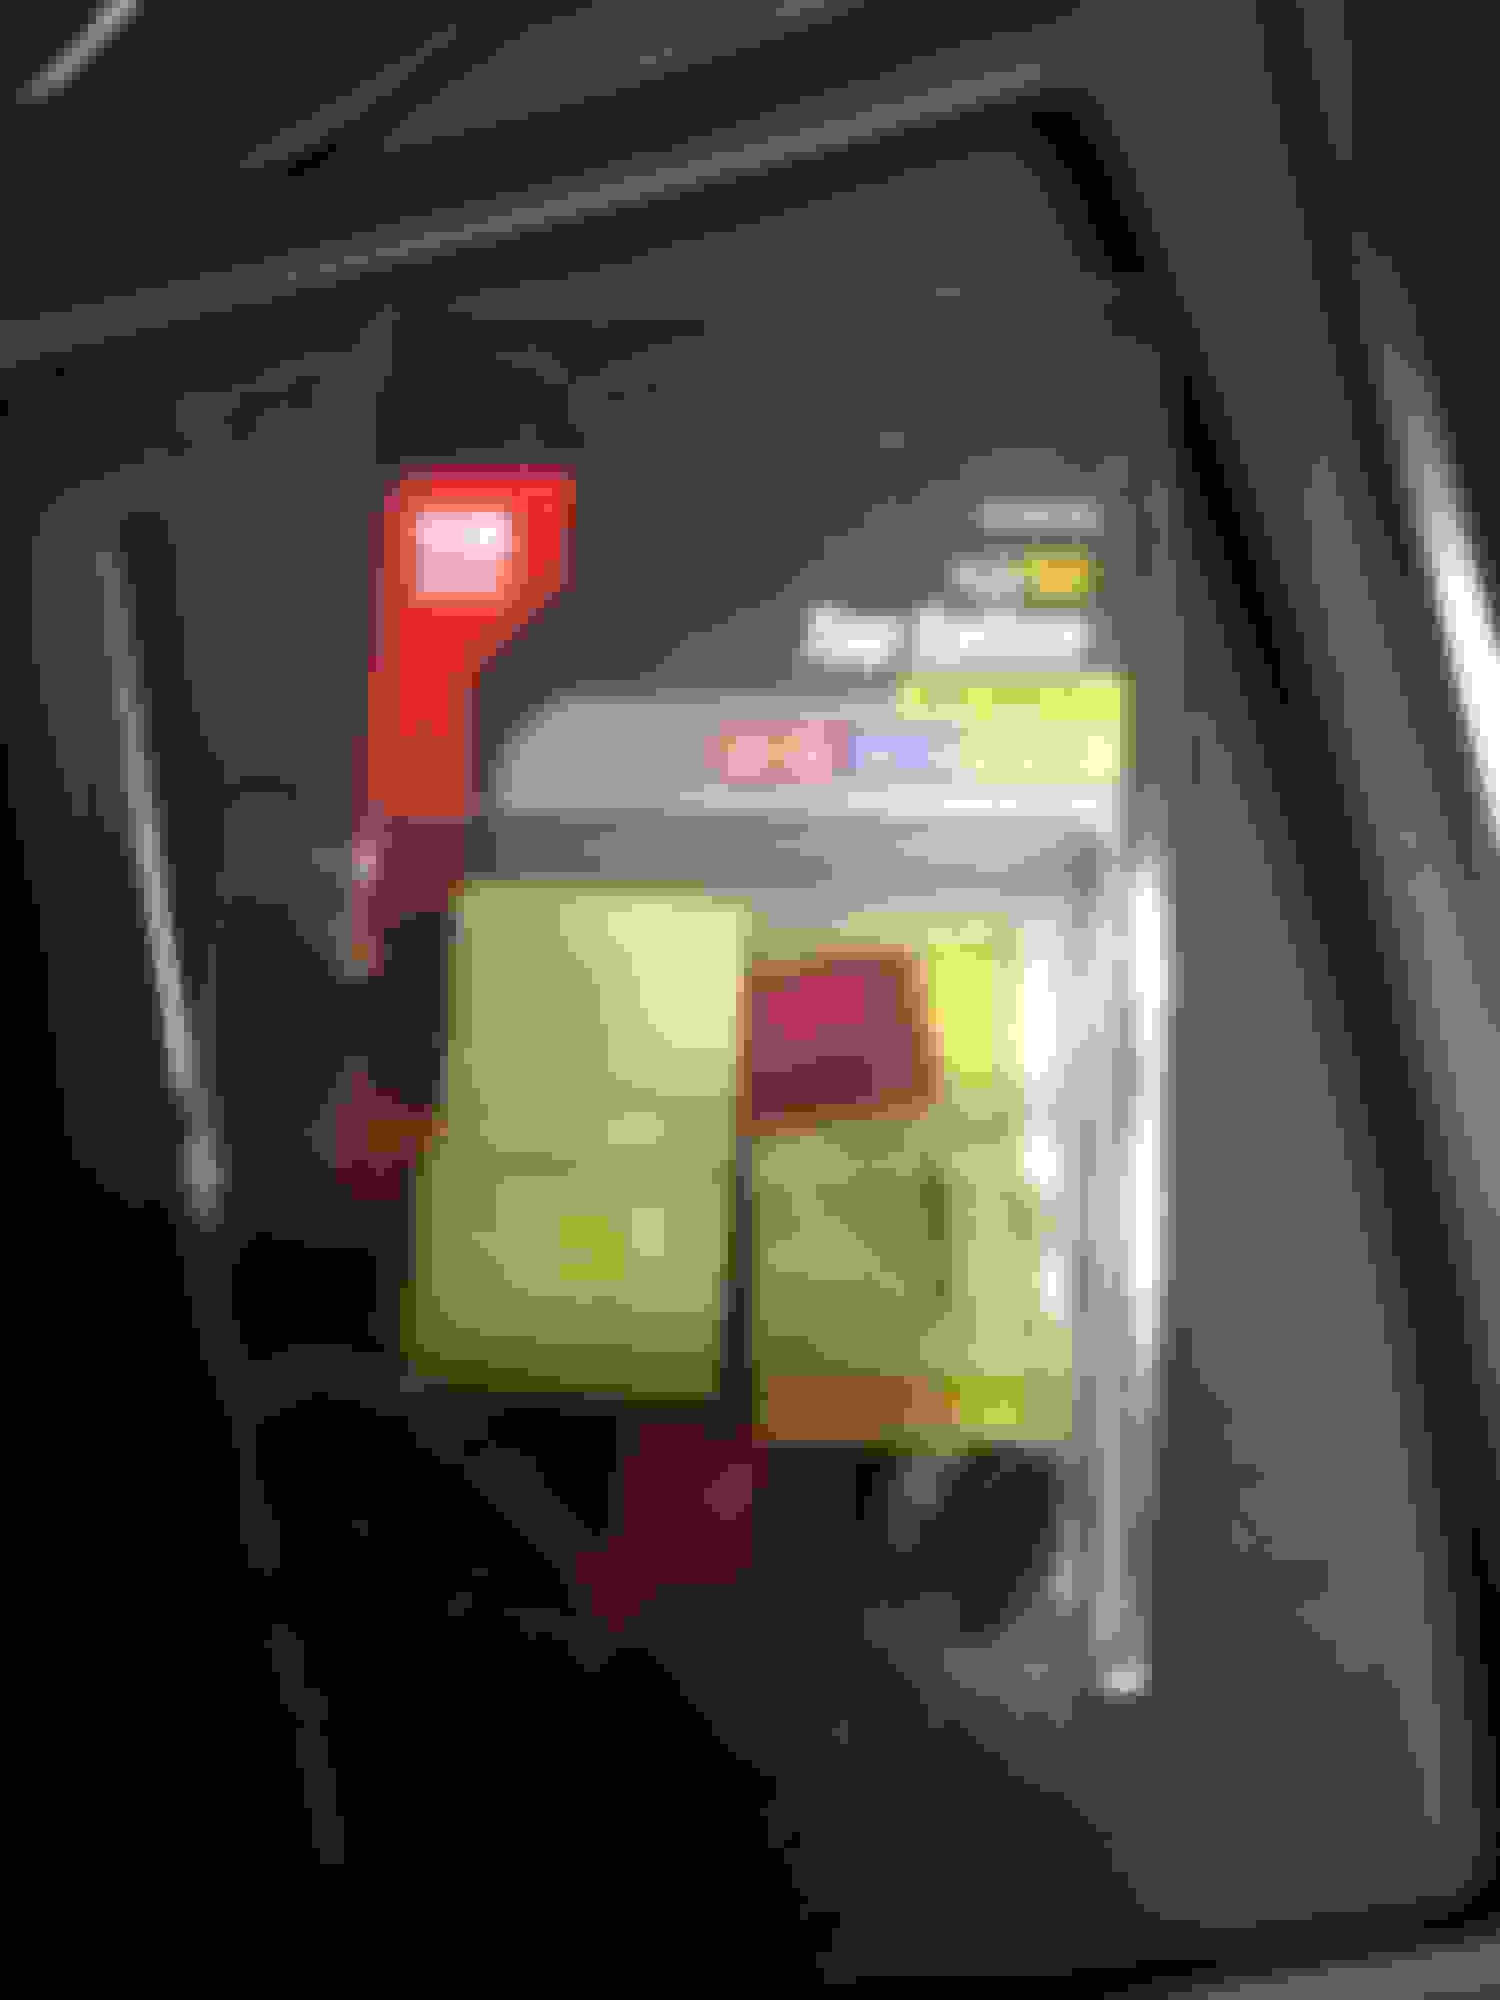
Once you have the ground and power tapped, connect it to your dash cam and see if it powers on. If it does power on, you can put the rest of the wiring harness (black box/fuse) into the little space at the end of the assembly near the windshield. Voila!
Complete pictures:
Interior view:
From the outside:
Last edited by BobaPanda; 03-30-2017 at 03:54 PM.
Reason: Add DIY to title
I just ran both of my dashcam cables down the middle, to the center console, and routed them using cheap Radio Shack (my local store is closing ) cable organizers. Not interested in so much work, for so little gain. Now, when I was younger, and in less pain, I would have definitely done what you did, or something similar, but those days I fear are over.
Nice job. I did mine in a very similar way. The main difference is that I ran the power wire down through the mirror.
How did you get the wire through the hole you drilled? I thought about going down the rear view mirror stalk but with the position of my dash cam, it would come out much higher and I would still be able to see the wire regardless.
It's actually not that hard to wire it in if you use T-taps and know which wires to pull power from. Shouldn't take more than 20 min, it took me longer just for documentation purposes and then also testing which wires were actually hot when the car was on.
Just wanted to help anybody out who was trying to hard wire either dash cam or radar since the most valuable part is probably knowing which wires to hook into.
How did you get the wire through the hole you drilled?
The trim pops right off. Drill hole, run wire, pop trim back on.
Agreed on the time. This couldn't have taken me more than about 30 minutes max. Not a major project that requires a significant amount of youthful enthusiasm.
The trim pops right off. Drill hole, run wire, pop trim back on.
Agreed on the time. This couldn't have taken me more than about 30 minutes max. Not a major project that requires a significant amount of youthful enthusiasm.
I guess i'm wondering how you got the wire through the hole because one end is a mini-usb which is larger than the hole and then the other end leads to a plastic box which has the 12V->5V converter.
I guess i'm wondering how you got the wire through the hole because one end is a mini-usb which is larger than the hole and then the other end leads to a plastic box which has the 12V->5V converter.
You would have to cut the wire, then splice back together and heat shrink.
I used the guts out of a charger, so there was cutting and soldering going on anyway.
 03-29-2017, 04:35 PM


 ) cable organizers. Not interested in so much work, for so little gain. Now, when I was younger, and in less pain, I would have definitely done what you did, or something similar, but those days I fear are over.


