When you click on links to various merchants on this site and make a purchase, this can result in this site earning a commission. Affiliate programs and affiliations include, but are not limited to, the eBay Partner Network.
Ok, so this is just a rough, quick and dirty DIY. I didn't make note of the exact tools, but aside from the tripe square bit for the trans mount bracket, everything else should be common in most DIY'ers tool boxes.
10mm allen bit - Trans fille plug
22/24mm (I think) cross member bolts
10mm socket - Trans mount bracket to mount bolts
There are 2 sizes of triple square bits you will need for the Trans mount bracket. One is for the bracket to body bolts and the other is the trans mount bolts to the trans.
With that our of the way, lets get to the fun. Drive the car for a bit to get the trans fluid warm to hot (it will cool a bit as you get the car in the air and thats ok). Get the car jacked up and level on jackstands high enough for you to get under. I actually put a level on the roof and used that as a guide.
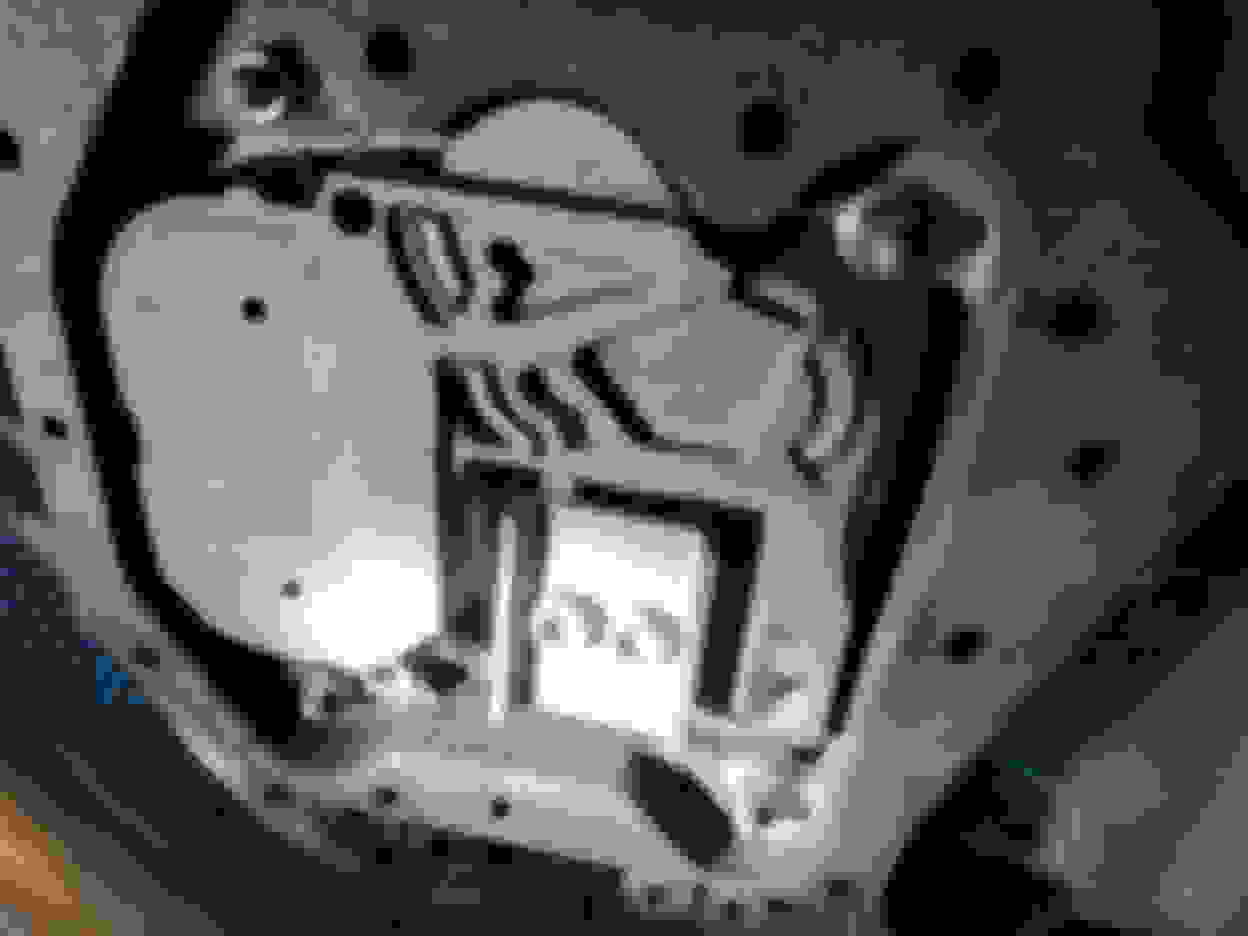
With that done, here's what you are looking at under there.
here you can see where you need the triple-square bits to remove the trans bracket and mount. You will have to support the trans when you remove this. I used my jack and a small piece of 2x4 as not to damage the tail shaft.
Now, while things are still warm, make sure you can loosen the fill plug. Don't remove it or you will be covered in hot ATF. Just make sure you can get it loose because nothing is worse then draining the fluid and then not being able to add it back. Once that's done, now you can drain the ATF by removing the drain plug that you see right on the bottom of the pan. I didn't include pics because I figured who hasn't seen liquid go into a pan right?
Once it's all drained out, time to remove the front crossmember, rear trans bracket and the trans mount. Don't forget to support the tail shaft as I did.
When done, this should be all the pieces you've removed
With those out of the way and the trans hopefully done with the initial draining, time to pull the pan. Remove all the pan bolts save for the one at each corner. Do those last to help control the pan coming off. Mine came off with no pulling or prying, however, do note that there's still a fair amount of ATF in that pan and in control body under it, so make sure your ready to catch it (aka don't get rid of that catch pan yet, you will need it).
The filter isn't held in with any scews, so just pull it off and have a look at the magnets on it. if you don't see any to very little metal filings, congrats, you trans is in pretty good shape. for 160k, mine had almost nothing on it so I was feeling pretty good. If yours looks like a metal chia-pet, you might have some issues going on.
Ok, so clean your pan real well and make sure the gasket contact points are nice and clean like so. ( I just wiped mine out with paper shop towels, no solvents needed)
Pop the new new filter up in there and get ready to slap the pan back on
put the new gasket on the pan and again, start bolting it back on with the four corners and then the rest. There is a "proper" tightening order, but just criss-cross it and if you want the torque specs for these little guy's, I believe it's 10nm.
Now, you need to remove the fill plug so you can start putting fluid back in. You can find that right here. on the pass side of the trans.
As far as getting the new fluid in there, choose whatever method you like best. I used tubing between the trans and the ATF bottle's and used hand power to squeeze it out. I just didn't feel like designing something to keep the tubing in the trans so I could use both hands for a pump.
Fill the trans till it starts to dribble out. That should be about 3 1/8th listers. Replace the fill plug and with the car still on the jackstands, get in, fire the car up, put your foot on the brakes and then put the trans in reverse for about 30-45 seconds, then put it in drive for another 30-45 seconds. Again, make sure you keep your foot on the brakes. After that, pop the car in Park and set the E-brake and leave the car running. Now crawl back under and remove the fill plug.
Be careful, things are now getting toasty under there. With the fill plug removed you will need to add additional fluid. 1-2 more liters. Just add till it's starts draining back out the fill hole. Once that happens, replace the fill plug and tighten it up. In total, I used 5 liters of new fluid.
From there, start putting your crossmembers and brackets back on. then clear everything out, and get the car back on the ground. Clean up and take the care for a spin. Trans should feel every bit as smooth as before or even better.
Ok, so I might have forgotten a few things so if there are questions, feel free to ask and I'll answer as best I can. An as always, just because I did this, doesn't mean you should. I take no responsibility if you screw your trans up. This is just a guide based on what little information I could find and my own knowledge from screwing with many other cars/trucks/firetrucks over the years. If you feel iffy, shell out and let your indy or the dealer do it.
I do have a pump, just didn't have that handy piece that will screw into the fill hole. Might be worth buying another pump just to get that. I have it's massive 8L brother, but it certainly didn't come with those helpful attachments
I am actually gonna get it done (at a friends shop) on my TDI within the next few things. Car is reaching 50K and considering it took about 3.5 years to get to 50K, I can justify the associated cost.
I am very curious to see what comes out of that tranny. Also gonna flush the rear diff (cuz why not?). I'll try to have them take pix of the fluid compared to new.
This is great. I'm curious what made you do this, I'm not judging just curious. With lifetime fluids, most folks have told me the fluid shows its age when you start seeing 1-2 hard shifts usually in stop go traffic did that happen to be your situation or just preventative?
2014a6tdi - Audi says lifetime however, ZF says change the fluid at 70-90k. I'm at 160k. I was also starting to have slightly rough shifts in prolonged traffic. I've now put 500 miles on it since the change and there is certainly an improvement.
Morski - That is an excellent point and I'll make that addition, thank you. I do have to say that every bolt I pulled off the car came off very nicely. I'm used to having to fight them or soak them in penetrating oil several times before they relent. In this case, everything came off they way they should.
Great write up. I just changed the fluid on my '12 BMW 135 6MT with 34k mi, which is also supposed to have 'lifetime fluid'. Don't believe that for a second because I was already having trouble engaging 1st from a standstill when the fluid got hot and thin, and all shifts were quite notchy. I put in Red Line MTL and it now shifts like butter.
 04-29-2017, 02:42 PM