When you click on links to various merchants on this site and make a purchase, this can result in this site earning a commission. Affiliate programs and affiliations include, but are not limited to, the eBay Partner Network.
Low fluid message shows up after a week.
found headlight pump would leak after you operated it.
it is way higher than the windshield pump so lots of fluid left.
I actually hate the headlight washers.
Getting the bumper wet after I cleaned the car...so I disabled it.
Used hot glue to seal up the leaking pump, broke off the terminals
Top pump is for headlight lower for windshield
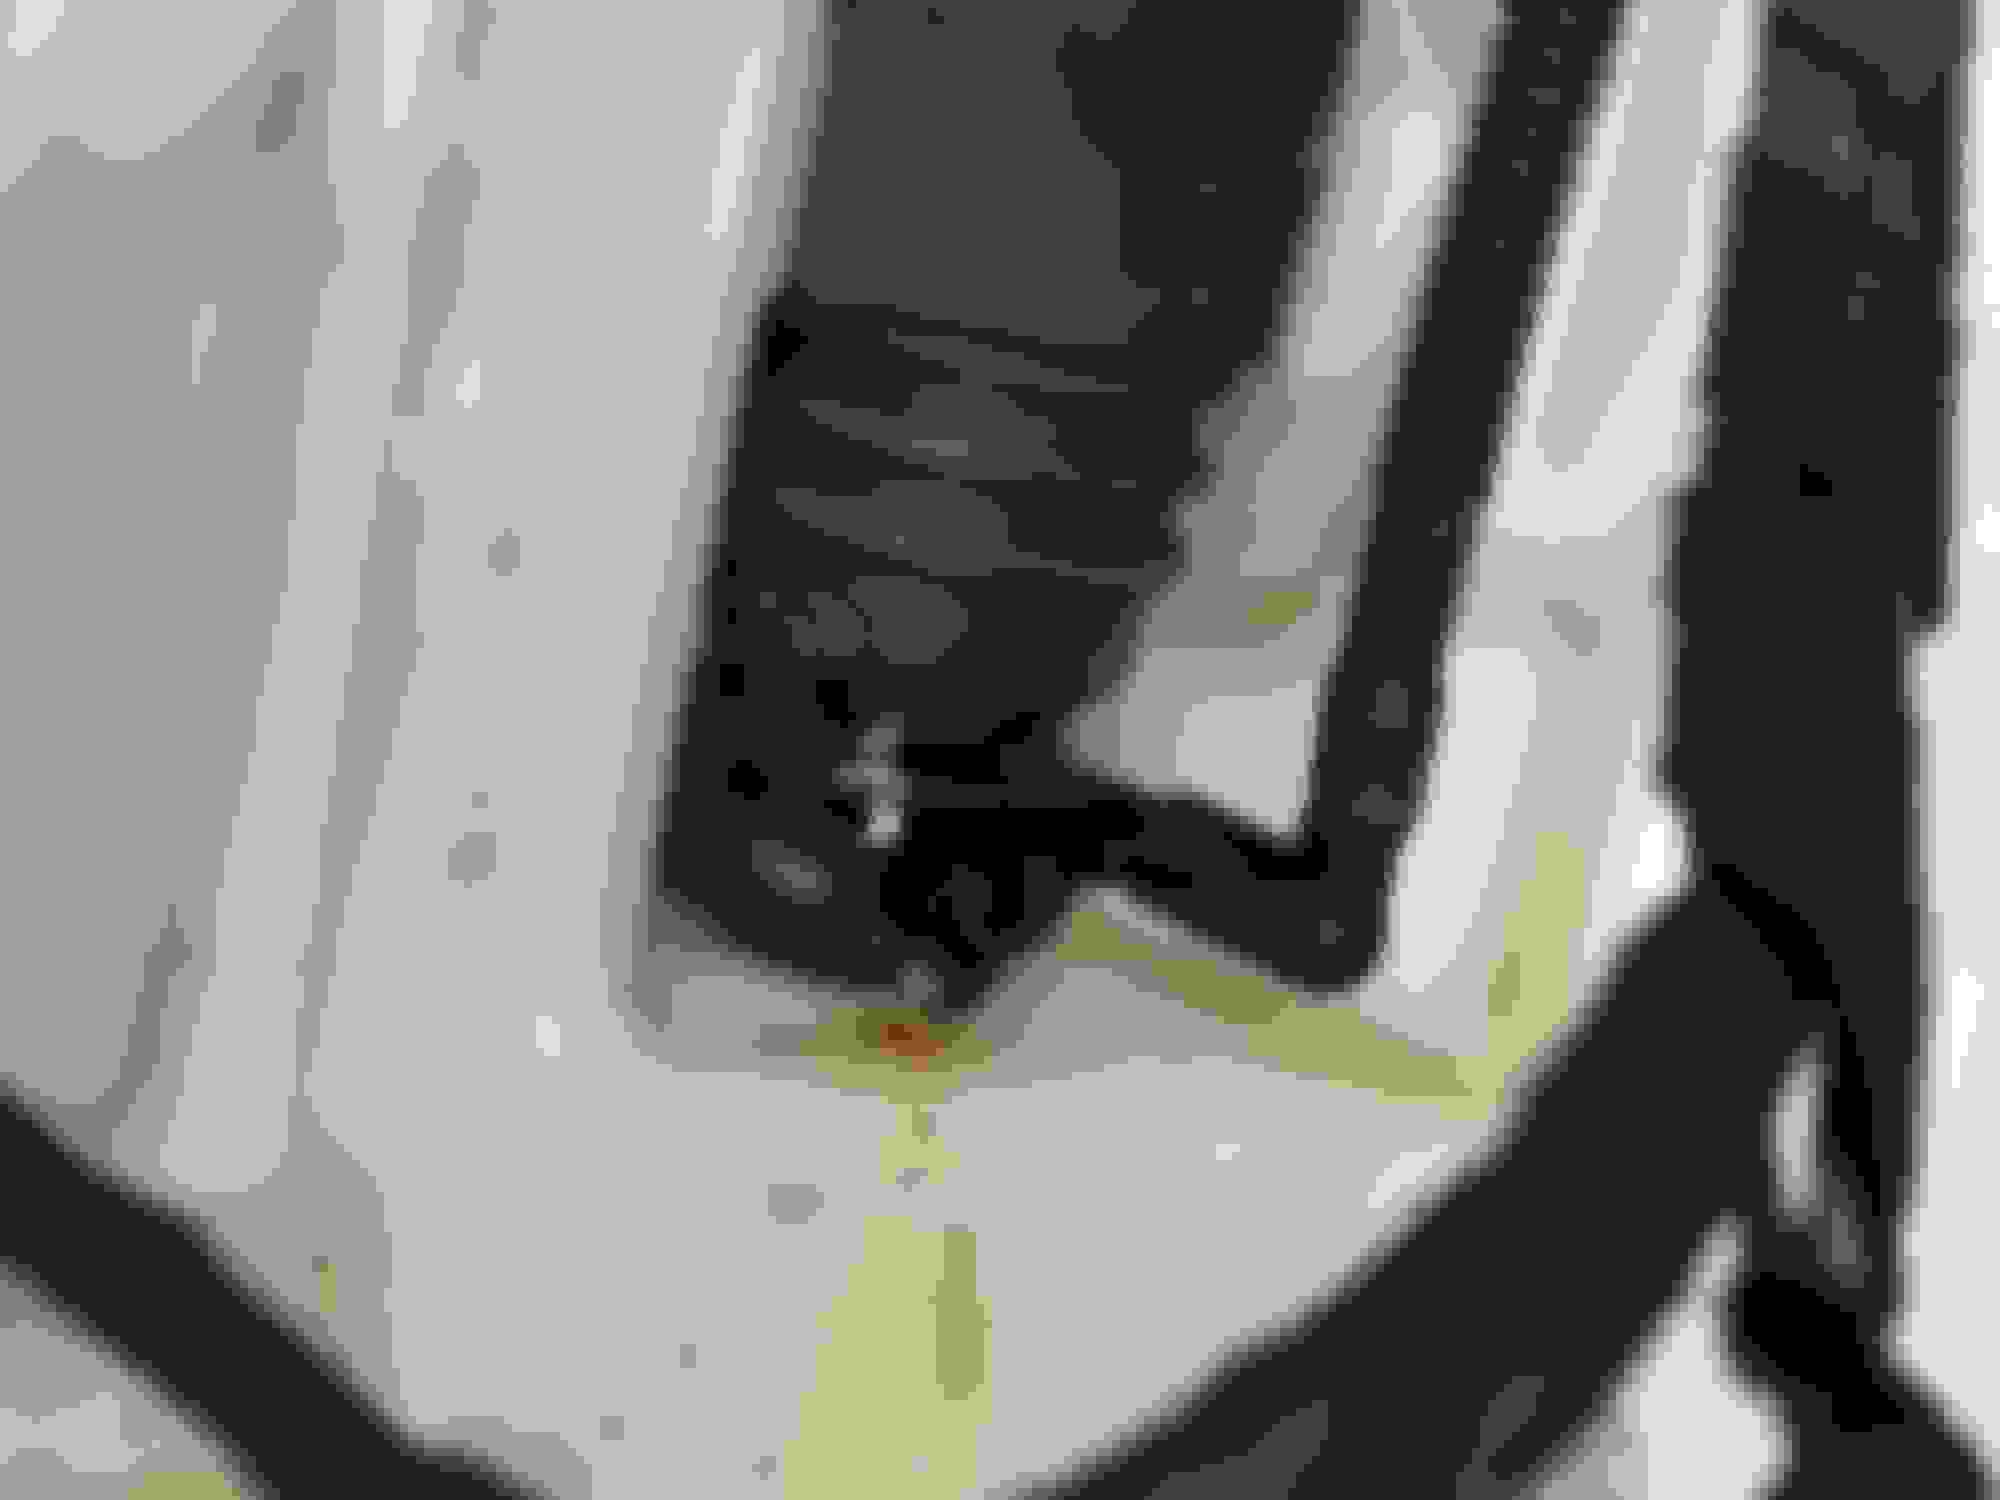
Top washer pump leaking above the discharge outlet
Hot glue to seal up all holes in pump
Hot glue to seal up all holes in pump
Broke off terminals to stop pump from running
on the pump and put it back together.
Haha. True
The pump is dead anyway.
So I was just using it as a hole plug.
Didn�t need to get out the laptop for this one.
If the next owner replaces the pump everything will work as original without VCDS 😀
Dville, I'm about the change that same headlight washer pump that failed in the same way, dripping from the rectangular hole at the lower part of the pump.
Can you tell if there is a difference between the headlight washer pump and the windshield washer pump... because the windshield washer pumps are a whole lot cheaper in the OEM market.
I too have used the headlight washer maybe 2 times, and that is just for testing if it is working... it uses a ton of washer fluid, but I'd like it to work.
Last edited by Sci-fi_Wasabi; 04-04-2020 at 11:51 PM.
Dville, I'm about the change that same headlight washer pump that failed in the same way, dripping from the rectangular hole at the lower part of the pump.
Can you tell if there is a difference between the headlight washer pump and the windshield washer pump... because the windshield washer pumps are a whole lot cheaper in the OEM market.
I too have used the headlight washer maybe 2 times, and that is just for testing if it is working... it uses a ton of washer fluid, but I'd like it to work.
if the part number is different, then the pump is different, even if it looks the same.
Audi would love to save money and have one less part to make and use if they were the same.
I would guess the headlight washer probably has a higher output pressure, but that�s just a guess.
So, as with Dville, the Headlight washer pump has an internal shaft seal that weakens and then you start to see fluid come out of the rectangular weep hole, leading to a puddle of washer fluid at the back end of the front right wheel well. 1st of all it is different than than the windshield washer pump as its motor housing is about a cm longer, to house a more powerful motor. Headlight washer pump p/n is 3D0955681, windshield washer pump p/n is 1K5955651. There seem to be plenty of generics for the windshield washer pump for as low as 10-15$, the OE manufacturer is VDO, which manufactures for Siemens/Continental. The Audi part has VDO and Siemens printed on it. I saw no generics for the Headlight washer, so it is an expensive dealer part.
Here is how I repaired it. Also please watch the linked youtube video at he end to see where I got some of my ideas.
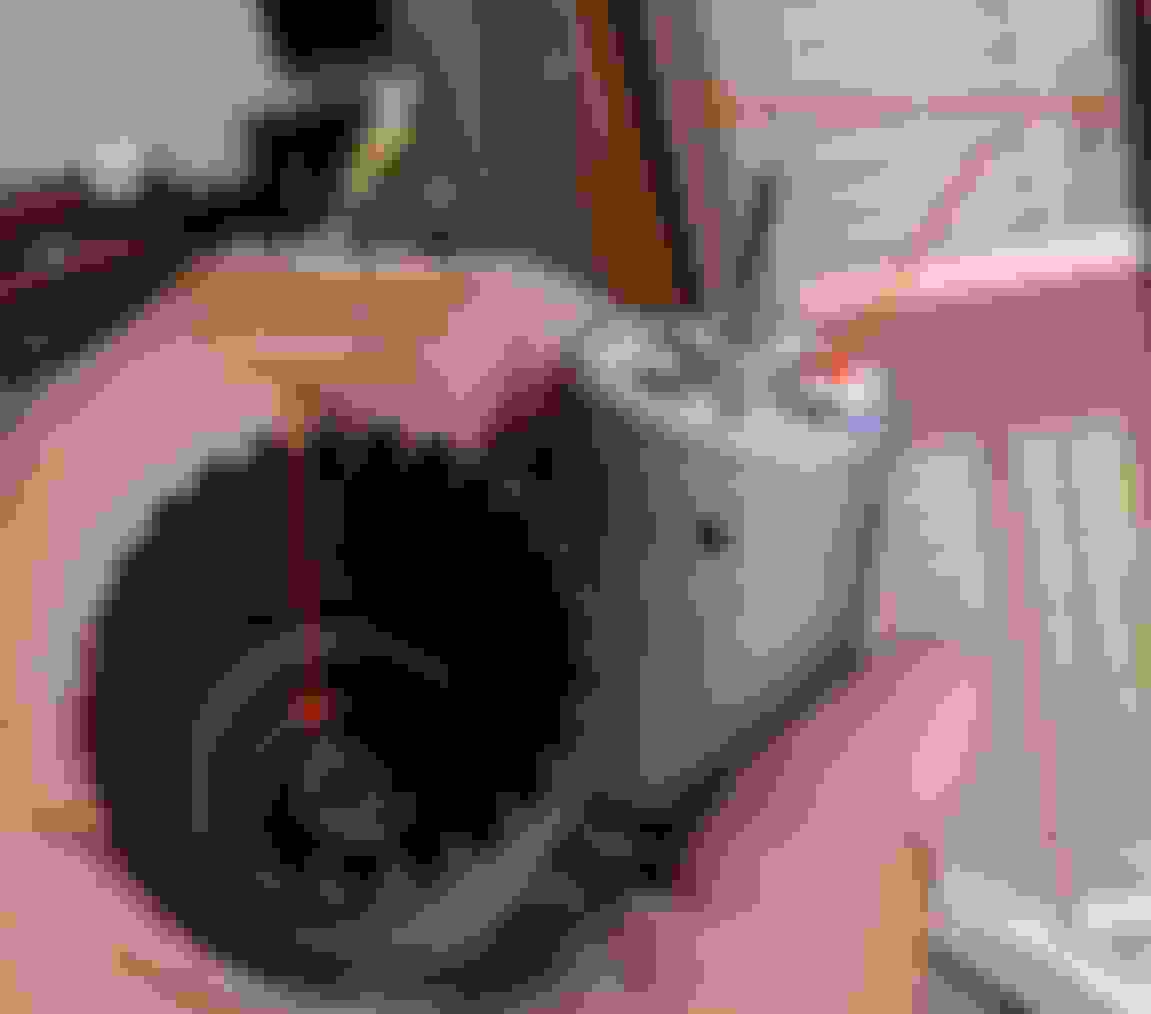
1. Remove right wheel well liner, the toughest part, like wrestling an alligator.
2. You will see two pumps. The top one is the Headlight Washer Pump, it is higher than the fluid sensor, because it does not function when the fluid “low” light comes on, so it does not deplete fluid for washing the windshield (since the headlight washer is more of a novelty)
3. Here is the path that the dripping washer fluid takes, so that is why you see it in back of the wheel well.
4. Remove the harness from the motor, the clips break off so get under it from the from the opposite side.
5. Have a bucket ready now, to catch the fluid if it is still above the level of the pump inlet, and disconnect the delicate corrugated washer tubing.
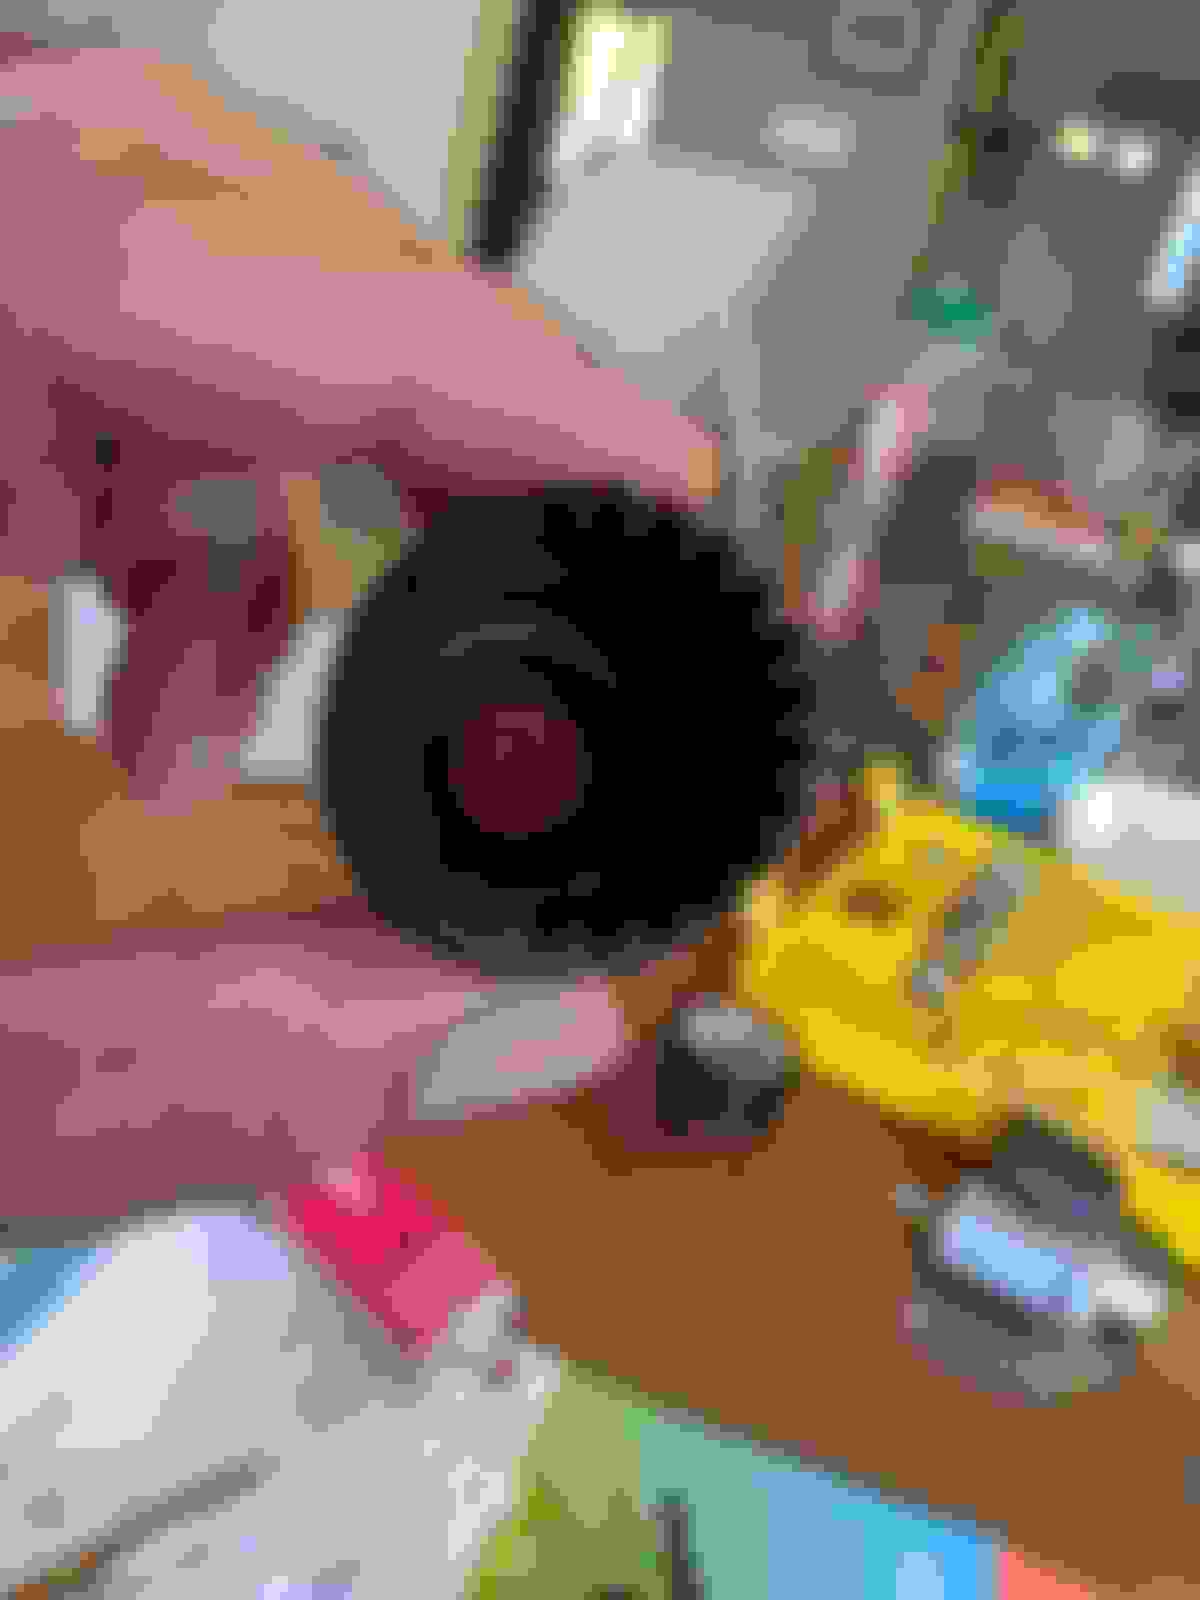
6. Take out the pump, leave the filter/grommet in the reservoir that it inserts into.
7. Don’t take off the foam tape around it, I just did to get the part number, I listed above, or else you will have to use weather sealing tape like I did at the end.
8. Here is the weep hole that the fluid drains out of when the shaft seal goes bad.
You can test the seal right now, if you put your finger over the outlet, and suck on the inlet, it will not hold vacuum if bad. If you blow into the inlet while blocking the outlet, you will blow the shaft seal out of its place, into a small 1mm gap between the motor and the seal, which is where one of the engineering defects of the pumps lies. If there is sufficient pressure in the system, the seal can displace. Makes some mark on the upper housing and lower housing that show how they were circumferential oriented/lined up.
9. Next take a clamp and squeeze the middle of the motor housing till it deforms a bit and then start to wiggle off the lower pump till you see it separate. There is no glue, it is just pressed in along a ridge, so it will give.
10. here is the top half with the motor, and in my case the rubber shaft seal came out too.
11. Here is where the shaft seal sits. 12 and how it goes together (the flatter side of the seal is towards the motor.
12. Before proceeding, if you motor has been bathing in washer fluid, it may be rusted out and not work, in that case, buy a new one. Also test your motor now while it is out of the housing, Just take a full 9V battery and touch the two motor leads to it and it should spin slowly, or get a 12 volt source and it will spin fast.
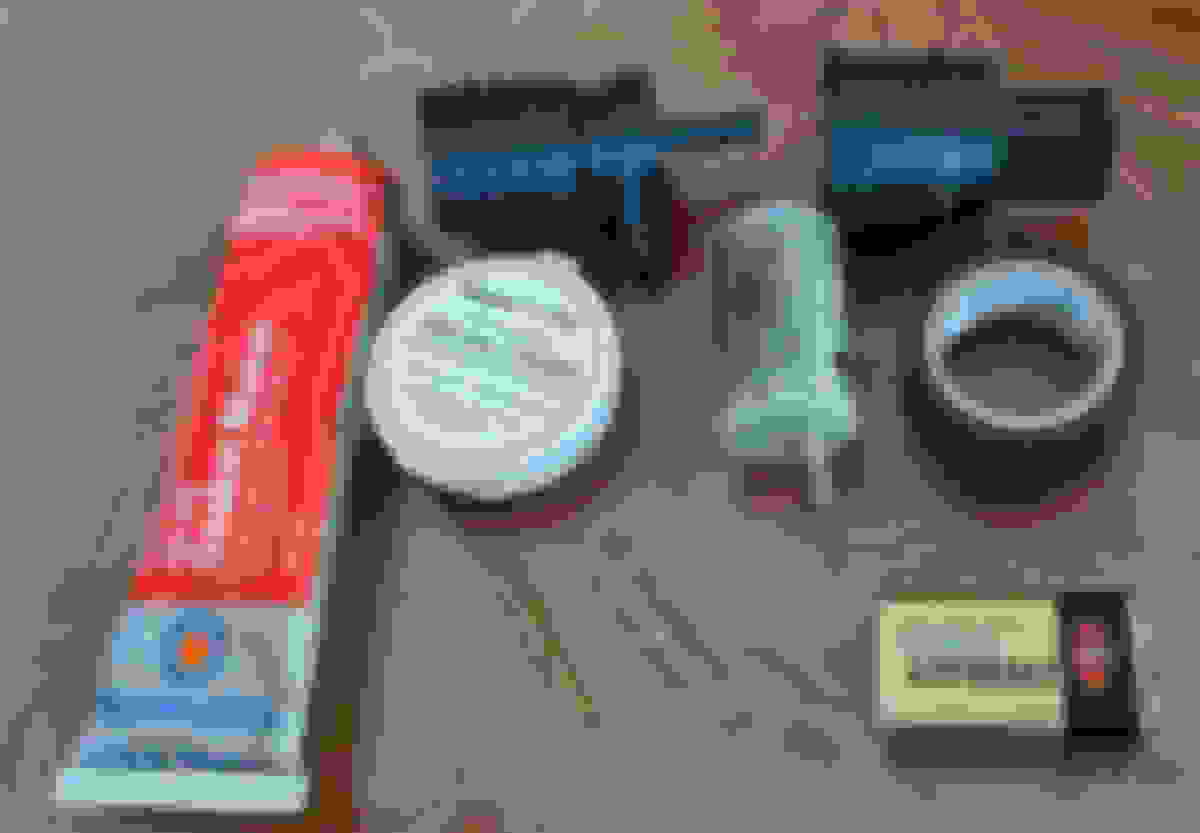
13. If your motor works, then gather the materials in this picture, Gasket maker, Silicone grease, Electric tape a paper clip or small drill bit, and the 9V you already used.
14. Here is the seal. It must shrink over time, as the center hole did not seem tight around the pinion, and also it could pop out of its inset with some back pressure. Its dimensions are 4mm thick and 8.2 mm diameter. I wonder if it is the same seal as in a generic windshield washer pump, so maybe just harvest parts from a 10$ new one and swap it or the motor and housing onto the new one.
15. Here are some measurements showing the design problems (besides the seal weakening despite being used like 5 times in the life of the car). There is about a 0.73mm gap between the hump on the motor housing as it sits on top of the seal (3.2mm-2.47mm), allowing the seal to migrate up with back pressure on it and add to the leak issue. The next goal is to fill that gap and also tighten up the seal.
16. Cut some electrical tap and wrap it around the circumference of the seal so one end mets the other perfectly (so no overlap at the ends). Two layers of tape was too much and i could not get the seal to seat. That one layer is enough to squeeze it inwards so the seal grips the pinion tighter to reduce the leaking. before putting the seal in put some silicone grease in the center hole and also on the surface that touches the plastic.
17. Next, fill the area above the seal with RTV gasket maker. I picked the one in the picture because 1 I had some left over, and 2 per the data sheets, it cures more flexible then the one made for coolant fittings (more resistant to water-glycol… which I assume means more resistant to the alcohols in washer fluid).
Now the trick is to not fill it to the top of that center cylinder, we just need enough to fill in that 0.73mm gap between the seal and motor. Let the RTV sit for a half hour than stick the paper clip in it to make a channel for the pinion. Let it sit for a few hours and harden, use the drill bit (smaller than the pinion obviously, if you need a bit more of a channel for the pinion. I did not want the RTV to stick to the motor head, so that is why i did not reassemble while it was tacky. Coat the pinion with silicone grease, as well as the hump on the motor that contacts the RTV gasket (again i didn’t want it sticking to the motor) the pinion should slide into the hole in the RTV gasket nice and snug to give it a second seal. Once the motor seats in, turn it a couple time so you know that it is fully in and engaged with the impeller.
18, ok so snap the motor housing on, matching up the marks you made earlier, or if you forgot like I did, in a way such that the wiring harness and the outlet are oriented properly into the washer reservoir.
19. take your 9 volt, and test out the motor for spin again.
20. Install it and everything should work just fine for when you want to spray an unsuspecting passerby with washer fluid from your headlights.
(remember to test headlight washers: the fluid level must not be low, headlights and ignition on, pull washer stalk for greater then 1 second, check it for leaks before buttoning up everything)
youtube link by Auto Repair Guys where some of the ideas came from:
 05-11-2018, 02:55 PM