When you click on links to various merchants on this site and make a purchase, this can result in this site earning a commission. Affiliate programs and affiliations include, but are not limited to, the eBay Partner Network.
I just finished changing my rear pads/rotors and front pads alone with the help of my father who's a mechanic. It took us about 3hrs but it wasn't a very difficult job. I snapped a few pics (rear only) along the way with hopes that it may help someone else who decides to tackle this job.
Parts: EBC Red Front DP32087C
EBC Red Rear DP32082C
OEM Rear Rotors: 4H0-615-601-L
Set suspension to raise mode then turn the wheel change mode on in the vehicle settings to lock the suspension in place.
Attach a battery charger before releasing the parking break via VCDS.
VCDS:
Select Chassis
Select Parking break
Select Basic Settings
Select Start Lining Change mode and click go (you will hear a sound from the rear as the parking break is releasing)
Lift the car
Remove wheels
Remove brake calipers and old pads
Socket used to remove the caliper bolts
Loosening rust from the rotor bolt by hitting it with a hammer a few times
Spray penetrating oil on the rotor to loosen it. Hit the back of the rotor with a large hammer to remove it. Have someone there to catch as it comes off if not it may fall to the ground so watch your toes.
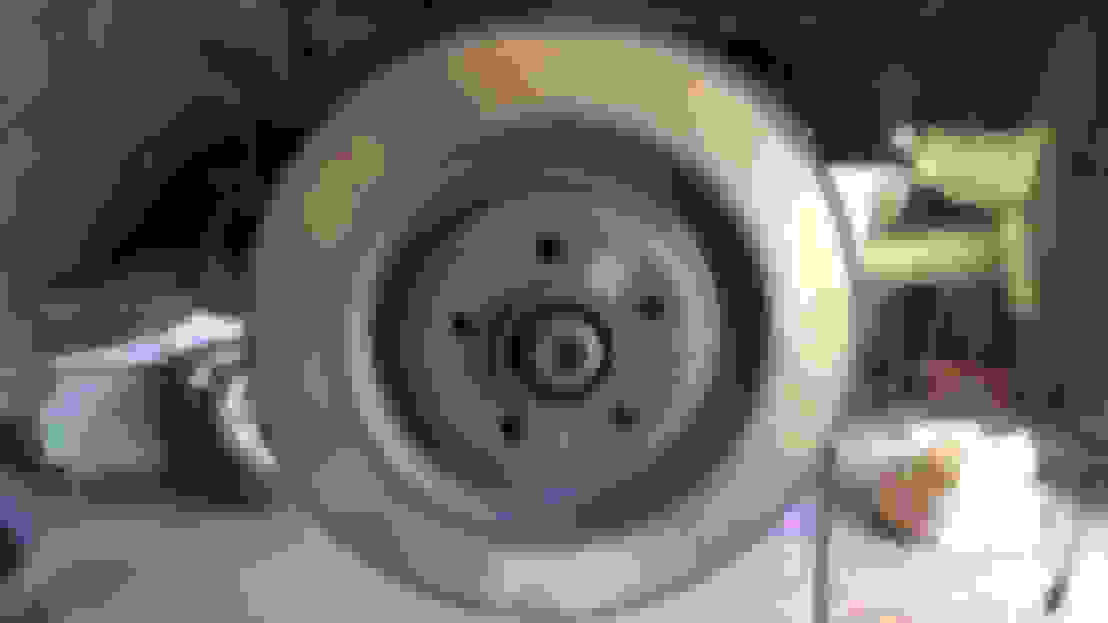
Wheel hub
Clean any residue thats on the wheel hub
Ready for the new rotor.
Brake Caliper wind-back tool
Wind the brake caliper piston back in to create space for the new pads. You may need to remove the brake fluid cap under the hood to release pressure.
Installing the new pads
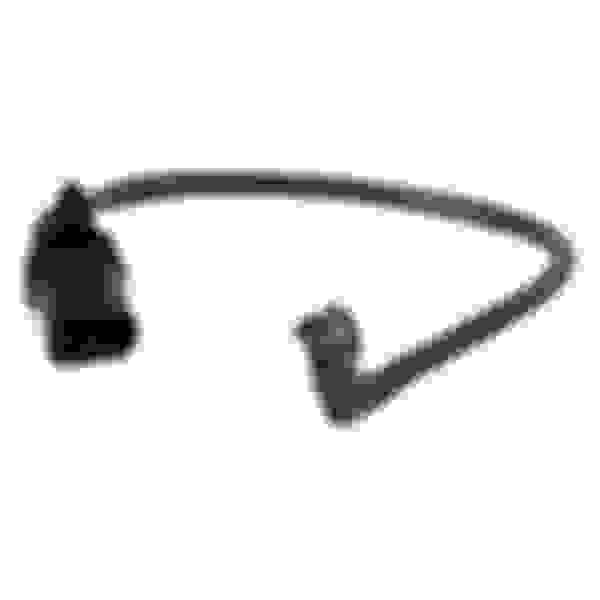
If needed, swap the brake pad sensor wires.I forgot to order them so i'll be swapping them this week. These just clip in and are easy to swap since you can access them by just removing the wheel.
Go back into VCDS and select End Lining change mode then click go
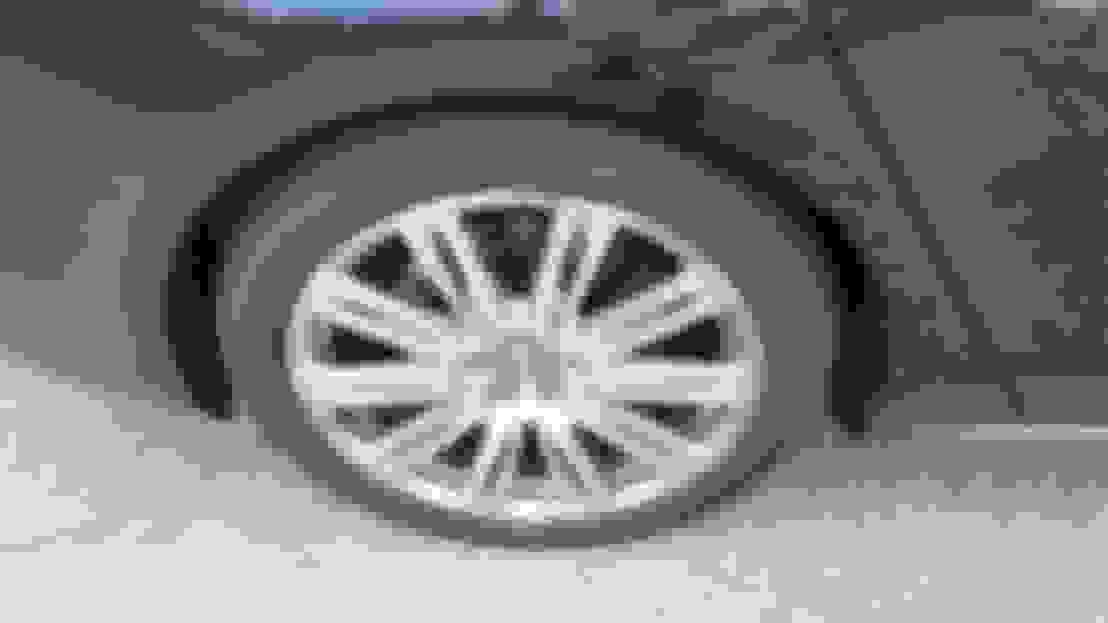
Job complete, make sure you pump your brakes several times before putting the car back in gear.
Save
Last edited by BruceLeroy1984; 07-11-2016 at 03:00 AM.
Very good detailed instructions! Neighbor has a '15 L that wants me to do his brakes for him. Checked on this thread to see if it's any different than my B8.5 and a friends 8V A3 I just did a few weeks back. Glad to see it's not much different. I believe I should have all the functions needed to do this with Carista.
I did both front and rear pads a few months ago on our '13 A8.. I wrote up a quite thorough procedure that I used. It's available if interested. Send me an email at: kittyandgary at verizon dot net with A8 brake in the subject and I'll send a return with the procedure attached.
Thank you. Is accessing VCDS necessary to release parking brakes? Could you just set to wheel change mode in MMI and release the parking brake manually?
Thank you. Is accessing VCDS necessary to release parking brakes? Could you just set to wheel change mode in MMI and release the parking brake manually?
You need one of the electronic tools (like VCDS) to do it. When you release the parking brake, the pad still sits right next to the rotor (as in only thousands of an inch). And it is held there is any modern rear parking brake system to avoid having to manually adjust the parking brake periodically for wear. Thus, the electronic tool permits it to be opened up such that you can then clear the wear lip on the old/worn rotor.
Wheel change mode is unrelated to opening parking brake. Its purpose is to not have the air suspension go whack mode when a corner is jacked up and it wants to try to correct the car and suspension being off kilter.
There is a YouTube video of a guy who changes the rear pads without using the VCDS system (or any other system to communicate with the car computer). I have not done it, and since I have VCDS will not do it, but you might investigate it as a possible (maybe risky) option!!! I list a link to it in my procedure write-up.
I was wondering if I could charge the battery from the front of the car, in engine by, where the Jump start ports are located, or do I need to attach the battery charger directly to the car battery in the back? I usually use the Jump Start ports in the engine bay, when I use the trickle charger, when the car is not used for a while.
Thank you
Originally Posted by BruceLeroy1984
I just finished changing my rear pads/rotors and front pads alone with the help of my father who's a mechanic. It took us about 3hrs but it wasn't a very difficult job. I snapped a few pics (rear only) along the way with hopes that it may help someone else who decides to tackle this job.
Parts: EBC Red Front DP32087C
EBC Red Rear DP32082C
OEM Rear Rotors: 4H0-615-601-L
Set suspension to raise mode then turn the wheel change mode on in the vehicle settings to lock the suspension in place.
Attach a battery charger before releasing the parking break via VCDS.
VCDS:
Select Chassis
Select Parking break
Select Basic Settings
Select Start Lining Change mode and click go (you will hear a sound from the rear as the parking break is releasing)
Spray penetrating oil on the rotor to loosen it. Hit the back of the rotor with a large hammer to remove it. Have someone there to catch as it comes off if not it may fall to the ground so watch your toes.
Wheel hub
Clean any residue thats on the wheel hub
Ready for the new rotor.
Brake Caliper wind-back tool
Wind the brake caliper piston back in to create space for the new pads. You may need to remove the brake fluid cap under the hood to release pressure.
Installing the new pads
If needed, swap the brake pad sensor wires.I forgot to order them so i'll be swapping them this week. These just clip in and are easy to swap since you can access them by just removing the wheel.
Go back into VCDS and select End Lining change mode then click go
Job complete, make sure you pump your brakes several times before putting the car back in gear.
 07-10-2016, 06:07 PM