When you click on links to various merchants on this site and make a purchase, this can result in this site earning a commission. Affiliate programs and affiliations include, but are not limited to, the eBay Partner Network.
All A3s with manual aircon don't come with rear A/C for the passengers, so after some reasearch and surfing in the web I came across some diagrams and part numbers, even with a place to buy them, so for all of us that don't have rear A/C vents, here is a quick guide to install it (mine's a A3 saloon but it should work also for the sportback version):
Parts/tools needed:
Rear Outlet * 1 (8VD 819 203)
Interface * 1 (8VD 857 042)
Pipeline * 1 (8VD 857 039)
10mm socket
8mm socket
T15 torx
Trim removal tools
Patience and love
1hr of your saturday?
These parts I got from a VW seller in Aliexpress (https://www.aliexpress.com/item/For-...4aa54c4dNXrk8Q) they cost me $80 plus $50 shipping, these are quality parts not cheap copies, I believe they are OEM for the asian VW/Audi segment . They also sell a version with the 12V outlet with either the red light (for 2013-2016 A3s) or the white light (for 2016-present)Installation Steps:By default all A3s use the same air blower motor so it is possible to install the rear A/C vents, they just have it blocked from factory using a plug, befor buying I removed the center console to reveal the A/C blower outputs and saw the plug (piece 29 from the image) for the rear vents, thats how I know this mod was possible, also you can check for rear foot vents to avoid removing the center console (should be located below the passenger and driver seats), if your car have them you are good to go
1- Removing the center console
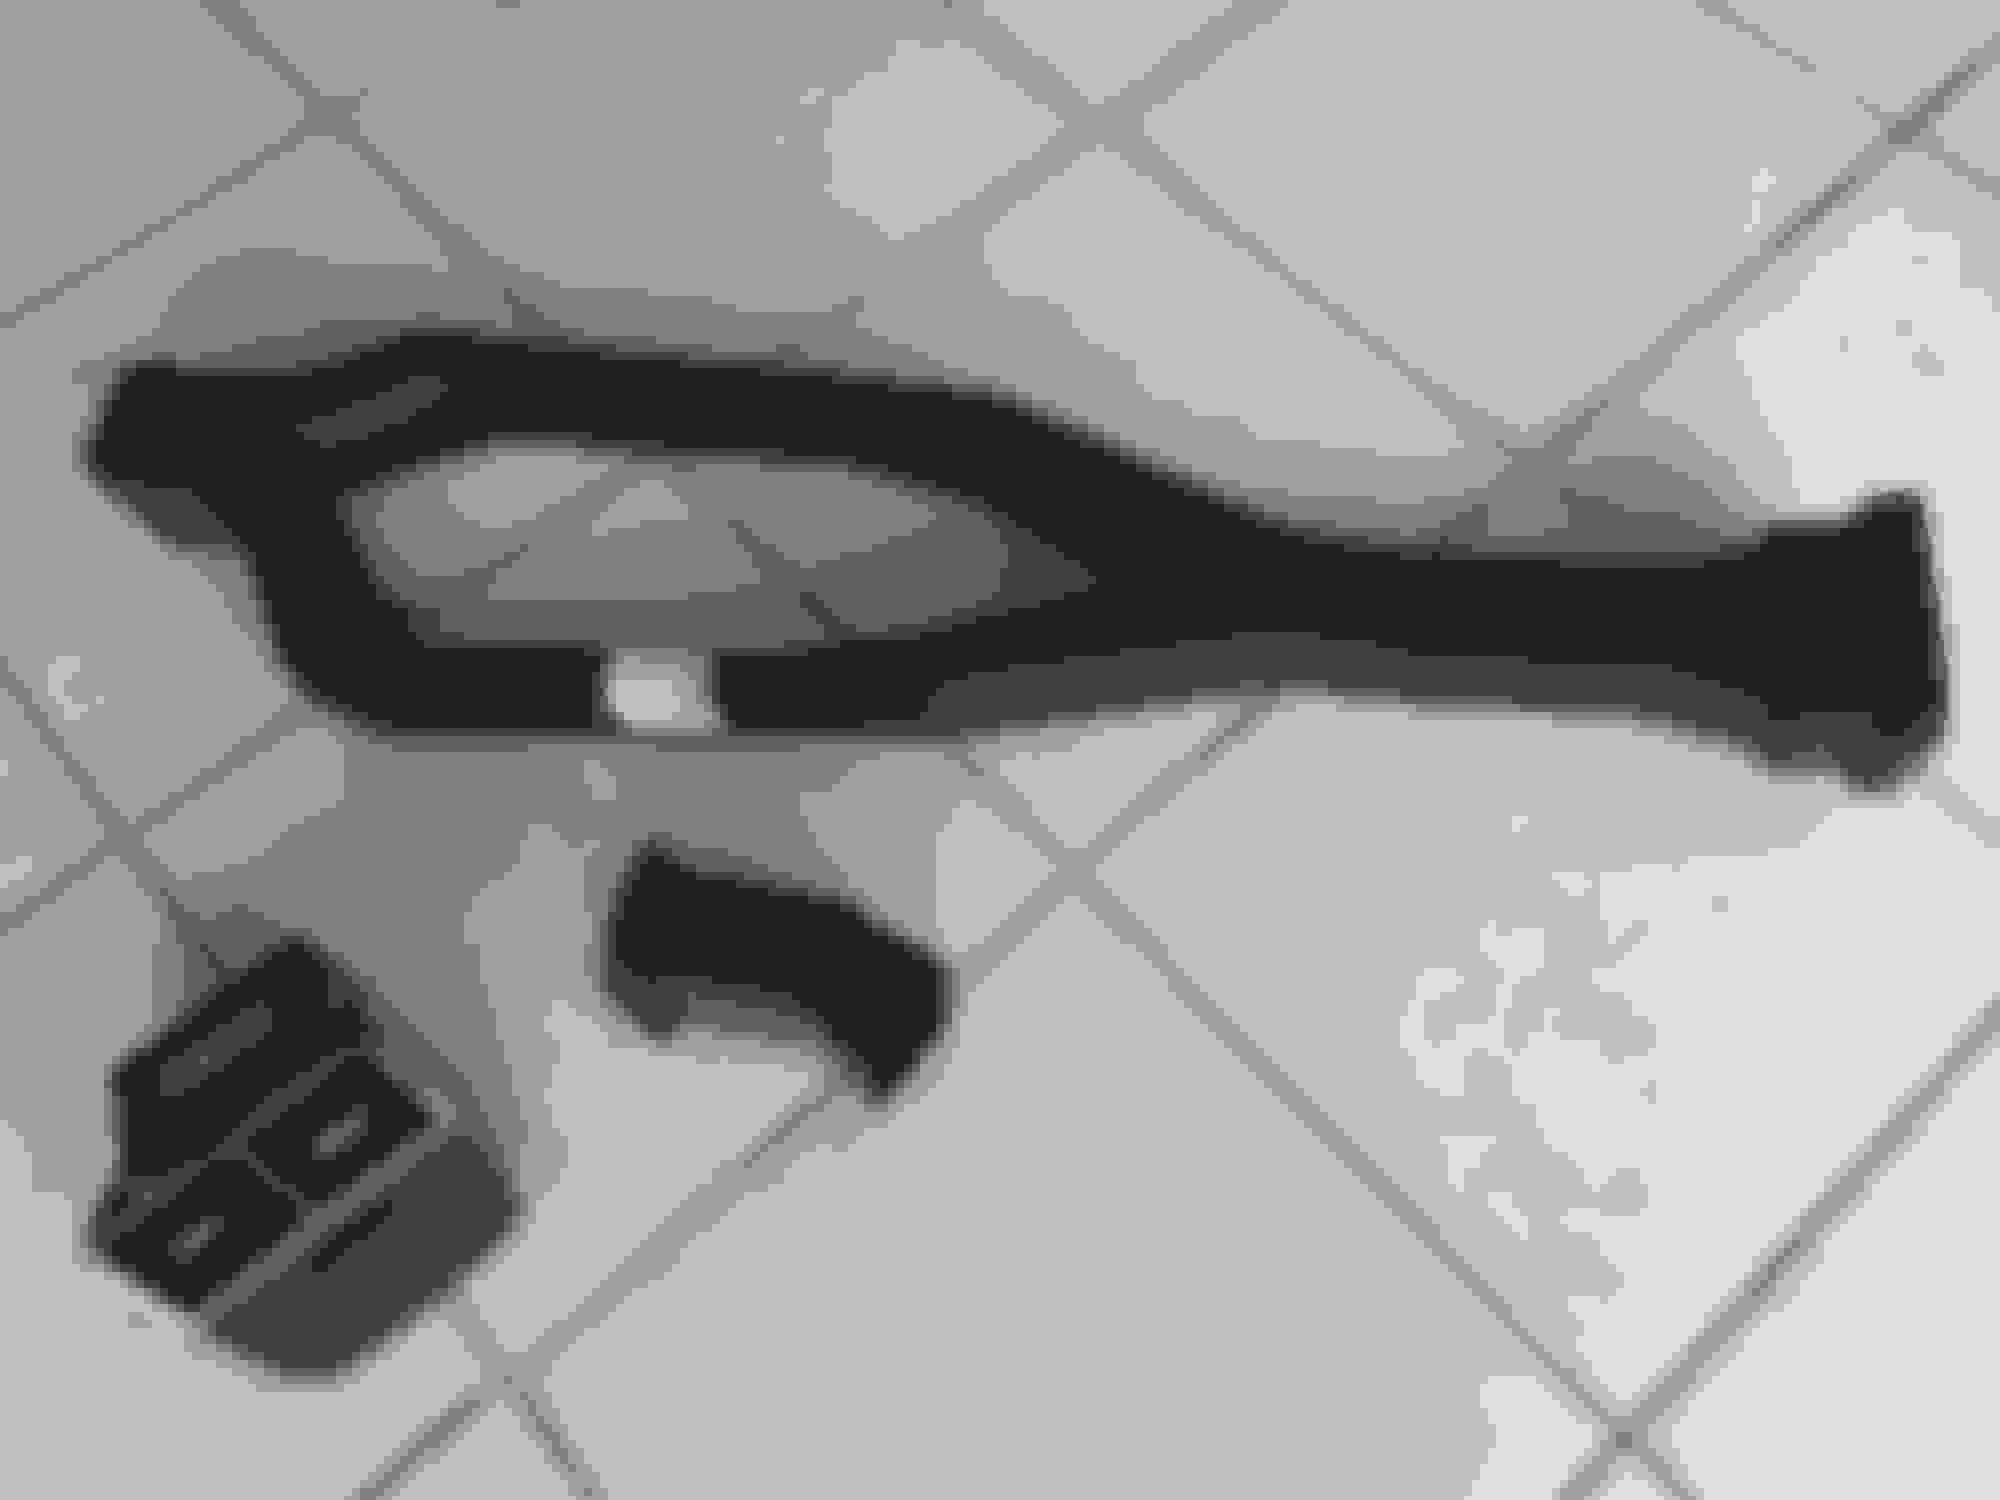
In order to remove the center console, the MMI controls/shifter/cupholder bit has to be removed, for this use a trim tool and insert it in the split just by the center of the mmi control wheel, you should be able to "stab" it with the tool and pry upwards to loosen the clips, just go one side at the time and lift until the clips pop
Now, remove the boot of the shifter, by inserting a thin trim tool in one side and lifting the whole boot up, then twitst the boot 90 degrees so it can clear the console shifter hole (note that by putting the gear lever in N position it is easier to lift the entire console top), in order to lift the entire thing, first pull up the back part of the console (colse to the armrest) then slide the whole thing backwards, but dont remove it entirely as we need to unplug some cables
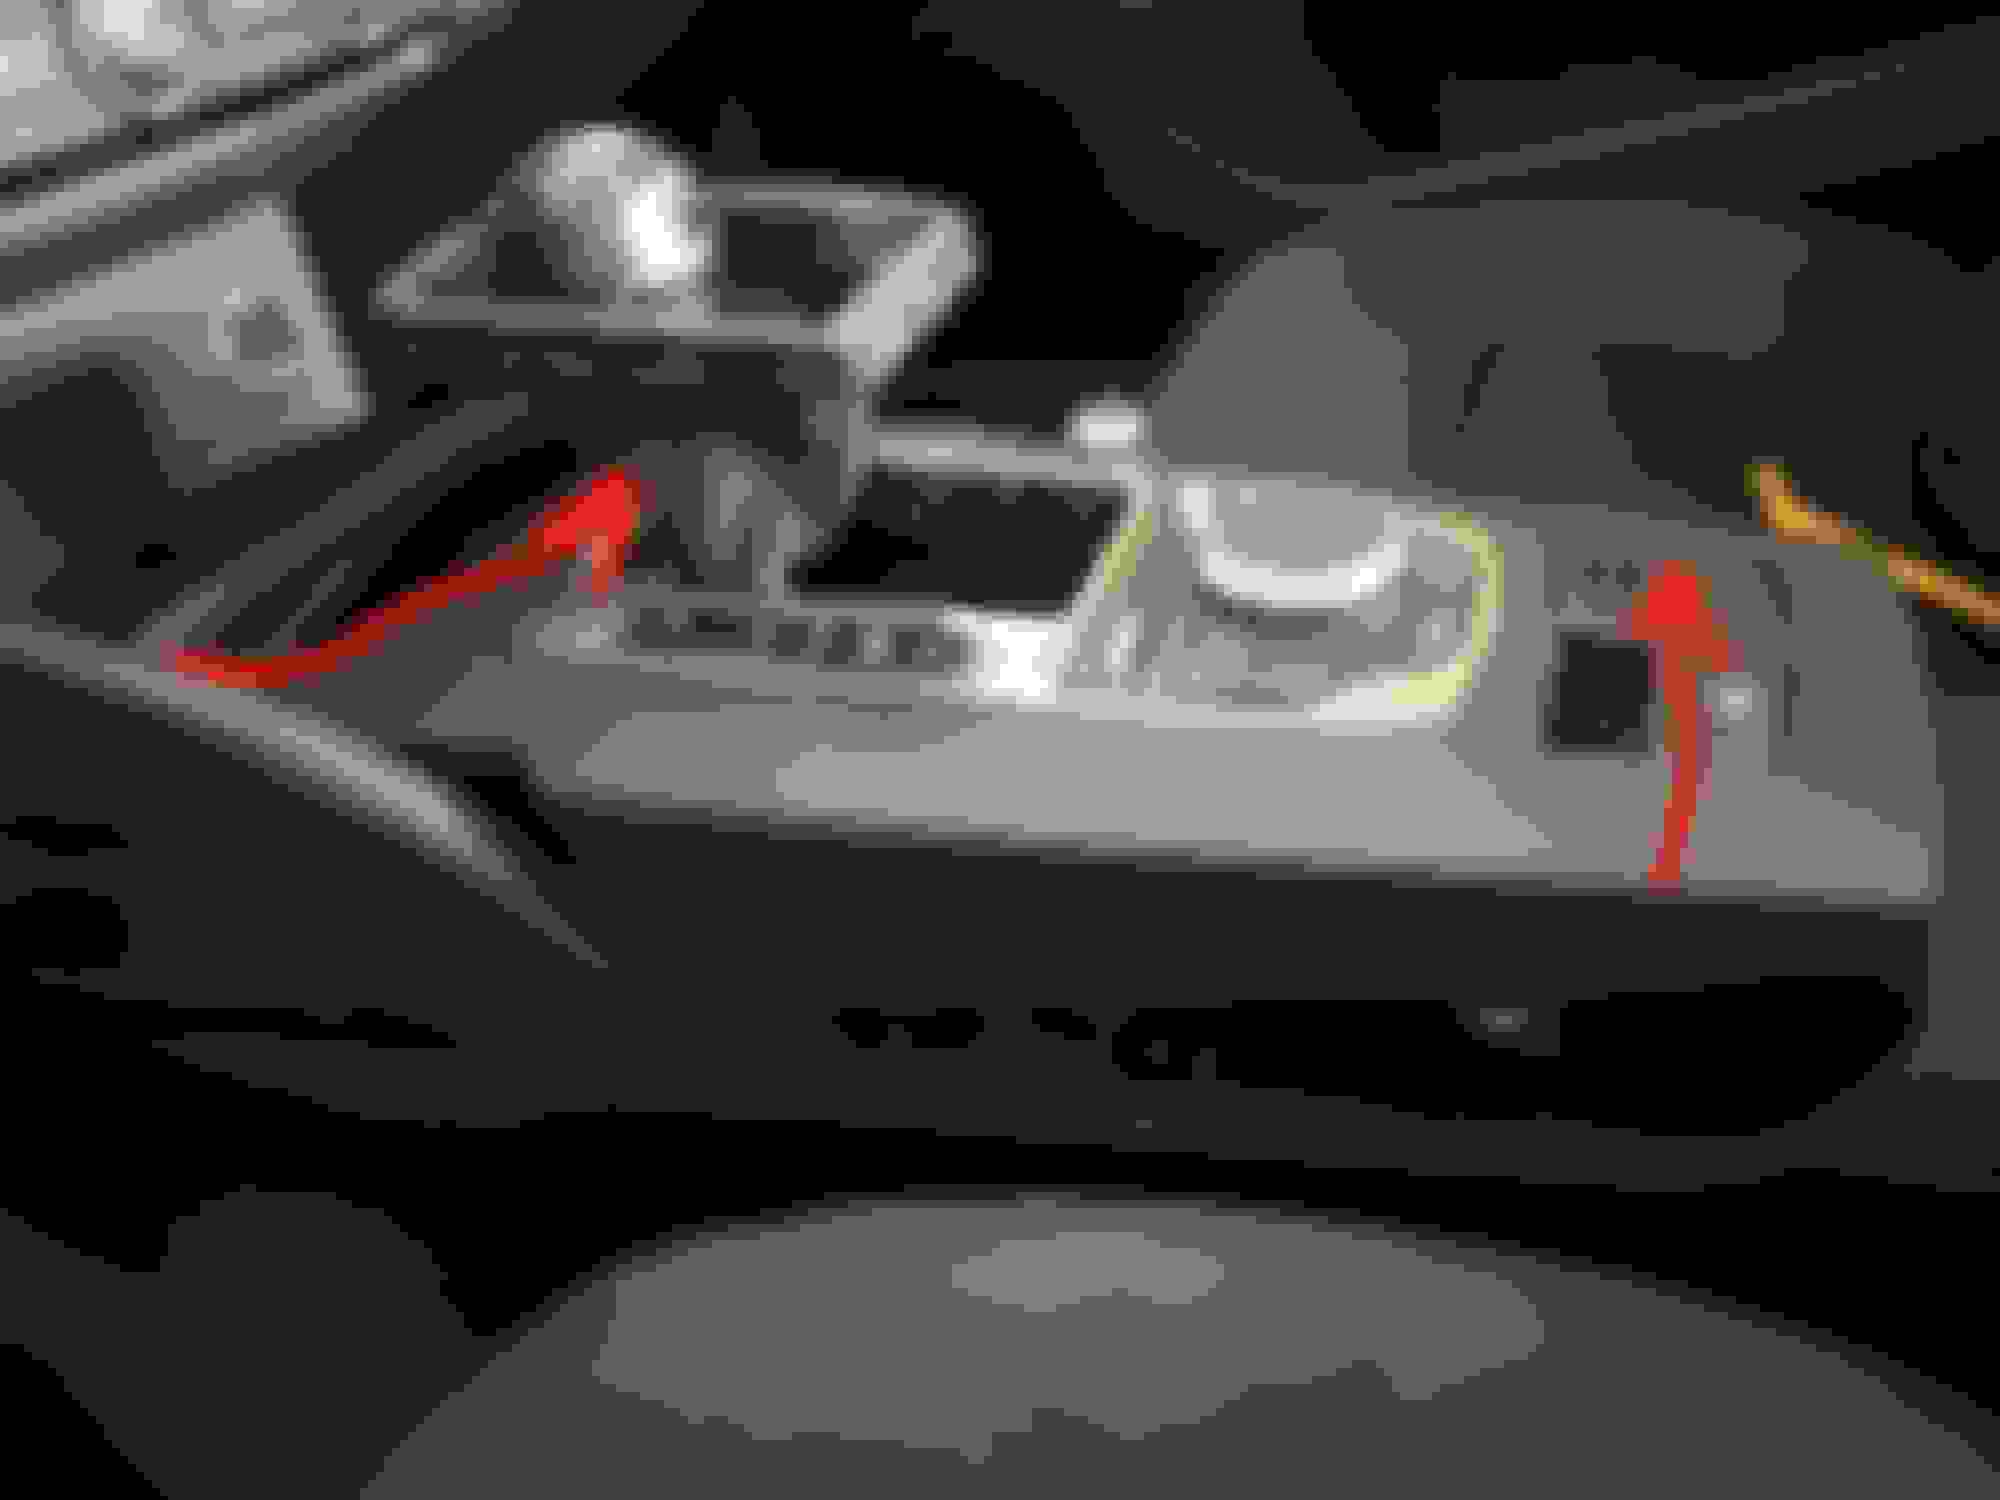
Remove the cables from underneath the console: E-brake, MMI controls, Shifter lights, if your has auto hold, remove it as well, they all have a little tab, just press it and unclip. Once removed you can lift the entire thing out of the way, here's how it looks from underneath, notice where the trims were inserted and the plug connectors:
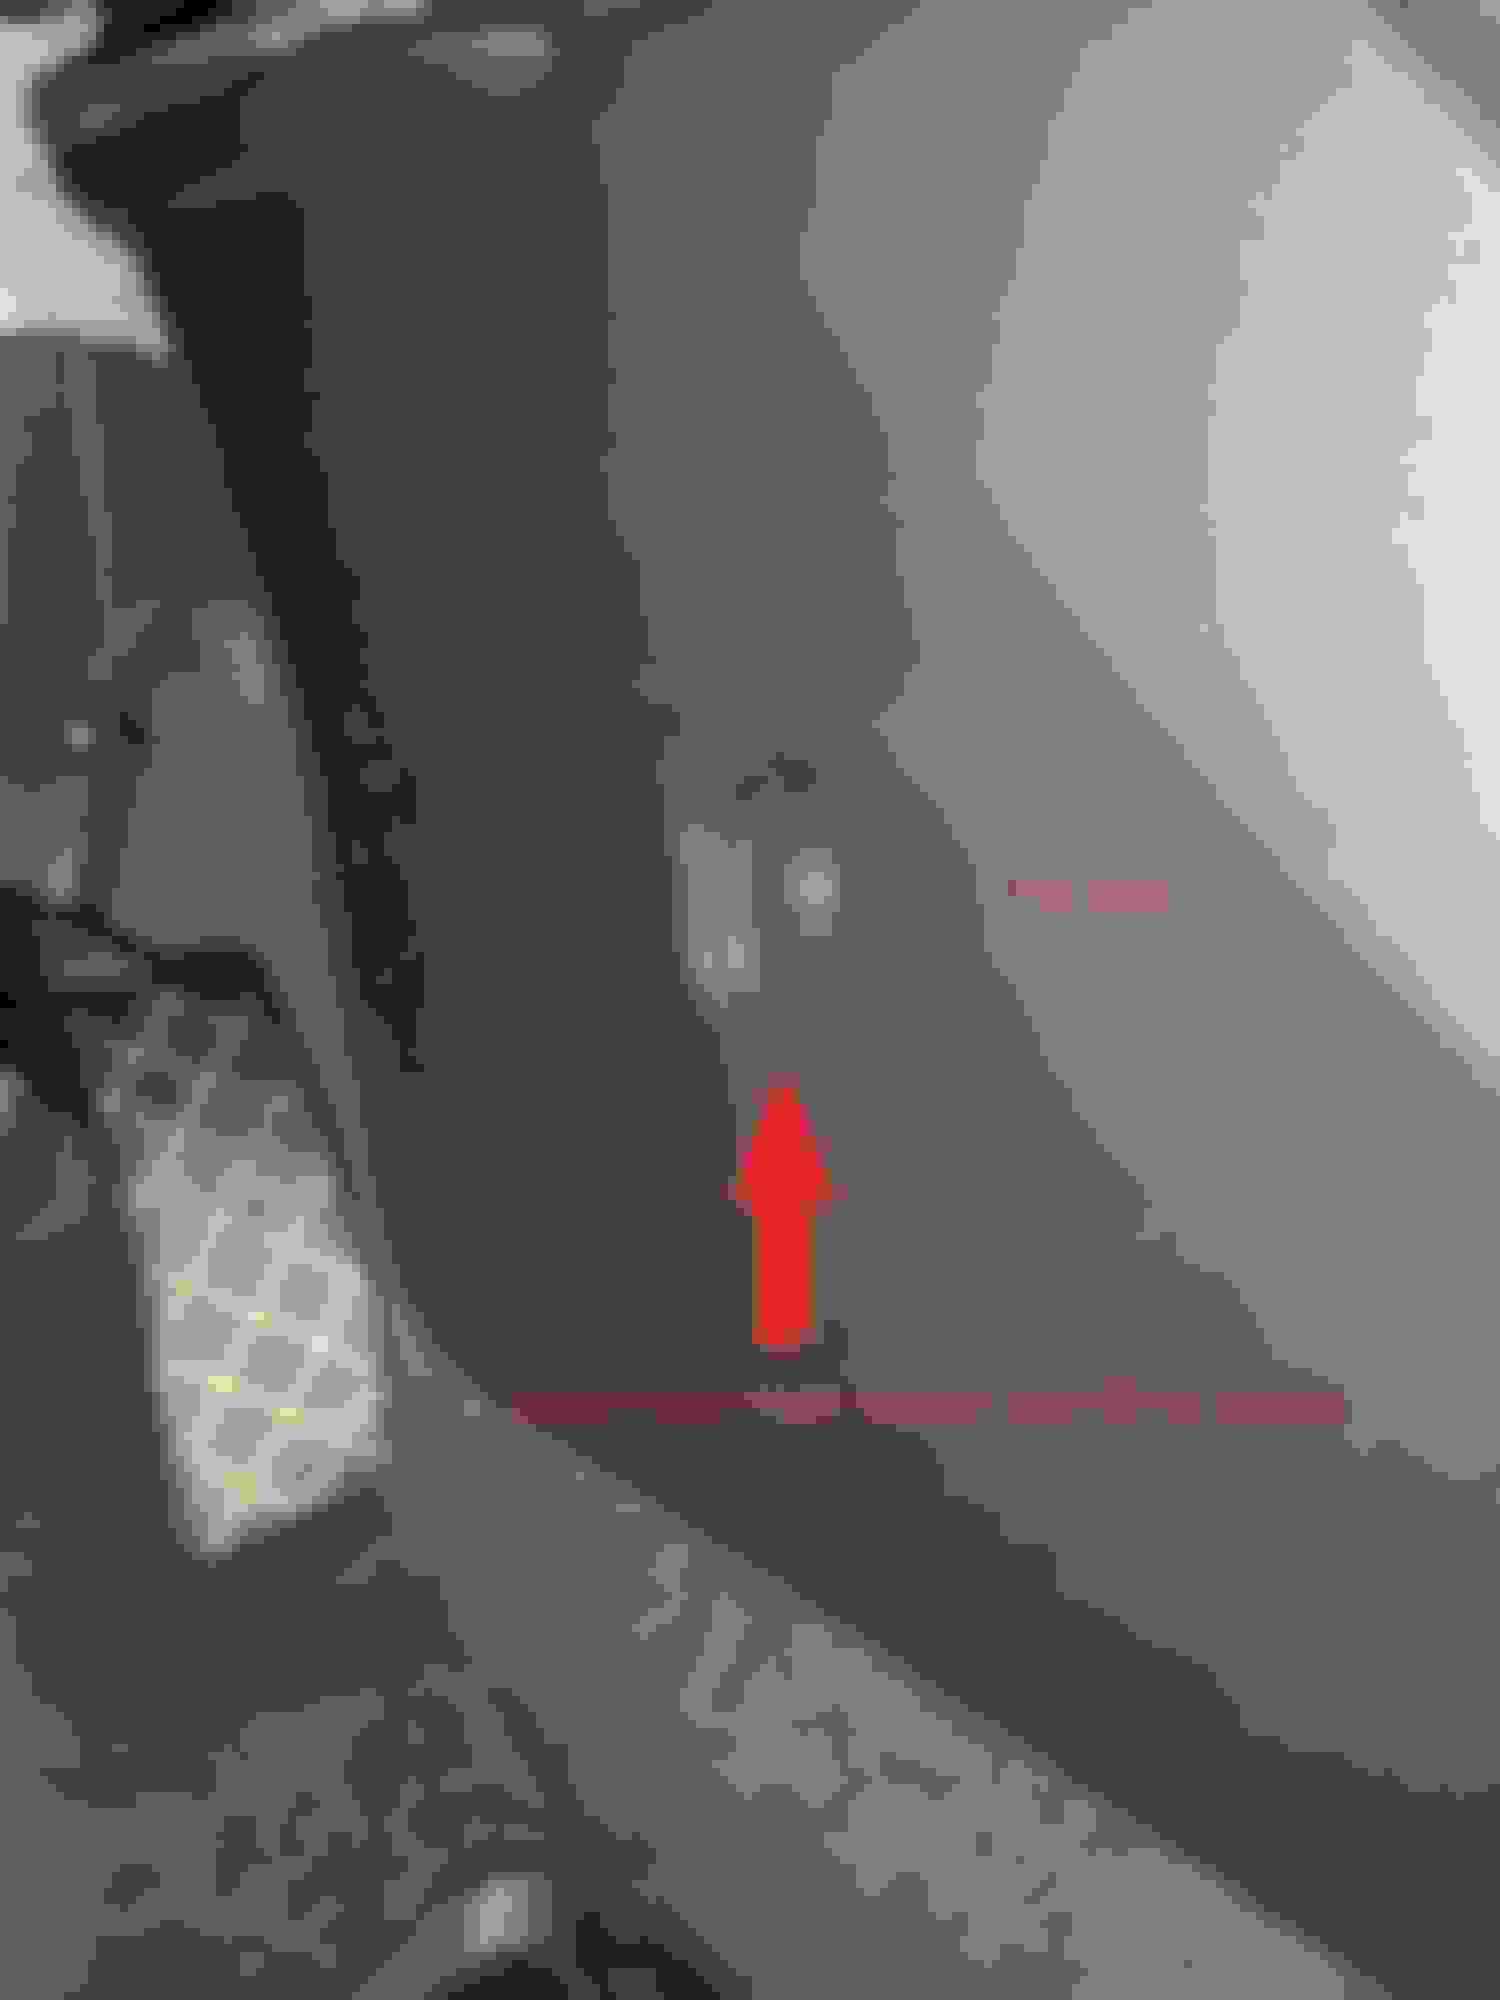
Now we will remove the entire center panel including the armrest, in order to do this we need to remove 10 bolts: 2 at the front by the footwell (one at each side) using T15 torx, remove the cap covering it by inserting a trim tool from the lower part and pulling up to expose the screw
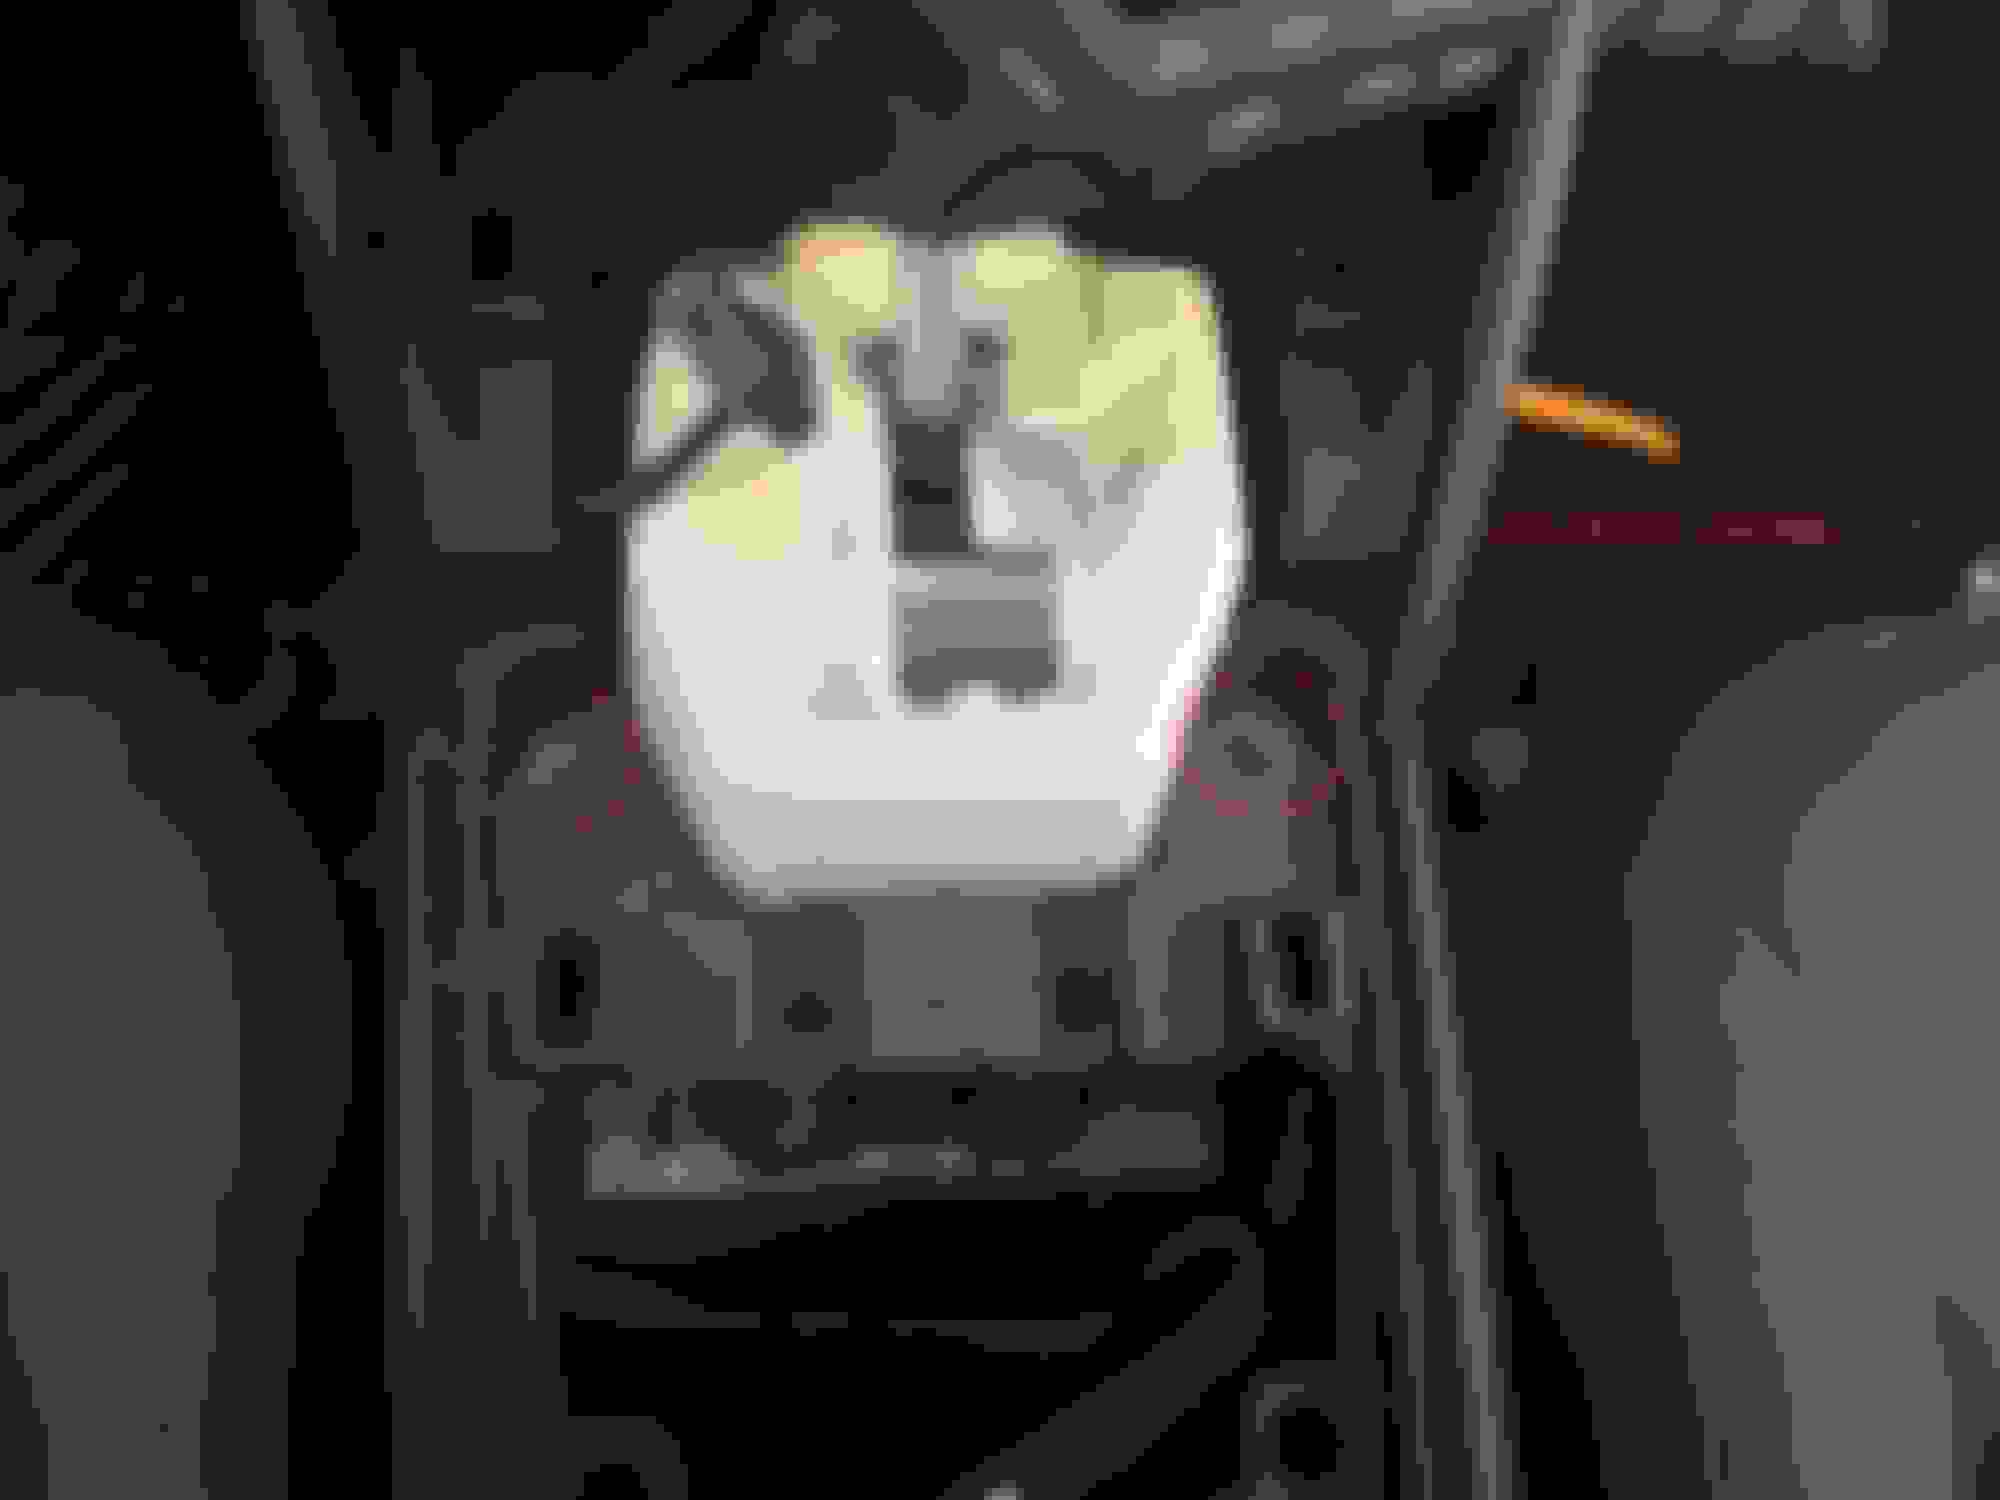
Now remove 4 screws holding the panel to the shifter bracket using a 8mm socket
And finally 4 screws at the back of the armrest using a 10mm socket, for it pop out the rear trim to gain access to the screws, note that the space is tight to manouvre so have a bit of patience removing this screws, also a torx allen key can be used, but I didnt have one around so 10mm socket it was
Now unclip the USB/aux/MMI cable plug by the armrest and the 12V socket in the front (note that if you get the rear A/C vents with the 12V socket they will come with a 1 to 2 extension cable harness 1 male to 2 female this should be plugged here to power front and rear)
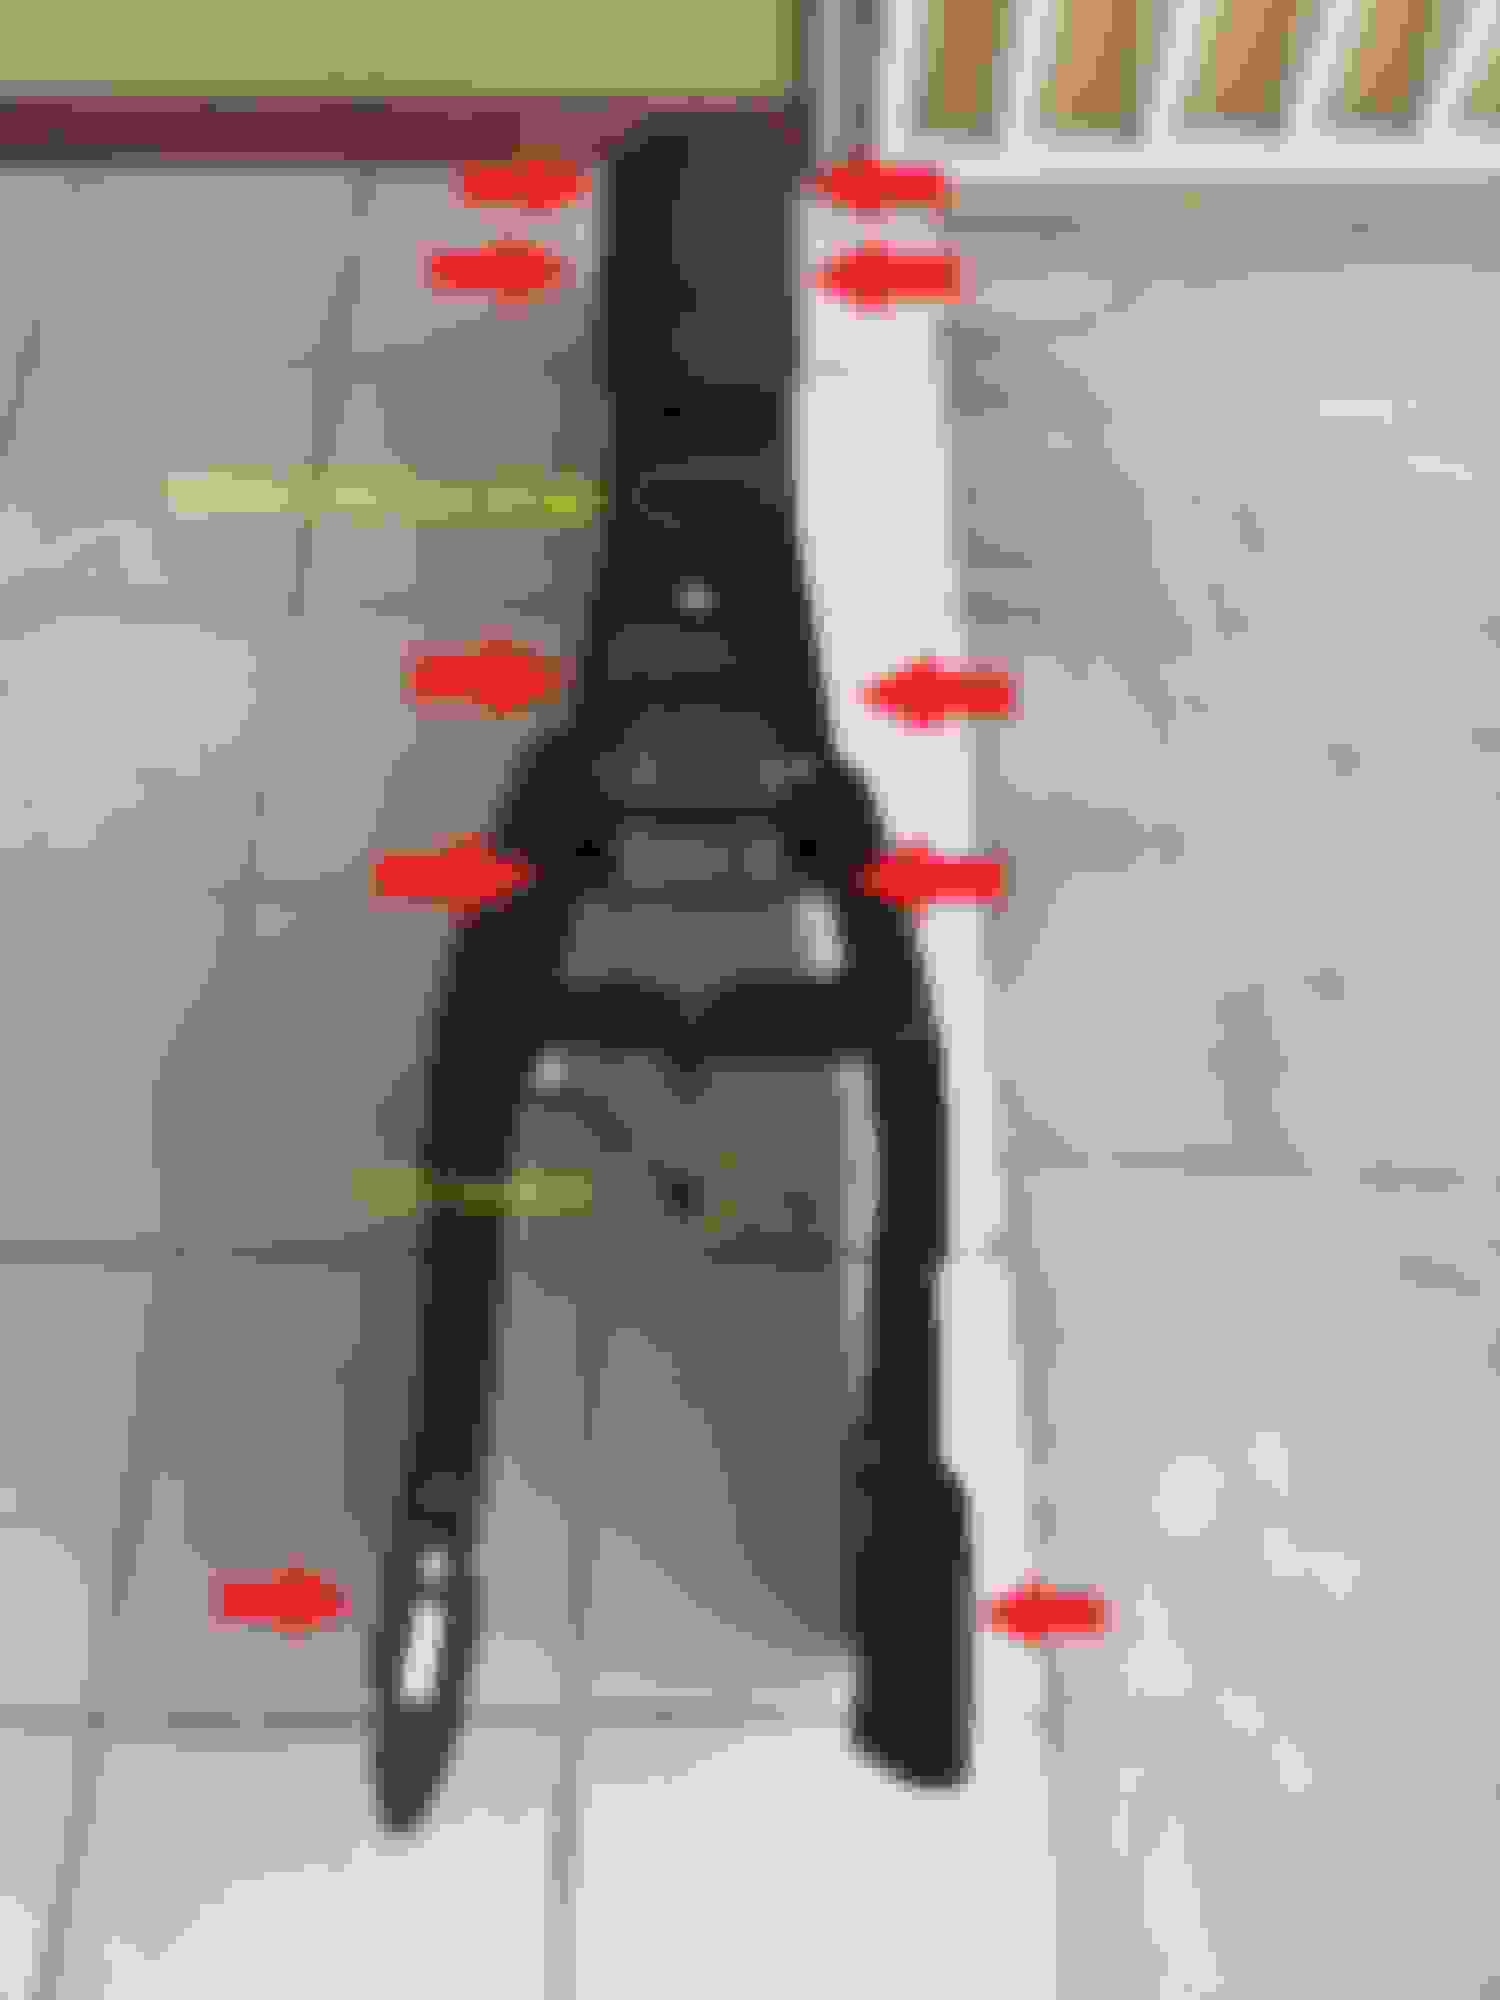
Now to remove the entire center piece+armrest, lift it from the back (armrest) and pull back, its a big piece so be careful to not scratch anything, see the piece and the location of all 10 screws:
2- Exposing the rear A/C outlet and removing shifter bracket
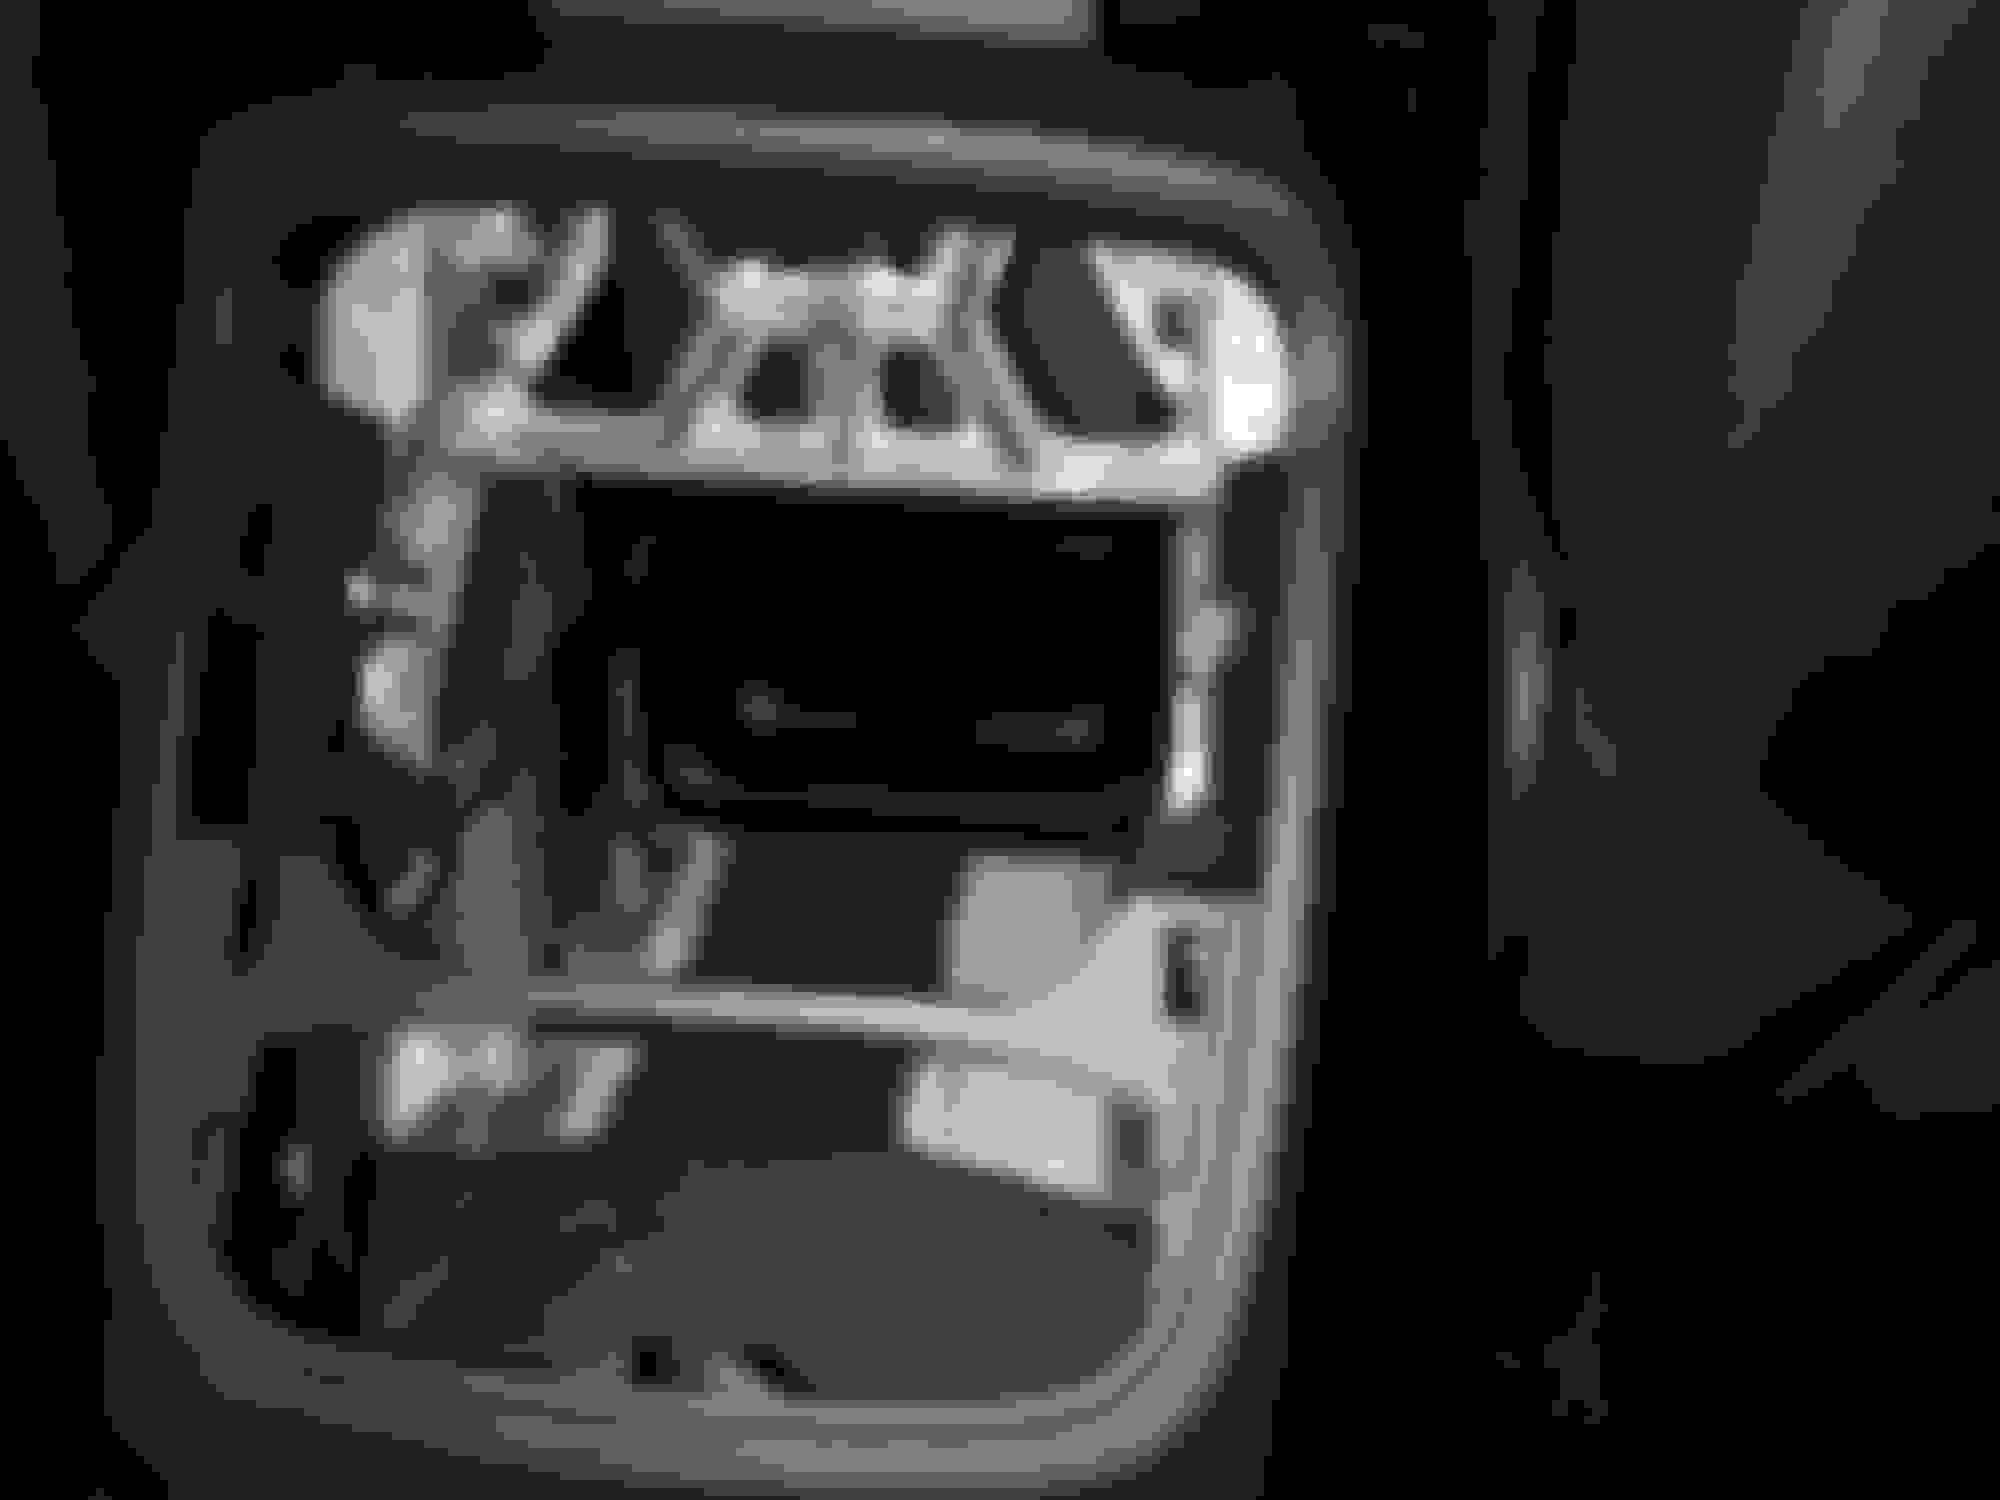
After the center console panel was removed, we have full access to the blower outlets, note that for all manual climate control aircon systems, rear a/c vent is just plugged with a black cover, as I mentioned before, to check if your car has this center rear outlet you dont need to remove the entire central console either just check for the for the rear row foot airvents (under driver seat), or remove the first half of the center consol (the one that pops out by stabbing it with the trim tool), and check under the front cupholders to expose the vent if existing
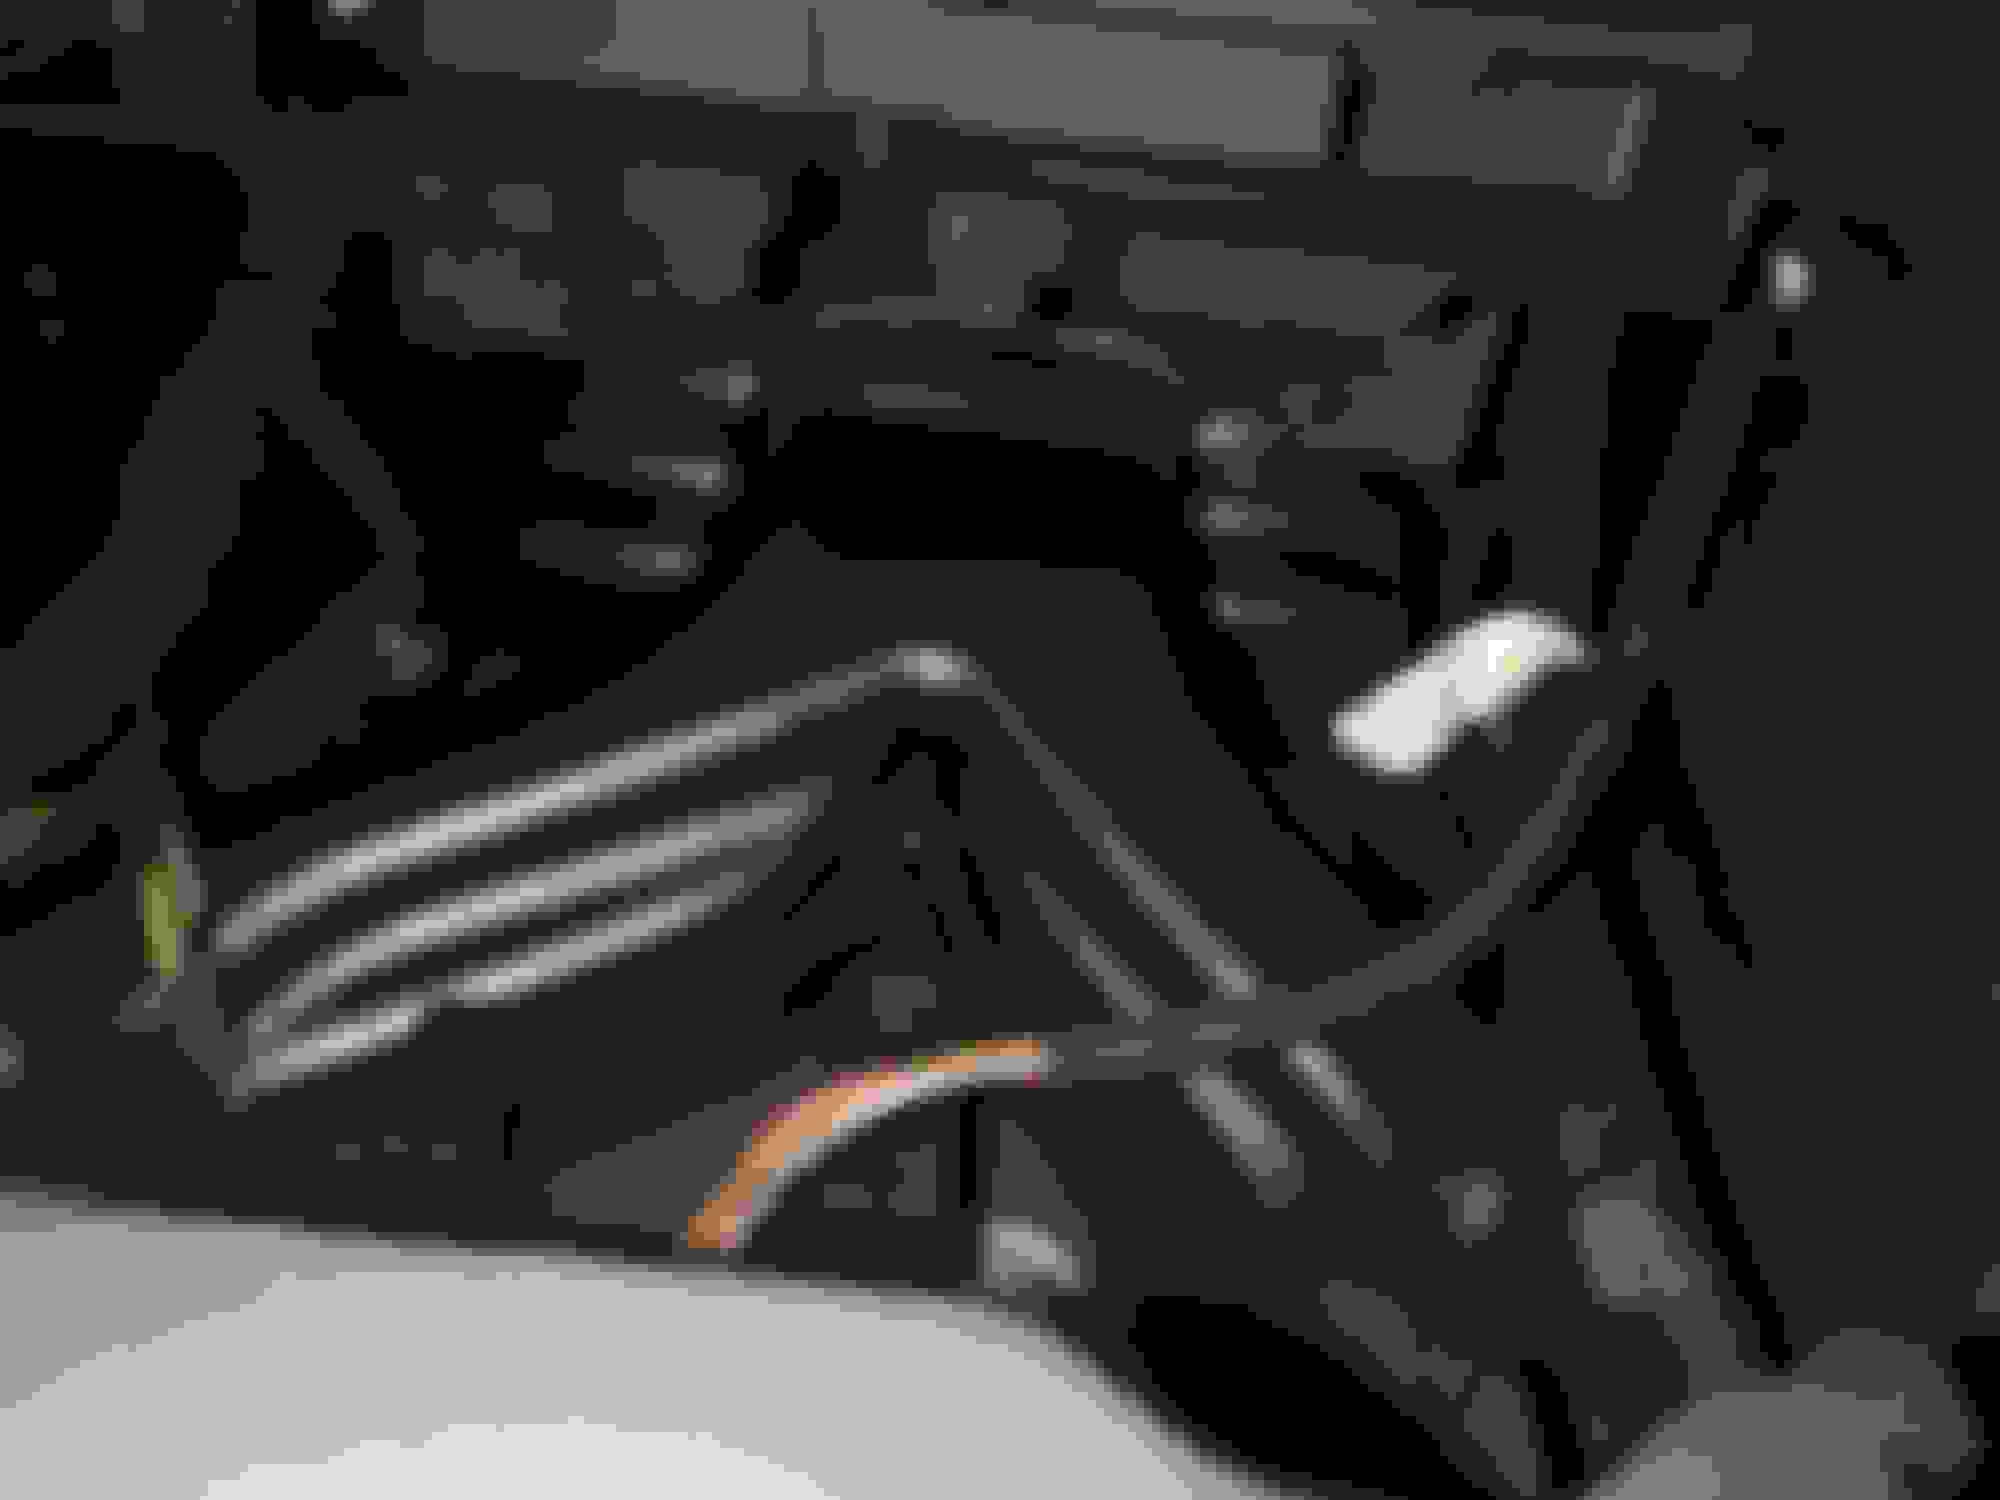
Now, we will install the pipeline (8VD 857 039), for this we need to remove the shifter lever bracket, To remove the bracket, remove the 4 screws holding it using a 8mm socket
As the piping needs to go under the bracket, we need to lift it, in order to do this, unplug the shifter main plug put it on neutral and lift the bracket out of the gear shifter
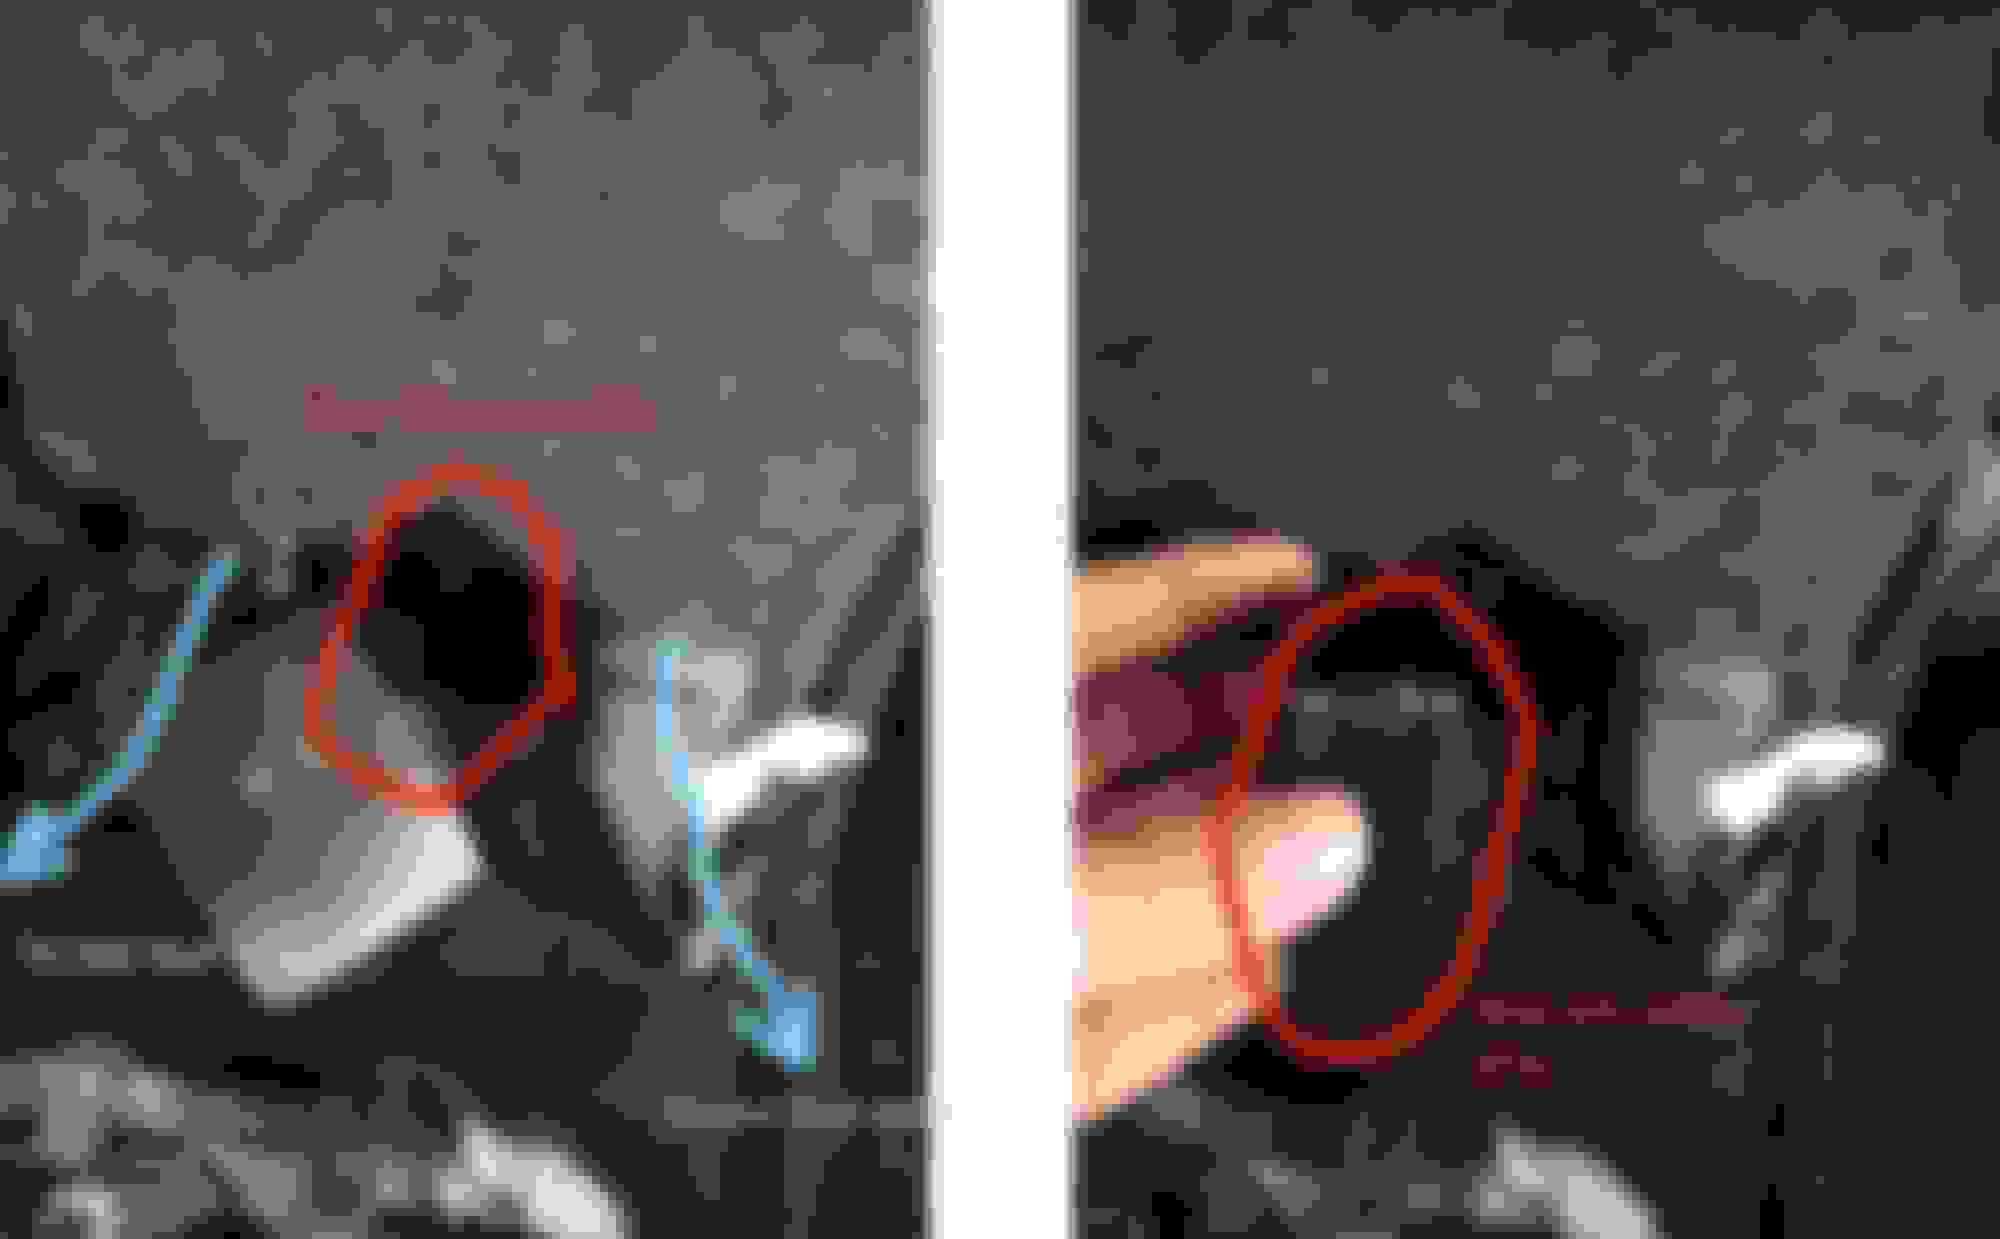
Install the pipe by moving it around and going thru the shifter lever (there's only one way that the main pipeline will fit so it is impossible to put it wrong), I noticed that the pipe had a loose fit with the rear a/c outlet, this is normal, but just to be sure there wont be any leaks I placed some foam around it to make a tigher kind of airleak proof seal
Now replace the shifter bracket back, plug and reattach the shifter main plug, the pipe should be "sandwiched" between the shifter bracket and the floor of the car, there is some carpet and foam, but if you are afraid it might rattle this is the opportunity to add some foam. Following, replace the center console/armrest piece back by sliding the front first then dropping it down to place, re-attach the MMI/USB/Aux cables and 12V socket and screw all 10 screws, then install back the center console MMI/cupholder bit in the reverse order it was removed ensuring to plug back the MMI controls, E-brake and shifter plugs
Finally we need to install the rear outlet, so just clip together 8VD819203 and 8VD857042 and snap it into place making sure the interface pipe connects to the main pipeline exposed
Voila, you now got rear A/C vents for your rear passengers which they'll appreciate in those long hot journeys.
And you will be left over with a aircon outlet plug and a rear piece trim storage (does anyone actually these bits )
Installation aint that hard, I recon it took me more to write this down than actually installing it, I say it is worth to try it out as for a saloon of this class segment must have rear A/C
And finally 4 screws at the back of the armrest using a 10mm socket, for it pop out the rear trim to gain access to the screws, note that the space is tight to manouvre so have a bit of patience removing this screws, also a torx allen key can be used, but I didnt have one around so 10mm socket it was
Hi,
Could you please be so kind and let me know how you popped out the part in the picture?
Is there a certain way to get it out? Or just yank it? Or I should start from the bottom and continue around?
Any special tools to use? Or is a trim remover enough?
 04-27-2019, 12:27 PM

 . They also sell a version with the 12V outlet with either the red light (for 2013-2016 A3s) or the white light (for 2016-present)Installation Steps:By default all A3s use the same air blower motor so it is possible to install the rear A/C vents, they just have it blocked from factory using a plug, befor buying I removed the center console to reveal the A/C blower outputs and saw the plug (piece 29 from the image) for the rear vents, thats how I know this mod was possible, also you can check for rear foot vents to avoid removing the center console (should be located below the passenger and driver seats), if your car have them you are good to go


 )
)