When you click on links to various merchants on this site and make a purchase, this can result in this site earning a commission. Affiliate programs and affiliations include, but are not limited to, the eBay Partner Network.
Scoopman, I'm not as brave as you to twist off the entire assembly.
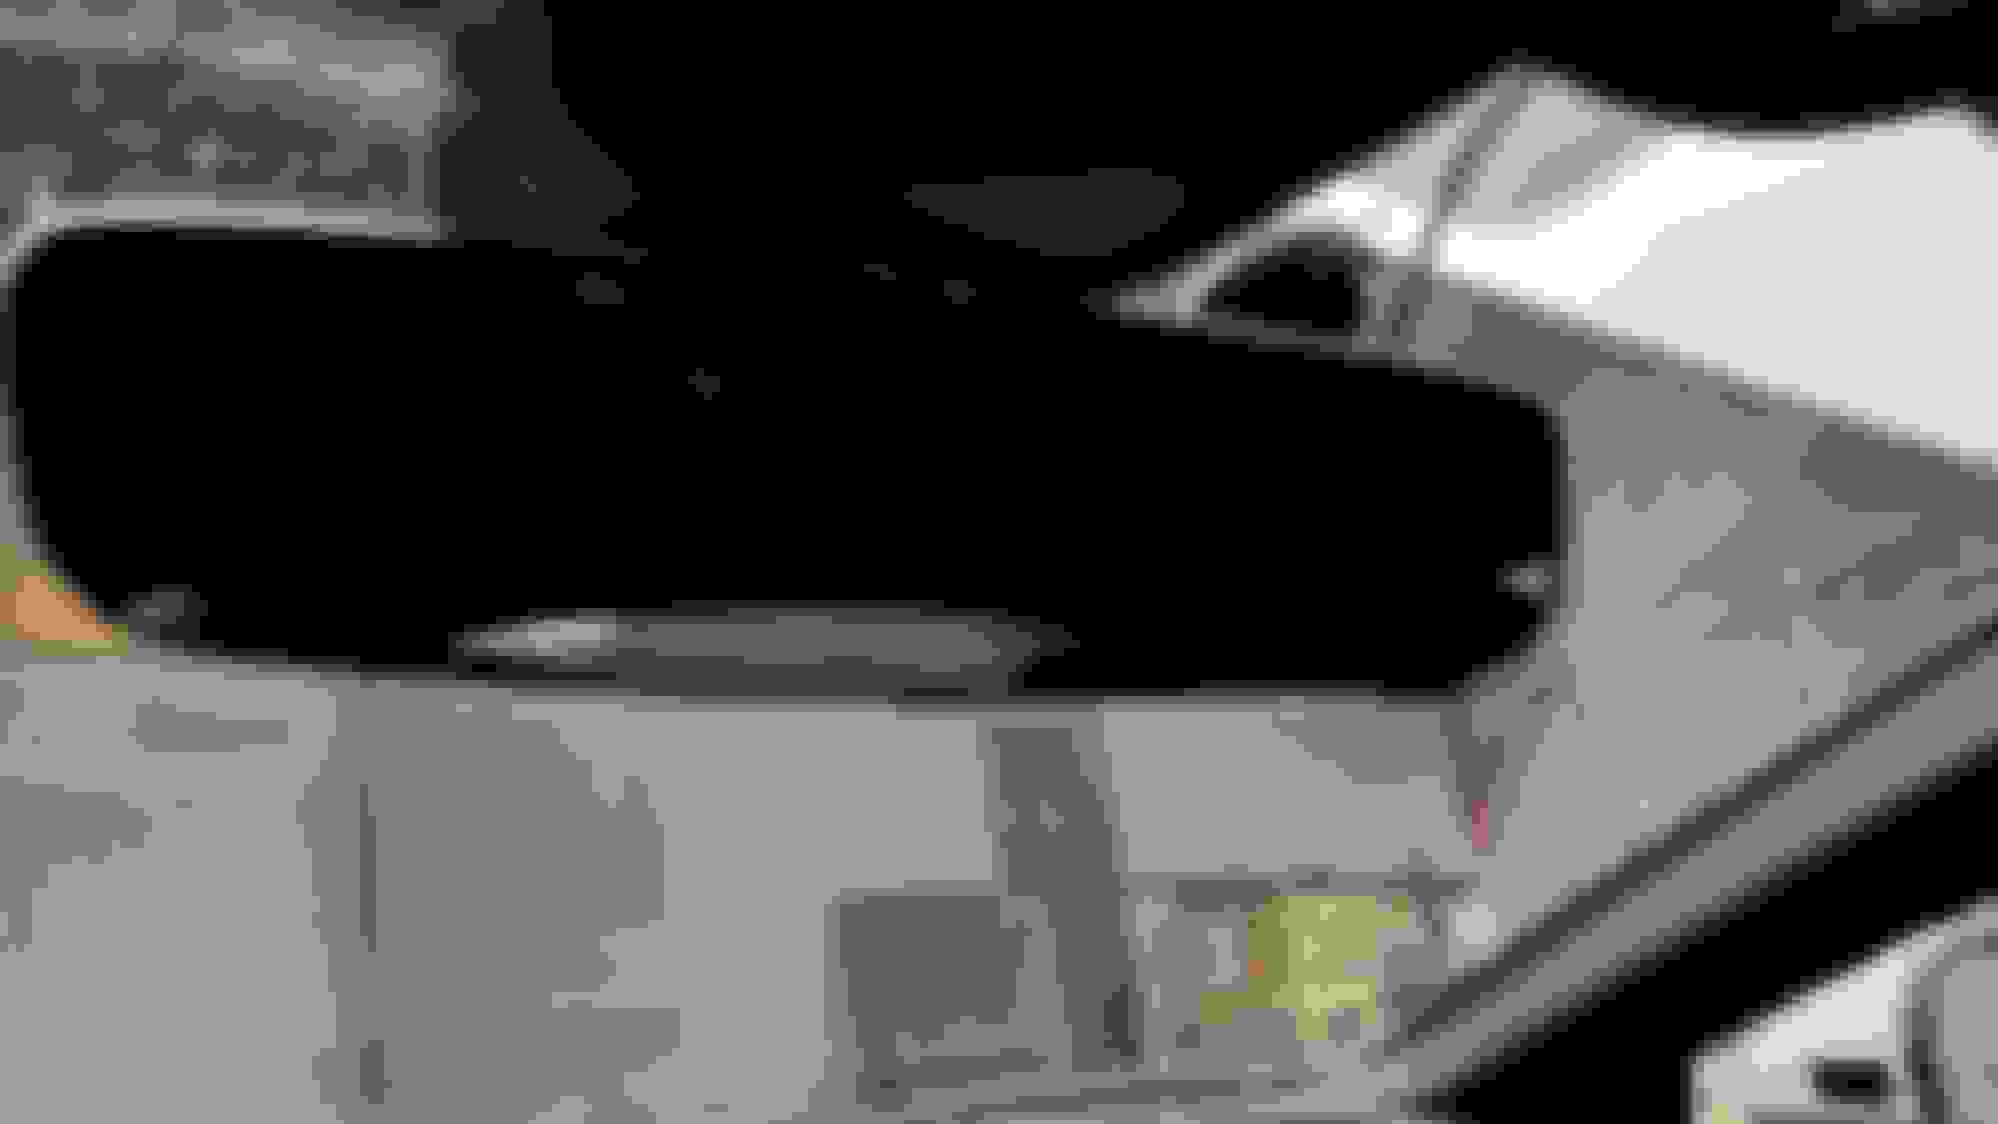
there is another suggestion that by pressing the area marked yellow to remove the piece. Is this what you suggesting?
(post #19)
Yes, looks to be the same type of plastic pieces as on our cars that come off in the same way. Twisting the mirror off wasn't that hard either, but I agree, requires a bit more force and courage.
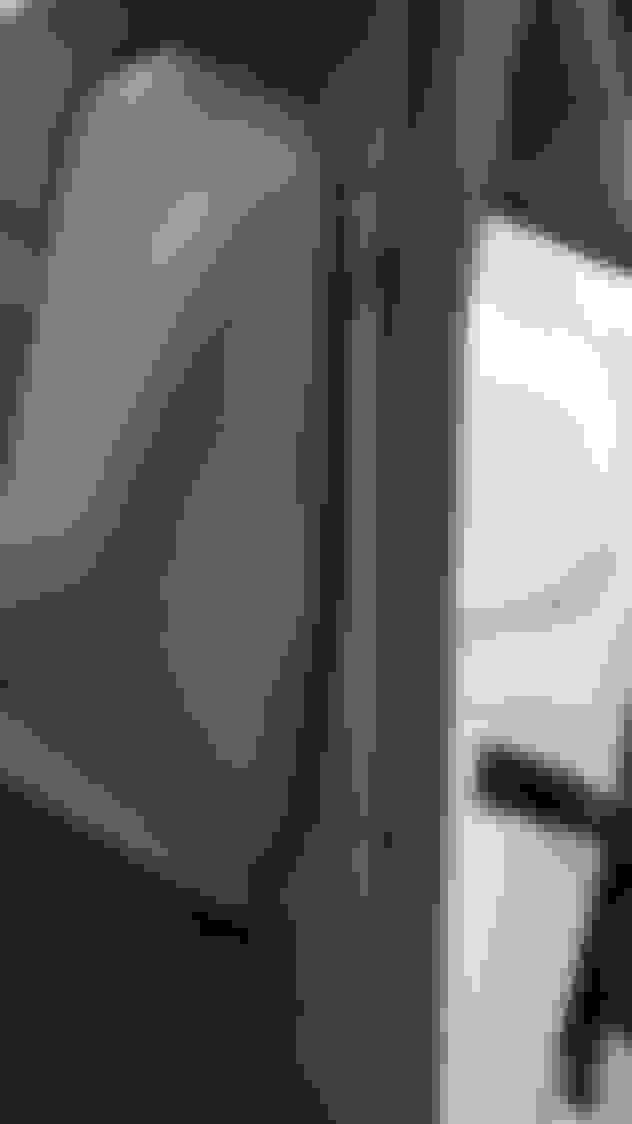
In what order did you remove the mirror covers? The big upper one is easy to unclip, but it's trapped under the headliner and a lip on the middle cover.
I slipped a trim tool under the middle cover, but it showed no signs of releasing when I pulled, so I stopped until I had more info.
Could you possibly video/photo what you have so far with the unclipping? I haven't been able to even get that far! I can only get one side to unclip of the larger piece.
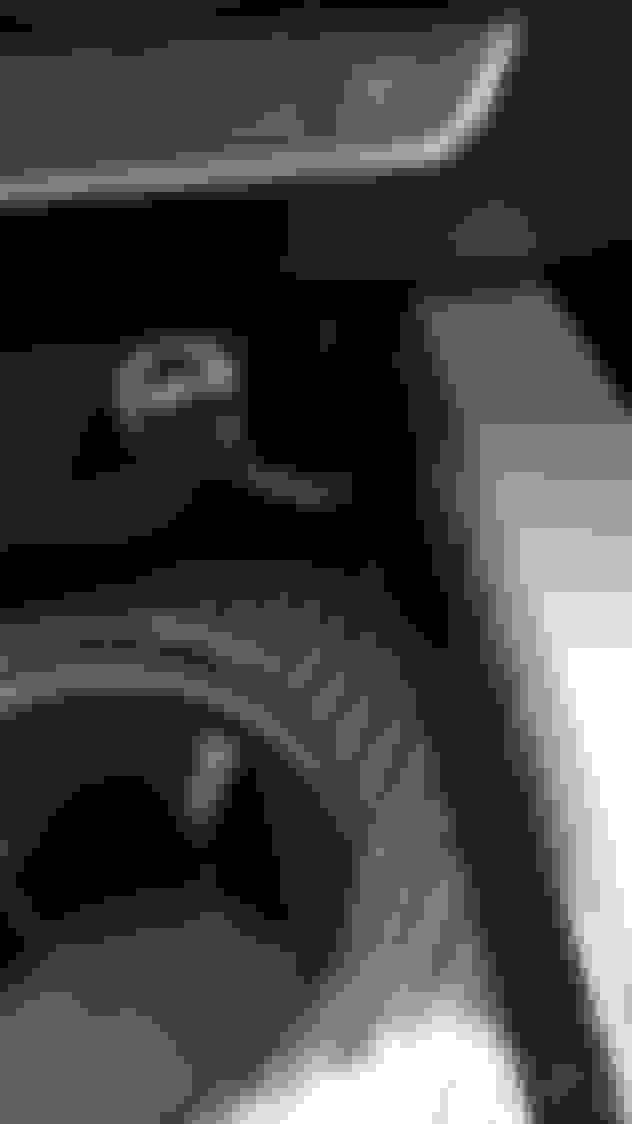
Assuming you are talking about the biggest trim piece that butts up against the headliner...
There are two tabs on the trim piece about 1/2-3/4" from the corner that insert into slots in the ceiling.
If you pull straight down on the trim piece while wiggling it left and right a bit, it will come off. It takes a little bit of force, but I've done it several times while I was experimenting with various hardwire options.
Thanks I finally got it off. I pulled out the sides with a hook tool to release them, then pried the back off.
And, a pair of photos showing what connects to what.
The two arrow clips to the bottom / rear really need a small, angled V-notch tool to release properly. Push in to squeeze the barbs inward, then pry down.. The notch tools in the kit mentioned earlier are far too large.
With this off, the remaining covers should come off easily. (Waiting for a cable with built-in 5V regulator, and I'll make my own taps with some thin brass sheet stock.)
And, the other two Mid cover: Squeeze in the top front corners, pull down on the back edge. If you can reach a finger / tool in the back, it might help to push the two long hooks outward while pulling.
Bottom cover: Flex the sides out, pull straight down. The two rails slide in the slots on the side of the metal mirror mount.
And, the manual says to remove the mirror before the bottom cover, then take the cover off the mirror.
I twisted the whole mirror off to the right (clockwise) which released it. you can see that in one of my pics. Once it was off, it was easy to take off the little plastic pieces.
I believe the plastic is only anchored to itself with the little tabs you can see. the metal support is what anchors the mirror and the plastic pieces to the window.
If you want to take the plastic off, I believe the way to do this is to pinch the front piece, and it should release the tabs that attach the front smaller piece to the bigger piece on the back.
I found the removal procedure in the factory manual I just downloaded today.. They say the black metal clip needs to be replaced each time the mirror is removed. I guess it won't lock as securely after the prongs have been stressed twice.
I suppose you could remove the clip and bend it inward a bit if it feels loose after it's reinstalled.
The two arrow clips to the bottom / rear really need a small, angled V-notch tool to release properly. Push in to squeeze the barbs inward, then pry down.. The notch tools in the kit mentioned earlier are far too large.
With this off, the remaining covers should come off easily. (Waiting for a cable with built-in 5V regulator, and I'll make my own taps with some thin brass sheet stock.)
And, the manual says to remove the mirror before the bottom cover, then take the cover off the mirror.
Wonderful pics, thank you for helping to clarify.
For the largest piece as pictured above, are you separating both sides first, then the rear 2 arrow clips?
FYI: The mirror yellow wire (+12V) is only fused for 5 amps. so anything you add to this should have it's own, smaller fuse. (I'll be using 1.5A fast blow for my dash cam, which draws 0 .17A max)
And, if you accidentally blow the 5A car fuse, it's under the driver foot rest, set D in the owner's manual, fuse 1. And the manual does not list the mirror as one of the loads, but the diagrams trace back to it.
In the wiring diagram manual, it's carrier SR1, panel ST4, fuse 1 (topmost) and it supplies a fair number of other items as well,.
Wonderful pics, thank you for helping to clarify.
For the largest piece as pictured above, are you separating both sides first, then the rear 2 arrow clips?
Both sides first, and you might want to slip something under the first one you free, then the back, Manual says to just pull the back ones out.
And, a few shots of my install:
In place. I've since moved it down a bit so the connector isn't pressing against the headliner.
And, it turns out that this position is too close to the center. The 90-degree lens picks up a bit of the mirror housing in the lower left corner of the frame. Not enough to be a big issue, but I move the camera to the right a bit some time later.
I made the connector from patch cord ends from my Arduino stuff, and the female ones from a cut-down 4-pole I already had. Bought a bag of 1.5A fuses on Amazon.
All neatly covered with shrink tubing: The pod is stuck with mounting tape crossways on the upper metal surface, between the front ends of the two silver metal parts, basically between the front clip points.
I also torture tested the regulator pod by running it overnight in a plastic bag in a thermos full of 138 degree water. It was still running the next day at 130 deg. so it should survive in this sun-exposed area.
I don't like the mirror tap concept of stuffing a probe in the hole and hoping it makes good contact. Also, there wasn't really that much room around the +12 and GND wires on the harness side, so I soldered the wires to the mirror side connector pins.
This was the tricky part. I had to cut the black wrapping on the mirror wires a bit so I could push the pins partly back (black side flap catch, and metal tab on the pin, and a tiny dowel pusher to press on the end of the pin.
Soldered the wires to the crimp area of each contact. The soldered wires and connector pins with matching sockets provide a more positive and reliable connection that the mirror taps in my opinion.
One last item: I noticed that the pins in the two connectors didn't match up, and spent some time trying to sort it out.
The wiring does not match the factory diagram in that there are no connections between the CAN bus lines and the high beam sensor.
I'm guessing they changed it to use the LIN bus, or are doing the sensing of oncoming cars with the camera instead.
So I decided to follow Scoopman's install of the Dashcam, I bought a Auckey dashcam for its small size and the Sony sensor it is equipped with, i paid $47, if you click on the coupon box the price will drop to $47 from $57. Very please on how this install came out. I ordered 2 more Auckey dashcam for my other vehicles ....
 09-06-2017, 11:06 AM