When you click on links to various merchants on this site and make a purchase, this can result in this site earning a commission. Affiliate programs and affiliations include, but are not limited to, the eBay Partner Network.
I leased a new eTron last weekend. Unfortunately, Black Optics package is not available and my car was built with burl walnut inlays. I wasn't a big fan and would have much preferred Dark Gray Oak or piano black inlays.
I did some research and thought about purchasing new inlays. The OEM ones were too pricey for my blood so I elected to put together my project to wrap the existing inlays with carbon fiber.
Previously, I tried the tools on my 2017 A4 to remove the door inlays just before I was turned in the lease. It's the same principles for 2018-20 Q5/SQ5.
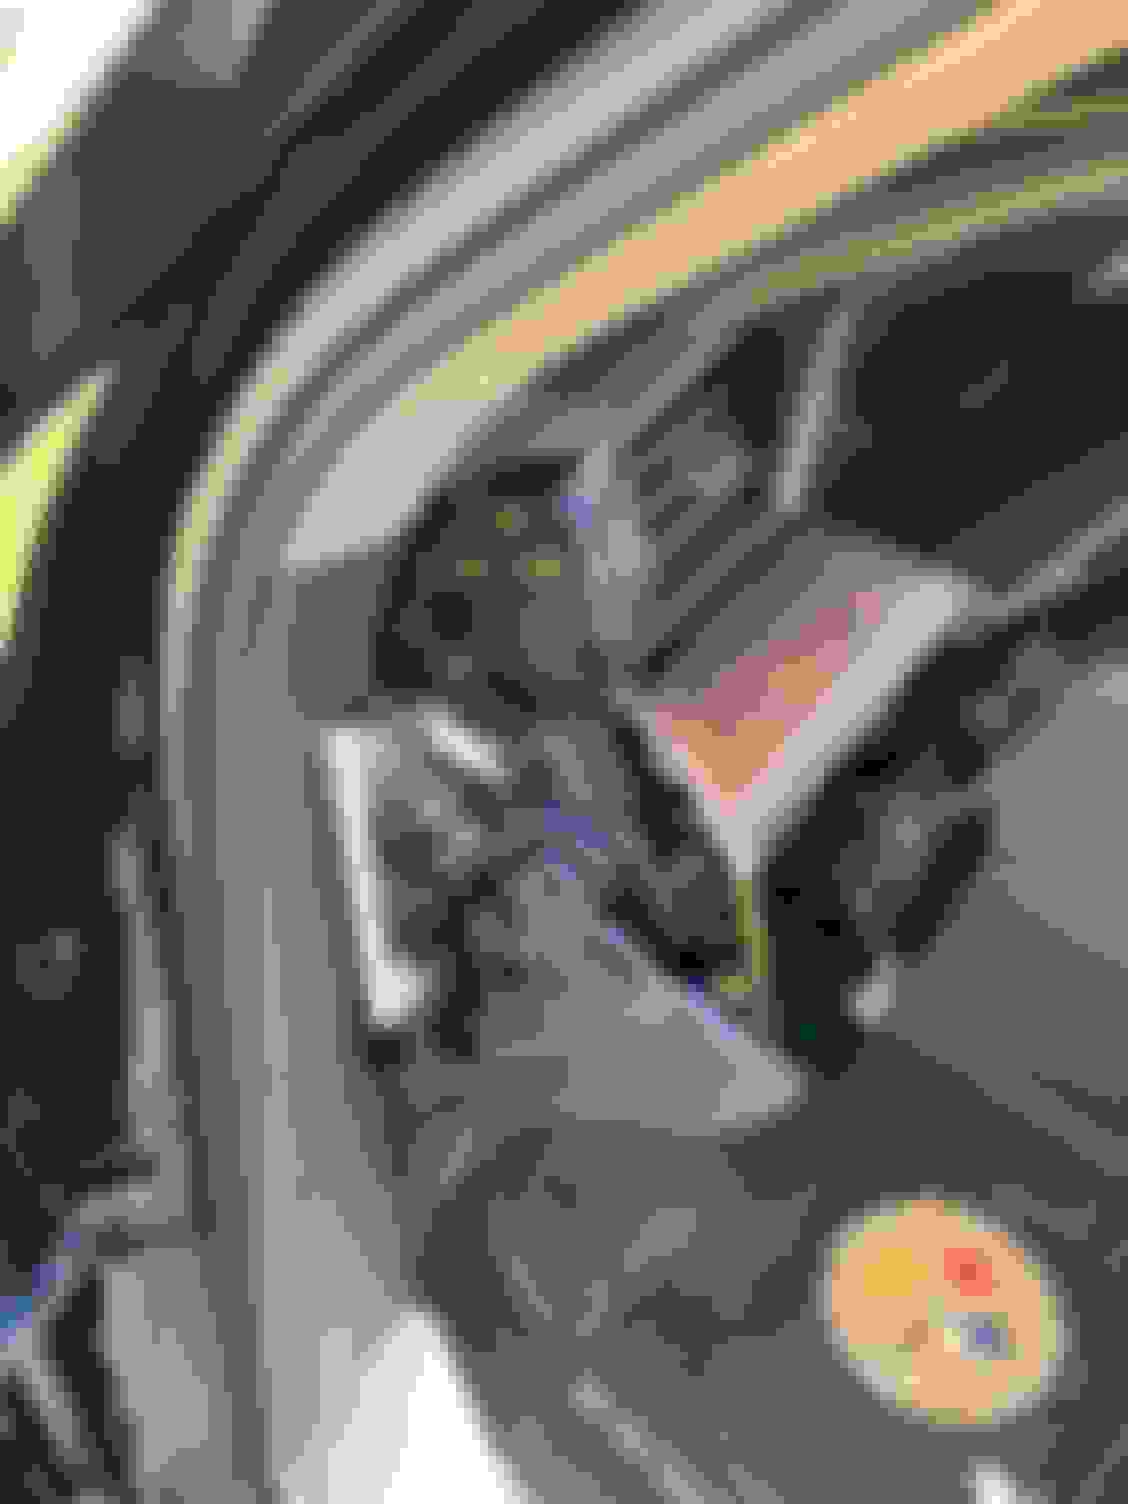
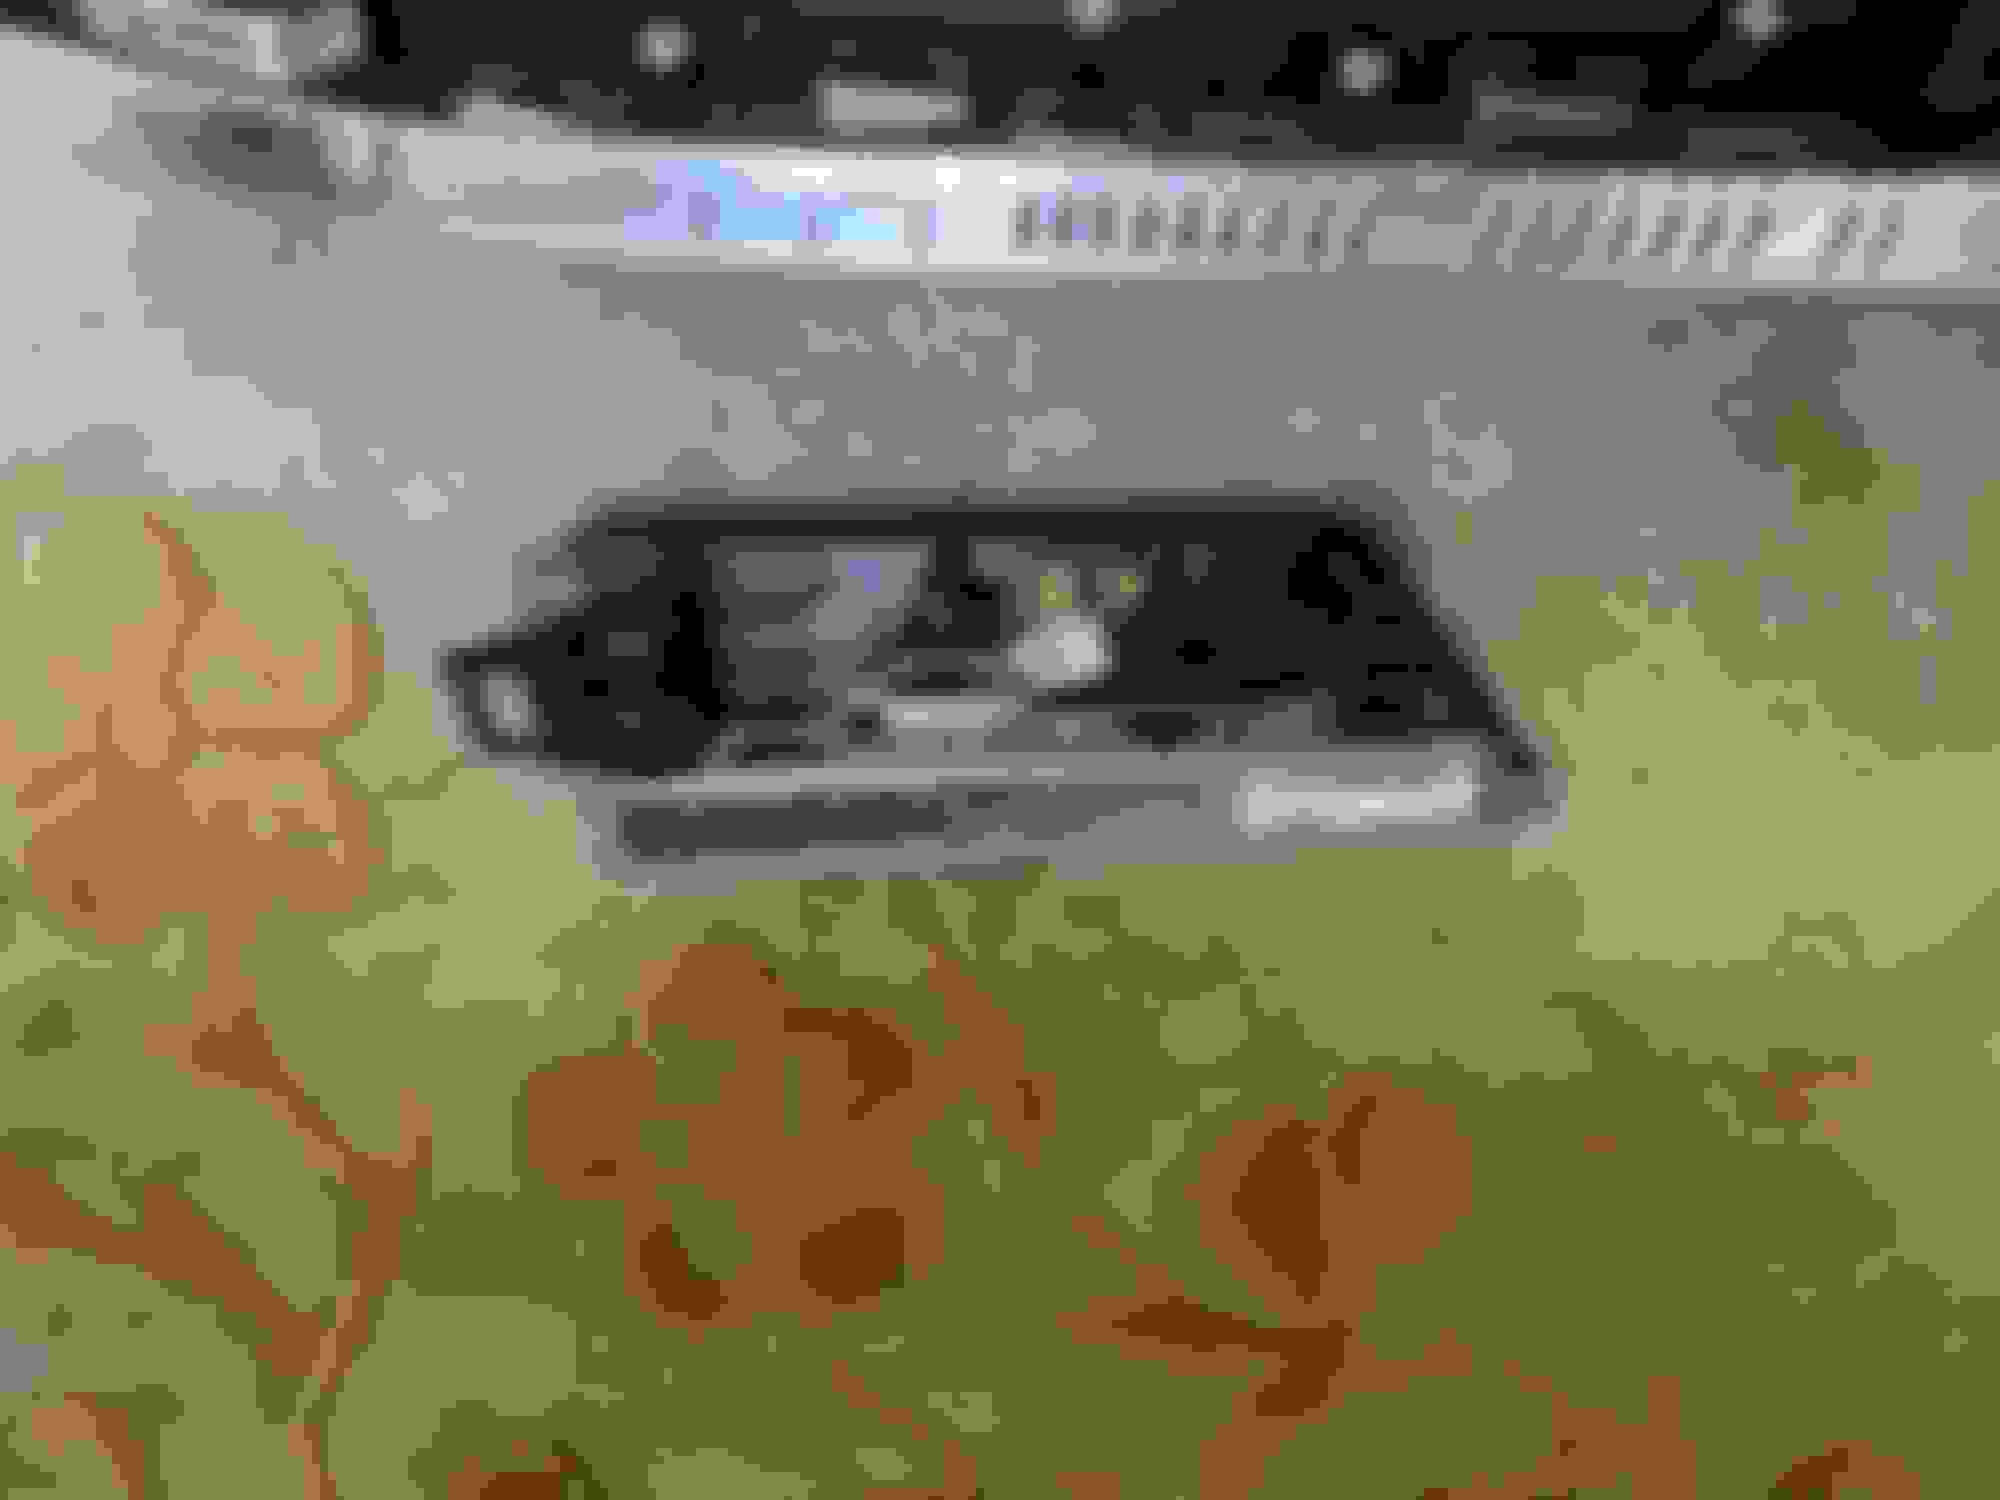
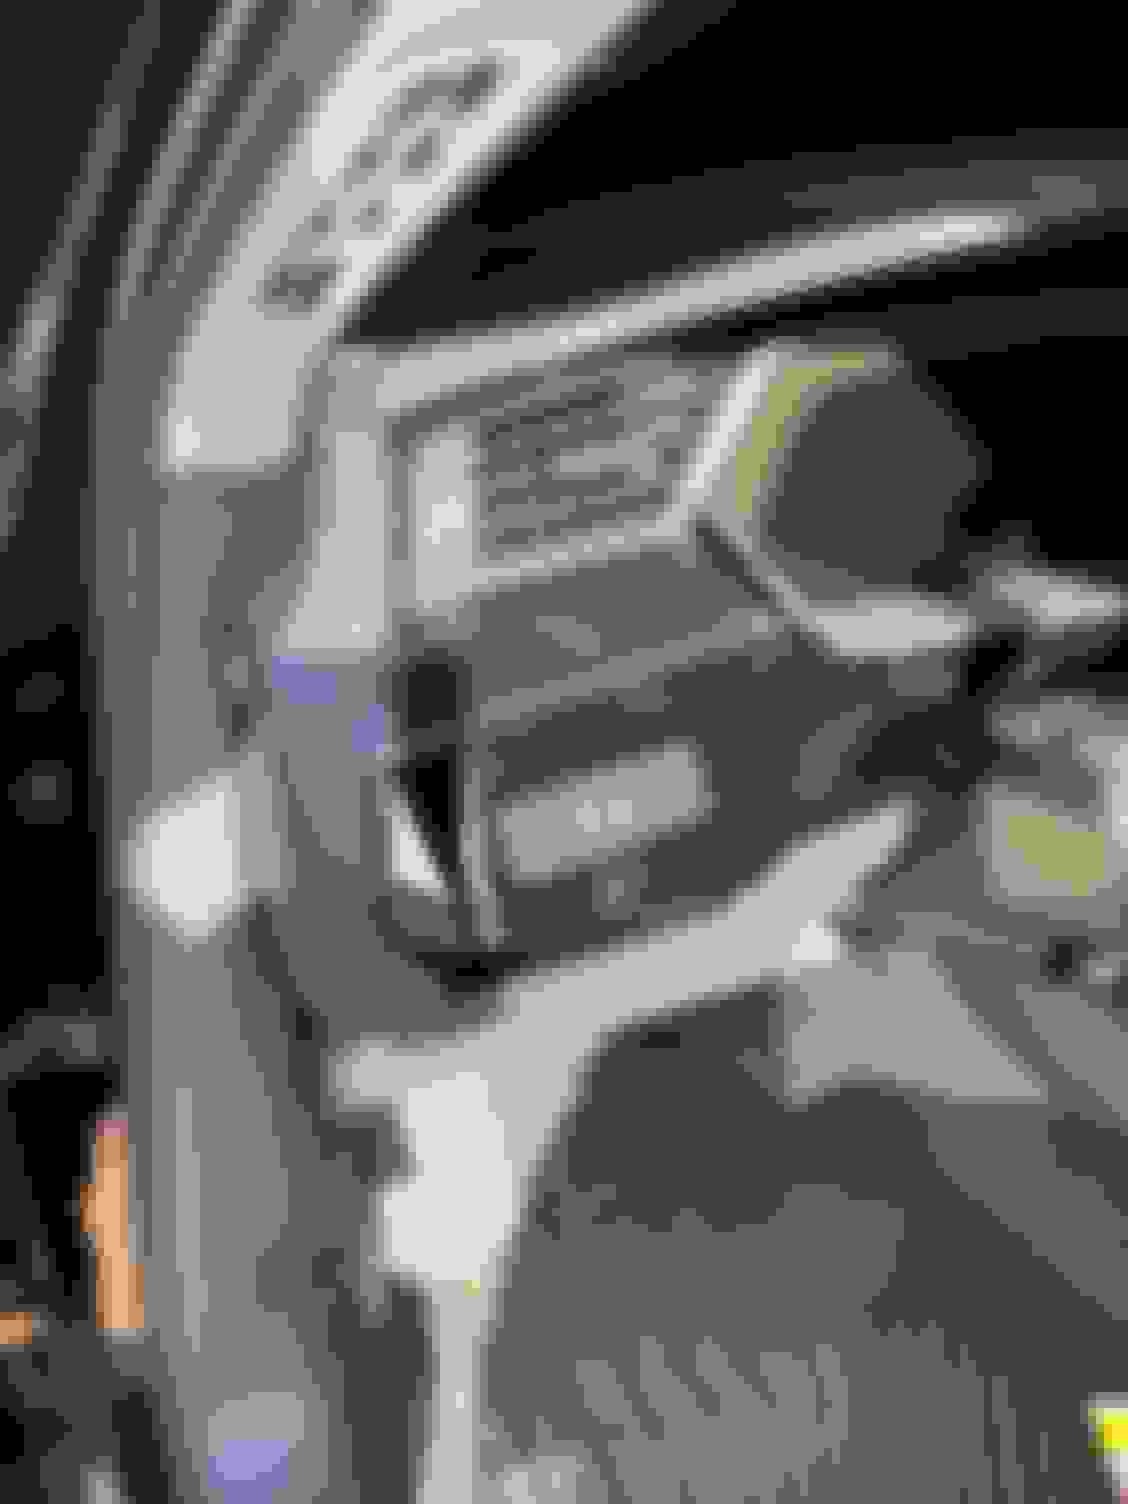
However, on the eTron (as presumably the new A6, etc), its slightly different. I used one of the flat interior trim removal tools to remove the plastic cover over the end of the dash driver's side. Gently nudge and the edge pops up and pretty easy to wiggle out the edges from the clips. Set that to the side. Unclip the upper dash side cover- be careful as there is a horizontal insert that goes thru the left flat wood inlay (guess how I know that now ). Go slow and gently pry and inspect so that you dont scratch or crack/break anything. Insert a flat trim tool reminder over the large, wide U shape plastic trim that runs at the bottom of the Virtual Cockpit and top of the steering wheel trim. I believe there are 3 clips and gently lift up- no need to fully remove. Each end has a vertical insert that hold the ends of the inlays in place.
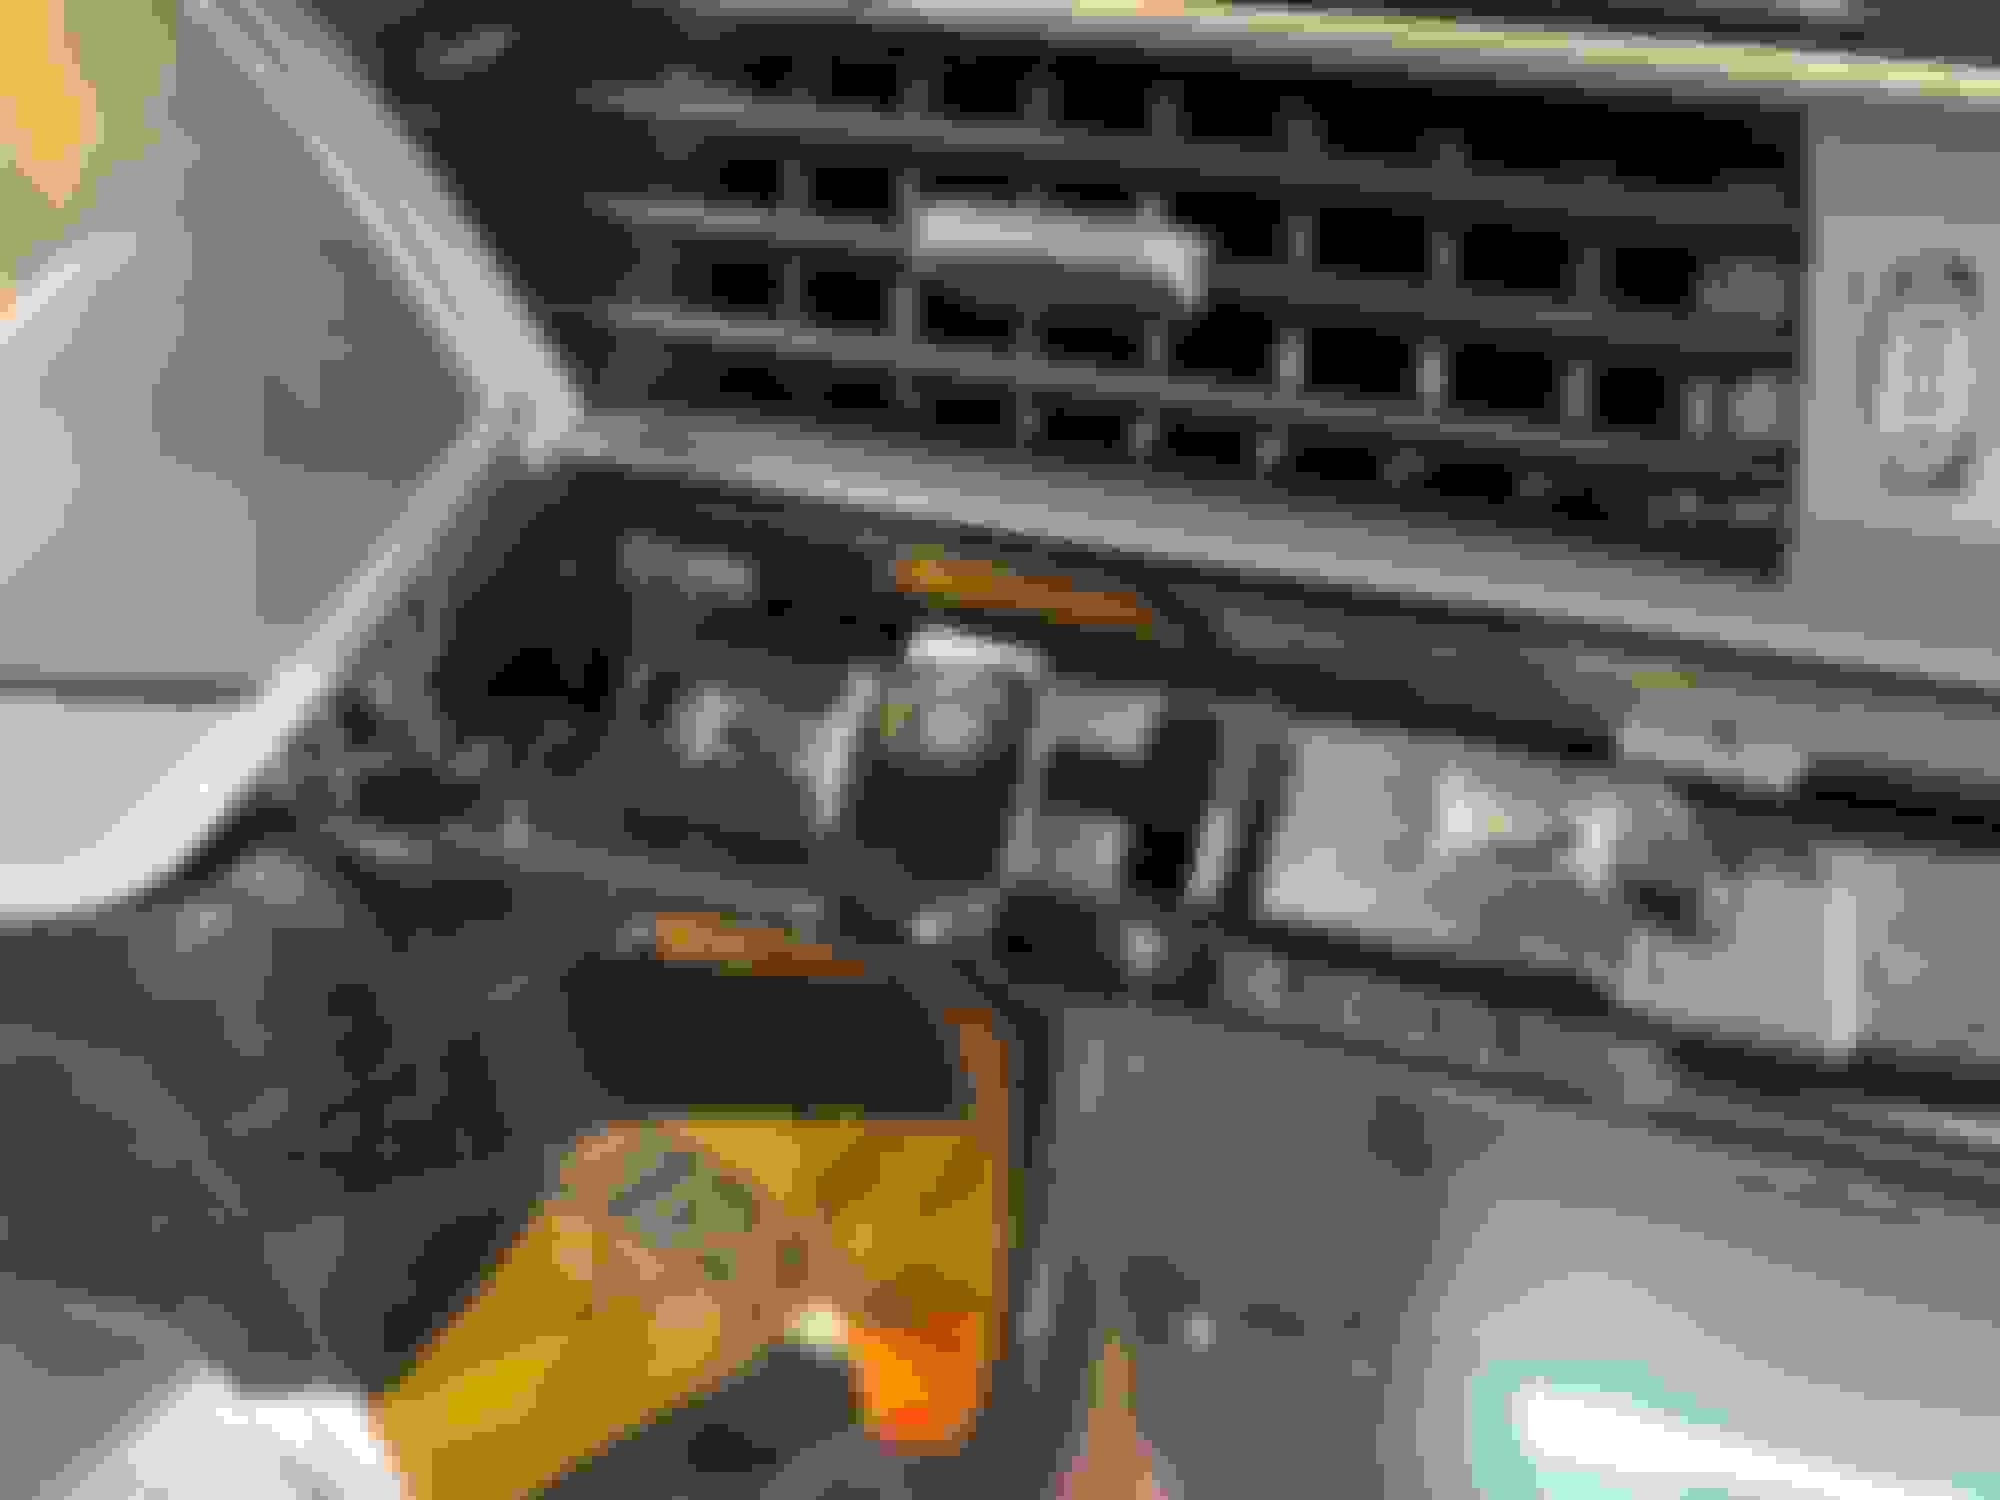
Repeat with the passenger side end of dash with the end cover and upper dash side covers. Insert the flat trim tool remover just under the wood inlay silver edge to create some space and then insert 90 degree angled removal tool. You may need a thinner tool at first if they are tightly flush against the dash. Then gently pry up. Lift up the wide U shaped trim under VC so that both ends can fully release their inserts that are holding the inlays on both sides. There are ~ 13 clips and some longer T shaped inserts where it's not enough to just pull straight up, but once everything is paritally lifted, you need to nudge to the side so that the large inlay will be able to released completely free and should easily slide out.
If you're careful, then you should not break any clips/inserts. Take your time.
Other than that, prepare the surface of the inlays. I used rubbing alcohol to remove any traces of oil residue.
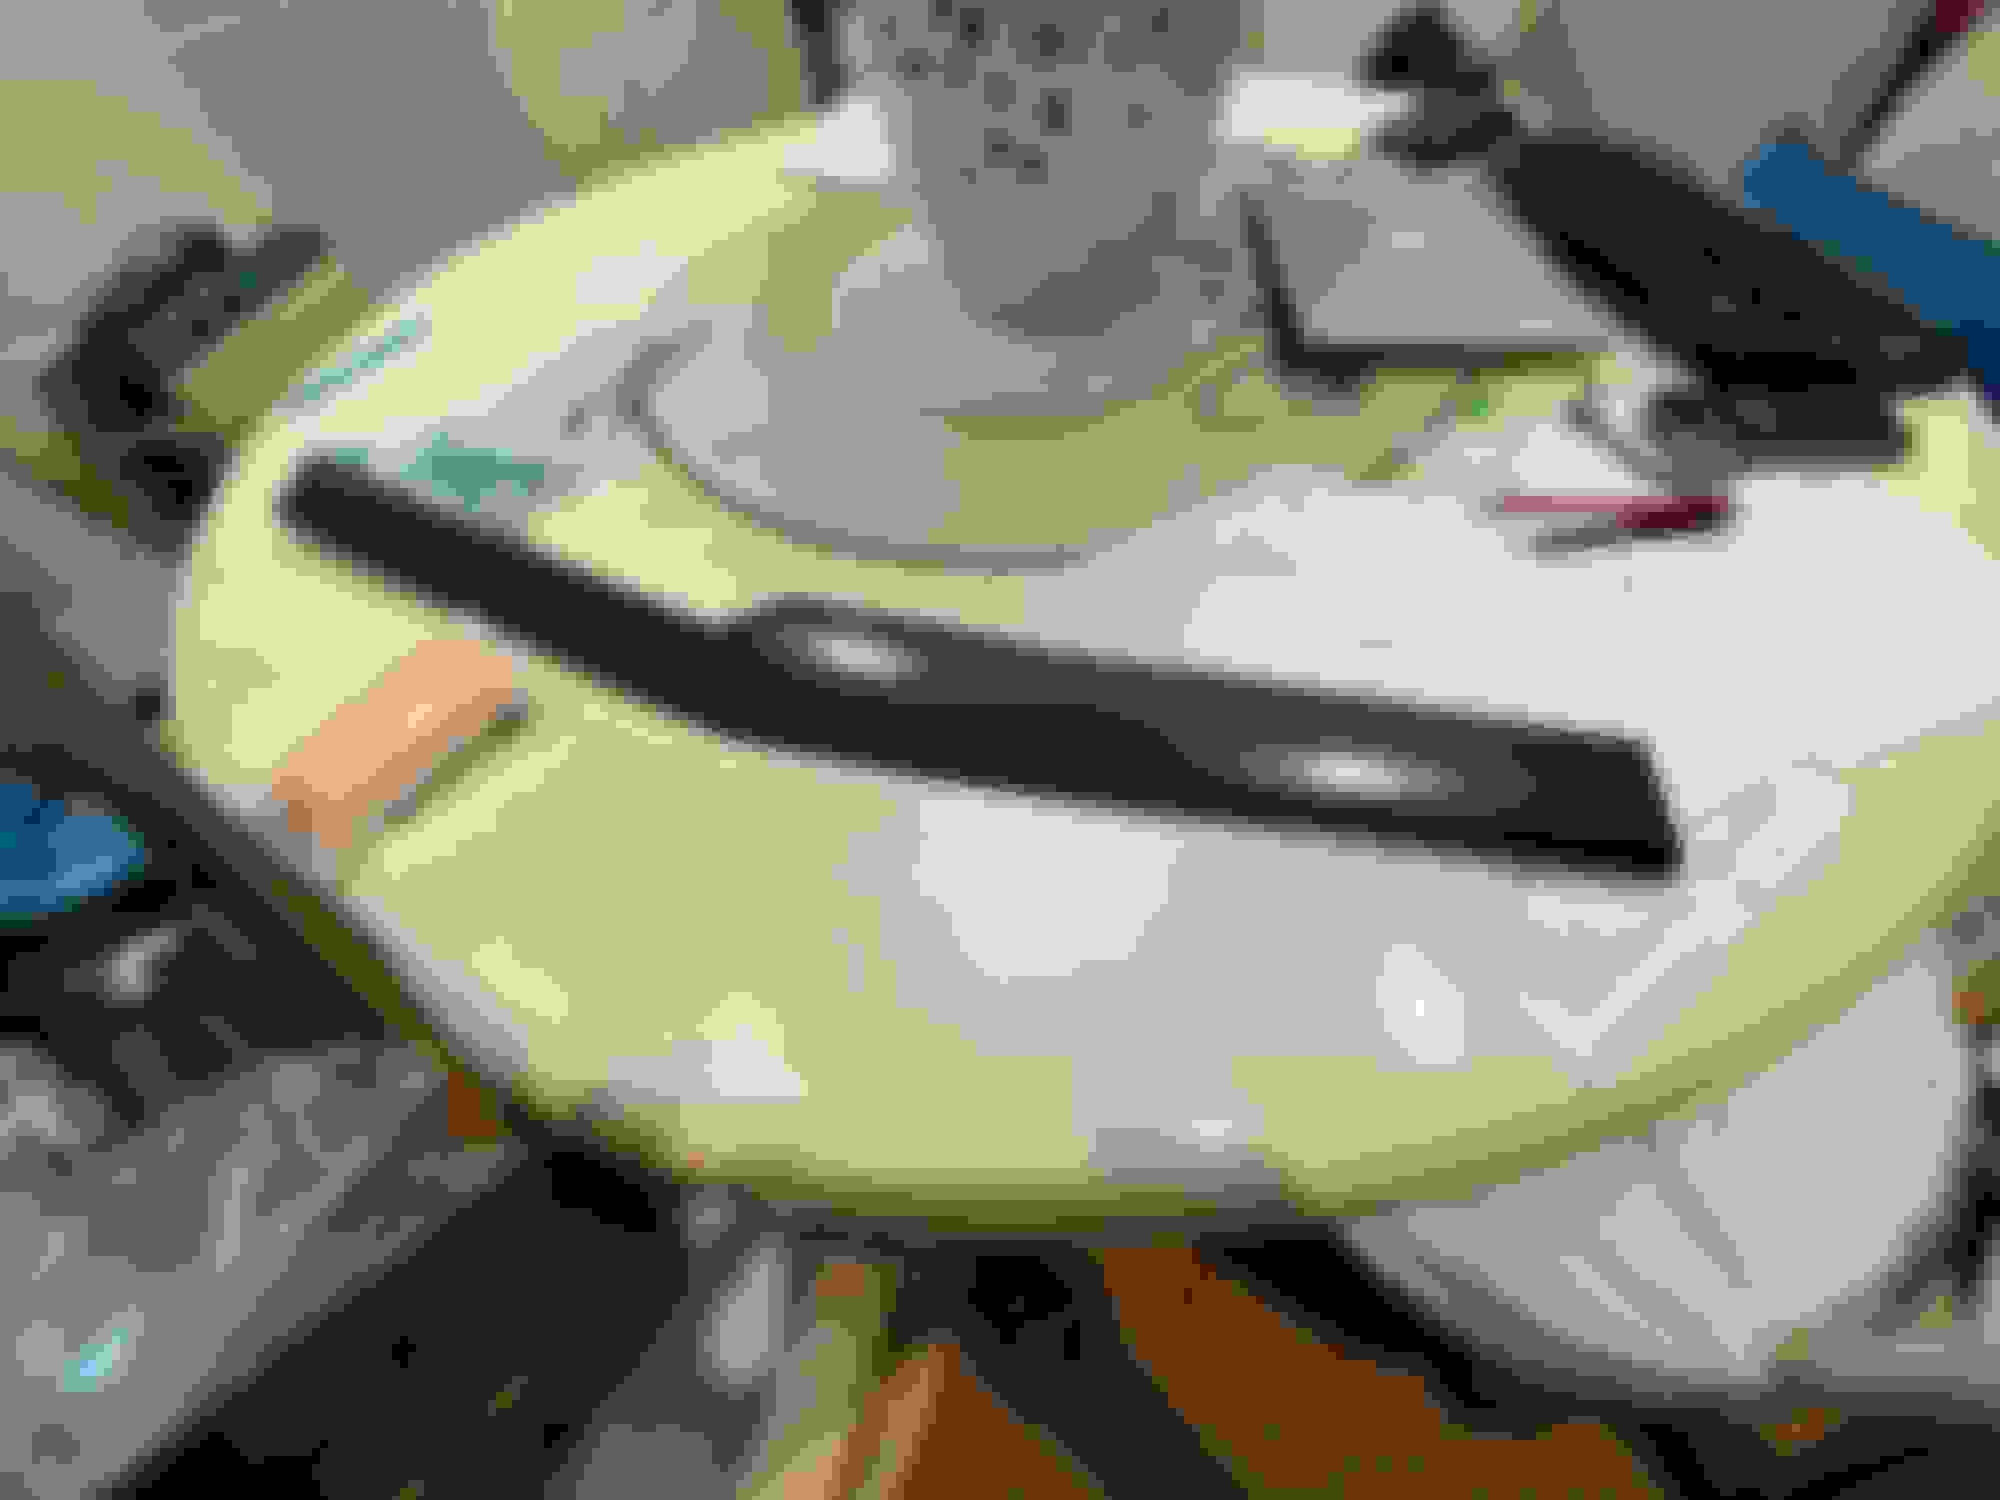
I unrolled the wrap face down and then, placed the inlays on the flat sheet and traced around the inlays leaving ~ 1/4" extra border so that I could wrap the edges underneath and trim any excess if needed. I peeled off the clear sheet from the front so that I could tell if there were any air bubbles while I was pressing down the wrap (I did not do that on the first one and it did not come out that nice). And then, I peeled the backing off to expose the adhesive. Be very careful (and recommend placing the removed backing face up so that if the adhesive side of the wrap starts to stick, it won't catch any fibers/paper edges/sticky side. I didn't do that on the first one for the door inlays and it folded up, stuck together and then stuck to part of the backside of the backing which is not non-stick. I ended up with some remnant of paper shards in the adhesive. I went about laying down the wrap, removing air bubbles along the way, and then wrapping the edges. I save both ends and the middle curved section to do last- that will be the challenging part. Use the hair dryer to gently heat up the wrap and gently massage into the proper position.
The ends require a little finesse. I stretched the ends a little and heated it up with hair dryer to make it more pliable and able to wrap the ends around the edges without major folds/wrinkles. I repeated a similar procedure to the other end. This took the most time. You don't want to rush this- otherwise, it won't turn out very presentable IMO.
Lastly, moment of truth- reinstall the inlays. I had to re-heat a couple of the ends to stretch the wrap a bit tighter and prevent any exposed edges from being unrolled. The final product is what you see. I'm much happier now!
Happy wrapping!
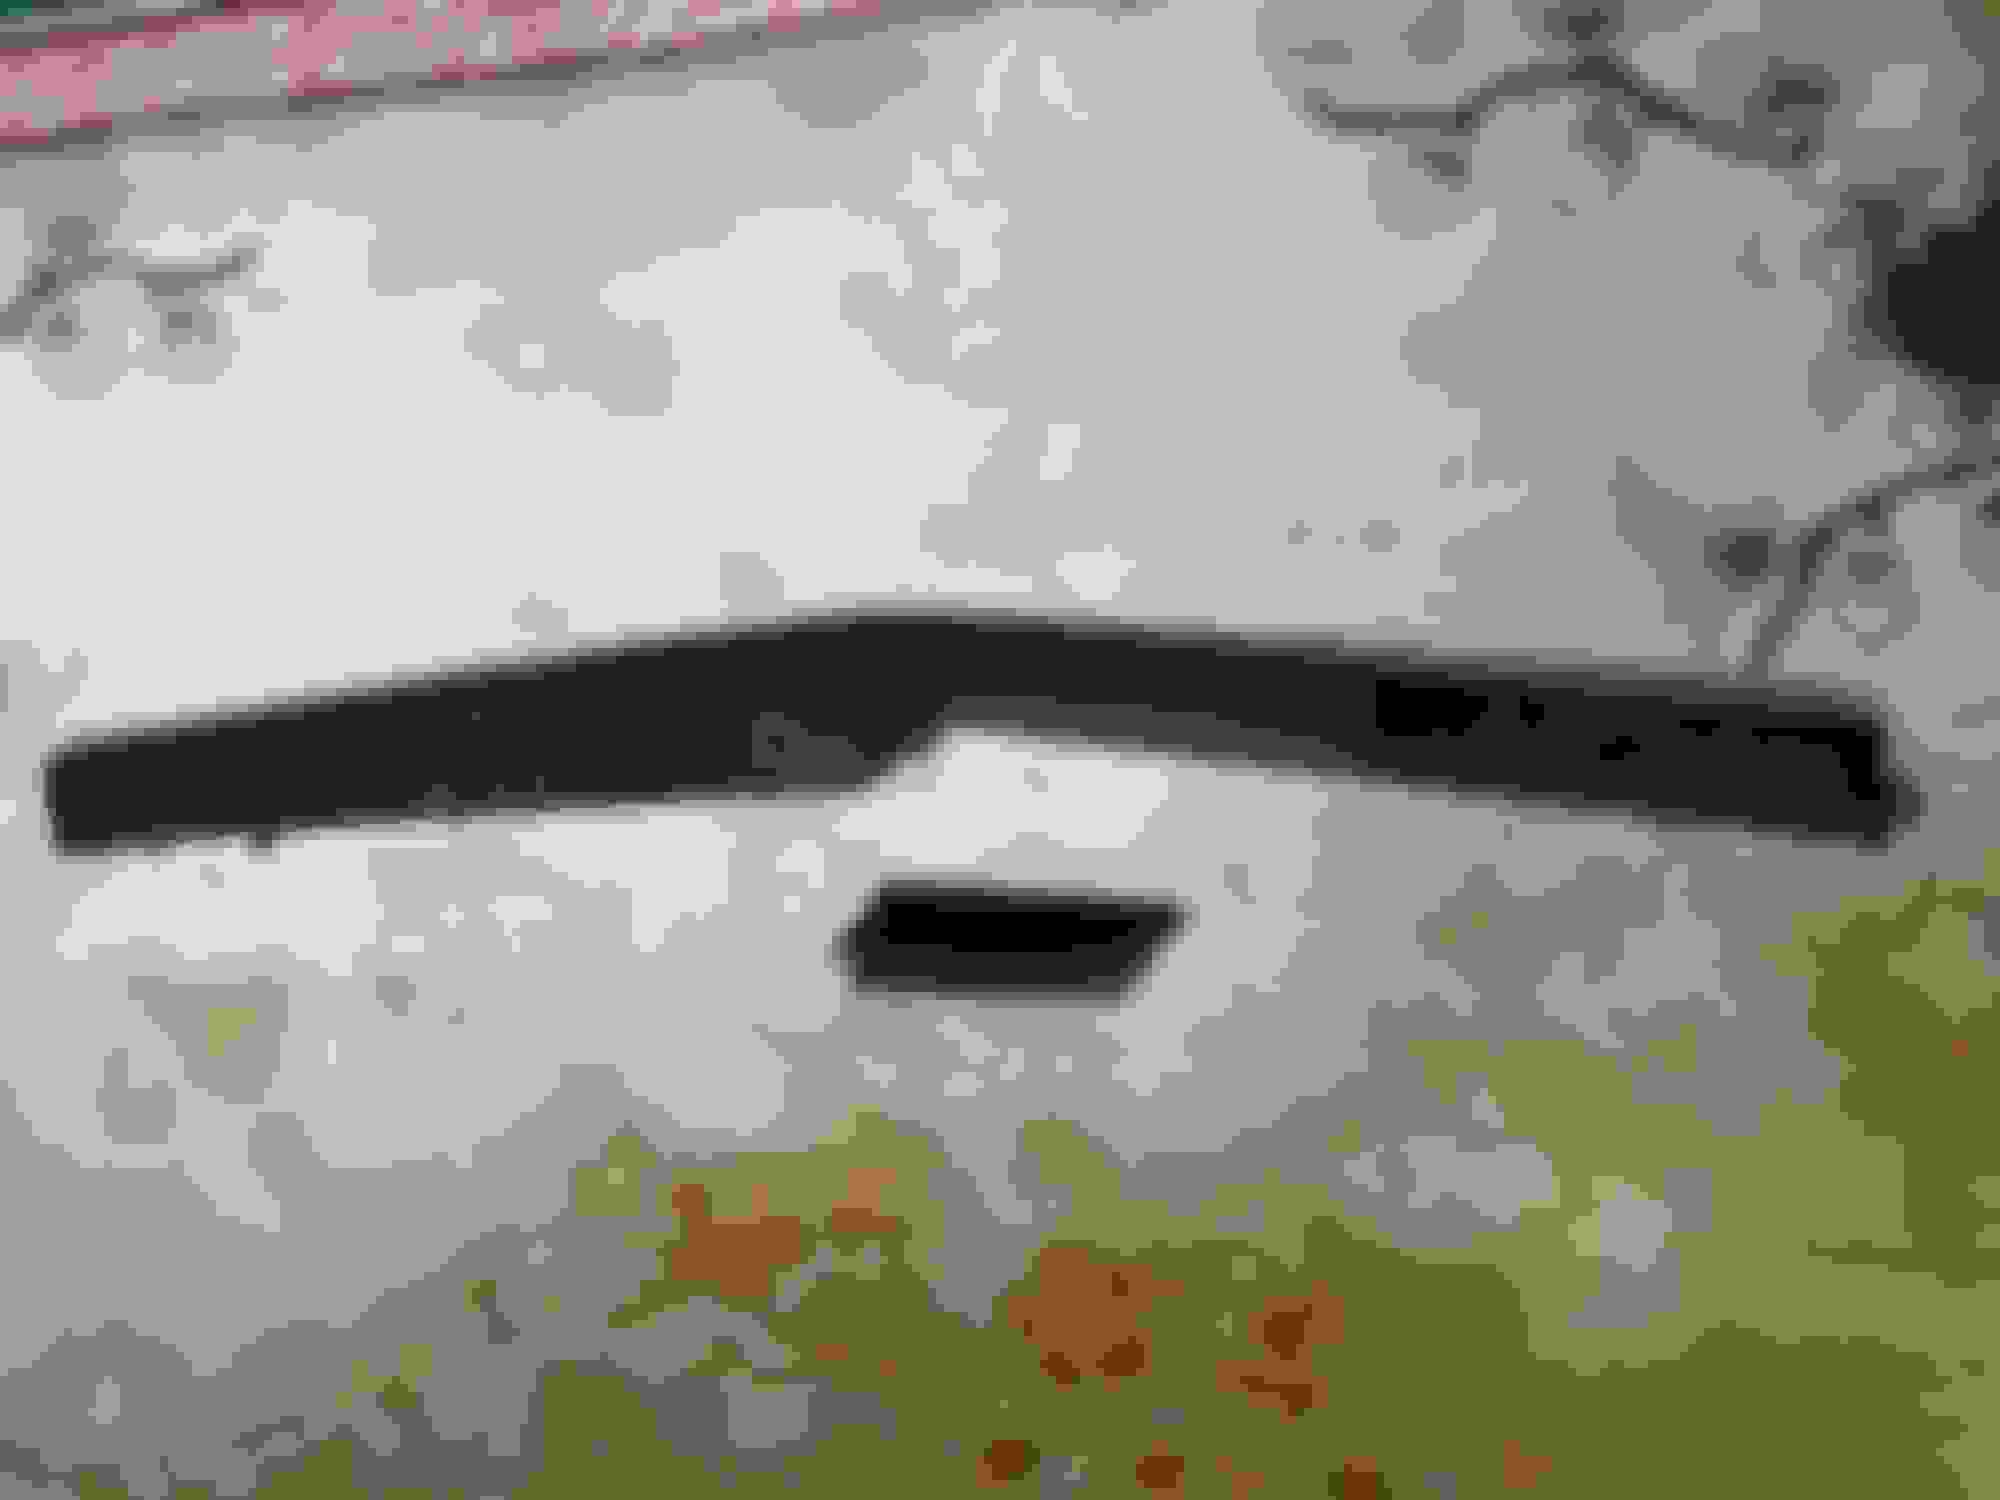
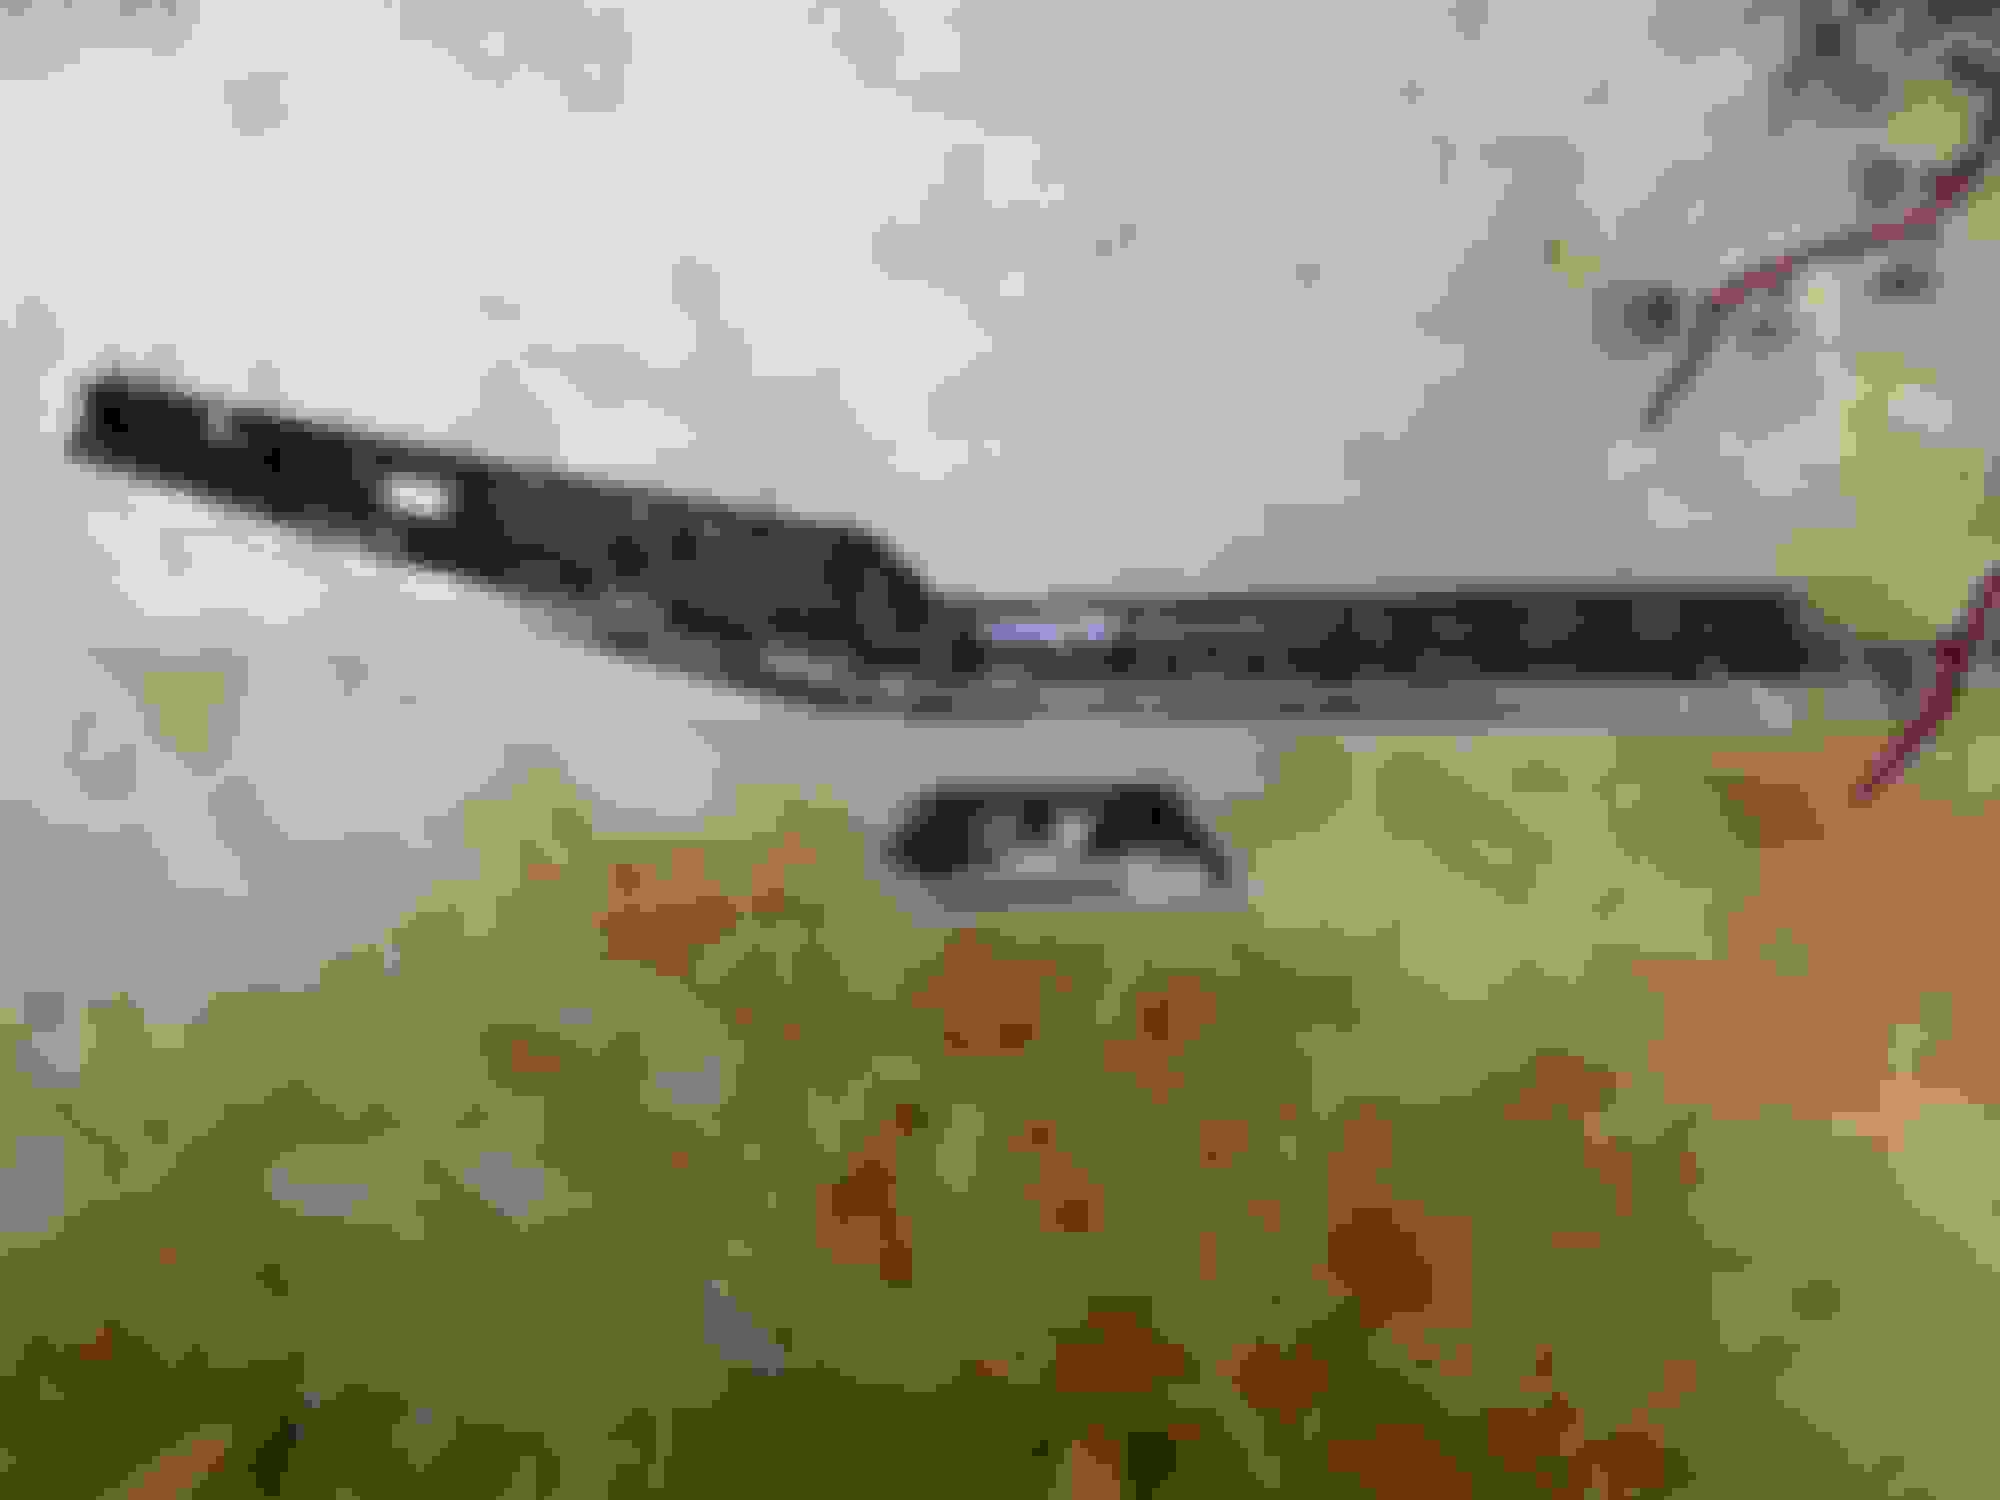
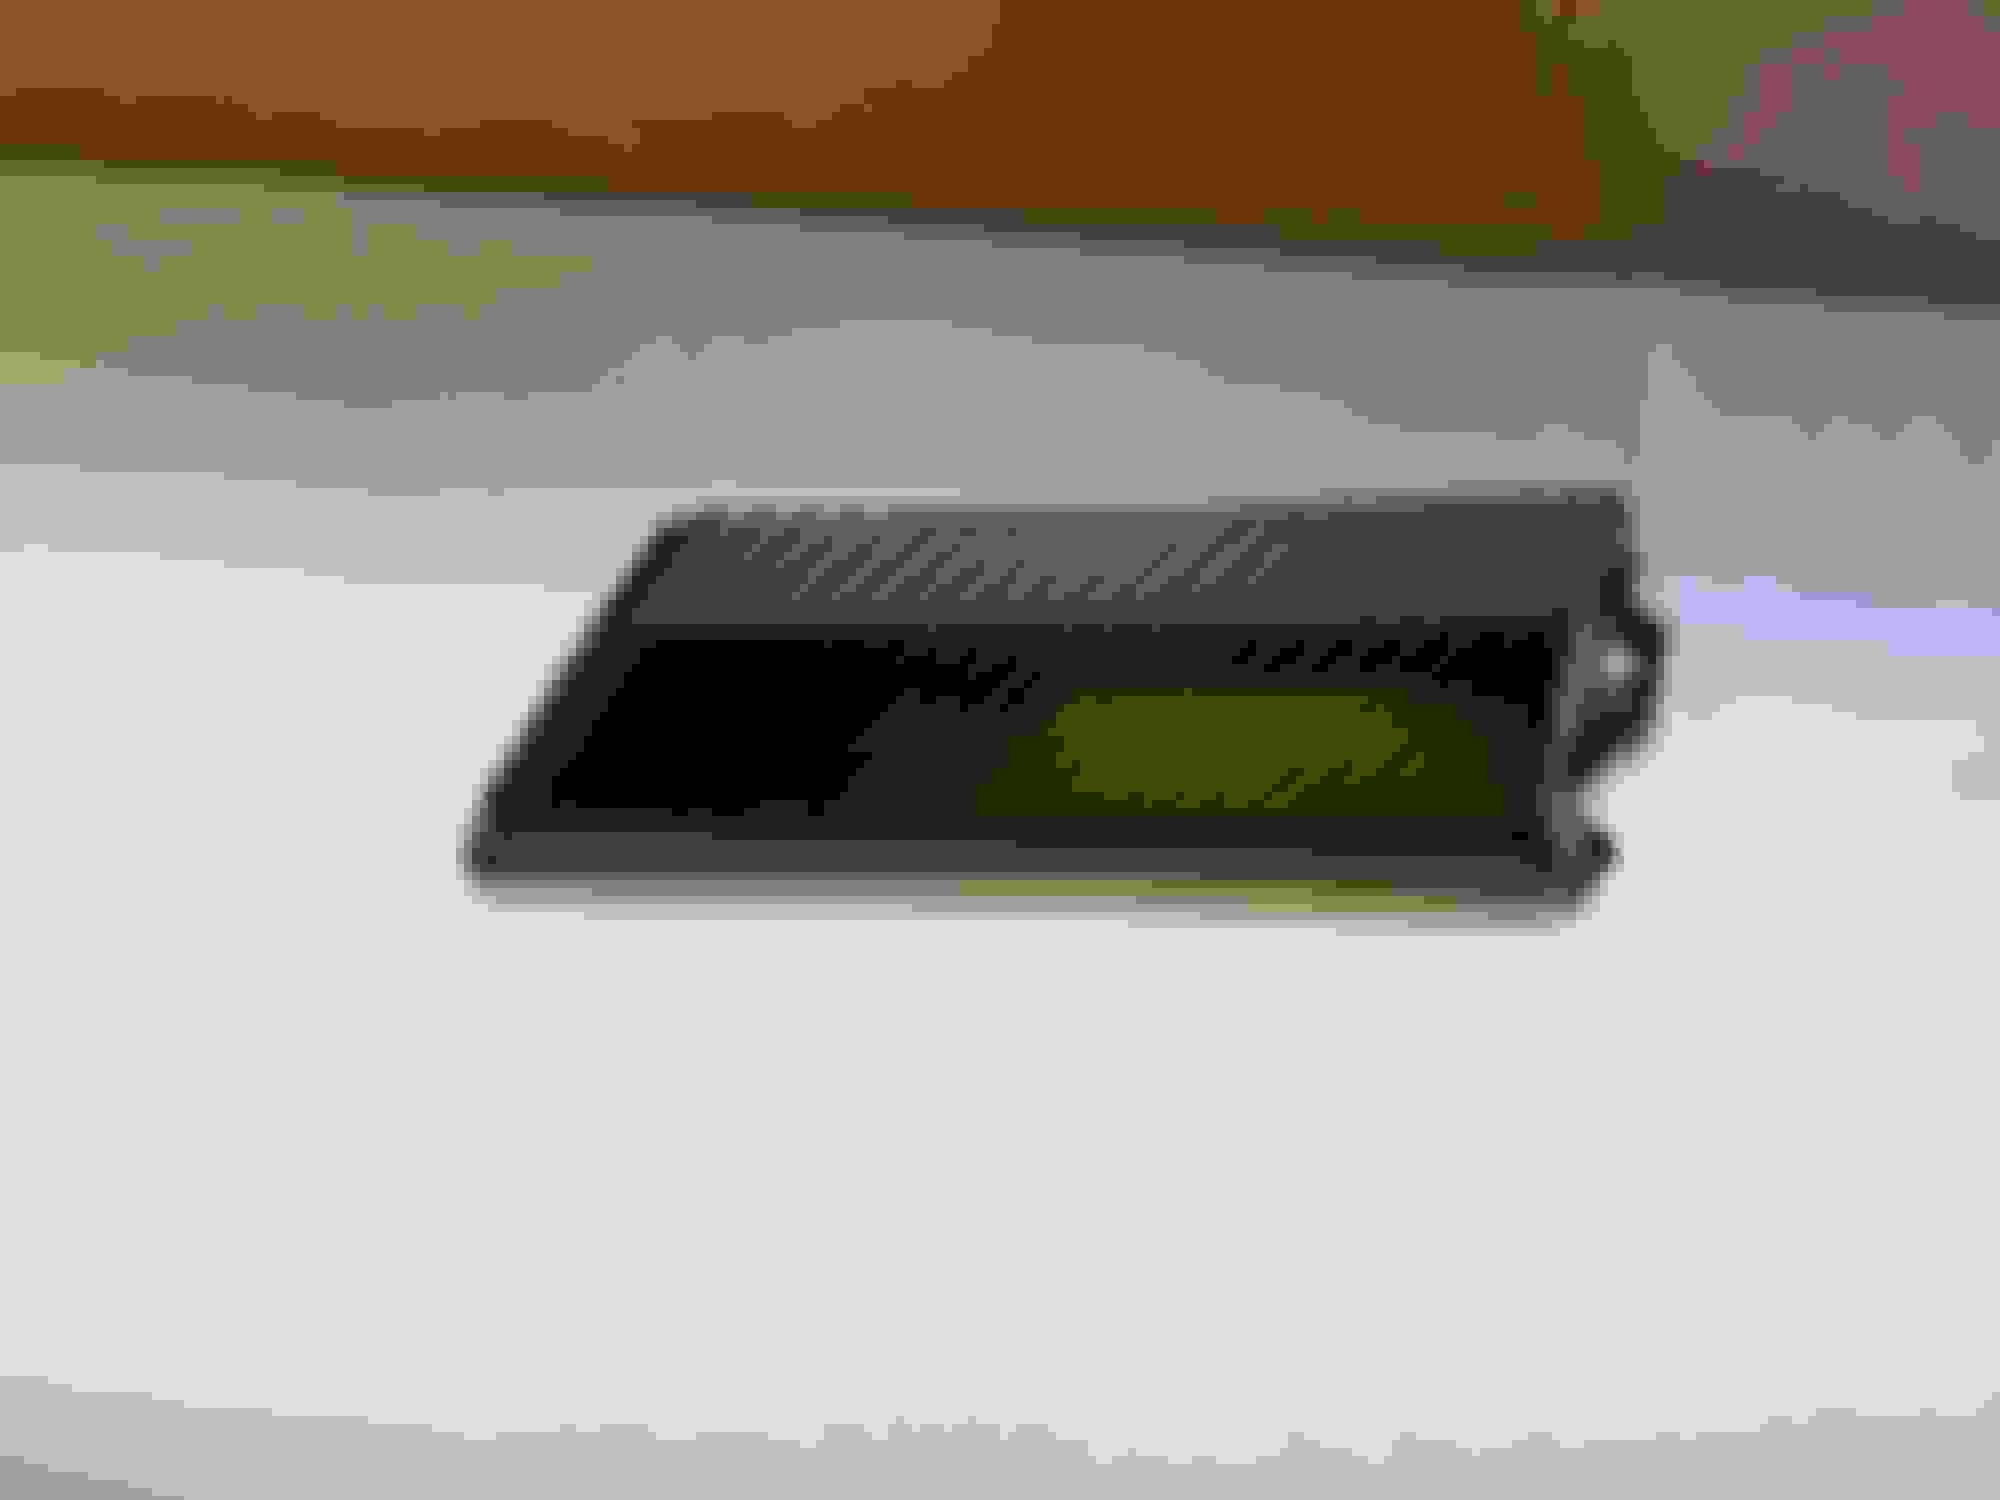
Pry the side lower dash cover. Pry the side upper dash cover (careful of the tab that inserts horizontally into the end of the inlay!). Don't lift the short side inlay just yet- need to remove the wide U trim under VC. Insert a flat trim removal tool for the wide U trim. ~ 3 clips. This will allow the ends of the inlays on both sides to be free for removal. Pry the side lower dash cover. Pry the side upper dash cover (careful of the tab that inserts horizontally into the end of the inlay!). Insert flat trim removal tool UNDER SILVER edge to gently lift up of dash inlay. burl wood inlays top. inlays bottom. Carbon fiber wrapped driver side inlay. Carbon fiber wrapped main inlay.
 08-03-2020, 02:09 PM

 ). Go slow and gently pry and inspect so that you dont scratch or crack/break anything. Insert a flat trim tool reminder over the large, wide U shape plastic trim that runs at the bottom of the Virtual Cockpit and top of the steering wheel trim. I believe there are 3 clips and gently lift up- no need to fully remove. Each end has a vertical insert that hold the ends of the inlays in place.