When you click on links to various merchants on this site and make a purchase, this can result in this site earning a commission. Affiliate programs and affiliations include, but are not limited to, the eBay Partner Network.
Thanks for confirming. Did you patch all four wires, eg; blue/grey, brown, red/white, red/yellow into the 12v socket? And did it work with full functionality i.e. Backlighting etc? I wasn't sure if you patched into a mixture of multiple sources and not just exclusively into 12v socket.
This info would be very much appreciated.
Hello !
I'm on !
For myself, it's not working at all by connecting under the lighter...
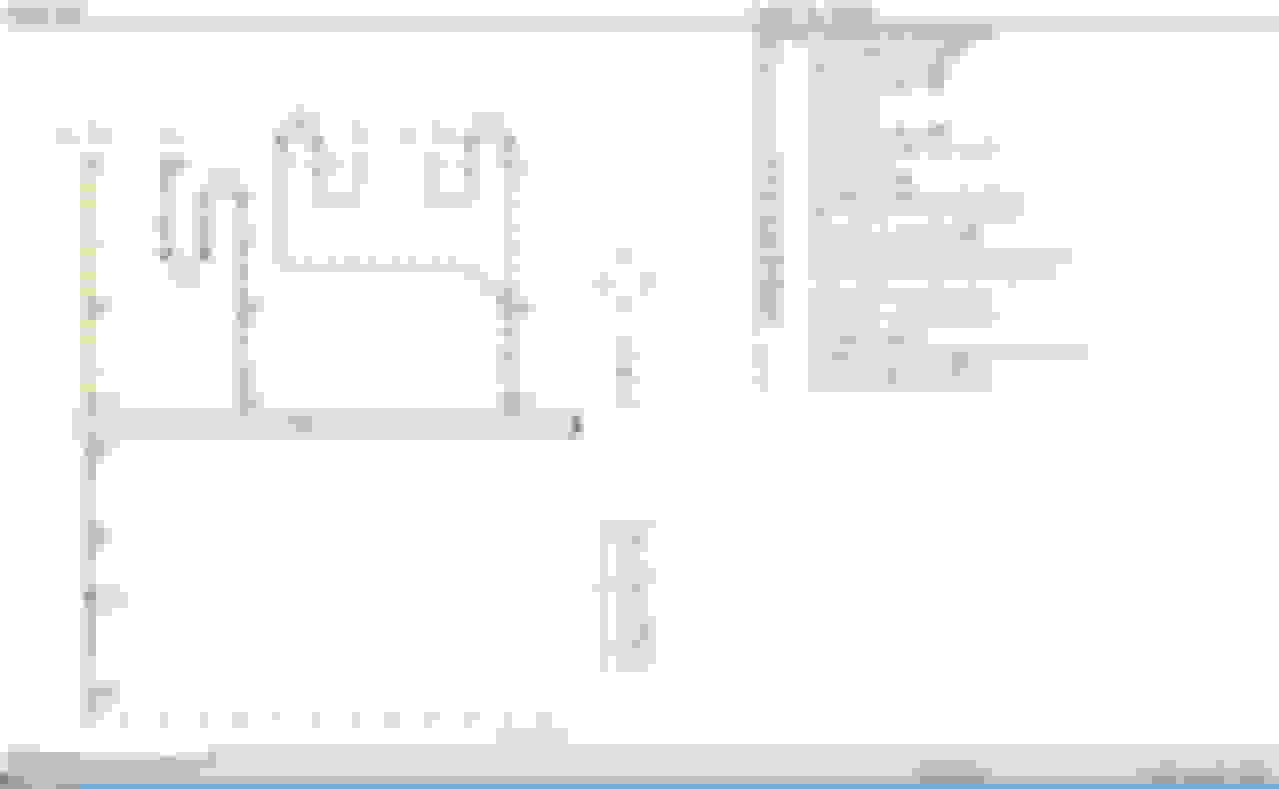
You really have to use this wiring diagram to correctly connect your 4 wires !
In a few, I'll put some pictures of the real places to connect but yet let you know that you'll have to disassemble lots of inside wearing parts of your car !!!
I have a rough idea of what needs to be done, but would very much appreciate specific guidance and pictures would be great!
Most grateful for you taking the time to further help
Thanks again
Brown : earth (- of the car body) connect under the ashtray, same colour.
Grey/Blue : Illumination connect under the ashtray, same colour .
Red /White : ...take your breath !
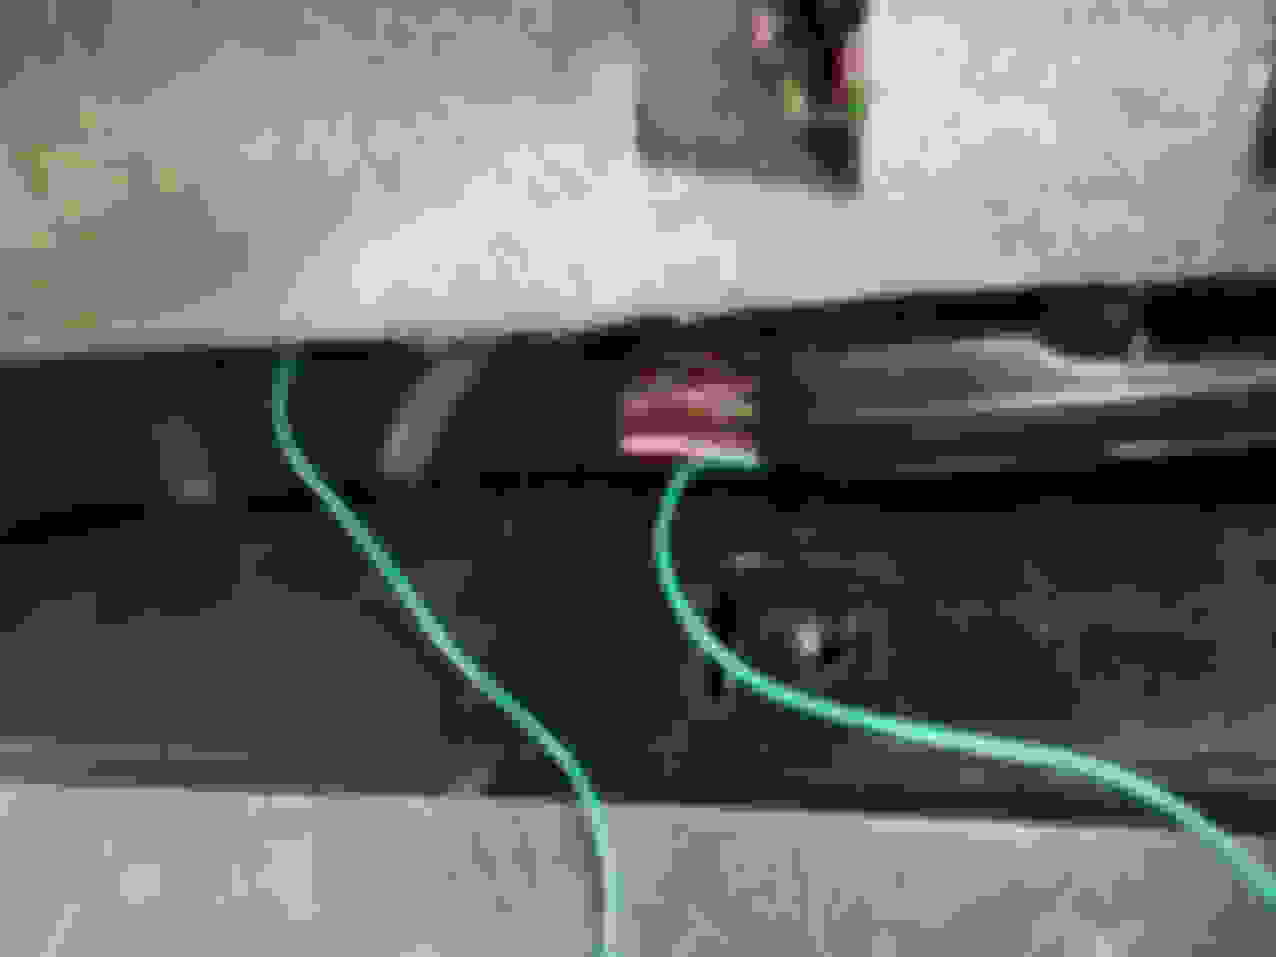
Must goes in the right side off the boot...
so for myself i've moved all the things I can ! First the back seat, not so hard (some tuto on the net) and past the cable using all their way !
And finaly this cable goes there :
On the schema in my post before : ST 4, so the 4th fuse carrier, SF 2 : the second fuse !
BUT :
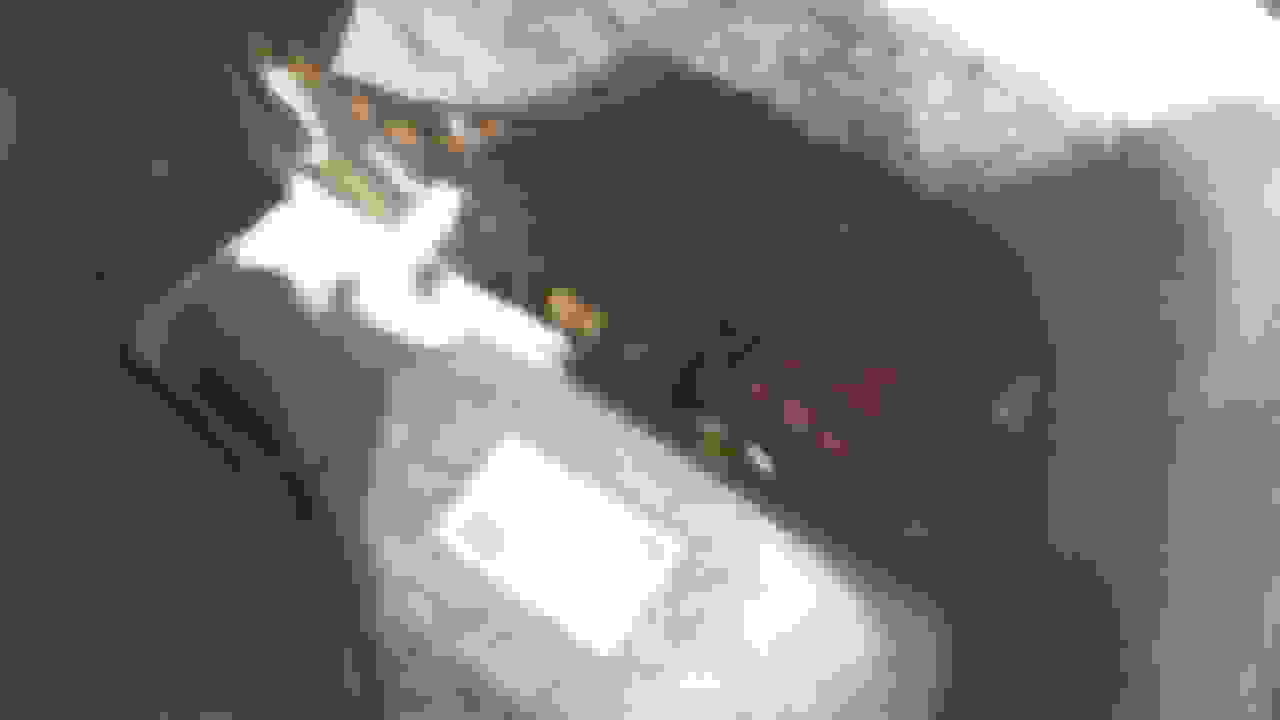
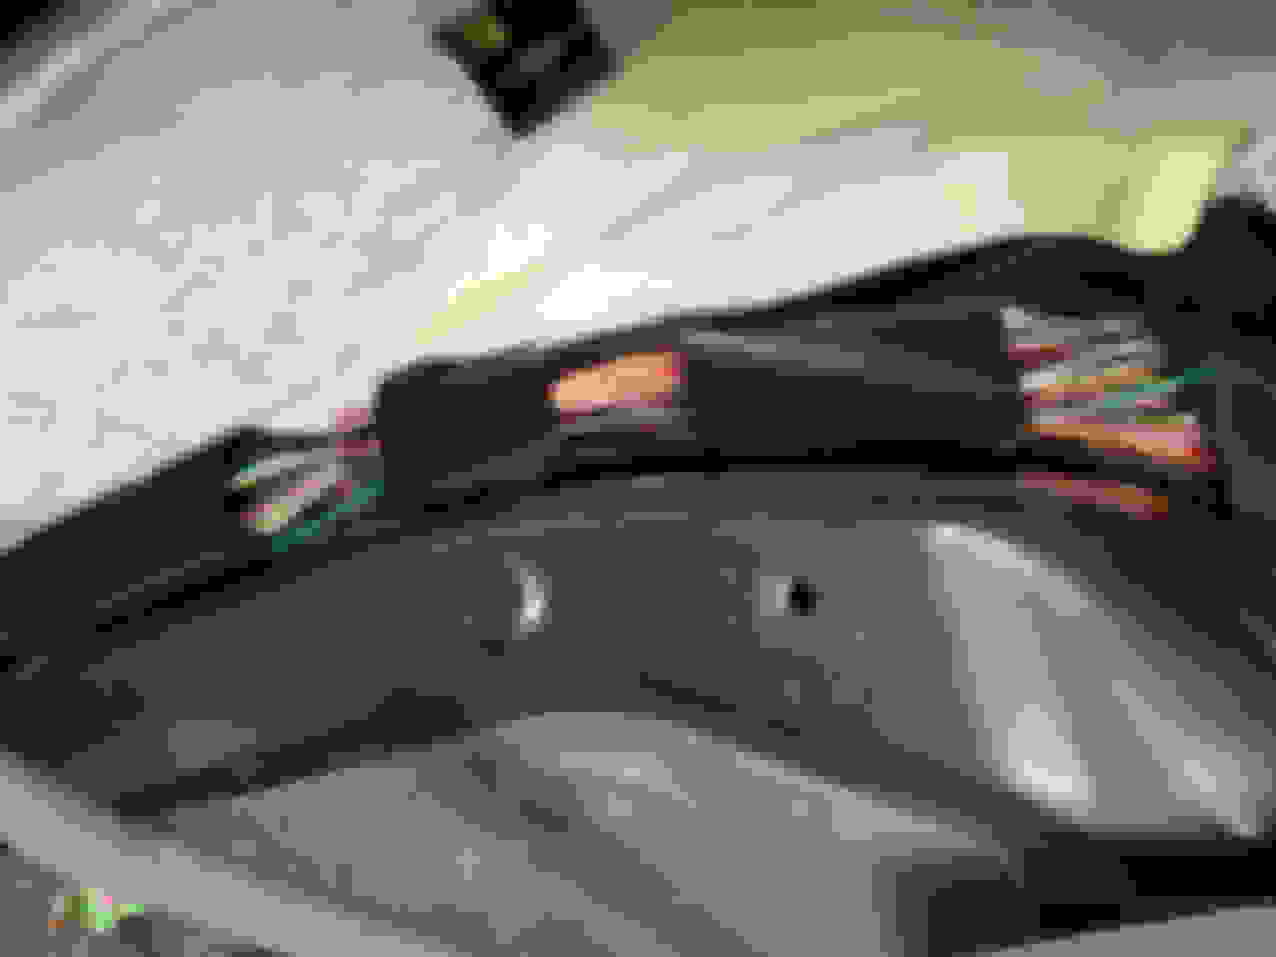
The fuse holder retract from the back so you'll have to remove of those platin with fuse carrier : just one screw !
Push it down and remove the black cover, then slightly push off the pink retainer :
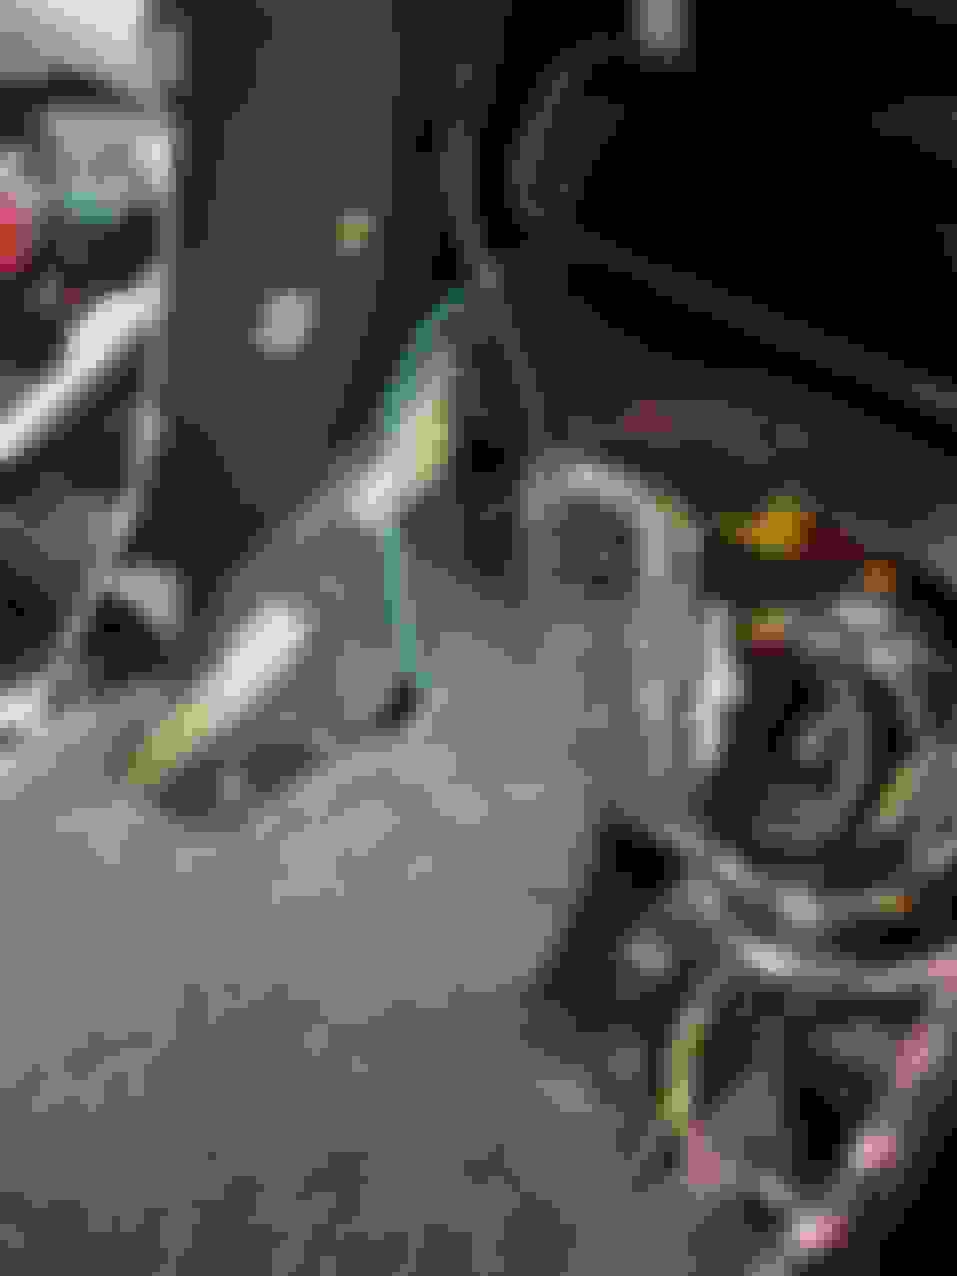
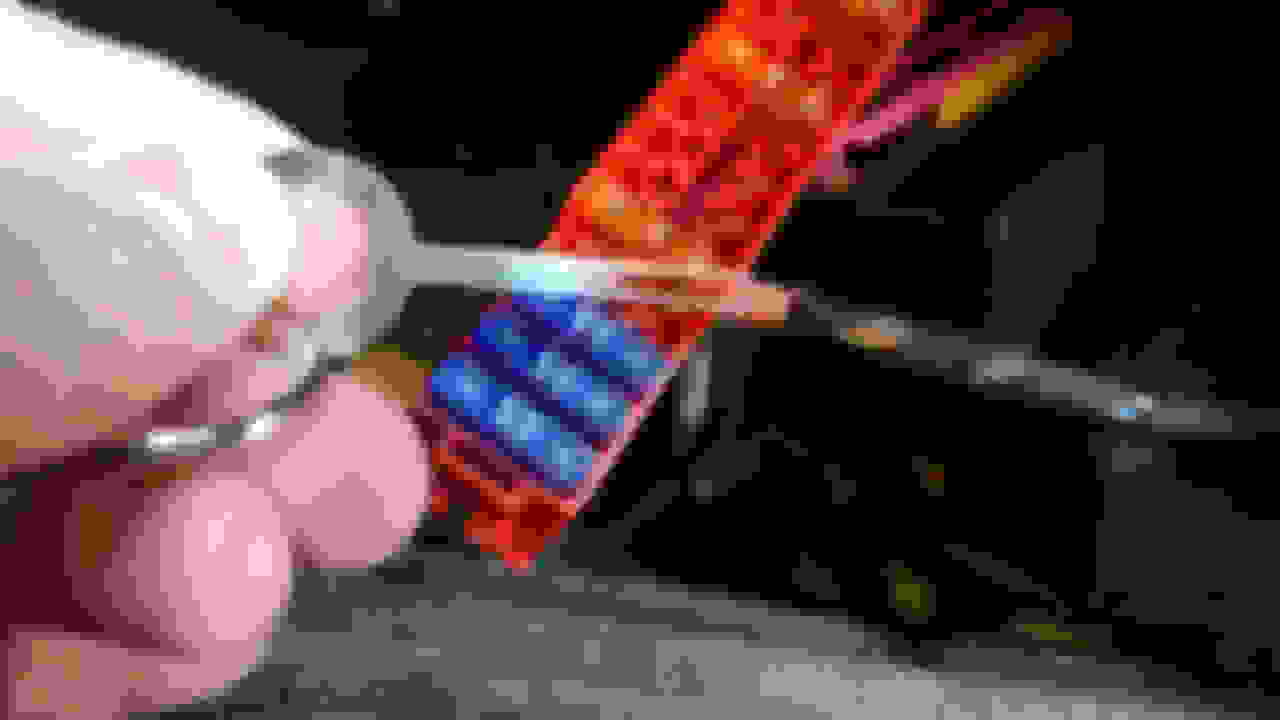
If you need to remove the connector to connect the cable easely, use this type of key :
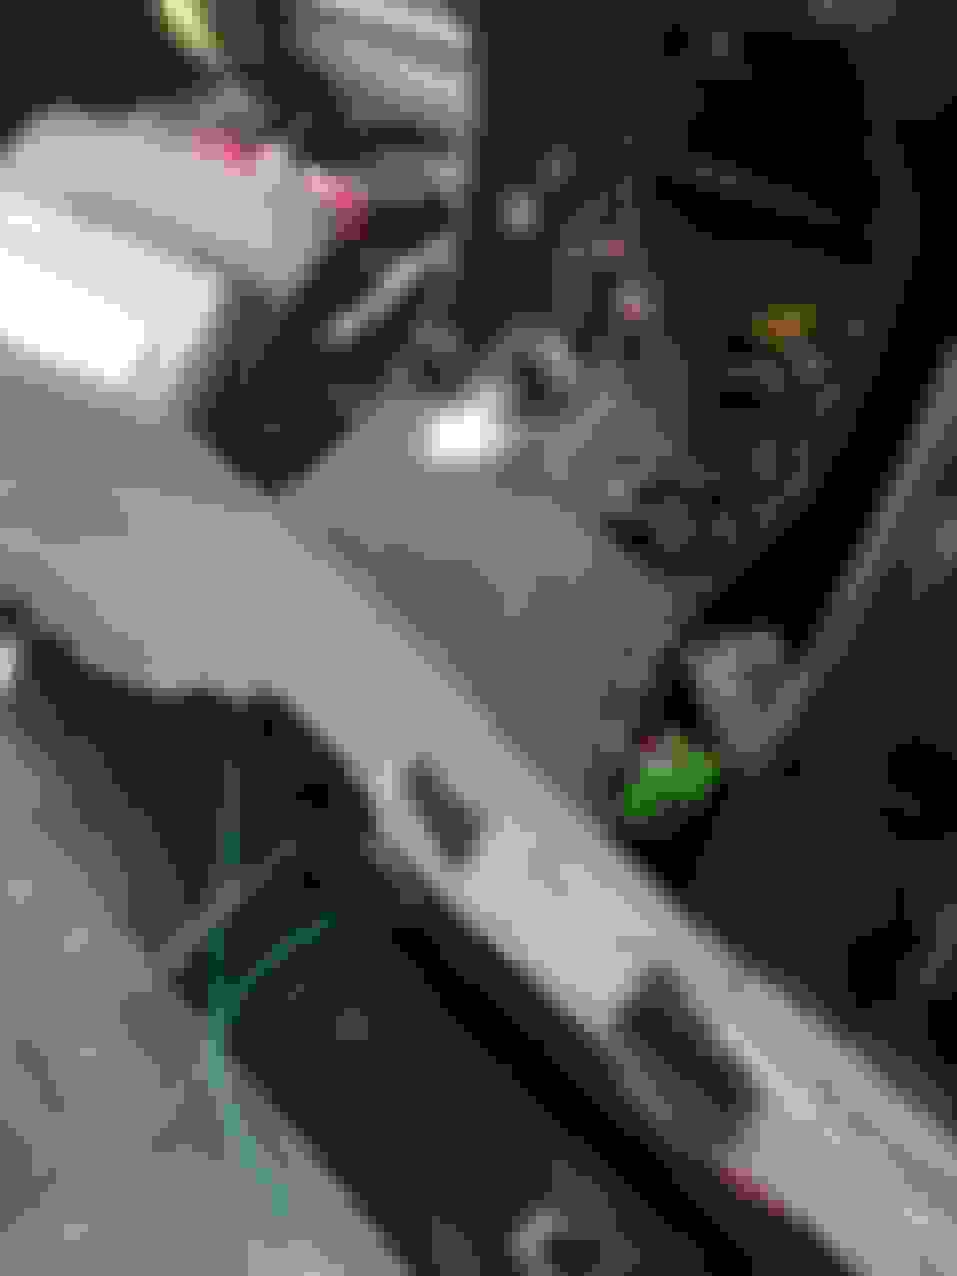
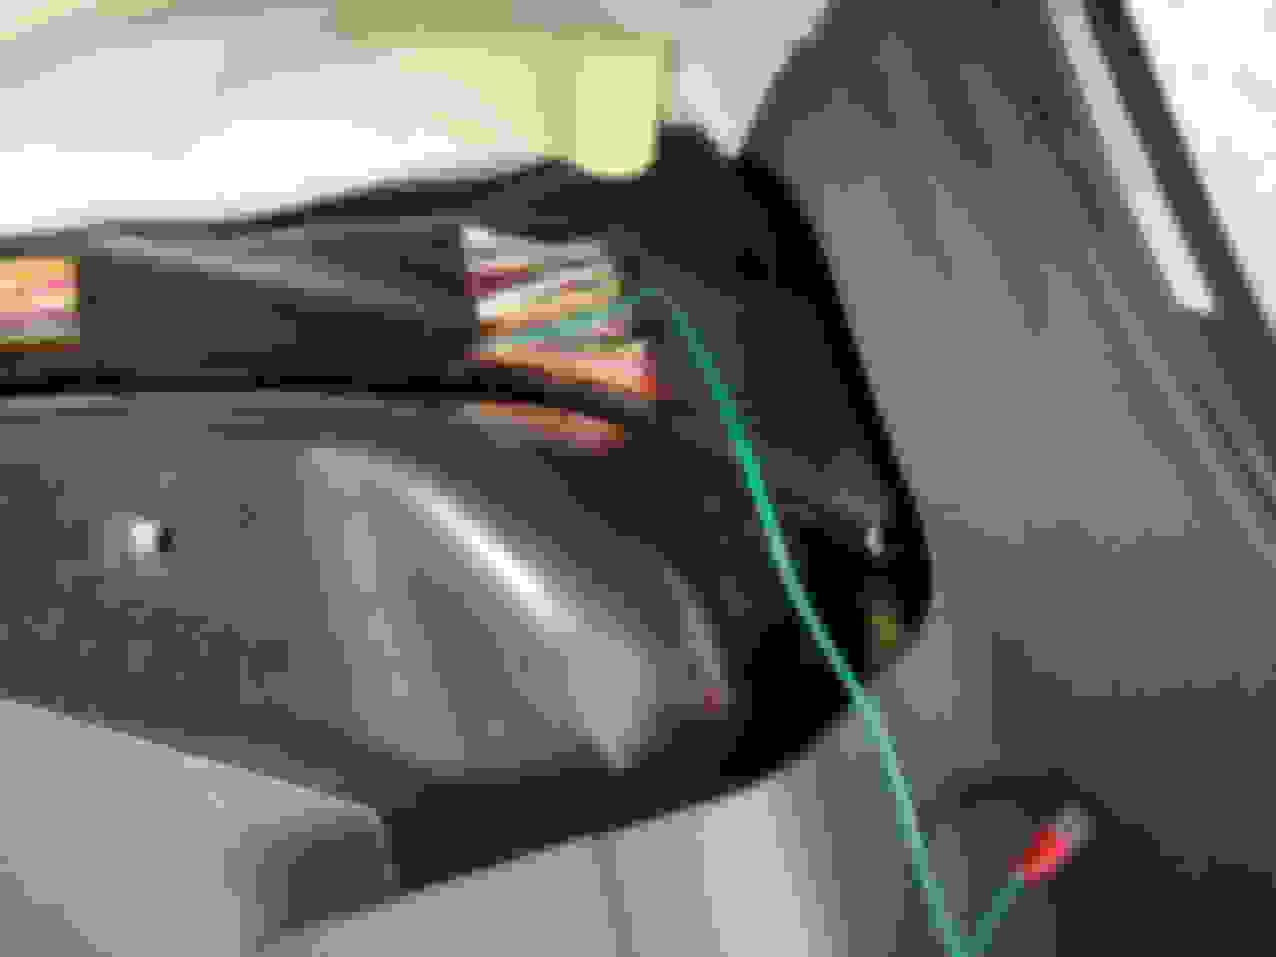
Last one : Red/Yellow : goes on the fuse box, front driver door opening, left side of the dashboard : easy !
Best way to do is to replace the central console quite in place but not fixed and proceed to pass the cable under the air flow line, under the dahboard (over your foot !) and finaly connected it exacly the same way than on the boot in :
ST 3, so the 3th fuse carrier, SC 5 : the fifth fuse !
DONE !
Just check it and applause for your hard work !


 06-22-2020, 05:27 PM