When you click on links to various merchants on this site and make a purchase, this can result in this site earning a commission. Affiliate programs and affiliations include, but are not limited to, the eBay Partner Network.
Since the JB4 is out, I decided it was time to bit the bullet and pick one up. Install was pretty easy, takes a bit more time if you want to pretty it up. Install is pretty straight forward, but here is a couple of tips:
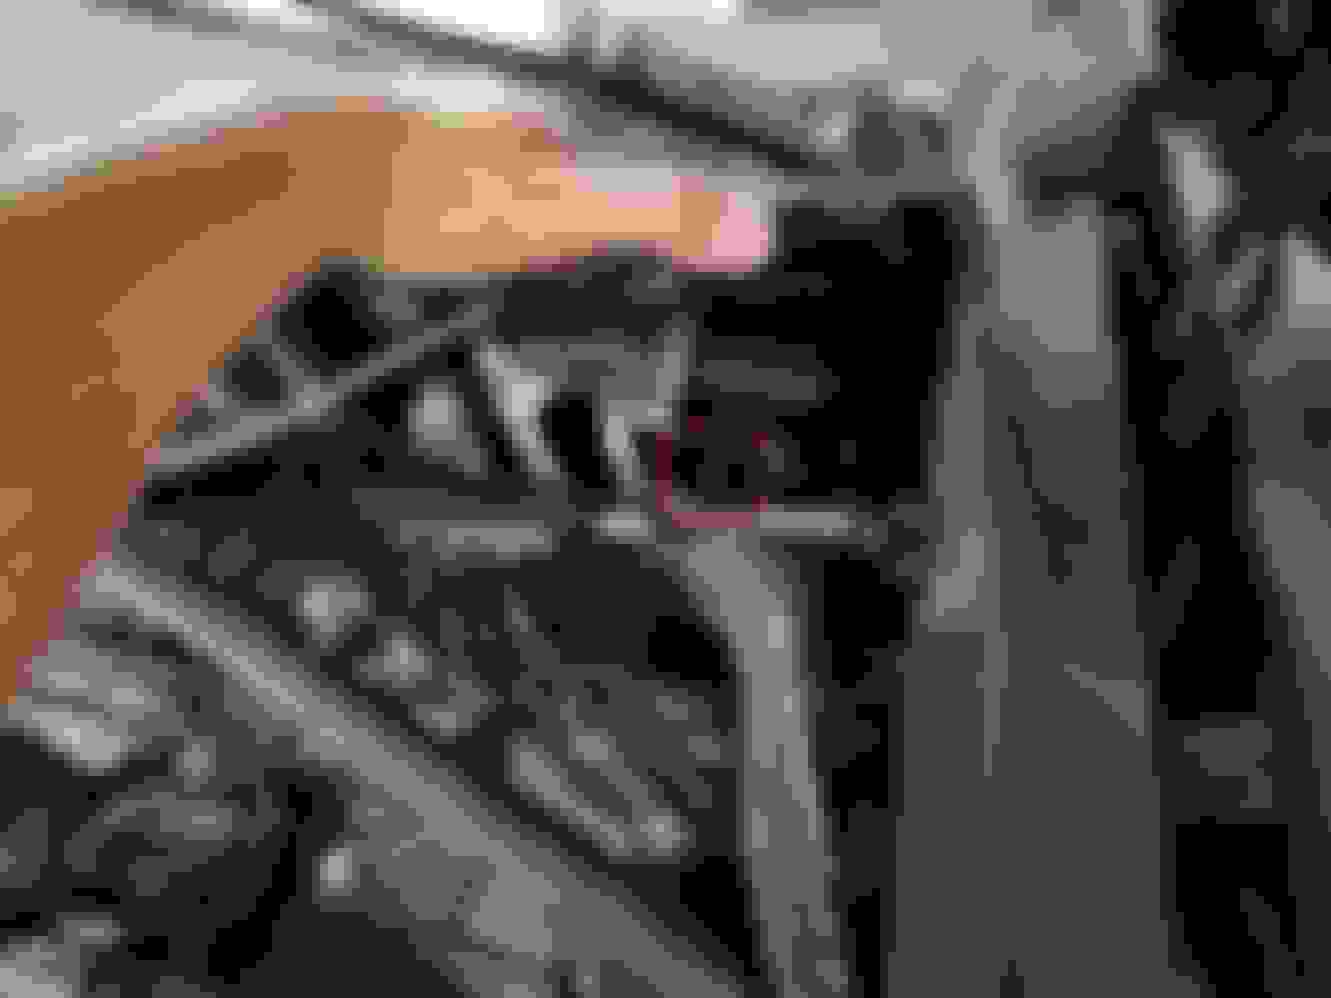
1) The connectors have a little colored "lock" that needs to be pulled back to release the connector. Once it's pulled back, pressing down on the colored lock clip will release the connector, and should unplug with a simple pull. One exception is the fuel pressure connector (top left on the image). You may need to place a flat screwdriver at the base of the connector and twist gently to pop the connector loose.
2) The recommended location for the JB4 is by the brake booster, under that flip down cover (top right of the picture, near the windshield). The rubber weather stripping can be pulled off slightly (pull it straight towards the front of the vehicle), which will allow the plastic cover to be raised. You can then release the clips on the brake booster grommet (with the foam insert), and pass the JB4 cable through it for a clean install.
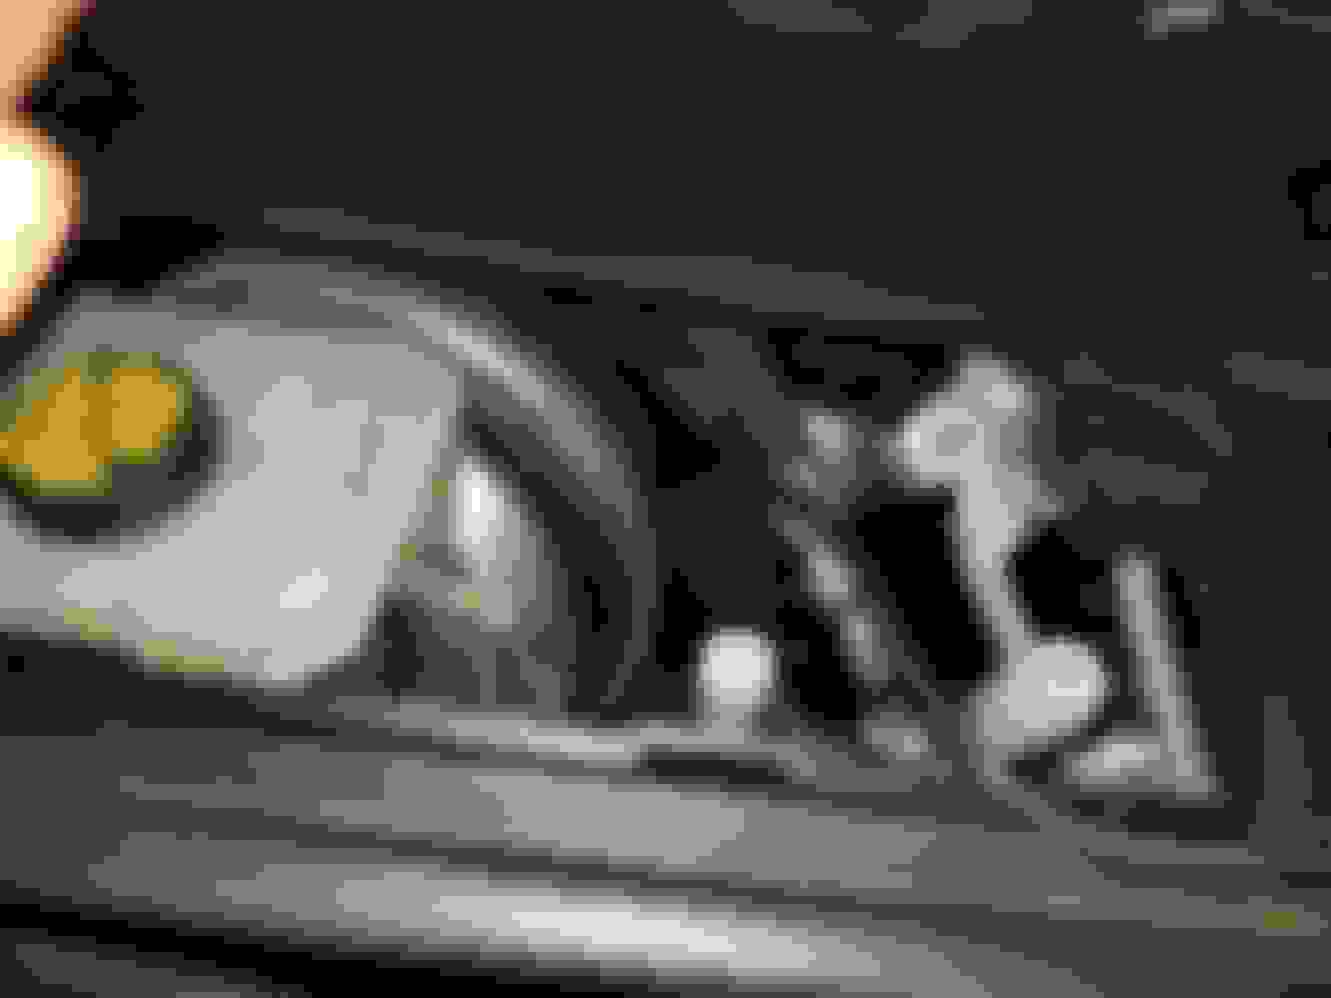
3) Inside that cavity you can see the little grommet that is used to pass the OBDII wire back into the cabin.
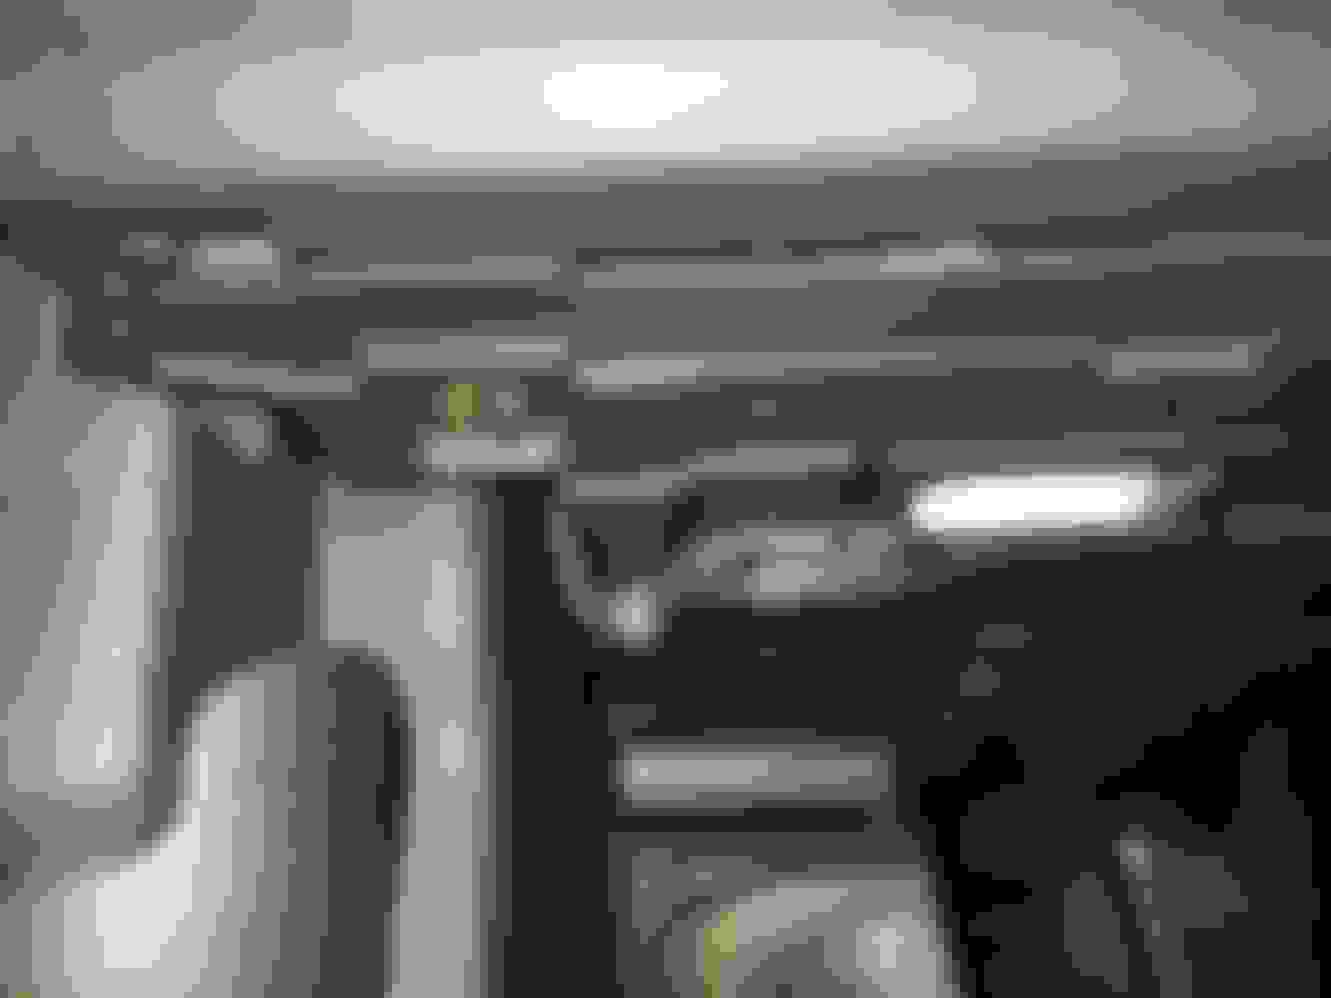
4) You will need an 8mm socket to remove the two screws that hold the cover at the bottom of the dash. You will also need a 10mm socket to remove the two plastic nuts that hold the second half of this cover (around the steering column, on the firewall).
5) I found that if you pull the bottom of the dash out a bit, you can then pop the rear cover piece down so that you can access the grommet location from the inside. Picture is a bit hard to see, but it's pretty much eye level when you look in from the bottom. I passed a stiff wire from the outside in, and then pulled the OBDII wire back into the brake booster cavity. Have someone shine a flashlight from the outside (into the grommet) if you have issues finding the inside location.
6) Be VERY CAREFUL when connecting the OBDII plug to the JB4. The connector has 4 pin locations, with the plastic chamfered as "keys". It is possible to plug it in 90 or 180 degrees wrong. This messes up the CAN bus, and will cause the car to throw every fault code known. If this happens, don't panic. Turn off the car, clear all the codes, lock the door and let it sit for 5 minutes to go to sleep. It will return to normal once it wakes up again.
Taking it for a quick spin after install puts a nice smile on your face. I removed the DTUK unit to install the JB4. Here is what you'll notice for differences:
Power Delivery:
JB4 - starts linear and exponentially builds. Very predictable under all throttle angles.
DTUK - really aggressive off/on transitions (like a giant with a sledge hammer). Fun when messing around, not fun when you get that transition on an onramp cloverleaf.
Shifts:
JB4 - butter smooth under all load conditions
DTUK - engine stumbles and farts if shifted under high load
All in all, it feels just like stock, with the exception of a lot more power. Highly recommend it!
Fantastic pics and directions. Can't thank you enough. Ordered mine today and your review eases any fears I was having about losing my buttery smooth stock experience.
One exception is the fuel pressure connector (top left on the image). You may need to place a flat screwdriver at the base of the connector and twist gently to pop the connector loose.
In the JB4 install instructions, they say the Fuel Pressure Sensor connection is optional and is only needed if you plan on mixing in E85. Sounds like those of us not using E85 can skip this one. I'm for making it quicker and easier to install and remove if there are no downsides.
Last edited by spindlewood; 10-16-2018 at 10:06 PM.
Nice write up Wires. Will come in handy when I pulled the trigger for a JB4!
Would love to hear more about direct comparison between JB4 and DTUK. Sound like u like the JB4 a little more?
My complaint with the DTUK is it's really "rough" around the edges. Power comes on with a "snap". This is fine doing jack rabbit starts from traffic lights, but a lot of driving situations that isn't very desirable (like the icy on ramp merging into fast traffic). Shifts with the DTUK couldn't be done with full throttle either, or it would stumble and stutter. Driving in sport mode really amplified the jerkiness of power delivery.
JB4 has nice smooth power delivery. From a dead stop, you don't get that snap of boost, it gradually builds and then just pulls. I've only had it out a couple of times, but had no issues with shifts at any throttle load or RPM.
I did hook up the fuel pressure sensor connector mainly so the ends were not dangling anywhere. It's not that the connector is in a hard to reach location, it just seems to "stick" onto the sensor which makes unplugging a bit more difficult. It is really easy to remove if necessary though.
 10-16-2018, 06:22 PM