When you click on links to various merchants on this site and make a purchase, this can result in this site earning a commission. Affiliate programs and affiliations include, but are not limited to, the eBay Partner Network.
Too true; modern autos are wonders of remote sensing technology, but we become very dependent on them. One of the frustrating things on the Bimmer is that in freezing rain, sleet or snow, the front sensors become coated with ice, and the proximity sensors then continuously light up and eventually turn off with the message that "collision avoidance," ACC and all front-sensor functions are disabled (just when you are likely to need them). I noticed that a swarm of Miidwest grasshoppers can do the same thing. Hopefully the Audi is an improvement, but may just be the nature of the beast....
Why would it be an improvement? Sensors sense. If any sensors are covered in thick salt grime, or ice, they will likely shut down rather than provide inaccurate readings. Its just the nature of the beast
Wow, this thread really diverged from the original subject!
Update: I still have one or two cosmetic changes to make to my mod and a couple more pictures to take. Then I will get the photos and a parts list together and post some instructions. Lots of other stuff going on, so be patient and give me a few days or weeks. Thx.
And you really shouldn't be using ACC in those icy, snowy, wet, etc. conditions anyway.
ACC was just an example because it's controlled through the front sensors, but the point is it would be nice if collision avoidance, for instance, remained active even if the sensor is covered with a couple of mm of ice. I don't need protection from something 1/8" in front of me. How about if the sensors read starting a couple or three feet out, rather than start at the thickness of paint on the surface? May not even be possible with current technology, but I bet the radar on a missile cruiser isn't confused by a coating of North Atlantic ice, even several inches thick. Cameras coated with grime are a different horse, for which the OP has graciously provided a remedy....
ACC was just an example because it's controlled through the front sensors, but the point is it would be nice if collision avoidance, for instance, remained active even if the sensor is covered with a couple of mm of ice. I don't need protection from something 1/8" in front of me. How about if the sensors read starting a couple or three feet out, rather than start at the thickness of paint on the surface? May not even be possible with current technology, but I bet the radar on a missile cruiser isn't confused by a coating of North Atlantic ice, even several inches thick. Cameras coated with grime are a different horse, for which the OP has graciously provided a remedy....
As an airline pilot, I can tell you that our radar is definitely affected (attenuated) by an accumulation of ice on the radar dome (nosecone) of the airplane. There is no magic technology that will allow the radar to see clearly through an ice accumulation. The solution would be the ability to spray the radar domes with heated washer fluid to melt any such accumulation before it becomes a problem.
Perhaps Audi's thinking is that if the roads are kicking up enough ice/snow/slush to coat the ACC domes, then you shouldn't be using it anyway. That might be true. Except that I've encountered a few times driving through slush with out ACC engaged and then transitioning to a clean, dry road but not able to use the ACC then because of the ice.
Would be great if each sensor had a mini-washer! 'Spose we can start with the rear camera - thanks OP! A shame that the US Q7 only has the headlight washers on the NV package...
I finally found the time to write up how I implemented my 2017 Q7 rear camera washer hack. Sorry it took so long. It's gonna be a long post, so please don't quote the whole thing if you reply. Most parts mentioned below are live URL links to a source for the part.
Remove Rear Lid Lower Trim Panel: First remove the two Torx screws under the emergency triangle cover. If you don't have a short Torx driver, you will need to remove the emergency triangle cover to access the screw closest to the hinge. Remove the two lamp units and the locking button by gently prying them out with a nylon pry tool and unplugging them. Then starting at the latch (lower) end, pull the panel free with a sharp tug to unclip a few of the clips nearest the latch end. Proceed to free the remaining clips with a nylon pry tool. Be ready to catch the panel which is fairly heavy. Having a helper nearby is a good idea at this point.
Remove the right License Plate Lamp: Put a screwdriver in the slit at the inboard end of the lamp unit and slide it outboard until is is loose and pops out. Alternatively, you can slide a pry tool under the inboard edge and push the lamp outboard, but use caution not to damage the rubber seal. Unplug the lamp.
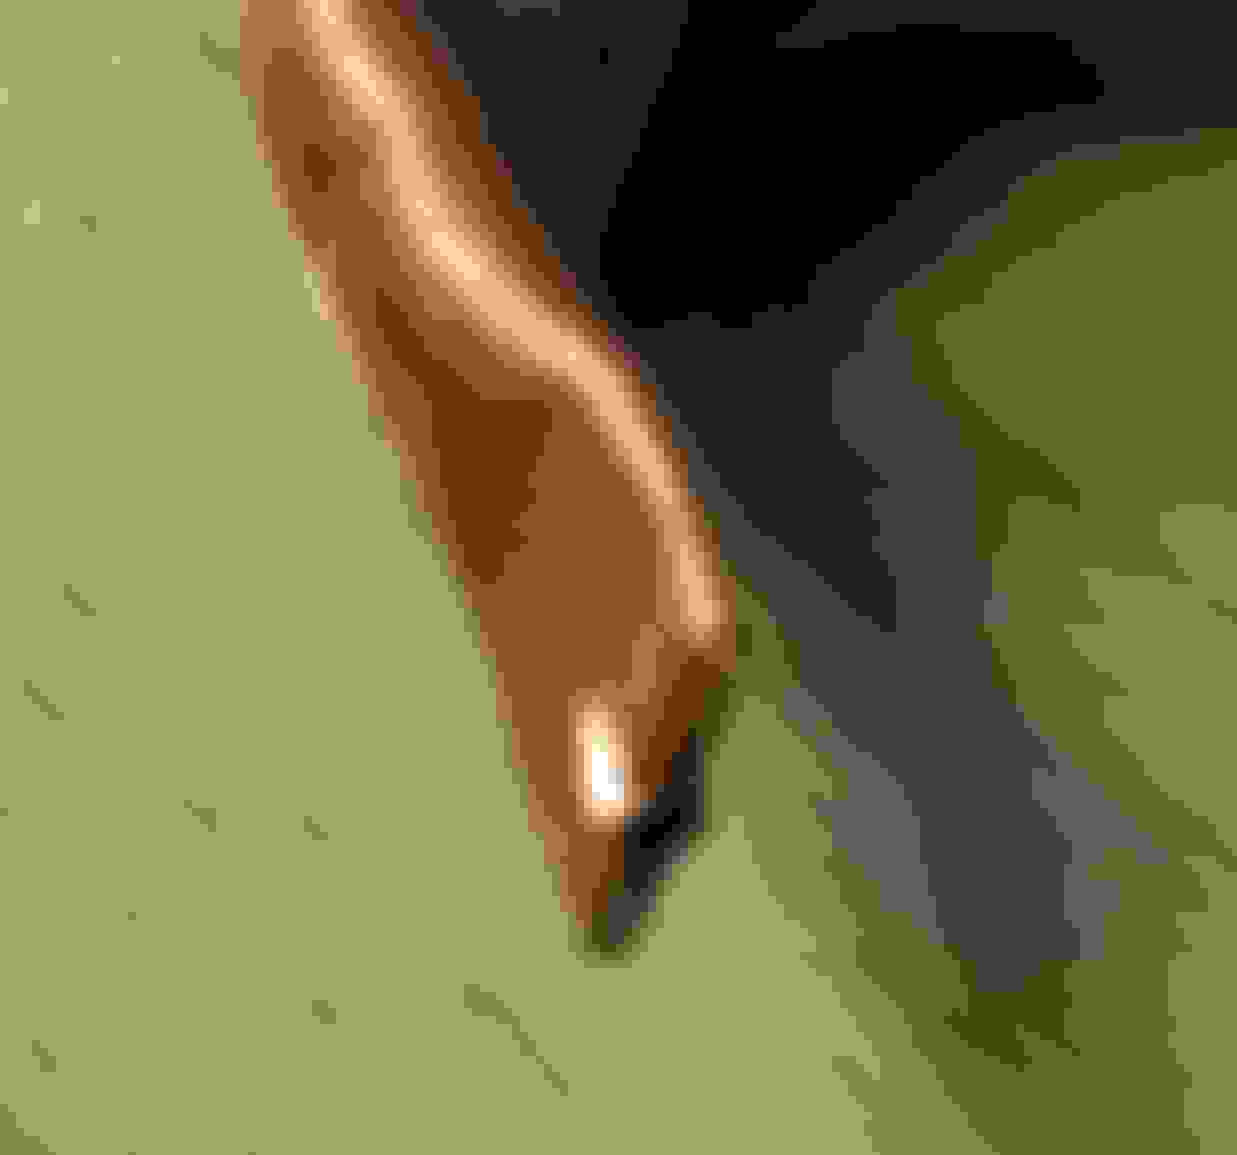
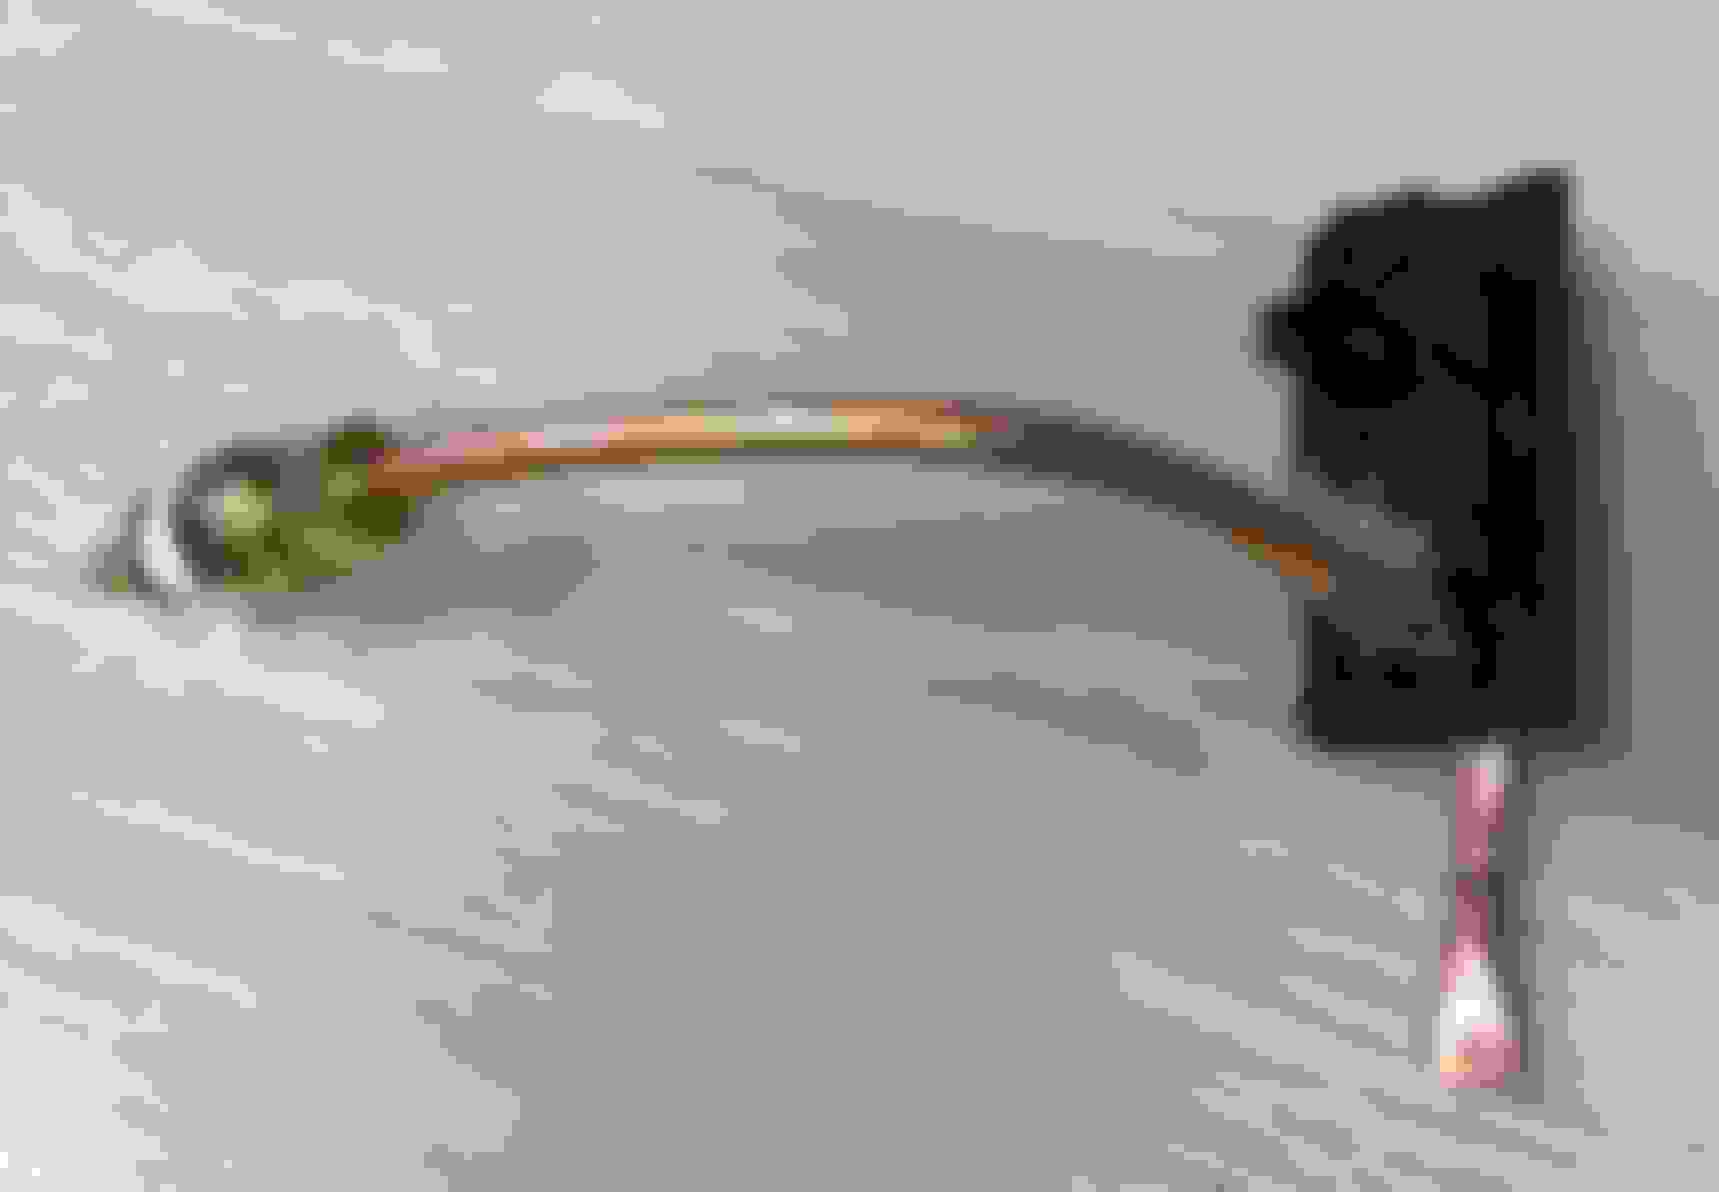
Make a nozzle: Make a nozzle in the end of a piece of 1/4 inch soft copper tubing. I did this by holding an 18 gauge brad nail centered in the end of the tube while squeezing it shut with pliers, then pulling the brad free. I didn't do it, but I'd suggest putting a tiny dab of epoxy in the end of the tube to force the fluid to only exit through the brad hole. I tested the nozzle by hooking it up to a garden sprayer, but you could also test with a mouthful of water I suppose. Here's a closeup of the nozzle (sorry, it's out of focus):
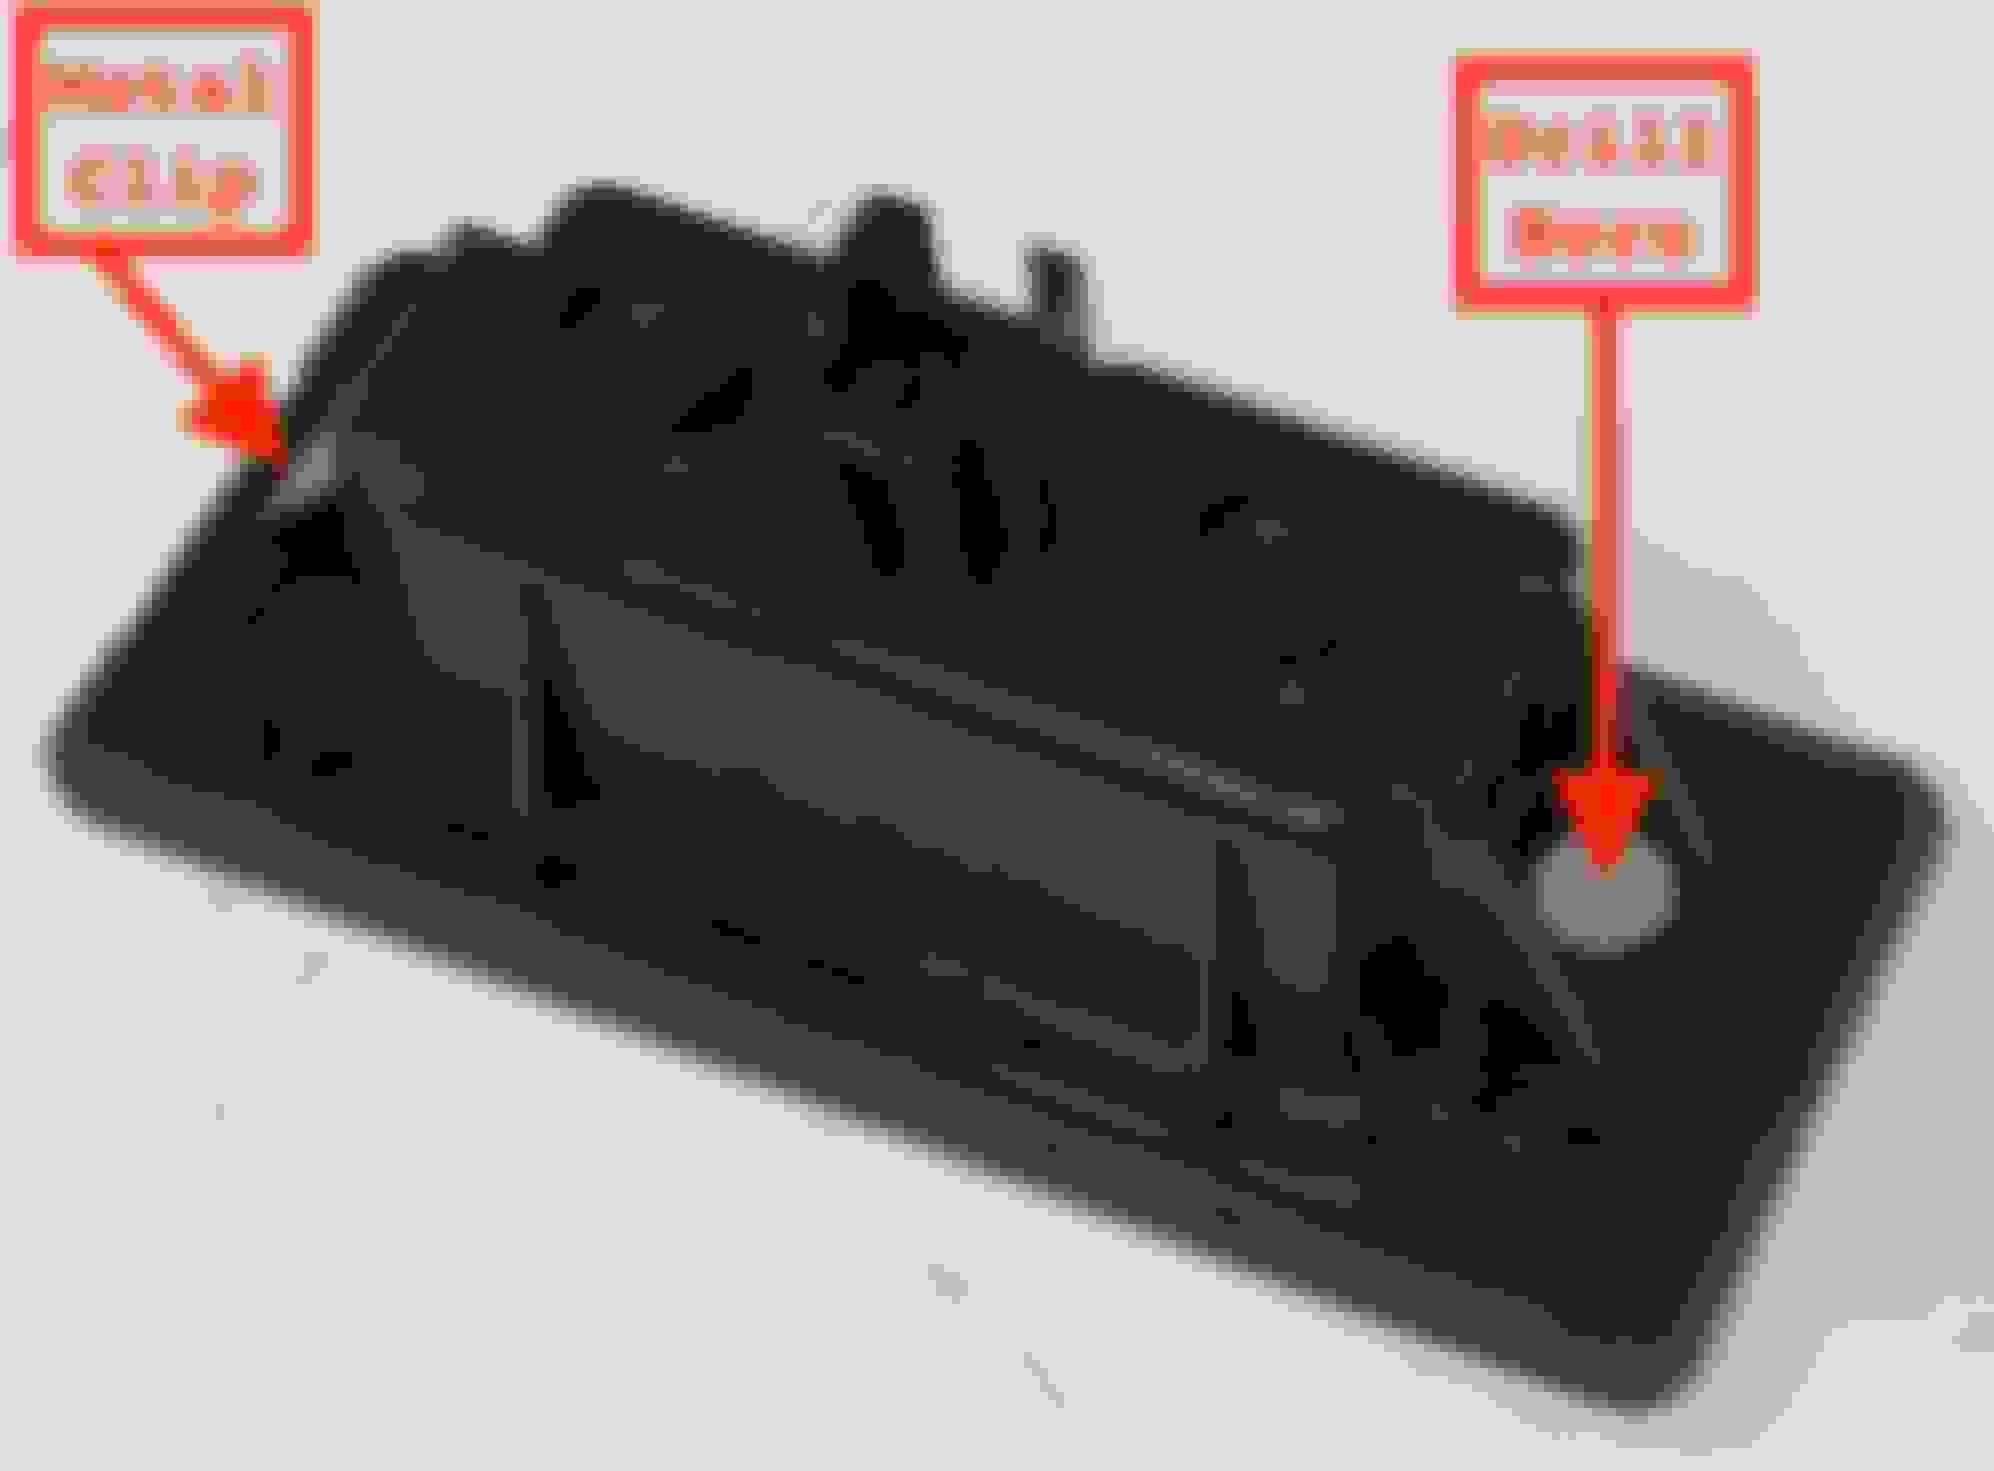
Drill a hole: Now the first "scary" part... using a 1/4 inch bit, drill a hole in the non-clip end of the license plate lamp, between the support stanchions and up against housing as shown below. This is best done on a drill press to assure the hole is vertical and in the correct place, but can be done with a hand drill if careful.
Put a 90 degree bend in the tubing so that the nozzle ends about 1-3/4 to 1-7/8 inch from the center of the right angle end. This is best done with a tubing bender, but can be done without crimping the tube if done carefully by hand, since the tubing is soft. Place the tube into the hole in the lamp and epoxy in place as shown in the photos below. I used a little clear epoxy on the outside, and
on the inside. As shown in the photo, be careful not to get the inside epoxy on the small tabs that engage the frame when the lamp is inserted.
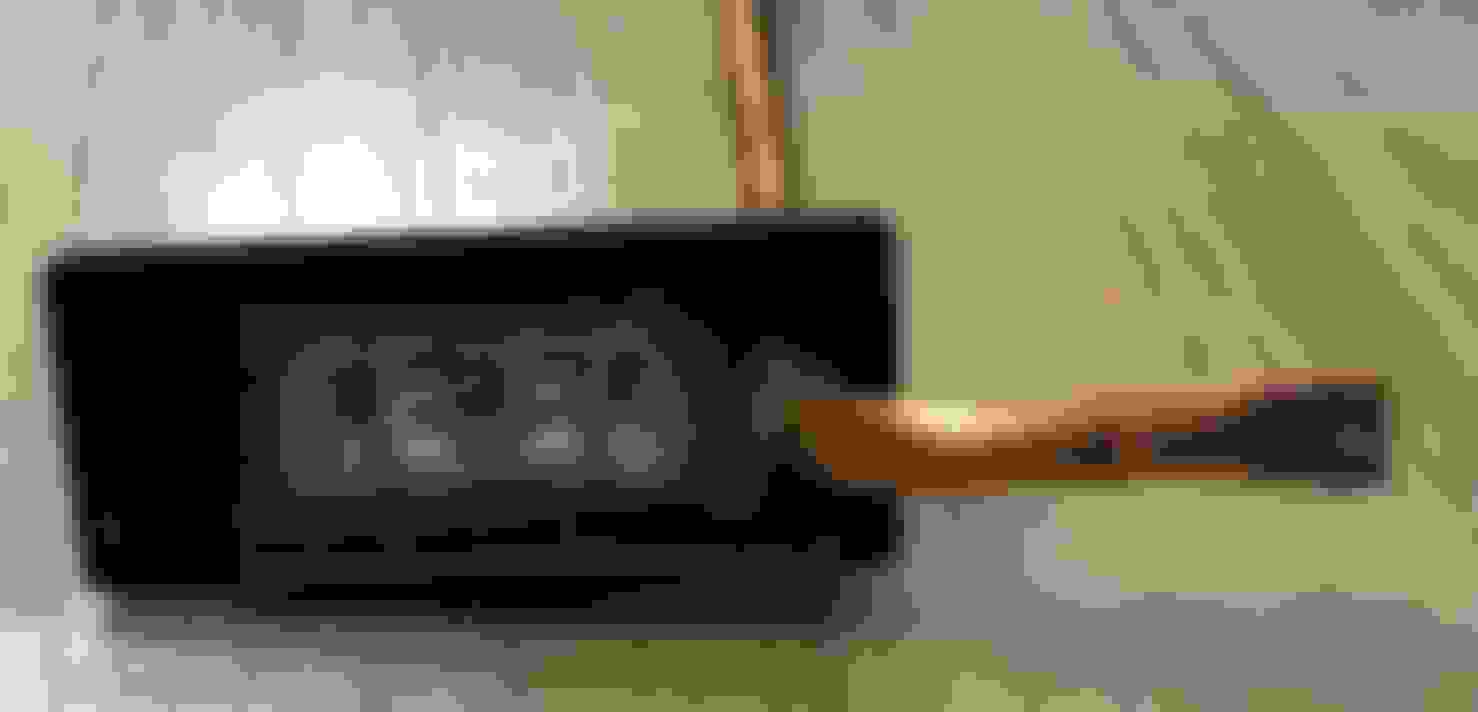
Attach hose barb fitting to tubing: After the epoxy cures, insert the lamp assembly back in place. You will need to put a gentle bend in the tubing so that it protrudes through the rectangular open area inside the rear lid. Cut off the excess tubing at the point about even with the interior rear lid frame. Connect a 3/16-in Barb x 1/4-in MIP Adapter Fitting to a 1/4-in Compression x 1/4-in FIP Fitting using pipe thread tape. Then attach that assembly to the end of the copper tubing (do not over tighten the compression fitting). The finished assembly is shown below:
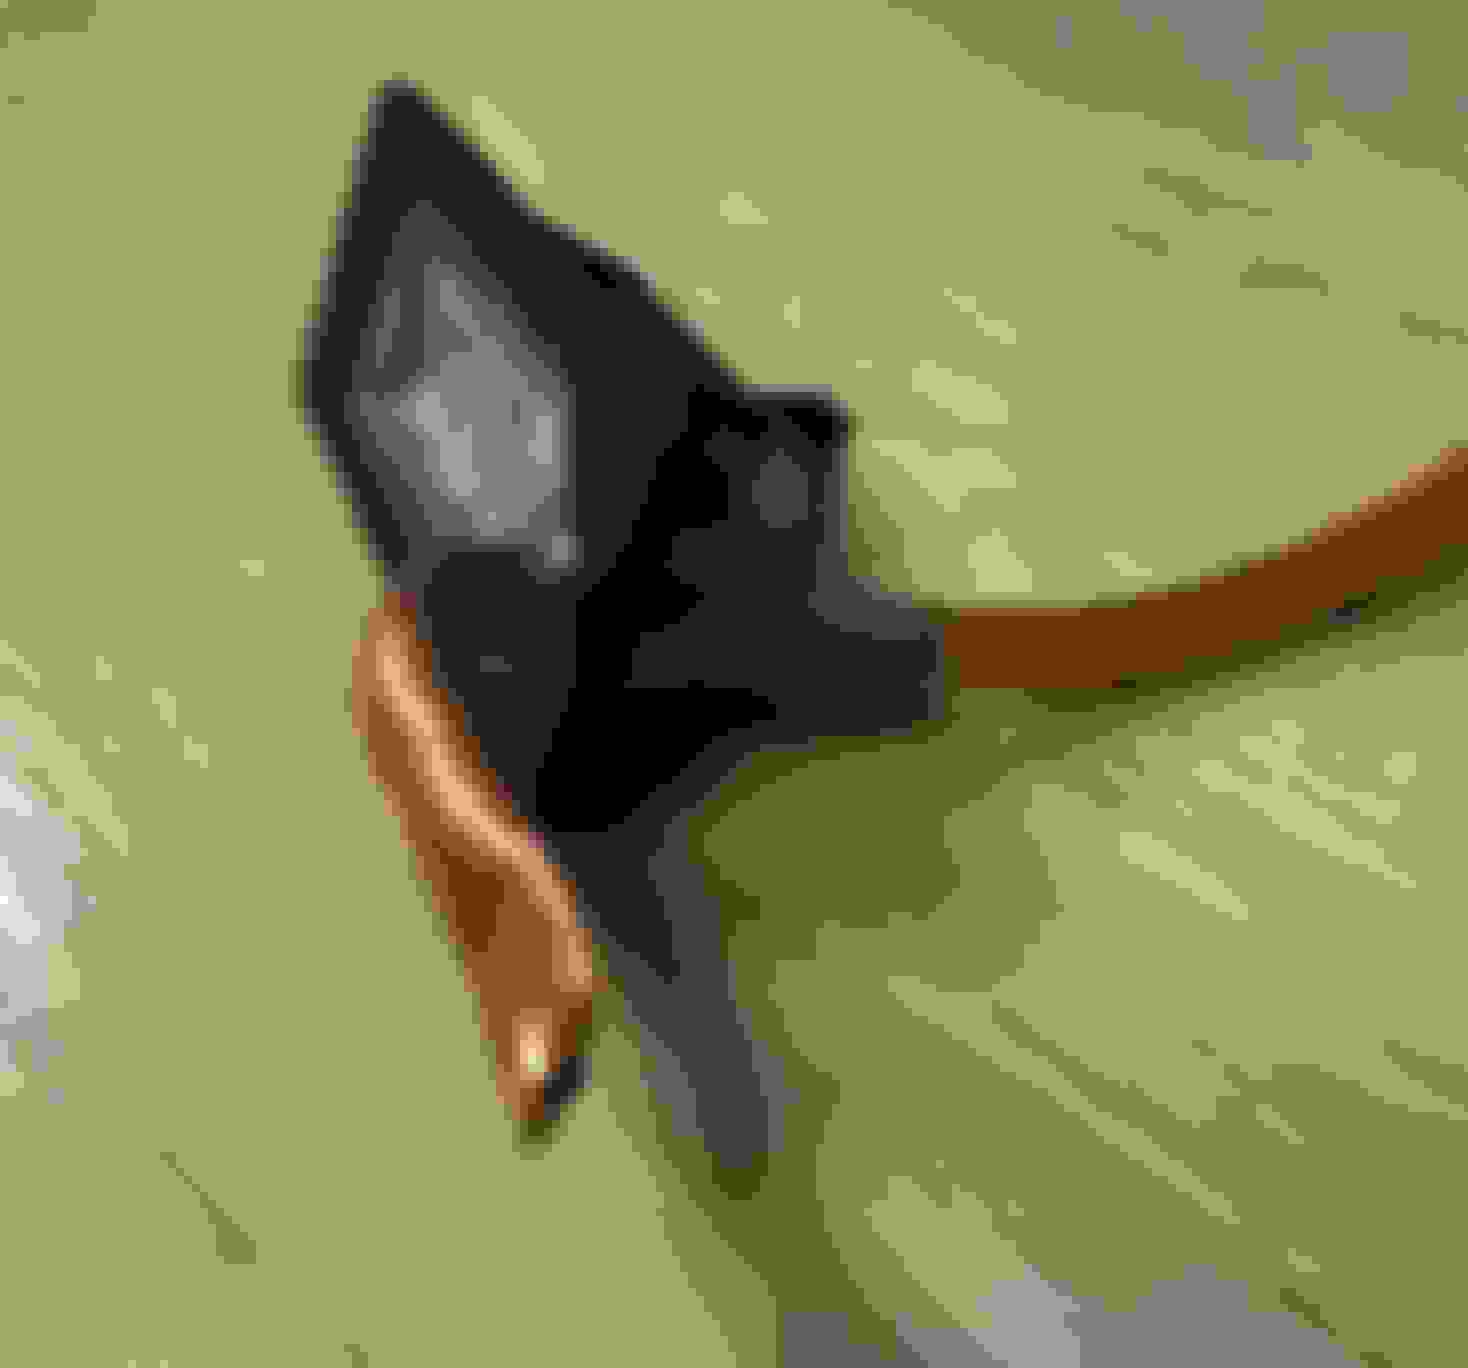
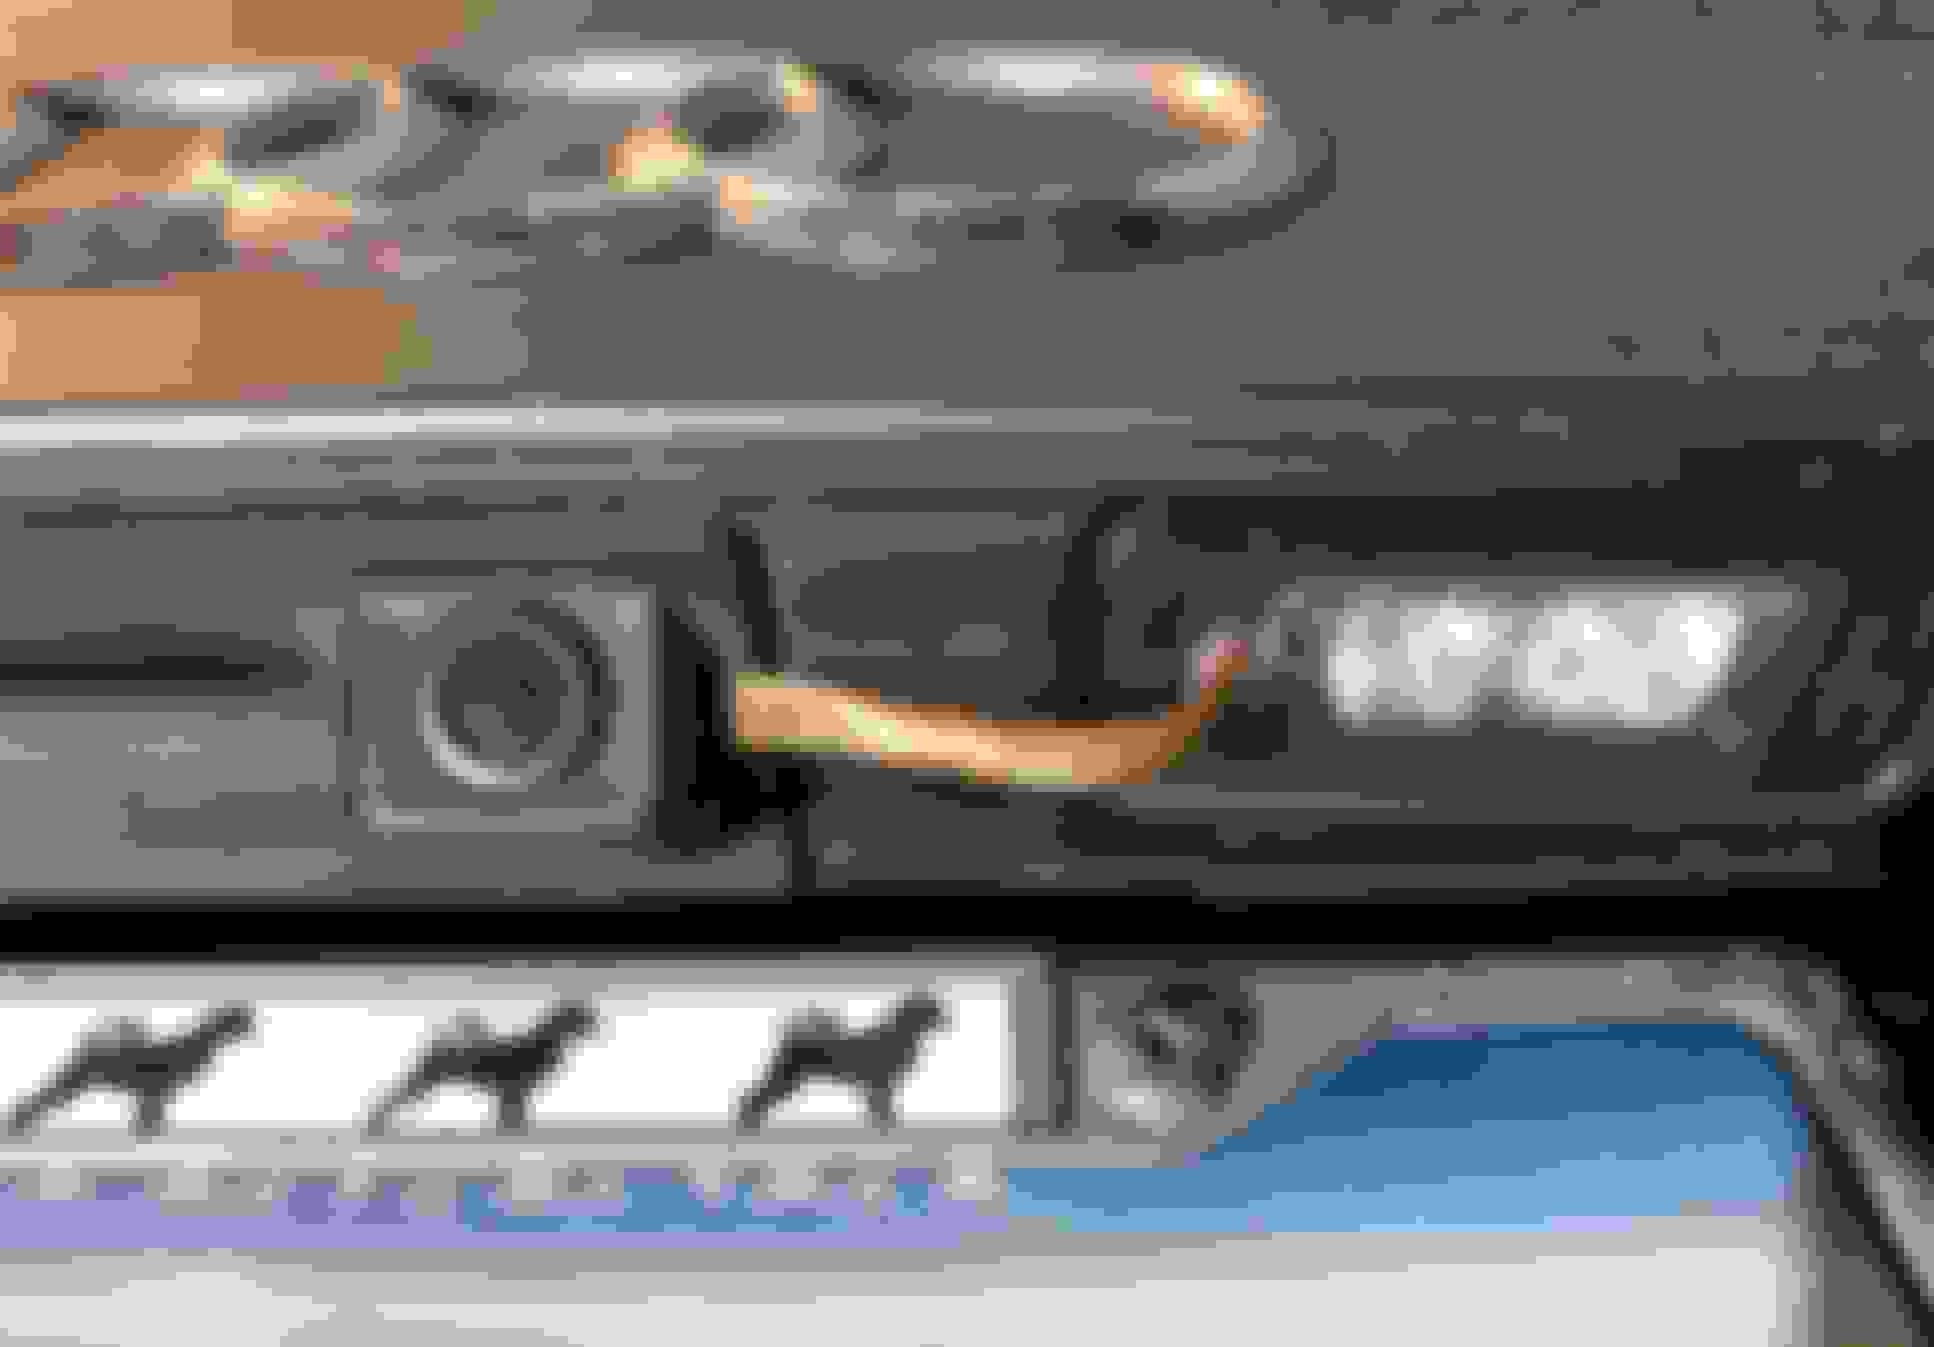
Don't forget to re-attach the electrical supply to the lamp assembly. Here's what the nozzle looked like after reinstalling the lamp assembly:
Insert Tee Fitting: Locate the supply hose going to the rear washers as shown in the photo below. Cut the hose about 4-5 inches from where it attaches to the wiper motor assembly (the 2nd scary procedure). The cloth-wrapped hose is indistinguishable from electrical harnesses, so double check that you've got the right one. Insert a 4mm nylon Tee fitting and secure with spring clips. Note: the stiff corrugated water hose used by Audi will not accept 3/16 barb fitting, hence the need for the 4mm Tee fittings.
Connect It Up and Test: Connect the 3/16 barb fitting to the 4mm Tee fitting securing with spring clips. I used some rubber hose that I had laying around for this. You will need to find how that fits both the 4mm and 3/16 inch barb fittings. With everything connected, close the rear lid and test the new camera sprayer. You will, of course, need an assistant to activate the rear spray while you watch, adjust and aim the nozzle. Be prepared to use a lot of washer fluid and perhaps even to get wet.
I found that the spray was too strong when initially connected, so I inserted a flow restrictor from a drip irrigation system. I had to experiment with several flow rates before settling on the right one. In hindsight, I could have used something like this or this to adjust the flow without having to swap parts in and out. It takes a bit of experimentation to get the stream aim and strength adjusted so it washes the camera without spraying five feet out to the left of the vehicle.
Reinstall rear lid lower trim: This is perhaps the most difficult part of the whole job. The shop manual says just to "reverse the steps" to reinstall the trim. It's not that easy. I would recommend having two helpers when it comes time for this. The difficulty is getting the clips lined up with the slots while juggling the fairly heavy and awkward trim over your head. If the clips are not lined up and you pound on them, they will bend and need to be straightened or replaced. I ended up removing the rear shade assembly (four clips) so that I could better see what was happening with the upper trim clips. Then I got the upper trim clips engaged, worked down the sides to engage the two clips on each side, then finally the four clips on the bottom. Then reinstalled the two Torx screws. However, it is not possible to reinstall the rear shade assembly into the trim while the trim's upper clips are engaged, so had to pop out the four upper trim clips again, reinstall the shade assembly, then re-engage the four upper clips.
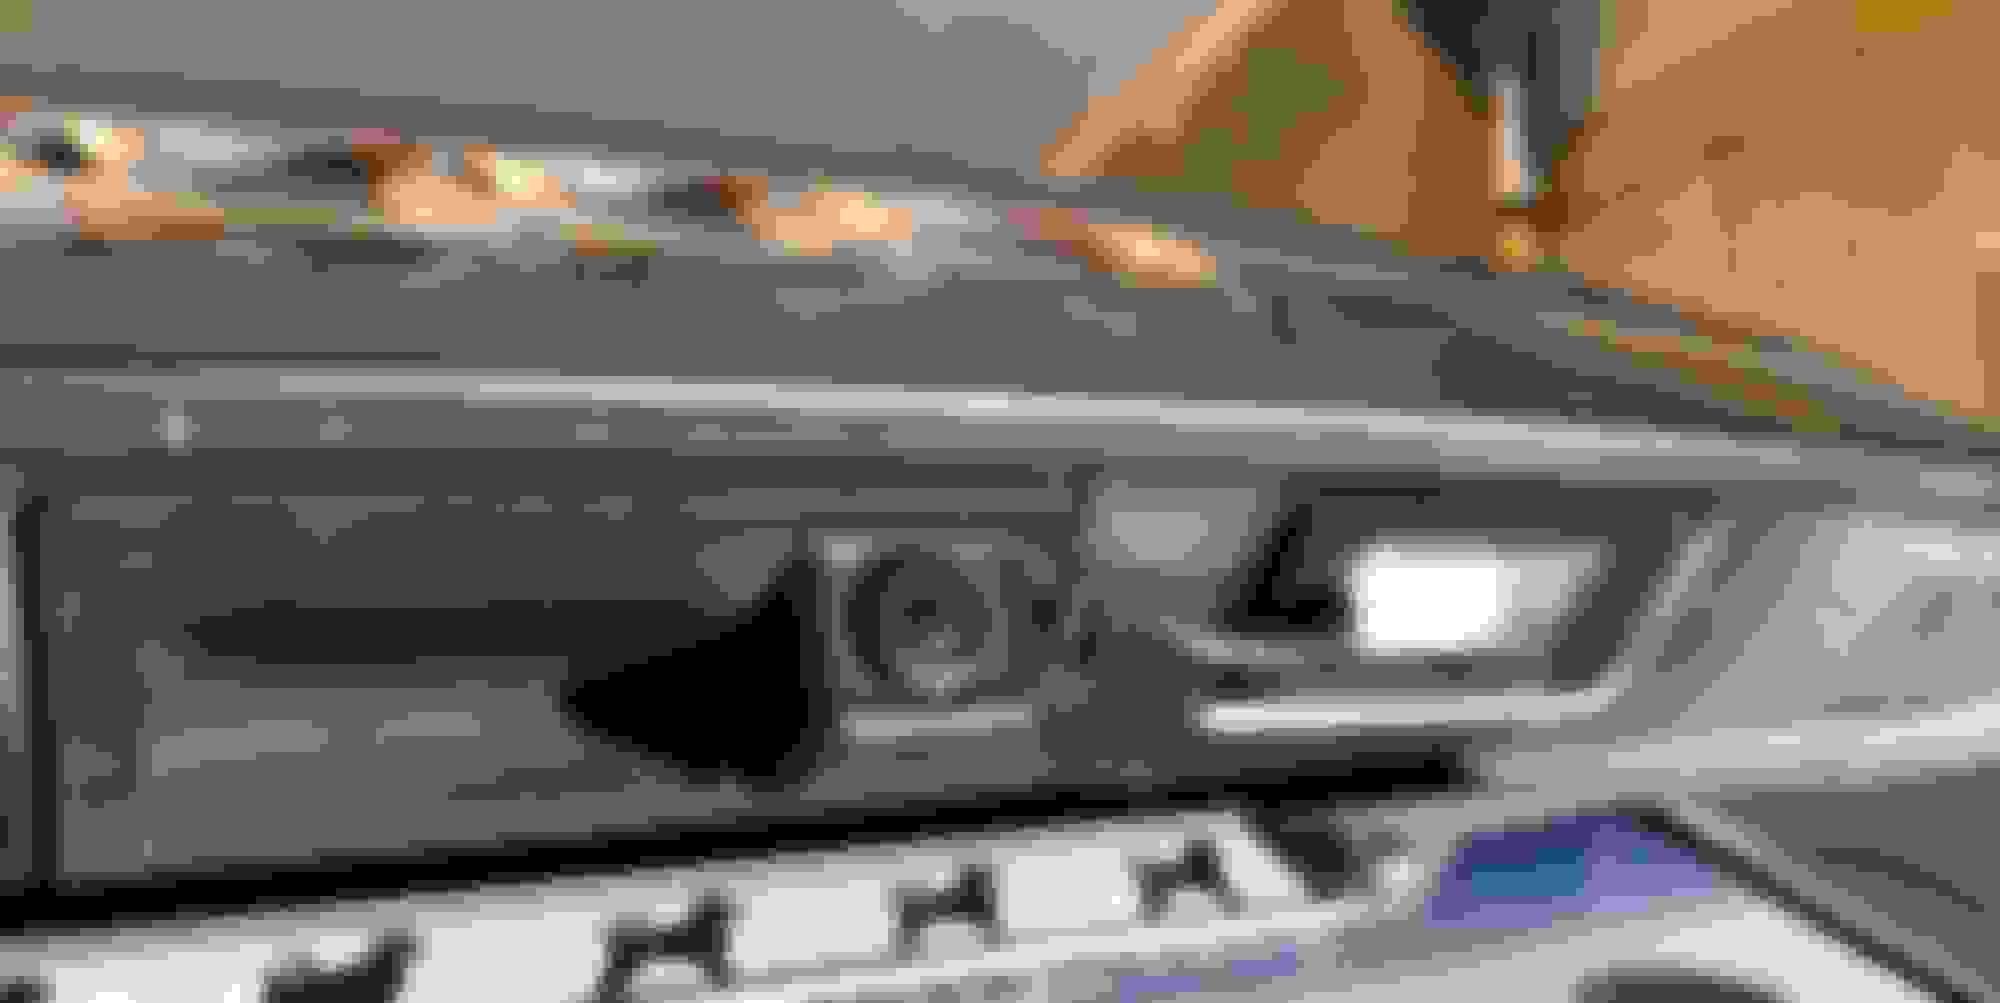
Final touches: To make the nozzle blend in better, rather than try to paint it, I put a piece of shrink tubing over it. (This is probably best done before installing, but I didn't think of it until afterwards.) Here's the finished nozzle:
Afterthoughts: After getting this all done, I kind of wish I had gotten a generic windshield spray nozzle such as this or this to see if it could be mounted in the hole in the license plate lamp and if it could be aimed and adjusted to spray the camera. I'm not at all sure it would have worked, but it could be an alternative to the nozzle I fabricated.
 02-14-2018, 12:19 PM