When you click on links to various merchants on this site and make a purchase, this can result in this site earning a commission. Affiliate programs and affiliations include, but are not limited to, the eBay Partner Network.
DIY: Adding a second OEM trunk light to B9 A4 sedan
As many people know, in the B9 a4 sedan, Audi decided to provide us with a single trunk light on the left side. One light seems to be fine for everyday use but if you look at the same area on the right side, you’ll notice there’s actually a slot for a second trunk light. So, it looks like the car was designed with 2 lights in mind, but Audi decided to go with a single light instead.
I was able to source a wiring harness that allows one to piggyback the second trunk light off from the original light. This wiring harness is completely plug and play and installation is fairly simple.
I do have a few of these harness that I sourced them from Asia and am planning to sell them on eBay. For those interested, please PM me directly. I sell them for $30 US for the kit (light and wiring) with shipping included.
For those who are more interested in doing a DIY harness, I’ve included the parts number below as well
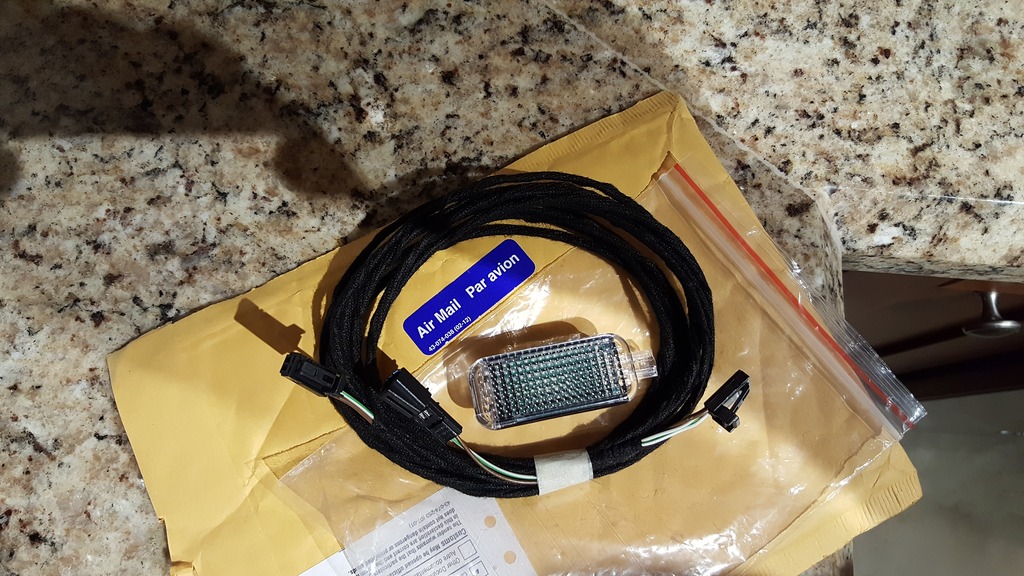
The kit contains 2 items:
1. OEM LED trunk light (Part# 8UD 947 409) *Note this is not the same as the light in your door puddle light. This light puts out a brighter light and is specifically used for the trunk.
2. Wiring harness with 3 way plug
A - this plug accepts the original connection from the car to the trunk light (Part# 4E0 972 575)
B - this connector plugs into the original trunk light (Part# 4B0 971 832)
C - this connector plugs into the second trunk light on the right side (Part# 4B0 971 832)
To install, here are the steps:
Step 1
Using trim removal tool, remove the existing trunk light
Step 2
Unclip the original trunk light from the connector. This can be done by pushing the lock in the connector and pulling the connector away
Step 3
Fish your new wires to the slot where the original trunk light is. You can do some by lightly pulling back the trunk liner from the top and fish the wires in. Plug the connector from the car in to PLUG A, then connect the original light to PLUG B
Step 4
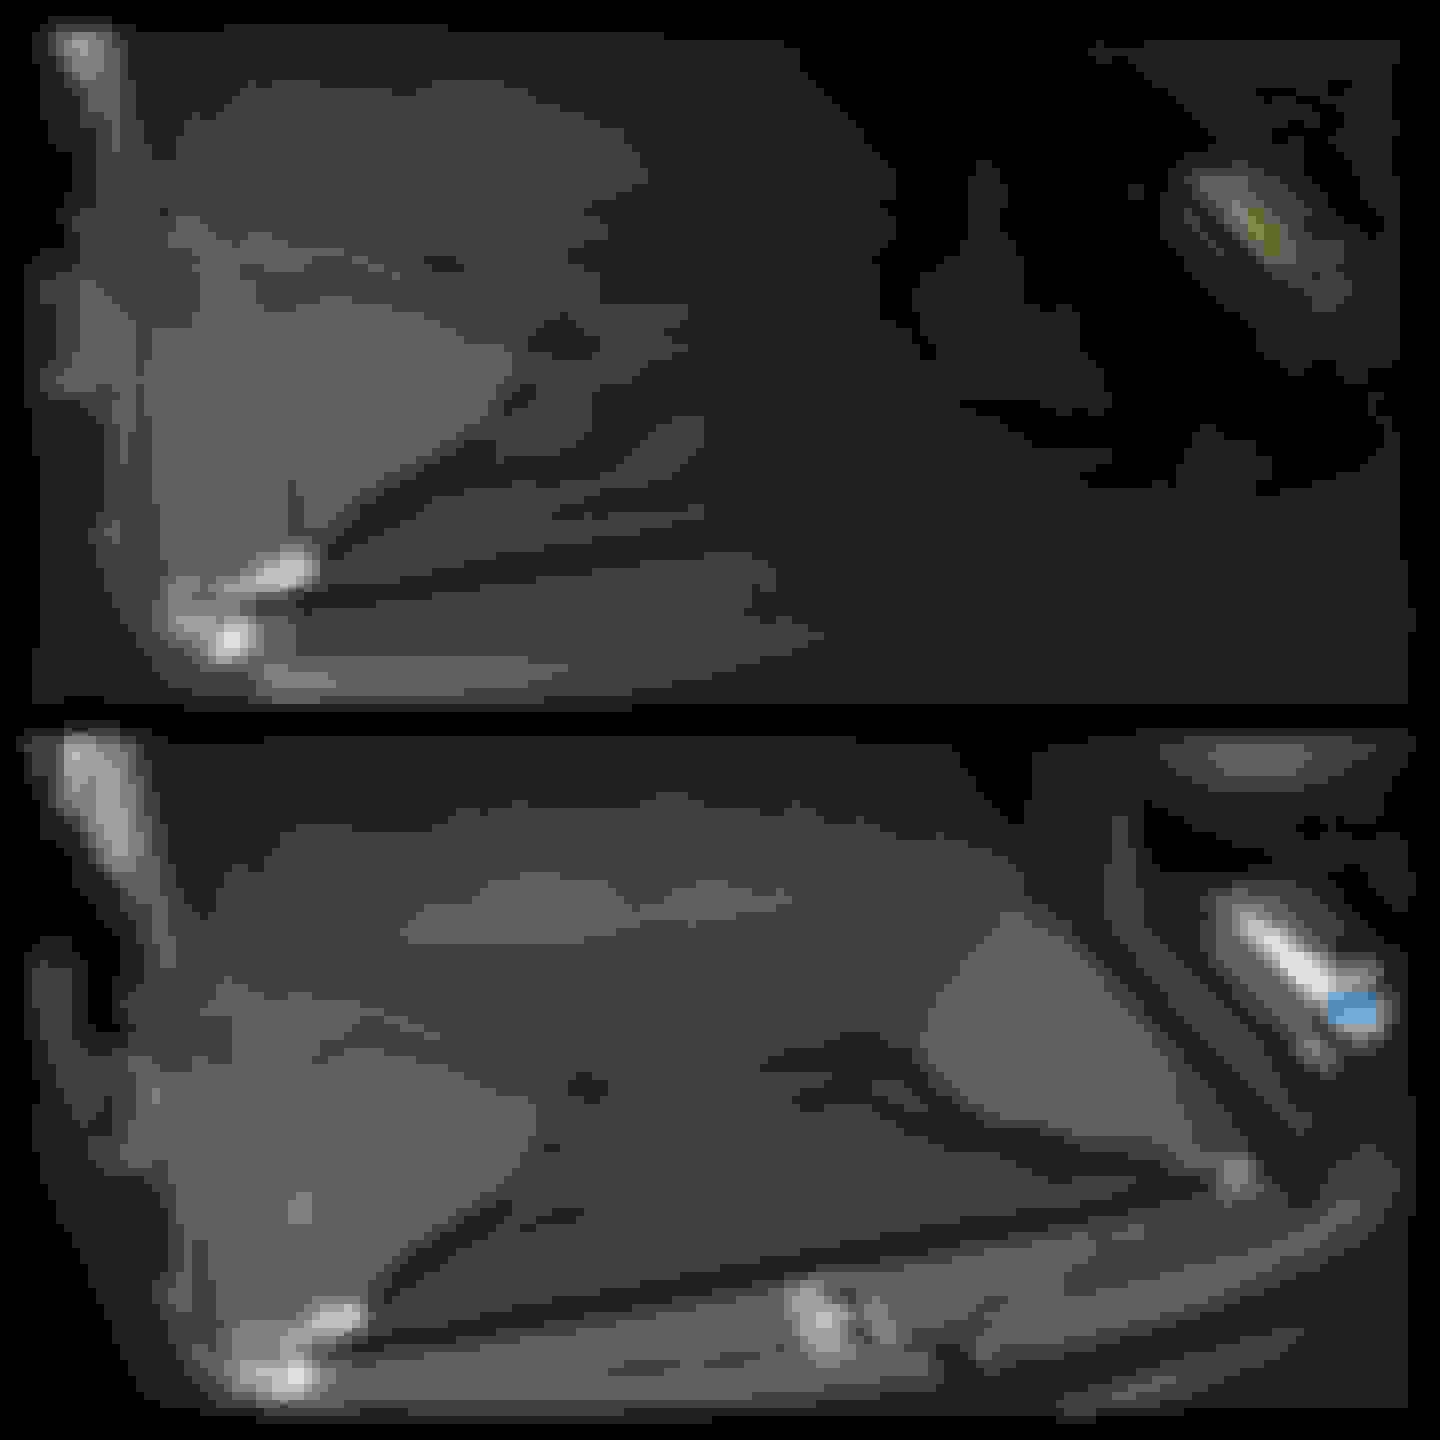
There are many ways to run your wires, but I decided to hide the wires into the rubber weatherstripping surrounding the trunk. (Blue line shows where I placed my wire)
Step 5
Pull back the liner a little bit and fish the end of the wire to the right trunk light slot. Plug the light in and then fit the light into the slot
DONE
Alternative: You can also get a door puddle light from eBay or other sources with wires attached and manually tap the +/- wires from your original trunk light (negative wires are always brown in color). The steps are pretty much similar.
A before and after picture showing the difference with the second trunk light.
Nice. Thank you for the DIY. It looks easy since no one has to tap into the existing wire by splicing them. And also, no warranty issue since none of the wires are spliced.
Thanks for this thread. I've been looking to upgrade the trunk lighting but didn't like the common strip lighting upgrade. This is a proper oem looking setup.
Last edited by up-n-coming; 02-27-2017 at 06:33 PM.
He's selling the complete kit. It includes the wire harness with connectors installed on the ends and the second light. I ordered a kit. It should arrive this week hopefully.
Have you posted the parts in the marketplace? The last time I looked, I didn't see them.
Is what you're selling a "complete" kit, or will I need to get more parts?
I just PM'ed you with more info.
Originally Posted by up-n-coming
He's selling the complete kit. It includes the wire harness with connectors installed on the ends and the second light. I ordered a kit. It should arrive this week hopefully.
No problem. By coincidence I just received the kit today. The harness is nicely made and long enough to route it any way you choose to. The light appears to be oem. I think the price is very fair. I'll support an innovative forum member any day rather than buying from EBAY. It's rainy today so if I can find time tomorrow I'll install it then and post a pic.
Last edited by up-n-coming; 03-07-2017 at 10:53 AM.
No problem. By coincidence I just received the kit today. The harness is nicely made and long enough to route it any way you choose to. The light appears to be oem. I think the price is very fair.. It's rainy today so if I can find time tomorrow I'll install it then and post a pic.
Perfect timing, Thanks for the pic!
Then wire is definitely long enough for you to route it any way you want. I was disassembling the rear speaker deck this past weekend to add some sound absorber on the rear deck and ended up routing the wires over the rear deck instead.
Enjoy the new light and let me know if you have any questions.
Then wire is definitely long enough for you to route it any way you want. I was disassembling the rear speaker deck this past weekend to add some sound absorber on the rear deck and ended up routing the wires over the rear deck instead.
Enjoy the new light and let me know if you have any questions.
I want to do a cleaner route like this. Did you have to remove the rear deck lid to run it? did you see any other way to run it above without having to tear it apart?
 02-25-2017, 09:30 PM